
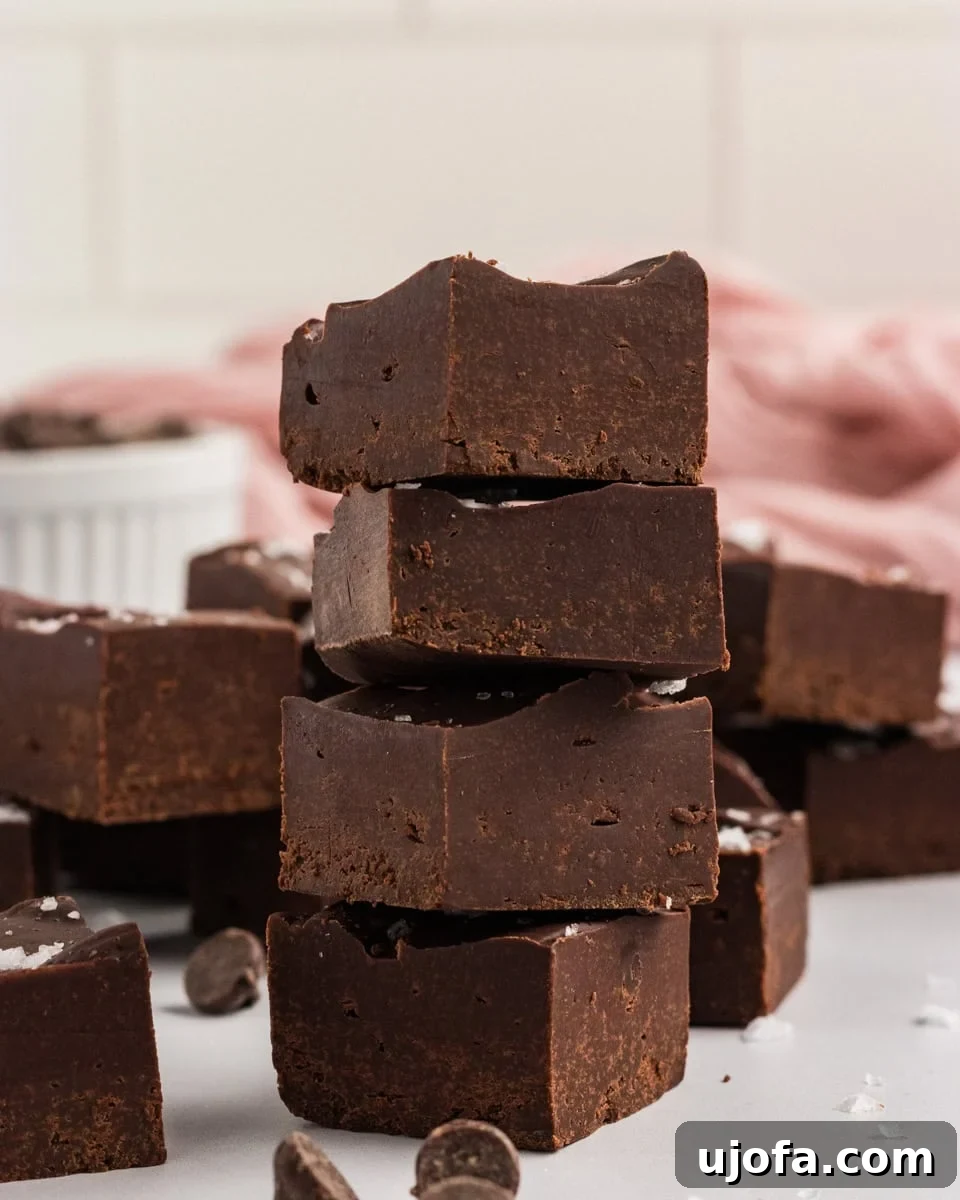
This gluten-free, dairy-free chocolate fudge is rich, creamy, and utterly satisfying—nothing like the chalky or waxy versions you may have tried. Made with just three main ingredients—sweetened condensed coconut milk, dairy-free chocolate chips, and vanilla—it yields a smooth, melt-in-your-mouth fudge with only about 10 minutes of active cooking. No candy thermometer or complicated techniques are needed: just a gentle bain-marie and steady stirring. A final sprinkle of flaky salt balances the sweetness and adds a delicate crunch. The result is dense and luxurious without being overpoweringly sweet, perfect for holiday dessert trays or a simple indulgence any night of the week.
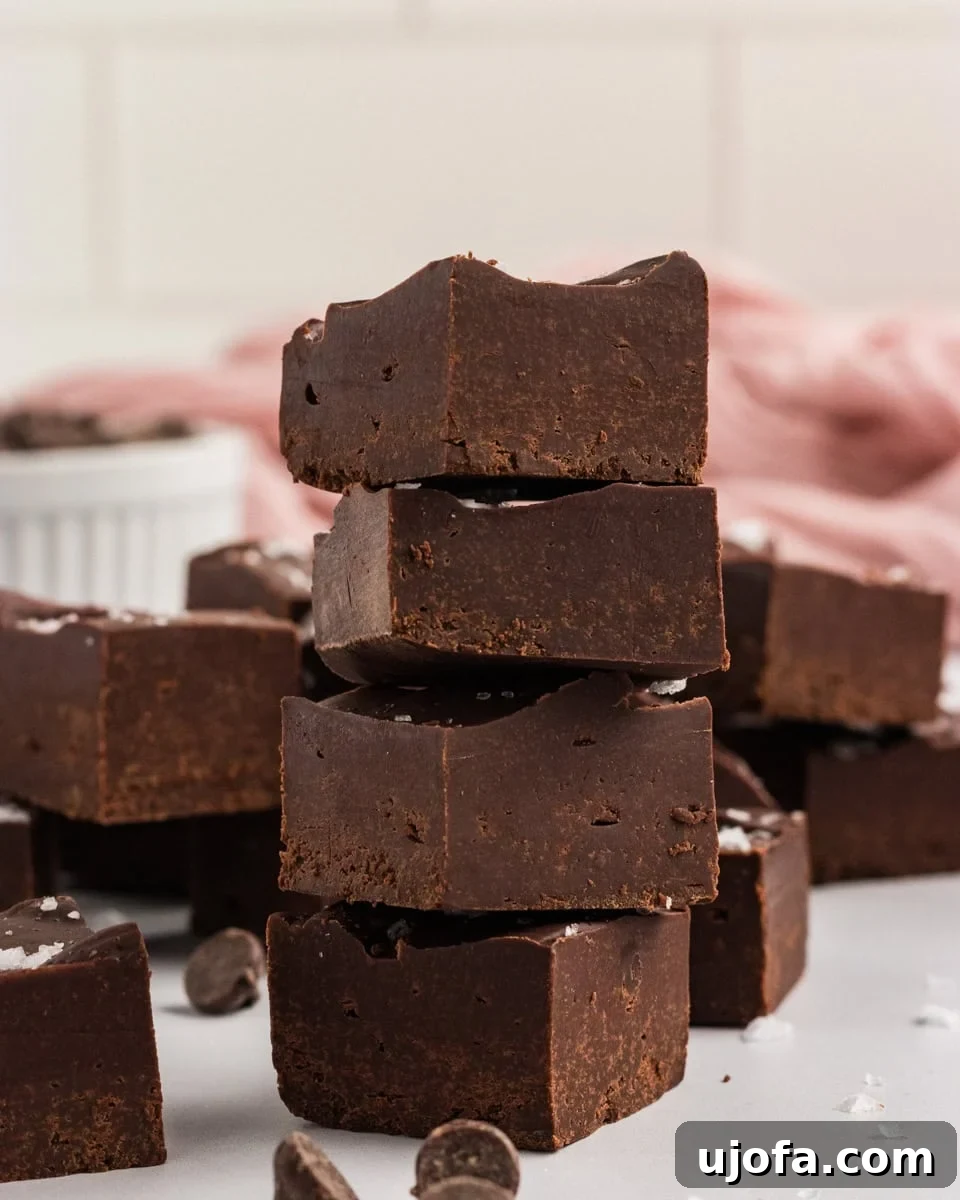
The Secret to Fudge That Sets Perfectly, Every Time
Classic slab fudge usually relies on butter and sweetened condensed milk. This recipe keeps the same glossy, dense texture by swapping in sweetened condensed coconut milk and dairy-free chocolate chips so it’s safe for anyone avoiding dairy while still delivering that traditional fudge experience. Because the coconut condensed milk is already thick and sweet, the process is simply melting the chocolate into it. There’s no sugar staging, no thermometer, and very little risk of grainy texture when you melt gently.
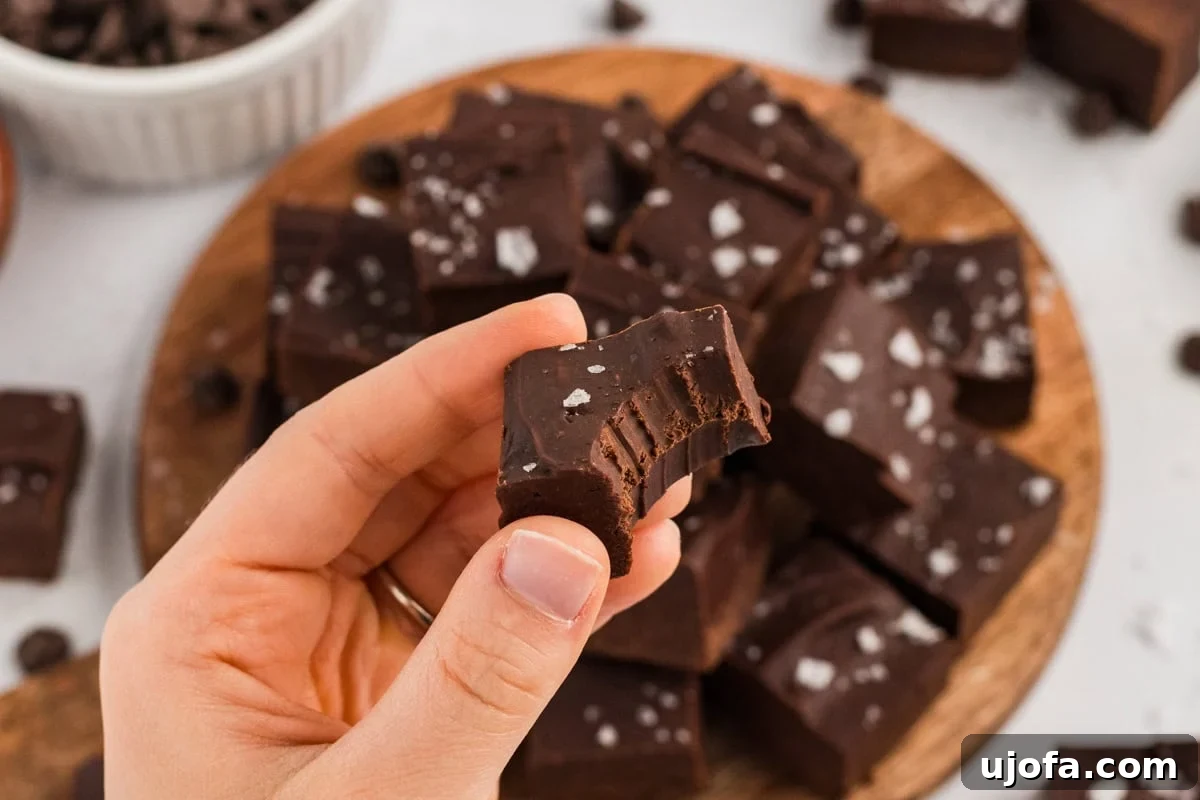
I tested both semi-sweet and dark dairy-free chocolate chips. Semi-sweet most closely evokes the nostalgic fudge flavor—rich but balanced—while dark chips make a deeper, slightly more bitter bar. The most important step is to melt slowly and stir until the mixture is completely smooth and glossy; patience here prevents seizing and graininess.
Gluten-Free Baking Tips
- Melt over a bain-marie and keep the bowl above the water. Gentle, even heat yields a glossy fudgy texture. If the bowl touches the water, the chocolate can scorch or seize. Leave an inch or two of clearance and pour off water if the level rises.
- Be patient while melting. Don’t increase the heat to hurry things along—rushing is the most common cause of grainy fudge. Stir steadily until perfectly smooth.
- Chill fully. Refrigerate for the recommended 4 hours (or longer) so the squares hold their shape when cut.
- Warm your knife before slicing. Run a sharp knife under hot water and dry it between cuts for neat, clean-edged squares. If the fudge is rock-hard, let it sit at room temperature for 5–10 minutes before slicing.
Gluten-Free and Dairy-Free Chocolate Fudge
Ingredients
- 15 oz sweetened condensed coconut milk (two 7.4 oz cans)
- 3 cups dairy-free semi-sweet or dark chocolate chips
- 2 tsp vanilla
- Flaky salt, for garnish (optional)
Instructions
- Line an 8×8 or 9×9 square pan with parchment paper, leaving an overhang for easy removal.
- Fill a small pot with 1–2 inches of water and bring it to a gentle boil over medium-high heat.
- Place the sweetened condensed coconut milk and chocolate chips in a large heatproof bowl and set the bowl over the pot so it sits above the water without touching it (bain-marie). If the bowl contacts the water, carefully remove some water from the pot. Alternatively, you can melt in the microwave in 30-second bursts, but the stovetop method is more reliable.
- Stir continuously until the chocolate is fully melted and the mixture is smooth and glossy with no lumps. This can take a few minutes—don’t rush it.
- Remove from heat, stir in the vanilla, and give the mixture one last stir. Pour quickly into the prepared pan—the fudge will begin to set as it cools but will still be very hot.
- Use a spatula to spread the fudge evenly to the edges and smooth the top. While still warm, sprinkle with flaky salt if using so it adheres.
- Cover and refrigerate for at least 4 hours or until completely set.
- Remove from the refrigerator, lift the fudge from the pan using the parchment overhang, and slice into squares with a sharp knife warmed under hot water and dried between cuts. If too firm, let the fudge sit at room temperature for a few minutes before slicing.
Notes
- Rushing the melt or using high heat can cause grainy fudge—gentle heat and steady stirring are key.
- Keep the bowl above the water level so the chocolate doesn’t scorch or seize.
- Allow a full 4 hours (or longer) for the fudge to chill so pieces hold their shape.
- Warm and dry your knife between cuts for clean edges.
- Not all chocolate chips are dairy-free—check labels carefully.
- This fudge is sweet and rich, so small portions are satisfying.
- To add mix-ins (nuts, dried fruit, crushed pretzels, or candy canes), fold them in right after the chocolate has melted, then add vanilla and pour into the pan.
- Store in the refrigerator for 3–4 weeks or freeze up to 3 months with parchment between layers.
Nutrition
Nutrition information is an approximation and should be used as a guide.
Additional Info
How to Make Gluten-Free and Dairy-Free Chocolate Fudge Step by Step
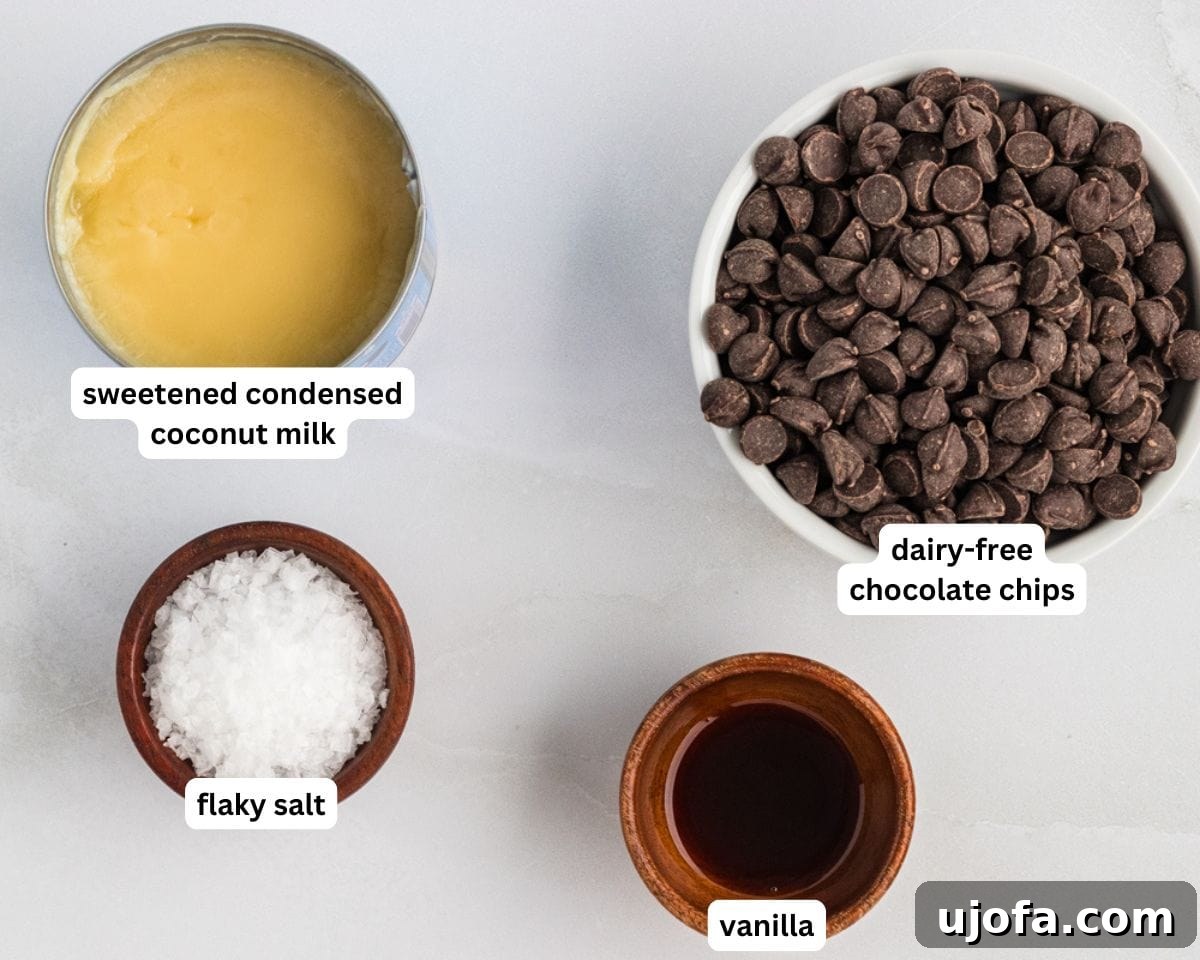
Gather the ingredients: Assemble everything before you start. Line your 8×8 or 9×9 pan with parchment and leave a little overhang for easy removal once the fudge is set.
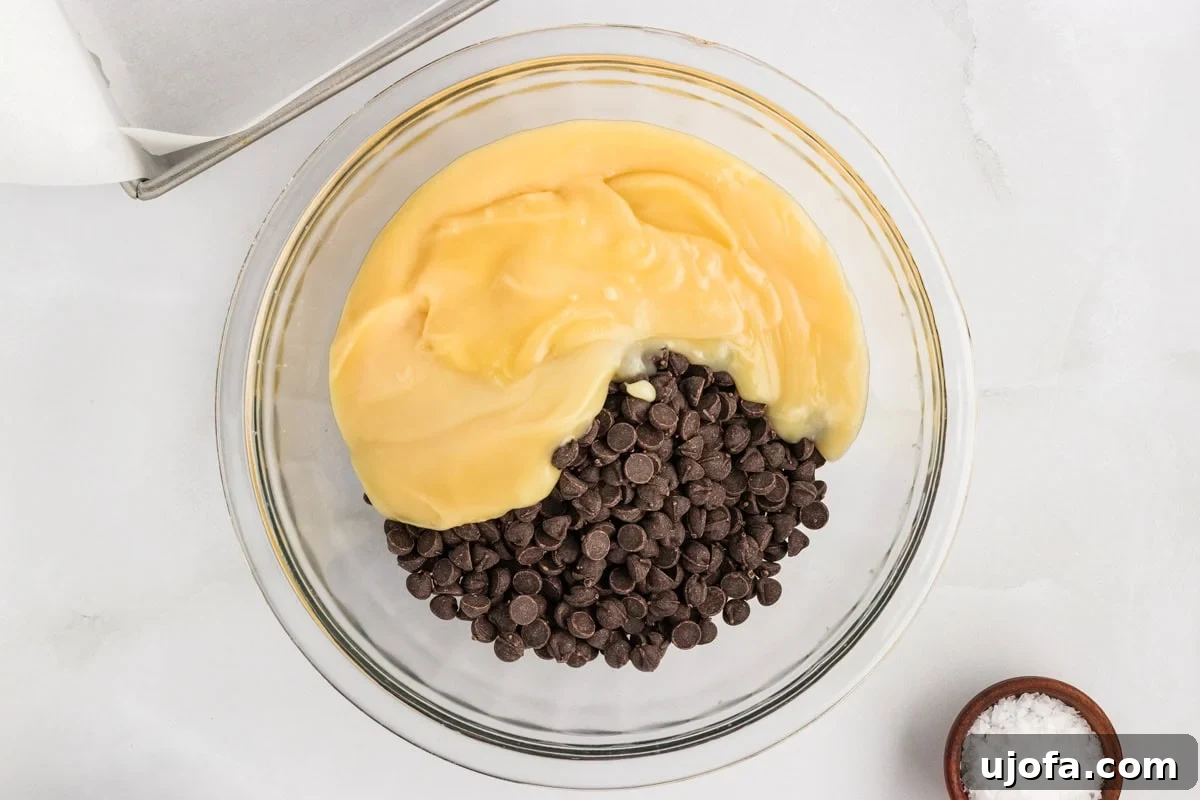
Set up the bain-marie: Heat 1–2 inches of water in a small pot until it’s gently boiling. Place the coconut condensed milk and chocolate chips in a heatproof bowl and rest it over the pot, ensuring the bowl doesn’t touch the water. If it does, carefully remove some water. The bain-marie gives steady, even heat that prevents the chocolate from overheating.
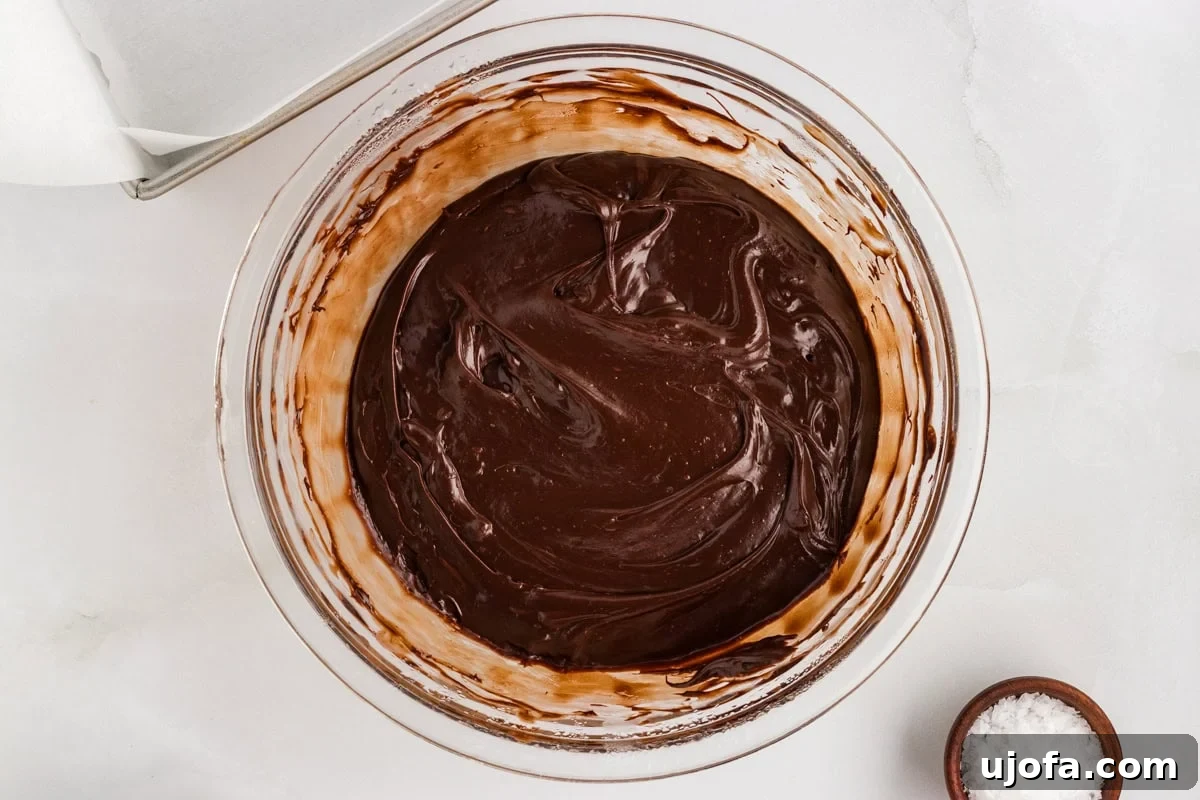
Melt the chocolate: Stir the mixture continuously until the chocolate is fully melted and the mixture is glossy and smooth. This will take a few minutes; keep stirring to combine the chocolate and coconut milk evenly.
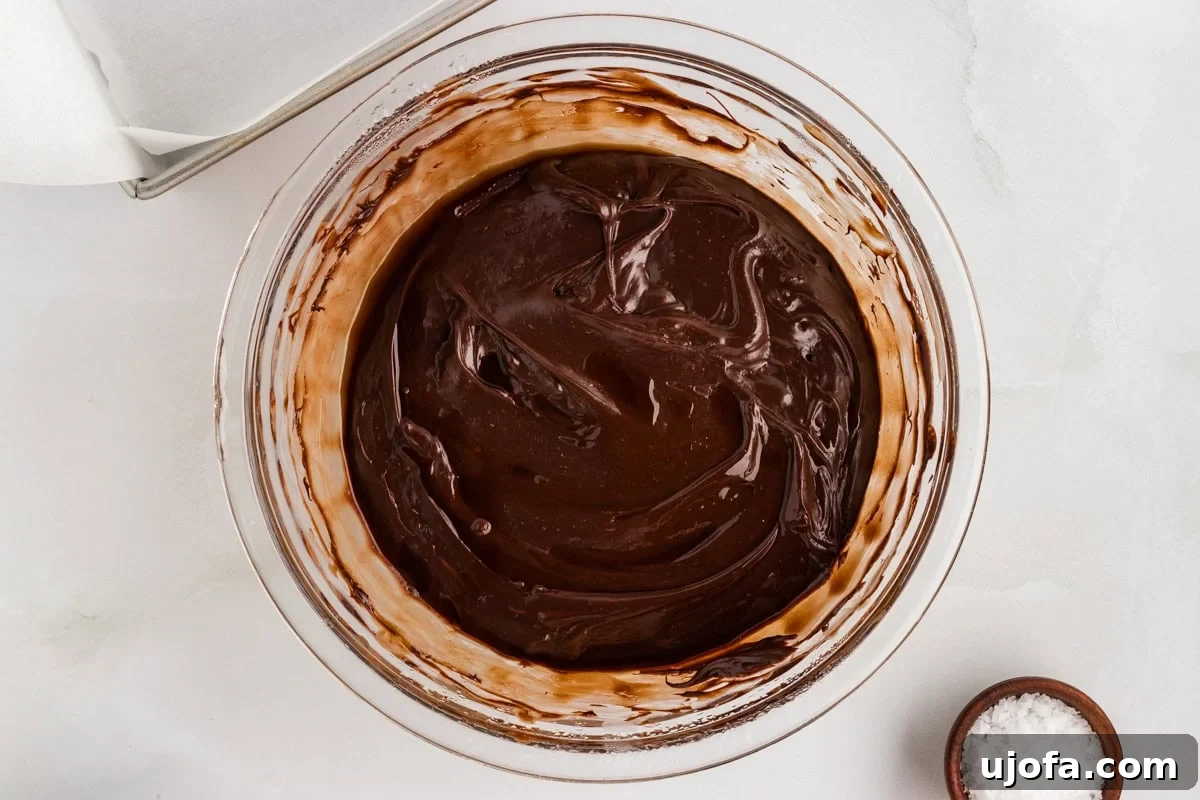
Add the vanilla: Stir in 2 teaspoons of vanilla and mix briefly before pouring into the prepared pan. Move quickly but carefully—the fudge will begin to set as it cools.
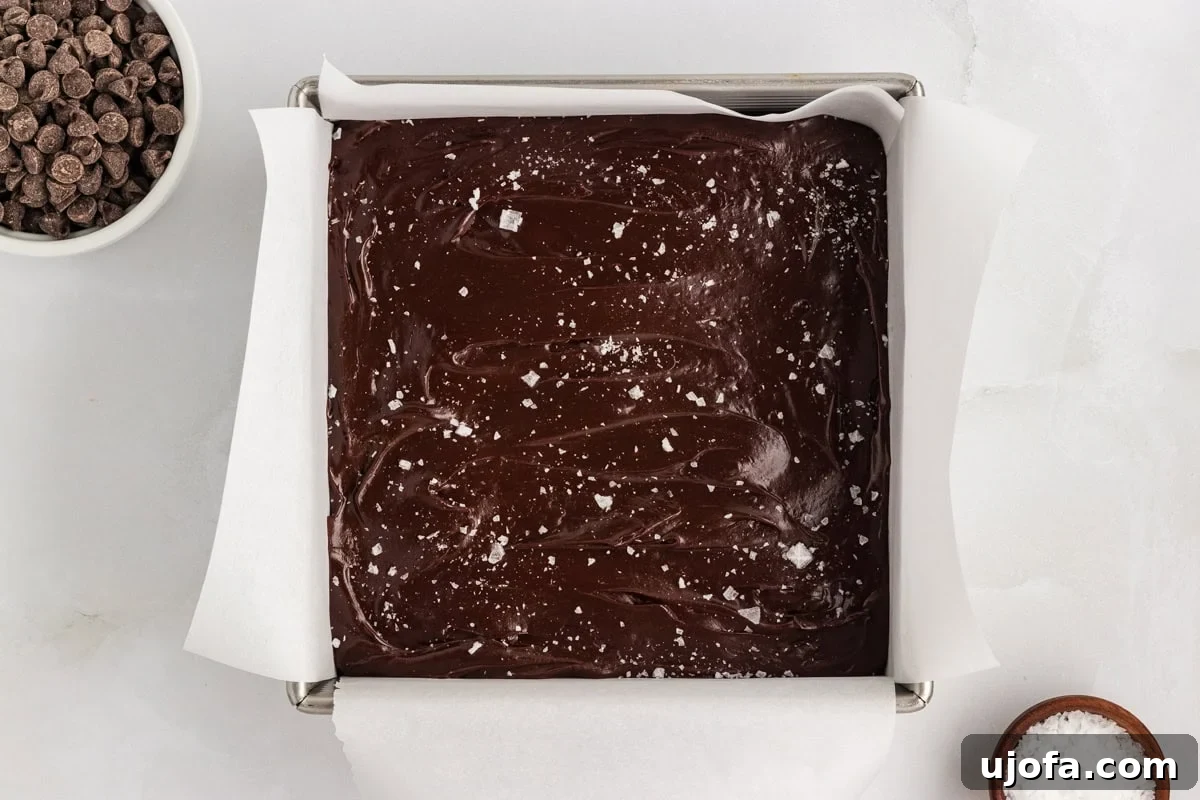
Spread and top: Smooth the fudge with a spatula and sprinkle flaky salt while it’s still warm so it adheres to the surface.
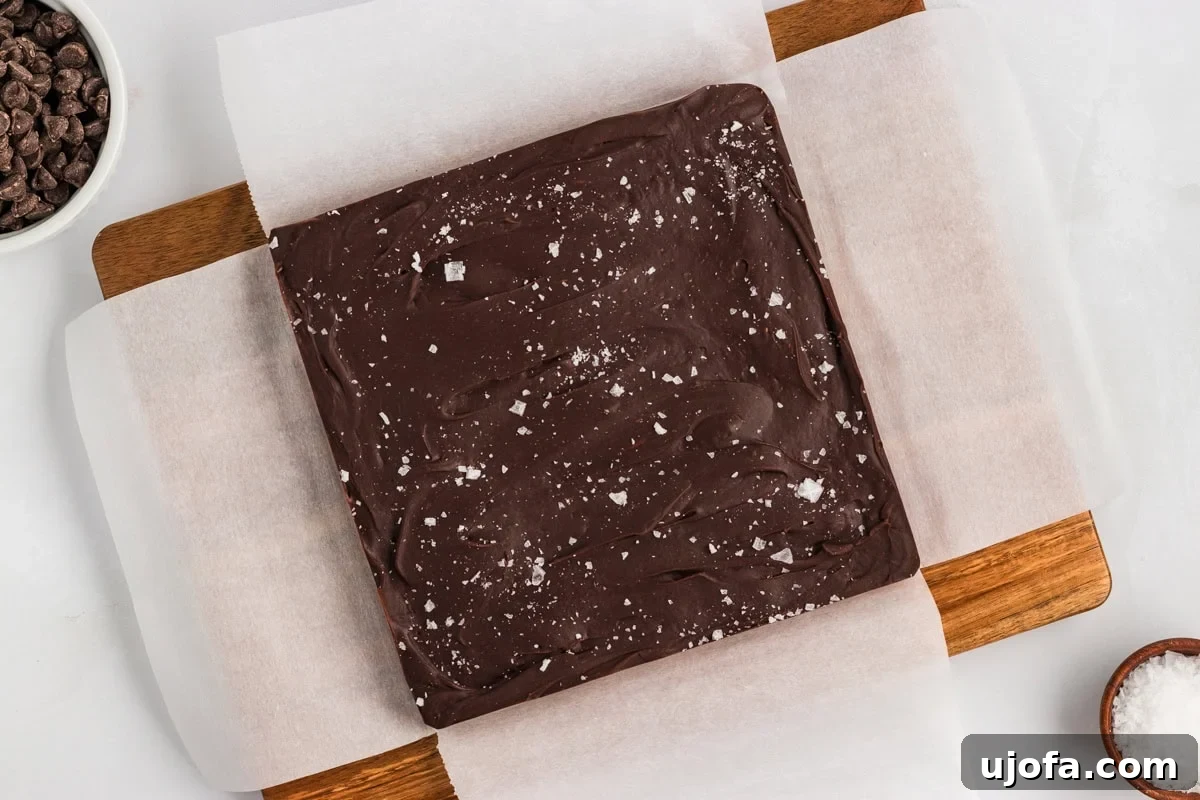
Chill and set: Cover and refrigerate for at least 4 hours, or until completely firm.
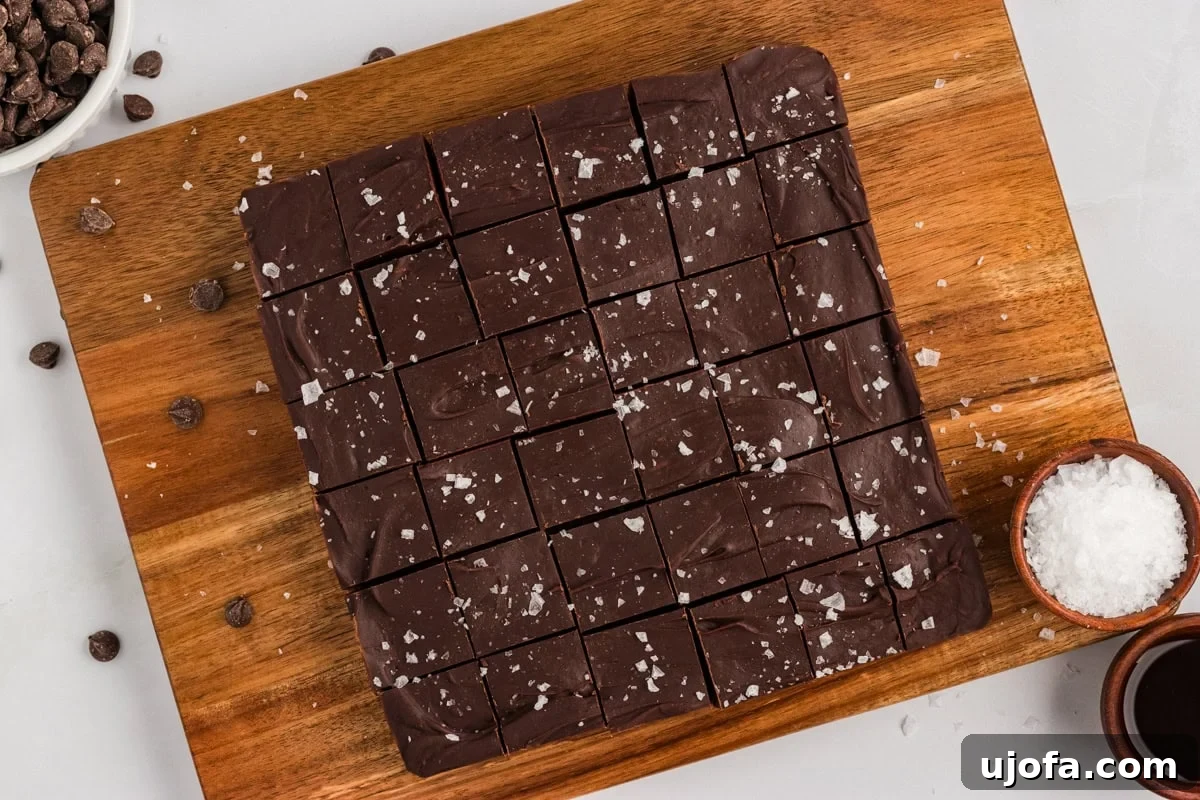
Slice and serve: Lift the chilled fudge from the pan and slice into squares using a sharp knife warmed under hot water and dried between cuts. If too firm, let the block sit at room temperature for a few minutes. I like to cut the pan into quarters, then slice each quarter into nine squares for 36 total.
Variations
- Change the chocolate: Semi-sweet chips are balanced and familiar; dark chips create a richer, more bittersweet fudge. Mix them for a middle ground.
- Add nuts or dried fruit: Fold in chopped almonds, pecans, walnuts, or macadamia nuts right after the chocolate melts. Dried cranberries or cherries also work well.
- Holiday mix-ins: Stir in gluten-free chopped pretzels or crushed candy canes for festive texture and flavor. Crushed candy on top creates a peppermint-bark effect.
- Mocha: Add 1–2 tsp instant espresso powder with the vanilla for a coffee-kissed fudge.
- Orange zest: Stir in a teaspoon of fresh orange zest for a bright citrus note that complements dark chocolate.
Serving Suggestions
Serve straight from the fridge in small squares on a dessert tray—these are rich, so a little goes a long way. Pair a square with dairy-free ice cream or serve alongside fruit and a dairy-free fruit dip to balance the richness. For a cozy pairing, enjoy a piece with a mug of dairy-free hot chocolate.
Storage Instructions
Store cut squares in an airtight container in the refrigerator for 3–4 weeks. Keeping them chilled preserves texture and shape.
Freezer
Freeze squares in an airtight container with parchment between layers for up to 3 months. Thaw in the fridge before serving.
Make Ahead
This fudge is an excellent make-ahead dessert—prepare up to 4 weeks in advance and keep chilled until serving or gifting.
More Gluten-Free Dairy-Free Treats
- Homemade Vegan Nutella: A simple dairy-free chocolate-hazelnut spread that’s great on toast or eaten by the spoonful.
- Vegan Chocolate Mousse: A lighter, spoonable chocolate dessert with intense flavor.
- Vegan White Chocolate: Dairy-free white chocolate for melting, dipping, or chopping into candies.
- Dairy-Free Chocolate Pudding: A rich, chocolatey no-bake dessert made from pantry staples.