
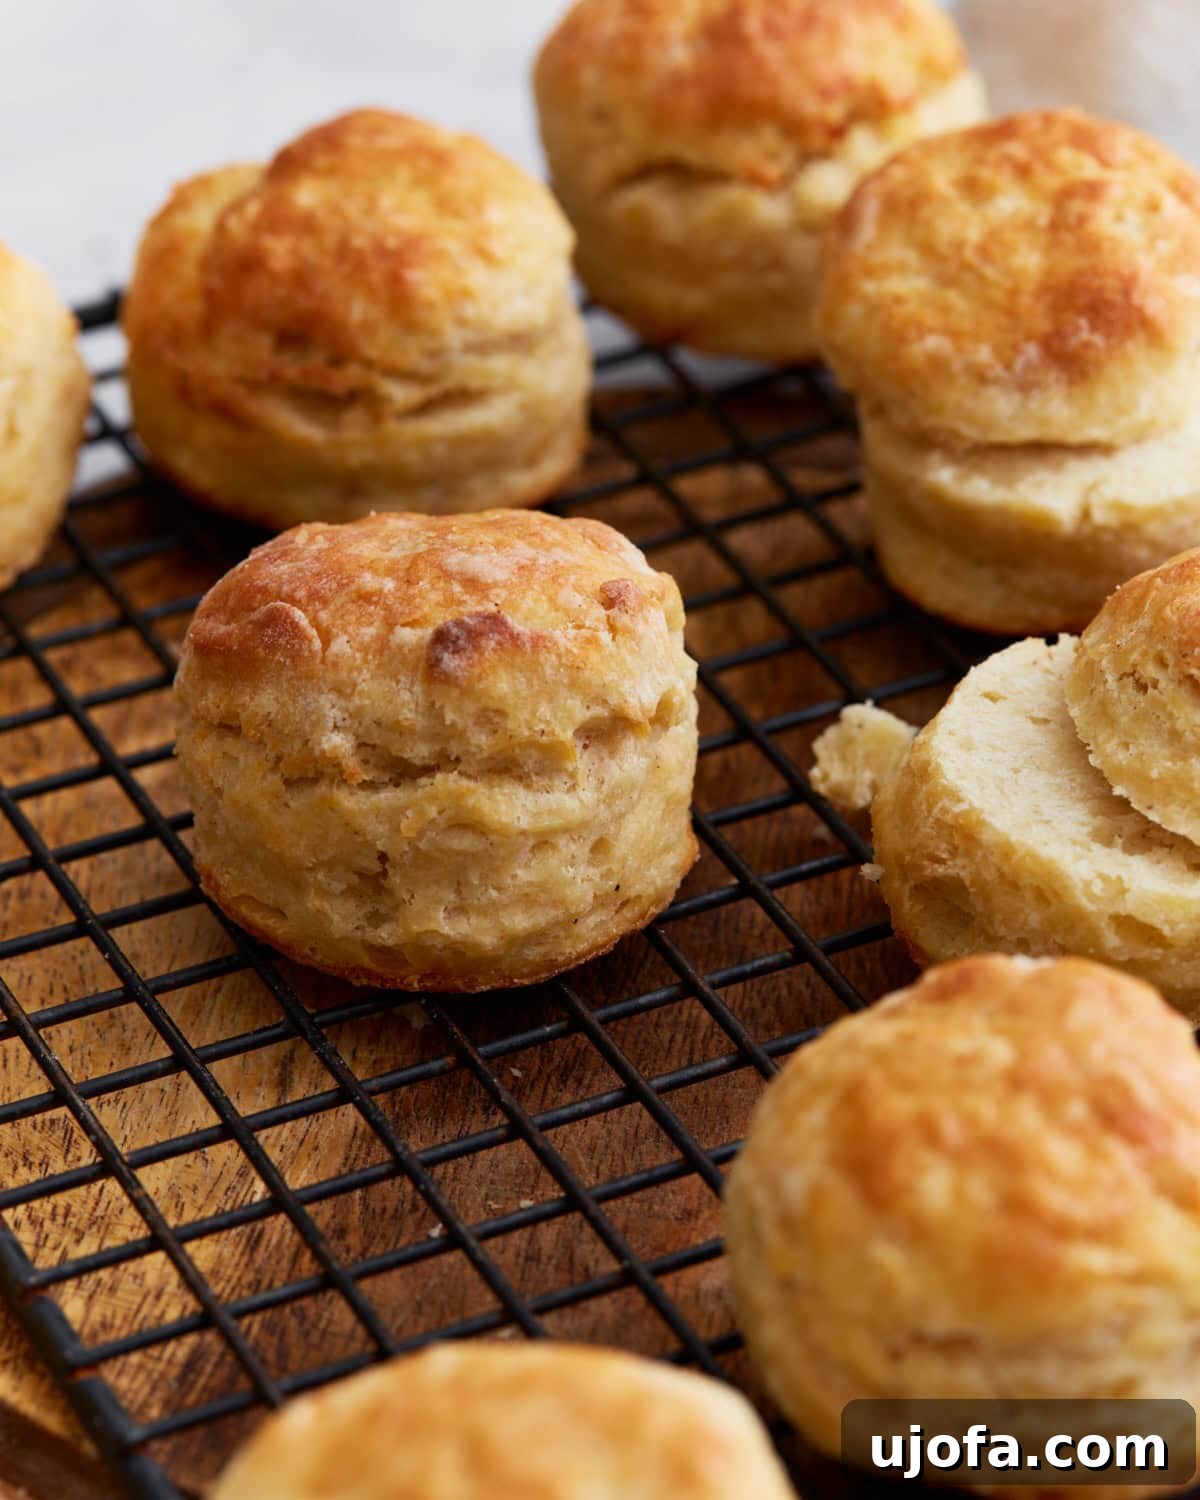
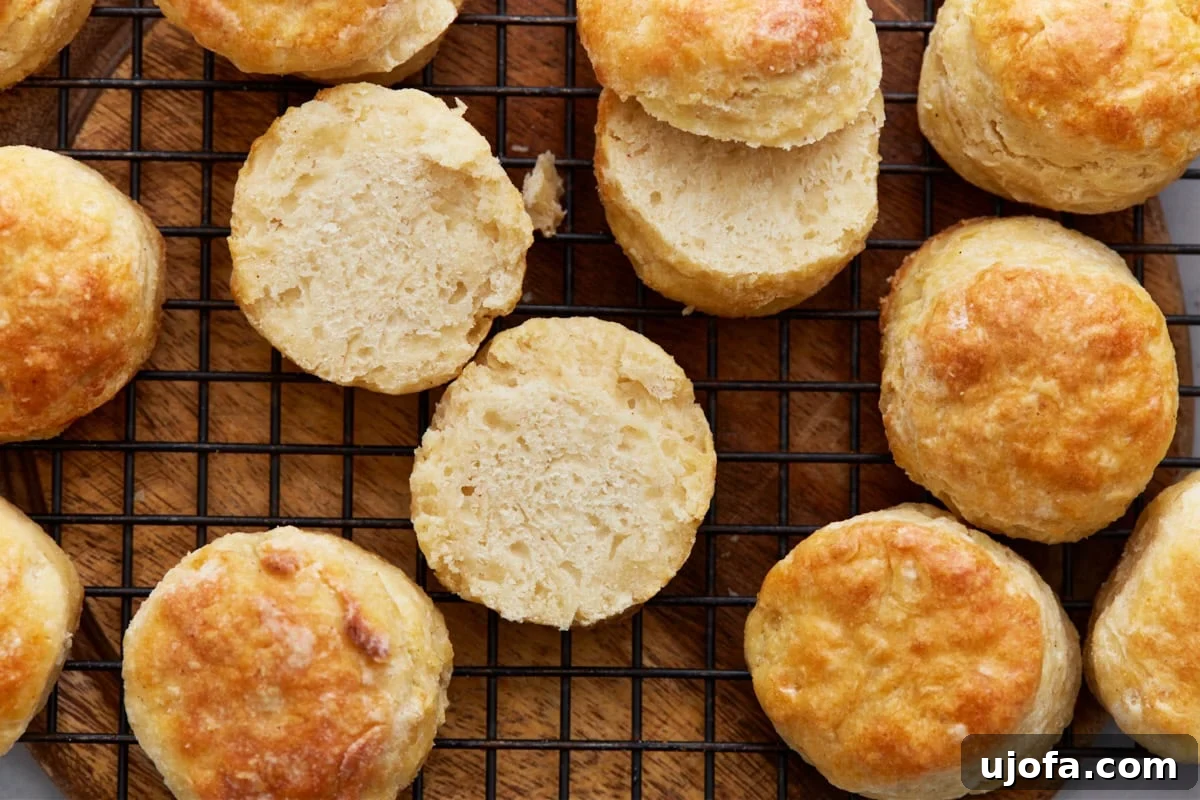
For many, the mention of buttermilk biscuits conjures images of cozy kitchens, family gatherings, and comforting Southern charm. These iconic pastries hold a special place in my family’s heart, a tradition we deeply missed after transitioning to a gluten-free lifestyle. Crafting the perfect gluten-free buttermilk biscuit has been a journey of extensive testing and delicious experimentation, and I’m thrilled to finally share a recipe that truly hits the mark. This perfected version delivers everything you crave: biscuits that are incredibly soft, wonderfully fluffy, and packed with irresistible buttery layers that pull apart effortlessly, just like the classic ones my husband cherished growing up. Forget complicated rising times; these golden-topped, tender-centered beauties are ready to enjoy in just 30 minutes, bringing the joy of Southern baking back to your gluten-free table.
“They were out of this world! Even my son loved them, & he does not have Celiac. He keeps asking me to make more, so guess what’s for breakfast tomorrow! 😋 😋 😋 Thank you so much! ❤️❤️❤️”
– Anna
If you’ve been a long-time reader of my blog, you’ll know that my husband hails from Knoxville, Tennessee. After years of living in the South and raising two of our children there, I wholeheartedly embraced the rich traditions of Southern cooking. Biscuits, in particular, are an absolute staple, gracing breakfast, lunch, and dinner tables with their comforting presence. This deep appreciation spurred my mission to develop a gluten-free biscuit recipe that not only lived up to the Southern standard but truly excelled. These gluten-free buttermilk biscuits were the first I successfully perfected, and they quickly became a beloved family favorite. While I later crafted an almond flour biscuit recipe as a fantastic grain-free alternative, this classic buttermilk version remains my absolute go-to whenever I crave that authentic, tender, and incredibly buttery Southern biscuit experience. Made with a carefully chosen gluten-free flour blend, ice-cold butter for unparalleled flakiness, and tangy buttermilk for that signature flavor, they bake up beautifully golden, wonderfully tender, and unbelievably fluffy, just like the cherished biscuits we savored back in Tennessee.
Why You’ll Adore This Gluten-Free Buttermilk Biscuit Recipe
Beyond being simply gluten-free, these biscuits offer a culinary experience that will make you forget they’re “different.” Here’s why this recipe will become your new favorite:
- Perfectly Fluffy and Tender: Achieving a light and airy texture in gluten-free baking can be challenging, but this recipe consistently delivers biscuits that are irresistibly soft on the inside.
- Incredible Buttery Layers: Thanks to the technique of incorporating cold butter, these biscuits boast distinct, pull-apart layers that are wonderfully buttery and melt in your mouth.
- Authentic Southern Flavor: The tangy buttermilk and rich butter combine to create a flavor profile that transports you straight to a Southern kitchen, even without the gluten.
- Quick & Easy: From start to finish, these biscuits are ready in about 30 minutes, making them ideal for busy mornings or last-minute additions to any meal.
- Versatile for Any Meal: Whether served with jam for breakfast, alongside a hearty stew for dinner, or as the base for a savory breakfast sandwich, these biscuits are incredibly adaptable.
- Loved by Everyone: Even those without gluten sensitivities rave about these biscuits, proving that a gluten-free dish can be universally delicious.
Mastering Gluten-Free Biscuits: Essential Baking Tips
Baking gluten-free biscuits can be a bit different from traditional baking, but with a few key strategies, you’ll achieve perfect results every time. Follow these crucial tips for incredibly fluffy gluten-free biscuits:
- Maintain Extreme Coldness for Ingredients: The secret to truly flaky biscuits lies in cold ingredients. Ensure your butter and buttermilk are as cold as possible. Cold fats create pockets of steam in the oven as they melt, which helps the biscuits rise significantly and form those coveted, airy layers. If your kitchen is warm, consider chilling your gluten-free flour blend in the freezer for about 15-20 minutes before you start mixing.
- Freeze and Grate Your Butter: For optimal distribution and flakiness, freeze your butter for at least 10-15 minutes, or even longer, until it’s very firm. Once chilled, grate the cold butter using the large holes of a box grater. This method ensures that tiny pieces of butter are evenly dispersed throughout the dough, melting gradually during baking to create tender, buttery layers throughout the biscuit.
- Avoid Overmixing the Dough: This is perhaps the most critical rule for tender biscuits, especially with gluten-free flour. Overworking the dough can develop any natural starches too much, leading to tough, dense, and unappetizing biscuits instead of light and tender ones. Mix the ingredients just until they are combined and a soft, shaggy, and slightly crumbly dough forms. A few dry spots are perfectly normal and preferred over an overly smooth, developed dough.
- Handle the Dough Gently: Once the dough is formed, resist the urge to knead it excessively. Gluten-free dough can be more delicate. Instead of rolling, which can compress the layers, gently pat the dough into shape. The folding technique described in the instructions helps build layers without overworking the dough.
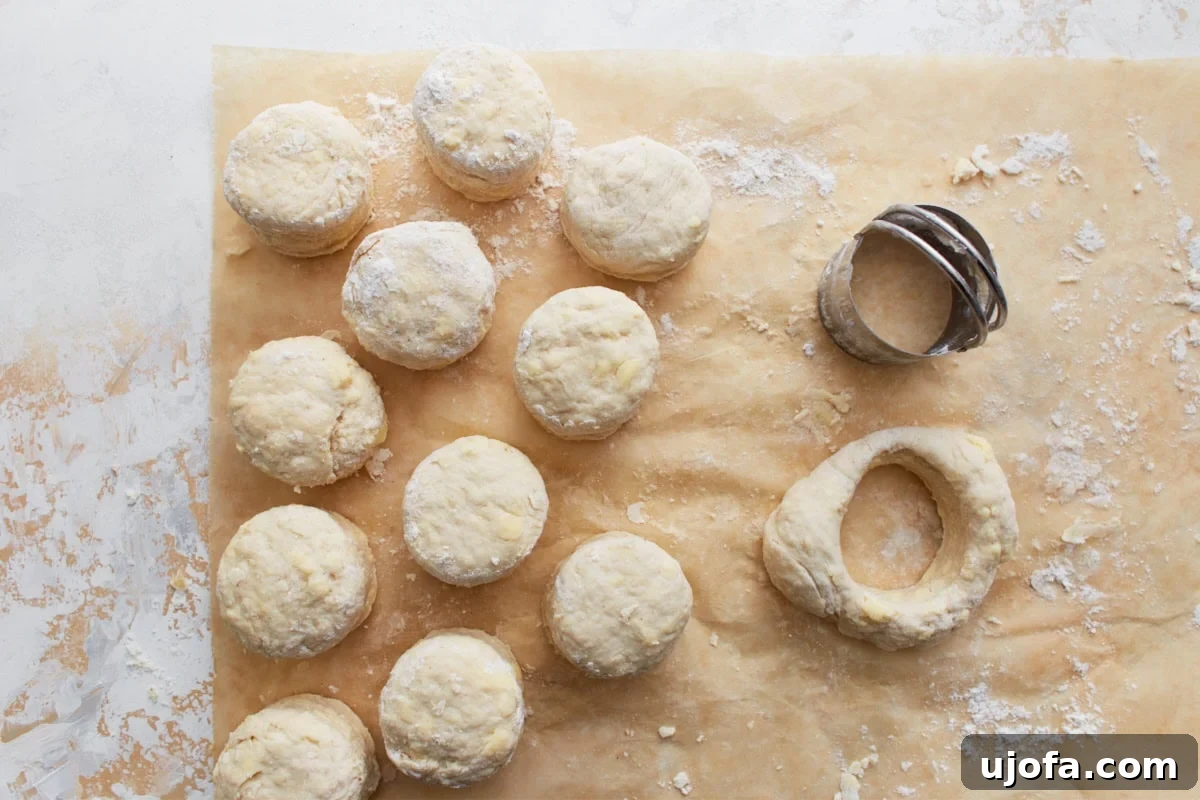
- Use a Biscuit Cutter Properly: When cutting out your biscuits, press straight down firmly and lift the cutter straight up. Do not twist the cutter. Twisting seals the edges of the biscuit, preventing them from rising high and creating those beautiful, flaky layers. For uniform baking and consistent size, a sharp 2-inch biscuit cutter or even a clean glass rim works perfectly.
- Don’t Be Afraid of a Sticky Dough: Gluten-free doughs, especially those with buttermilk, tend to be stickier than their traditional counterparts. This is normal! Resist the urge to add too much extra flour, as this can dry out the biscuits. A lightly floured surface and hands, or using parchment paper, will help manage the stickiness without compromising the final texture.
Fluffy Gluten-Free Buttermilk Biscuits
Audrey Roberts
12 Biscuits
15 mins
15 mins
30 mins
Ingredients
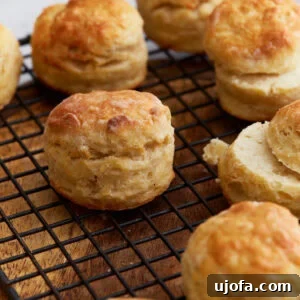
- 2 cups gluten-free all-purpose flour, I highly recommend Pillsbury gluten-free for the best results. Note that different gluten-free flour blends can yield varying baking results.
- ½ tsp xanthan gum, omit if your chosen gluten-free flour blend already contains it.
- 1 tbsp gluten-free baking powder
- 1 tsp salt
- 2 tbsp granulated sugar
- 1 cup buttermilk, To make your own, add 1 tablespoon of white vinegar or lemon juice to a cup of milk and let it stand for 5-10 minutes in the refrigerator to keep it cold. For a dairy-free option, use almond, cashew, or coconut milk with vinegar.
- 6 tbsp unsalted butter, for a dairy-free or vegan version, use Smart Balance butter, shortening, or Earth Balance butter.
- 1 large egg, for an egg-free or vegan option, use Bob’s Red Mill Egg Replacer prepared according to package directions.
- 2 tbsp gluten-free all-purpose flour (for dusting)
Instructions
-
Preheat your oven to a blazing 450°F (232°C). This high temperature is key for a quick rise and golden crust on your biscuits. Lightly grease a large cast-iron pan or a standard baking sheet and set it aside.
-
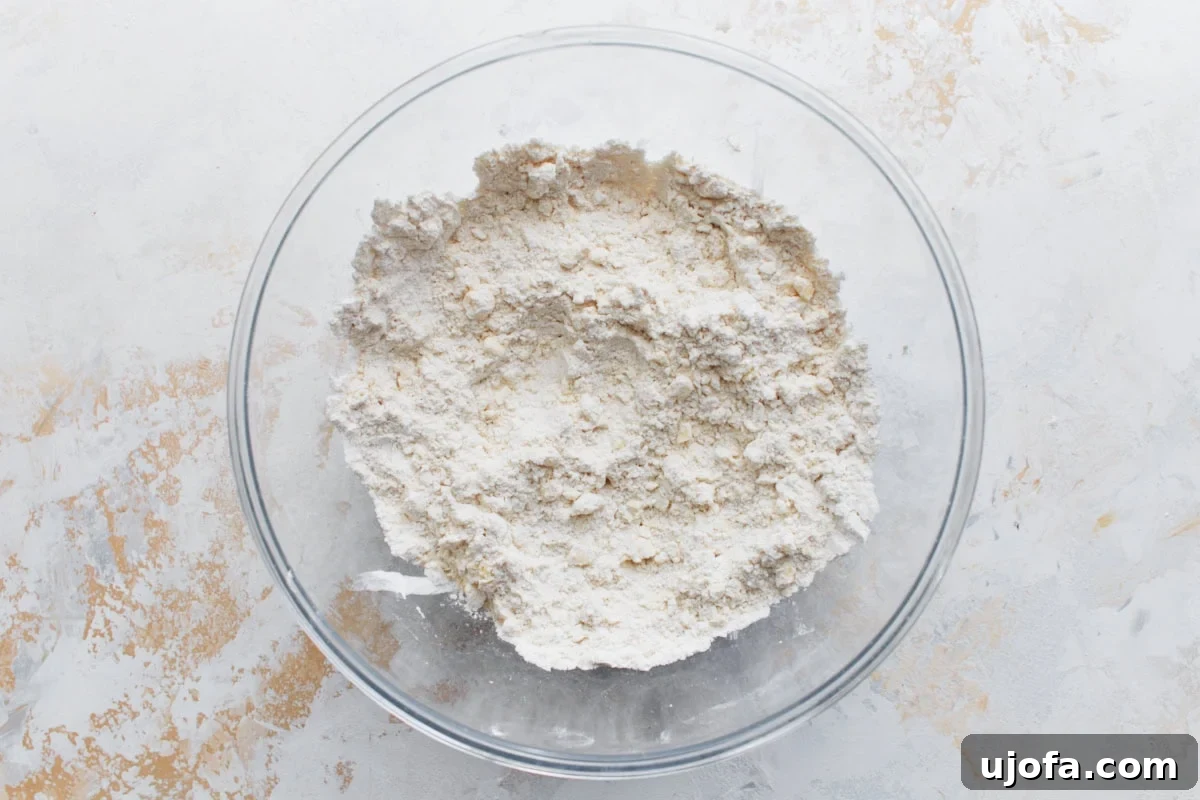
In a generously sized mixing bowl, combine the dry ingredients: 2 cups of your chosen gluten-free all-purpose flour (Pillsbury is highly recommended), ½ teaspoon of xanthan gum (remember to skip this if your flour blend already includes it), 1 tablespoon of gluten-free baking powder, 1 teaspoon of salt, and 2 tablespoons of granulated sugar. Give these a good whisk or stir to ensure they are thoroughly combined and evenly distributed.
-
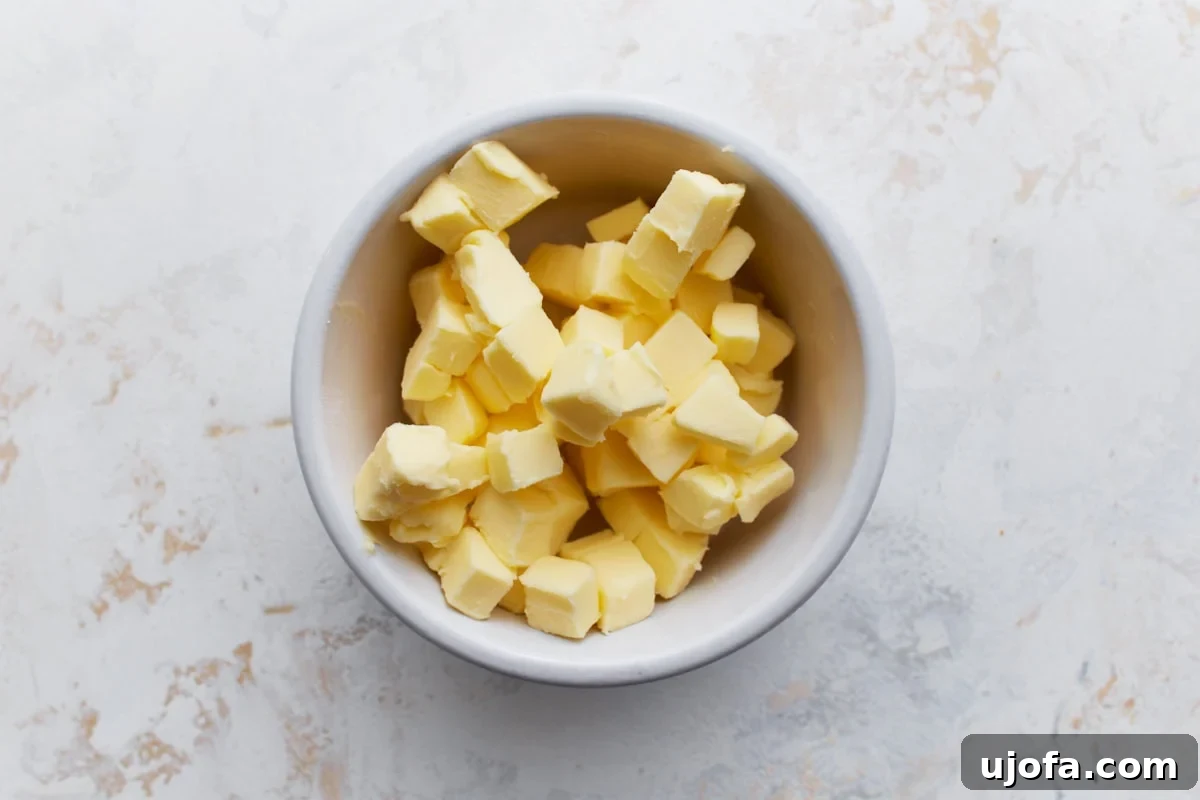
Prepare your butter and buttermilk. Cut 6 tablespoons of very cold unsalted butter into small, pea-sized pieces. Place these butter pieces into the freezer for about 10 minutes to ensure they are rock hard, which is essential for flaky biscuits. If you don’t have buttermilk, create a homemade version by adding 1 tablespoon of white vinegar or lemon juice to 1 cup of cold milk (dairy or dairy-free like almond, cashew, or coconut). Stir gently and let it sit in the refrigerator for 5-10 minutes to curdle and thicken while remaining cold.
-
Retrieve the chilled butter. Using a pastry cutter or a fork, “cut” the cold butter pieces into the dry flour mixture. Work quickly to prevent the butter from warming up. Continue until the mixture resembles coarse crumbs with small, pea-sized bits of butter still visible throughout. This step is crucial for developing those wonderful layers.
-
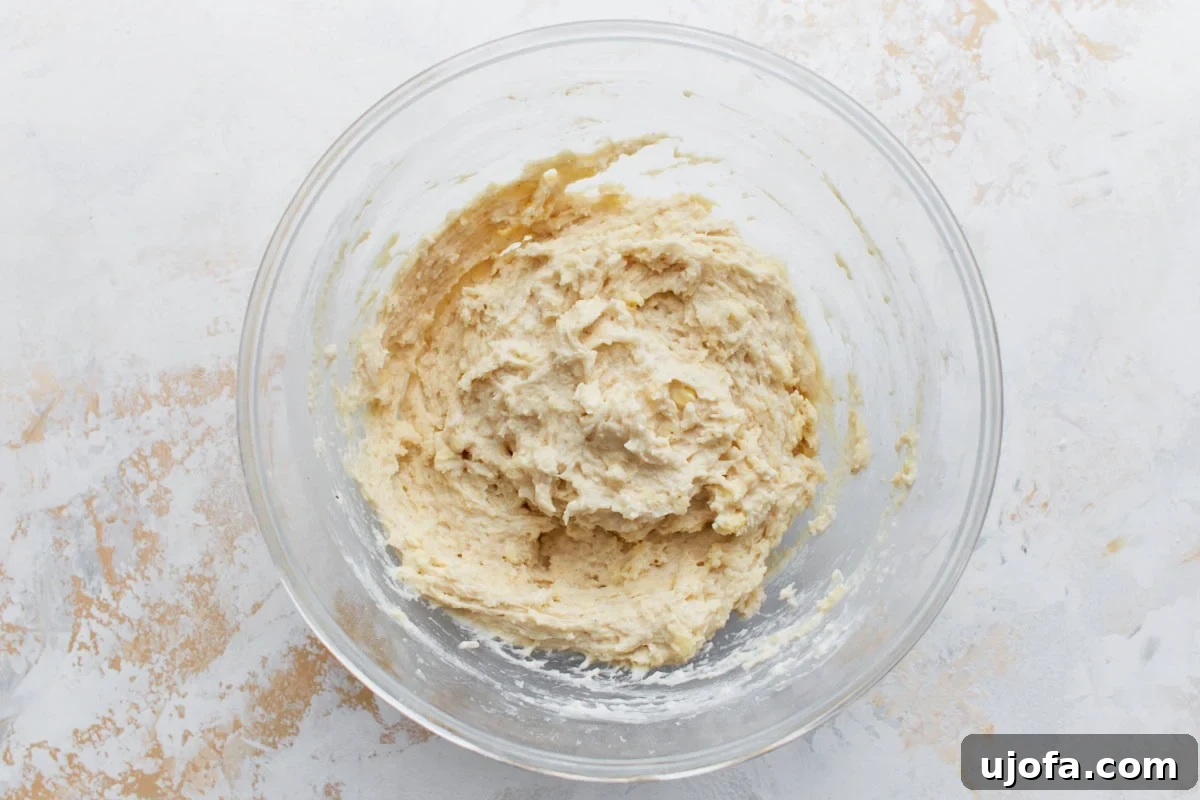
In a separate bowl or measuring cup, whisk together the prepared buttermilk and 1 large egg (or your egg replacer). Pour this wet mixture into the flour-butter mixture. Using a spoon or spatula, stir gently until a soft, sticky dough just begins to form. The critical instruction here is to absolutely *not overmix*! Overworking gluten-free dough will result in tough, dense biscuits. The dough should still appear shaggy and somewhat rustic.
-
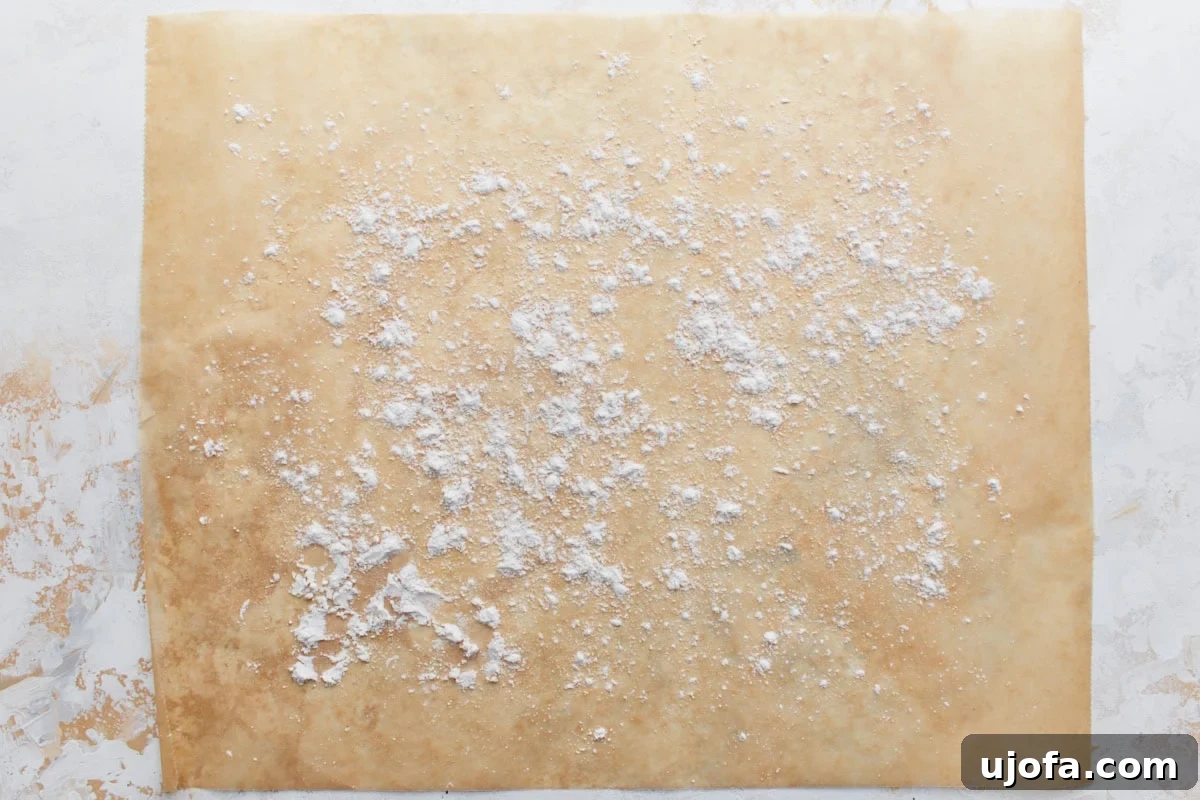
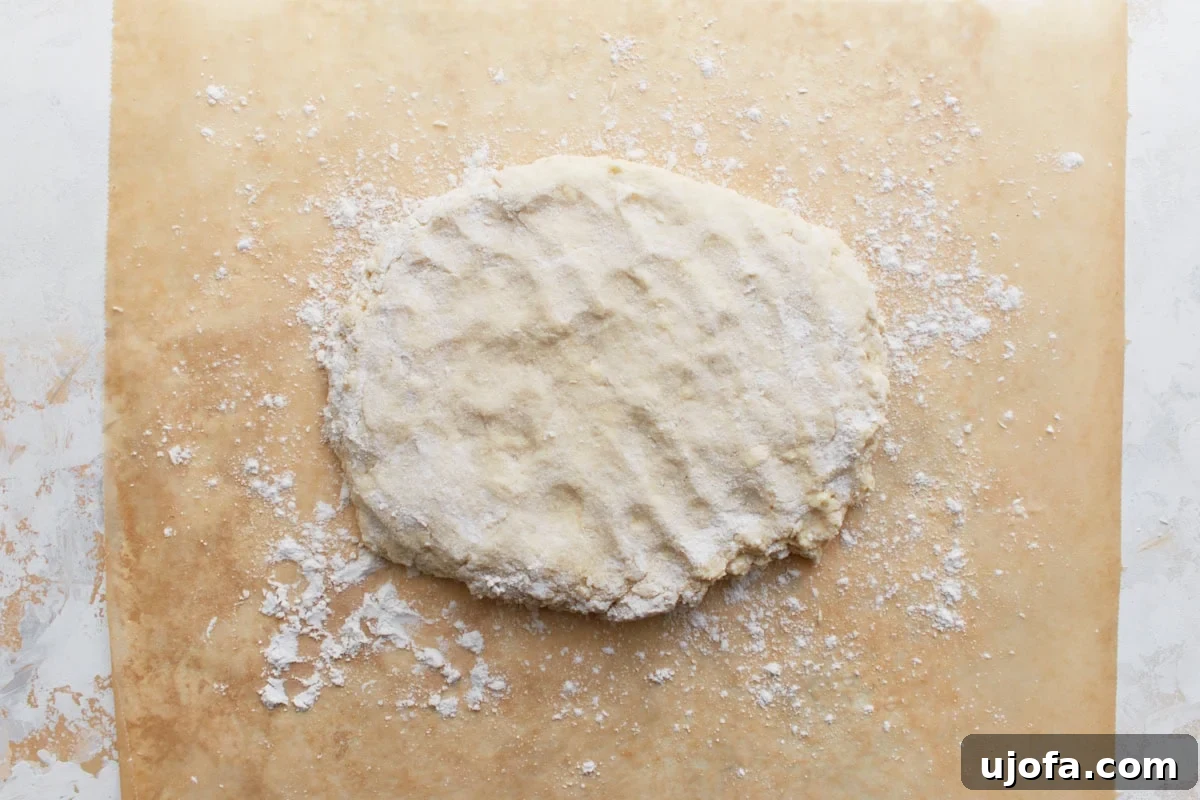
Prepare your workspace: lay out a large piece of parchment paper on a clean surface. Sprinkle 1 tablespoon of gluten-free flour evenly over the parchment paper. A gentle reminder: for these tender biscuits, we will *not* be rolling out the dough with a rolling pin.
-
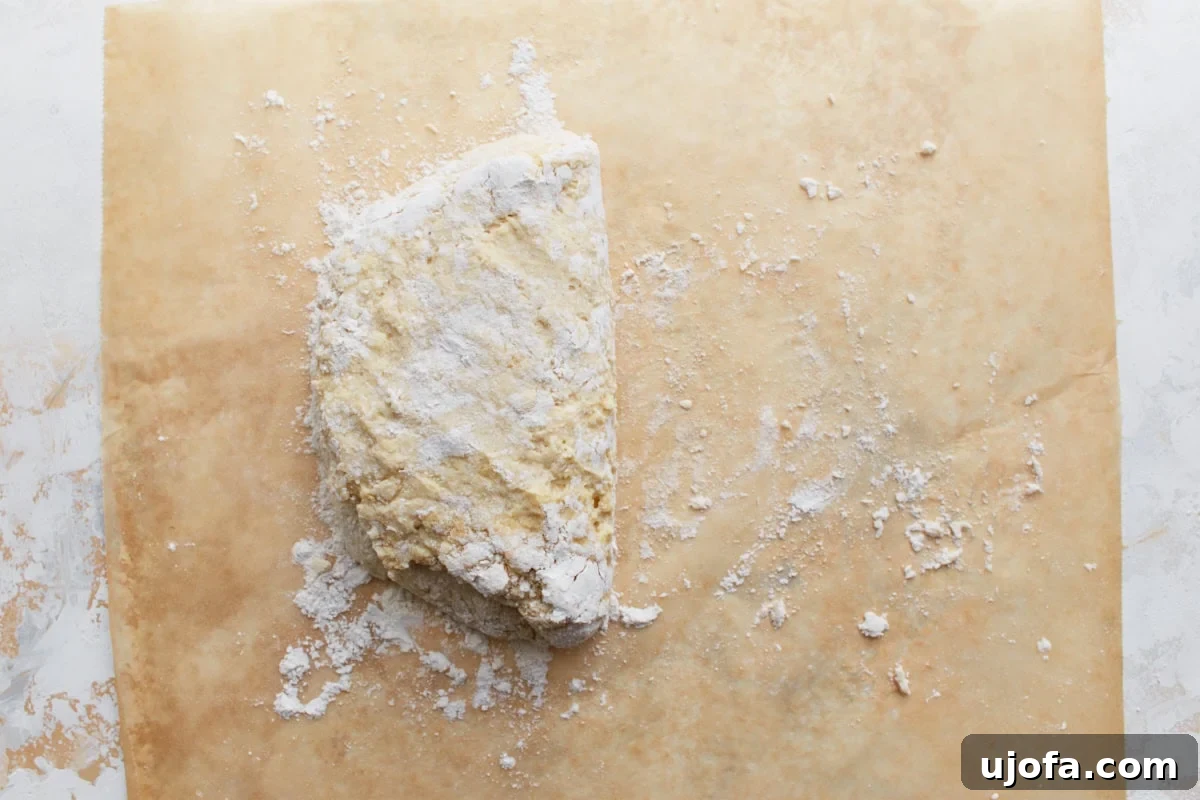
Carefully transfer the sticky dough onto the floured parchment paper. Lightly dust the top of the dough with another 1 tablespoon of gluten-free flour. Now, gently fold the dough. Lift one side of the dough and fold it directly over onto itself, creating a half-moon shape.
-
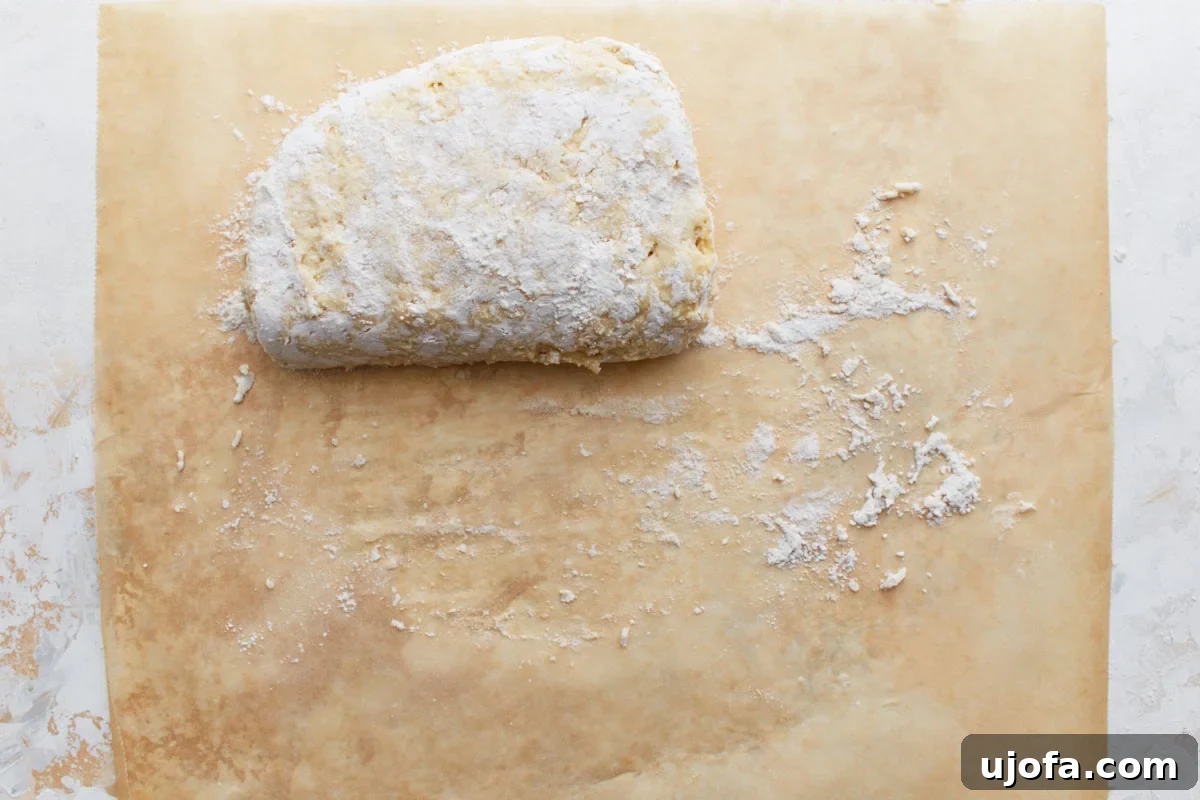
Repeat the folding process a second time. Take the folded dough and fold it in half again. This simple technique helps to create those desirable flaky layers without the need for traditional rolling, which can compress gluten-free dough.
-
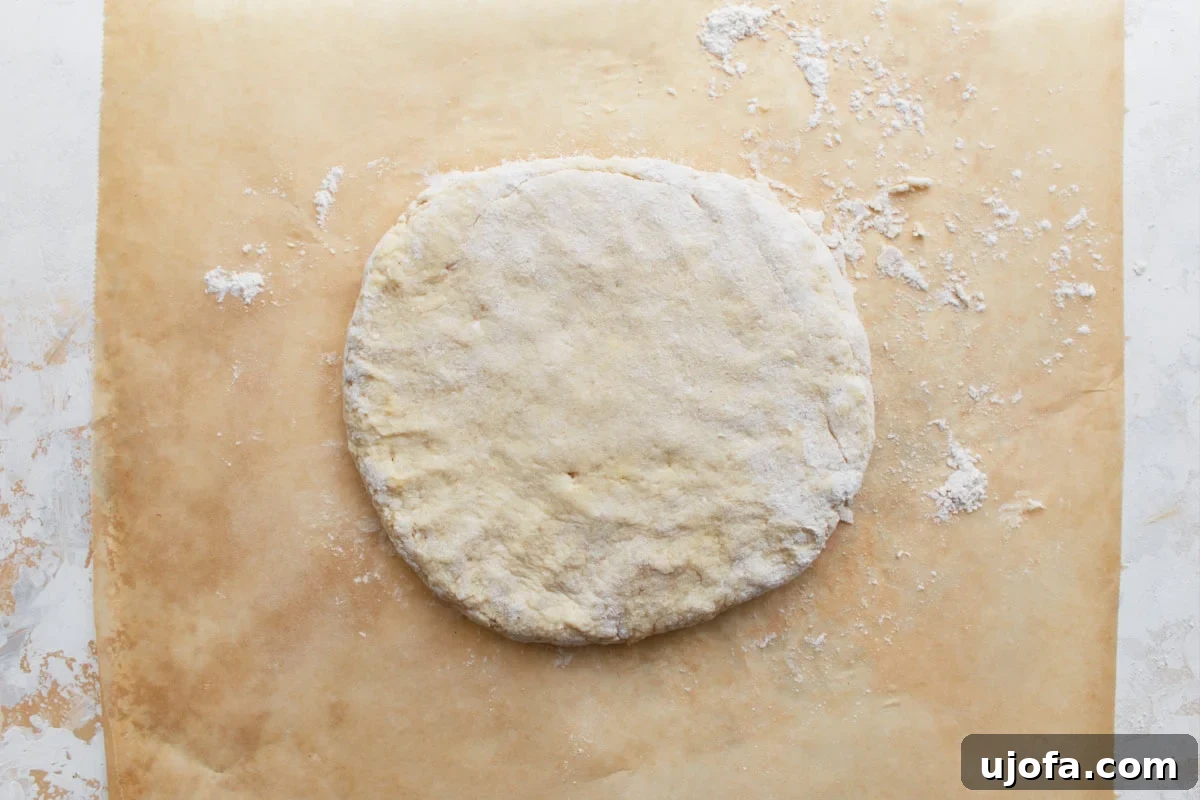
Using your hands, gently pat and shape the dough into a round disk that is approximately 7 inches in diameter and exactly 1 inch thick. Precision here is important: if the dough is made significantly larger or flatter, your biscuits will turn out hard and thin instead of tall and fluffy.
-
Now, it’s time to cut out your biscuits. Use a 2-inch biscuit cutter, the rim of a sturdy glass, or the lid of a mason jar. Press the cutter straight down into the dough without twisting it. Twisting the cutter can seal the edges of the biscuit, preventing it from rising properly in the oven. Continue cutting until you have as many biscuits as possible. Gather any dough scraps, gently reform them into a new round (avoiding excessive handling), and cut out additional biscuits until you have a total of 12.
-
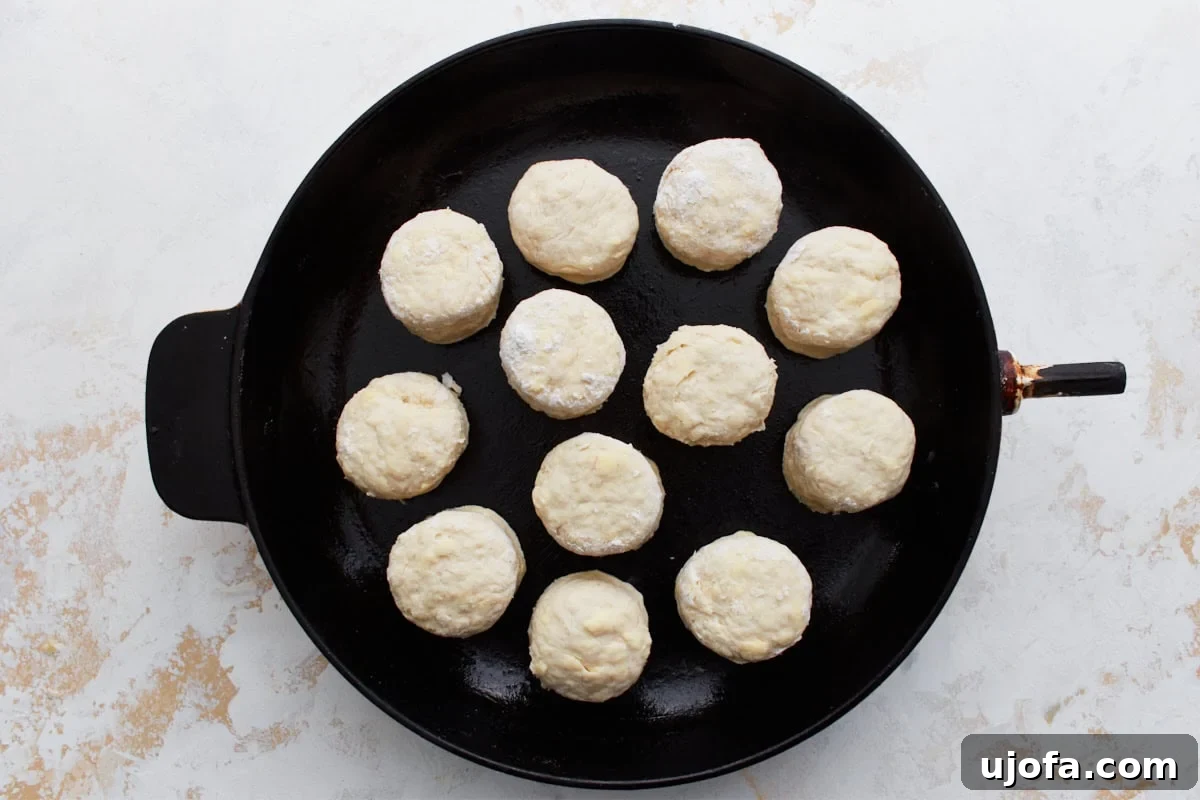
Carefully arrange the cut biscuits on your greased cast-iron pan or baking sheet. For the best rise and soft sides, place the biscuits relatively close together, allowing them to gently touch. This helps them push each other up as they bake.
-
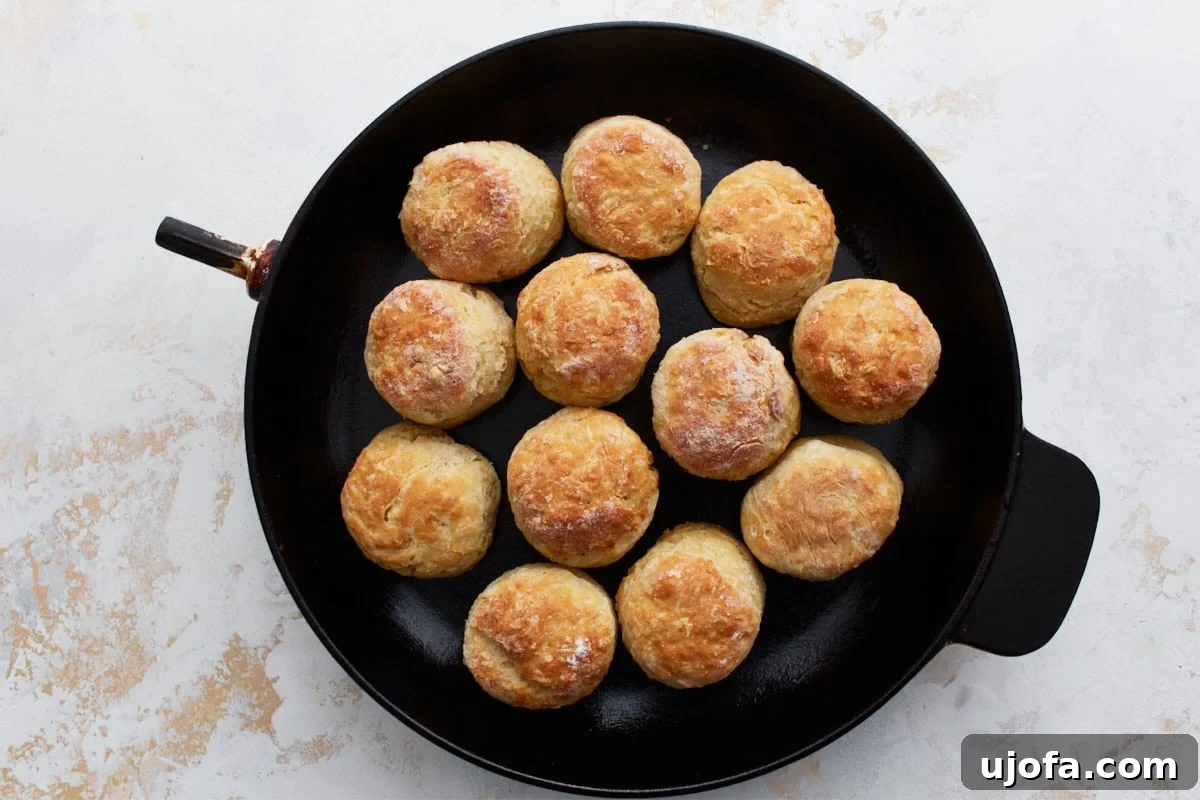
Bake the biscuits in your preheated 450°F (232°C) oven for 15-20 minutes. Begin checking for doneness around the 15-minute mark. Your biscuits are ready when their tops are beautifully golden brown and they have risen well. Remember that oven temperatures can vary, so keep a close eye on them to prevent overbaking.
-
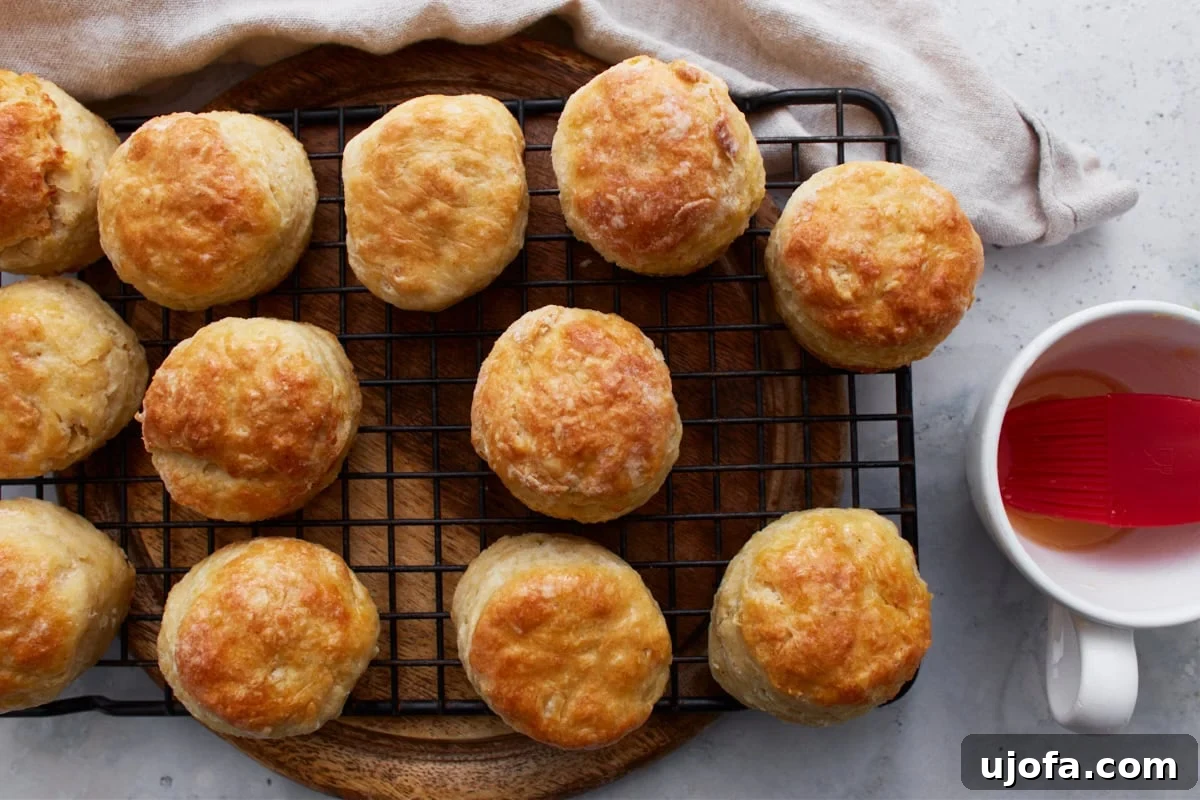
Once baked, remove the biscuits from the oven. For an extra touch of richness and shine, generously brush the tops of the warm biscuits with melted butter. These homemade gluten-free biscuits are best enjoyed fresh out of the oven, while they are still warm and tender. Savor every delicious bite!
Notes for Perfect Biscuits
- I consistently recommend Pillsbury gluten-free all-purpose flour blend for these biscuits. Its specific blend of starches and flours yields the fluffiest, most tender results. Other popular blends, such as Bob’s Red Mill, Great Value, King Arthur, and Pamela’s, often contain a higher amount of sorghum flour which can result in a slightly wetter dough and a less fluffy biscuit. If you choose to use one of these alternative blends, you may need to increase the flour amount to approximately 2½ cups to achieve the desired dough consistency.
- Accurate flour measurement is vital in gluten-free baking. Always use the spoon & level method: gently spoon your gluten-free flour into your measuring cup until it’s overflowing, then use the flat side of a knife or straight edge to level it off. Avoid scooping the flour directly from the bag with the measuring cup, as this can pack the flour down, adding too much to your recipe and throwing off the crucial flour-to-liquid ratio, leading to dry or dense biscuits.
Nutrition Information (per biscuit)
Calories: 143kcal
Carbohydrates: 17g
Protein: 3g
Fat: 7g
Saturated Fat: 4g
Cholesterol: 30mg
Sodium: 270mg
Potassium: 133mg
Fiber: 2g
Sugar: 3g
Vitamin A: 230IU
Calcium: 83mg
Iron: 0.9mg
Nutrition information is automatically calculated and should only be used as an approximation.
Additional Information
Breakfast, Brunch, Side Dish
American, Southern
How to Make Gluten-Free Buttermilk Biscuits: A Step-by-Step Visual Guide
Follow along with these detailed steps and accompanying images to create perfect gluten-free buttermilk biscuits every time. This visual guide ensures you understand each crucial stage of the baking process, from mixing ingredients to shaping and baking for that ideal fluffy, flaky texture.
Delicious Serving Suggestions for Your Gluten-Free Biscuits
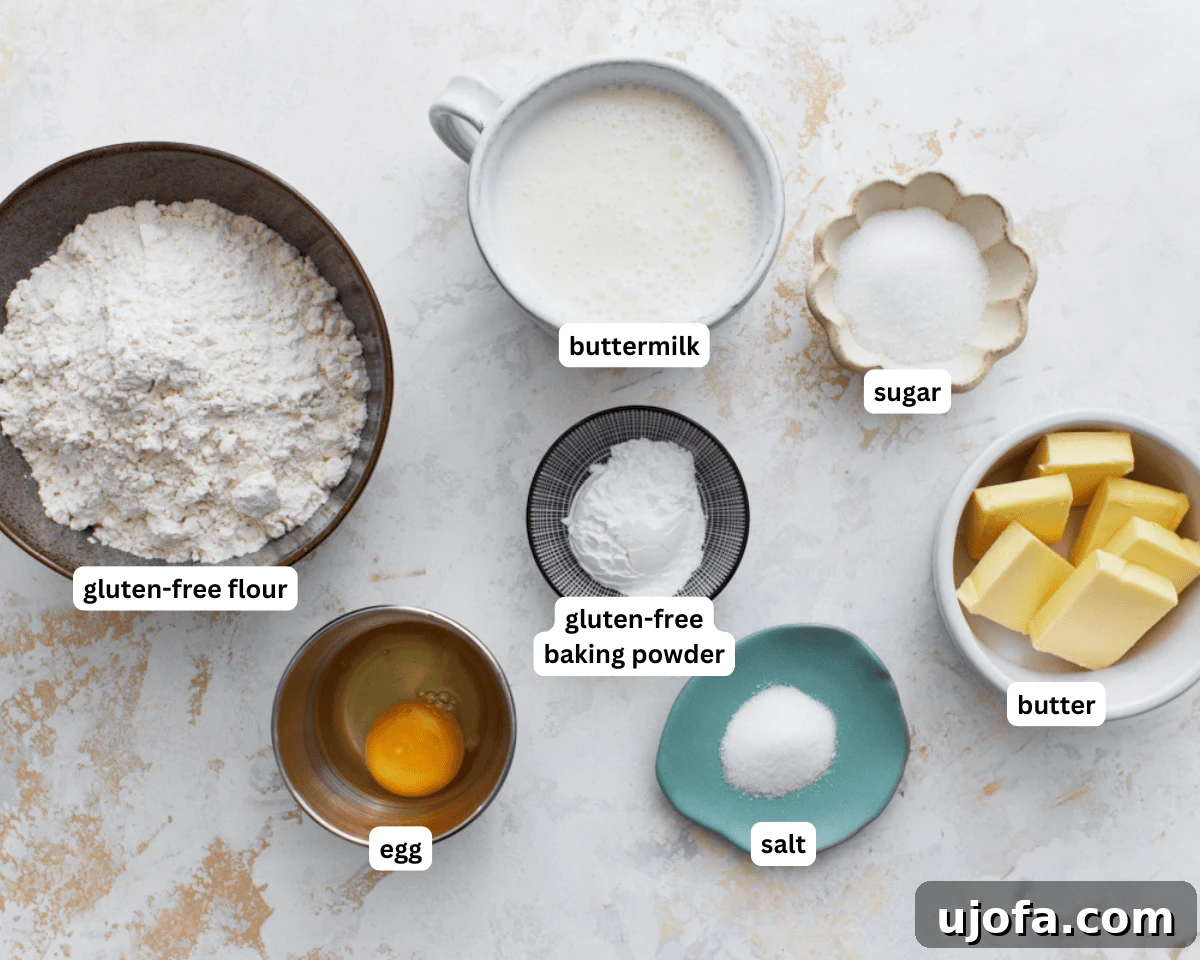
In the heart of the South, biscuits are far more than just a breakfast item—they are a versatile culinary cornerstone, gracing tables from sunrise to sunset. This tradition became a cherished part of our lives during our time in Tennessee, and I’m thrilled to confirm that these fluffy gluten-free buttermilk biscuits are just as adaptable. My absolute favorite way to enjoy them is warm from the oven, slathered with sweet butter and a dollop of homemade jam or preserves for a quintessential breakfast or brunch. However, their robust flavor and tender texture make them an exceptional companion to a hearty bowl of warm soup, a comforting stew, or our famous gluten-free chili. They are also the perfect foundation for building an epic breakfast sandwich, layered with eggs, cheese, and your favorite protein. And for the ultimate Southern experience, pair them with a rich, savory gravy for a classic biscuits and gravy feast. No matter how you choose to serve them, these easy gluten-free biscuits are guaranteed to become a regular and much-loved addition to your gluten-free culinary repertoire.
Storing Your Gluten-Free Buttermilk Biscuits
To keep your homemade gluten-free biscuits fresh and delicious, proper storage is key. Any leftover baked biscuits should be stored in an airtight container at room temperature for up to 2 days. To revive their fresh-baked glory, simply pop them into a preheated oven or toaster oven for a few minutes until they are warmed through and regain a slightly crispy exterior and tender interior. Avoid microwaving, as it can make them tough.
For longer storage, these biscuits are also freezer-friendly! You have two excellent options: you can either freeze the raw, cut biscuit dough before baking, or freeze the fully baked biscuits. Arrange the raw dough rounds on a baking sheet and freeze until solid, then transfer to a freezer-safe bag for up to 2 months. When ready to bake, place them directly from frozen onto a greased pan and bake as directed, adding an extra 5-10 minutes to the cook time. Alternatively, freeze fully baked and cooled biscuits in an airtight container or freezer bag for up to 2 months. Reheat thawed or frozen baked biscuits in a moderate oven until warm and tender, about 10-15 minutes for thawed, or 20-25 minutes for frozen.
More Buttery, Flaky Gluten-Free Bakes to Explore
If you’ve fallen in love with the flaky, buttery goodness of these biscuits, you’ll be delighted to try these other exceptional gluten-free recipes that promise similar textures and flavors:
- Gluten-Free Blueberry Scones
- Gluten-Free Dinner Rolls
- Gluten-Free Croissants
- Gluten-Free Danish
- Gluten-Free Crescent Rolls
This beloved Gluten-Free Buttermilk Biscuits recipe was originally published on July 30, 2018. It has since been meticulously retested, expertly reworked, and lovingly republished on July 23, 2025, to ensure it is better than ever, offering you the absolute best gluten-free biscuit experience.