
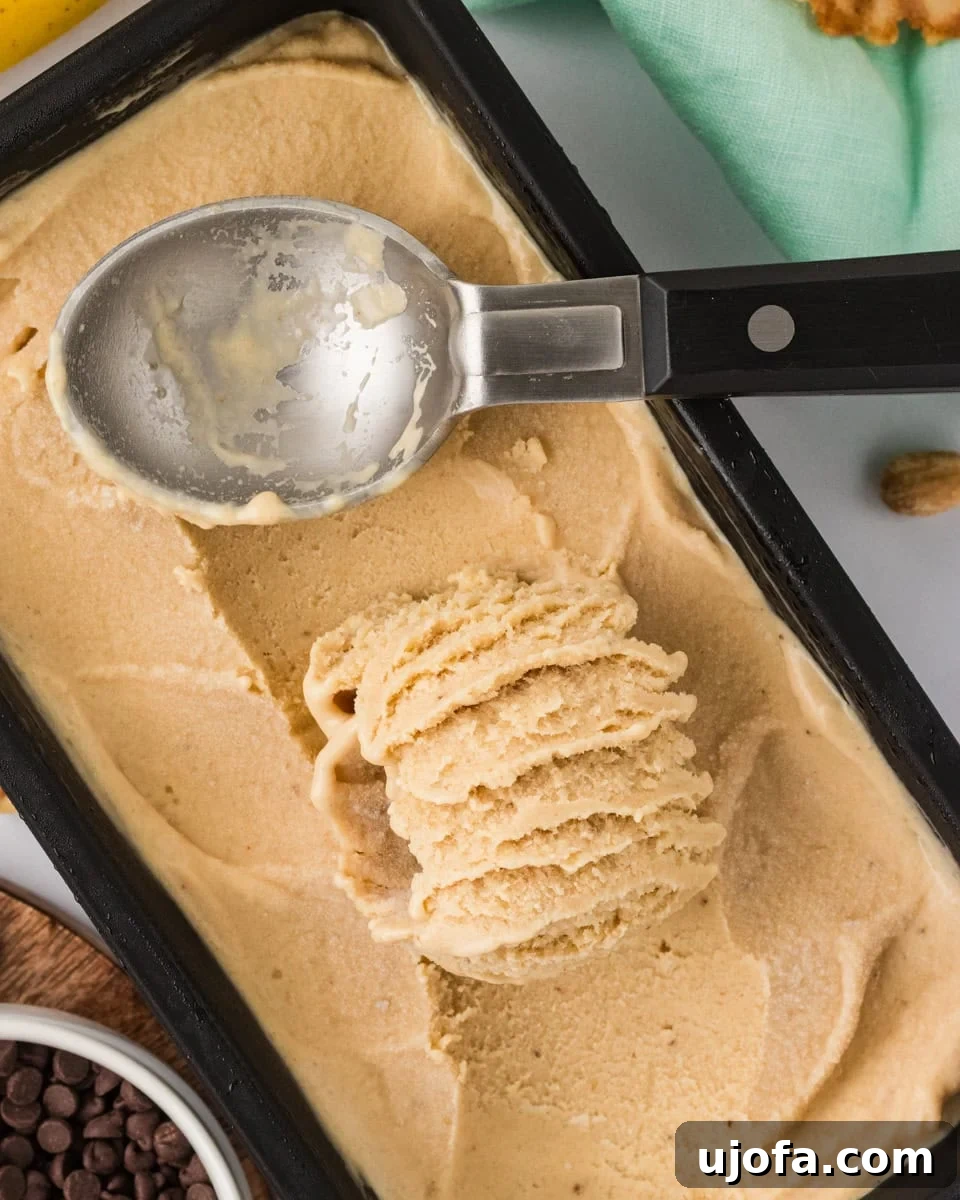
If you want a sweet treat that supports healthy habits, this Banana Peanut Butter Nice Cream is perfect. It uses just a few wholesome ingredients—frozen ripe bananas, natural peanut butter, a splash of vanilla, and a pinch of salt—to create a dairy-free, refined-sugar-free frozen dessert you can make in minutes with a blender or food processor. The texture is unbelievably smooth and creamy, so much so that people often assume it’s traditional ice cream. Whether you’re lactose intolerant, cutting down on sugar, or simply craving a lighter dessert, this nice cream delivers a rich, satisfying flavor with minimal effort.
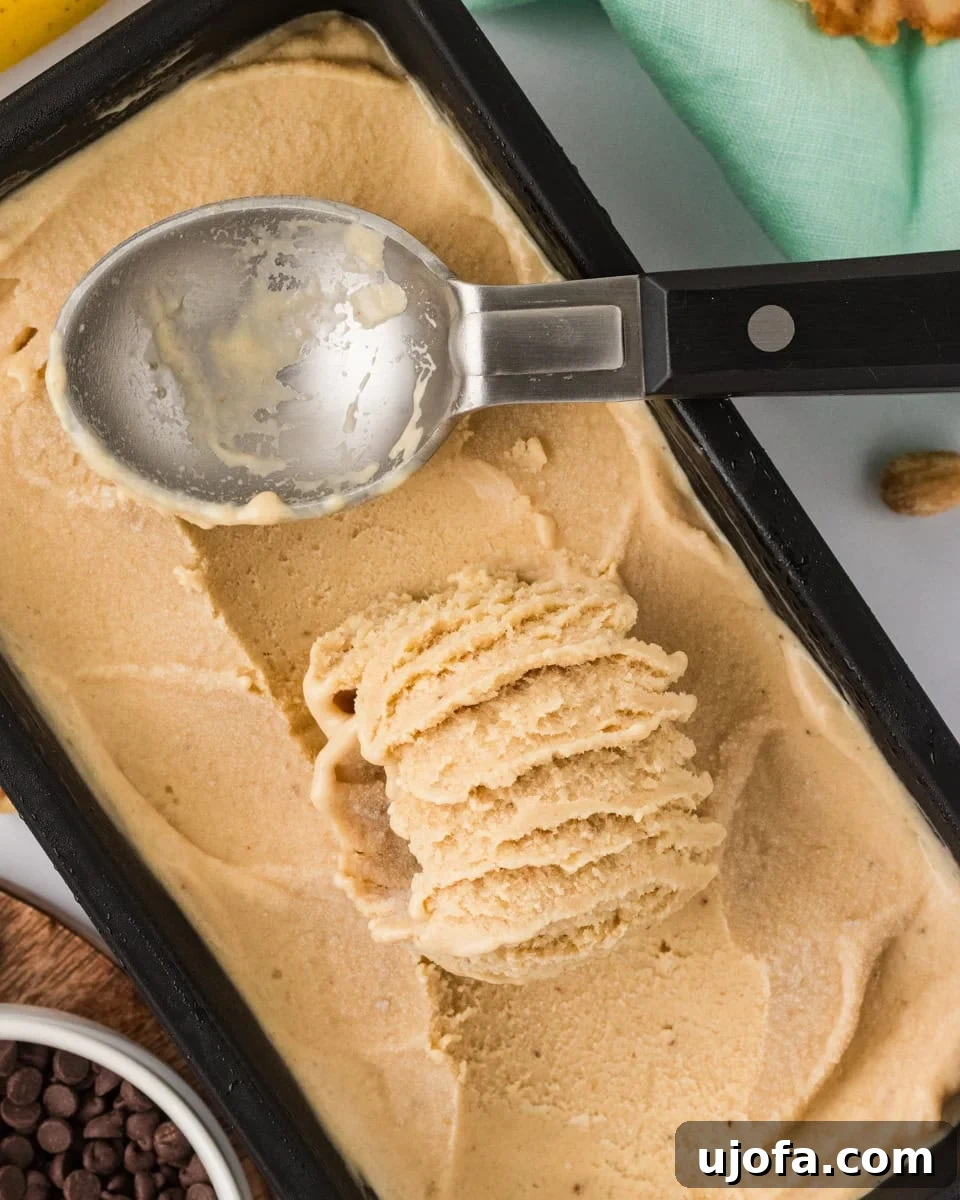
I was skeptical the first time I tried this recipe, but one bite convinced me. The bananas create a naturally sweet base while the peanut butter adds a subtle salty richness that balances the flavor. The result tastes far more indulgent than the ingredient list suggests. My top tip from testing is to use very ripe bananas—think lots of brown spots. Riper bananas make the final texture sweeter and creamier, so you likely won’t need any added syrup.
What I Learned While Testing
- Soft-serve or scoopable: Fresh from the blender it has a soft-serve consistency. For scoopable ice cream, freeze for 6–8 hours. If it becomes too firm, let it sit at room temperature for 5–10 minutes before scooping.
- Very ripe bananas: Use bananas with plenty of brown spots for the best sweetness and creaminess.
- Slice before freezing: Peel and slice bananas into coins before freezing. Freezing them whole with the peel on makes them hard to handle.
- Choose natural peanut butter: Natural peanut butter blends more smoothly and keeps added oils and sugars to a minimum so the banana flavor can shine.
- If blending stalls: If your blender struggles, stop it, stir with a spatula, and let the mixture sit 10 minutes to soften slightly before trying again.
- Avoid extra liquid: This recipe doesn’t need milk. Adding liquids can create an icy texture rather than creamy nice cream.
- Pre-freeze your pan: Putting your container in the freezer before transferring the nice cream helps maintain the texture and prevents immediate melting.
This nice cream is naturally dairy-free, refined-sugar-free, and made from real food ingredients. It’s simple to prepare, fast to blend, and stores well in the freezer for when a healthier dessert craving hits.
Equipment
- Blender or food processor
- Freezer-safe loaf pan or container (pre-freeze it)
Ingredients
- 3 ripe bananas, peeled, sliced into coins, and frozen
- ¼ cup natural peanut butter
- 1 tsp vanilla extract
- Pinch of salt
- Optional: up to 2 tsp maple syrup or other liquid sweetener, if needed
Instructions
- Place the container you’ll use for the ice cream in the freezer while you prepare the mixture so it’s well chilled.
- Peel and slice ripe bananas into roughly ½-inch coins. Arrange in a single layer on a tray or in a freezer bag and freeze until solid, about 4 hours or overnight.
- When the bananas are fully frozen, add them to a blender or food processor with the peanut butter, vanilla, and a pinch of salt. Blend until the mixture becomes smooth and creamy with no chunks remaining. Stop occasionally to scrape down the sides if needed.
- If the blender is struggling, turn it off, stir the mixture with a spatula, and let it sit on the counter for about 10 minutes to soften slightly before resuming.
- Taste and add up to 2 teaspoons maple syrup only if additional sweetness is needed. Blend briefly to combine.
- Transfer the creamy mixture to the pre-frozen container, smooth the top with a spatula, and freeze for 6–8 hours or overnight for a scoopable texture. For soft-serve, enjoy immediately.
- When ready to serve, let it sit at room temperature for 5–10 minutes if it’s too firm, then scoop and enjoy.
Notes
- Riper bananas yield sweeter, creamier results—aim for bananas with brown spots.
- Do not freeze bananas with the peel on; slice first for easier blending.
- Natural salted peanut butter provides the best texture and flavor balance.
- Avoid adding liquid to help the blender; liquids can make the texture icy.
- Store in an airtight container in the freezer for up to 2 months. Press plastic wrap directly onto the surface before sealing to minimize ice crystals.
- If texture becomes icy after long storage, let the mixture soften slightly and re-blend briefly to restore creaminess.
Nutrition (approx. per serving)
- Calories: 256 kcal
- Carbohydrates: 37 g
- Protein: 6 g
- Fat: 11 g (Saturated: 2 g)
- Fiber: 4 g
- Sugar: 22 g
- Potassium: 546 mg
How to Make Banana Peanut Butter Ice Cream Step by Step
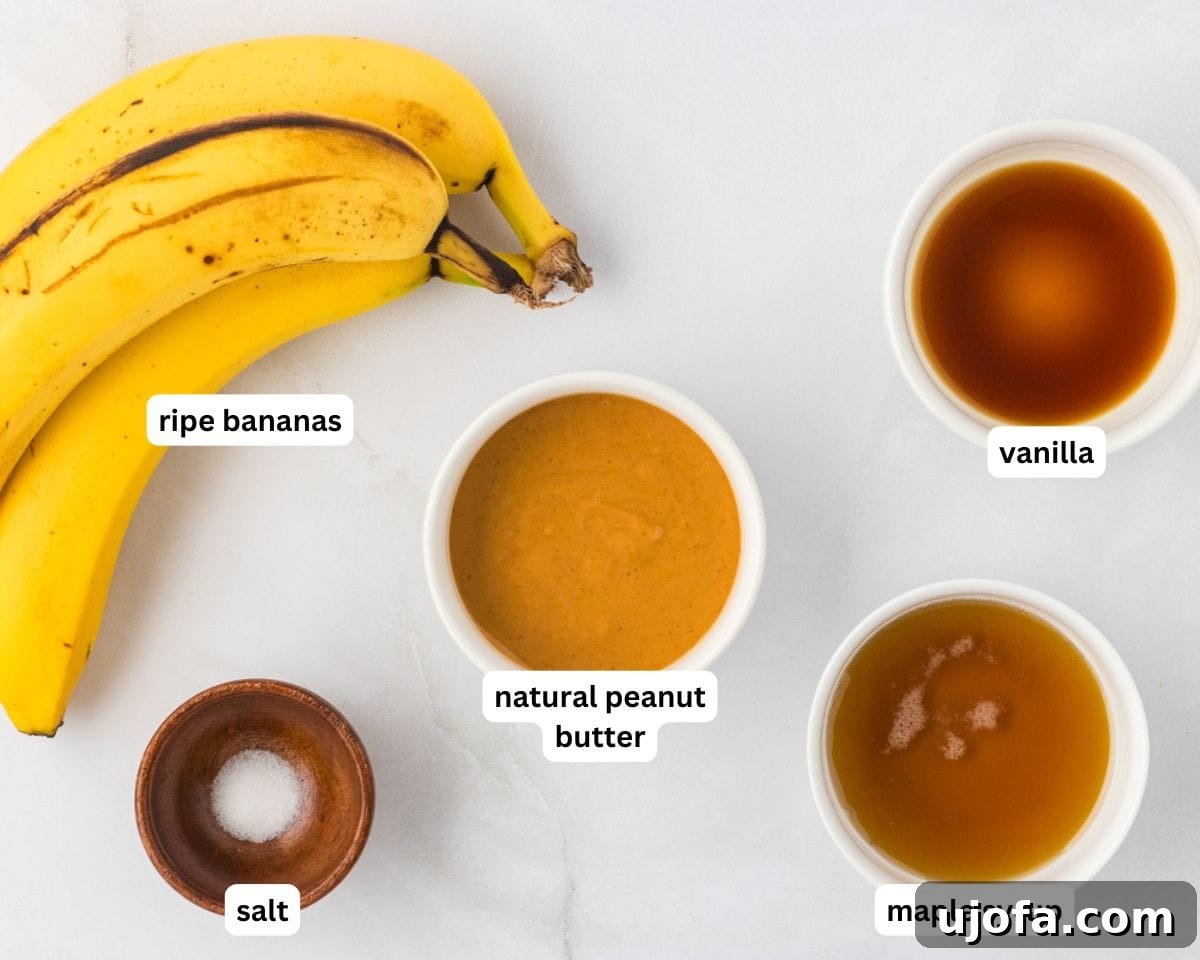
Gather ingredients and chill your pan: Assemble the bananas, peanut butter, vanilla, and salt. Place the loaf pan or container in the freezer so it’s very cold when you transfer the mixture.
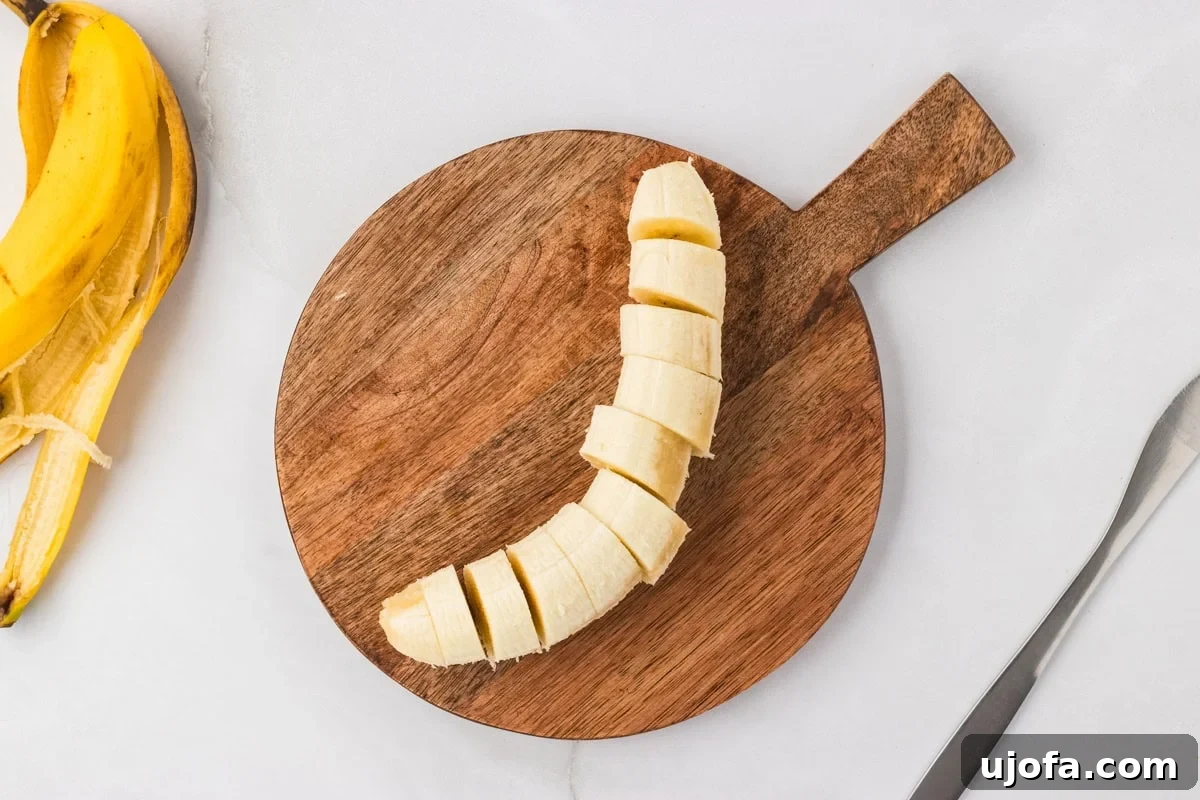
Prep and freeze the bananas: Peel and slice 3 ripe bananas into coins about ½ inch thick. Freeze them in a single layer until solid, about 4 hours or overnight. Ripe bananas contribute natural sweetness and a creamy texture.
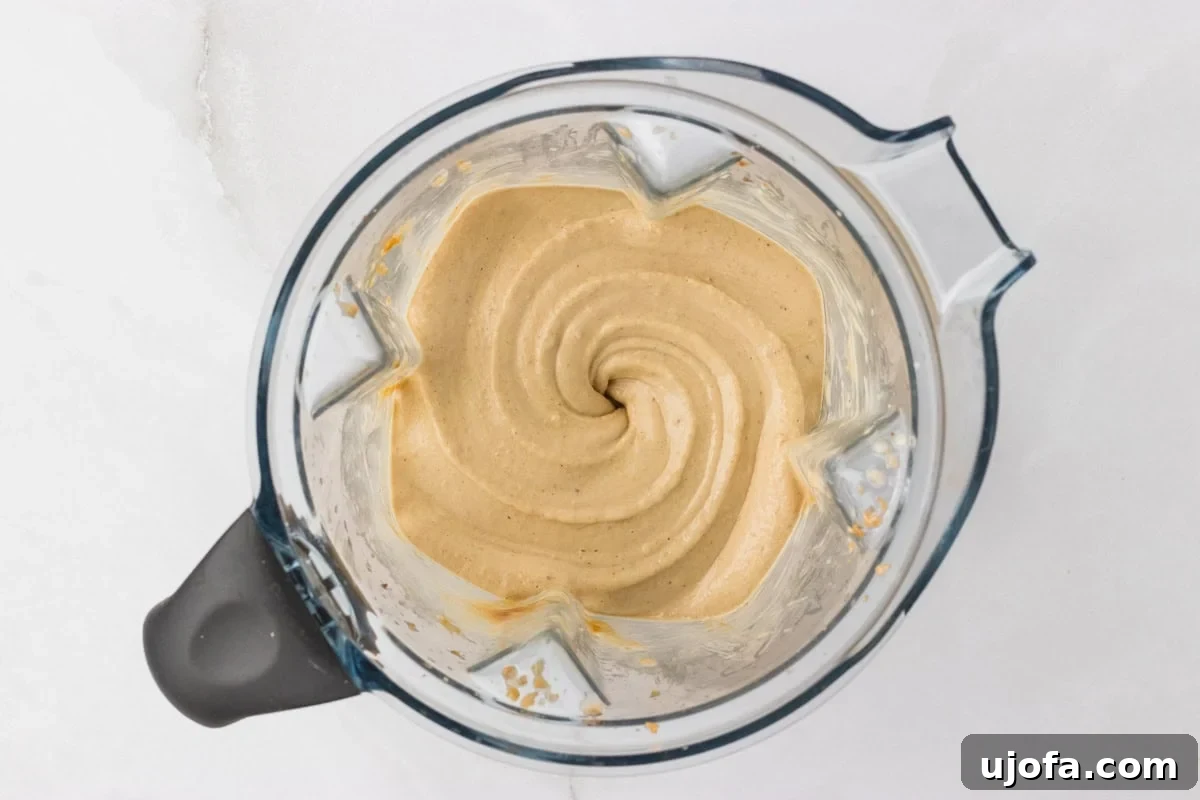
Blend until creamy: Combine the frozen banana coins, ¼ cup natural peanut butter, 1 tsp vanilla, and a pinch of salt in your blender or food processor. Blend until the mixture is thick, smooth, and velvety—like soft-serve. If the blender jams, stop, scrape down the sides, and let the contents soften for 10 minutes before continuing.
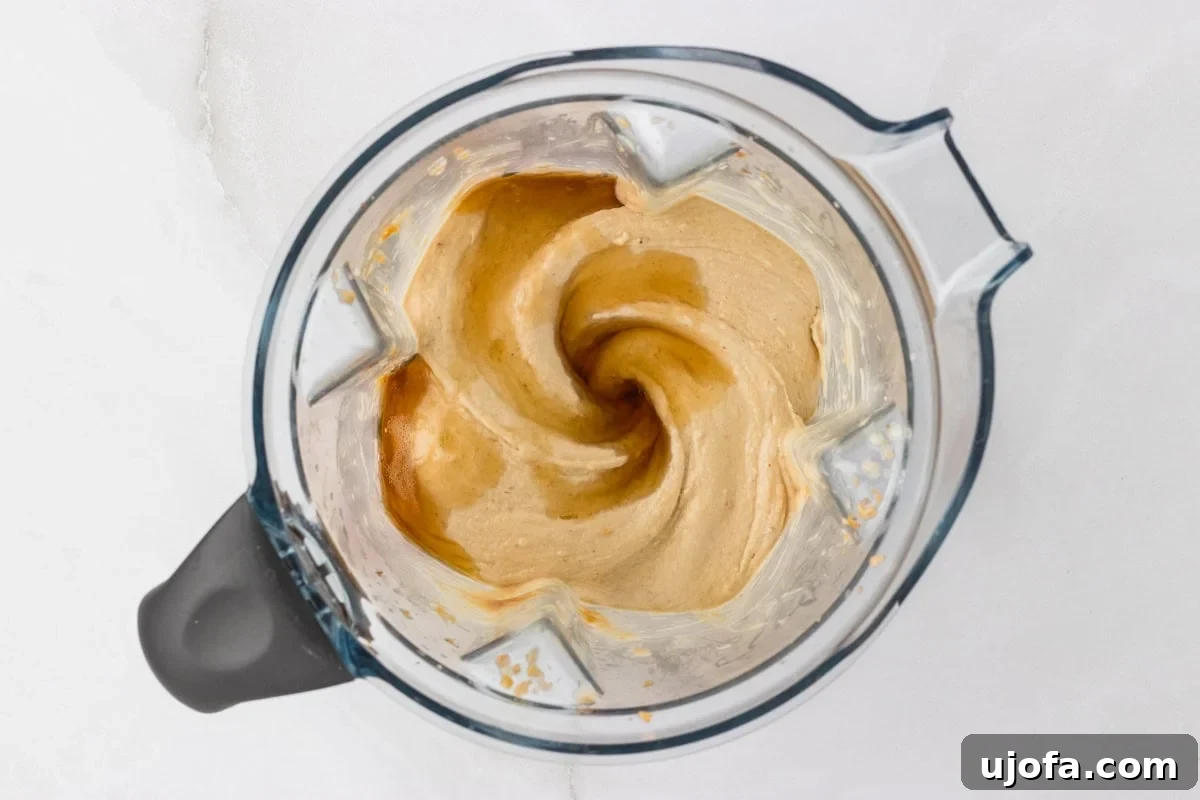
Taste and adjust: Sample the mixture and add up to 2 teaspoons maple syrup if you prefer it sweeter. Blend briefly to incorporate.
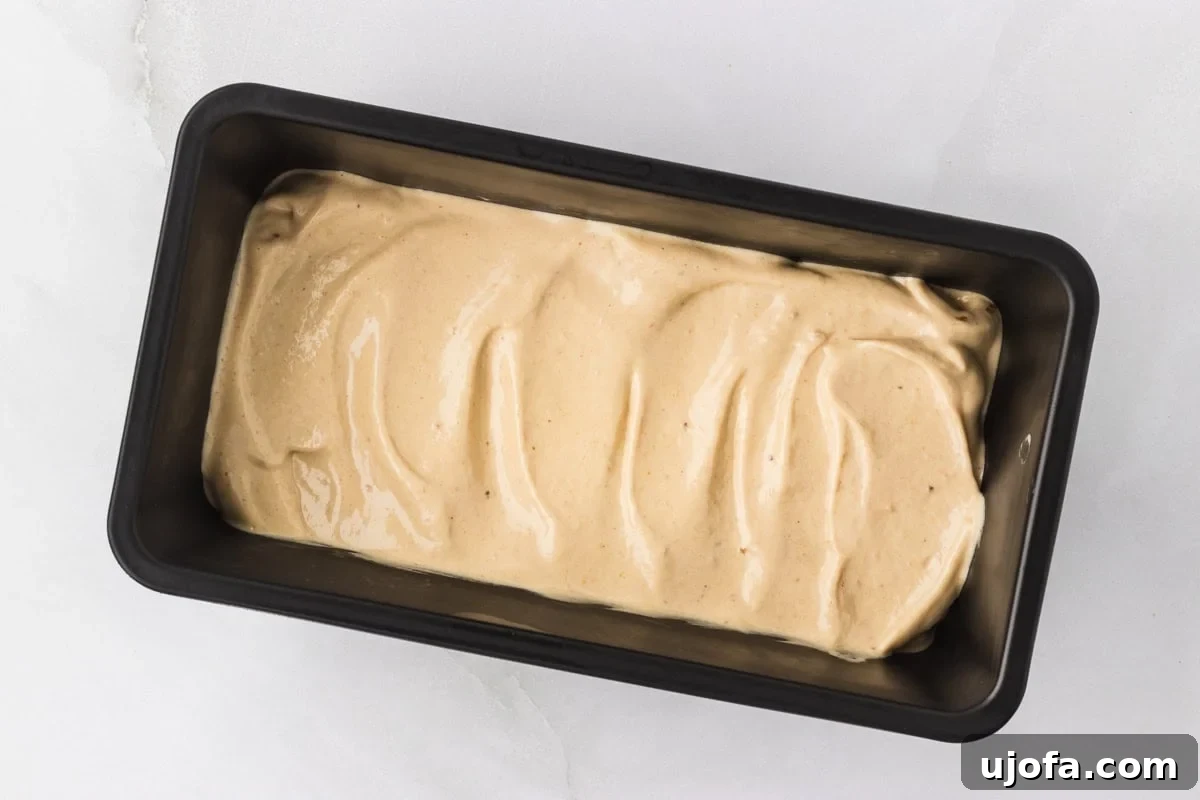
Transfer and freeze: Smooth the mixture into your pre-frozen container and freeze for 6–8 hours or overnight for a scoopable texture. For soft-serve, skip the final freeze and serve immediately.
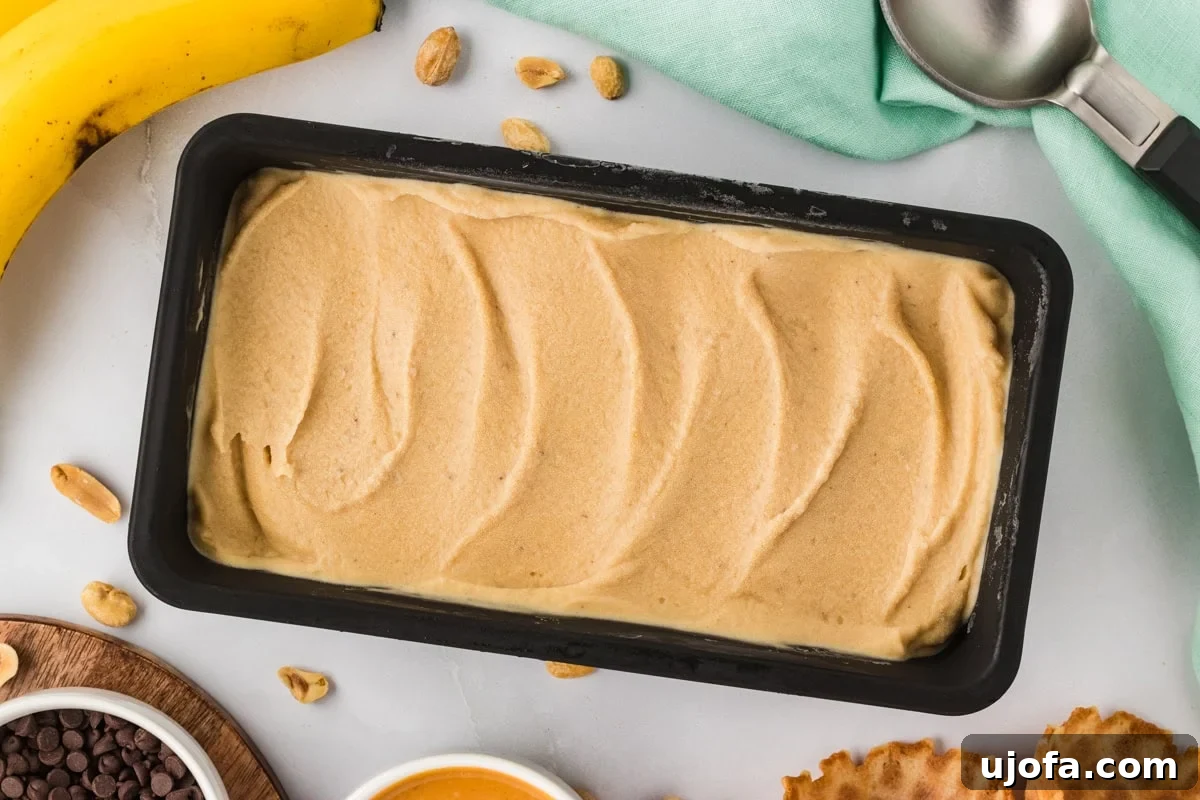
Serve: Let the nice cream sit at room temperature for 5–10 minutes if it’s too firm, then scoop into bowls or cones and enjoy. Top as desired.
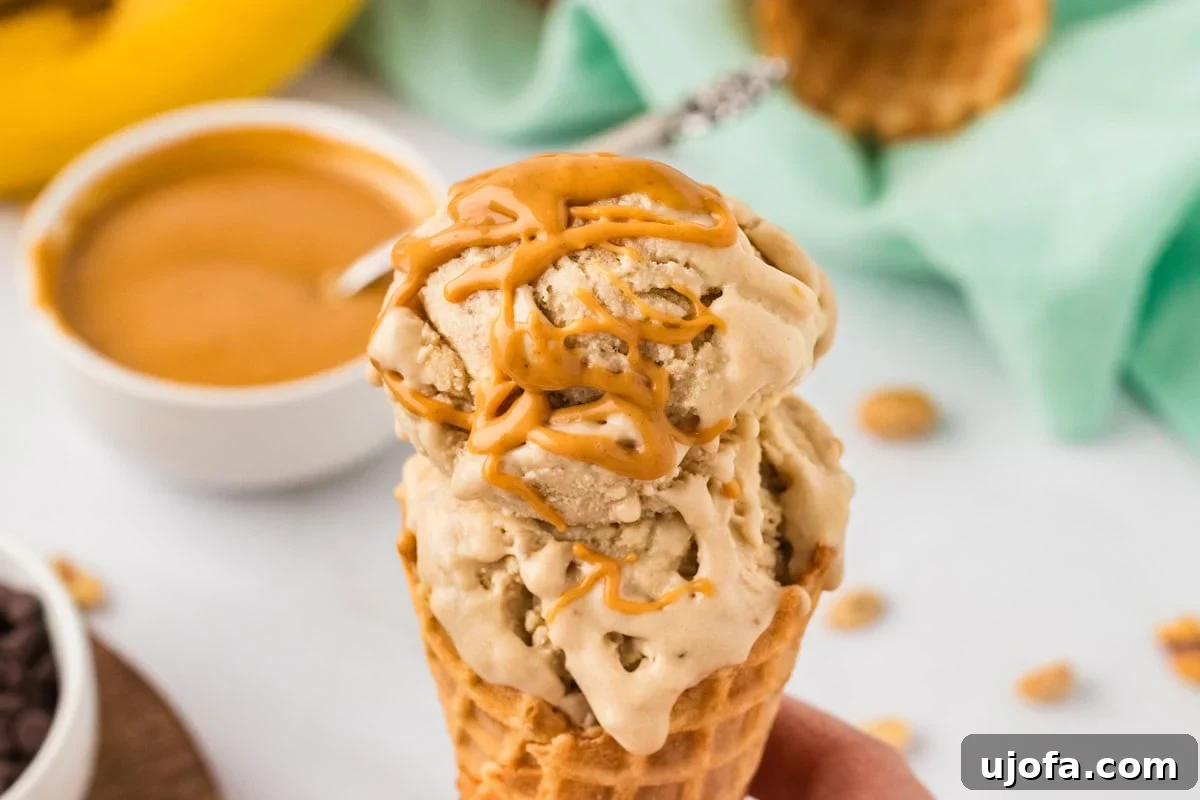
Serving Suggestions
This nice cream is perfect on its own on a hot day or paired with other desserts. Let it soften slightly before scooping for the best texture. It makes 2–3 generous servings—ideal for a solo treat or sharing. Try it:
- Scooped into a bowl with a drizzle of warmed natural peanut butter
- On top of warm brownies or gluten-free baked goods for a hot-and-cold contrast
- Between two soft cookies or cake donuts for an easy ice cream sandwich
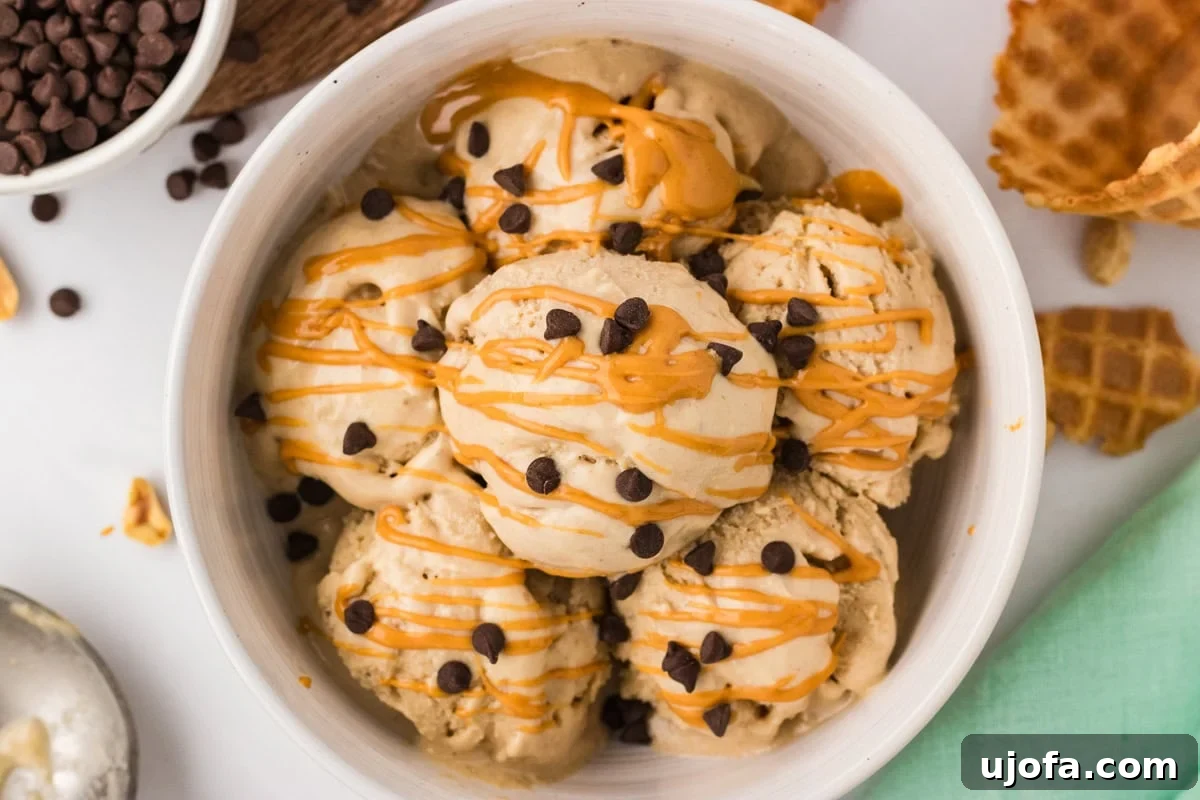
Topping Ideas
- Melted natural peanut butter drizzle
- Chopped salted peanuts for crunch
- Mini chocolate chips (use sugar-free if you want to avoid refined sugar)
- Fresh banana slices
- Maple syrup or honey drizzle
- Granola or cacao nibs
Variations
- Chocolate peanut butter: add 1–2 tbsp cocoa or cacao powder to the blender.
- Peanut butter swirl: blend a plain banana base and swirl in peanut butter at the end for ribbons.
- Alternate nut butters: swap in almond or cashew butter if preferred or for a peanut-free option.
- Chocolate chip: fold mini chips into the mixture before freezing for chocolate in every scoop.
Storage Instructions
Store the nice cream in an airtight container for up to 2 months. Press plastic wrap directly on the surface before sealing to limit ice crystals. If it becomes icy after long storage, let it soften slightly and re-blend briefly to restore creaminess.
More Dairy-Free Frozen Dessert Ideas
- Lime sorbet: a bright, tart fruit sorbet made with minimal ingredients for a refreshing contrast to richer flavors.
- Coconut sorbet: creamy and tropical, perfect if you want a dairy-free, velvety treat.
- Almond milk ice cream: a no-churn dairy-free ice cream option for a more indulgent texture than nice cream.
- Raspberry sorbet: sweet, tangy, and full of fresh berry flavor—simple to make with a blender.