
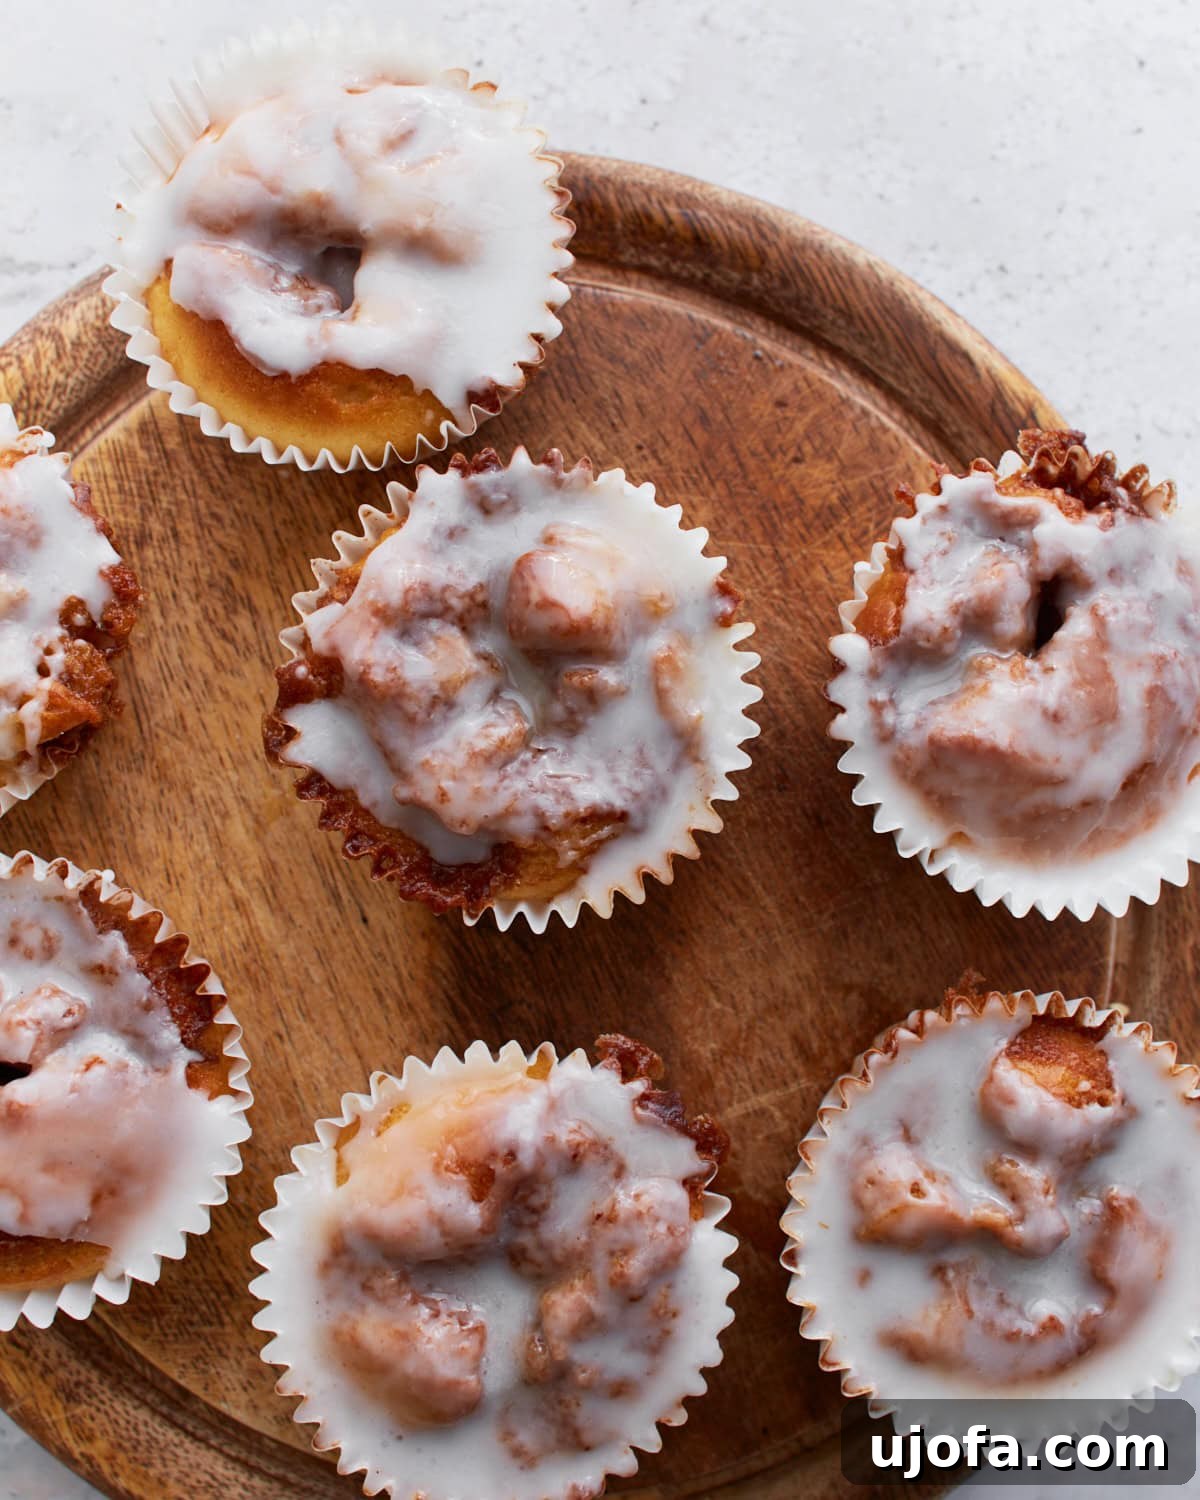
Irresistible Gluten-Free Cinnamon Roll Muffins: Your New Go-To Recipe
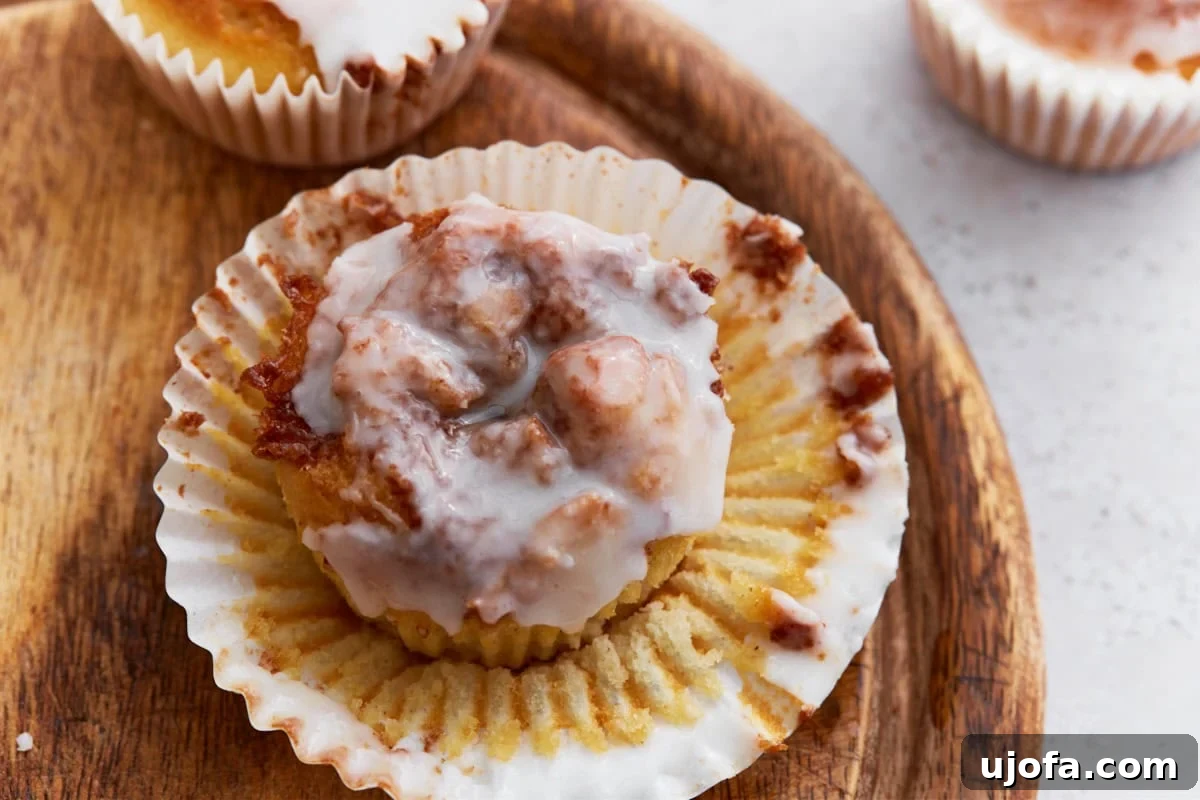
Imagine waking up to the comforting aroma of warm cinnamon rolls, but without the fuss of kneading, rising, or lengthy prep. Our Gluten-Free Cinnamon Roll Muffins deliver all the beloved gooey texture, sweet spiced flavor, and creamy glaze you crave, all wrapped up in a convenient, tender muffin. This recipe is a game-changer for anyone seeking a quick, delightful gluten-free breakfast or treat that genuinely satisfies.
For years, finding truly exceptional gluten-free versions of classic desserts like cinnamon rolls and sticky buns felt like an endless quest. Most attempts fell short, lacking that perfect balance of fluffiness, moisture, and delightful chewiness. That frustration was the catalyst for creating these gluten-free cinnamon roll muffins. They capture the essence of a classic cinnamon roll – that warm, inviting scent, the irresistible swirl of cinnamon sugar, and a generous drizzle of sweet icing – all with just 10 minutes of active prep time and simple ingredients already in your pantry. We’ve perfected this recipe over countless batches, and it consistently hits that sweet spot, becoming a favorite in our home.
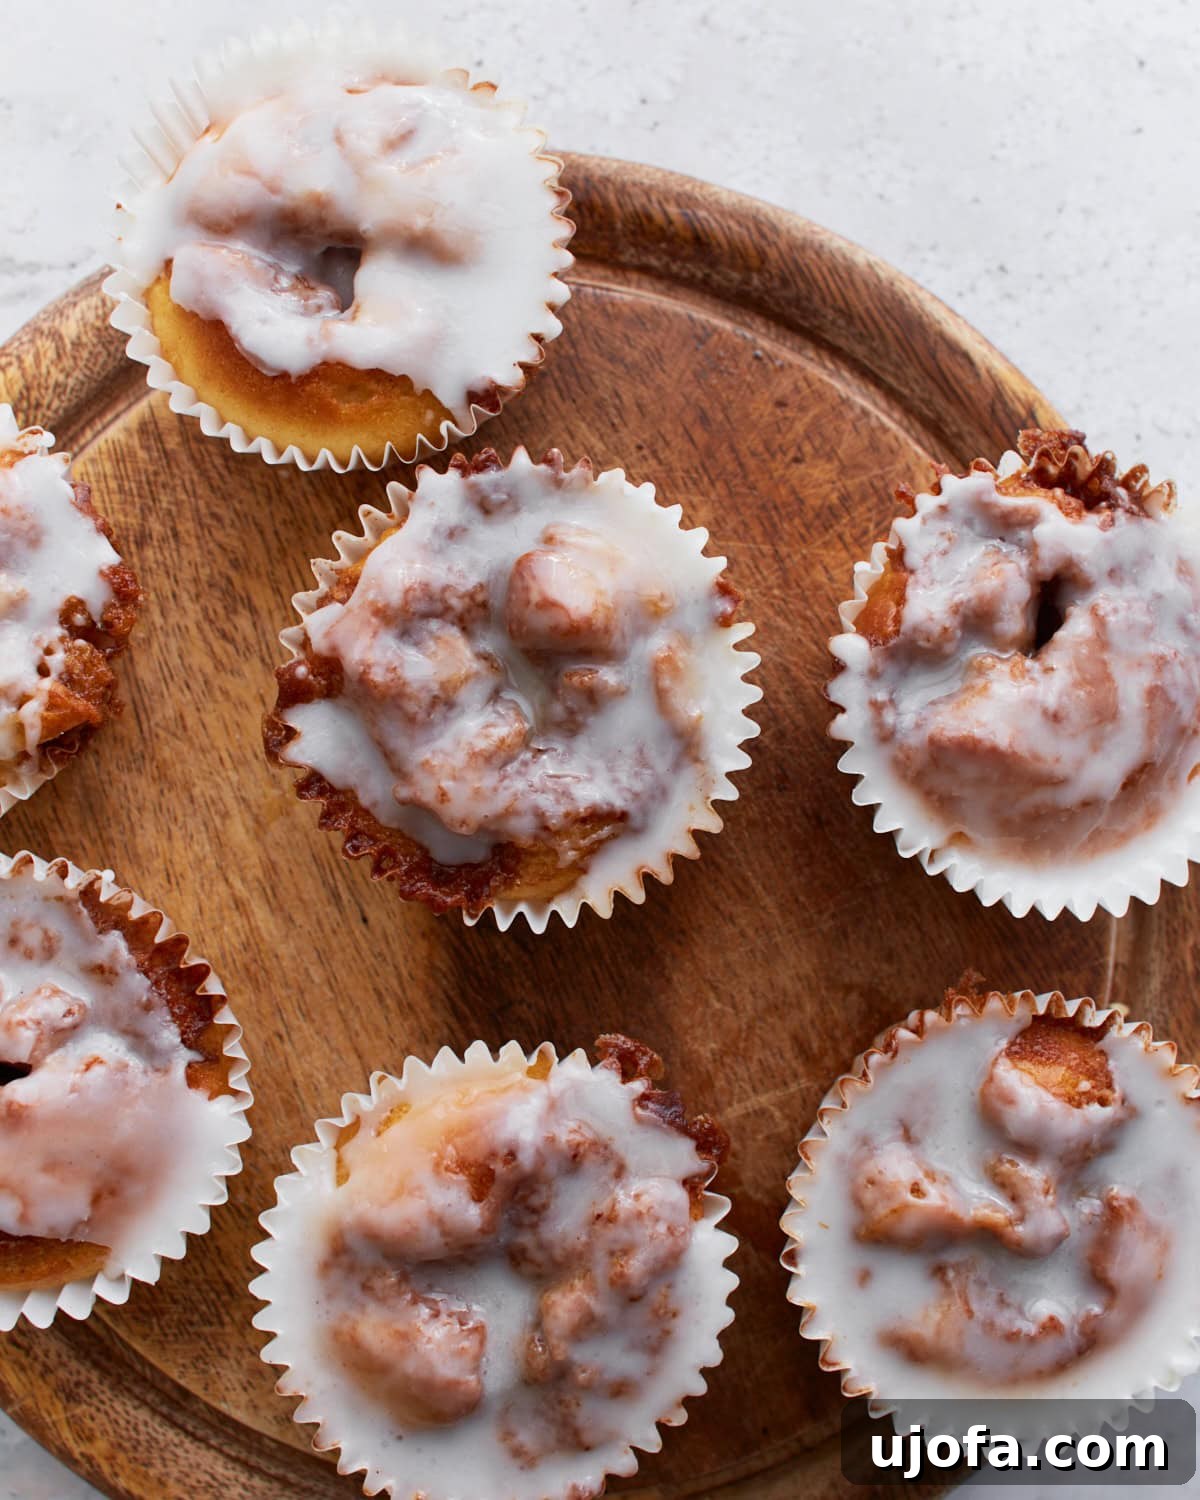
“My daughter made these for me today and they were DELICIOUS! I have celiac disease and never in my life have I had such fluffy muffins! At first I questioned if they were even gluten-free because they tasted so good!”
– Emma
Why You’ll Love These Gluten-Free Cinnamon Roll Muffins
Our blog features many beloved recipes, including a highly popular gluten-free cinnamon roll cake. It’s a wonder it took us so long to transform the classic cinnamon roll experience into an easy-to-make muffin! While traditional gluten-free cinnamon rolls are a wonderful treat for special occasions when you have more time, these muffins are the ultimate quick fix. They offer the same moist, tender crumb, bursting with fragrant cinnamon spice, and finished with that essential sweet, classic icing. Every bite delivers that ooey-gooey goodness you’d expect from a bakery-style cinnamon roll.
The Perfect Solution for Busy Mornings and Sweet Cravings
Life gets busy, but that doesn’t mean you should compromise on delicious, homemade treats. These muffins are designed for convenience without sacrificing flavor or texture. Forget the lengthy process of kneading dough, waiting for it to rise, and meticulously rolling it out. With our gluten-free cinnamon roll muffins, you get all the delightful tastes in a fraction of the time. They’re perfect for a leisurely weekend brunch, a quick weekday breakfast on the go, or a comforting dessert after dinner.
Tailored for Dietary Needs: Gluten-Free and Dairy-Free Options
We understand the importance of catering to various dietary needs. That’s why this recipe is not only entirely gluten-free but also comes with easy dairy-free swaps. Whether you’re managing celiac disease, a gluten sensitivity, or a dairy intolerance, you can enjoy these delectable muffins without worry. We’ve meticulously tested these alternatives to ensure the final product is just as moist, flavorful, and satisfying as the original. Simply follow our suggestions for milk and butter alternatives, and you’ll have a batch of muffins everyone can enjoy.
Rated 4.96 from 50 votes
Gluten-Free Cinnamon Roll Muffins
By: Audrey Roberts
Servings: 12 muffins
Prep: 10 mins
Cook: 24 mins
Total: 34 mins
Share by Email
Print Recipe

These gluten-free cinnamon roll muffins bring all the gooey texture and warm, spiced flavor I love, with a sweet drizzle of classic icing on top. No kneading or rolling the dough required. Just 10 minutes of prep and a few simple pantry ingredients. I’ve made them more times than I can count—they hit that sweet spot every time.
Ingredients
Muffins
- 1½ cups all-purpose gluten-free flour (I recommend Pillsbury gluten-free. Note: not all gluten-free flours are created equal; results may vary.)
- ¾ tsp xanthan gum (omit if your flour blend already contains it)
- ⅛ tsp salt
- ½ cup granulated sugar
- 2 tsp gluten-free baking powder
- ¾ cups milk (For dairy-free, use almond, cashew, or coconut milk.)
- 1 egg
- 1 tsp pure vanilla extract
- ¼ cup butter, melted (For dairy-free, use Smart Balance butter.)
Topping
- ¼ cup butter, softened (For dairy-free, use Smart Balance butter.)
- ¼ cup packed brown sugar
- ½ tbsp gluten-free flour
- ¾ tsp cinnamon
Glaze
- 1 cup powdered sugar
- 2 tbsp milk (For dairy-free, use almond, cashew, or coconut milk.)
- ½ tsp pure vanilla extract
Measurements are in US Customary units.
Instructions
Muffins
- Preheat your oven to 350°F (175°C). Prepare a standard 12-cup muffin pan by lining it with paper liners or lightly greasing each cup with cooking spray. This ensures easy removal and consistent baking.
- In a large mixing bowl, combine the dry ingredients: all-purpose gluten-free flour, xanthan gum (if not already in your flour blend), salt, granulated sugar, and gluten-free baking powder. Whisk them together thoroughly to ensure all leavening agents and spices are evenly distributed.
- Add the wet ingredients to the dry mixture: milk (dairy or dairy-free alternative), one large egg, and pure vanilla extract. Mix until the batter is just combined. Be careful not to overmix, as this can lead to tough muffins.
- Gently stir in the melted butter until fully incorporated. The batter will be quite thick and sticky, which is perfectly normal for gluten-free muffins.
- Using a greased ice cream scoop (a 1/4 cup measure works well) or two spoons, evenly divide the thick batter into the prepared muffin cups. Filling each cup about two-thirds full will ensure perfectly domed muffins.
Topping
- In a separate medium-sized bowl, prepare the irresistible cinnamon topping. Cream together the softened butter (or dairy-free alternative), packed brown sugar, a small amount of gluten-free flour, and ground cinnamon until well combined and crumbly. This mixture creates pockets of gooey cinnamon goodness within each muffin.
- Drop a generous teaspoonful of this buttery cinnamon mixture onto the center of the batter in each muffin cup. Don’t worry about spreading it too much at this stage.
- Take a knife or a toothpick and gently swirl the cinnamon topping into the muffin batter. Aim for a marbled effect, ensuring the cinnamon is distributed throughout the top of each muffin for that classic cinnamon roll appearance and flavor.
- Bake the muffins in the preheated oven at 350°F (175°C) for 24-26 minutes. Baking times can vary depending on your oven, so keep an eye on them. The muffins are done when they are golden brown on top, and a toothpick inserted into the center comes out clean or with a few moist crumbs.
Glaze
- While the muffins are baking or cooling slightly, prepare the simple yet essential glaze. In a medium bowl, whisk together the powdered sugar, milk (dairy or dairy-free alternative), and pure vanilla extract until smooth and creamy. Adjust the consistency by adding a tiny bit more milk if it’s too thick, or a bit more powdered sugar if it’s too thin.
- Once the muffins are warm (not piping hot, but still slightly warm from the oven), generously drizzle the prepared glaze over each one. The warmth of the muffins will allow the glaze to slightly melt and seep into the nooks and crannies, creating a perfect finish.
- Serve immediately and enjoy these delightful, warm gluten-free cinnamon roll muffins!
Nutrition
Serving: 1 muffin
Calories: 229 kcal
Carbohydrates: 29g
Protein: 1g
Fat: 12g
Saturated Fat: 7g
Cholesterol: 45mg
Sodium: 142mg
Potassium: 108mg
Sugar: 28g
Vitamin A: 405 IU
Calcium: 65mg
Iron: 0.2mg
Nutrition information is automatically calculated and should be used as an approximation. Individual results may vary based on ingredients used.
Additional Info
Course: Breakfast
Cuisine: American
Tried this recipe? Mention @mamaknowsglutenfree or tag #mamaknowsglutenfree!
How to Achieve Perfection: Step-by-Step Gluten-Free Cinnamon Roll Muffins
Baking gluten-free doesn’t have to be intimidating. With these detailed steps and accompanying visuals, you’ll whip up a batch of perfect cinnamon roll muffins every time. Follow along to ensure every muffin is moist, flavorful, and beautifully swirled.
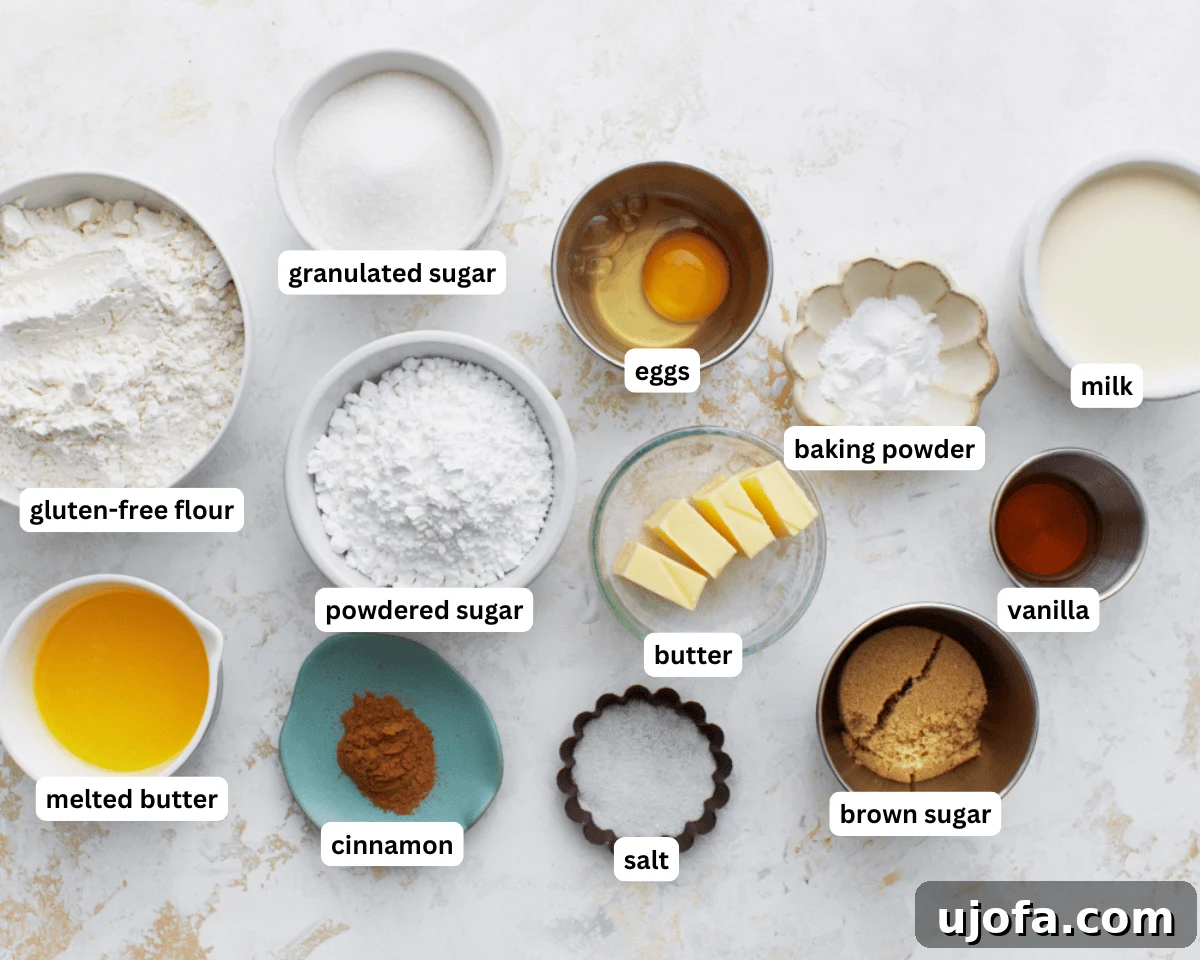
Step 1: Gather Your Ingredients and Preheat
Before you begin mixing, ensure all your ingredients are measured out and ready to go. This practice, known as “mise en place,” makes the baking process smoother and minimizes errors. Preheat your oven to 350°F (175°C) so it’s at the ideal temperature when your muffins are ready to bake. Prepare a 12-cup muffin pan by lining each cup with paper liners or generously spraying them with cooking spray. This prevents sticking and makes clean-up a breeze, especially important for sticky cinnamon-laced treats.
Step 2: Craft the Muffin Batter Base
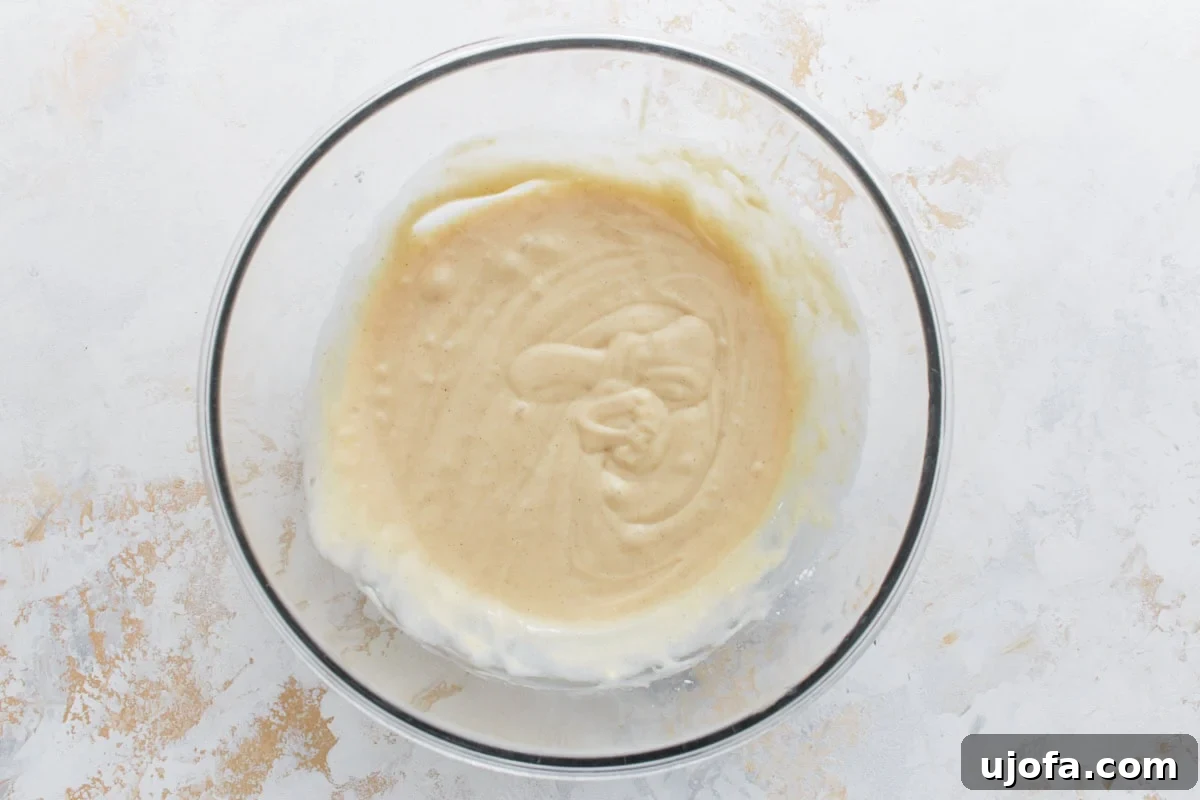
In a large mixing bowl, combine your dry ingredients first: 1½ cups of an all-purpose gluten-free flour blend (we prefer Pillsbury for its consistent results), ¾ teaspoon of xanthan gum (double-check if your chosen flour blend already contains it – if so, you can omit this extra amount), ⅛ teaspoon of salt, ½ cup of granulated sugar, and 2 teaspoons of gluten-free baking powder. Whisk these dry ingredients thoroughly to ensure even distribution, which is crucial for uniform texture and rise. Next, introduce the wet components: ¾ cup of milk (almond, cashew, or coconut milk work perfectly for dairy-free alternatives), 1 large egg, and 1 teaspoon of pure vanilla extract. Mix until the ingredients are just combined. Overmixing gluten-free batters can sometimes lead to a tougher texture, so mix until no streaks of dry flour remain.
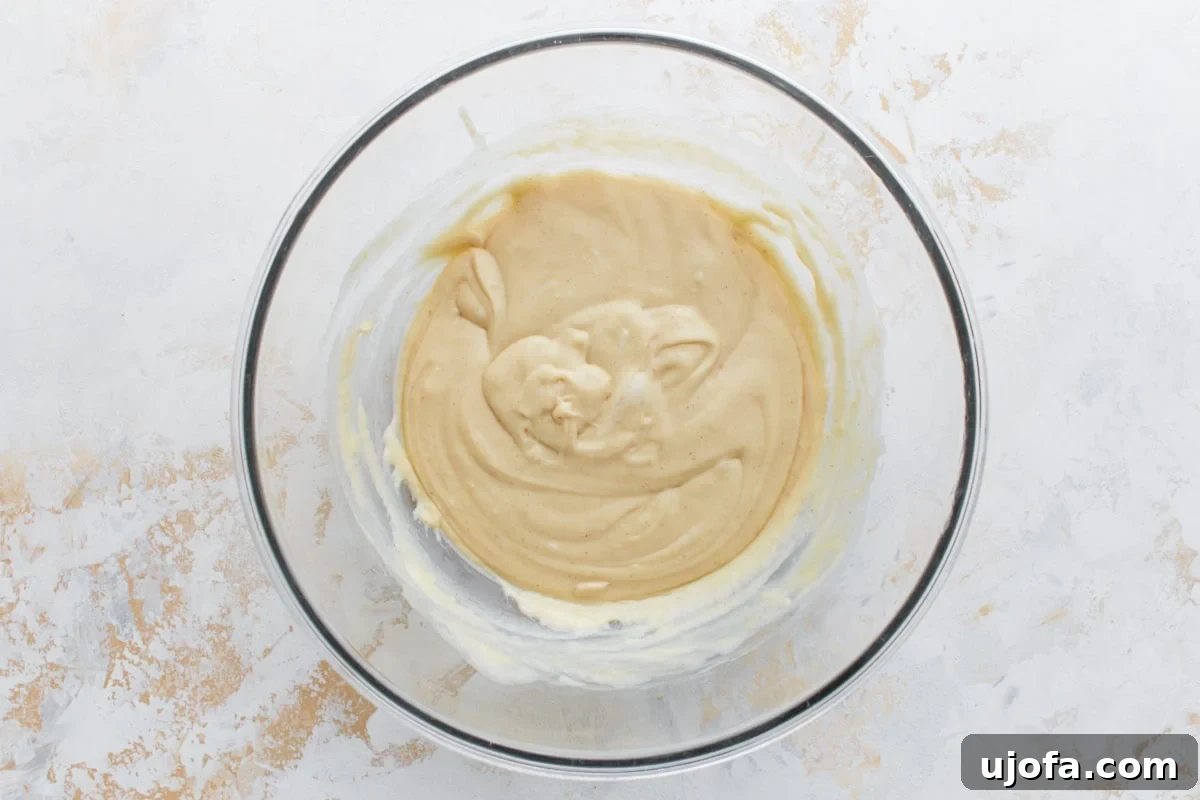
Step 3: Incorporate Melted Butter for Richness
Once your batter has come together, gently stir in ¼ cup of melted butter. For those following a dairy-free diet, Smart Balance butter substitute or a similar plant-based butter alternative works wonderfully here. Incorporate the melted butter until it’s fully blended into the batter, ensuring a rich, moist foundation for your muffins. The batter will be noticeably thick and slightly sticky at this point, which is exactly the consistency we’re looking for to create those wonderfully dense yet tender muffins.
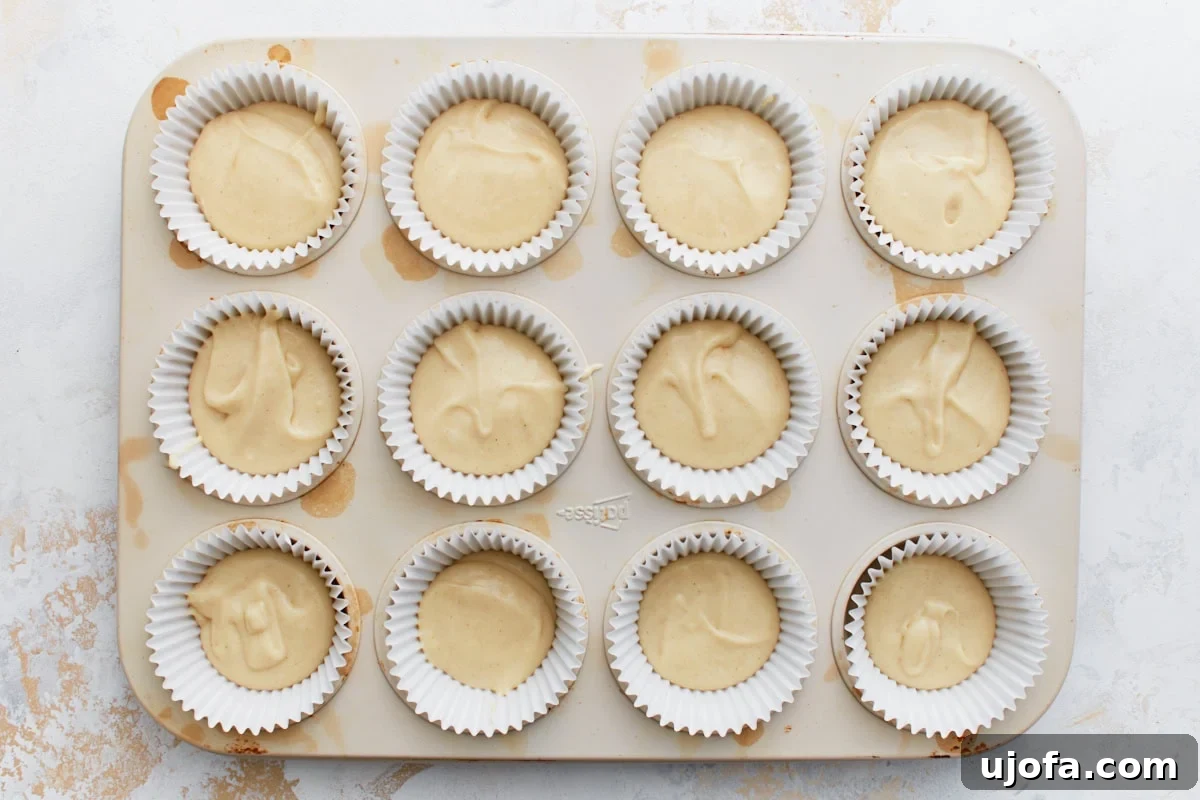
Step 4: Evenly Divide the Batter
The key to uniform muffins that bake consistently is even distribution of batter. Because the gluten-free batter is thick and sticky, using a greased ice cream scoop is highly recommended. This tool allows for precise and mess-free portioning. Alternatively, two spoons can be used. Scoop the batter into each prepared muffin cup, filling them about two-thirds of the way full. This leaves enough room for the muffins to rise beautifully without overflowing.
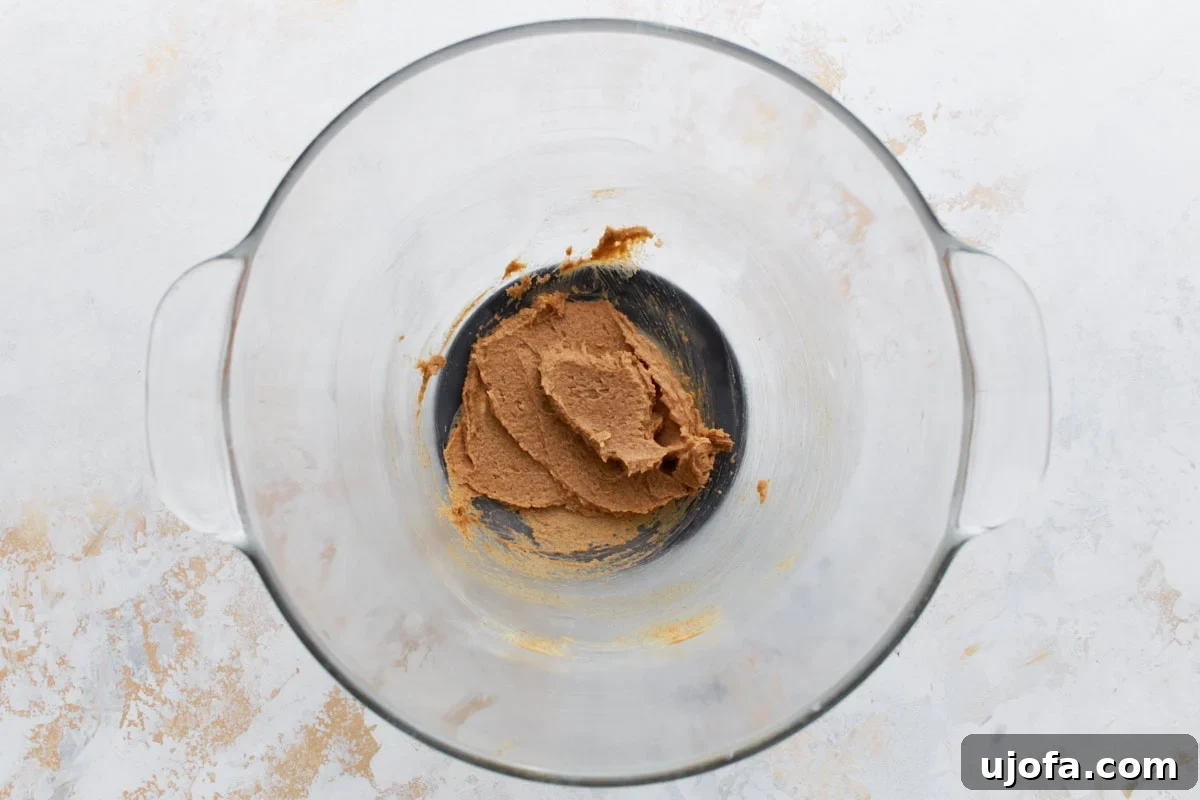
Step 5: Prepare the Aromatic Cinnamon Topping
In a separate medium bowl, begin crafting the heart of our cinnamon roll experience: the topping. Combine ¼ cup of softened butter (or softened Smart Balance for a dairy-free version), ¼ cup of packed brown sugar, ½ tablespoon of gluten-free flour, and ¾ teaspoon of ground cinnamon. Use a mixer or a fork to cream these ingredients together until they form a delightful, slightly crumbly mixture. This blend will melt into the muffins during baking, creating those signature gooey, spiced swirls that are so characteristic of cinnamon rolls.
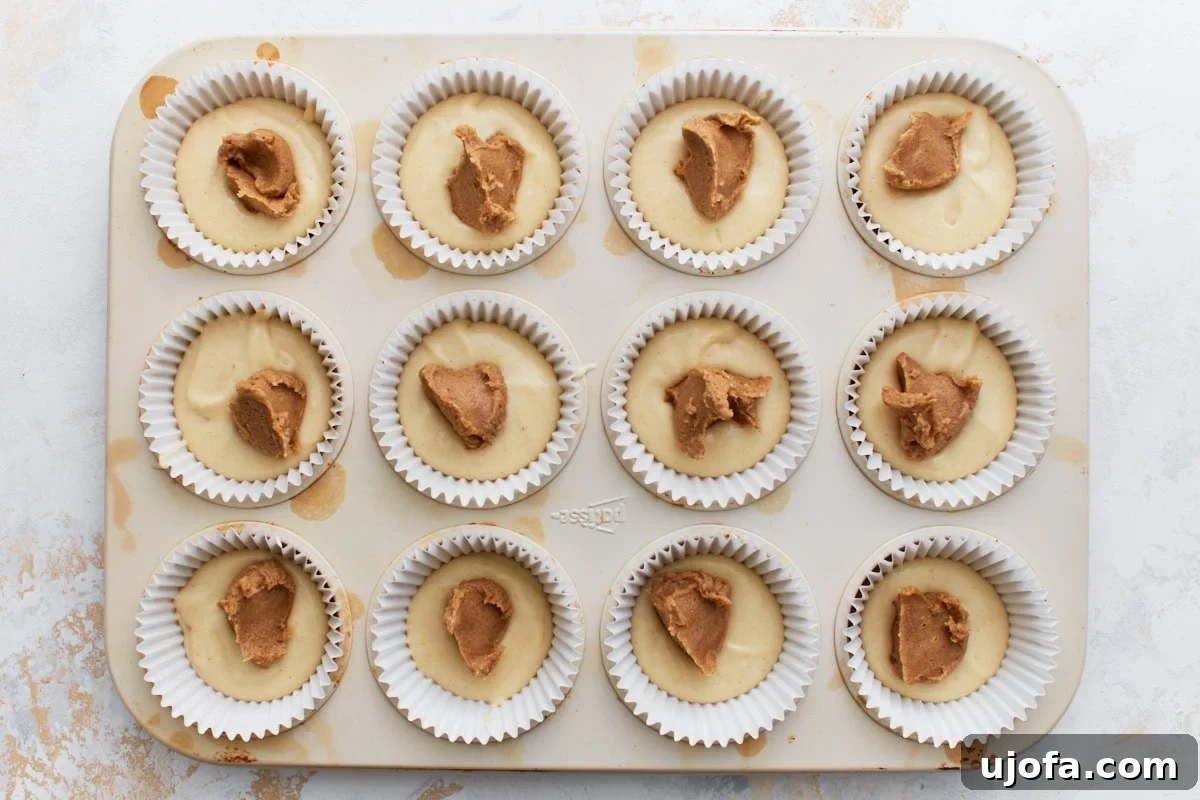
Step 6: Layer on the Cinnamon Goodness
With your topping prepared, it’s time to add it to the muffins. Take a heaping teaspoon of the cinnamon mixture and drop it directly onto the center of the batter in each muffin cup. You don’t need to spread it out; the next step will take care of that. Ensure each muffin gets an ample amount of this delicious topping to maximize the cinnamon flavor in every bite.
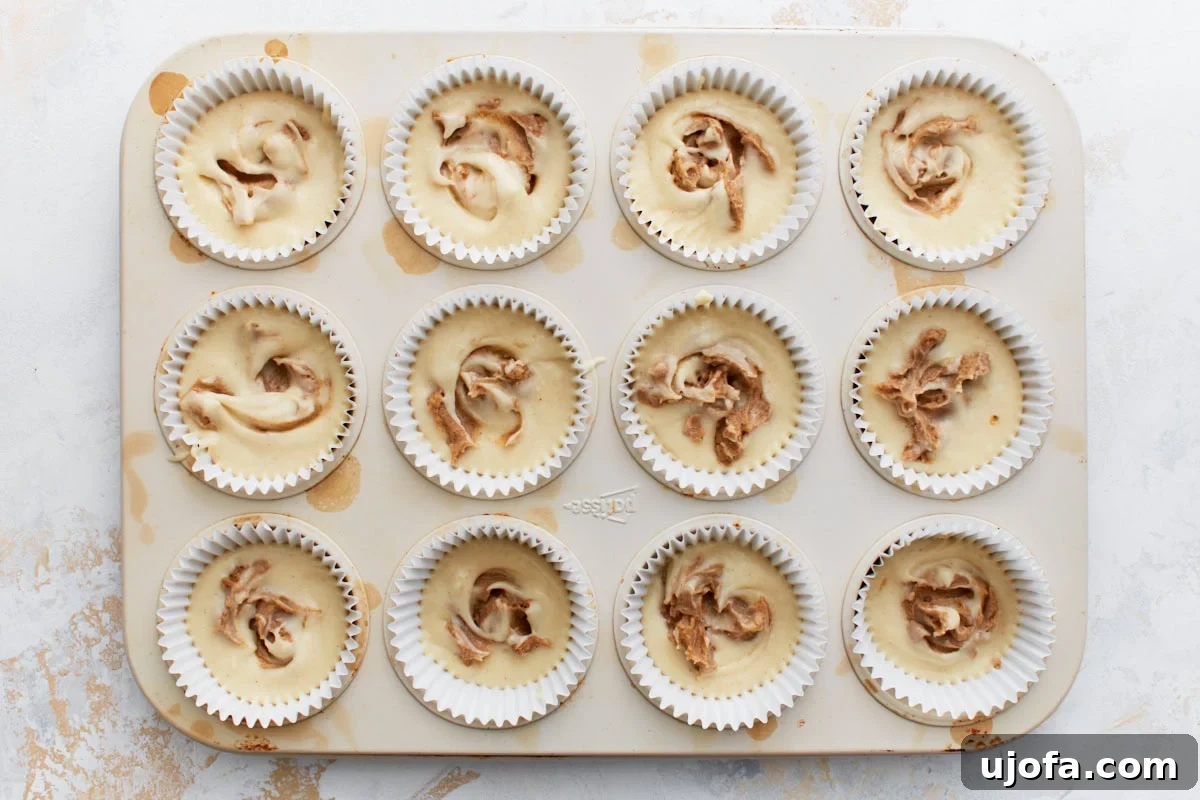
Step 7: Swirl for Signature Cinnamon Roll Effect
Now for the fun part: creating those beautiful, irresistible swirls! Using a small knife, a skewer, or even a toothpick, gently swirl the cinnamon topping into the muffin batter. Don’t overdo it; just a few gentle passes will create a lovely marbled effect, ensuring that the cinnamon sugar is distributed throughout the top portion of the muffin. This visual appeal is almost as important as the taste!
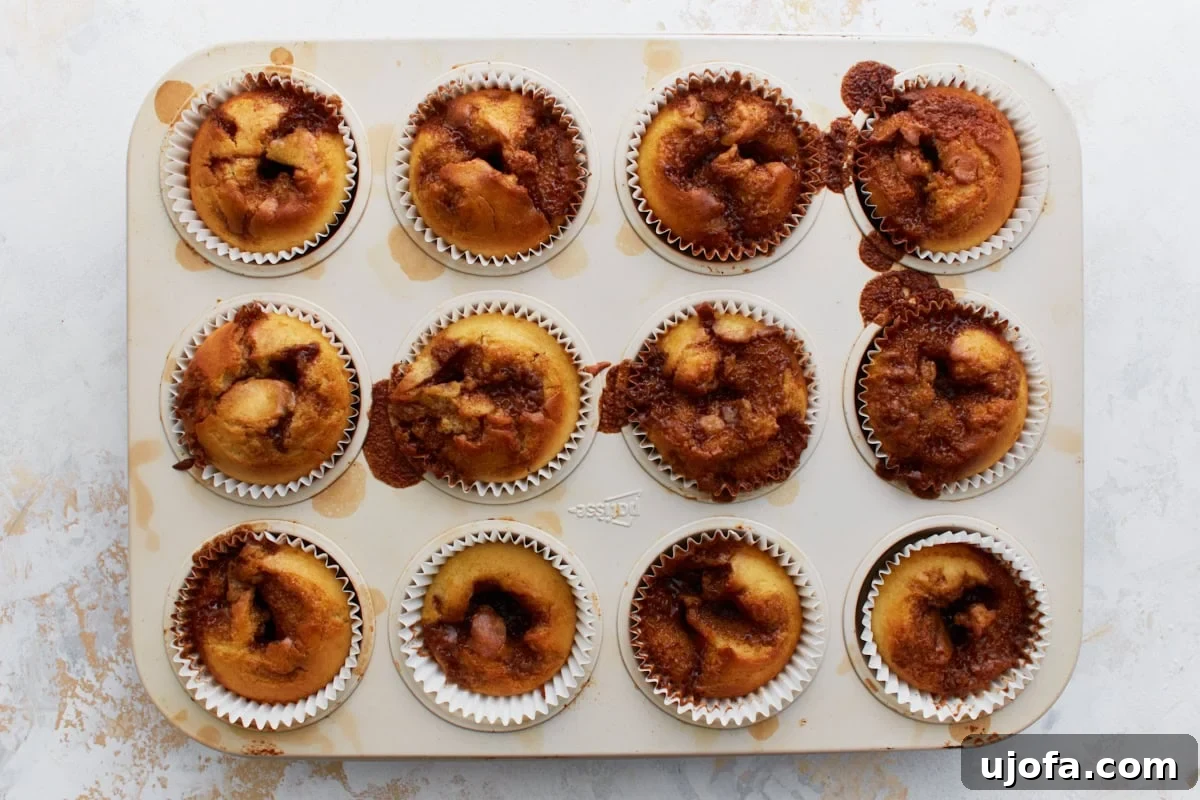
Step 8: Bake to Golden Perfection
Carefully transfer your muffin pan to the preheated oven. Bake at 350°F (175°C) for approximately 24-26 minutes. Baking times can vary significantly between ovens, so it’s always best to start checking for doneness around the 20-minute mark. The muffins are ready when their tops are golden brown, the cinnamon topping is caramelized, and a toothpick inserted into the center of a muffin comes out clean or with only a few moist crumbs attached. Avoid overbaking, as this can lead to dry muffins.
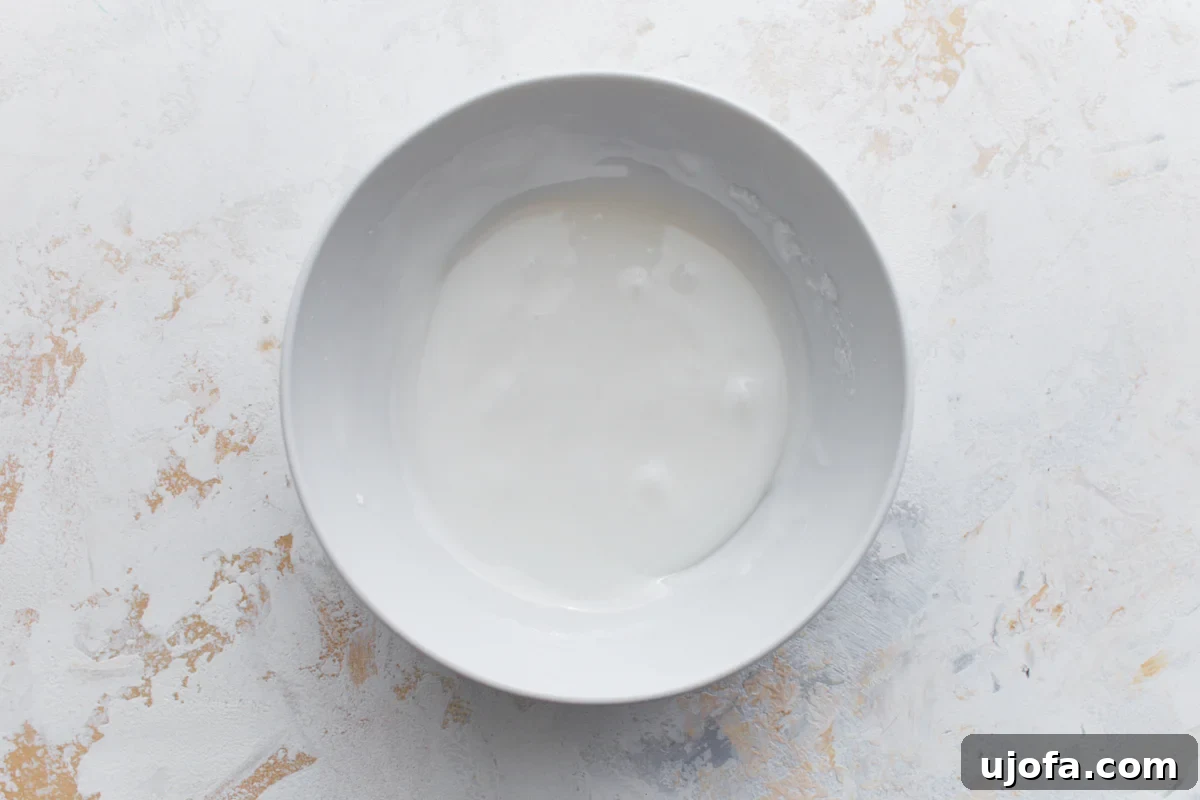
Step 9: Whip Up the Classic Glaze
While your muffins are cooling slightly, prepare the finishing touch: the sweet vanilla glaze. In a small bowl, whisk together 1 cup of powdered sugar, 2 tablespoons of milk (again, use your preferred dairy or dairy-free alternative), and ½ teaspoon of pure vanilla extract. Whisk until the mixture is smooth, lump-free, and has a pourable, yet thick, consistency. If the glaze is too thin, add a bit more powdered sugar; if it’s too thick, add a tiny splash more milk, a quarter teaspoon at a time.
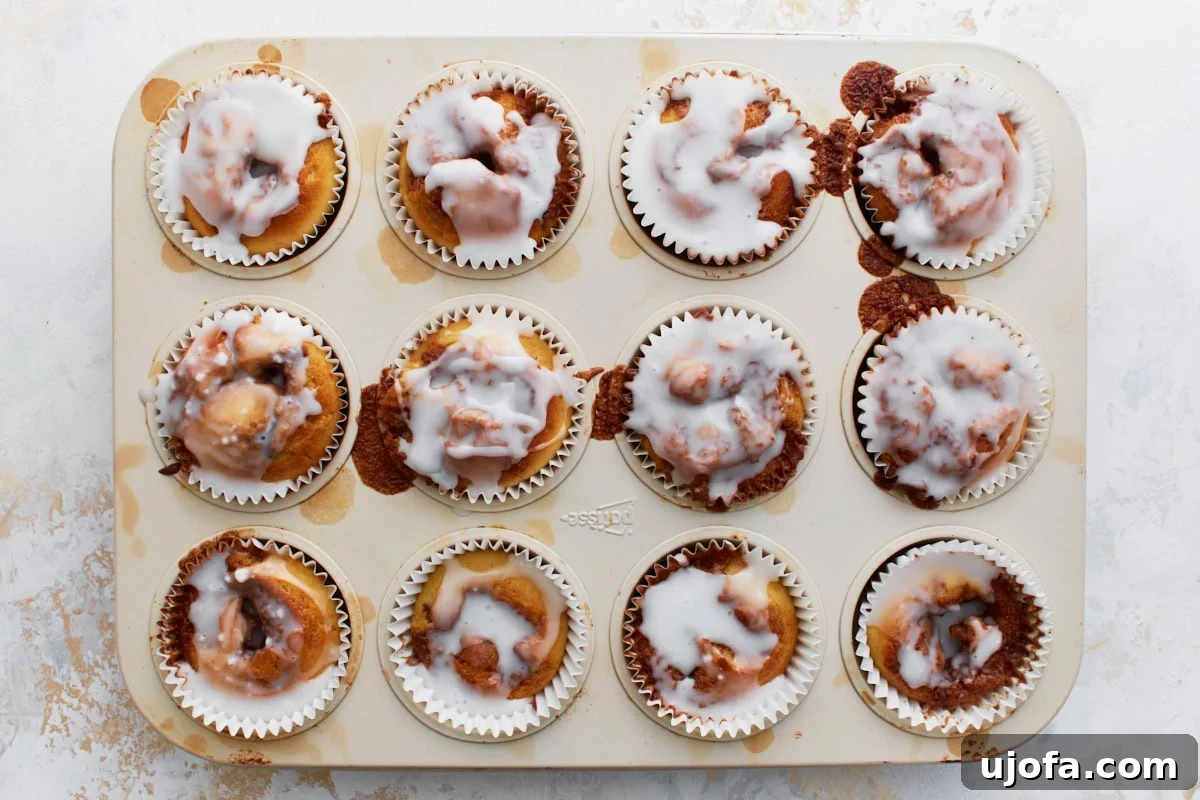
Step 10: Glaze and Serve Your Masterpiece
Once the muffins have cooled for a few minutes but are still warm, it’s time to add the glaze. Drizzle generously over each muffin. The slight warmth of the muffins will allow the glaze to melt just a little, creating that beautiful, glistening finish that makes cinnamon rolls so appealing. Serve your freshly glazed gluten-free cinnamon roll muffins immediately and savor every soft, gooey, cinnamon-spiced bite!
Gluten-Free Baking Tips for Success
Baking gluten-free requires a few specific considerations to ensure your treats turn out perfectly. These tips will help you achieve the best possible results for your cinnamon roll muffins and other gluten-free baked goods.
Measuring Gluten-Free Flour Accurately
Precision is key in gluten-free baking. The most accurate way to measure gluten-free flour is the “spoon and level” method. Instead of scooping the measuring cup directly into the flour bag (which can compact the flour and lead to too much being used), use a spoon to lightly scoop the flour into your measuring cup. Once the cup is overflowing, use the back of a straight knife or a flat edge to level off the top. This ensures you get the exact amount of flour needed for the recipe, preventing dry or crumbly results.
The Role of Xanthan Gum
Xanthan gum is a crucial ingredient in many gluten-free baking recipes. Gluten, found in wheat flour, provides structure and elasticity to baked goods. In its absence, xanthan gum acts as a binder, mimicking gluten’s properties to prevent your muffins from becoming crumbly. If your chosen gluten-free flour blend already lists xanthan gum in its ingredients, you can typically omit the extra ¾ teaspoon specified in this recipe. Always check your flour blend’s label to avoid adding too much, which can result in a gummy texture.
Don’t Overmix the Batter
While gluten-containing batters can develop tough textures from overmixing, gluten-free batters can also suffer. Overmixing can lead to denser, chewier muffins instead of the light and tender crumb we’re aiming for. Mix your muffin batter just until the ingredients are combined and no dry streaks of flour remain. A few small lumps are perfectly fine and often indicate a tender muffin.
Using an Ice Cream Scoop for Uniform Muffins
For professional-looking muffins that bake evenly, a greased ice cream scoop is your best friend. It helps you portion out equal amounts of the thick, sticky batter into each muffin cup. This consistency ensures that all your muffins rise and bake at the same rate, resulting in a batch of perfectly uniform, delicious treats. A 1/4 cup scoop is generally ideal for standard muffin tins.
Cupcake Liners for Easy Release and Cleanup
To prevent your precious cinnamon roll muffins from sticking to the pan and to make cleanup effortless, always use cupcake liners. They also add a nice touch to the presentation and make the muffins easy to handle, especially when they are warm and gooey.
Monitoring Oven Temperatures
Oven temperatures can vary significantly from one appliance to another. Even if your oven says 350°F, it might actually be running hotter or cooler. Consider investing in an oven thermometer to ensure your oven is accurately heated. Consistent oven temperature is vital for gluten-free baking, helping your muffins rise properly and cook through without drying out.
Dairy-Free Adaptations: Enjoy Without Compromise
Making these gluten-free cinnamon roll muffins dairy-free is incredibly simple, requiring just a couple of straightforward substitutions. We’ve tested these alternatives extensively to ensure you don’t miss out on any flavor or texture.
- Milk: For the muffin batter and the glaze, easily swap regular milk for your favorite dairy-free alternative. Almond milk, cashew milk, or full-fat canned coconut milk (not coconut beverage) all work beautifully, contributing to a rich and moist final product without altering the overall flavor profile significantly.
- Butter: In both the muffin batter (melted) and the cinnamon topping (softened), a high-quality dairy-free butter substitute like Smart Balance or Miyoko’s Kitchen Cultured Vegan Butter (for a richer flavor) can be used. Ensure your dairy-free butter is softened to the correct consistency for the topping, just as you would with regular butter, to achieve that perfect creamy blend.
These simple swaps ensure that everyone, regardless of dairy intolerance, can indulge in these scrumptious cinnamon roll muffins.
Frequently Asked Questions About Gluten-Free Cinnamon Roll Muffins
Got questions? We’ve got answers to help you master this recipe.
Q: What kind of gluten-free flour should I use?
A: We highly recommend using a good quality all-purpose gluten-free flour blend, such as Pillsbury gluten-free all-purpose flour. Not all blends are created equal, and some may require additional liquid or slight adjustments. If your blend doesn’t contain xanthan gum, remember to add it as specified in the recipe for best results.
Q: Can I make these muffins ahead of time?
A: Yes! While they are best enjoyed fresh and warm, you can certainly bake them a day in advance. Store them properly (see storage instructions below) and gently warm them before serving to bring back their soft texture and melty glaze.
Q: What if I don’t have an ice cream scoop for portioning?
A: No problem! You can use two regular spoons to carefully scoop and transfer the batter into the muffin liners. Just try to keep the portions as even as possible for consistent baking.
Q: My muffins turned out a bit dry. What went wrong?
A: Overbaking is the most common culprit for dry muffins, especially with gluten-free recipes. Ovens vary, so it’s essential to check for doneness around the minimum bake time. A toothpick inserted into the center should come out clean, but not bone dry. Make sure to accurately measure your flour using the “spoon and level” method to avoid adding too much dry ingredient.
Q: Can I add nuts or chocolate chips to these muffins?
A: Absolutely! These muffins are wonderfully versatile. Feel free to fold in about ½ cup of chopped pecans, walnuts, or your favorite gluten-free chocolate chips into the batter before scooping. This will add another layer of texture and flavor.
Serving Suggestions: Elevate Your Muffin Experience
These gluten-free cinnamon roll muffins are a versatile delight, perfect for a variety of occasions. They are an absolute showstopper for cozy weekend breakfasts, where their warm, inviting aroma can fill your home. They also make a fantastic addition to holiday brunches, impressing guests with their bakery-quality taste and texture. I personally love serving them slightly warm, fresh from the oven, allowing the sweet glaze to become wonderfully melty and gooey – it truly mimics the experience of a traditional cinnamon roll, but with significantly less effort!
Beyond breakfast and brunch, these muffins are excellent as a midday treat with a cup of coffee or tea. Pack them into lunchboxes for a delightful surprise, or enjoy them as a comforting dessert. Their rich flavor and tender crumb make them a satisfying choice at any time of day. Be warned, though: they tend to disappear quickly in our house, so consider baking a double batch!
Storage and Reheating Instructions
To keep your gluten-free cinnamon roll muffins fresh and delicious, proper storage is key.
- Room Temperature: Store any leftover muffins in an airtight container at room temperature for up to 2 days. This helps maintain their soft texture.
- Refrigerator: For longer freshness, transfer them to an airtight container and store them in the refrigerator for up to 4 days.
- Reheating: For that irresistible, fresh-from-the-oven warmth and gooeyness, I highly recommend warming the muffins before serving. Pop them into the microwave for about 10-15 seconds, or until they are gently heated through. This brings back their soft, tender texture and makes the glaze beautifully melty again.
- Freezing: I generally do not recommend freezing these muffins. The texture of gluten-free baked goods can sometimes change after thawing, becoming a bit crumbly or dry. It’s best to enjoy them fresh or within the recommended storage times.
More Comforting Cinnamon & Gluten-Free Desserts to Explore
If you loved these cinnamon roll muffins, you’re in for a treat! Our collection of gluten-free recipes offers even more comforting and delicious cinnamon-spiced desserts that are easy to make and guaranteed to satisfy your cravings:
- Gluten-Free Churros: Crispy on the outside, soft on the inside, and coated in cinnamon sugar.
- Gluten-Free Baked Donuts: A healthier take on classic donuts, perfect for breakfast or a sweet snack.
- Gluten-Free Cinnamon Biscuits: Flaky, buttery biscuits with a sweet cinnamon swirl.
- Gluten-Free Baked Apple Cinnamon Donuts: The delightful flavors of apple and cinnamon combined in a tender baked donut.
- Gluten-Free Cinnamon Bread: A wonderfully moist and flavorful loaf, perfect for toasting or enjoying plain.
Concluding Thoughts: Your New Favorite Gluten-Free Treat
These Gluten-Free Cinnamon Roll Muffins are truly a labor of love, crafted to bring the joy of a classic treat to everyone, regardless of dietary restrictions. They are a testament that gluten-free baking can be incredibly delicious, easy, and satisfying. The tender crumb, the luscious cinnamon swirl, and the sweet, creamy glaze combine to create a muffin that’s not just a substitute, but a standout dessert in its own right. We hope you enjoy making and sharing them as much as we do. Happy baking!
Our Gluten-Free Cinnamon Roll Muffins recipe was originally published 2/27/18. It was retested, reworked, and republished to be better than ever 7/30/25.