
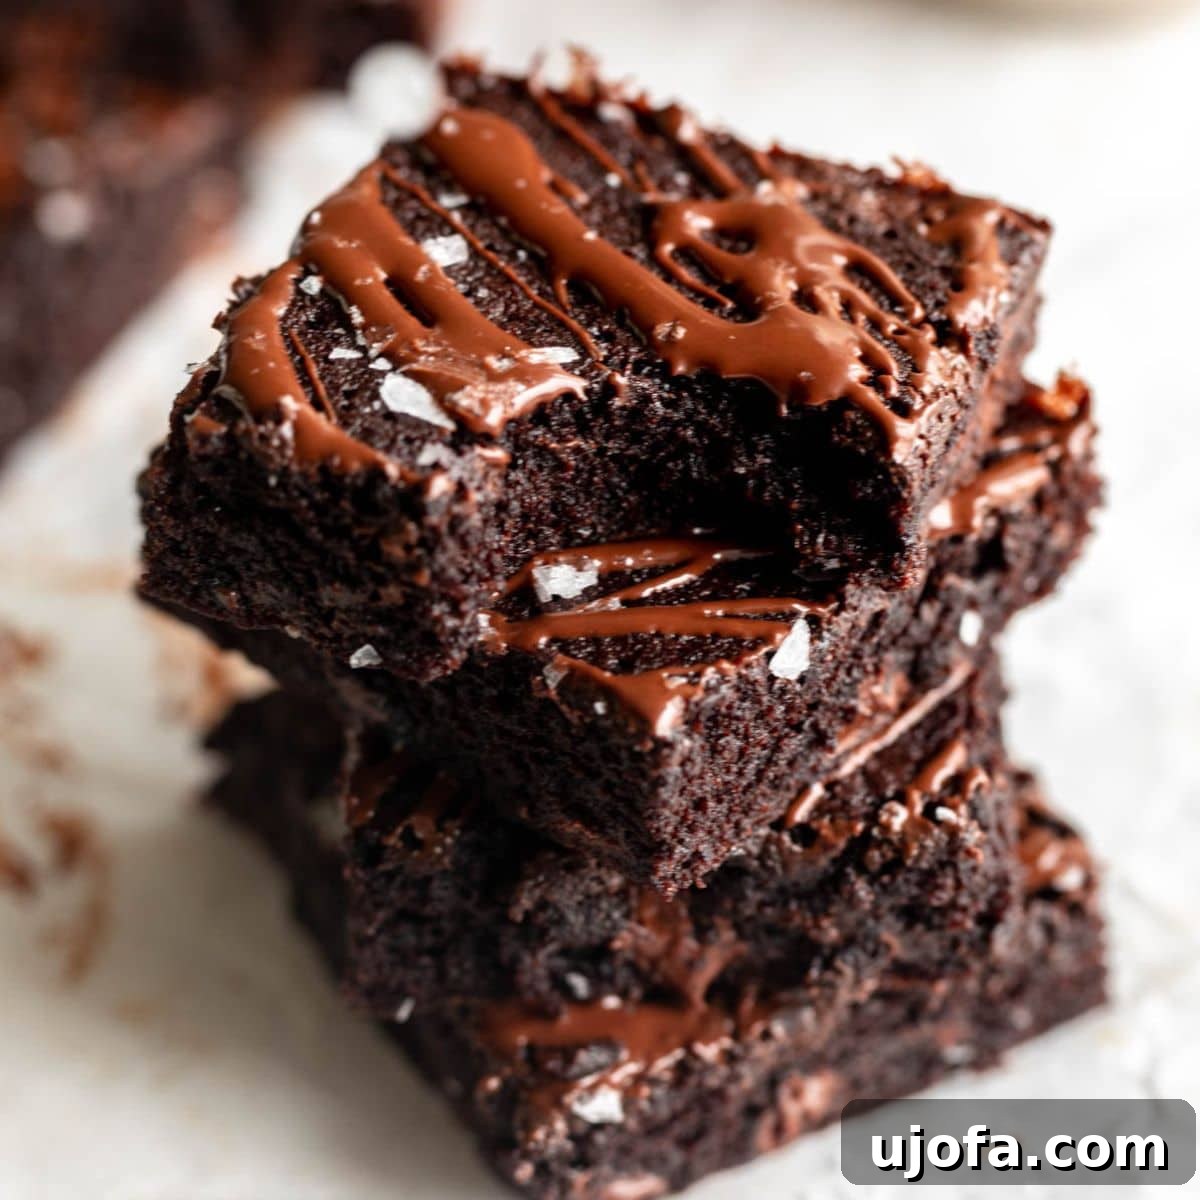
Welcome to the ultimate guide for crafting the most decadent, fudgy, and intensely chocolatey brownies you’ll ever taste – made with the unique magic of coconut flour! If you’re searching for a dessert that delivers on rich flavor, a perfectly moist texture, and the added benefits of being gluten-free and grain-free, then look no further. These coconut flour brownies are not just a treat; they’re a revelation. Forget the compromises often associated with alternative flours; this recipe promises a brownie experience so delightful, it’s bound to become your new kitchen staple. My secret? A carefully balanced ratio of ingredients that unlocks coconut flour’s potential, transforming it into a vehicle for pure chocolate bliss. Trust me, once you try these, you’ll understand why I always make a double batch – they disappear almost as soon as they’re out of the oven!
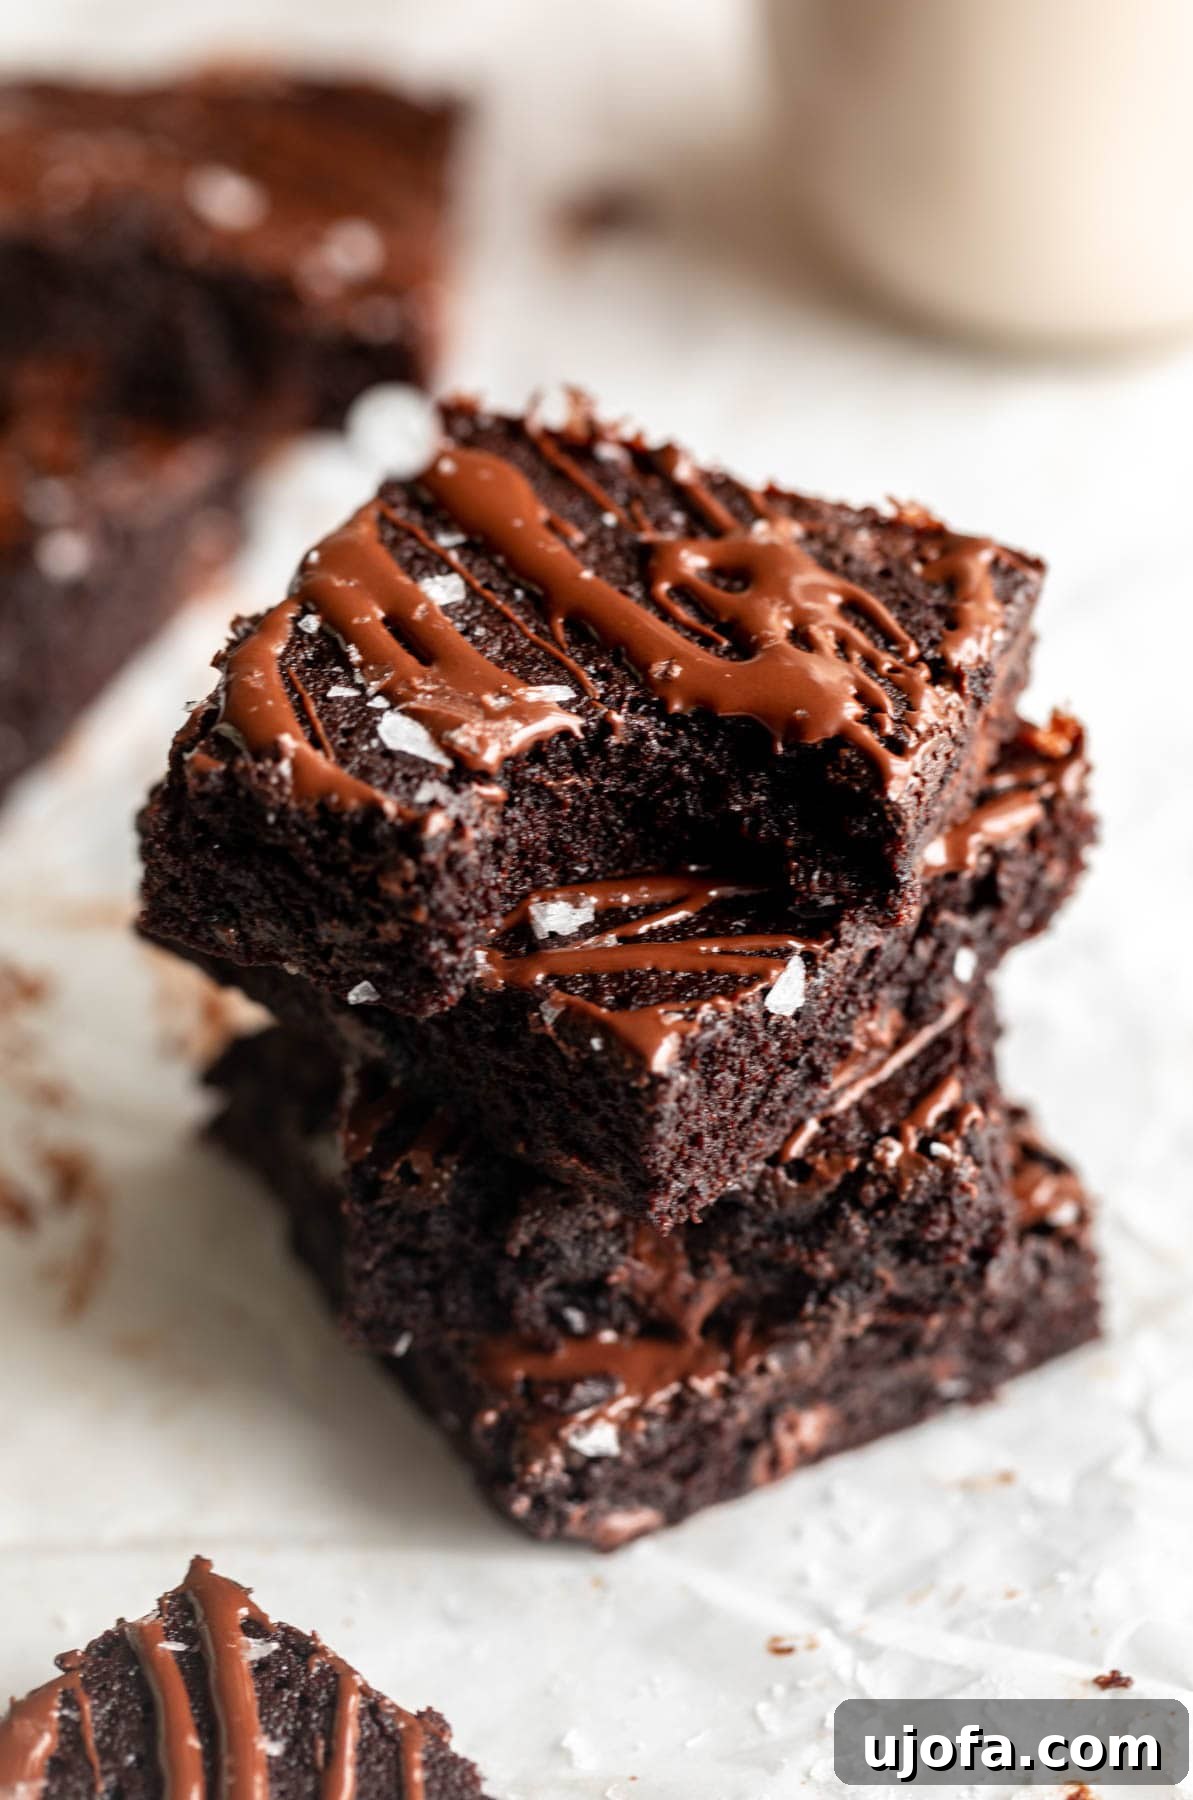
These were very good, had two with some ice cream, my granddaughter also liked these 🥰 very moist and chocolatey. Will make again
– Carolyn Willie
Fudgy, Moist Brownies—The Coconut Flour Secret Unveiled!
Coconut flour has a reputation for being a challenging ingredient in baking, and for good reason. Its super-absorbent nature can quickly lead to dry, crumbly baked goods if not handled correctly. However, in this recipe, we’ve cracked the code! I am incredibly proud to present a brownie that defies all coconut flour stereotypes, emerging from your oven light, irresistibly fudgy, and perfectly moist. This tried-and-true recipe features the ideal balance of eggs, milk, rich cocoa powder, and just the right amount of coconut flour to achieve an unparalleled brownie texture. Say goodbye to mediocre boxed mixes; these homemade coconut flour brownies will redefine your expectations for gluten-free indulgence!
Many bakers shy away from coconut flour due to its unique properties. Unlike traditional wheat flour or even other gluten-free alternatives like almond flour, coconut flour can absorb an astonishing amount of liquid. This characteristic makes precise measurements and a carefully formulated recipe absolutely essential for success. Our recipe accounts for this, ensuring that each bite of these brownies is a testament to perfectly balanced moisture and dense, chewy fudginess. Get ready to impress your family and friends with a dessert that’s both healthy-ish and utterly delicious.
Essential Ingredients for Your Perfect Coconut Flour Brownies
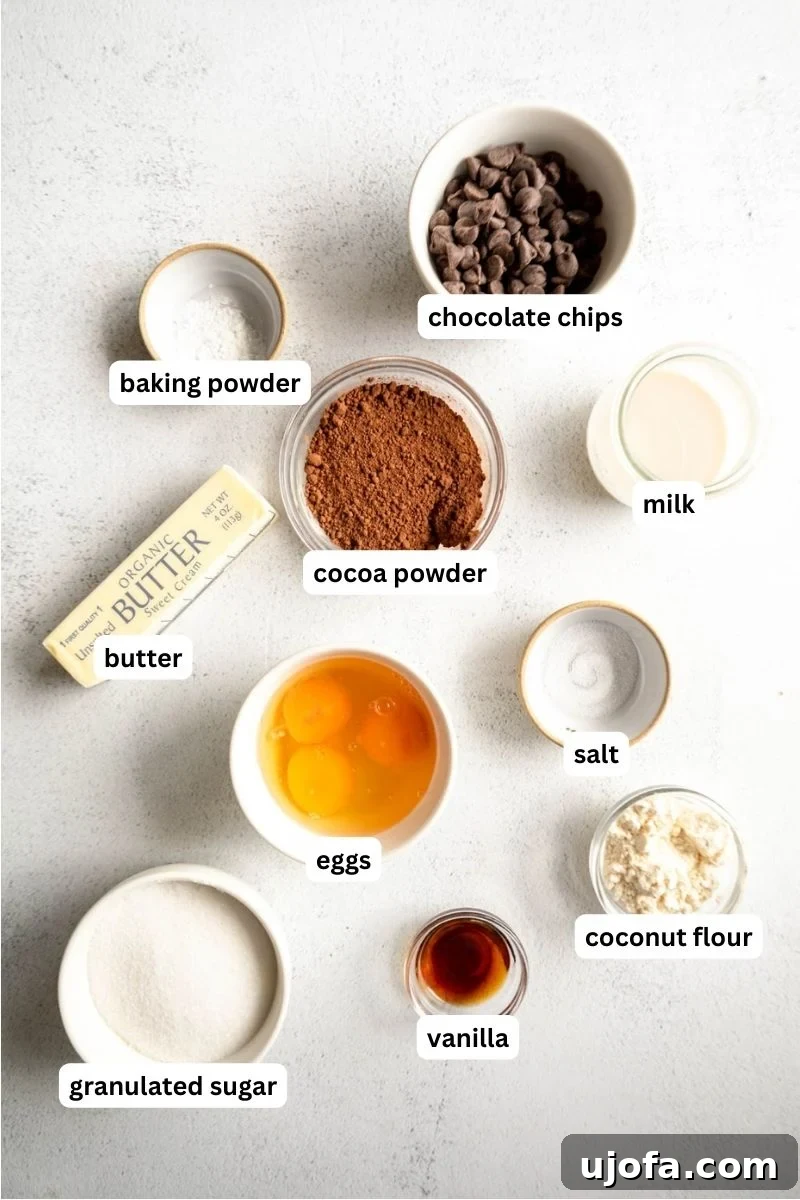
Crafting these exceptional brownies requires a few key ingredients, each playing a vital role in achieving their signature fudgy texture and rich flavor. Using high-quality components will elevate your baking experience and the final taste of your dessert. Here’s what you’ll need, along with insights into why each ingredient is chosen:
- Granulated Sugar: This provides the foundational sweetness and helps create that coveted crinkly top on your brownies. We use just enough to balance the cocoa’s bitterness without making them overly sweet, ensuring the chocolate truly shines.
- Butter: Melted unsalted butter is crucial for achieving a truly fudgy texture. Its fat content contributes to the dense, moist crumb we all love in a good brownie. Using unsalted butter allows you to control the overall saltiness of the recipe.
- Eggs: Room-temperature eggs are essential here. They act as a primary binder, holding all the ingredients together, while also contributing significant moisture and richness. Beating them with sugar helps create structure and a lighter texture.
- Vanilla Extract: A touch of pure vanilla extract doesn’t just add its own delightful aroma; it masterfully enhances and deepens the overall chocolate flavor, making your brownies taste even more luxurious.
- Milk: Whether you choose dairy or a dairy-free alternative (like almond or oat milk), milk adds essential moisture and creaminess to the batter, preventing dryness and ensuring a tender crumb.
- Cocoa Powder: For an intense, deep chocolate flavor, unsweetened natural cocoa powder is your best friend. I particularly recommend brands known for their rich cocoa, such as Hershey’s Cocoa Powder, to give these brownies their signature robust taste.
- Coconut Flour: The star of our recipe! This naturally gluten-free, grain-free, and low-carb flour is also notably high in fiber. Its unique absorbency is harnessed perfectly in this recipe to create brownies that are both light and incredibly fudgy.
- Baking Powder: Just a small amount of baking powder provides a subtle lift, contributing to a softer, more tender brownie without making it cakey. It helps ensure a pleasant chewiness.
- Salt: A pinch of salt is not to be overlooked! It’s a flavor enhancer that balances the sweetness and brings out the full depth of the chocolate, making every bite more satisfying.
- Chocolate Chips: While you can use any variety, semisweet chocolate chips are my personal preference. They melt beautifully into gooey pockets of chocolate throughout the brownies, adding an extra layer of indulgence. Feel free to experiment with dark or milk chocolate chips based on your preference.
Mastering the Bake: Expert Tips for Perfect Coconut Flour Brownies
Achieving brownie perfection, especially with a specialty flour like coconut flour, often comes down to a few critical details. These tips and suggestions are designed to guide you through the process, ensuring your brownies turn out impeccably fudgy, moist, and utterly delicious every single time. Pay close attention to these nuances, and you’ll be rewarded with a batch of brownies that will impress even the most discerning dessert connoisseurs.
- Always Verify Gluten-Free Status: When baking for dietary restrictions, it’s paramount to check that all your ingredients are certified gluten-free. Some brands may process their products in facilities that also handle wheat, leading to cross-contamination. Look for clear labeling to ensure your brownies are truly safe for those with gluten sensitivities.
- Prepare Your Pan Properly: Line your baking pan with parchment paper, leaving an overhang on two sides. This simple step makes lifting the cooled brownies out of the pan incredibly easy, preventing sticking and ensuring clean, beautiful slices.
- Patience is Key: Cool Before Slicing: Resist the urge to slice into your warm brownies immediately after they come out of the oven. Coconut flour brownies need time to set and firm up. Allowing them to cool completely in the baking pan before removing and slicing helps them maintain their perfect shape and prevents them from falling apart. This also enhances their fudgy texture.
- Avoid Overbaking at All Costs: This is arguably the most crucial tip for any brownie, but especially for those made with coconut flour. Coconut flour continues to absorb moisture even after baking. Once an inserted toothpick comes out with moist crumbs (not completely wet batter), or just clean, they’re ready to come out of the oven. The brownies will continue to cook slightly from residual heat in the pan as they cool. Overbaking is the quickest way to turn fudgy brownies into dry, crumbly disappointments.
- Measure Coconut Flour Precisely: Unlike other flours, where a slight deviation might be forgiving, precise measurement of coconut flour is critical due to its extreme absorbency. Please follow the ingredient amounts exactly as listed in the recipe. The batter might seem quite runny at first, and the small amount of coconut flour might appear insufficient, but trust the recipe – it is perfectly formulated. The coconut flour will soak up the excess moisture during baking, yielding perfectly fudgy brownies.
- Whip Eggs and Sugar for Structure: Don’t skip the step of whisking the eggs and granulated sugar together for at least one minute before adding other ingredients. This process incorporates air into the mixture, creating a stable emulsion that helps build the structure of the brownies and contributes to their light, airy yet fudgy texture. It’s a small effort with a big impact on the final result.
- Customize with Add-ins: While these brownies are incredible on their own, feel free to get creative! Fold in some chopped nuts like walnuts or pecans, dried cranberries, or even a swirl of peanut butter for an added layer of flavor and texture. Just be mindful not to overmix after adding them.
Can I Use a Different Type of Flour in This Recipe?
It’s important to understand that coconut flour is truly unique in the world of baking. Its unparalleled absorbency means that it cannot be directly substituted with any other type of flour, whether it’s wheat, almond, or another gluten-free blend, without completely overhauling the entire recipe. Swapping out coconut flour would necessitate significant alterations to the liquid ratios, binders, and other dry ingredients, effectively creating an entirely different recipe.
If you don’t have coconut flour on hand, or if you’re exploring other gluten-free baking options, I highly recommend trying one of our other delicious brownie recipes specifically designed for different flours. You might enjoy our easy gluten-free brownies for a classic taste, our almond flour brownies for a rich, dense alternative, or even our incredibly indulgent flourless brownies for a truly decadent, flour-free experience. Each of these recipes is perfectly balanced for its specific flour, ensuring delicious results every time.
Can You Taste Coconut Flour in Baking? Unlocking its Subtle Flavor Profile
This is a common question, and one that often causes hesitation for those new to baking with coconut flour. Coconut flour is derived from dried, ground coconut meat, and in its raw state, it does possess a distinct, subtly sweet, and nutty aroma, reminiscent of fresh coconut. However, what’s truly fascinating is how this flavor transforms and mellows during the baking process, especially when paired with strong, complementary flavors like rich chocolate.
In these brownies, the intense chocolate flavor takes center stage. While you might detect a very faint, pleasant nutty undertone, it rarely registers as an overpowering “coconut” taste. Instead, the coconut flour’s natural sweetness and mild earthiness beautifully complement the cocoa, adding depth and complexity without dominating the overall profile. Many people, myself included, find that once baked, the chocolate is the predominant flavor, with the coconut flour simply contributing to the delightful texture and adding a subtle, intriguing note that enhances the brownie experience rather than defining it. So, if you’re not a huge fan of strong coconut flavors, rest assured that these brownies are crafted to highlight the chocolate, making the coconut flour a subtle supporting act.
Creative Ways to Serve Your Coconut Flour Brownies
These fudgy coconut flour brownies are a dream on their own, but they also serve as a fantastic canvas for various delightful toppings and accompaniments. Elevate your dessert experience with these serving suggestions:
- Classic Indulgence: A generous scoop of vanilla bean ice cream melting over a warm brownie is a timeless pairing. The cool creaminess perfectly contrasts with the rich, warm chocolate.
- Whipped Cream & Fresh Berries: For a lighter, more elegant presentation, dollop a cloud of freshly whipped cream on top and scatter a handful of vibrant fresh berries like raspberries, strawberries, or blueberries. The tartness of the berries cuts through the richness beautifully.
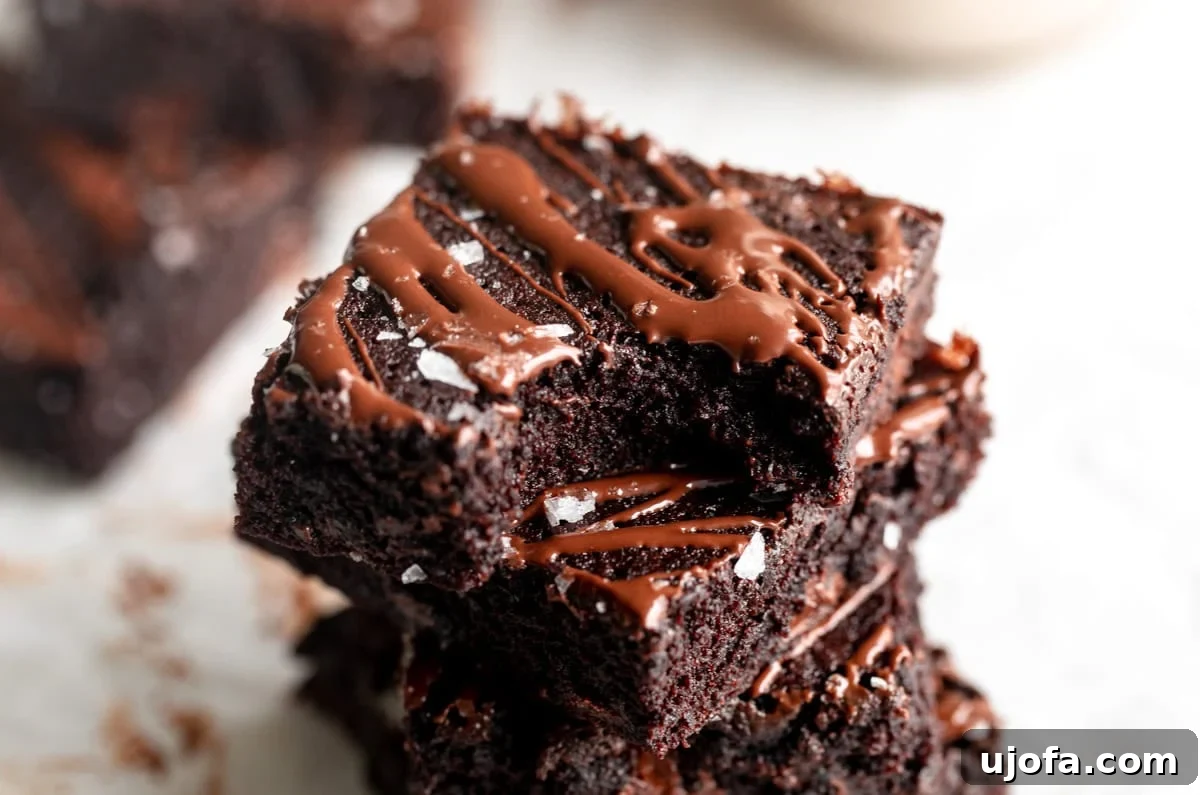
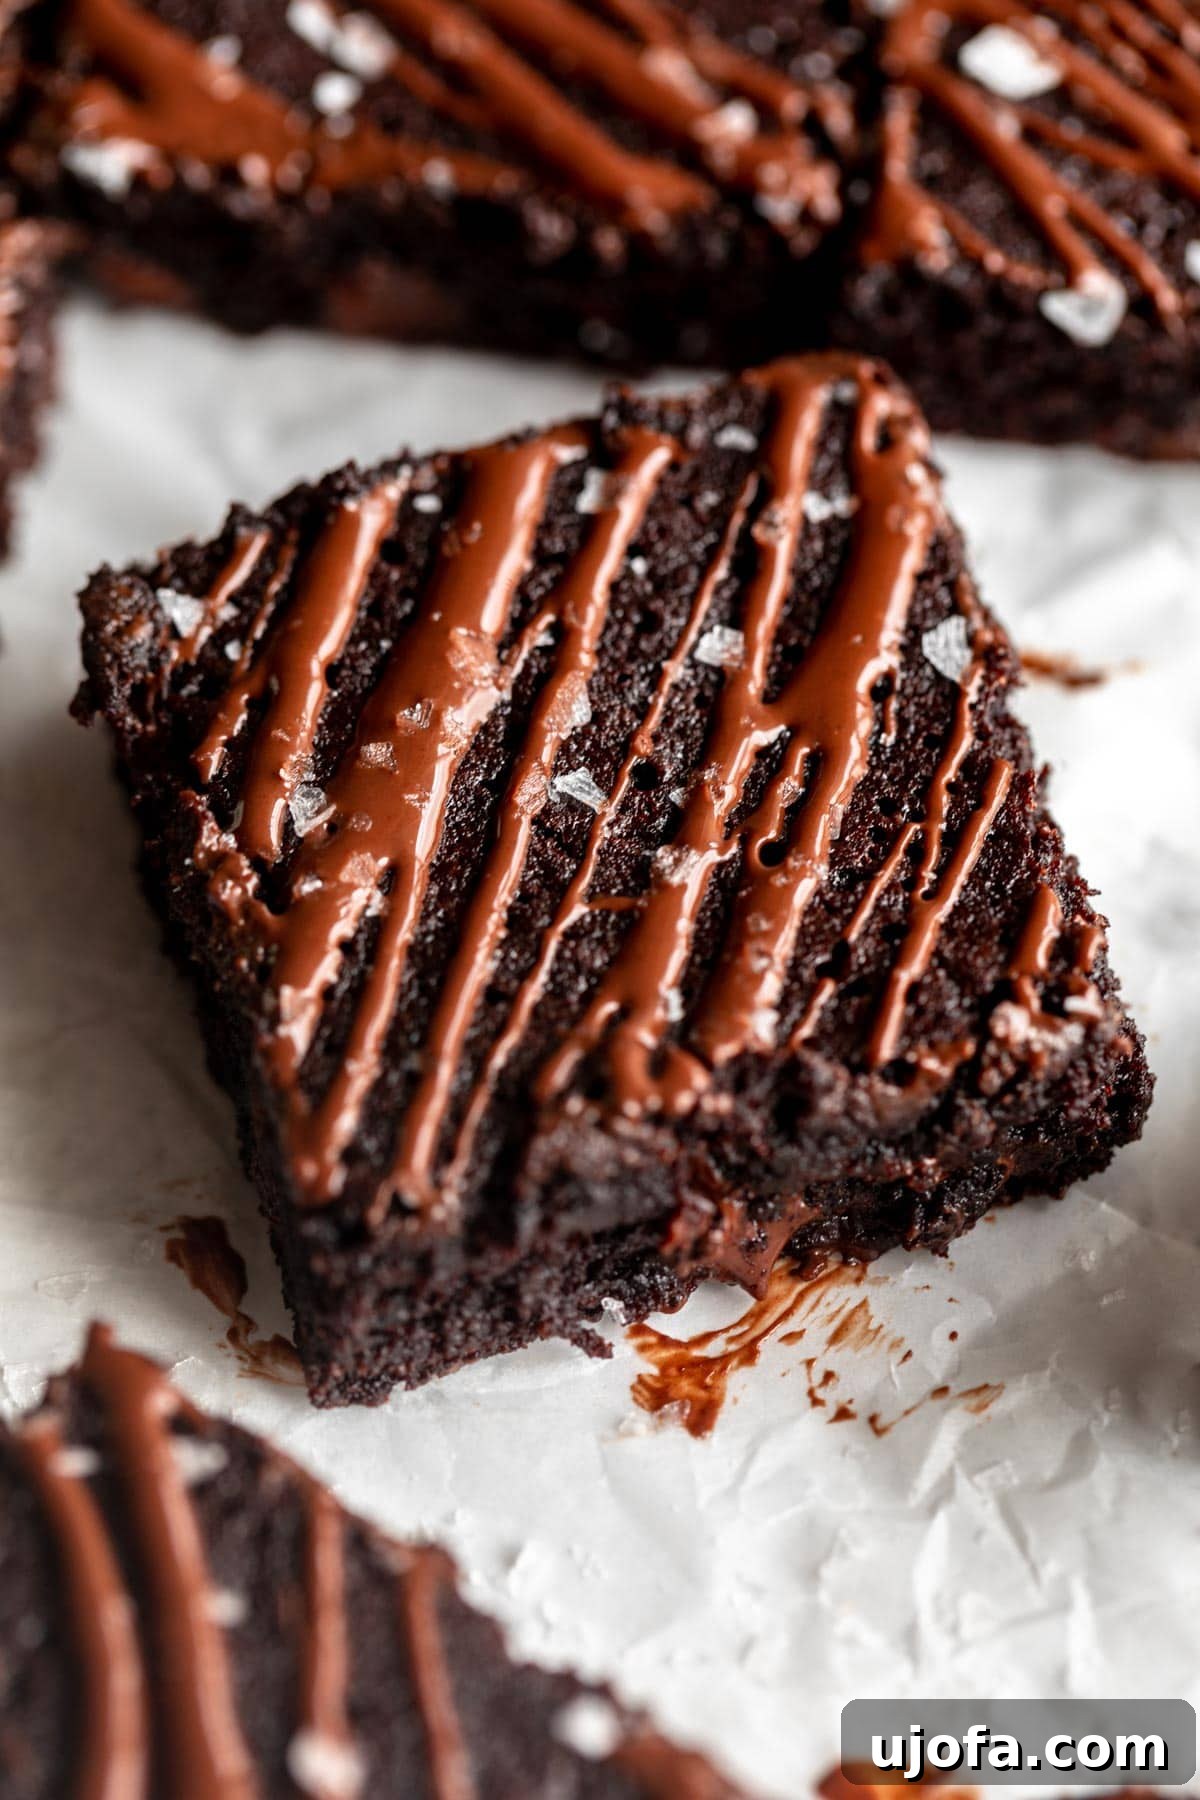
- Gourmet Drizzle: Take it up a notch by melting some leftover chocolate chips (or even a high-quality dark chocolate bar) and drizzling it artfully over the cooled brownies. A sprinkle of flaky sea salt on top after the drizzle sets will enhance the chocolate flavor and add a touch of sophistication.
- Nutty Crunch: For those who love texture, a sprinkle of toasted chopped pecans, walnuts, or even macadamia nuts can add a wonderful crunch and complementary flavor.
- Caramel or Peanut Butter Swirl: For an extra layer of decadence, swirl a spoonful of warm salted caramel sauce or creamy peanut butter over the top of each brownie before serving.
- Coffee or Hot Chocolate Companion: These rich brownies are an ideal companion to a hot cup of coffee, espresso, or a cozy mug of homemade hot chocolate.
Optimal Storage for Long-Lasting Freshness and Fudginess
Ensuring your delicious coconut flour brownies stay fresh and fudgy for as long as possible is key to enjoying them to the fullest. Here’s a comprehensive guide to storing them, whether you plan to savor them over a few days or save them for a future treat:
- Room Temperature (Up to 3 Days): For immediate enjoyment, store your cooled coconut flour brownies in an airtight container at room temperature. Place them on the counter away from direct sunlight. This method is perfect for keeping them moist and ready to eat within a few days.
- Refrigeration (Up to 1 Week): If you want to extend their shelf life and maintain their fudgy texture, transfer the cooled brownies to an airtight container and store them in the refrigerator. The cooler temperature helps preserve their moisture and prevents them from drying out. Simply bring them to room temperature for about 15-30 minutes before serving, or warm them slightly in the microwave for an extra gooey experience.
- Freezing for Long-Term Enjoyment (Up to 3 Months): These brownies freeze exceptionally well, making them perfect for meal prepping desserts or saving for a craving.
- Individual Wrapping: Once the brownies are completely cooled, wrap each individual brownie tightly in plastic wrap. This prevents freezer burn and makes it easy to thaw only what you need.
- Freezer-Safe Container: Place the individually wrapped brownies into a freezer-safe container or a heavy-duty freezer bag. Squeeze out as much air as possible before sealing.
- Thawing: When you’re ready to enjoy them, transfer the desired number of brownies to the refrigerator to thaw overnight. Alternatively, you can let them thaw at room temperature for a few hours. For a warm, freshly baked feel, you can even gently reheat a thawed brownie in the microwave for 15-20 seconds.
Expand Your Gluten-Free Baking with More Coconut Flour Recipes!
If you’ve fallen in love with the versatility and benefits of coconut flour after trying these amazing brownies, you’re in luck! This remarkable gluten-free, grain-free, and high-fiber flour can be used to create a wide array of delicious baked goods. Don’t limit yourself; explore new ways to incorporate coconut flour into your daily baking routine. Here are some other fantastic coconut flour recipes from our collection that we think you’ll adore:
- Coconut Flour Banana Bread: A moist and flavorful banana bread that’s perfect for breakfast or a snack, offering a delightful texture thanks to coconut flour.
- Coconut Flour Pancakes: Start your day right with these light and fluffy pancakes, a healthy and delicious alternative to traditional pancakes.
- Coconut Flour Bread: Discover how to make a wholesome and satisfying loaf of bread using coconut flour, perfect for sandwiches or toast.
- Coconut Flour Chocolate Chip Cookies: Indulge in chewy, chocolatey cookies that are naturally gluten-free and incredibly satisfying.
Coconut Flour Brownies
Share by Email
Print Recipe
Ingredients
1x – 2x – 3x
- ¾ cup granulated sugar
- ½ cup butter, melted
- 3 eggs
- 1 teaspoon vanilla extract
- ¼ cup milk
- ½ cup cocoa powder
- 4 tablespoons coconut flour
- ¼ teaspoon baking powder
- ¼ teaspoon salt
- ½ cup chocolate chips
Instructions
- Preheat the oven to 350°F (177°C).
- Line a 9×9 pan with parchment paper and set aside.
- In a bowl, beat together the eggs and sugar for about 1 minute.
- Add in the melted butter, vanilla extract, and milk. Beat until combined.
- Add in the cocoa powder, coconut flour, baking powder, and salt.
- Mix until combined, then fold in the chocolate chips.
- Bake for 25-30 minutes or until a toothpick comes out clean.
- Let cool, then slice and enjoy.
Notes
- Check all your ingredients are certified gluten-free before using. Some brands manufacture in facilities that also process wheat-containing products.
- Line the baking pan with parchment paper to make lifting the brownies out easier.
- Let your coconut flour brownies cool in the baking pan before removing and slicing. This helps them hold their shape and stops them from falling apart.
- Be careful not to overbake the brownies! Once an inserted toothpick comes out clean, they’re ready to come out of the oven. They’ll continue cooking in the pan while they cool down, so it’s really important not to leave them in the oven for too long, or they’ll become dry and crumbly.
- Please follow the ingredient amounts exactly as I’ve listed in the recipe. The batter might feel very runny at first, and the small amount of coconut flour may not seem enough, but trust me—it is. The coconut flour will soak up most of the moisture, and the brownies will come out perfectly fudgy!
- Whisk the eggs and sugar together for about 1 minute before adding the other ingredients. This step might seem tedious, but it’s crucial for adding air to the batter and creating structure for the brownies.
- Feel free to fold in some chopped nuts or dried fruit for added flavor!
- To Store: Keep in an airtight container at room temperature for up to 3 days, or store in the fridge for up to a week.
- To Freeze: Wrap individual brownies in plastic wrap and store them in a freezer bag for up to 3 months. Thaw overnight in the fridge or at room temperature for a few hours.
- Mama says, “Check your labels!”
Nutrition
Calories: 143kcal
Carbohydrates: 16g
Protein: 2g
Fat: 9g
Saturated Fat: 5g
Polyunsaturated Fat: 0.4g
Monounsaturated Fat: 2g
Trans Fat: 0.2g
Cholesterol: 46mg
Sodium: 106mg
Potassium: 76mg
Fiber: 2g
Sugar: 13g
Vitamin A: 228IU
Calcium: 22mg
Iron: 1mg
Nutrition information is automatically calculated, so should only be used as an approximation.
Additional Info
Tried this recipe?Mention @mamaknowsglutenfree or tag #mamaknowsglutenfree!
How to Make Delicious Coconut Flour Brownies: A Step-by-Step Visual Guide
Baking these incredible coconut flour brownies is a straightforward and rewarding process. Follow these detailed steps, complete with visual cues, to ensure your brownies are perfectly fudgy and moist every time. Precision is key, especially when working with coconut flour, so take your time and enjoy the journey!
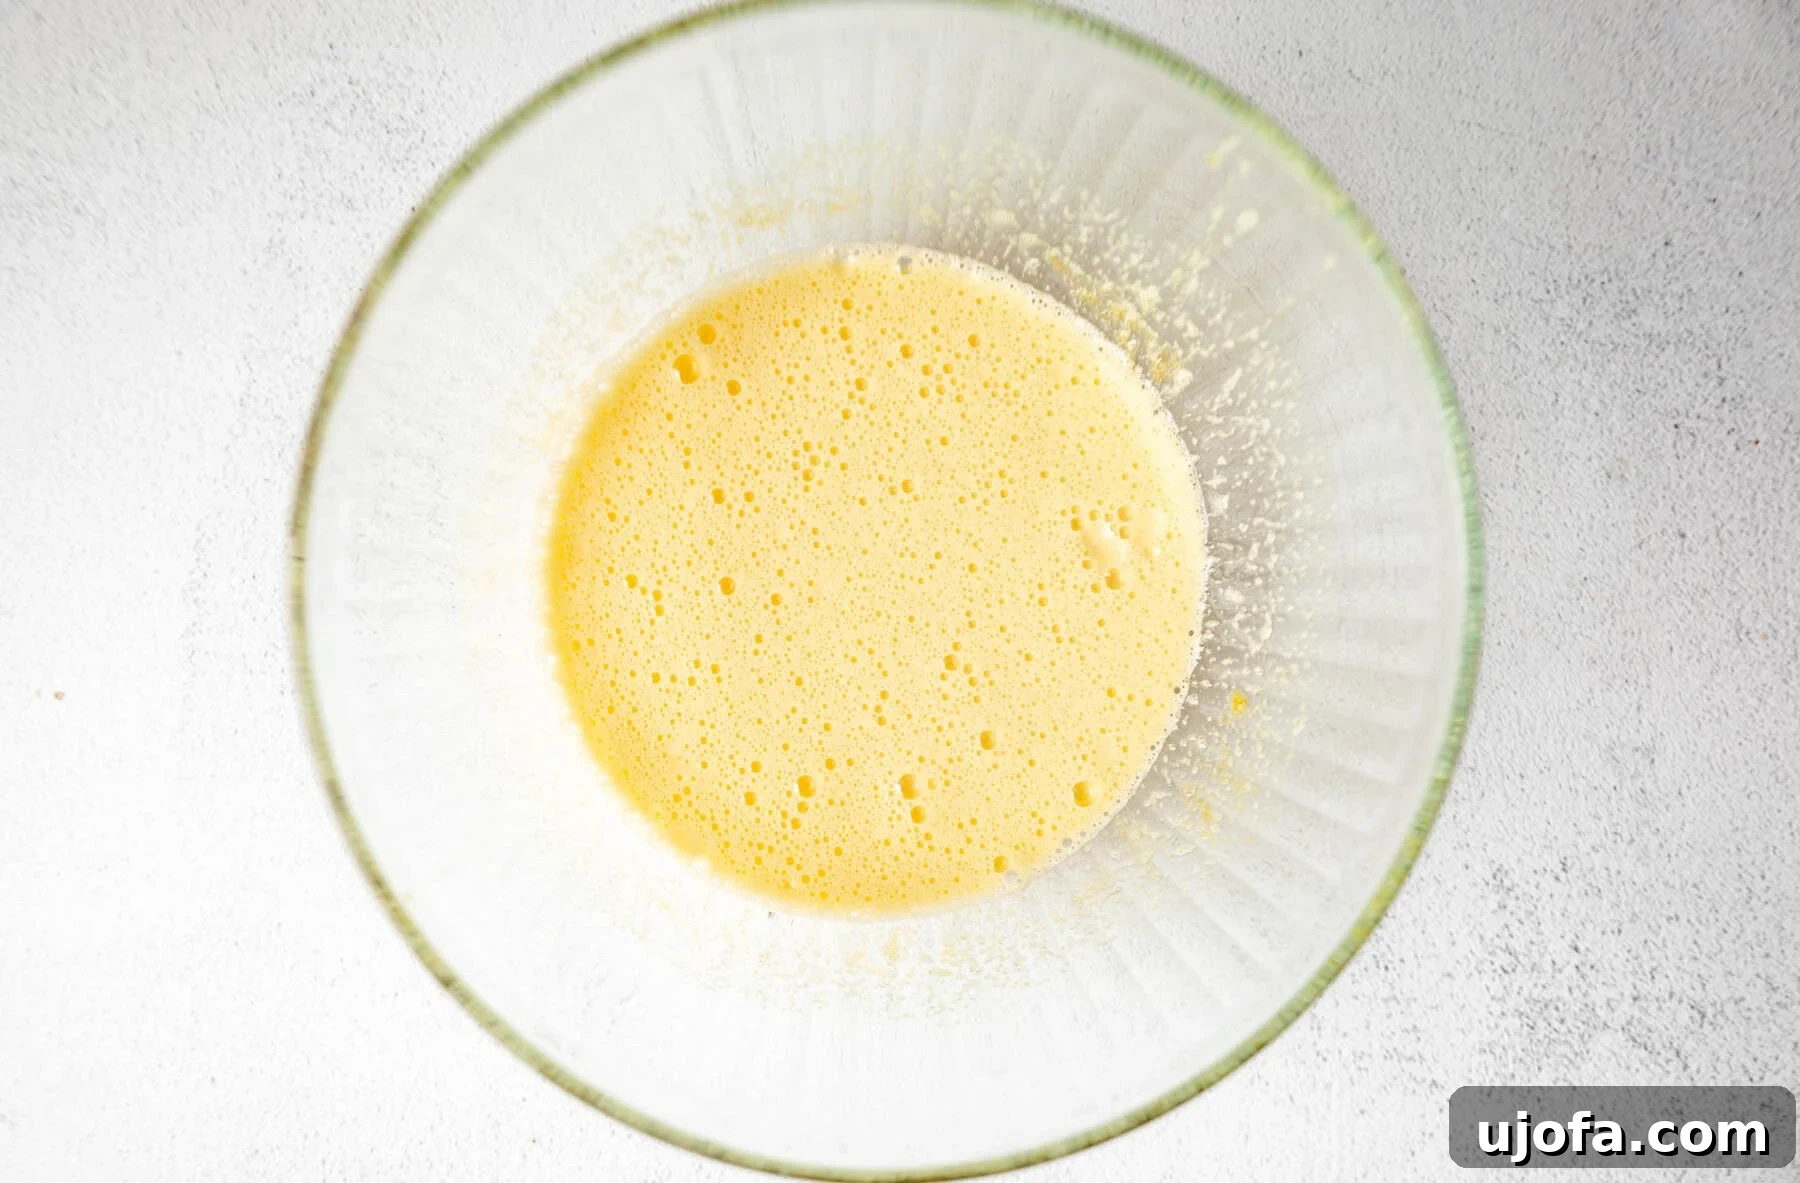
Step 1: Prepare Your Workspace and Wet Ingredients. Begin by preheating your oven to a consistent 350°F (177°C). While the oven heats, line a 9×9-inch baking pan with parchment paper, allowing some overhang on the sides for easy removal later. Set this prepared pan aside. In a spacious mixing bowl, combine 3 large room-temperature eggs with ¾ cup of granulated sugar. Using an electric mixer or a whisk, beat these two ingredients together vigorously for approximately 1 minute, until the mixture becomes pale yellow, smooth, and slightly frothy. This crucial step incorporates air, which contributes to the brownies’ final texture.
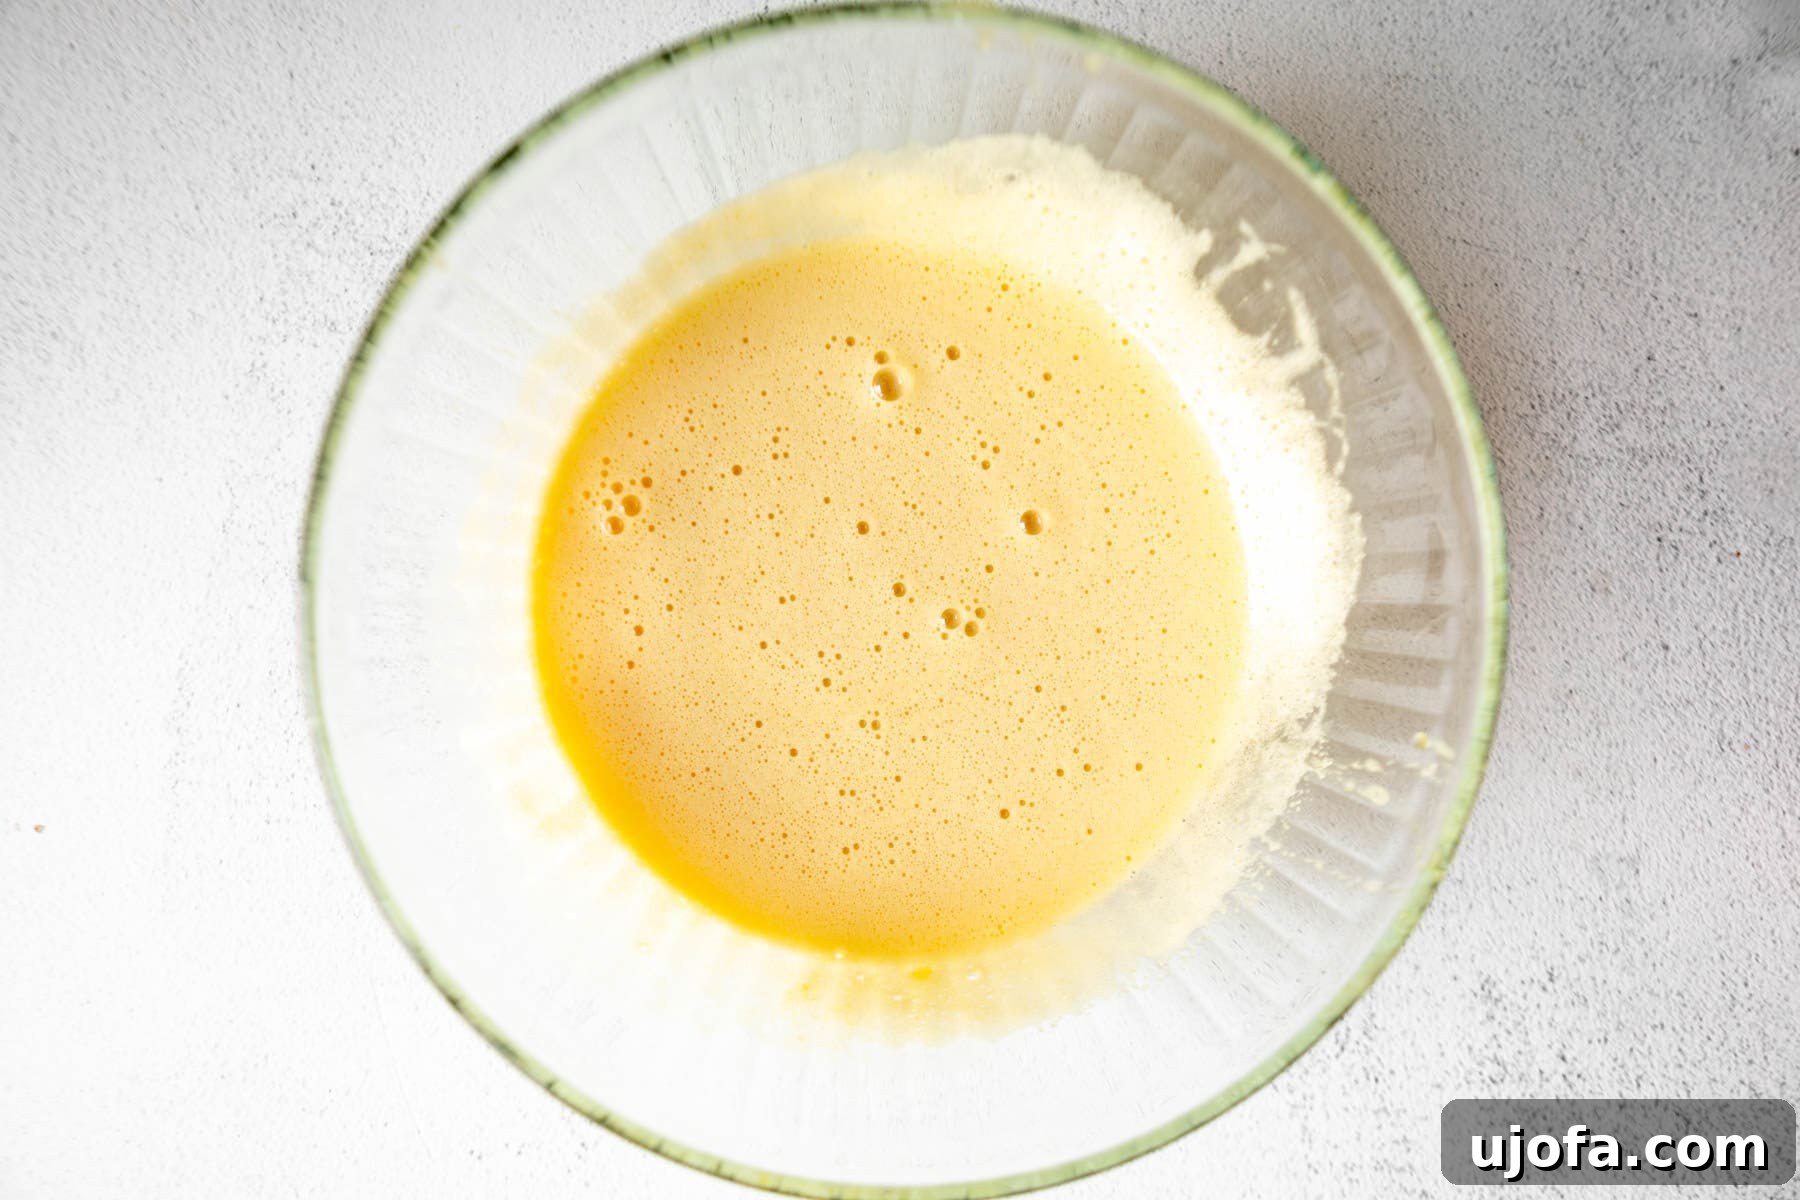
Step 2: Incorporate Additional Liquids. To the beaten egg and sugar mixture, add ½ cup of melted unsalted butter, 1 teaspoon of pure vanilla extract, and ¼ cup of your preferred milk (dairy or non-dairy both work well). Continue to beat or whisk these ingredients until they are thoroughly combined and the mixture is smooth and uniform. Ensure there are no streaks of unmixed butter or milk, as this ensures even distribution of moisture throughout the batter.
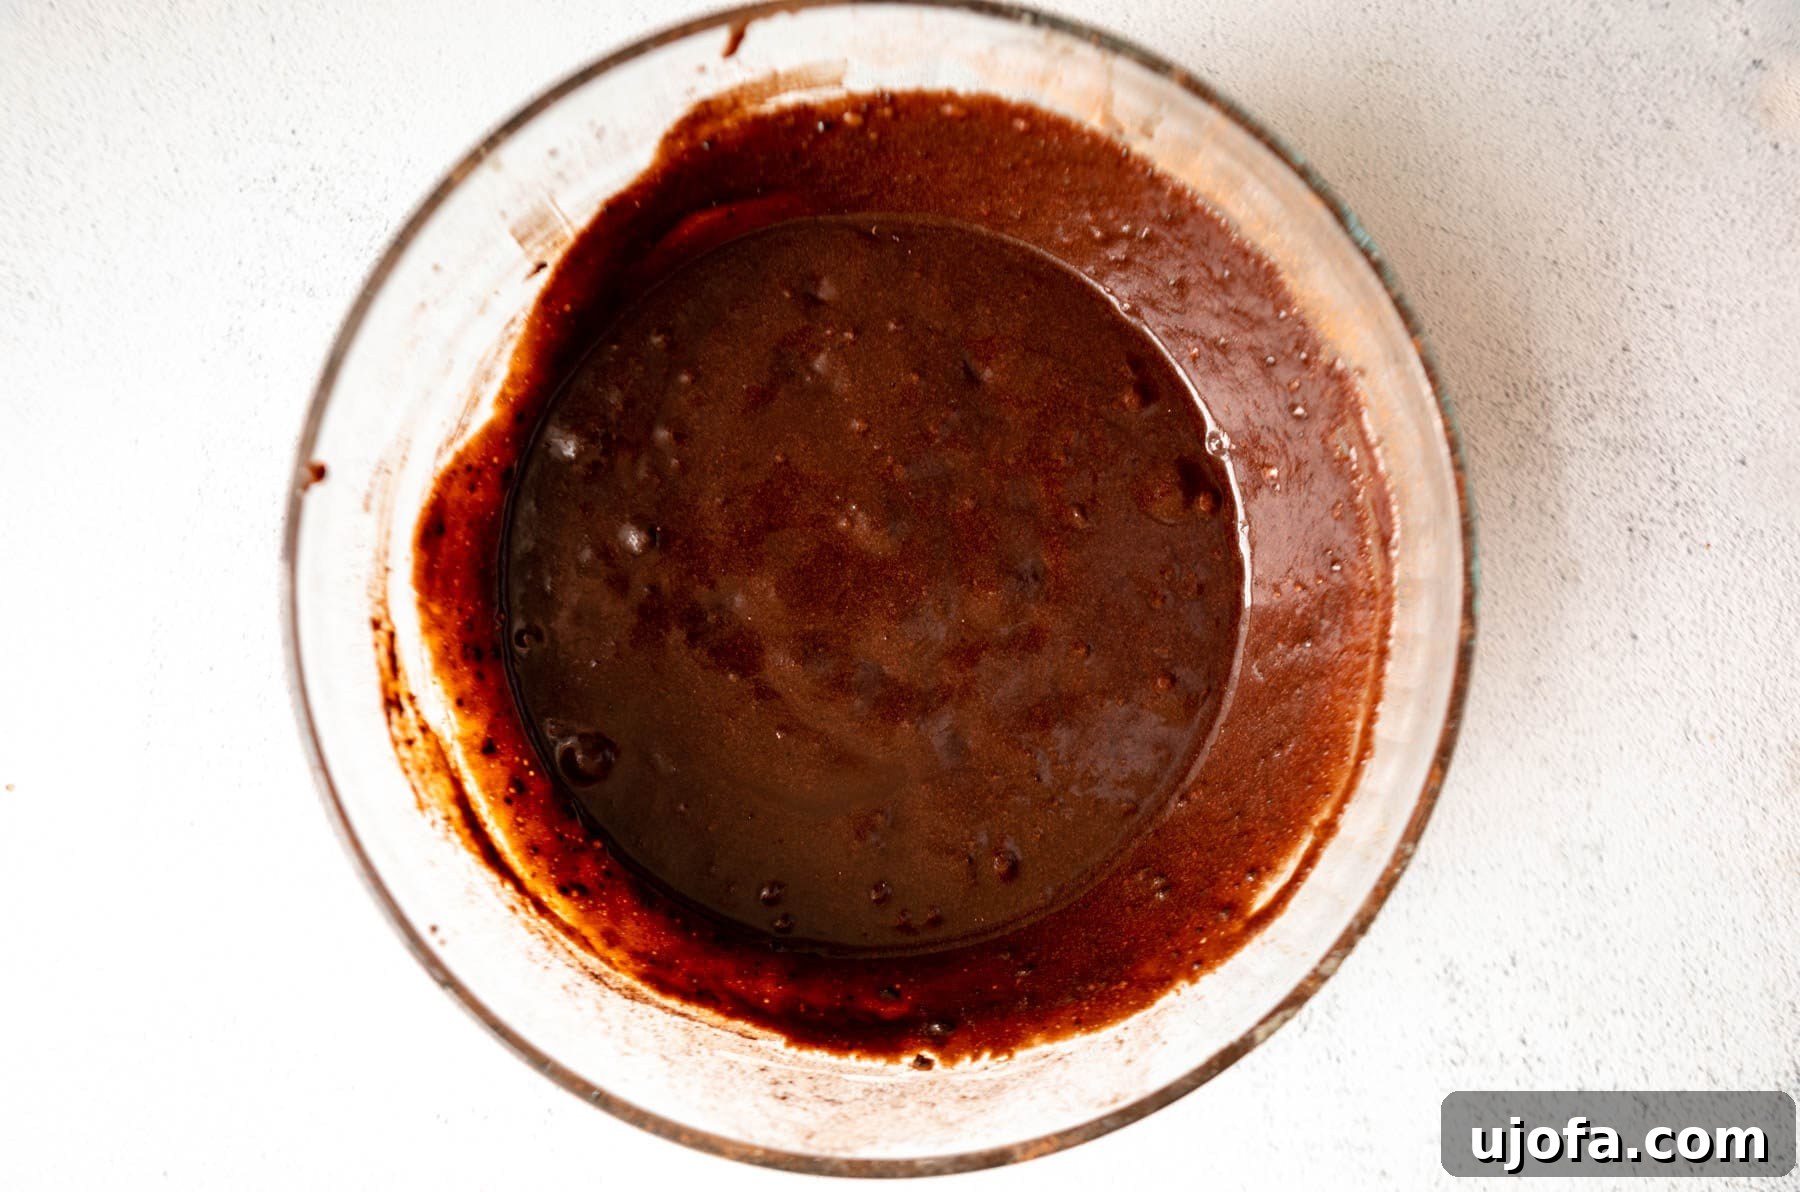
Step 3: Add Dry Ingredients and Chocolate Chips. Now, it’s time to introduce the dry components. Add ½ cup of unsweetened cocoa powder, 4 precise tablespoons of coconut flour, ¼ teaspoon of baking powder, and ¼ teaspoon of salt to the wet mixture. Mix these ingredients thoroughly until just combined. Be careful not to overmix, which can lead to tough brownies. Once the batter is smooth and a rich dark brown, gently fold in ½ cup of your chosen chocolate chips. This ensures they are evenly distributed throughout the batter without being crushed.
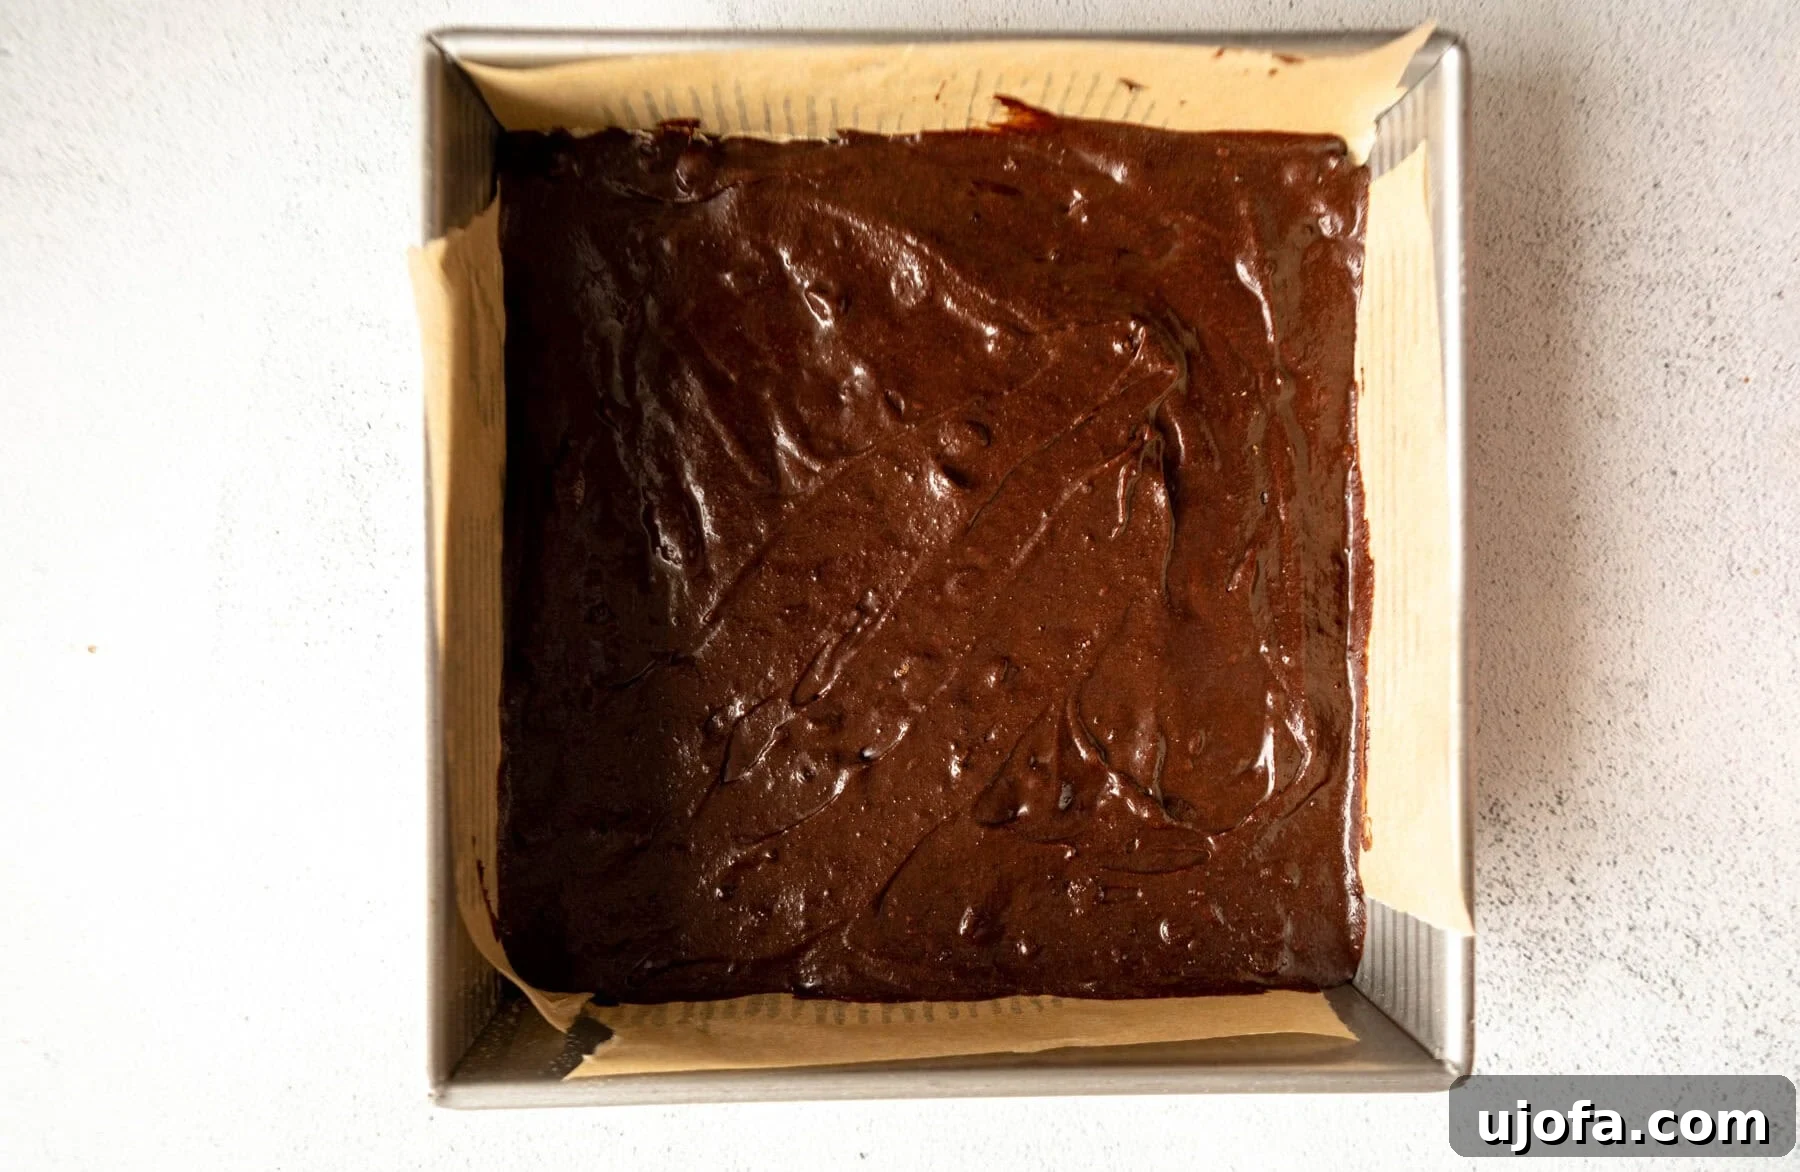
Step 4: Bake, Cool, and Enjoy! Carefully pour the luscious coconut flour brownie batter into your previously prepared 9×9-inch baking pan, spreading it evenly with a spatula. Transfer the pan to your preheated oven and bake for approximately 25-30 minutes. The brownies are ready when a toothpick inserted into the center comes out clean or with a few moist crumbs attached (not wet batter). This indicates they are perfectly fudgy. Remember, they will continue to set as they cool. Once baked, remove the pan from the oven and let the brownies cool completely in the pan before lifting them out using the parchment paper overhang. Slice into squares, and savor every rich, fudgy bite!