
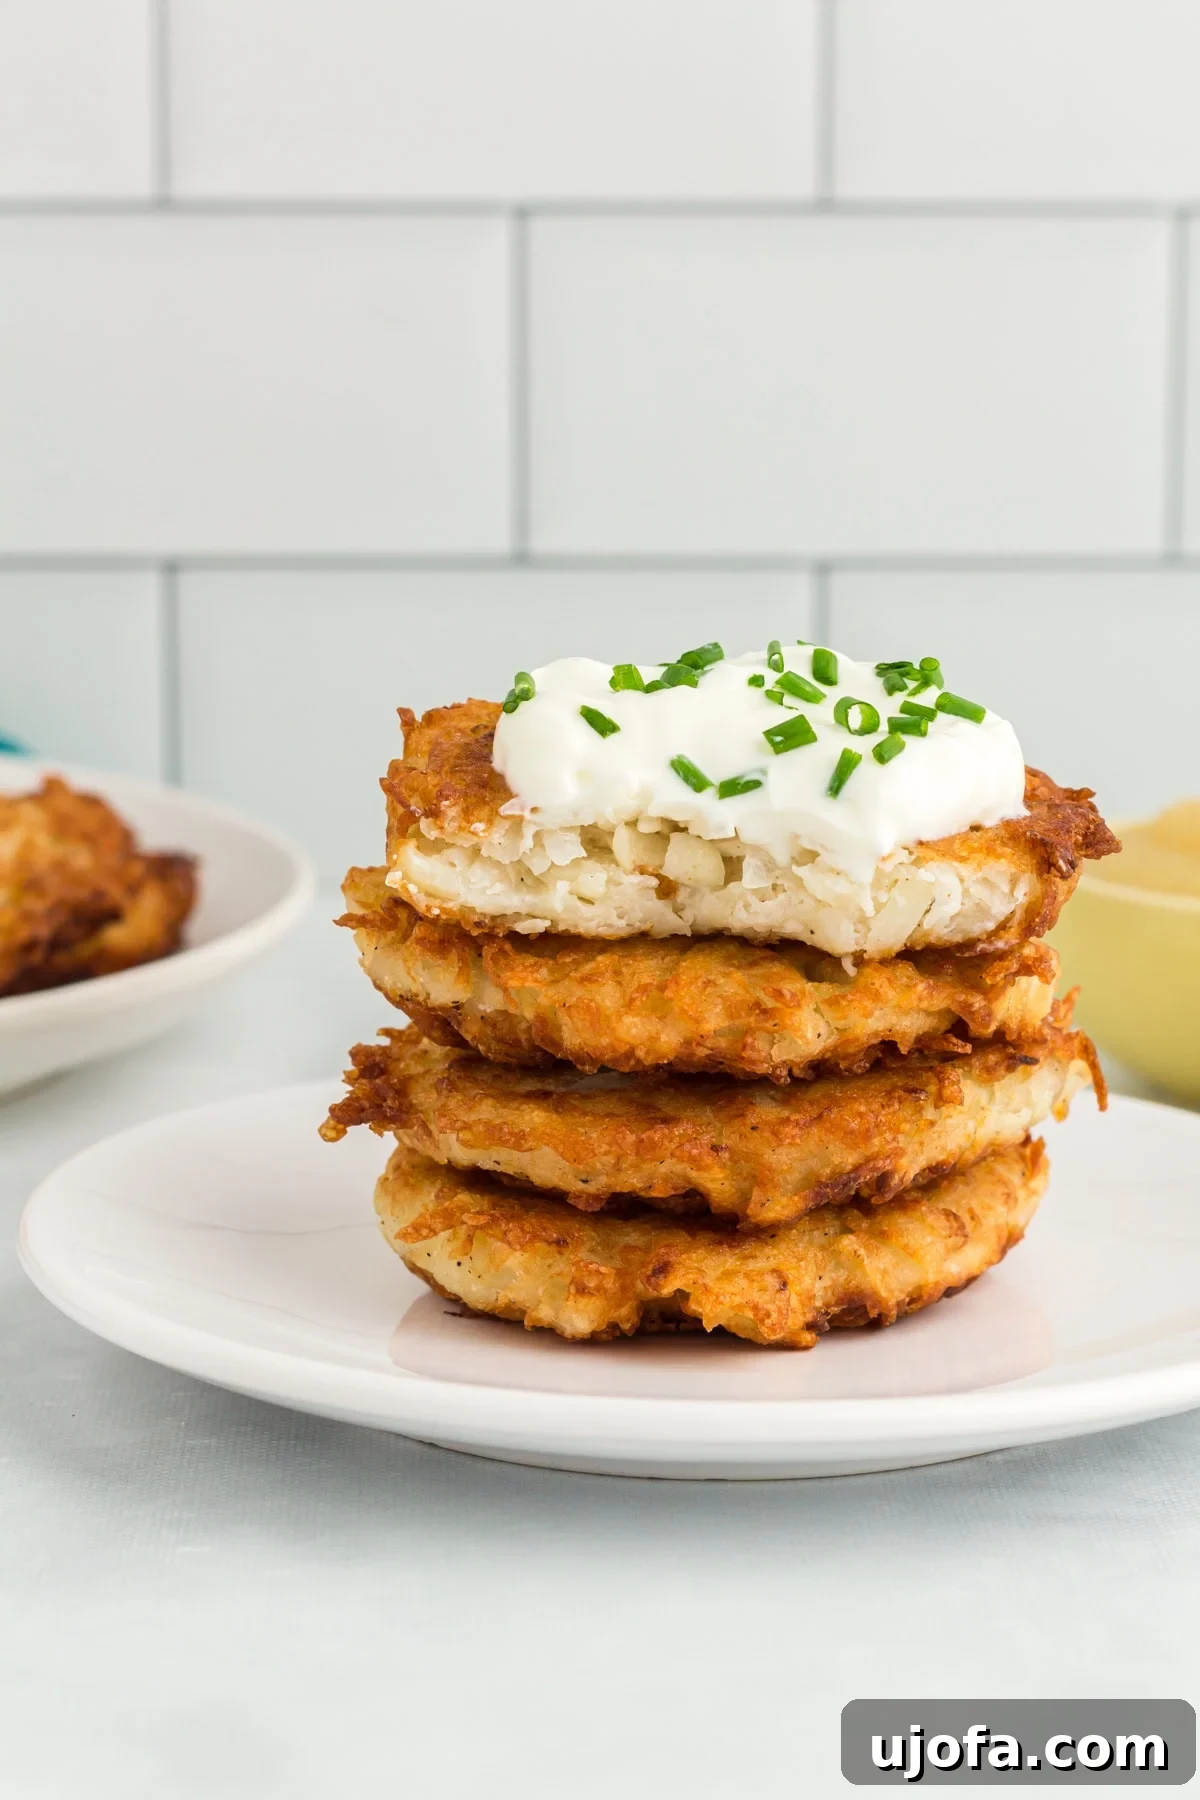
Crispy & Delicious Gluten-Free Potato Latkes: Your Ultimate Hanukkah Recipe
Discover the magic of homemade gluten-free potato latkes that promise crisp, golden edges and a wonderfully soft, fluffy center every single time. Crafted with humble ingredients like shredded russet potatoes, aromatic onion, farm-fresh eggs, and gluten-free flour, these latkes are a simple yet profoundly satisfying staple. Whether you’re celebrating Hanukkah or simply gathering with loved ones for a holiday feast, this recipe delivers perfection in about 30 minutes, pan-fried to an irresistible crunch.
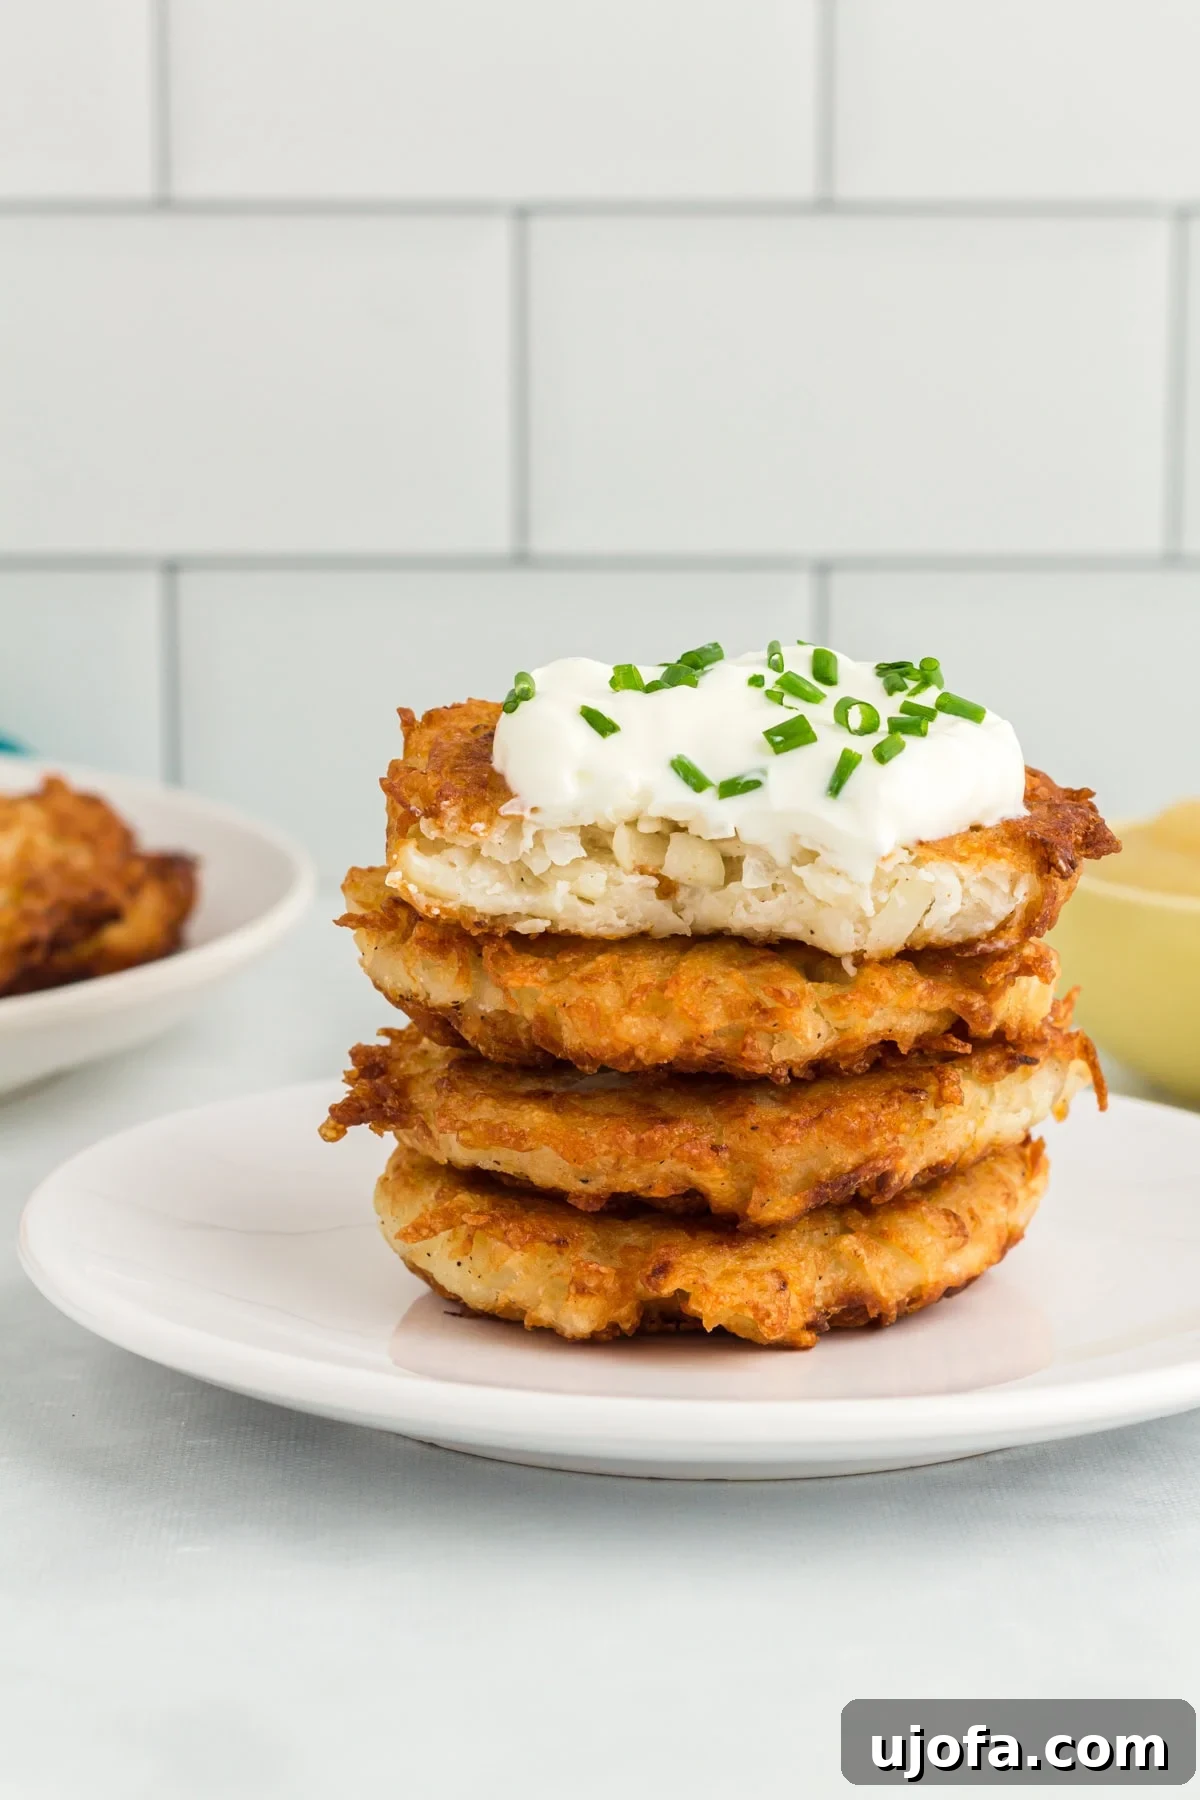
For many, latkes evoke a sense of warmth, family, and celebration. I vividly recall the joyous scramble as platters of these golden potato pancakes arrived at the table, disappearing almost as quickly as they were served, everyone eager to snag the crispiest ones. The secret to those coveted lacy, browned edges lies in a few simple ingredients and a crucial step: diligently squeezing out every drop of excess moisture from the potatoes. This gluten-free version maintains that beloved light texture and clean flavor, ensuring everyone can partake in the tradition. Serve them sizzling hot from the skillet, accompanied by classic applesauce, creamy sour cream, or a delightful combination of both—a tradition in my home!
Why These Gluten-Free Potato Latkes Are a Must-Try
This recipe isn’t just about being gluten-free; it’s about perfecting the art of the latke. We focus on techniques that guarantee maximum crispiness and an interior that’s tender, never mushy. By choosing specific potatoes and mastering the moisture removal process, you’ll achieve latkes that rival any traditional recipe. They are incredibly versatile, fitting seamlessly into holiday celebrations like Hanukkah, or acting as a delightful side dish for any meal. Plus, with a total time of just 30 minutes, they’re a quick and satisfying option for busy cooks.
Essential Gluten-Free Cooking Tips for Perfect Latkes
Crafting perfect gluten-free latkes is an achievable goal with these expert tips, designed to ensure your potato pancakes are consistently crisp, flavorful, and bind beautifully.
- Verify Gluten-Free Labeling: Always double-check ingredient packages for “gluten-free” certifications. This includes your chosen flour, spices, and even the cooking oil, as cross-contamination can occur in manufacturing. Look for clear labeling to avoid hidden gluten.
- Choose Russet Potatoes: Russet potatoes are the star of latkes for a reason. Their higher starch content and lower moisture level are ideal, contributing to a superior bind and an exceptionally crispy outcome when fried. Avoid waxy potatoes, which tend to be too moist and can result in soggy latkes.
- Soak, Don’t Rinse After Draining: After grating and soaking your potatoes for 10 minutes to remove surface starch, drain them thoroughly. Crucially, do NOT rinse them again with fresh water. The residual natural starch left on the potatoes is what acts as a binder, preventing your latkes from falling apart during frying.
- Finely Grate and Squeeze Onion: For the best texture and flavor distribution, grate your onion very finely, almost to an applesauce-like consistency. It’s essential to squeeze the grated onion along with the potatoes to eliminate as much moisture as possible. Excess onion liquid can make the latke batter watery.
- Pan-Fry, Don’t Deep-Fry: While deep-frying might seem like an easy option, pan-frying offers more control and yields a better texture for latkes. The oil in your pan should only come about one-quarter of the way up the sides of the latkes, not fully submerge them. This allows for controlled browning and ensures they cook through without becoming greasy.
- Flip with Care: Freshly formed latkes are delicate. Use a thin, wide spoon or spatula to flip them gently. Avoid using metal tongs, which can easily cause them to crumble or break before they’ve had a chance to crisp up. Patience is key during this stage.
Gluten-Free Potato Latkes Recipe
Author: Cheryl Johnson
Yields: 8 latkes
Prep time: 15 mins
Cook time: 15 mins
Total time: 30 mins
Email Recipe
Print Recipe
These gluten-free potato latkes deliver an incredible combination of crisp, golden exteriors and tender, flavorful interiors. Made with simple ingredients, they are a perfect, quick-to-prepare addition to any holiday table or a comforting treat for any day.
Ingredients
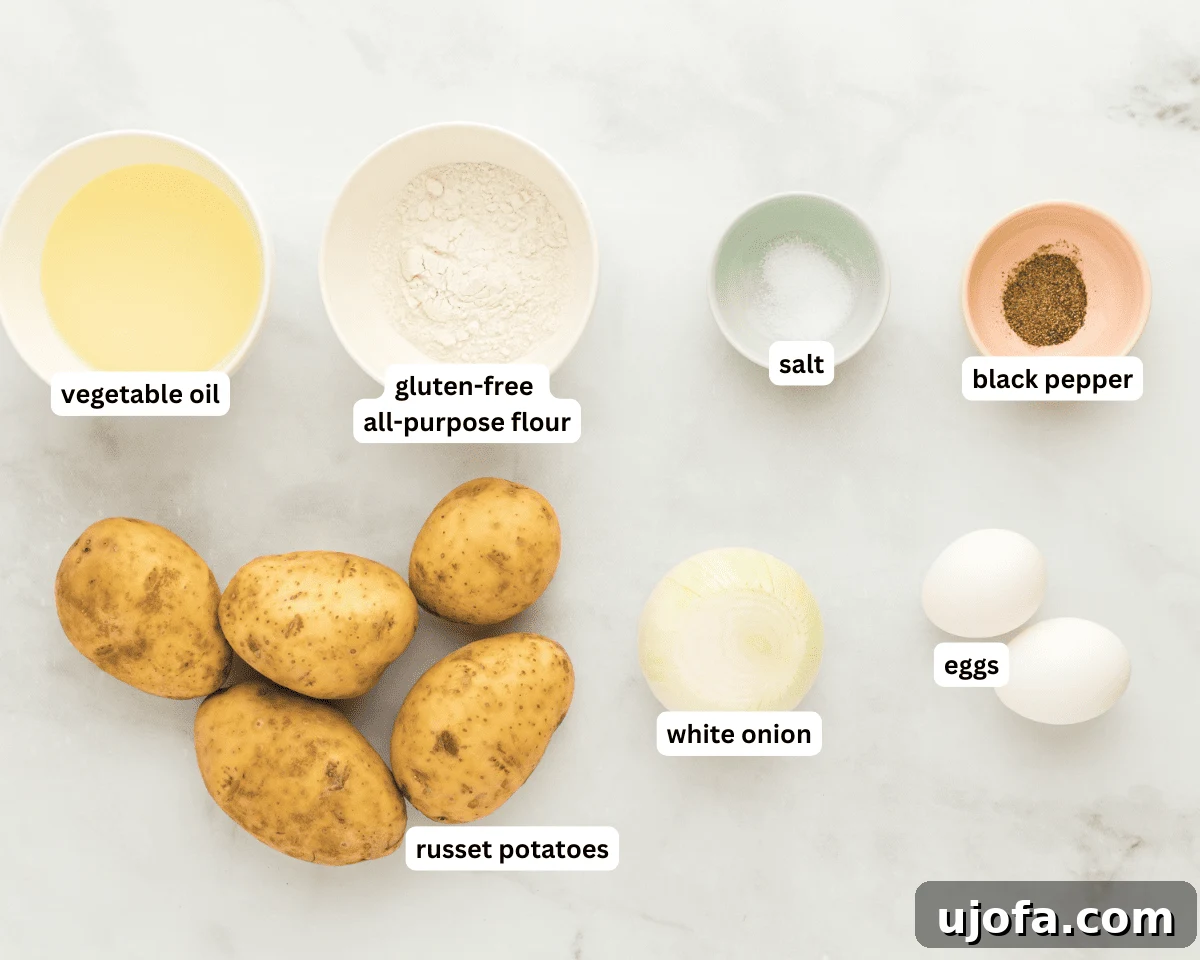
- 4-5 medium-sized russet potatoes (yielding about 4 cups, loosely packed, when grated)
- 1 small white onion (approximately ¼ cup or 30 grams when grated)
- 2 large eggs
- ¼ cup gluten-free all-purpose flour
- ½ tsp salt
- ¼ tsp ground black pepper
- ½ cup vegetable oil (for frying)
Instructions
- Prepare Potatoes: Peel 4 to 5 medium russet potatoes. Grate them using a box grater or food processor until you have approximately 4 cups of loosely packed grated potatoes.
- Soak Potatoes: Place the grated potatoes in a large bowl and completely cover them with cold water. Let them soak for 10 minutes. This step is crucial for rinsing out excess surface starch, which helps prevent a gummy texture and promotes crispiness.
- Grate Onion: While the potatoes are soaking, finely grate 1 small white onion. You should yield about ¼ cup (approximately 30 grams) of grated onion.
- Squeeze Out Moisture: Drain the water from the grated potatoes thoroughly. Then, combine the drained potatoes and grated onion in a cheesecloth or a clean, thin kitchen towel. Squeeze out as much liquid as humanly possible. This is the most critical step for achieving truly crispy latkes.
- Mix Batter: Transfer the squeezed potato and onion mixture into a large mixing bowl. Add the 2 large eggs, ¼ cup gluten-free all-purpose flour, ½ teaspoon salt, and ¼ teaspoon ground black pepper. Stir all ingredients together until they are well combined into a cohesive batter.
- Prepare Baking Sheet: Line a large baking sheet with parchment paper and set it aside. This will hold your shaped latkes before frying.
- Shape Latkes: Using a ¼-cup measuring cup, portion out the latke mixture. For each portion, give it a final squeeze to remove any remaining moisture, then gently press it into a patty about ½-inch thick. Arrange the shaped latkes on the parchment-lined baking sheet.
- Heat Oil: Pour about ¼ cup of vegetable oil into a cast-iron or heavy-bottom frying pan. Heat the oil over medium-low heat until it reaches approximately 300°F (150°C). Use a kitchen thermometer for accuracy. The oil should come about one-quarter up the sides of the latkes during frying.
- Pan Fry: Working in small batches to avoid overcrowding the pan, carefully place a few shaped latkes into the hot oil. Fry for about 2 minutes per side, or until each latke is beautifully golden-brown and crispy. Gently flatten each latke slightly with the back of a spoon or spatula during frying to ensure even cooking without breaking them.
- Drain Excess Oil: As each batch of latkes finishes frying, remove them from the pan and immediately place them on a plate lined with paper towels. This will absorb any excess oil, maintaining their crispness.
- Continue Frying: Continue this process until all latkes are cooked. Add additional oil to the pan as needed, ensuring it returns to the correct temperature before adding the next round.
- Serve Hot: Serve your delicious gluten-free potato latkes piping hot, with your preferred accompaniments.
Notes
- Flour Choice: A standard gluten-free all-purpose flour blend works perfectly here to bind the ingredients without affecting texture. No need for specialized gluten-free flour blends.
- Clean Oil: While frying, occasionally use a slotted spoon to skim out any loose potato or onion bits from the hot oil. This prevents them from burning and imparting a bitter flavor to subsequent batches.
- Oil Management: Remember to add more oil between batches as needed to maintain the recommended oil level, and always allow the oil to reheat to 300°F (150°C) before adding the next batch of latkes.
Nutrition Facts (per serving)
- Serving: 1 latke
- Calories: 238 kcal
- Carbohydrates: 23g
- Protein: 4g
- Fat: 15g
- Saturated Fat: 2g
- Polyunsaturated Fat: 8g
- Monounsaturated Fat: 4g
- Trans Fat: 0.1g
- Cholesterol: 41mg
- Sodium: 167mg
- Potassium: 480mg
- Fiber: 2g
- Sugar: 1g
- Vitamin A: 61 IU
- Vitamin C: 7mg
- Calcium: 26mg
- Iron: 1mg
Nutrition information is automatically calculated and should be used as an approximation.
Additional Info
Course: Appetizer, Side Dish
Cuisine: Jewish
A Step-by-Step Visual Guide to Making Gluten-Free Potato Latkes
For those who prefer a visual walkthrough, this detailed guide breaks down each step with accompanying images, ensuring your gluten-free latkes turn out perfectly crispy and delicious every time.
Step 1: Prep Your Potatoes and Onion. Start by carefully peeling 4 to 5 medium russet potatoes. Russets are highly recommended for latkes due to their high starch content, which is key for both binding and achieving that sought-after crispiness. Once peeled, grate the potatoes into a large bowl. Aim for approximately 4 cups of loosely packed grated potatoes. Simultaneously, finely grate 1 small white onion. This should yield about ¼ cup (or 30 grams) of grated onion. Fine grating ensures the onion seamlessly integrates into the latke mixture, distributing its savory flavor evenly without chunky bits.
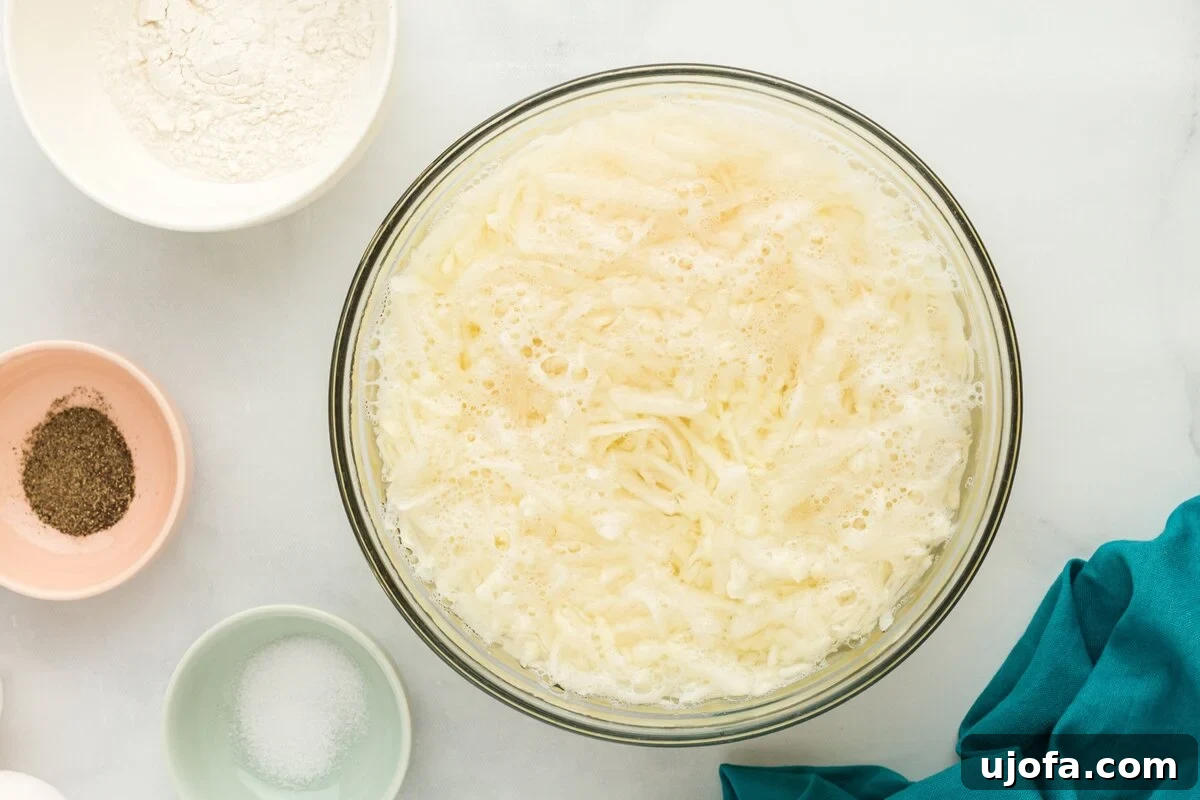
Step 2: The Crucial Soak and Squeeze. Once grated, place your potatoes into a large bowl and cover them completely with cold water. Let them soak for exactly 10 minutes. This soaking process is vital as it helps to rinse away the excess surface starch that can lead to soggy, gummy latkes. After soaking, thoroughly drain all the water from the potatoes. Then, combine the drained potatoes and the grated onion in a cheesecloth or a very clean, thin kitchen towel. Squeeze out as much liquid as you possibly can. The drier your potato mixture, the crispier your latkes will be—this step cannot be overemphasized!
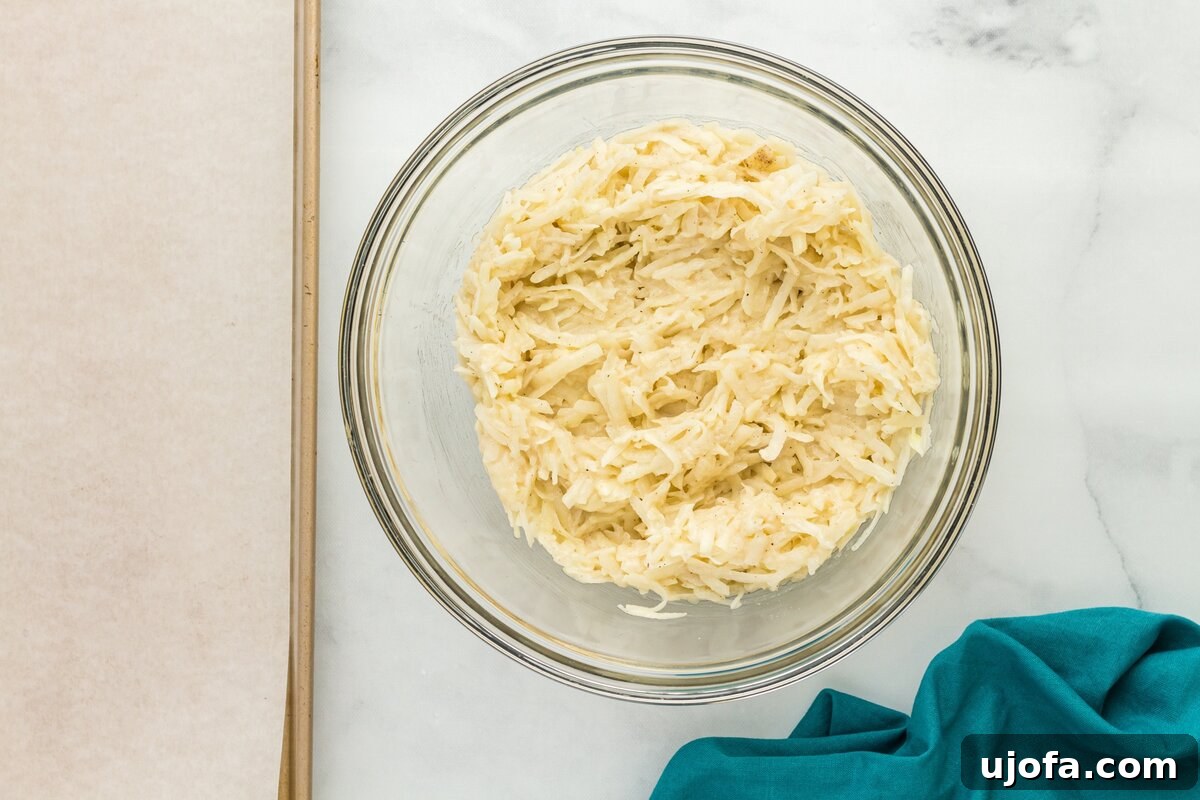
Step 3: Crafting the Latke Batter. Once your potato and onion mixture is as dry as humanly possible, transfer it into a large mixing bowl. Now, add the binding agents and flavor enhancers: crack in 2 large eggs, add ¼ cup of gluten-free all-purpose flour, ½ teaspoon of salt, and ¼ teaspoon of ground black pepper. Stir all these ingredients together until they are thoroughly combined. The mixture should feel cohesive enough to form patties, yet still have that desirable texture of shredded potatoes and onion.
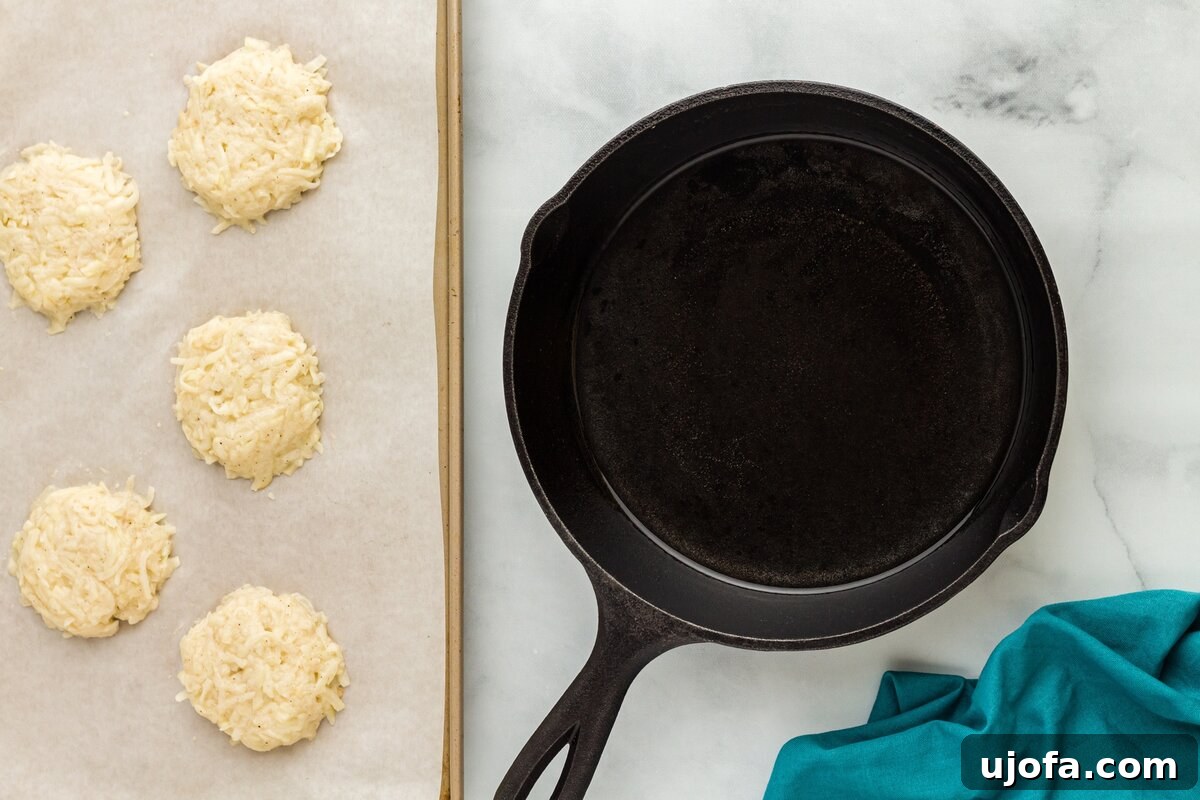
Step 4: Shape and Prepare for Frying. Line a large baking sheet with parchment paper; this will provide a non-stick surface for your shaped latkes and make transferring them easier. Use a ¼-cup measuring cup to scoop out portions of the potato mixture. Before placing them on the baking sheet, give each portion one final, firm squeeze to remove any last bits of moisture. Then, gently flatten each scoop into a patty, aiming for an approximate ½-inch thickness. This specific thickness is vital for achieving those coveted crispy edges while ensuring the center remains deliciously soft and cooked through. Avoid making them too thick (which can lead to undercooked centers) or too thin (which can result in brittle latkes).
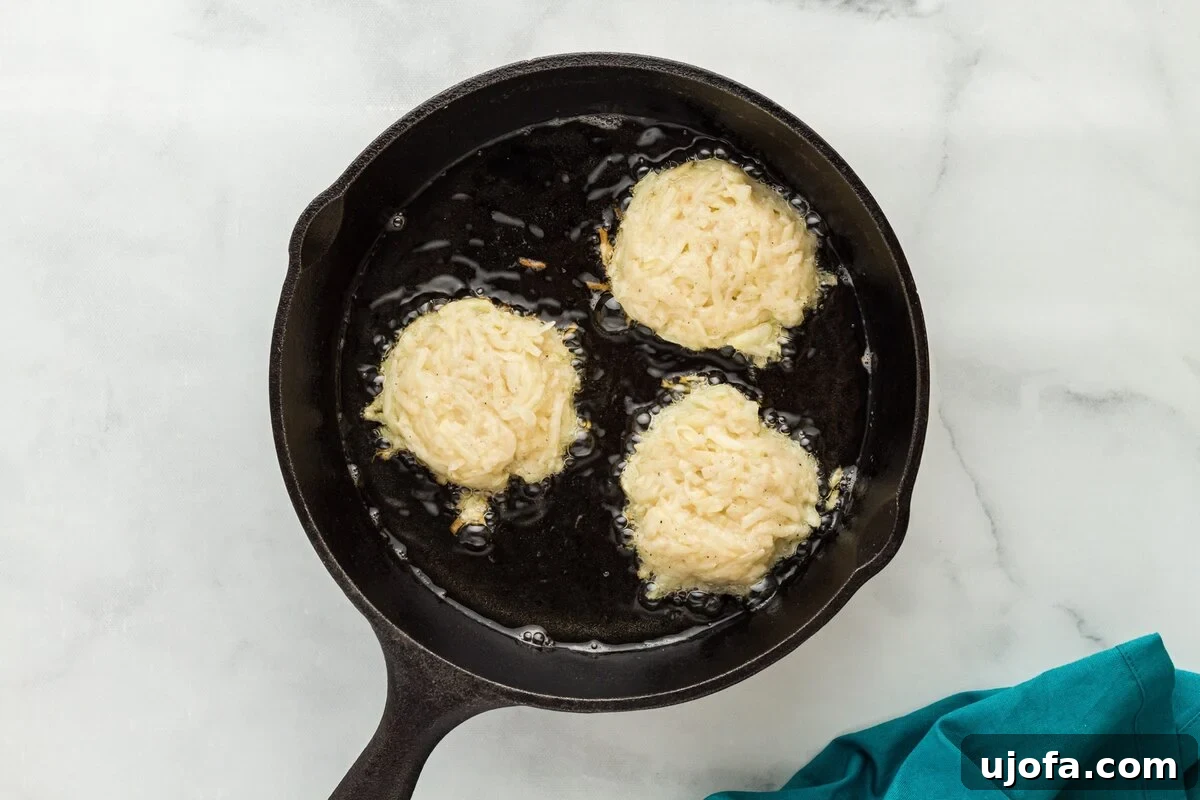
Step 5: The Art of Pan-Frying. Pour about ¼ cup of vegetable oil into a sturdy cast-iron or heavy-bottom frying pan. Heat the oil over medium-low heat until it reaches approximately 300°F (150°C). Using a kitchen thermometer is highly recommended for accuracy, as the correct temperature is crucial: hot enough to crisp the latkes but not so hot that they burn before cooking through. The oil should generously coat the bottom of the pan and come about one-quarter of the way up the sides of the latkes as they cook. Fry your latkes in small batches to avoid overcrowding the pan, which can drop the oil temperature and cause the latkes to steam rather than fry. Cook each side for about 2 minutes, or until they achieve a beautiful, deep golden-brown color and an irresistibly crispy texture. Remember to use a spoon or spatula for gentle flipping to prevent them from breaking apart.
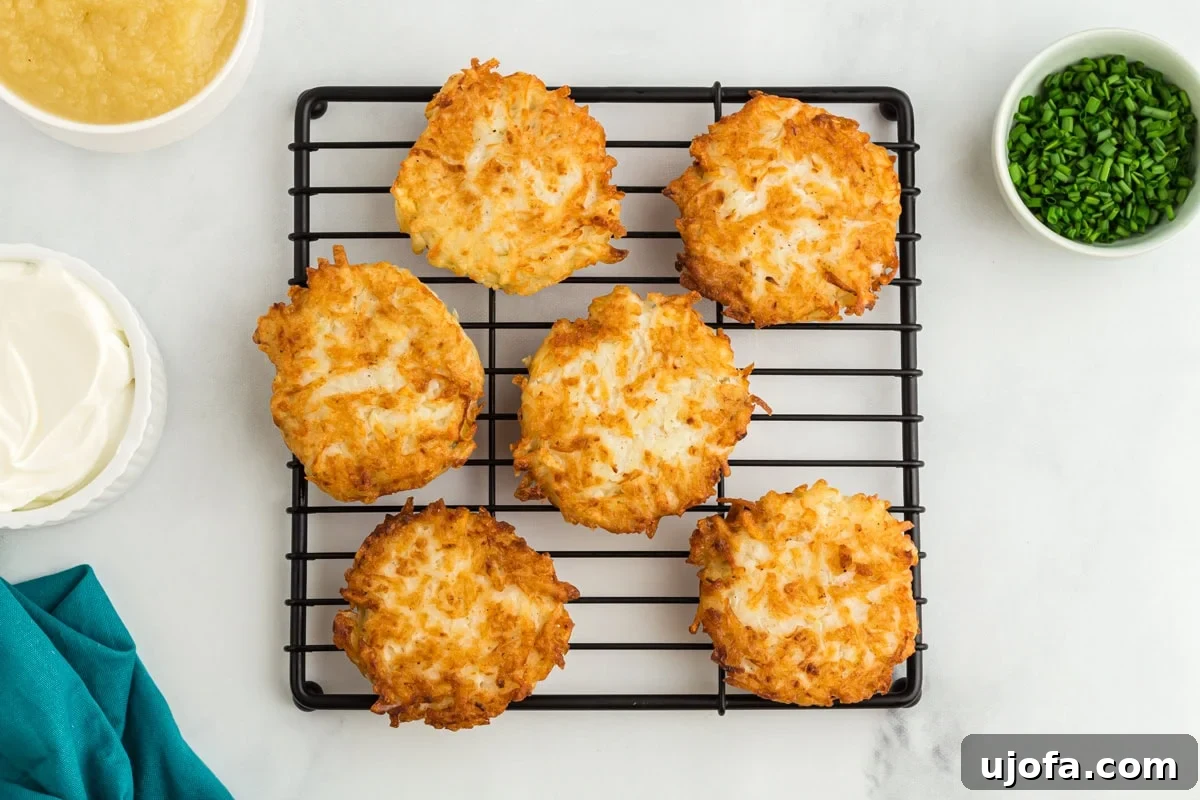
Step 6: Drain and Serve Hot. As each batch of latkes emerges from the pan, immediately transfer them to a plate lined with paper towels. This crucial step allows any excess oil to be absorbed, guaranteeing that your latkes remain delightfully crisp and never greasy. Continue this process until all your latkes are cooked to golden perfection, adding more oil to the pan as needed and always allowing it to reheat to the correct temperature between batches. Serve these delectable gluten-free potato latkes piping hot, alongside traditional applesauce, sour cream, or any of your favorite toppings, and savor the perfect balance of crispy texture and savory flavor!
Serving Suggestions for Gluten-Free Latkes
The versatility of latkes shines through in the endless possibilities for serving. While delicious on their own, the right accompaniments can elevate your gluten-free latkes to an even more memorable dish. Here are some ideas to inspire your plating:
- The Timeless Classics: A generous dollop of cool, tangy sour cream creates a delightful contrast to the warm, crispy latkes. Sweet applesauce offers a refreshing, fruity counterpoint, making these the quintessential Hanukkah pairing.
- Dairy-Free Alternatives: For guests with dairy sensitivities or preferences, consider serving your latkes with a creamy coconut yogurt for a similar richness, or a rich, homemade cashew cream sauce. These options are equally delicious and inclusive.
- Savory Enhancements: A sprinkle of fresh, vibrant chopped chives or thinly sliced green onions adds a subtle oniony kick and a pop of color. For a deeper savory note, a pinch of flaky sea salt immediately after frying can truly bring out their best flavor.
- Gourmet Twists: Unleash your creativity! Try topping latkes with a dollop of cream cheese and a slice of smoked salmon for an elegant appetizer. A dab of spicy sriracha mayo or a vibrant pesto can offer a modern, exciting kick that will surprise and delight your guests.
Storage and Reheating Tips for Gluten-Free Potato Latkes
While latkes are undeniably at their best when served fresh from the pan, circumstances sometimes call for making them ahead or saving leftovers. Follow these tips to keep your gluten-free latkes as delicious as possible:
- Refrigeration Best Practices: Always allow cooked latkes to cool completely to room temperature before storing them. Place them in an airtight, food-safe container. If you need to stack them, separate each layer with a piece of parchment paper to prevent sticking and moisture buildup. Properly stored, they will remain fresh in the refrigerator for up to 3 days.
- Achieving Reheated Crispness (No Microwave!): To revive that irresistible crispy texture, absolutely avoid the microwave! Microwaving will turn your latkes soft and soggy. Instead, preheat your oven to 375ºF (190°C) and warm the latkes for approximately 6 to 8 minutes, or until they are heated through and crisp once more. An air fryer is also an excellent option: heat at 350°F (175°C) for 3-5 minutes, shaking the basket halfway.
- Freezing for Future Enjoyment: Latkes freeze exceptionally well! After they have cooled completely, arrange the cooked latkes in a single layer on a baking sheet and place them in the freezer until they are completely solid. This step prevents them from sticking together. Once frozen, transfer them to a freezer-safe bag or container. They can be stored in the freezer for up to 2-3 months without significant loss of quality.
- Reheating from Frozen: There’s no need to thaw frozen latkes before reheating. Simply place them directly on a baking sheet and reheat in a preheated oven at 375ºF (190°C) for 10-15 minutes, or until they are thoroughly heated and wonderfully crisp again.
Frequently Asked Questions About Gluten-Free Latkes
- What kind of potatoes are best for latkes?
- Russet potatoes are widely considered the gold standard for latkes due to their high starch content and relatively low moisture. This combination is crucial for achieving a sturdy bind and an ultimately crispy texture when fried. While Yukon Golds can work, russets typically provide the most authentic and desirable latke characteristics.
- Why is squeezing out moisture so important?
- Removing excess moisture from the grated potatoes and onion is arguably the most critical step for achieving truly crispy latkes. Any remaining water will turn into steam during frying, which prevents the potatoes from browning and crisping up, instead leaving them soggy. The drier the mixture, the crispier your latkes will be!
- Can I make the latke batter ahead of time?
- For the best results, it’s highly recommended to prepare and fry latkes immediately after mixing the batter. Grated potatoes can quickly oxidize and turn an unappealing gray or brown when exposed to air. While some methods suggest soaking in lemon water or vinegar, this can sometimes alter the desired texture. Freshly grated and mixed batter ensures the best color, flavor, and crispness.
- What kind of gluten-free flour should I use?
- A standard gluten-free all-purpose flour blend is perfect for this recipe. Most blends contain a combination of rice flour, potato starch, tapioca starch, and other starches, which collectively provide excellent binding without the need for specialized “bread” or “cake” gluten-free flours. The flour’s main role here is as a binder to help the patties hold their shape.
- How do I know if my frying oil is hot enough?
- The ideal temperature for frying latkes is approximately 300°F (150°C). If you don’t have a kitchen thermometer, you can perform a simple test: drop a tiny piece of potato mixture into the hot oil. If it immediately sizzles and gently bubbles around the edges, your oil is ready. If it sputters aggressively or smokes, it’s too hot; if it just sits there without much action, it’s not hot enough.
- Can I bake these latkes instead of frying them?
- While you can bake latkes for a healthier alternative, be aware that they will not achieve the same characteristic crispiness and rich flavor as their pan-fried counterparts. If baking, preheat your oven to 400°F (200°C), lightly grease a baking sheet, and bake for about 20-25 minutes, flipping them halfway, until they are golden brown. They will have a softer texture, more akin to hash brown patties.
- Are these latkes suitable for other dietary needs?
- This recipe is inherently gluten-free. For a dairy-free option, ensure all your chosen toppings (like sour cream) are dairy-free; applesauce is naturally dairy-free. If you need an egg-free version, you could experiment with a flax egg substitute (1 tablespoon ground flaxseed mixed with 3 tablespoons water, per egg), but this might slightly alter the binding properties and overall texture of the latkes.
More Delicious Gluten-Free Holiday Side Dishes
Elevate your holiday table or explore new favorites with these other fantastic gluten-free recipes from our collection. They are all designed to be delicious, safe, and satisfying for everyone.
- Creamy Gluten-Free Risotto: A comforting and rich dish perfect for any special occasion.
- Fluffy Gluten-Free Mashed Potatoes: The ultimate classic side, incredibly smooth and savory.
- Savory Gluten-Free Cheddar Bay Biscuits: Warm, cheesy, and irresistible – just like the original!
- Soft Gluten-Free Dinner Rolls: Perfect for soaking up gravies and sauces, a must-have at any dinner.
- Hearty Gluten-Free Cornbread Stuffing: A flavorful and comforting side that’s a staple for holiday feasts.
We sincerely hope you cherish making and sharing these wonderful gluten-free potato latkes. They are truly a joy to prepare and an even greater delight to eat, bringing warmth and flavor to any gathering!
Tried this recipe? We’d love to see your creations! Mention @mamaknowsglutenfree or tag #mamaknowsglutenfree on Instagram!