
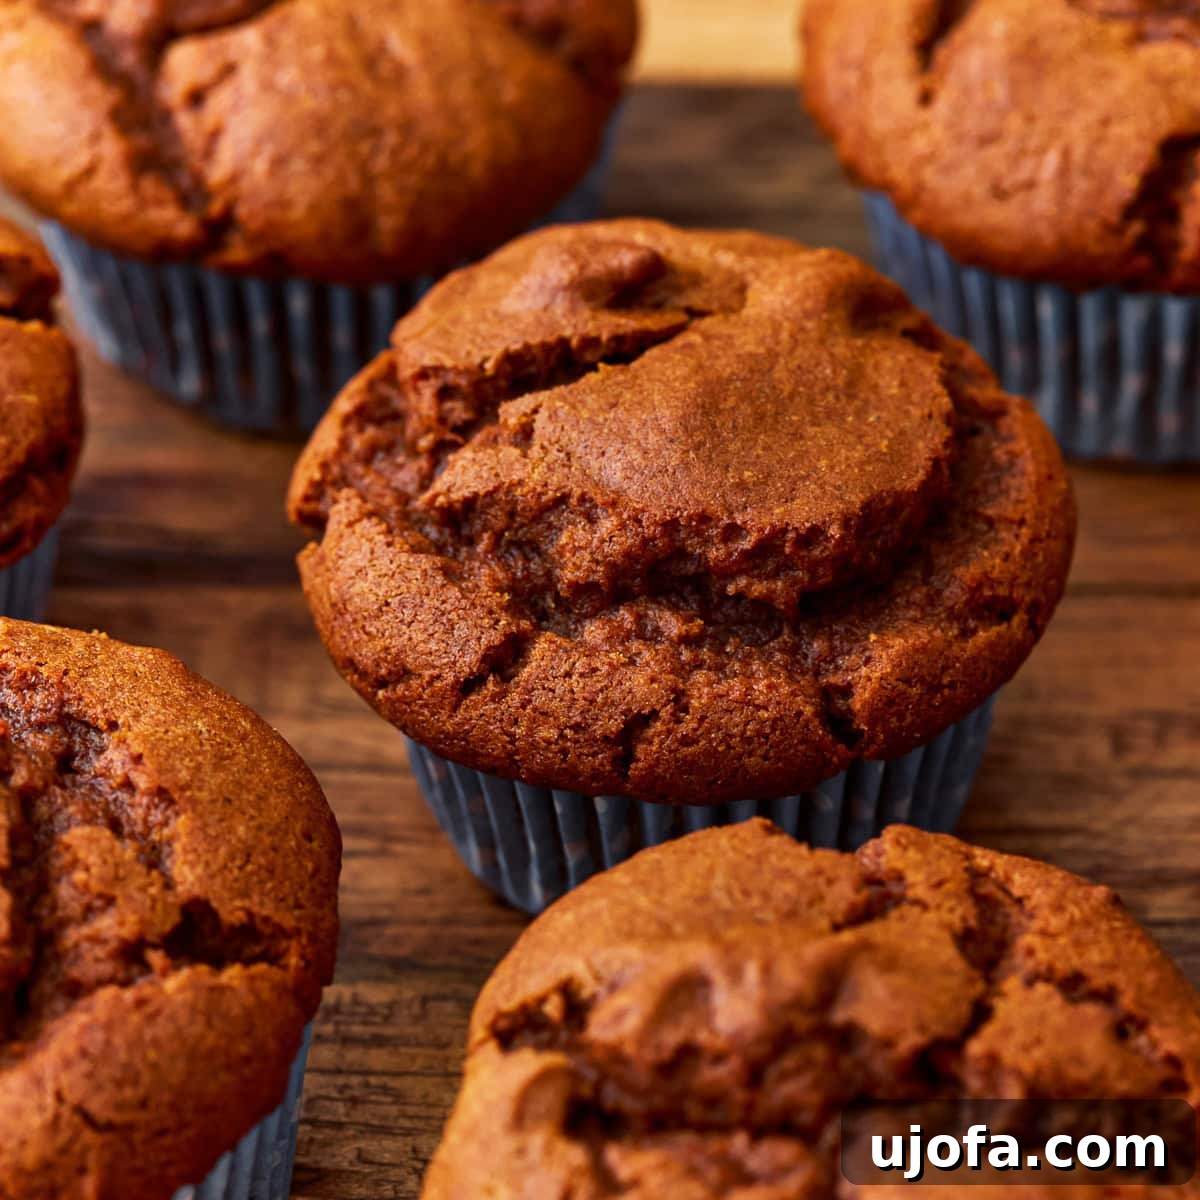
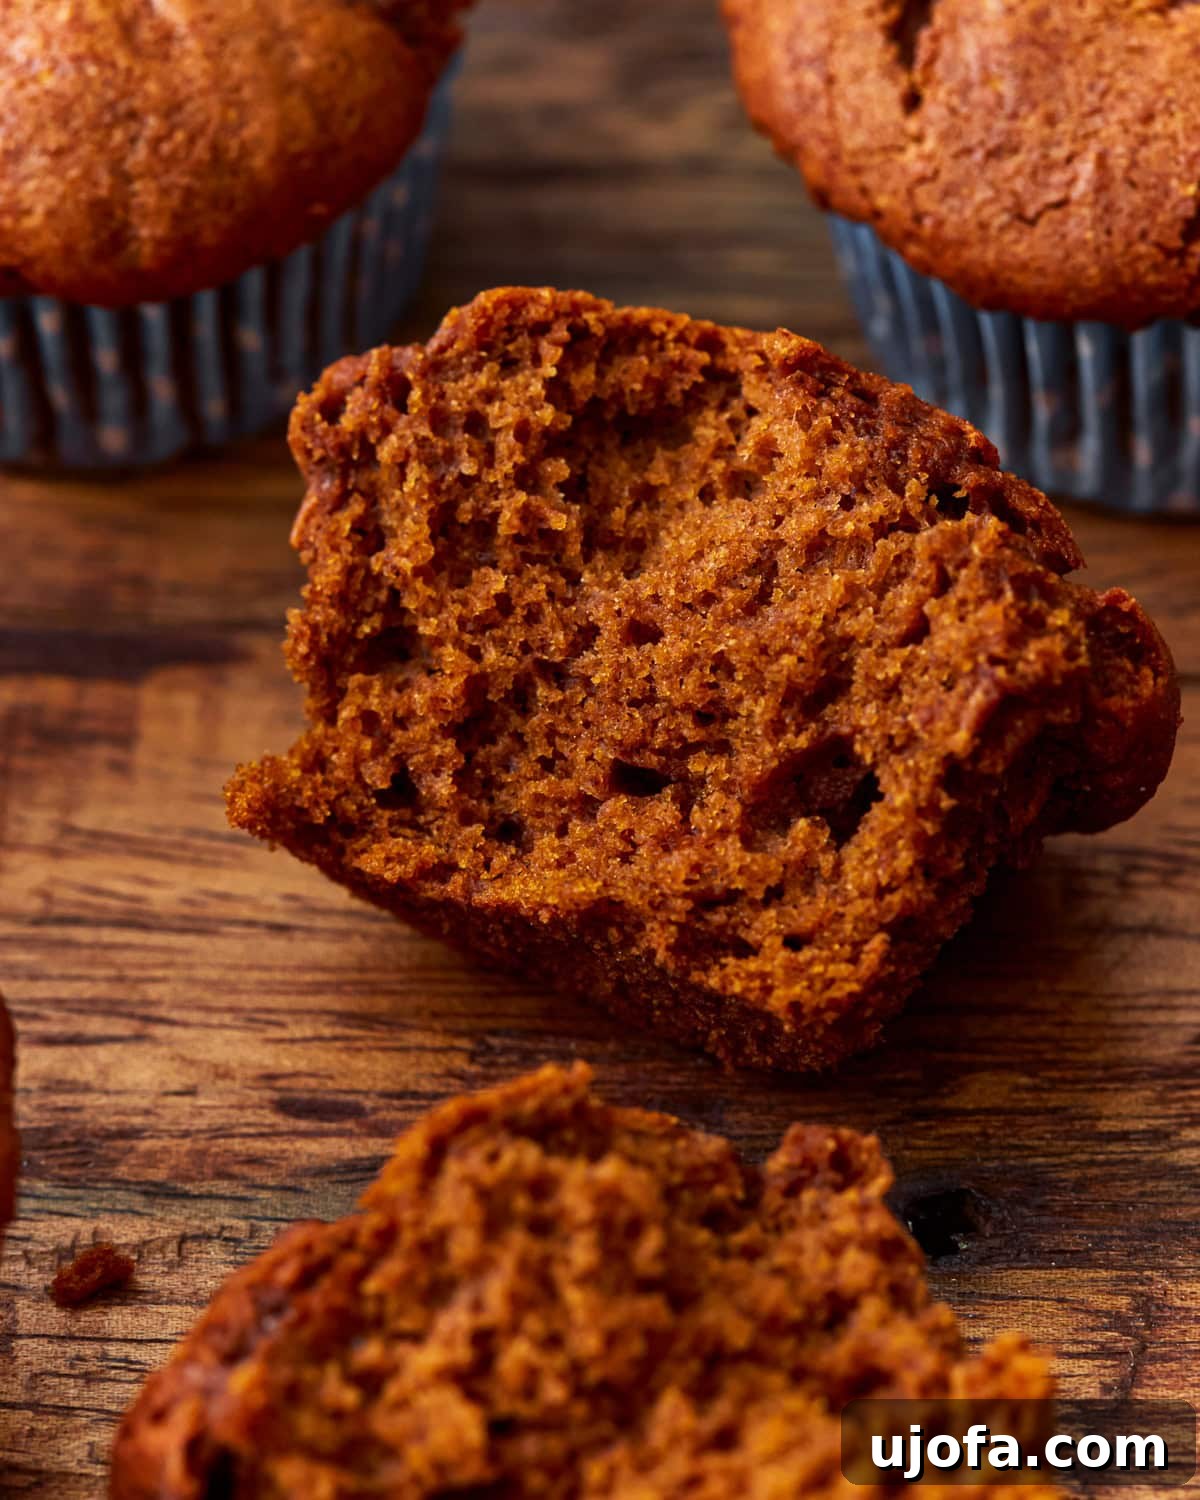
As the leaves begin to turn and the crisp autumn air settles in, there’s nothing quite like the comforting aroma of freshly baked pumpkin treats filling your home. This fall, make these incredible gluten-free pumpkin muffins your go-to seasonal indulgence! Crafted for ease and maximum flavor, this no-fuss recipe consistently delivers moist, perfectly spiced muffins with an irresistibly fluffy texture and a beautiful golden-brown top. Our family can’t get enough of them, and we’re sure yours will love them too.
What makes these muffins truly special is their thoughtful composition. We use authentic pumpkin puree to infuse every bite with genuine autumnal warmth, combined with a carefully selected gluten-free flour blend to ensure they are completely gluten-free without compromising on texture or taste. Beyond being a fantastic gluten-free option, this recipe is also naturally dairy-free, making it a wonderful choice for a wider range of dietary needs. Prepare to savor the quintessential flavors of fall in a convenient, handheld form perfect for breakfast, a snack, or dessert.
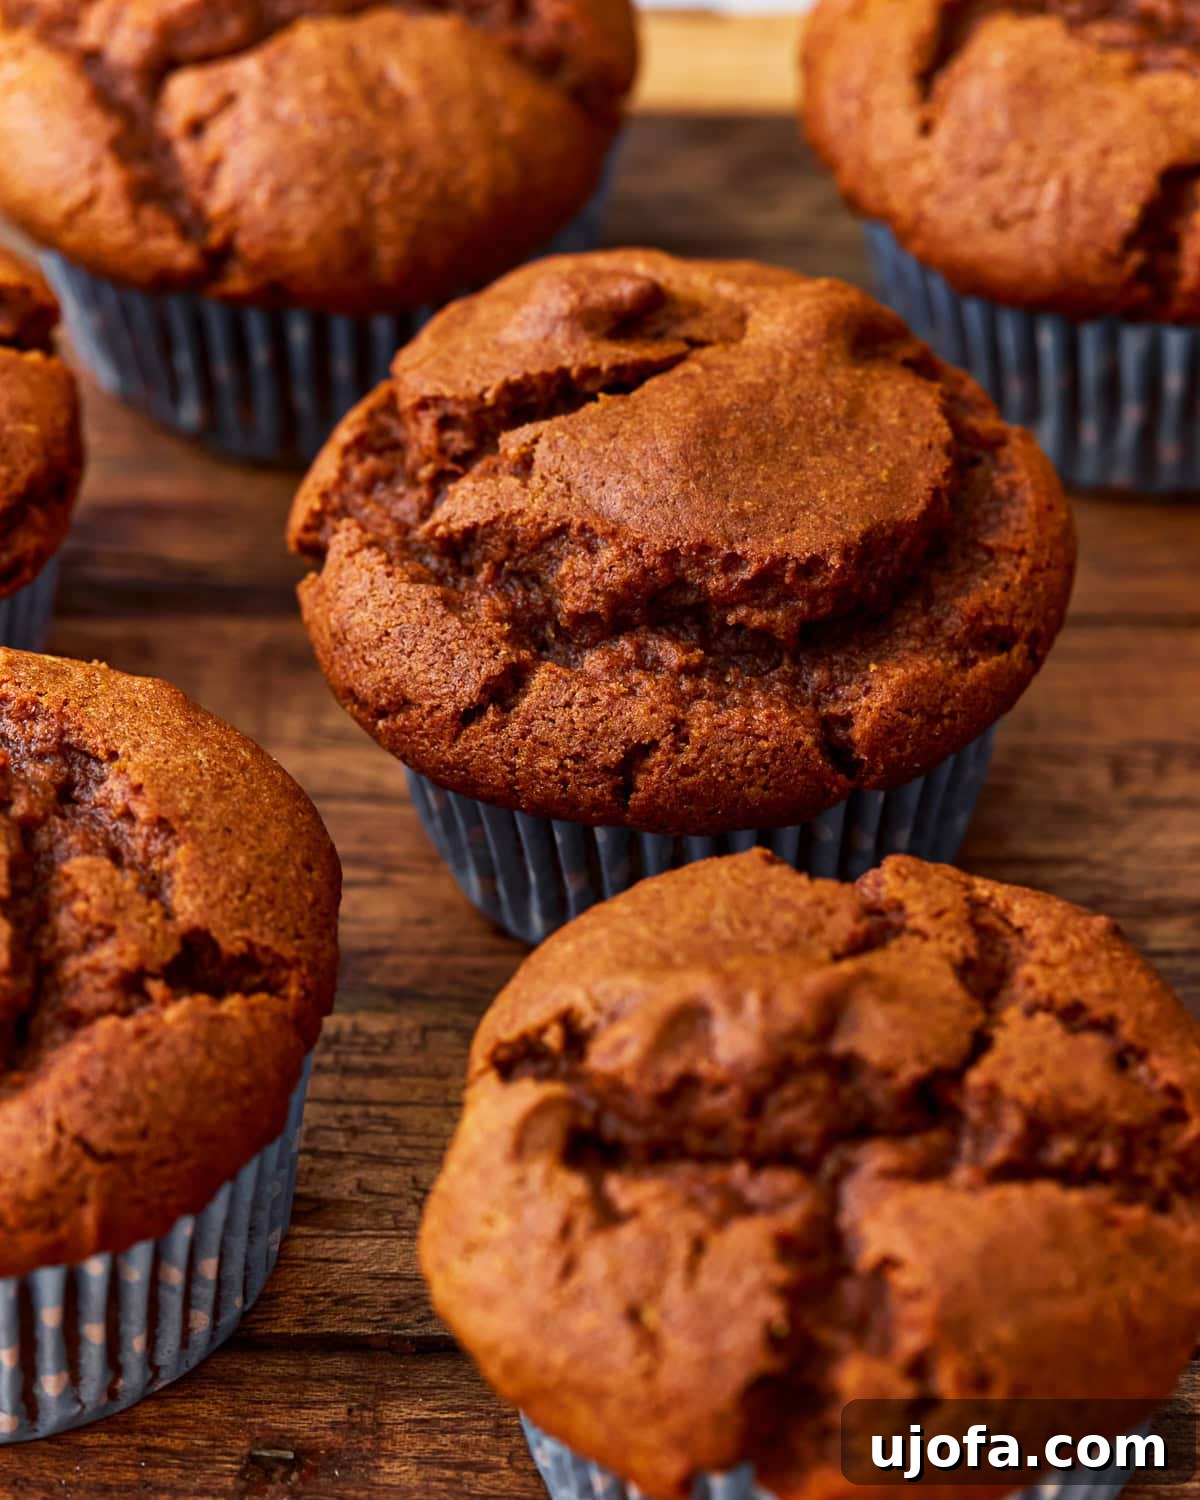
The Ultimate Gluten-Free Pumpkin Muffins Recipe
Imagine the soft, tender crumb of your favorite pumpkin bread, but in a convenient, portable muffin form. That’s exactly what you get with these delicious gluten-free pumpkin bread-inspired muffins. They offer the best of both worlds, much like our popular gluten-free pumpkin cookies. Each muffin is generously spiced with a classic blend of cinnamon, nutmeg, and ground ginger, creating that signature pumpkin spice flavor we all adore. The perfect balance of moisture and sweetness comes from a combination of large eggs, neutral vegetable oil, and both granulated and brown sugars. The brown sugar not only adds sweetness but also a delightful molasses undertone and a rich, appealing color.
These muffins are not only incredibly easy to prepare but also freeze beautifully, making them ideal for meal prepping or having a quick, wholesome treat on hand. Simply warm one up in the microwave for a few seconds to enjoy alongside your morning coffee or tea. They are truly the embodiment of fall comfort, offering a delightful bite of pumpkin spice heaven whenever the craving strikes. This recipe prioritizes ease without sacrificing flavor or texture, ensuring a successful baking experience every time, even for those new to gluten-free baking.
Essential Ingredients for Perfect Pumpkin Muffins
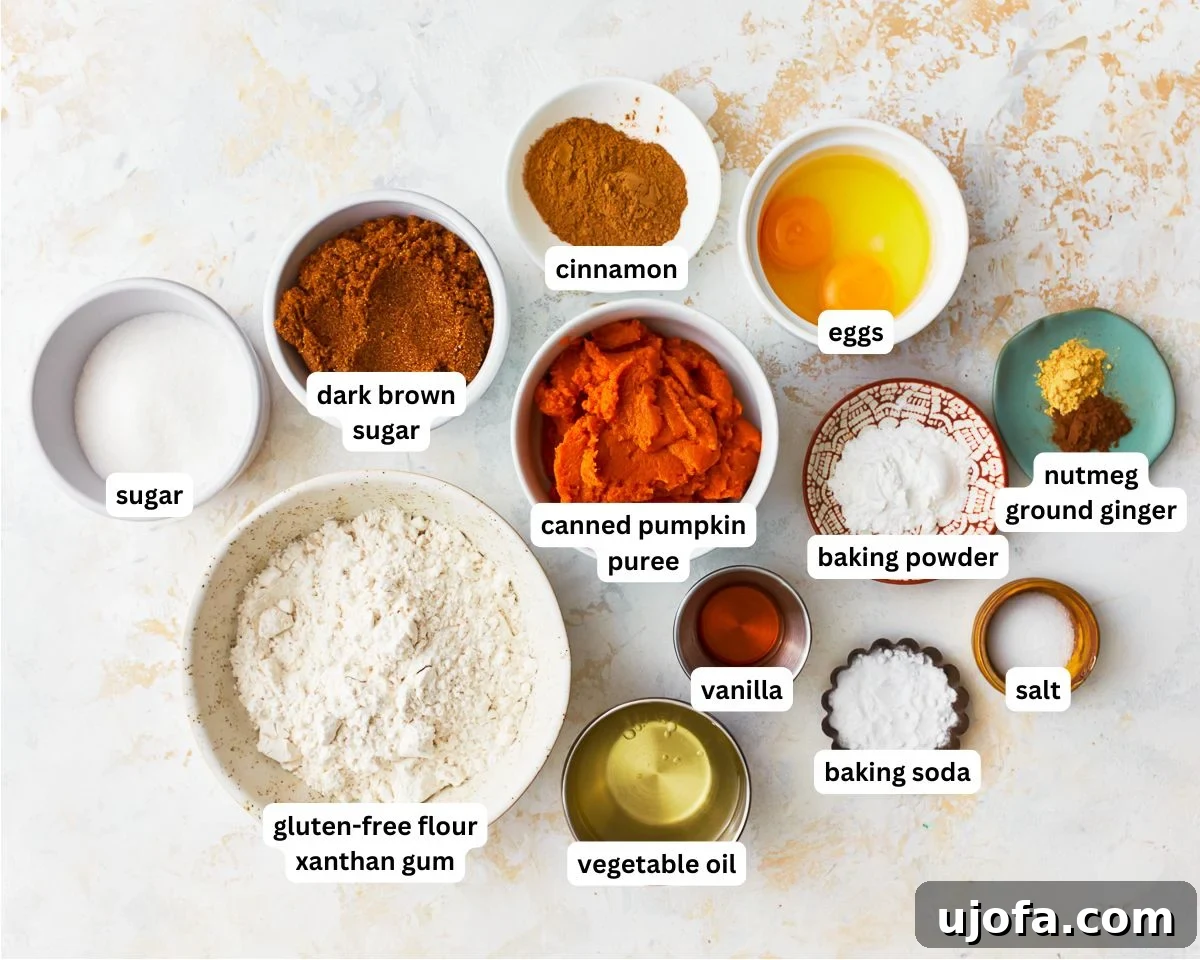
Crafting the perfect gluten-free pumpkin muffins begins with selecting the right ingredients. Each component plays a vital role in achieving that moist, fluffy texture and rich, spiced flavor. Here’s a detailed look at what you’ll need and why:
- Gluten-Free All-Purpose Flour with Xanthan Gum: The foundation of our gluten-free muffins. It’s crucial to use a high-quality 1:1 gluten-free all-purpose flour blend that already contains xanthan gum. Xanthan gum is essential in gluten-free baking as it mimics the elasticity and binding properties of gluten, giving your muffins a tender yet structured crumb. We often recommend brands like Pillsbury gluten-free flour for consistent results. Keep in mind that not all gluten-free flours perform identically; results can vary between brands. If your chosen blend does not include xanthan gum, you’ll need to add ½ teaspoon separately to the dry ingredients to prevent crumbly or dense muffins.
- Baking Powder & Baking Soda: These are the leavening agents that work together to give these gluten-free pumpkin muffins their wonderful rise and fluffy texture. Baking powder reacts when wet and with heat, while baking soda reacts with acidic ingredients (like pumpkin puree and brown sugar) to create carbon dioxide, resulting in light and airy muffins. Always check the labels on your baking powder and baking soda to ensure they are certified gluten-free, as some brands may pose cross-contamination risks. Fresh leavening agents are key to a good rise.
- Spices: The heart of that iconic pumpkin flavor! Our blend includes cinnamon, nutmeg, and ground ginger, providing a harmonious and lightly spiced profile that enhances the pumpkin without overpowering it. This combination evokes all the warmth and comfort of autumn. For convenience, you can substitute the individual spices with 2 ½ teaspoons of a pre-mixed pumpkin pie spice blend. Adjust to your personal preference for a bolder or milder spice level.
- Vegetable Oil: This ingredient is critical for ensuring super moist and tender muffins. A neutral-flavored vegetable oil, such as canola oil, sunflower oil, or grapeseed oil, is ideal as it won’t interfere with the delicate pumpkin spice flavors. Melted coconut oil or even melted unsalted butter can also be used, though they might impart a slightly different flavor profile and texture. Vegetable oil keeps the muffins dairy-free and contributes to their soft crumb.
- Brown Sugar & Granulated Sugar: Using a combination of both brown and granulated sugar achieves the perfect balance of sweetness and depth. Granulated sugar provides straightforward sweetness, while dark brown sugar, with its molasses content, adds a richer, more complex flavor and contributes to the muffins’ beautiful golden color and moist texture. The molasses also introduces a subtle chewiness that complements the soft crumb.
- Canned Pumpkin Puree: The star ingredient! It’s vital to use 100% pure pumpkin puree, not pumpkin pie filling. Pumpkin pie filling often contains added sugars and spices, which would alter the recipe’s intended flavor and sweetness balance. Look for cans labeled “100% Pure Pumpkin” or “Pumpkin Puree.” If you prefer a homemade touch, you can absolutely make your own pumpkin puree from fresh pumpkins, instructions for which are provided below for a truly from-scratch experience.
- Eggs: Large eggs perform several crucial functions in this recipe. They act as a binder, holding all the ingredients together to create a cohesive batter. They also contribute to the muffins’ structure and help them rise, ensuring a light and airy result. For best results, use room temperature eggs as they incorporate more smoothly into the batter, leading to a more uniform texture.
- Vanilla Extract: A splash of vanilla extract adds a lovely warmth, depth, and aromatic richness to the muffin batter, complementing the pumpkin and spices beautifully. Use pure vanilla extract for the best flavor.
- Salt: Just a touch of salt is included to enhance all the other flavors, balancing the sweetness and making the pumpkin and spices shine even brighter. It’s a small but mighty ingredient that makes a noticeable difference.
Expert Tips for Baking Flawless Gluten-Free Pumpkin Muffins
Achieving perfectly moist and fluffy gluten-free pumpkin muffins is simple with these expert tips. Follow these guidelines to ensure your baking experience is smooth and your muffins turn out beautifully every time:
- The Importance of Xanthan Gum: As mentioned, xanthan gum is a game-changer in gluten-free baking. It’s the secret to mimicking the elasticity and structure that gluten provides in traditional flour, preventing your muffins from being crumbly or falling apart. Always use a 1:1 all-purpose gluten-free flour blend that already includes xanthan gum. If your specific flour blend doesn’t contain it, don’t fret – simply add ½ teaspoon of xanthan gum to your dry ingredients. This small addition makes a significant difference in the final texture.
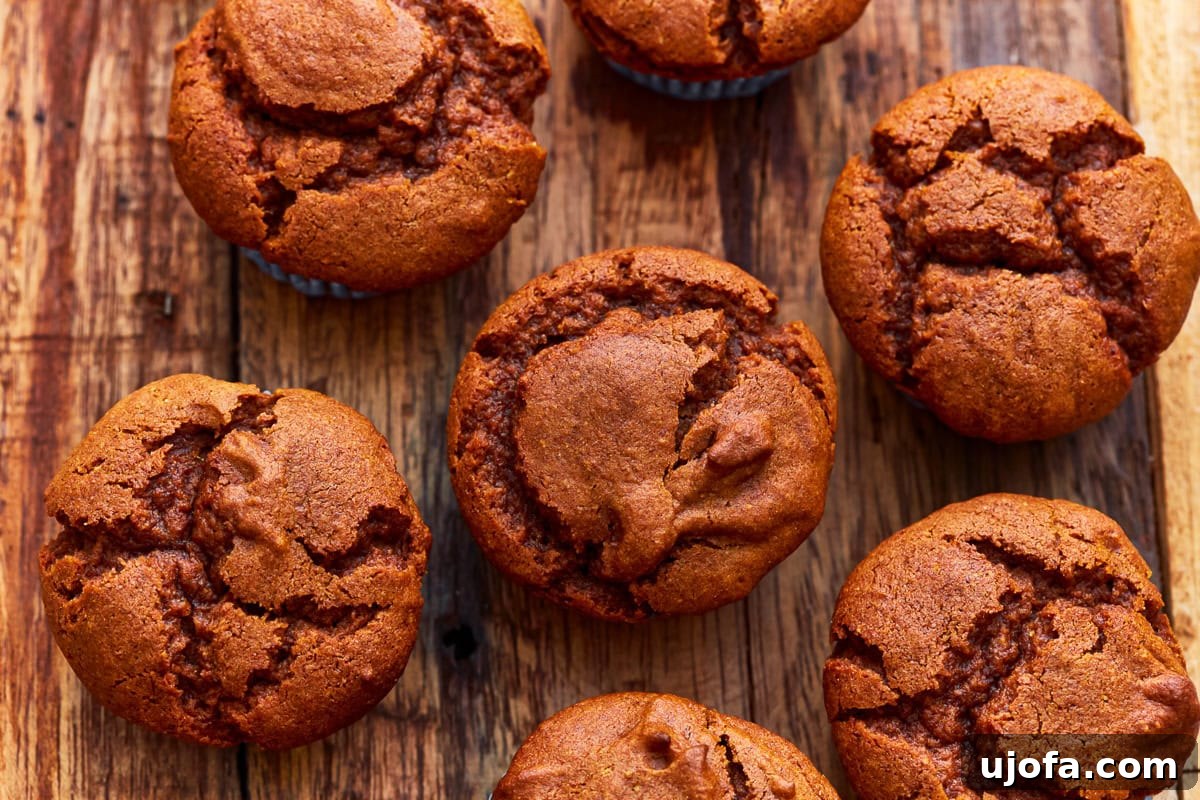
- Proper Oven Temperature and Preheat: Ensure your oven is accurately set to 350°F (175°C) and fully preheated before placing the muffins inside. A properly preheated oven is crucial for successful baking. The initial high temperature helps activate the leavening agents rapidly, causing the muffins to rise quickly and creating those desirable domed, often cracked tops, as seen in our photos. Baking in a cold oven can lead to flat, dense muffins.
- Don’t Overmix the Batter: This is a golden rule in muffin baking, especially for gluten-free recipes. Overmixing can develop any gluten-like proteins in the flour blend (even gluten-free flours can become tough if overworked), leading to dense, chewy, and tough muffins rather than light and fluffy ones. Mix the wet and dry ingredients just until they are combined and no streaks of dry flour remain. A few lumps are perfectly acceptable and even desirable for a tender crumb.
- The Right Cooling Process: After baking, allow your muffins to cool in the muffin tin for about 5 minutes. This crucial resting period allows them to set up properly, firming their structure and making them easier to remove without falling apart. However, avoid letting them cool completely in the tin, as this can trap steam and make the bottoms soggy. After 5 minutes, promptly transfer them to a wire rack to allow air circulation around all sides, ensuring they cool evenly and maintain their delightful texture.
- Even Portioning for Consistent Results: For uniformly sized and baked muffins, use a greased cookie scoop or an ice cream scoop to portion the batter evenly into each muffin cup. This ensures that all muffins bake at the same rate, preventing some from being overdone while others are underbaked. Fill each cup about two-thirds to three-quarters full to allow for a good rise.
Can I Use Fresh Pumpkin Puree Instead of Canned Pumpkin Puree?
Absolutely! Using fresh pumpkin puree can add an extra layer of homemade goodness to your gluten-free pumpkin muffins. While canned pumpkin puree is incredibly convenient and works wonderfully, making your own offers a unique satisfaction. Here’s a simple guide to preparing fresh pumpkin puree for this recipe:
- Select Your Pumpkin: Begin by choosing a small “pie” or “sugar” pumpkin. These varieties are specifically bred for cooking and baking due to their sweeter, less stringy flesh compared to larger carving pumpkins.
- Prepare the Pumpkin: Wash the pumpkin thoroughly on the outside. Carefully slice it in half from stem to base.
- Clean Out the Center: Using a spoon, scoop out all the seeds and any stringy fibrous bits from the center of each pumpkin half. You can save the seeds to roast later for a healthy snack!
- Roast the Pumpkin: Place the pumpkin halves, cut-side down, onto a baking sheet. Roast them in a preheated 375°F (190°C) oven for approximately 45 minutes to an hour. The exact time will depend on the size and thickness of your pumpkin. The pumpkin is ready when the flesh is easily pierced with a fork and feels very tender.
- Process the Flesh: Once roasted, allow the pumpkin to cool slightly so it’s safe to handle. Scoop out the soft, cooked flesh into a food processor or a high-speed blender. Blend until you achieve a completely smooth, uniform puree.
- Strain for Consistency: Fresh pumpkin often contains more moisture than canned. To ensure your puree matches the consistency of canned pumpkin (which is vital for the recipe’s hydration balance), strain the blended puree through a fine-mesh sieve. Press down on the solids to extract any excess liquid. You want a thick, smooth puree, not watery.
- Measure and Store: Once strained, measure out the 1 ¼ cups needed for your muffins. Any leftover fresh pumpkin puree can be stored in an airtight container in the refrigerator for up to a week, or frozen in portions for up to 3 months for use in other delicious recipes.
Common Questions & Troubleshooting: Why Are My Muffins Dense?
Nobody wants a dense, heavy muffin when they’re expecting a light, fluffy treat! If your gluten-free pumpkin muffins turned out dense, there are a few common culprits to investigate:
- Overmixing the Batter: This is arguably the most frequent cause of dense muffins. When you overmix the batter, even with gluten-free flour, you can overdevelop any starches or gums present, leading to a tough, heavy texture. Mix just until the wet and dry ingredients are barely combined and no dry streaks of flour remain. A few small lumps are perfectly fine and even preferred for tender muffins.
- Expired Leavening Agents: Baking powder and baking soda lose their potency over time, especially if not stored properly. If your leavening agents are old, they won’t produce enough carbon dioxide to make the muffins rise properly, resulting in a dense crumb. Always check the expiration dates and ensure your baking powder and soda are fresh. To test baking soda, mix a teaspoon with a tablespoon of vinegar; it should bubble vigorously. For baking powder, mix a teaspoon with a tablespoon of hot water; it should also bubble.
- Too Much Flour or Incorrect Measurement: If you’re scooping your flour directly from the bag with a measuring cup, you might be compacting it, leading to significantly more flour than the recipe calls for. Too much flour will absorb too much liquid, resulting in a dry, dense muffin. The best way to measure flour is to lightly spoon it into your measuring cup and then level it off with a straight edge (the “spoon and level” method). For even greater accuracy, use a kitchen scale to measure by weight.
- Oven Temperature Issues: An oven that isn’t hot enough or that fluctuates in temperature can also prevent proper rising. Ensure your oven is fully preheated to the specified temperature (350°F) before baking. An oven thermometer can help verify your oven’s accuracy.
- Improper Ingredient Temperature: While not as critical as for cakes, using room temperature eggs can help them incorporate more easily and create a smoother, more emulsified batter, which can contribute to a lighter texture.
Delicious Variations & Add-Ins
While these spiced gluten-free pumpkin muffins are utterly delicious on their own, they also serve as a fantastic base for customization. Feel free to get creative and add your favorite mix-ins to elevate their flavor and texture:
- Chocolate Chips: A classic pairing with pumpkin! I frequently make these muffins with the addition of chocolate chips, and they are incredibly delicious. After you’ve combined the wet and dry ingredients, gently fold in ½ to 1 cup of your preferred chocolate chips (dark, semi-sweet, or milk chocolate all work wonderfully). This adds pockets of melty sweetness that complement the warm spices perfectly.
- Chopped Nuts: For an extra layer of crunch and nutty flavor, consider adding ½ to 1 cup of finely chopped nuts. Pecans, walnuts, or even candied walnuts are excellent choices that pair well with pumpkin and spices. Toasting the nuts lightly before adding them can enhance their flavor even further.
- Dried Fruit: Incorporate some chewiness and natural sweetness with dried fruits. ½ to 1 cup of raisins, dried cranberries, or chopped dried apricots would be a delightful addition, bringing a contrasting texture and a burst of fruity flavor.
- Seeds: For a subtle crunch and added nutrition, try folding in a few tablespoons of pumpkin seeds (pepitas) or sunflower seeds. You can also sprinkle some on top before baking.
- Important Note on Add-Ins: When adding extra ingredients, be mindful of the quantity. Do not add more than a total of 1 cup of additional ingredients to the batter. Exceeding this amount can make the batter too heavy, which might prevent the muffins from rising properly and could lead to a denser texture.
- Additional Spices: If you love a bolder spice profile, consider adding a pinch of allspice or ground cloves to the dry ingredients along with the other spices.
Storage & Freezing for Future Enjoyment
These homemade gluten-free pumpkin muffins are so good, you’ll want to make sure they last! Proper storage ensures they remain fresh, moist, and delicious for as long as possible:
- Room Temperature Storage: To keep your muffins fresh for immediate enjoyment, store them in an airtight container at room temperature. They will maintain their best quality for up to 3 days. Placing a paper towel at the bottom of the container and another on top before sealing can help absorb excess moisture and prevent them from becoming soggy.
- Freezer Storage for Longer Enjoyment: For longer-term storage, these muffins freeze beautifully. Once completely cooled, wrap each individual muffin tightly in plastic wrap. Then, place the wrapped muffins into a freezer-safe bag or an airtight container. They can be frozen for up to 3 months without significant loss of quality. This is perfect for batch baking and having a convenient, ready-to-eat treat whenever you crave one.
- Thawing Instructions: To enjoy a frozen muffin, simply remove it from the freezer and allow it to thaw at room temperature for a few hours. For a quick warm treat, you can also gently reheat a thawed or partially frozen muffin in the microwave for 15-30 seconds, or until warmed through. They taste just as good as freshly baked!
More Irresistible Gluten-Free Pumpkin Recipes to Try!
If you’ve fallen in love with these delightful gluten-free pumpkin muffins, you’ll be thrilled to discover more of our favorite pumpkin-infused, gluten-free treats perfect for any time of year, especially autumn. Explore these recipes to continue your gluten-free pumpkin baking adventure:
- Easy Gluten-Free Pumpkin Pie: A holiday classic made accessible for everyone.
- Almond Flour Pumpkin Bread: A wholesome and flavorful alternative for pumpkin bread lovers.
- Gluten-Free Pumpkin Donuts: Baked (not fried!) for a lighter, equally delicious treat.
- Gluten-Free Pumpkin Pancakes: Start your day with a stack of fluffy, spiced pancakes.
- Gluten-Free Pumpkin Waffles: Perfect for a cozy weekend brunch, crispy on the outside, soft on the inside.
Gluten-Free Pumpkin Muffins Recipe
Share by Email
Print Recipe

Ingredients
- 1 ¾ cups gluten-free all-purpose flour with xanthan gum
- 1 ½ teaspoons baking powder
- ½ teaspoon baking soda
- 2 teaspoons cinnamon
- ½ teaspoon salt
- ¼ teaspoon nutmeg
- ¼ teaspoon ground ginger
- 2 large eggs
- ⅔ cup packed dark brown sugar
- ½ cup sugar
- ½ cup vegetable oil
- 1 teaspoon vanilla extract
- 1 ¼ cups canned pumpkin puree
Instructions
- Preheat oven to 350°F (175°C). Line a muffin pan with 12 paper liners or lightly grease it.
- In a large bowl, whisk together gluten-free all-purpose flour, baking powder, baking soda, cinnamon, salt, nutmeg, and ground ginger.
- In a separate bowl, whisk together the eggs, brown sugar, sugar, oil, and vanilla extract.
- Whisk the pumpkin puree into the wet ingredients until well combined.
- Gradually add the wet ingredients to the dry ingredients, mixing just until combined and no streaks of dry flour remain. Be careful not to overmix.
- Divide the batter evenly into the prepared muffin cups, filling each almost full (about two-thirds to three-quarters).
- Bake for 18-22 minutes or until a toothpick inserted into the center of a muffin comes out clean.
- Cool the muffins in the tin for 5 minutes, then transfer them to a wire rack to cool completely.
Notes
- If your gluten-free flour blend doesn’t already contain xanthan gum, add ½ teaspoon of xanthan gum to this recipe when combining the dry ingredients.
- To Store: Keep in an airtight container at room temperature for up to 3 days.
- To Freeze: Wrap individual muffins tightly in plastic wrap and place them in a freezer-safe bag or container. Freeze for up to 3 months and thaw at room temperature before eating.
- Mama says, “Always check all of your labels for gluten-free certification!”
Nutrition
Serving: 1 muffin
Calories: 240 kcal
Carbohydrates: 36 g
Protein: 3 g
Fat: 11 g
Saturated Fat: 2 g
Polyunsaturated Fat: 5 g
Monounsaturated Fat: 2 g
Trans Fat: 0.1 g
Cholesterol: 31 mg
Sodium: 212 mg
Potassium: 83 mg
Fiber: 3 g
Sugar: 22 g
Vitamin A: 4018 IU
Vitamin C: 1 mg
Calcium: 66 mg
Iron: 1 mg
Nutrition information is automatically calculated and should only be used as an approximation.
Additional Info
Tried this recipe?
Mention @mamaknowsglutenfree or tag #mamaknowsglutenfree!
How to Make Gluten-Free Pumpkin Muffins: A Step-by-Step Visual Guide
Follow along with these clear steps and accompanying visuals to effortlessly create a batch of perfect gluten-free pumpkin muffins. Each image provides a snapshot of the process, ensuring you’re on the right track from start to finish.
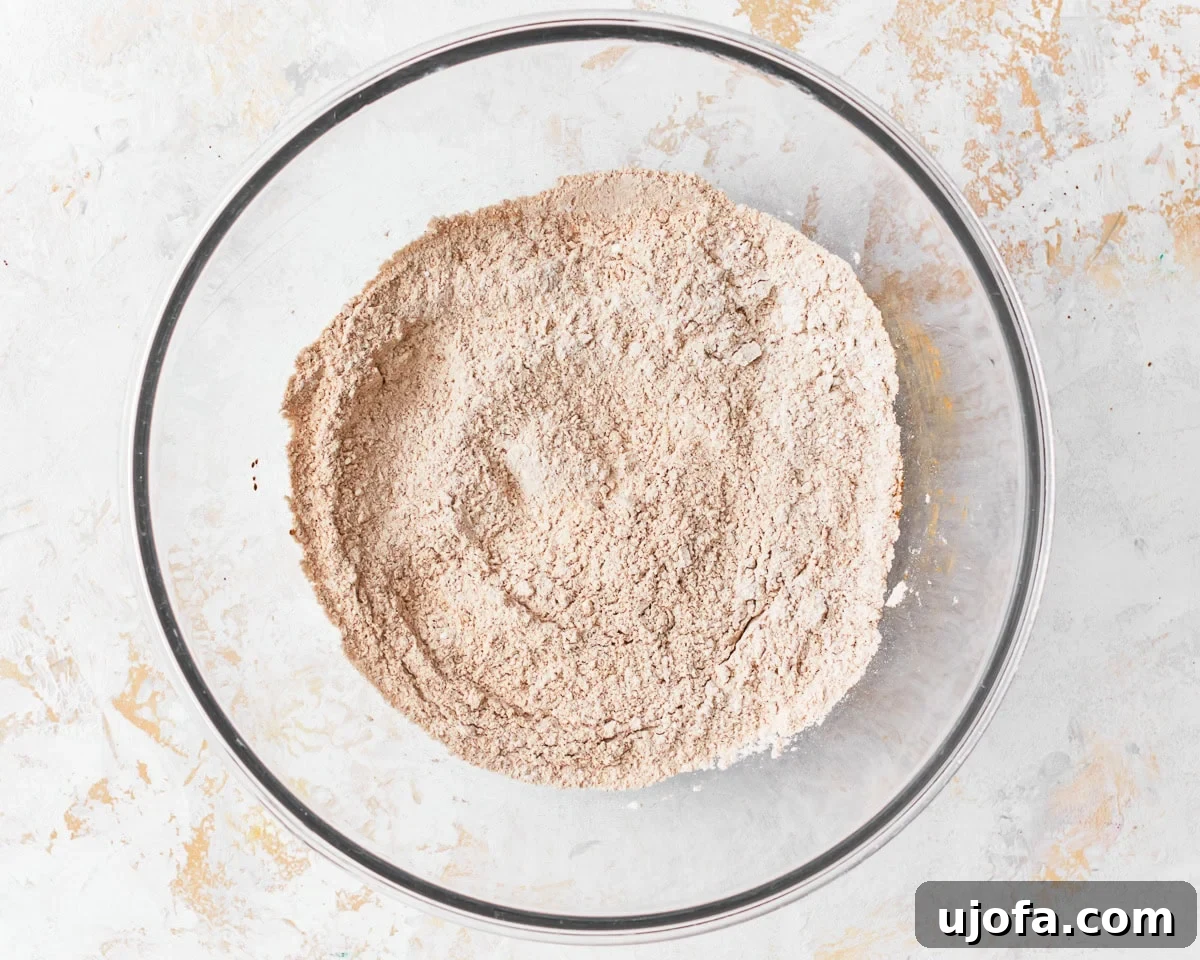
Step 1: Prepare Dry Ingredients. First, preheat your oven to 350°F (175°C) and prepare a 12-cup muffin pan by lining it with paper liners or lightly greasing it. In a large mixing bowl, combine the dry ingredients: 1 ¾ cups gluten-free all-purpose flour (with xanthan gum), 1 ½ teaspoons baking powder, ½ teaspoon baking soda, 2 teaspoons cinnamon, ½ teaspoon salt, ¼ teaspoon nutmeg, and ¼ teaspoon ground ginger. Whisk these together thoroughly to ensure all leavening agents and spices are evenly distributed.
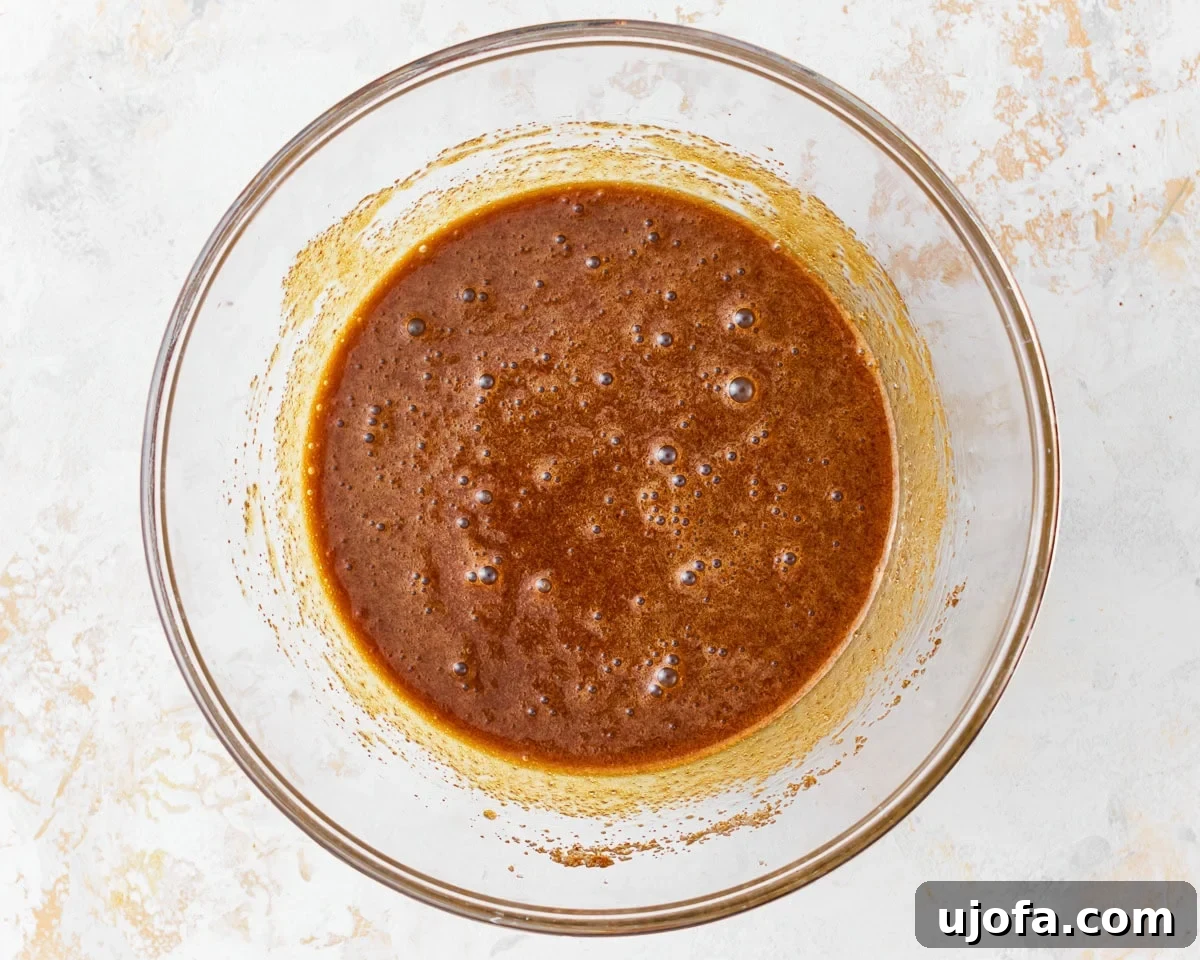
Step 2: Combine Wet Ingredients. In a separate, medium-sized bowl, whisk together the wet ingredients: 2 large eggs, ⅔ cup packed dark brown sugar, ½ cup granulated sugar, ½ cup vegetable oil, and 1 teaspoon vanilla extract. Whisk until the sugars are mostly dissolved and the mixture is smooth and well combined.
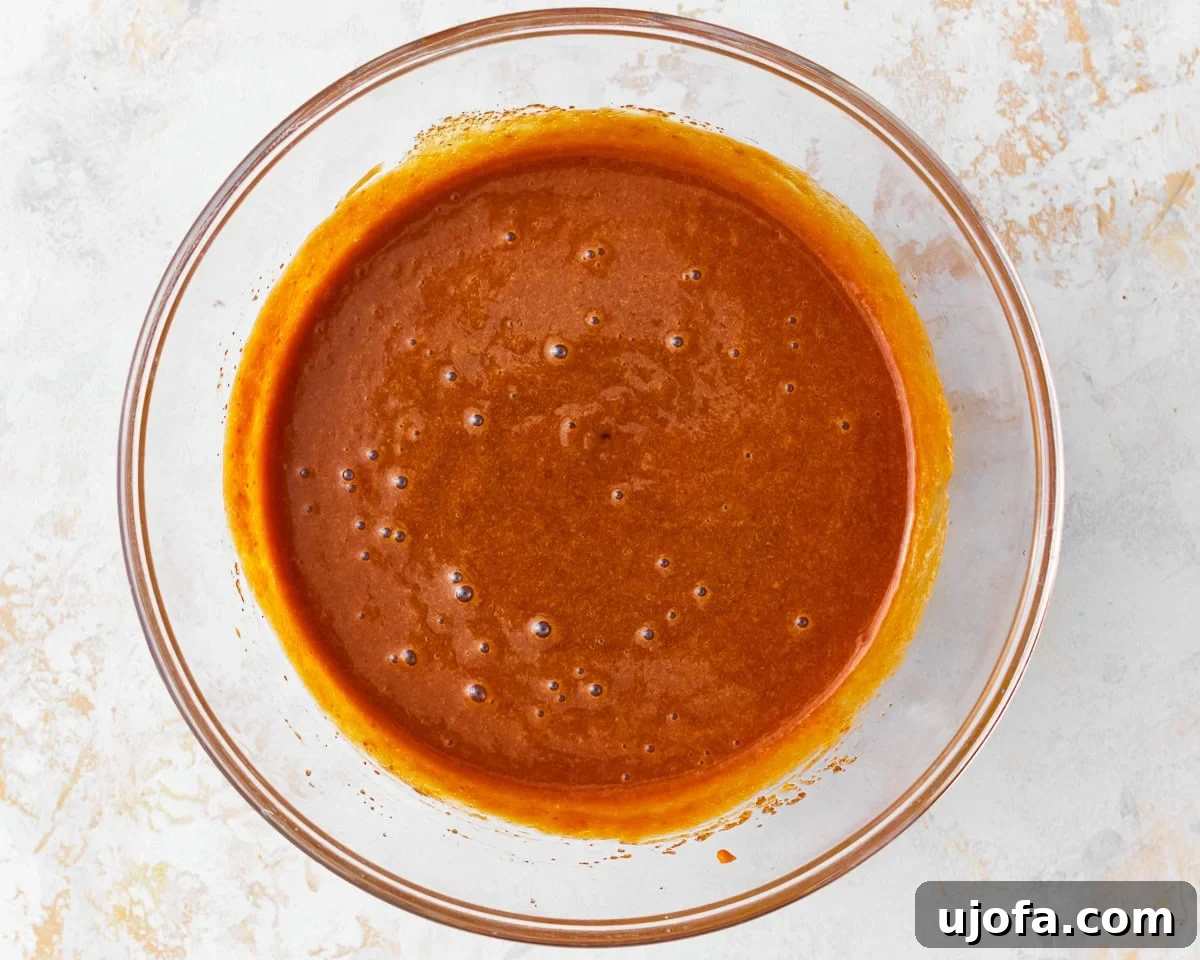
Step 3: Add Pumpkin Puree to Wet Mixture. Once your initial wet ingredients are mixed, whisk in 1 ¼ cups of 100% canned pumpkin puree until the mixture is uniform in color and texture. Ensure there are no lumps of pumpkin puree remaining.
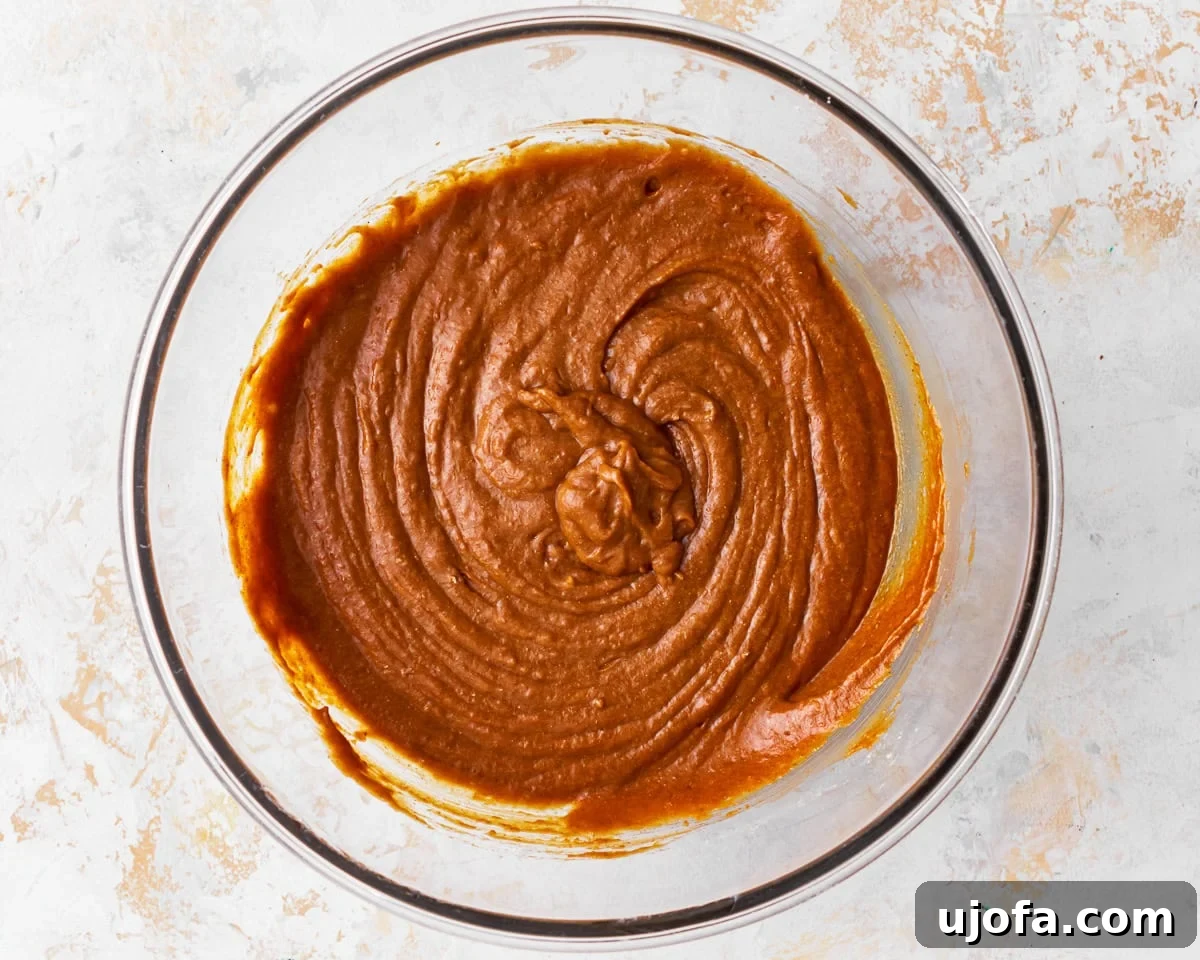
Step 4: Combine Wet and Dry Ingredients. Gradually pour the wet ingredient mixture into the bowl containing the dry ingredients. Using a spatula or wooden spoon, gently mix until just combined. It is crucial not to overmix; stop as soon as no dry streaks of flour are visible. A few small lumps are perfectly fine and will lead to a more tender muffin.
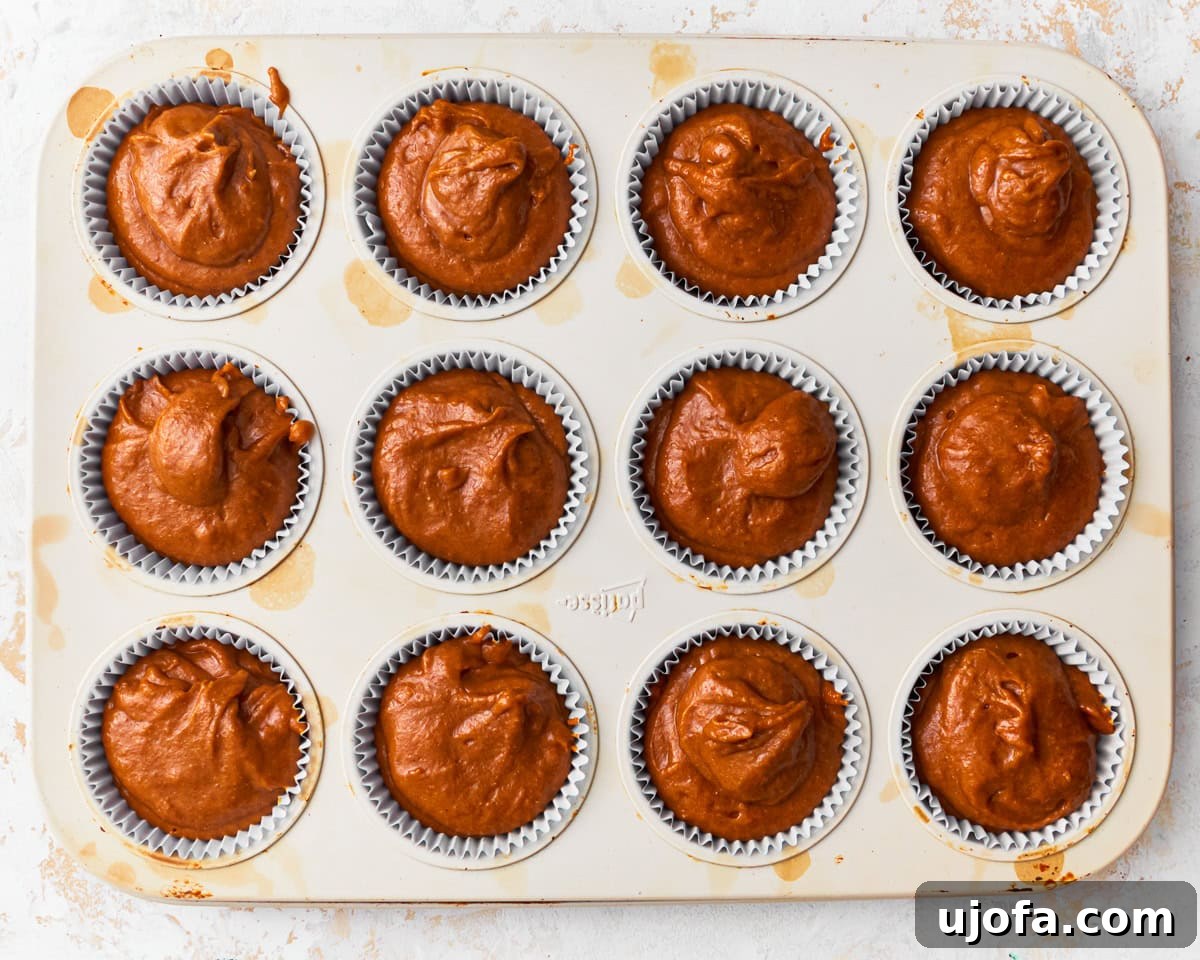
Step 5: Fill Muffin Cups. Using a greased cookie scoop or an ice cream scoop, divide the batter evenly among the 12 prepared muffin cups. Fill each cup approximately two-thirds to three-quarters full, leaving enough room for the muffins to rise beautifully.
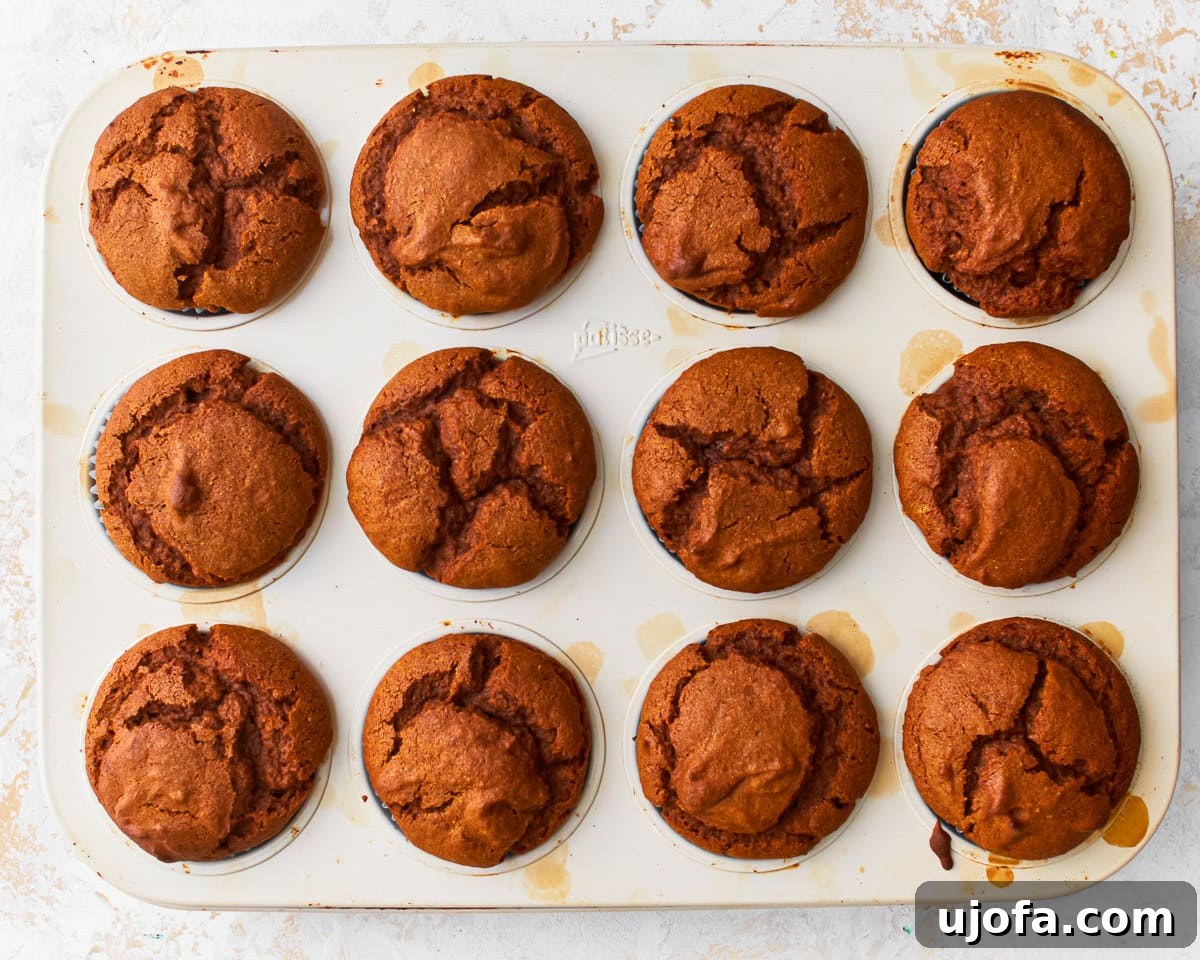
Step 6: Bake and Cool. Place the muffin pan into your preheated oven and bake for 18-22 minutes. Baking time may vary depending on your oven, so watch for the tops to turn golden brown and a toothpick inserted into the center of a muffin to come out clean. Once baked, remove the pan from the oven and let the muffins cool in the tin for 5 minutes. This helps them firm up. After 5 minutes, carefully transfer the warm muffins to a wire rack to cool completely, preventing sogginess and ensuring a perfect texture throughout.