
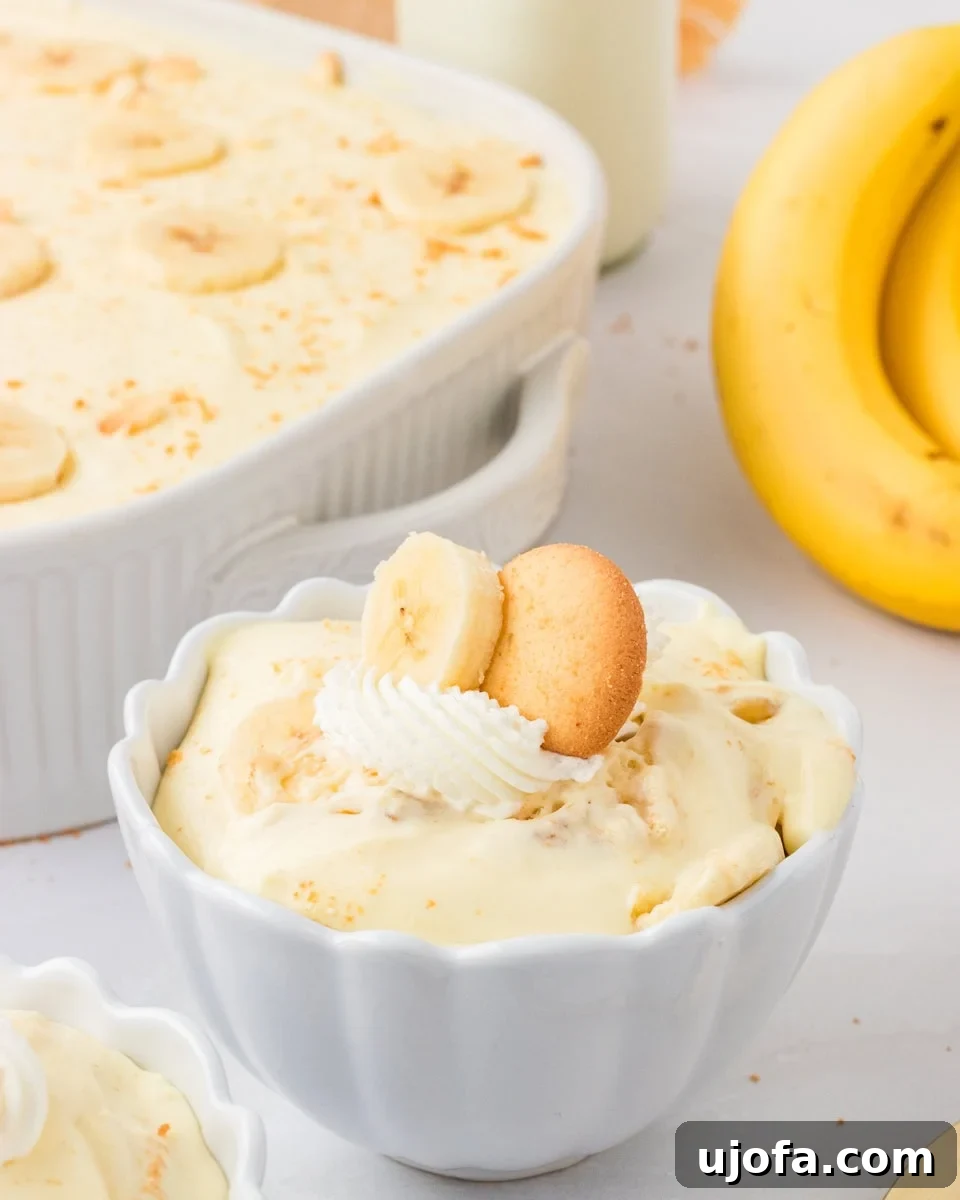
There’s a special place in my heart for banana pudding. Growing up, it was the undisputed star of every family gathering, from vibrant summer cookouts to cozy holiday dinners. I can still taste that perfectly creamy, cookie-filled dessert – truly the highlight of any meal. This recipe for **Gluten-Free Banana Pudding** isn’t just a dessert; it’s a journey back to those cherished memories, reimagined to fit a gluten-free lifestyle without compromising an ounce of flavor or joy. Prepare to indulge in a delightful, no-bake treat featuring luscious layers of homemade-style gluten-free vanilla wafer cookies, perfectly ripe banana slices, and a velvety smooth, rich vanilla pudding, all coming together in a symphony of nostalgic flavors that everyone at your table will adore.
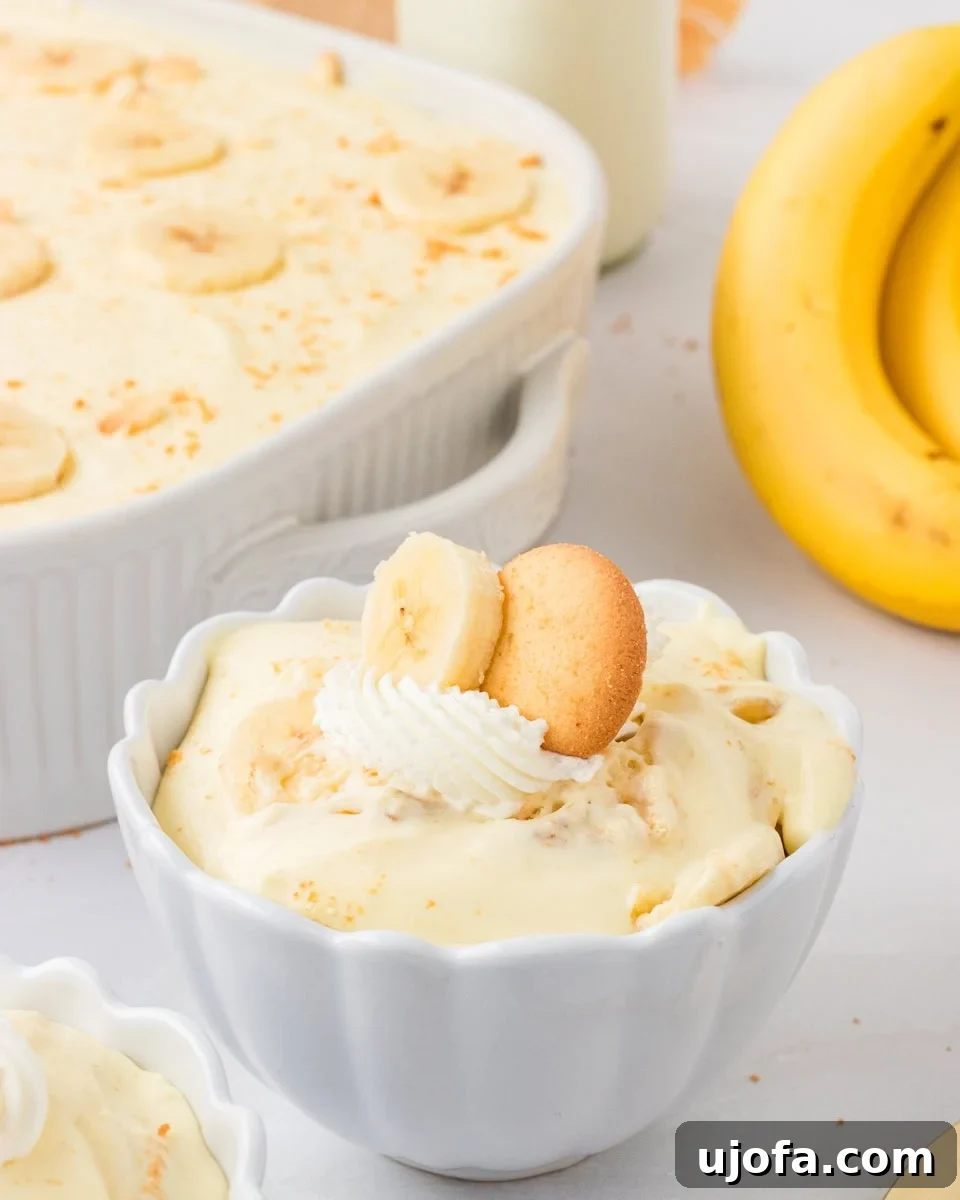
“This is by far THE BEST banana Pudding i have ever made! It has become a major hit at all my gatherings. And no one ever knows it is gluten free until after. Thank you for such a wonderful recipe. I’ve made this several times and it is going to be a regular on my dessert menu.”
– Tara
Gluten-Free Banana Pudding: A Timeless Classic Reimagined
Few desserts evoke the warmth and comfort of home quite like a classic Southern banana pudding. This isn’t merely a banana-flavored confection; it’s a meticulously crafted dessert casserole, a beloved staple that seamlessly blends tradition with modern dietary needs. Our **Gluten-Free Banana Pudding** recipe elevates this timeless treat, ensuring it remains a crowd-pleaser for everyone, including those following a gluten-free diet. We layer crisp, delicate gluten-free vanilla wafers with generously sliced fresh bananas, all enveloped in a luxuriously thick, rich, and creamy homemade vanilla pudding. Each spoonful delivers a burst of nostalgic flavor, making it an irresistible addition to any occasion.
What makes this particular recipe stand out? Beyond being completely gluten-free, it’s remarkably easy to prepare. You’ll find yourself needing only a handful of readily available ingredients and following straightforward steps to create a dessert that tastes like it came straight from your grandmother’s kitchen. Perfect for casual potlucks, festive holiday gatherings, or simply a comforting family dinner, its make-ahead convenience is an added bonus. Prepare it the day before, chill it thoroughly, and simply unveil this magnificent creation when you’re ready to serve, allowing the flavors to deepen and the textures to meld into pure bliss.
Gluten-Free Banana Pudding
By: Audrey Roberts
Servings: 16 servings
Prep: 20 mins
Chilling: 4 hrs
This easy gluten-free banana pudding brings back all those memories, but with a twist that fits my gluten-free lifestyle. With layers of homemade gluten-free vanilla wafer cookies, ripe bananas, and silky homemade pudding, it’s a nostalgic, no-bake treat everyone can enjoy.
Ingredients
- 1 5-oz box gluten-free instant vanilla pudding mix
- 2 cups whole milk (See notes for a dairy-free option.)
- 1 8-oz cream cheese, softened (See notes for a dairy-free option.)
- 1 14-oz can sweetened condensed milk (See notes for a dairy-free option.)
- 2½ cups heavy whipping cream (You can use a 12-oz container of Cool Whip in place of the homemade whipped cream. See notes for a dairy-free option.)
- 1 teaspoon pure vanilla extract
- ½ cup powdered sugar
- 6-8 medium bananas, sliced 1/4-inch thick (Use just barely ripe bananas. If the bananas are ripe or have spots, they will be too mushy by the time the pudding sets up. You can toss the sliced bananas in lemon juice to slow down their browning.)
- 2 6-oz boxes homemade gluten-free vanilla wafers
Instructions
-
Use an electric or stand-up mixer when making the pudding, cream cheese mixture, and homemade whipped cream. You don’t have to wash the beaters between steps because they will all be mixed together.
Pudding Step:
-
In a medium-sized bowl, combine the whole milk and pudding mix and blend well using an electric mixer until smooth. Set aside to thicken.
Cream Cheese Step:
-
In a different large bowl, combine the cream cheese and sweetened condensed milk together with an electric mixer and mix until smooth.
Whipped Cream Step:
-
In a medium-sized bowl, whip together the heavy whipping cream, pure vanilla extract, and powdered sugar with an electric mixer until smooth and firm.
Pudding Mixture Step:
- Add the vanilla pudding to the cream cheese mixture and stir until well blended.
- Fold the whipped cream into the pudding and cream cheese mixture.
Layering Step:
-
Line the bottom of a 9 × 13-inch dish with the gluten-free vanilla wafers
- Add a layer of the sliced bananas on top of the gluten-free vanilla wafers.
-
Pour half of the pudding mixture over the first layer of gluten-free vanilla wafers and sliced bananas. Use a spatula to smooth the top of the pudding mixture.
- Cover the pudding mixture with the remaining gluten-free vanilla wafers and sliced bananas.
- Pour the remaining pudding mixture over the second layer of gluten-free vanilla wafers and sliced bananas. Use a spatula to smooth the top of the pudding mixture.
- Cover with plastic wrap and place in the refrigerator to chill for at least 4 hours.
- When ready to serve, garnish with more whipped cream, gluten-free vanilla wafers, banana slices, or wafer crumbs.
- Store leftovers covered in the refrigerator.
Notes
Dairy-Free Option: Note that the texture won’t be as thick.
- For the dairy-free pudding, you will need to use the Jell-O Cook & Serve vanilla pudding. Dairy-free milk will not work with instant pudding.
- You will also use only 1 ½ cups of dairy-free milk to make the pudding. I recommend unsweetened almond milk. Soy milk is not recommended for Jell-O pudding mix.
- I buy dairy-free sweetened condensed coconut milk (11.6-ounce) from Walmart.
- I like Kite Hill dairy-free cream cheese.
- I use the 9-ounce So Delicious Cocowhip in place of the homemade whipped cream/Cool Whip.
- Kinnikinnick gluten-free vanilla wafers are also dairy-free.
Nutrition
- Serving: 1 serving
- Calories: 201 kcal
- Carbohydrates: 17 g
- Protein: 3 g
- Fat: 15 g
- Saturated Fat: 9 g
- Polyunsaturated Fat: 1 g
- Monounsaturated Fat: 4 g
- Cholesterol: 46 mg
- Sodium: 23 mg
- Potassium: 240 mg
- Fiber: 1 g
- Sugar: 12 g
- Vitamin A: 625 IU
- Vitamin C: 4 mg
- Calcium: 65 mg
- Iron: 1 mg
Nutrition information is automatically calculated, so should only be used as an approximation.
Additional Info
- Course: Dessert
- Cuisine: American
Why You’ll Love This Gluten-Free Banana Pudding Recipe
If you’re searching for a dessert that marries convenience with gourmet taste, look no further. This gluten-free banana pudding is more than just a recipe; it’s an experience waiting to unfold in your kitchen. Here’s why it’s destined to become a staple in your recipe collection:
- Effortlessly Delicious: Forget complicated baking techniques. This is a no-bake wonder that comes together with minimal fuss, making it perfect for both novice and experienced home cooks.
- Perfectly Gluten-Free: Designed with gluten-free needs in mind, this pudding uses specially chosen ingredients like gluten-free vanilla wafers, ensuring that everyone can enjoy a slice of Southern comfort without compromise. No one will even guess it’s gluten-free!
- Rich & Creamy Texture: The combination of instant vanilla pudding, softened cream cheese, sweetened condensed milk, and freshly whipped cream creates an unparalleled silky-smooth texture that melts in your mouth.
- Fresh Banana Flavor: Layers of barely ripe banana slices add natural sweetness and a delightful contrast to the creamy pudding. The key is using bananas that are just firm enough to hold their shape and provide subtle flavor without becoming mushy.
- Versatile & Crowd-Pleasing: Whether it’s a casual weeknight treat, a celebratory holiday dessert, or a dish to share at a potluck, this banana pudding is guaranteed to be a hit. Its comforting taste appeals to all ages.
- Make-Ahead Magic: Save yourself time on the day of your event. This pudding tastes even better after chilling for several hours, allowing the flavors to fully develop and the cookies to soften to perfection.
Key Ingredients for the Best Gluten-Free Banana Pudding
Crafting the perfect gluten-free banana pudding starts with selecting the right ingredients. Each component plays a vital role in achieving that signature creamy texture and nostalgic flavor:
- Gluten-Free Instant Vanilla Pudding Mix: This forms the foundational creamy base. Ensure you choose an instant variety for quick preparation.
- Whole Milk: The richness of whole milk contributes to the pudding’s luxurious texture. For a dairy-free alternative, refer to our notes below the recipe card for specific recommendations.
- Softened Cream Cheese: The secret ingredient that adds incredible depth and tang, balancing the sweetness and creating an irresistibly smooth consistency. Make sure it’s softened to room temperature for effortless blending.
- Sweetened Condensed Milk: This provides intense sweetness and a thick, syrupy consistency, contributing significantly to the pudding’s body and flavor.
- Heavy Whipping Cream & Powdered Sugar: Whipped into fluffy peaks with a hint of vanilla, this lightens the entire pudding mixture, making it airy and decadent. Alternatively, Cool Whip can be used for convenience.
- Pure Vanilla Extract: A touch of high-quality vanilla enhances all the other flavors, adding a classic warmth to the pudding.
- Barely Ripe Bananas: This is crucial! Bananas that are just slightly firm, with no or very few brown spots, will hold their shape and texture beautifully in the pudding. Overripe bananas will turn mushy. Slicing them about ¼-inch thick is ideal.
- Gluten-Free Vanilla Wafers: These classic cookies absorb the pudding’s moisture, transforming into soft, cake-like layers that are a hallmark of traditional banana pudding. Homemade or store-bought gluten-free options work wonderfully.
By understanding the role of each ingredient, you’re well on your way to creating a banana pudding that’s not just gluten-free, but absolutely exceptional.
How To Make Gluten-Free Banana Pudding Step by Step
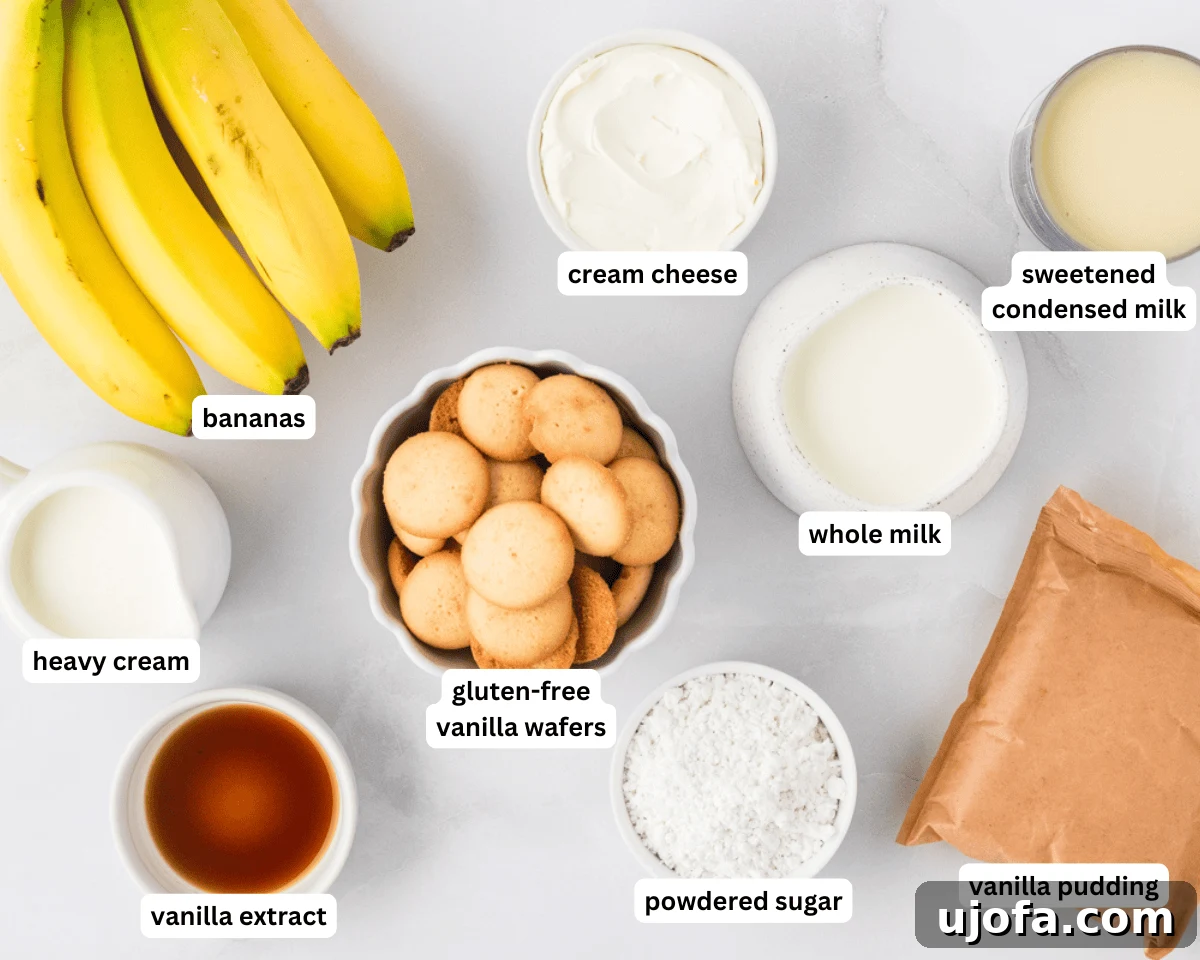
Begin by gathering all your ingredients, ensuring your cream cheese is softened to room temperature for optimal blending.
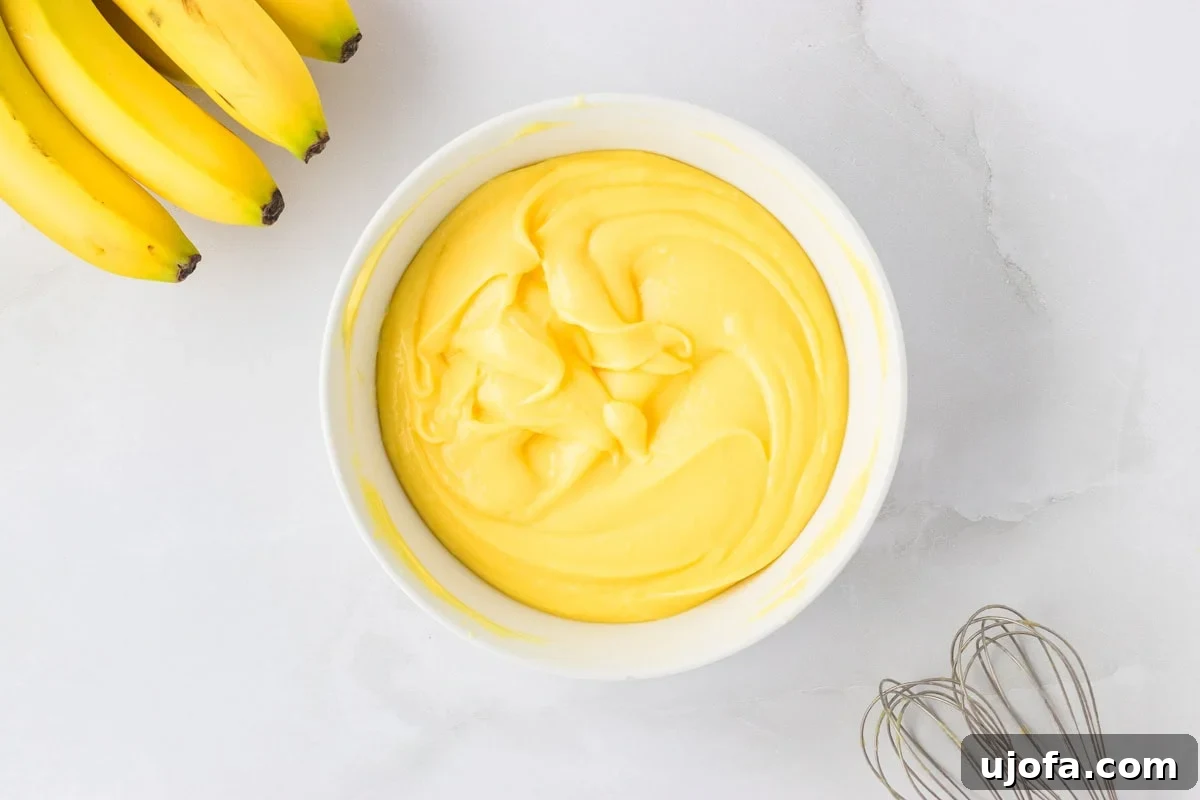
Prepare the Pudding: In a medium bowl, combine the 5-ounce box of gluten-free instant vanilla pudding mix with 2 cups of whole milk. Whisk thoroughly with an electric mixer until the mixture is smooth and begins to thicken. Set it aside to continue firming up while you move on to the next steps.
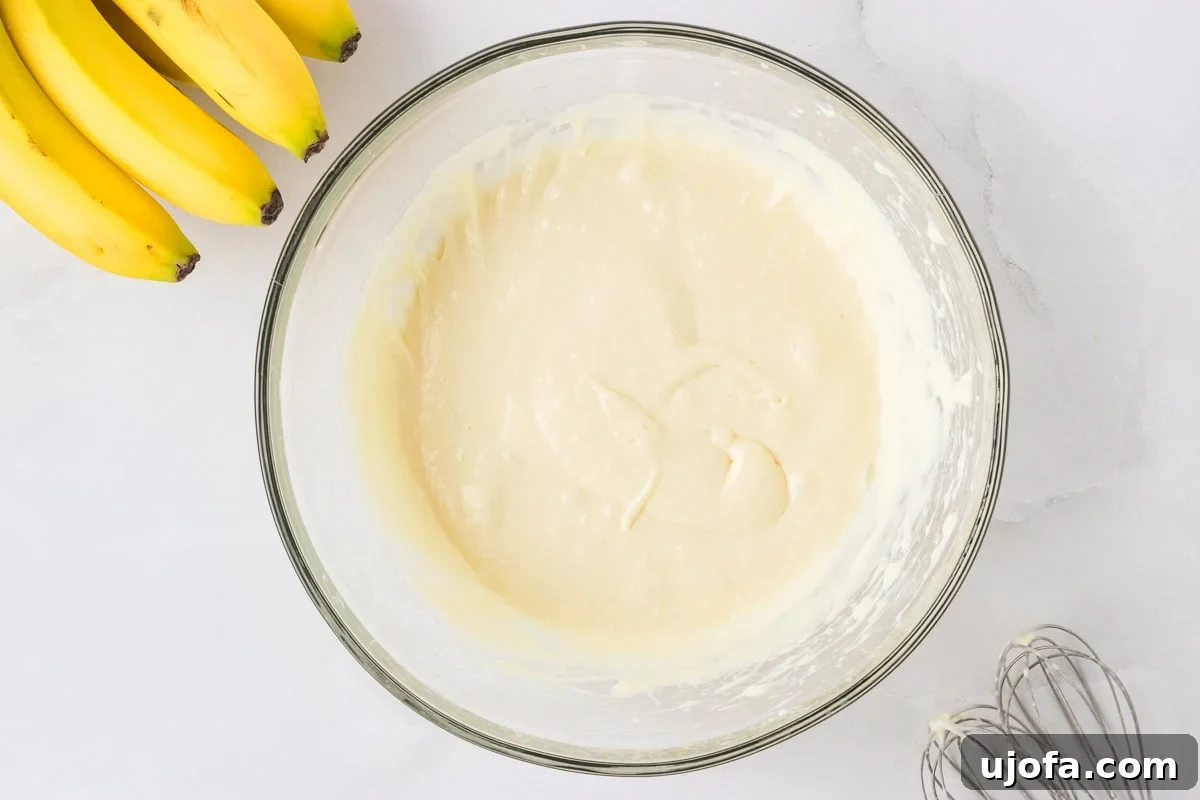
Create the Cream Cheese Base: In a separate, larger bowl, beat the 8-ounce block of softened cream cheese together with the 14-ounce can of sweetened condensed milk. Continue mixing with an electric mixer until the mixture is completely smooth and creamy, with no lumps remaining.
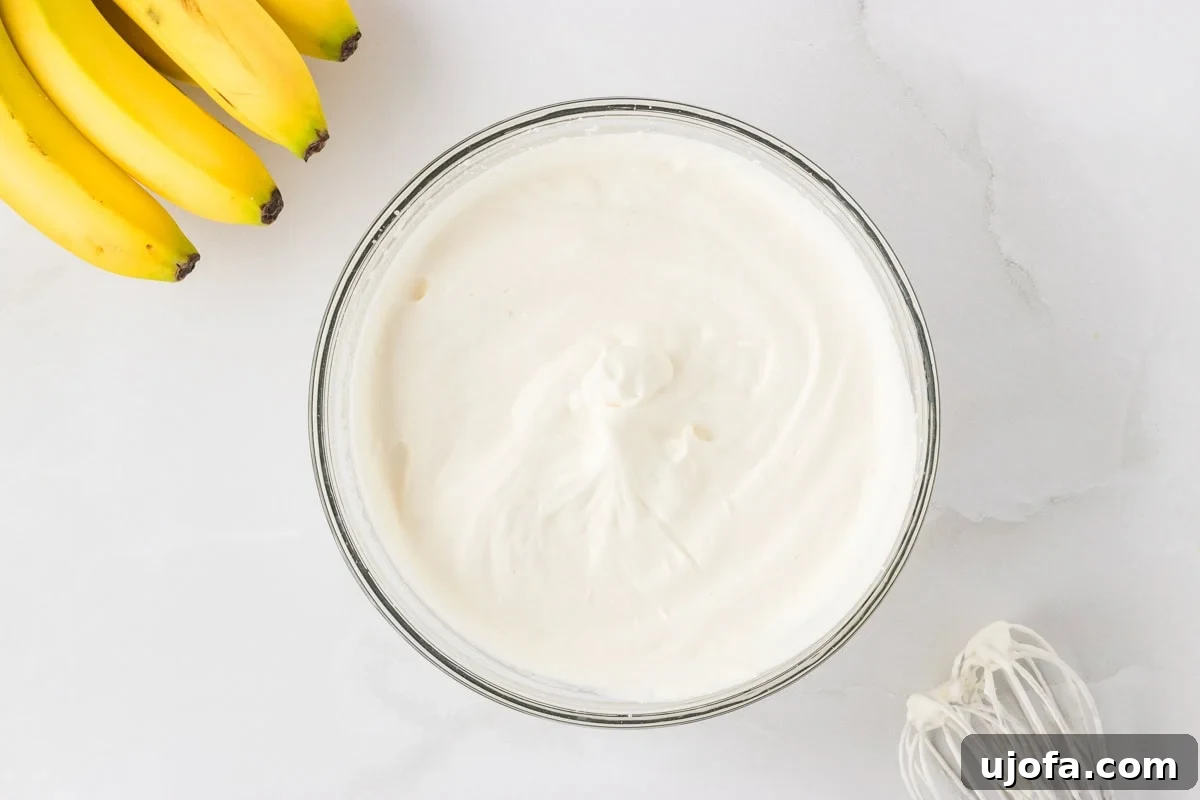
Whip the Cream: In another medium bowl, whip 2½ cups of heavy whipping cream with 1 teaspoon of pure vanilla extract and ½ cup of powdered sugar. Beat with an electric mixer until stiff peaks form, indicating a light and airy consistency. (As a shortcut, you can also use a 12-ounce container of Cool Whip.)
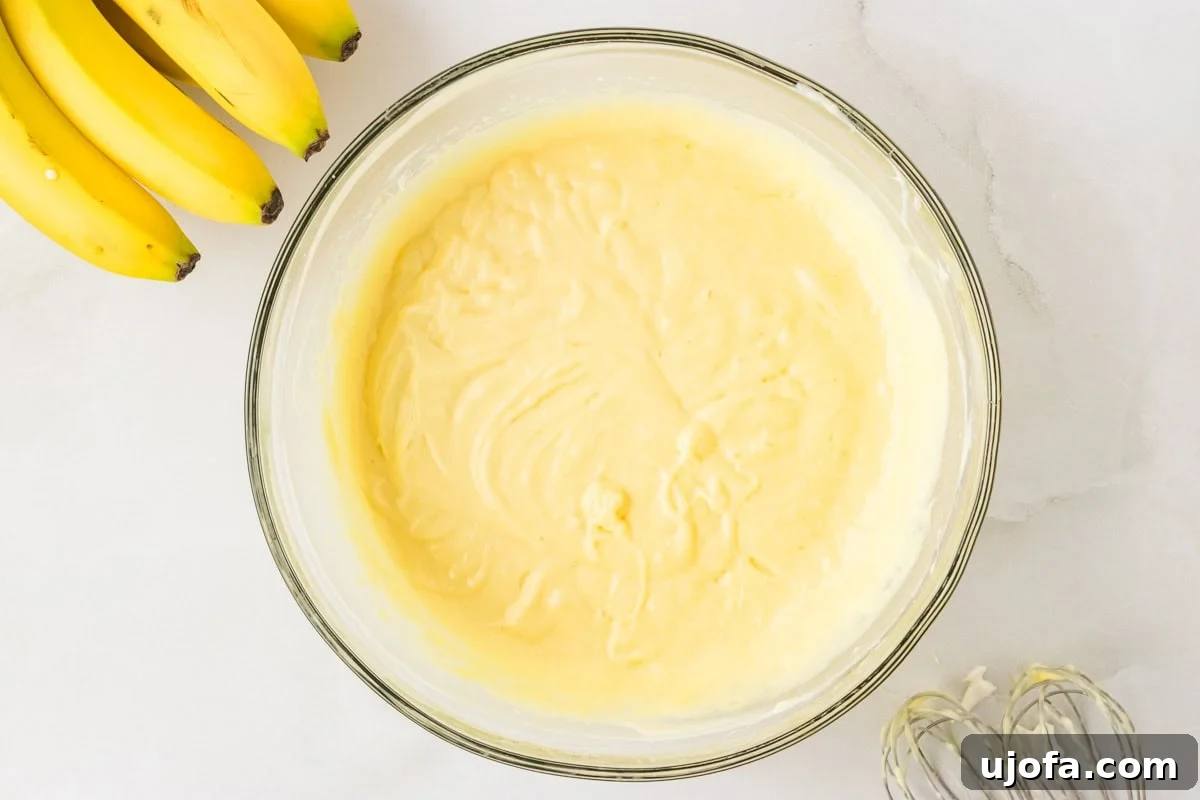
Combine the Pudding and Cream Cheese: Carefully add the thickened vanilla pudding to the cream cheese mixture. Stir gently until they are thoroughly blended and smooth.
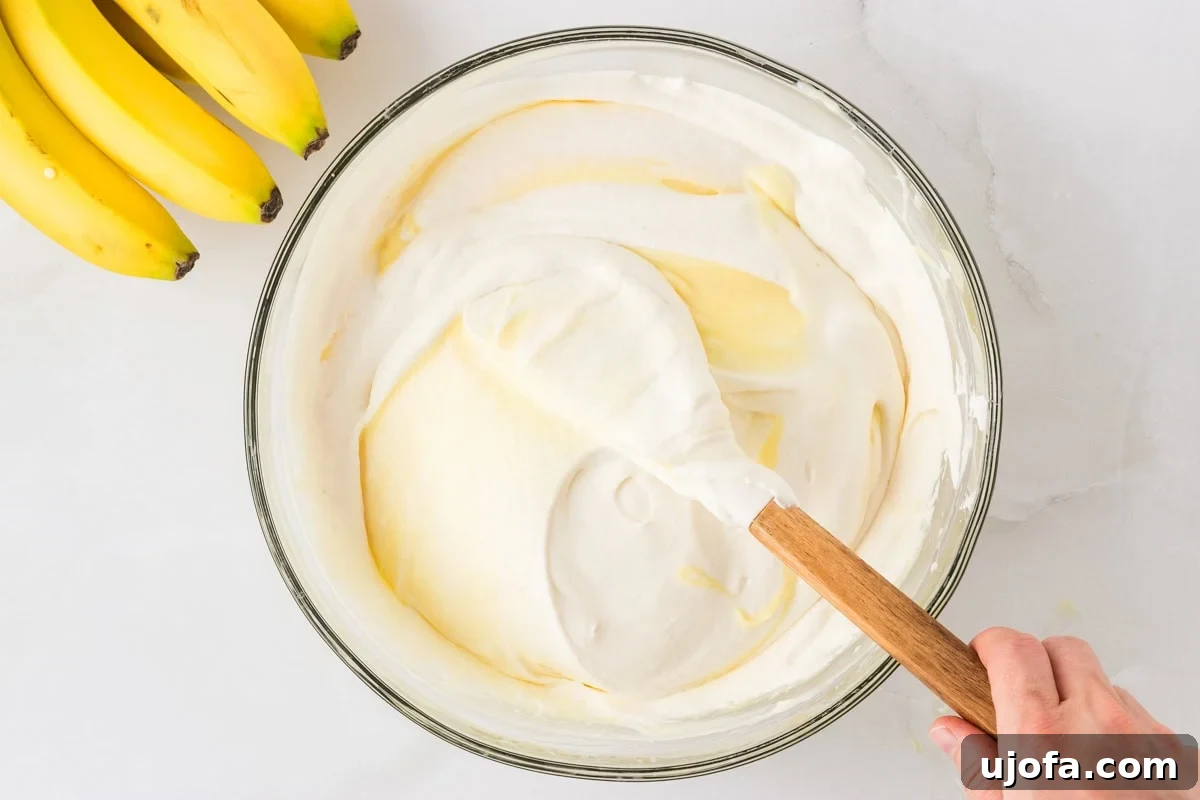
Fold in the Whipped Topping: Gently fold the freshly whipped cream into the combined pudding and cream cheese mixture. Continue folding until the entire mixture is light, fluffy, and evenly blended, ensuring you don’t overmix and lose the airiness.
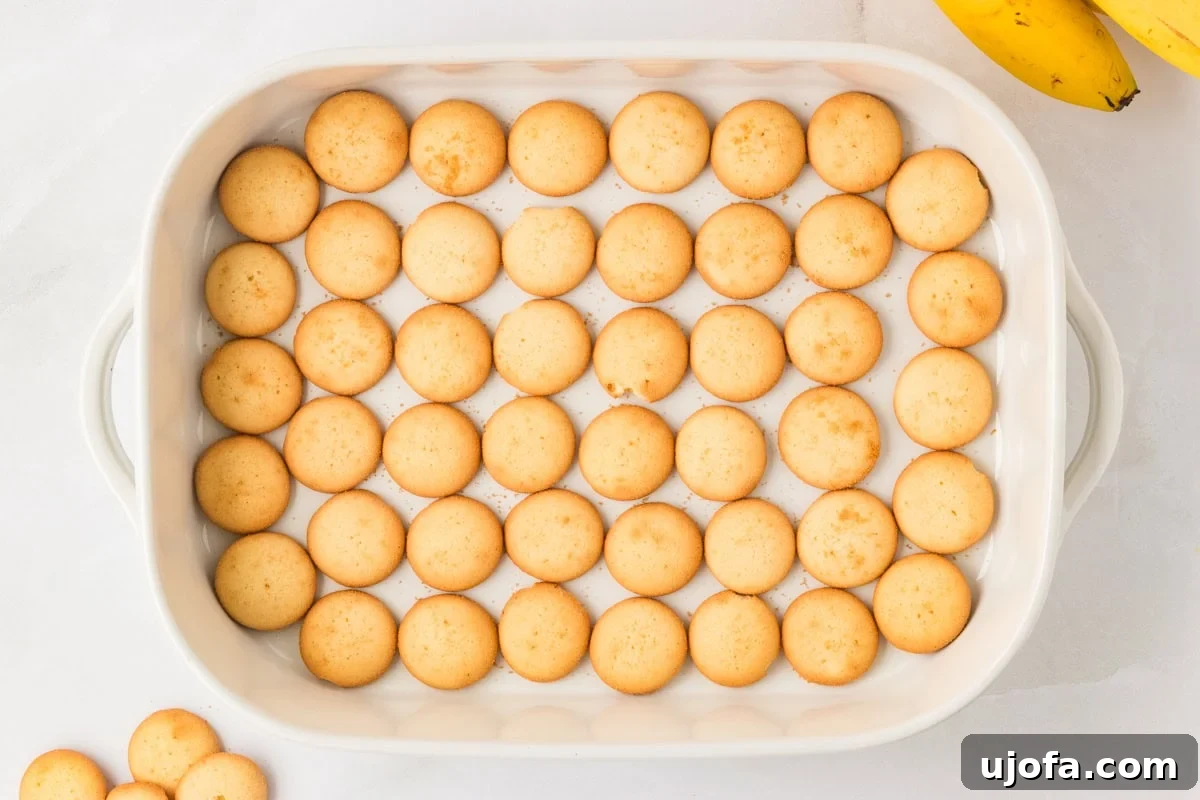
Begin Layering the Dessert: In a 9×13-inch baking dish, arrange one of the 6-ounce boxes of gluten-free vanilla wafers (or your delicious homemade ones) to form a single, even layer at the bottom.
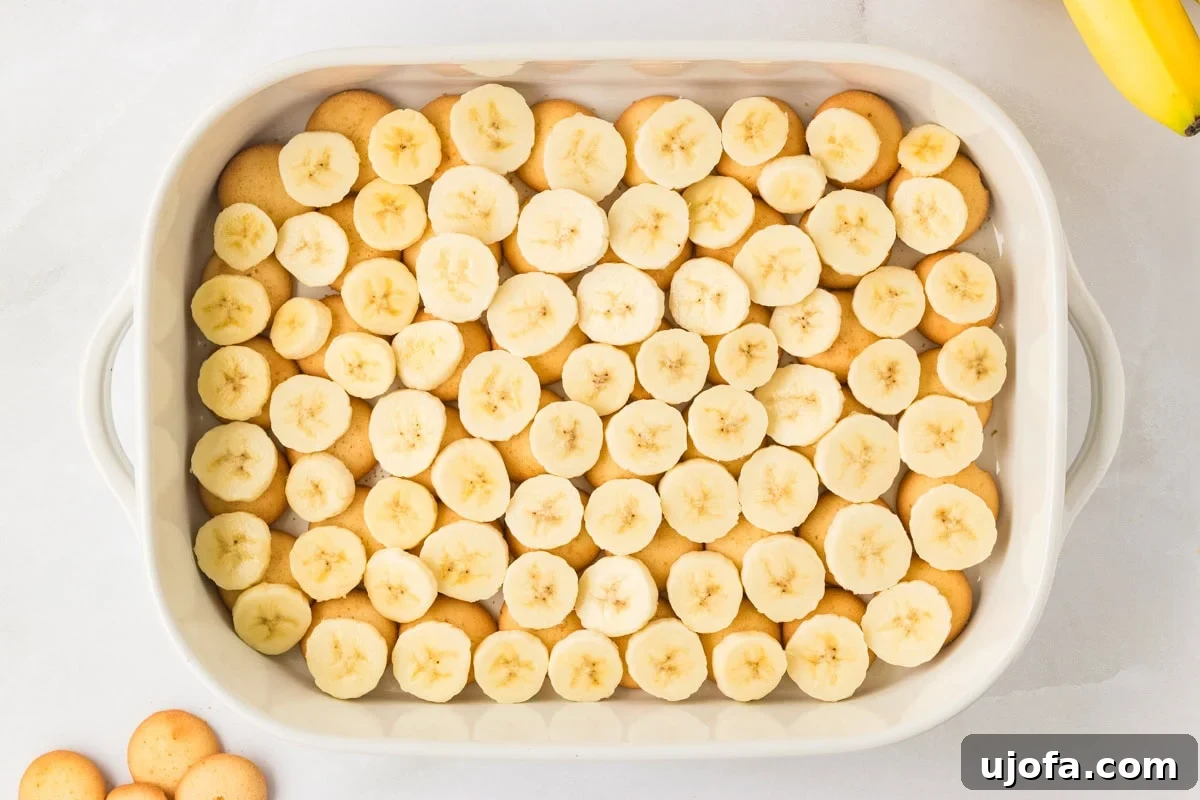
Add Banana Slices: Evenly spread half of your 6-8 medium bananas, sliced into ¼-inch thick rounds, over the layer of vanilla wafers. Remember to use barely ripe bananas to prevent them from becoming too mushy.
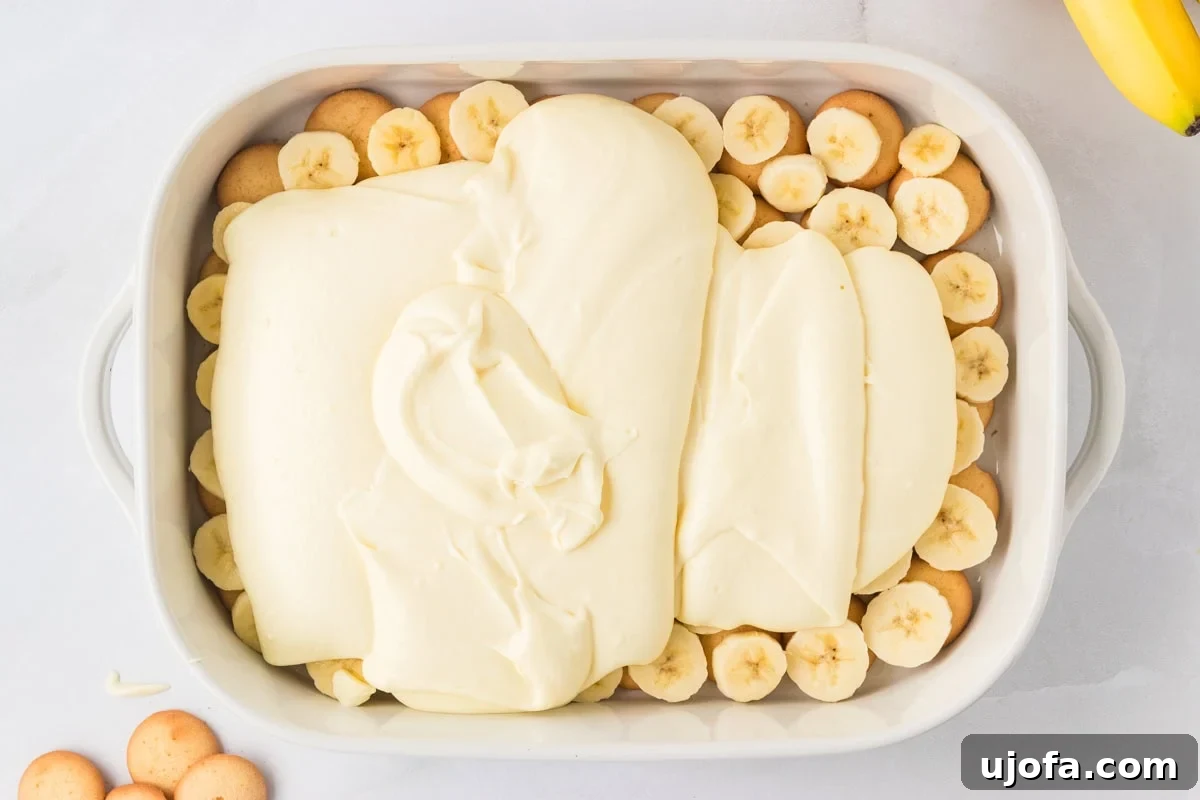
Pour the First Pudding Layer: Gently pour half of the luscious pudding mixture over the bananas and wafers. Use a spatula to carefully smooth it out, ensuring it forms an even layer that covers everything.
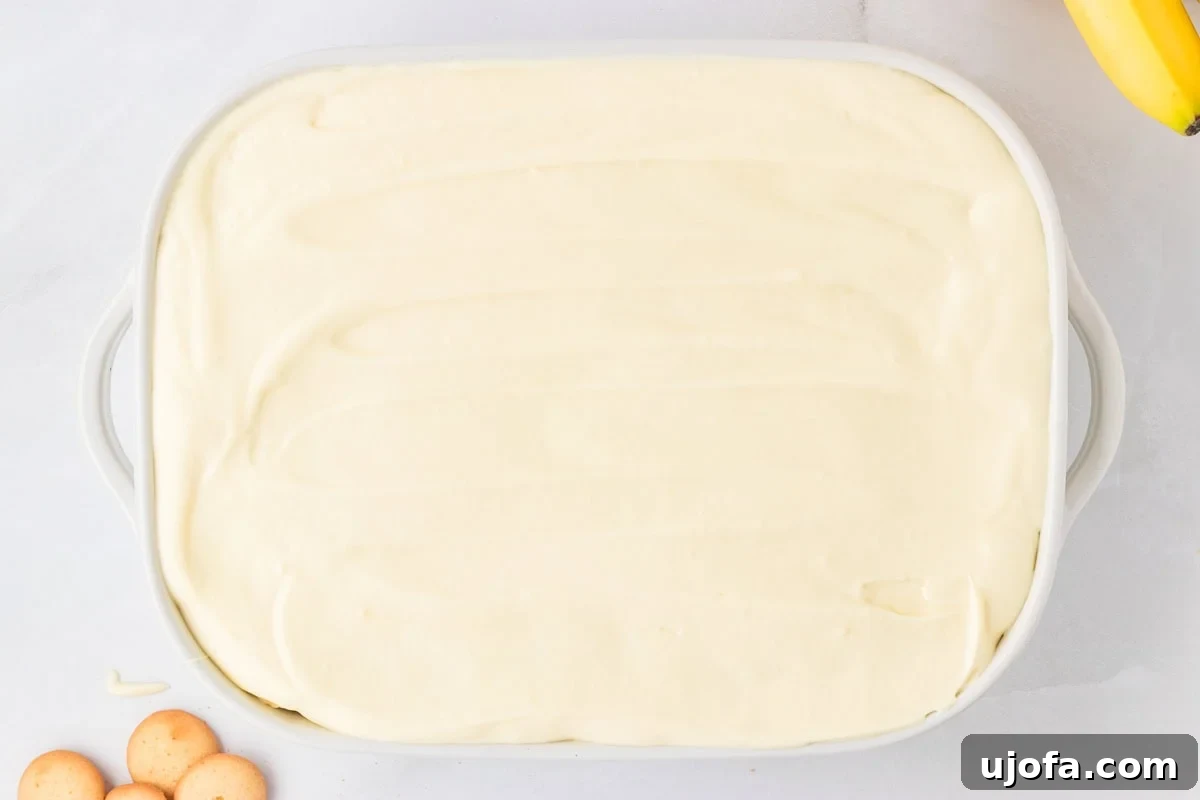
Repeat Layers and Finish: Place the remaining 6-ounce box of gluten-free vanilla wafers over the pudding layer, followed by the rest of the sliced bananas. Top with the remaining pudding mixture, spreading it smoothly to create an inviting surface.
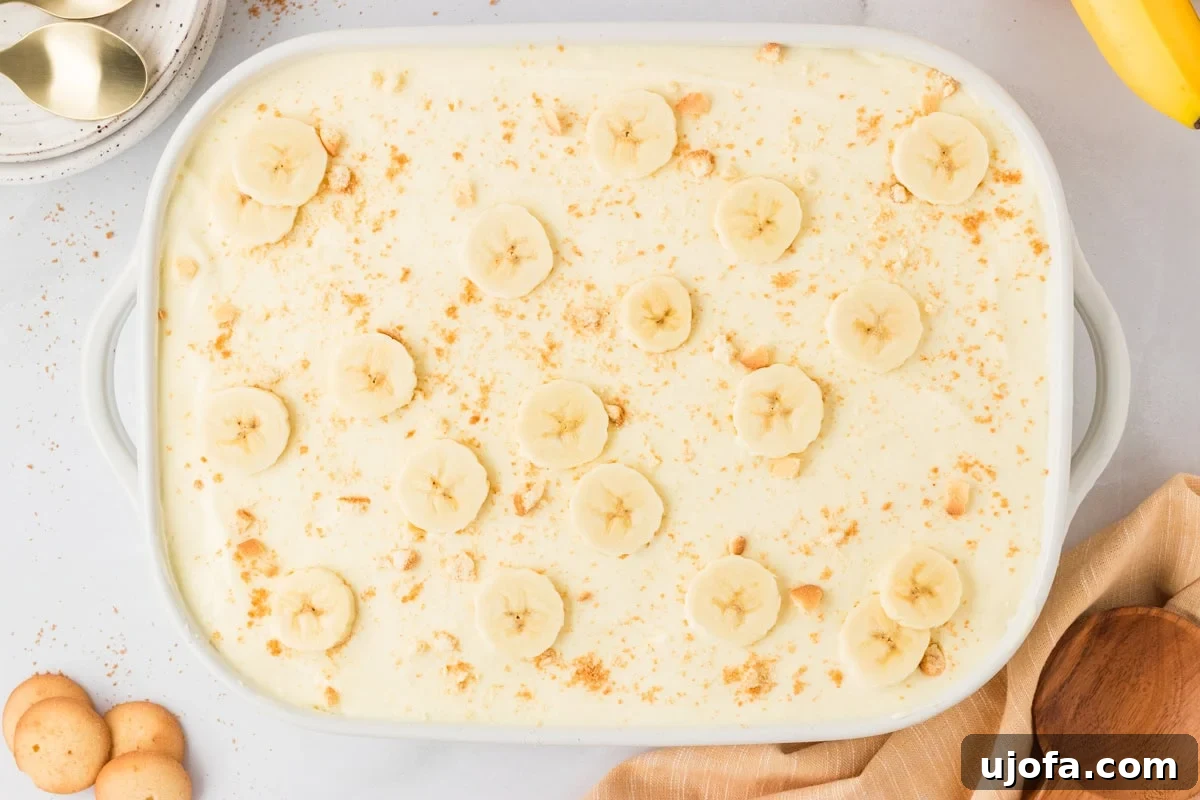
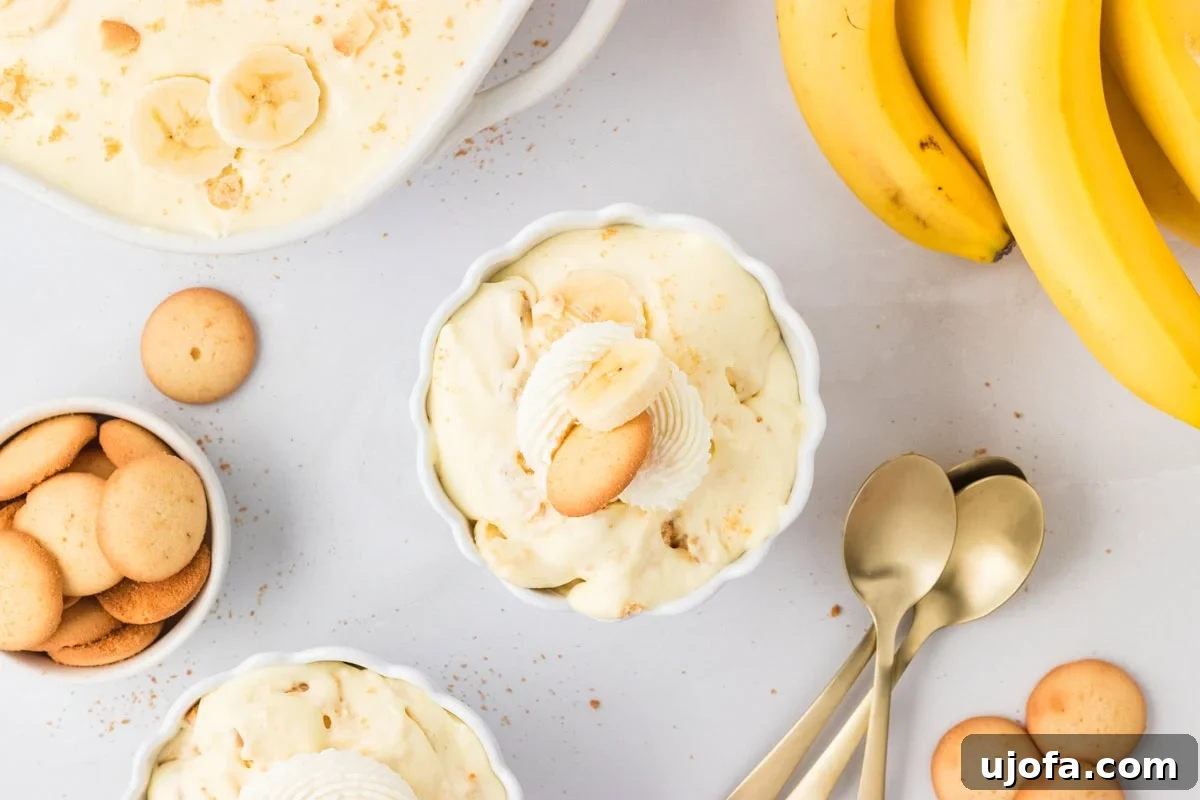
Chill and Serve: Cover the entire dish tightly with plastic wrap and refrigerate for a minimum of 4 hours. For the absolute best flavor and texture, chilling overnight is highly recommended. Just before serving, unleash your creativity! Garnish with extra whipped cream, fresh banana slices, whole gluten-free vanilla wafers, or a sprinkle of crushed cookie crumbs. Serve chilled and enjoy this delightful, nostalgic treat!
Tips for Success for Your Gluten-Free Banana Pudding
Achieving the perfect, crowd-pleasing gluten-free banana pudding is easier than you think with these simple tips:
- Master the Fold: When combining the pudding, cream cheese mixture, and whipped cream, use a spatula to gently fold the ingredients together. This technique helps maintain the light and airy texture of the whipped cream, resulting in a delightfully fluffy and creamy pudding. Overmixing can deflate the whipped cream and make the pudding dense.
- Chill for Perfection: Patience is key! This no-bake dessert absolutely requires ample time in the refrigerator to properly set. A minimum of 4 hours is essential, but for truly robust flavors and a perfectly firm texture where the wafers have softened beautifully, consider making it the night before and chilling it overnight.
- Prevent Banana Browning: Bananas can brown quickly when exposed to air. To keep your banana slices looking fresh and appealing, lightly toss them with a small amount of lemon juice (about ½ teaspoon for all the bananas) before layering them into the pudding. This trick slows down oxidation significantly.
- Garnish Just Before Serving: To ensure your banana pudding looks its best, hold off on adding any final garnishes until right before you plan to serve. Fresh dollops of whipped cream, crisp gluten-free vanilla wafers, additional banana slices, or a sprinkle of cookie crumbs will elevate both the visual appeal and the textural experience.
- Choose the Right Bananas: The ripeness of your bananas makes a big difference. Opt for bananas that are just barely ripe – firm with no or very few brown spots. Overripe bananas will release too much moisture and become mushy in the pudding, affecting its overall texture.
Serving Suggestions for Your Gluten-Free Banana Pudding
Southern banana pudding holds a special place in my heart, instantly transporting me back to joyful family gatherings and lively Sunday potlucks. This gluten-free version captures all that same creamy, comforting, and utterly crowd-pleasing essence. Its undeniable charm makes it a fantastic choice for make-ahead entertaining, and the best part? No one ever suspects it’s gluten-free!
While delicious on its own, a few extra touches can elevate your banana pudding experience. I love to add a sprinkle of crushed gluten-free molasses cookies for an unexpected crunch and a hint of warm spice. A subtle dash of cinnamon or nutmeg can also add an extra layer of cozy flavor. For individual portions perfect for parties or lunchboxes, serve it in elegant glass cups or small jars. If you’re aiming for a show-stopping centerpiece, layer it artfully in a large trifle dish, allowing the beautiful layers to be admired. This versatile dessert is a guaranteed hit at summer BBQs, festive Easter brunches, holiday feasts, or simply anytime you’re craving a taste of nostalgic Southern sweetness.
Storage Instructions
To keep your gluten-free banana pudding fresh and delightful, store any leftovers covered tightly with plastic wrap in the refrigerator. It will maintain its quality for up to 3 days. For the best possible texture and flavor, it’s recommended to enjoy the pudding within the first 1 to 2 days, as the banana slices will naturally soften further over time. This dessert is not suitable for freezing; the pudding can become watery, and the bananas tend to turn mushy once thawed, significantly impacting the desired creamy consistency.
More Delicious Gluten-Free Banana Recipes
- Gluten-Free Banana Cake
- Banana Chia Pudding
- Gluten-Free Banana Bread
- Banana Oatmeal Cookies
- Gluten-Free Banana Pancakes
Our Gluten-Free Banana Pudding recipe was originally published on May 23, 2022. It was retested, reworked, and republished on July 25, 2025, to bring you an even better version.