
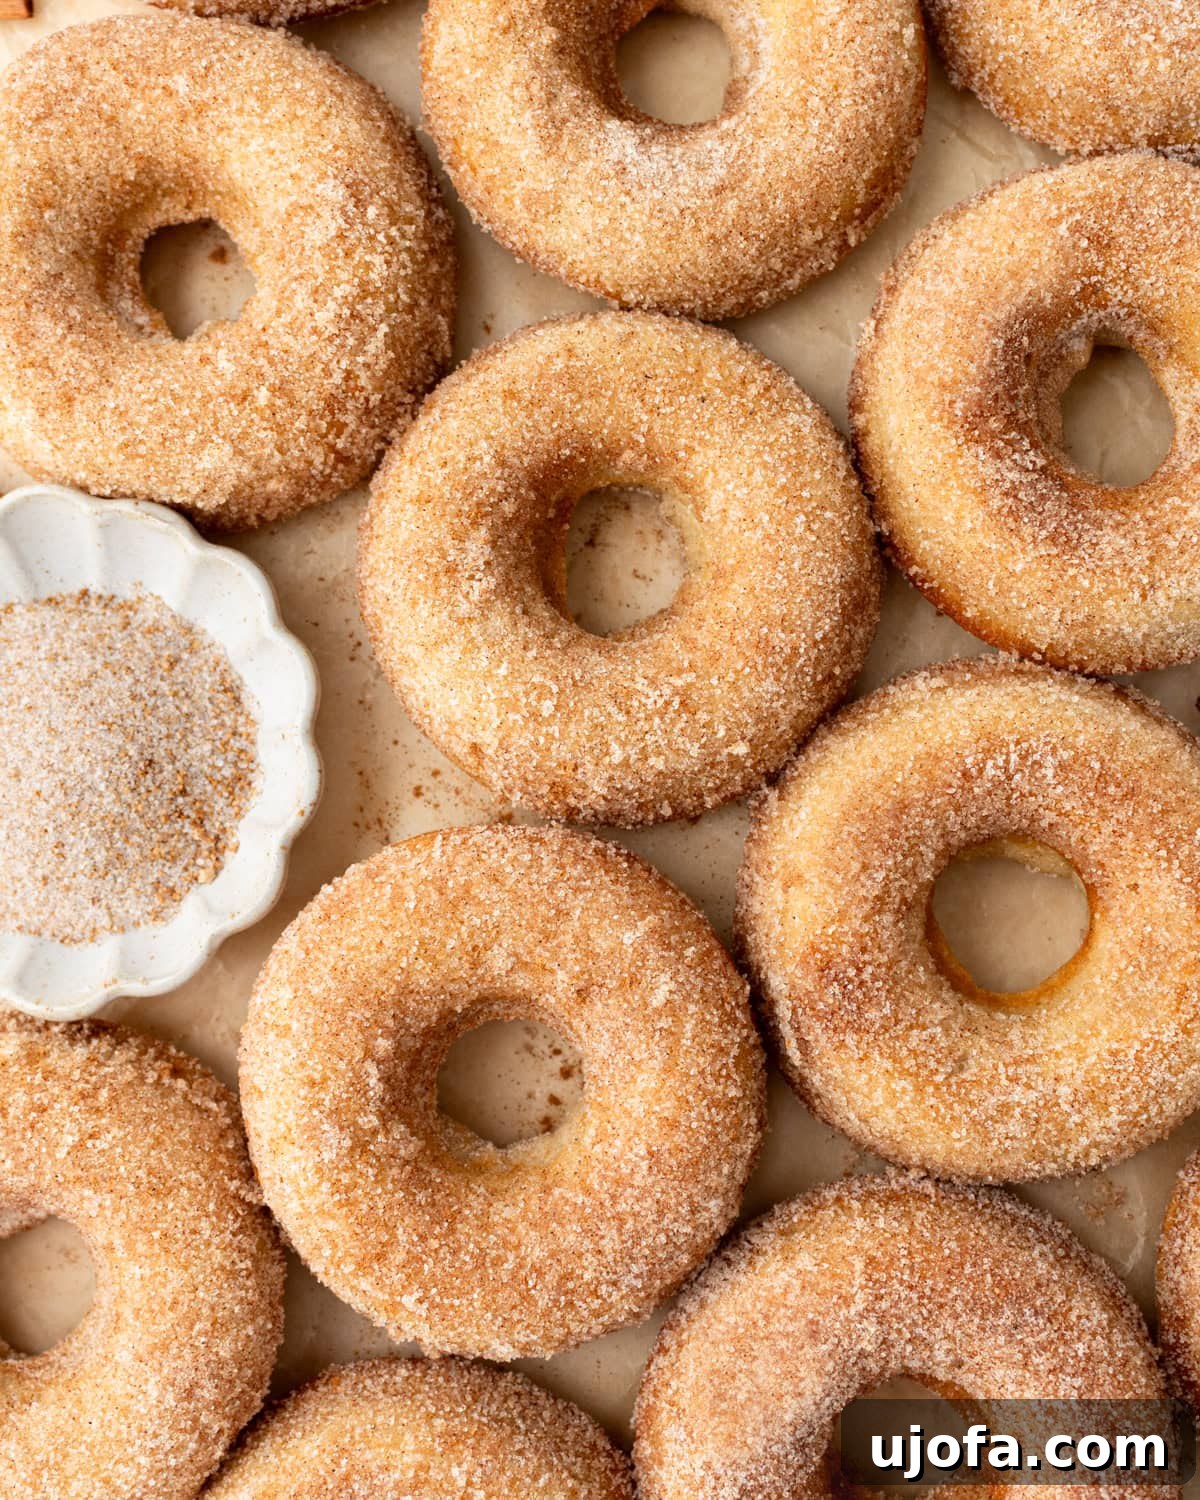
Welcome to the ultimate guide for crafting the most delicious Gluten-Free Baked Donuts! If you’re searching for a quick, delightful treat that’s perfect for any occasion – from special birthday mornings to spontaneous weekend brunches – look no further. This easy-to-follow recipe ensures you can whip up light, moist, and tender donuts in just 25 minutes, making it ideal for when you’re short on time but still want to impress.
These baked beauties offer a melt-in-your-mouth texture and are infused with subtle, natural sweetness, transforming each bite into a little celebration. Unlike their fried counterparts, these donuts are baked, resulting in a slightly lighter, yet irresistibly soft and perfectly moist texture. They’re also entirely gluten-free, ensuring that everyone can indulge without compromise.
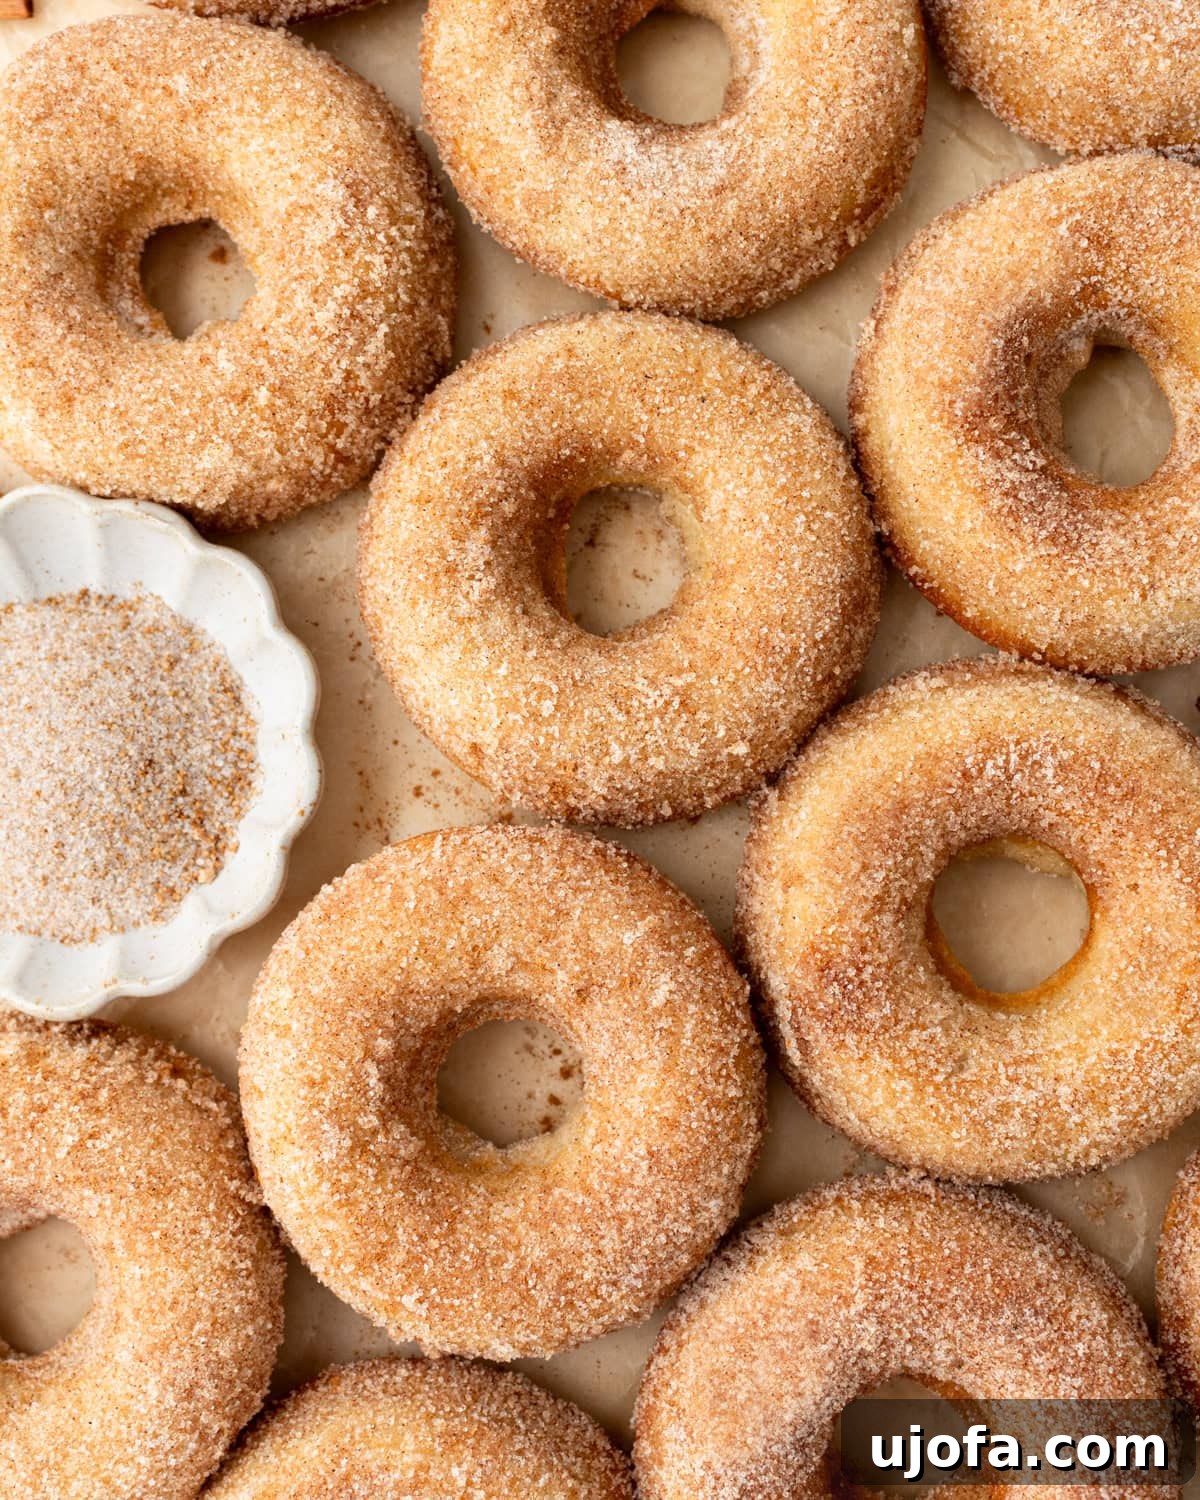
Gluten-Free Baked Donuts Recipe: Your New Go-To Treat
While I love dusting these gluten-free baked donuts with a classic cinnamon sugar mixture, their versatility is truly remarkable. Imagine them dipped in rich chocolate ganache, drizzled with a zesty citrus glaze, or coated in creamy vanilla icing. The possibilities are endless, making this recipe a fantastic canvas for your culinary creativity. Whether it’s a cozy breakfast at home or a festive gathering, these tender, flavorful donuts are sure to be a crowd-plepleaser. Let’s dive into creating these delightful treats!
Gluten-Free Baked Donuts
By: Ashley Barbey
Servings: 12 donuts
Prep Time: 15 mins
Cook Time: 10 mins
Total Time: 25 mins

These gluten-free baked donuts are light, moist, and boast a tender crumb that practically melts in your mouth. Infused with subtle flavors and a hint of natural sweetness, each bite feels like a little celebration, perfect for any time you crave a delightful treat.
Equipment
- 2 full-sized donut pans (6 cavities each)
- Large mixing bowl
- Medium mixing bowl
- Whisks
- Piping bag (or a large Ziploc bag with a corner snipped, or simply a spoon)
- Wire cooling rack
- Pastry/basting brush
- Shallow bowl for coating
Ingredients
For the Donuts:
- 2 cups gluten-free 1:1 flour blend (ensure it contains xanthan gum for best results)
- 2 tsp gluten-free baking powder
- ¾ tsp fine sea salt
- ½ tsp baking soda
- ½ tsp ground cinnamon
- ⅛ tsp ground nutmeg
- 2 tbsp unsalted butter, melted and slightly cooled (or use a dairy-free butter alternative)
- 2 tbsp vegetable oil (or substitute with 2 additional tbsp of melted butter for a richer flavor)
- ¼ cup packed brown sugar
- ¼ cup granulated sugar
- 2 large eggs (or an egg replacer for an egg-free version)
- 1 cup milk (2% milk is recommended, but oat milk, almond milk, or other nut milk varieties work wonderfully for dairy-free needs)
- 2 tsp vanilla extract
For the Cinnamon Sugar Topping:
- ¼ cup unsalted butter, melted
- 1 cup granulated sugar
- 2 tsp ground cinnamon
Instructions
- Prepare Your Pans and Preheat Oven: Begin by preheating your oven to 350°F (175°C). Generously spray two standard 6-cavity donut pans with a nonstick baking spray, or grease and lightly flour them. This crucial step ensures your donuts release easily after baking, maintaining their perfect shape.
- Combine Dry Ingredients: In a large mixing bowl, thoroughly whisk together the gluten-free 1:1 flour blend, baking powder, fine sea salt, baking soda, ground cinnamon, and ground nutmeg. Whisking ensures all ingredients are evenly distributed, which is key for a consistent crumb.
- Mix Wet Ingredients: In a separate medium bowl, combine the melted and slightly cooled unsalted butter with the vegetable oil. Add the brown sugar and granulated sugar, whisking until the mixture is smooth and well combined. Next, whisk in the large eggs, milk (or your chosen dairy-free alternative), and vanilla extract until everything is fully incorporated and smooth.
- Create the Batter: Gently pour the wet ingredient mixture into the bowl containing your dry ingredients. Whisk just until a smooth batter forms. Be careful not to overmix, as this can lead to tougher donuts. A few small lumps are fine.
- Fill Donut Pans: Transfer the donut batter into a piping bag for easy and neat filling. Evenly pipe the batter into each donut cavity, filling them about two-thirds full. If you don’t have a piping bag, a large spoon or a plastic bag with a corner snipped off will work just as well.
- Bake to Perfection: Place the filled donut pans into the preheated oven and bake for 8-10 minutes. The donuts are ready when a toothpick inserted into the center comes out clean. Once baked, remove them from the oven and let them cool in the pans for about 15 minutes before carefully transferring them to a wire rack to cool completely. This cooling period helps them firm up and prevents breakage.
- Prepare Cinnamon Sugar Topping: While your donuts are cooling, prepare the irresistible cinnamon sugar topping. In a shallow bowl, whisk together the granulated sugar and ground cinnamon until they are thoroughly combined.
- Coat and Serve: Once the donuts are cool enough to handle, melt the remaining ¼ cup of unsalted butter in a small bowl. Working with one donut at a time, use a pastry or basting brush to coat each donut with the melted butter. Immediately roll the buttered donut in the cinnamon sugar mixture, ensuring it’s fully coated. Serve these delightful gluten-free baked donuts warm for the best taste and texture.
Notes & Expert Tips for Perfect Gluten-Free Baked Donuts
- Fat Flexibility: Instead of using a combination of oil and butter, you can opt for 4 tablespoons of melted unsalted butter only, or 4 tablespoons of vegetable oil only. Both options yield delicious results, but butter adds a richer flavor.
- Prevent Dryness & Crumbling: The key to successful gluten-free baked donuts is the right flour blend. Always use a 1:1 gluten-free flour blend that contains xanthan or guar gum. These gums provide essential structure and elasticity, preventing your baked goods from becoming dry and crumbly. For consistently excellent results, I highly recommend King Arthur Gluten-Free Measure for Measure Flour.
- Gentle Mixing is Key: To ensure your donuts remain wonderfully light and fluffy, mix the batter just until the ingredients are combined. Over-mixing can develop the gluten-free flour too much, leading to dense or deflated donuts.
- Cool Before Handling: Patience is a virtue, especially when baking! Allow the donuts to cool in the pan for at least 5-10 minutes before attempting to transfer them to a wire rack. This allows them to set properly, significantly reducing the risk of them breaking apart.
- Egg-Free Option: For those seeking a vegan-friendly or egg-free version, Ener-G Egg Replacer is a fantastic substitute. Simply follow the package instructions to ensure proper consistency and binding.
- Dairy-Free Option: As noted in the ingredients, easily make these donuts dairy-free by using your preferred plant-based milk (oat, almond, soy) and a dairy-free butter alternative.
- Uniform Filling: Using a piping bag helps ensure that each donut cavity is filled evenly, leading to uniformly sized and baked donuts. This is especially helpful if you’re aiming for a professional look.
Nutrition Information
Serving: 1 donut
- Calories: 261 kcal
- Carbohydrates: 41g
- Protein: 4g
- Fat: 10g
- Saturated Fat: 5g
- Polyunsaturated Fat: 2g
- Monounsaturated Fat: 3g
- Trans Fat: 0.2g
- Cholesterol: 45mg
- Sodium: 282mg
- Potassium: 52mg
- Fiber: 2g
- Sugar: 27g
- Vitamin A: 250 IU
- Vitamin C: 0.02mg
- Calcium: 92mg
- Iron: 1mg
Nutrition information is automatically calculated and should only be used as an approximation. Individual results may vary based on ingredients and preparation methods.
Additional Information
Course: Baking, Breakfast, Dessert
Cuisine: American
Tried this recipe?
We’d love to see your creations! Mention @mamaknowsglutenfree or tag #mamaknowsglutenfree on Instagram!
How to Make Gluten-Free Baked Donuts: Step-by-Step Visual Guide
To ensure your success in baking these delightful gluten-free donuts, here’s a detailed step-by-step guide with accompanying visuals. Follow along to create bakery-quality donuts right in your own kitchen.
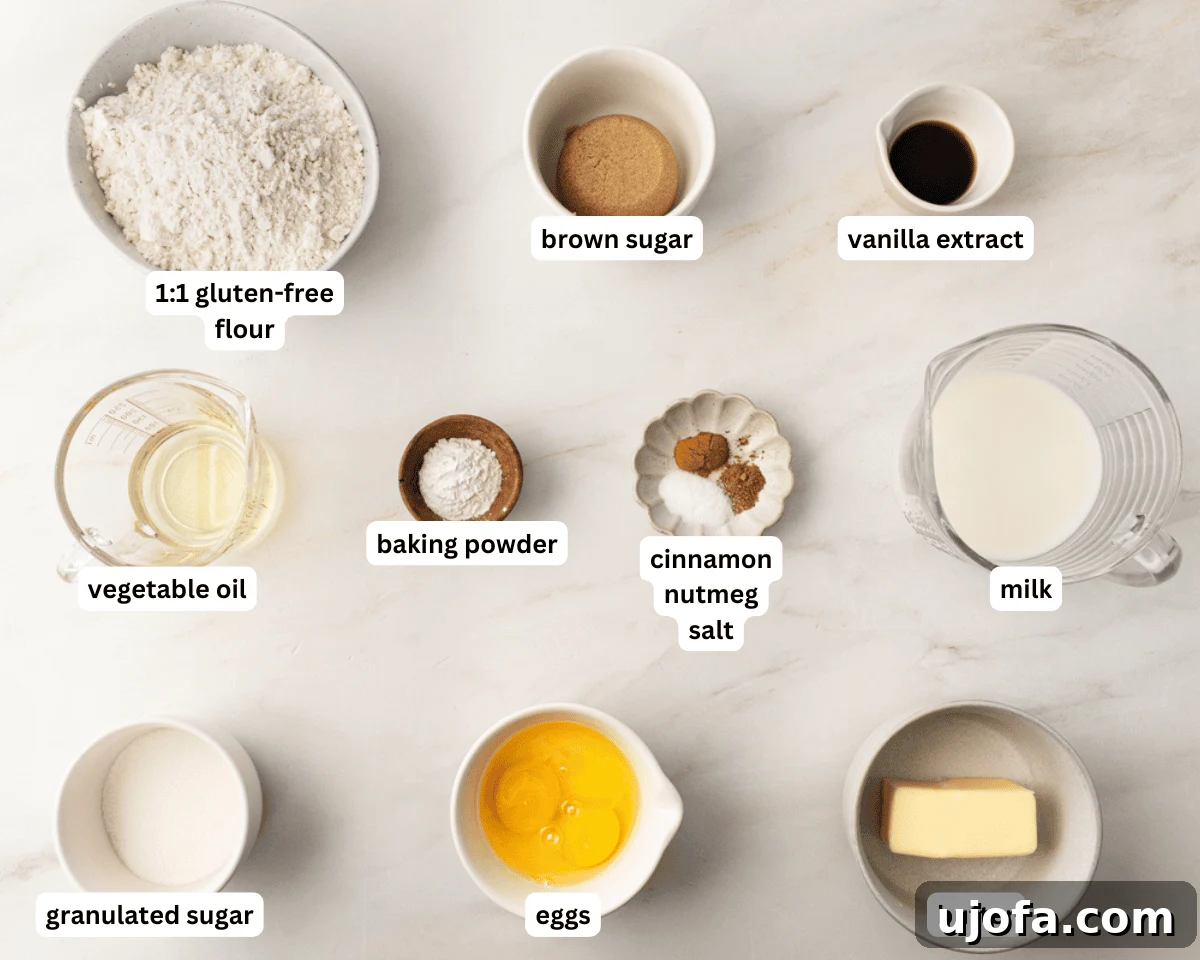
Step 1: Gather Your Ingredients: The first and most important step is to gather all the necessary ingredients, ensuring they are measured and ready. This helps streamline the baking process and prevents last-minute scrambling. Having everything at hand ensures a smooth and enjoyable baking experience.
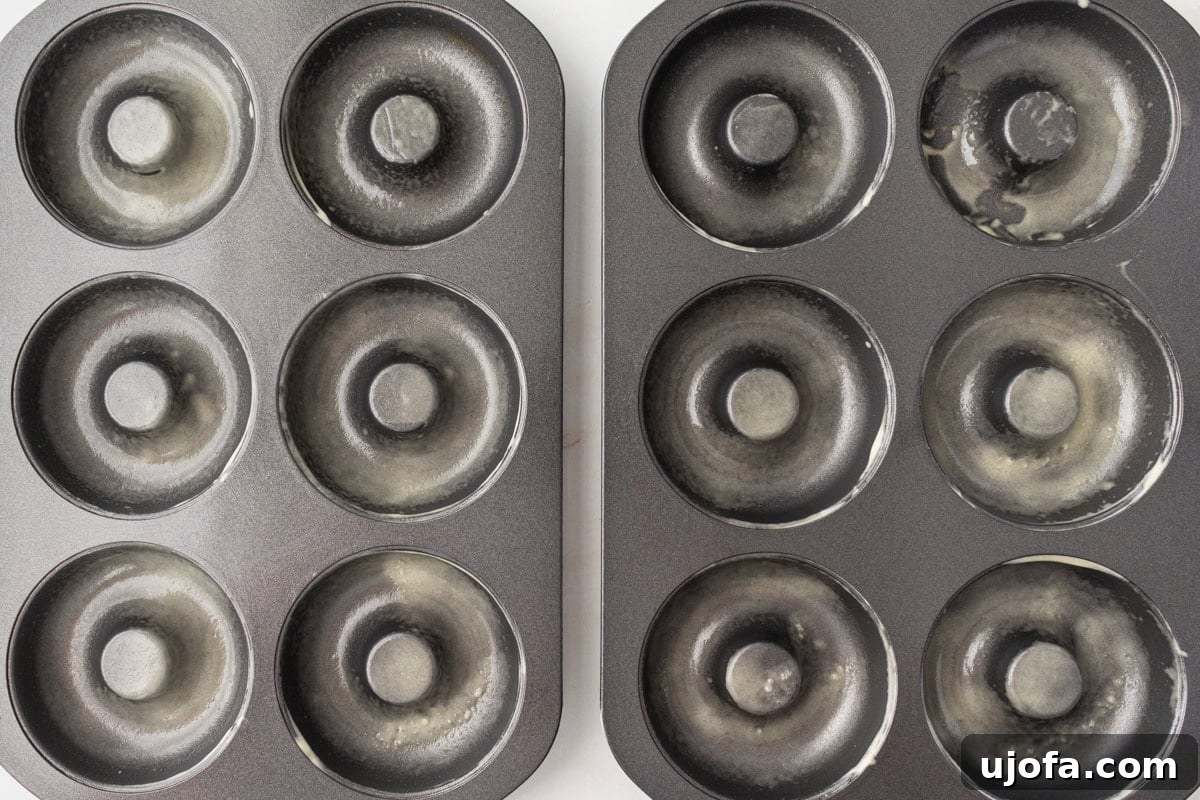
Step 2: Preheat the Oven and Prepare the Pans: Set your oven to preheat at 350°F (175°C). While the oven heats, take two standard 6-cavity donut pans and generously spray them with a nonstick baking spray. Alternatively, you can grease them with butter or oil and then lightly dust them with gluten-free flour. This preparation is essential for preventing the donuts from sticking and ensures they come out perfectly intact.
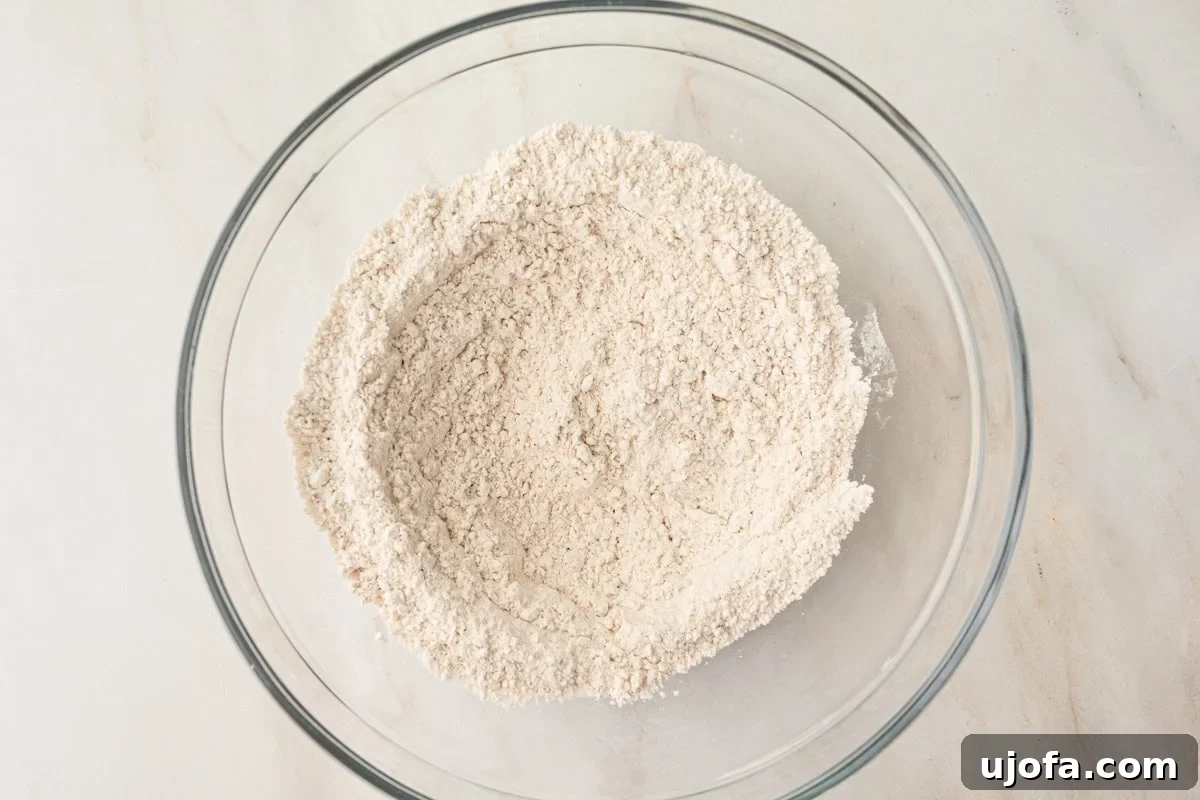
Step 3: Mix the Dry Ingredients: In a large mixing bowl, combine 2 cups of your chosen gluten-free 1:1 flour blend, 2 teaspoons of gluten-free baking powder, ¾ teaspoon of fine sea salt, ½ teaspoon of baking soda, ½ teaspoon of ground cinnamon, and ⅛ teaspoon of ground nutmeg. Whisk these ingredients together thoroughly until they are uniformly combined. This step ensures that the leavening agents and spices are evenly distributed throughout the dough, contributing to a consistent texture and flavor.
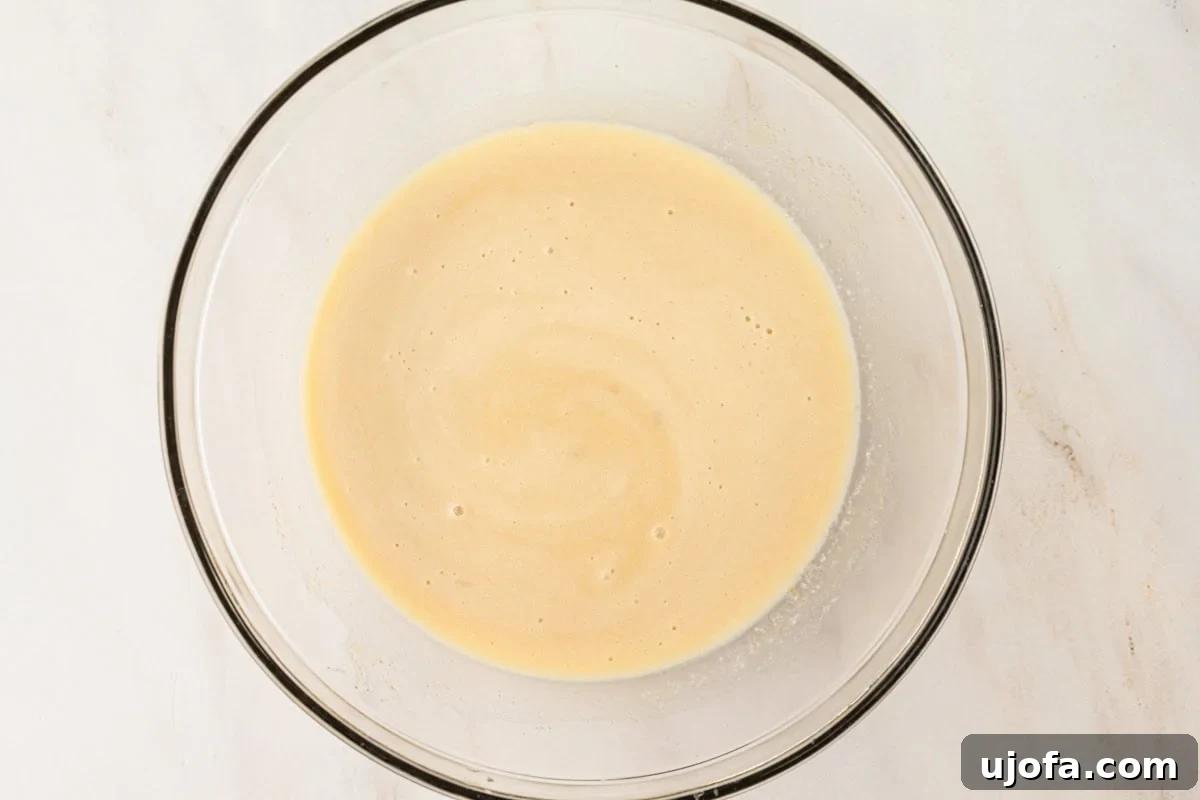
Step 4: Mix the Wet Ingredients: In a separate medium bowl, whisk together 2 tablespoons of melted and slightly cooled unsalted butter with 2 tablespoons of vegetable oil. Add ¼ cup of packed brown sugar and ¼ cup of granulated sugar, whisking until the mixture is smooth. Next, incorporate 2 large eggs, 1 cup of milk (or your preferred dairy-free alternative), and 2 teaspoons of vanilla extract. Continue whisking until all the wet ingredients are fully combined and slightly frothy. This creates the rich liquid base for your donut batter.
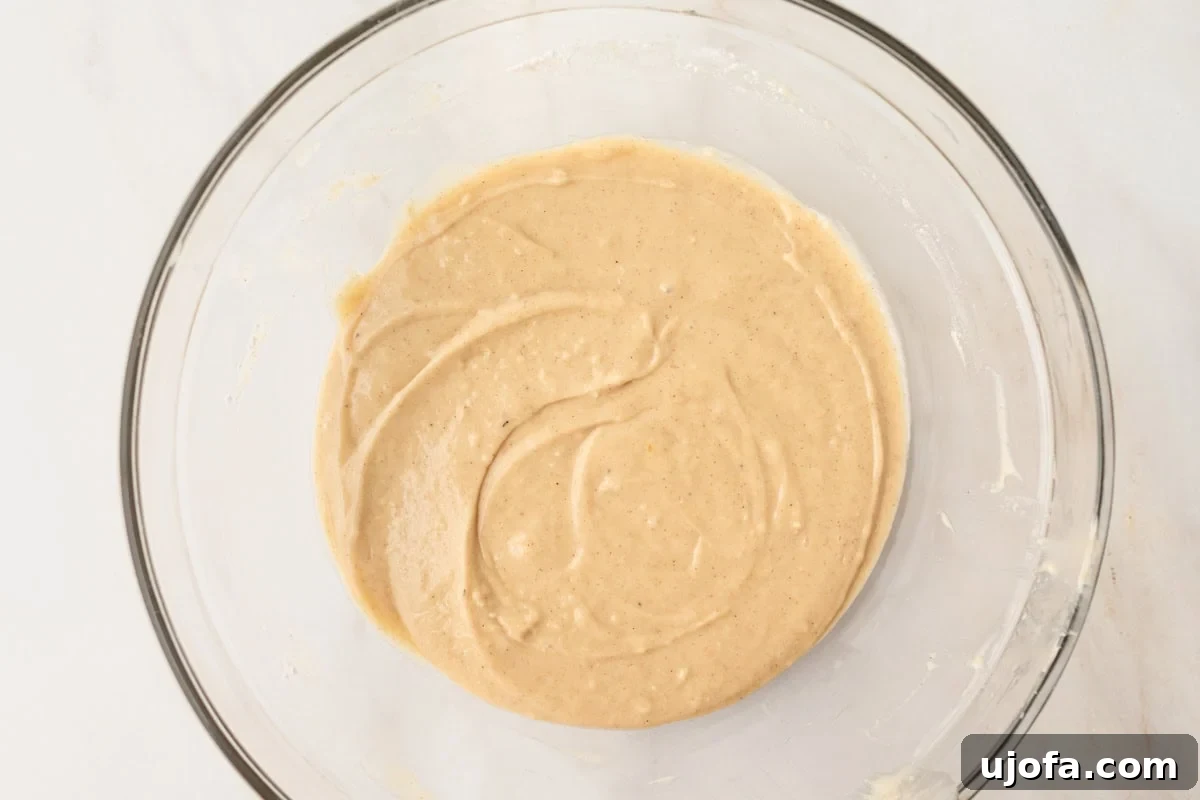
Step 5: Combine the Batter: Carefully pour the wet ingredient mixture into the bowl containing the dry ingredients. Using a whisk, gently combine them until a smooth batter forms. It’s crucial not to overmix the batter; mix just enough until there are no visible streaks of dry flour. Overmixing can lead to a tougher donut texture, so aim for a light hand and stop as soon as it’s incorporated.
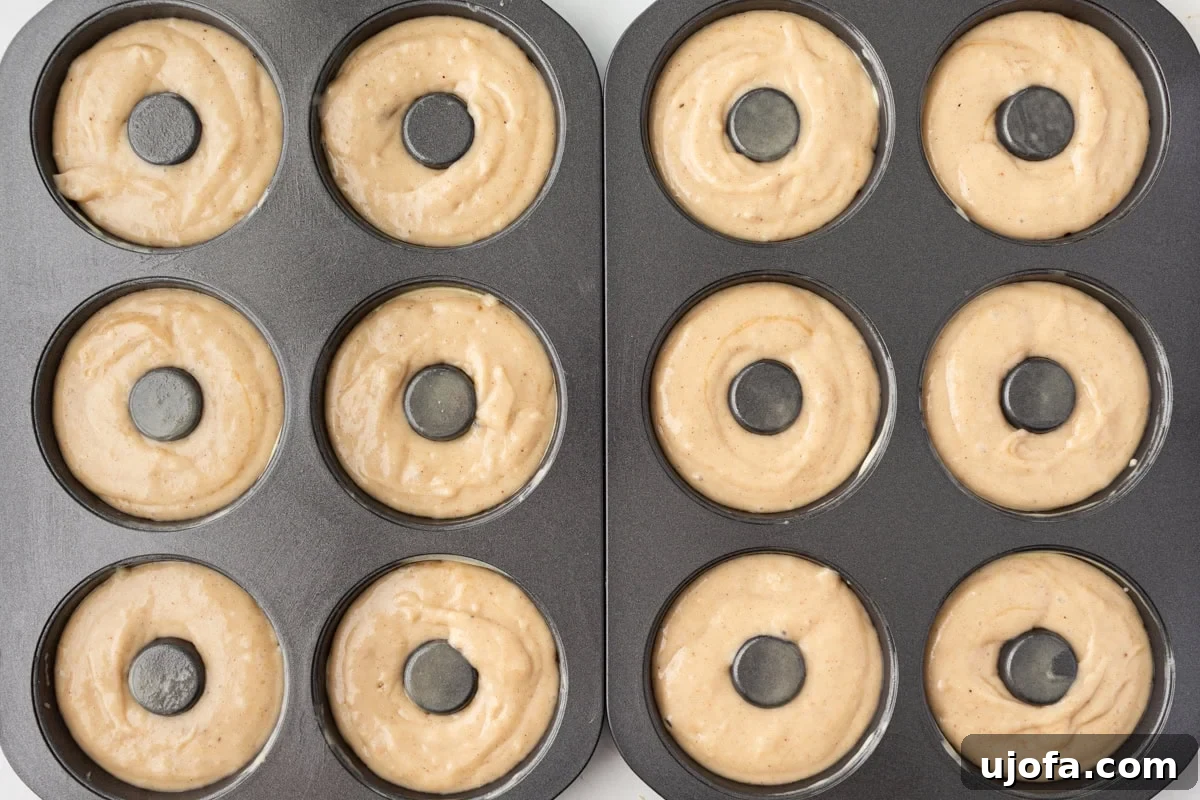
Step 6: Fill the Pans: Transfer the prepared donut batter into a piping bag. Snip off the tip to create an opening approximately ½ inch wide. Evenly pipe the batter into each cavity of your prepared donut pans, filling them about two-thirds full. If a piping bag isn’t available, you can easily spoon the batter into the molds instead. Aim for consistent filling to ensure even baking and beautifully shaped donuts.
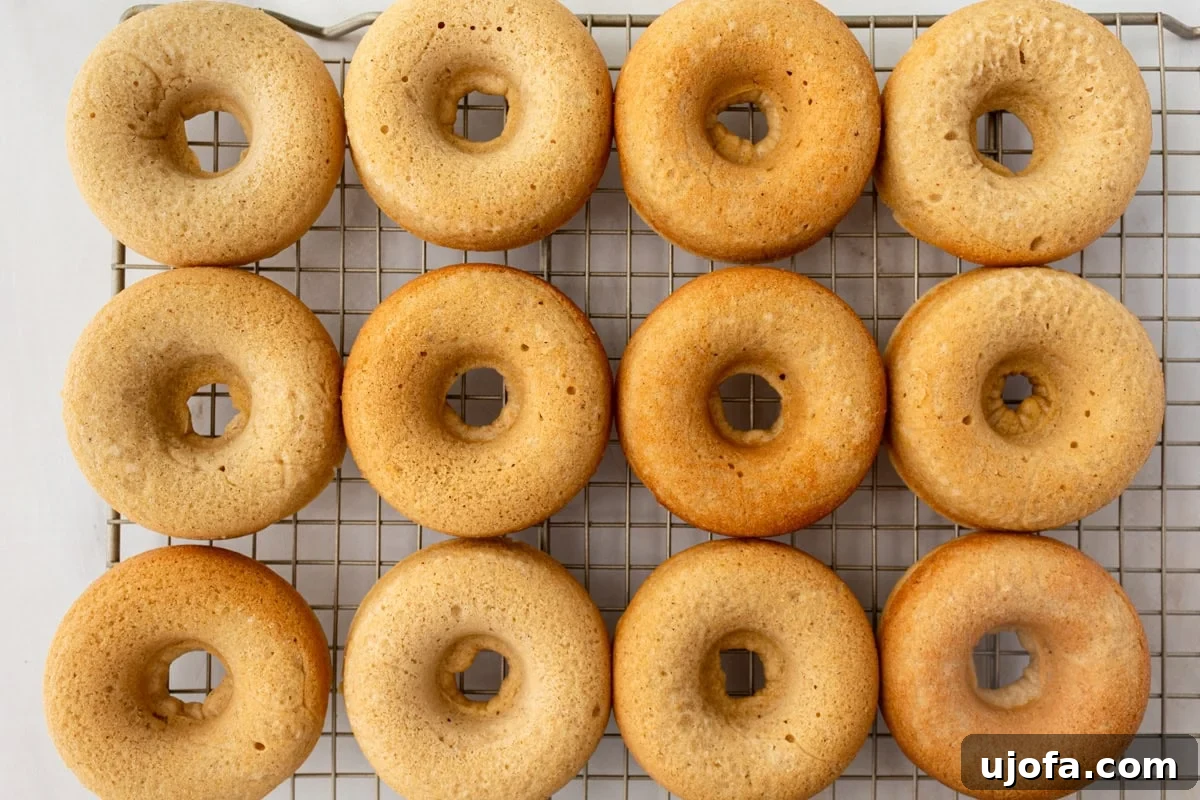
Step 7: Bake the Donuts: Place the donut pans into your preheated oven and bake for 8-10 minutes. Baking time may vary slightly depending on your oven. The donuts are perfectly baked when they are golden brown and a toothpick inserted into the center comes out clean. Once baked, remove the pans from the oven and allow the donuts to cool in the pans for about 15 minutes. This crucial cooling period in the pan helps them firm up, making them easier to handle without breaking. After 15 minutes, gently remove them from the pans and transfer them to a wire rack to cool completely.
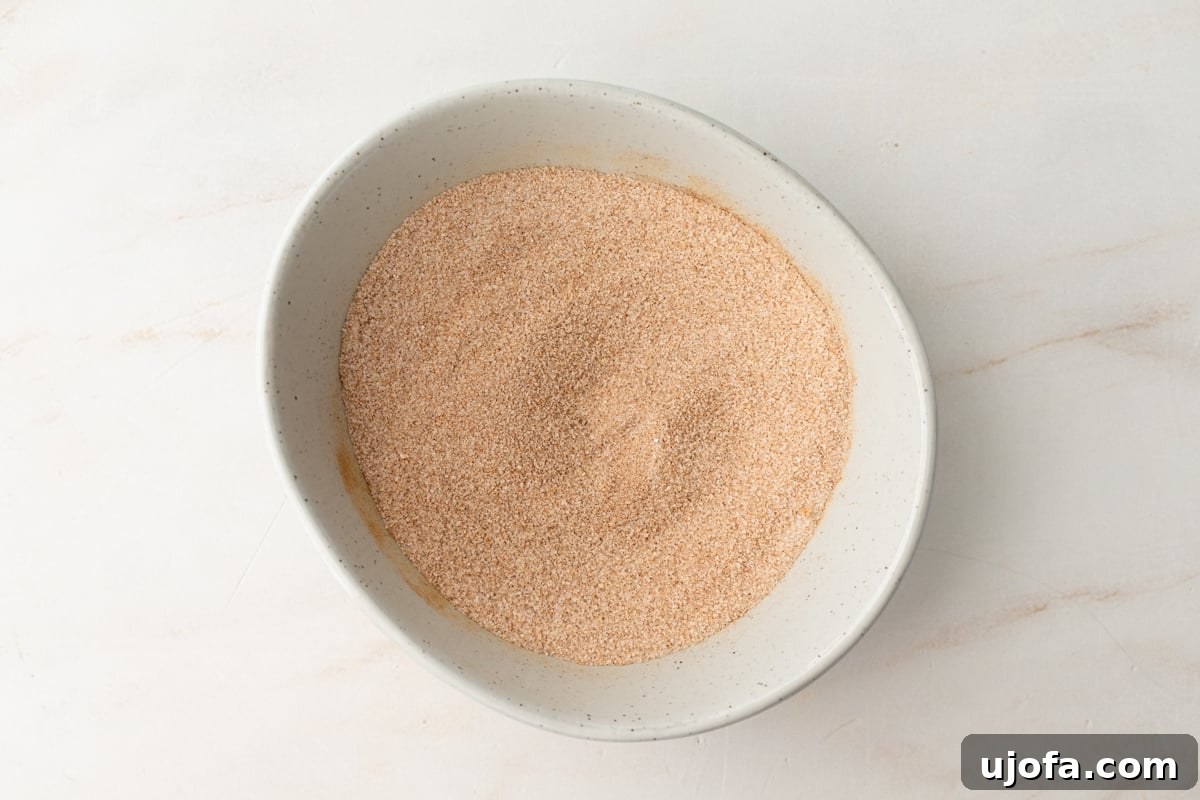
Step 8: Prepare the Cinnamon Sugar Topping: While the donuts are cooling, prepare the irresistible cinnamon sugar topping. In a shallow bowl, whisk together 1 cup of granulated sugar and 2 teaspoons of ground cinnamon until they are thoroughly combined. Ensure there are no clumps of cinnamon, as an even mix will provide the best coating.
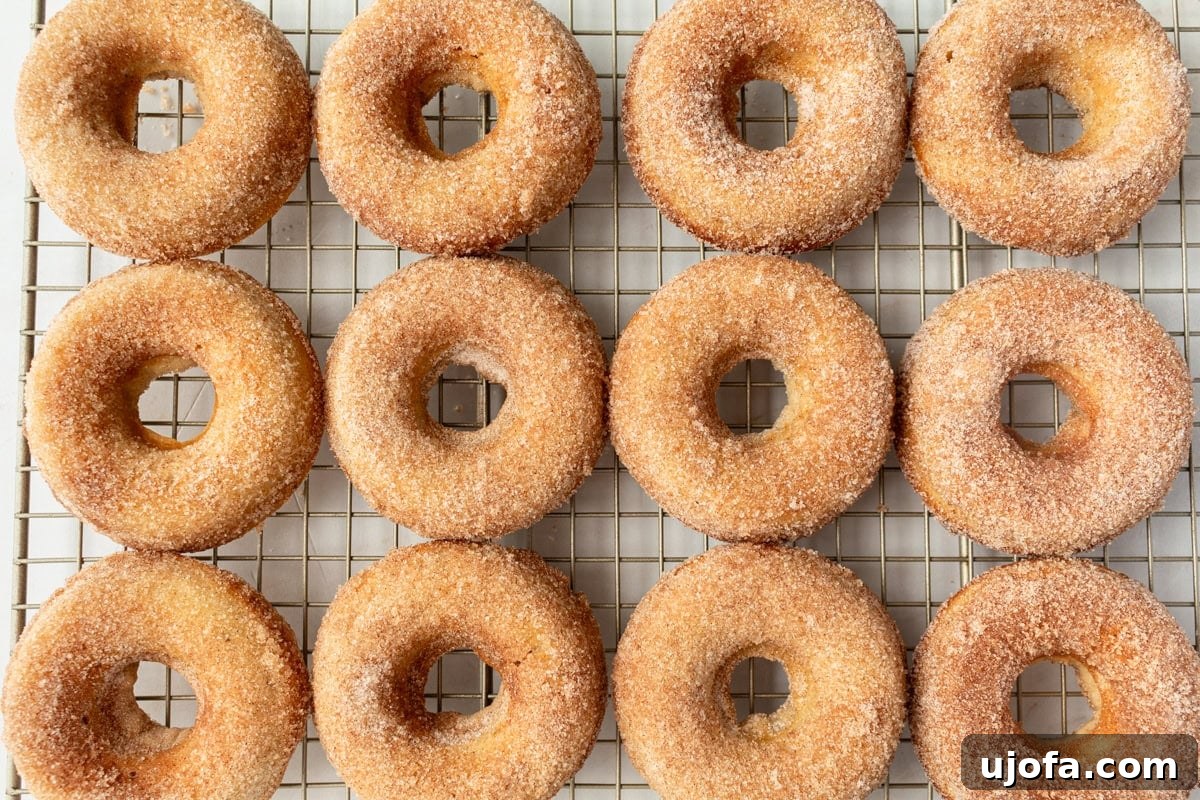
Step 9: Coat the Donuts: Once the donuts have cooled sufficiently on the wire rack and are easy to handle, it’s time to add the delicious coating. Melt ¼ cup of unsalted butter in a small microwave-safe bowl or saucepan. Working with one donut at a time, use a pastry or basting brush to lightly coat each donut with the melted butter. Immediately after brushing, roll the buttered donut in the cinnamon sugar mixture, ensuring it is fully and evenly coated on all sides. The butter helps the sugar adhere perfectly.
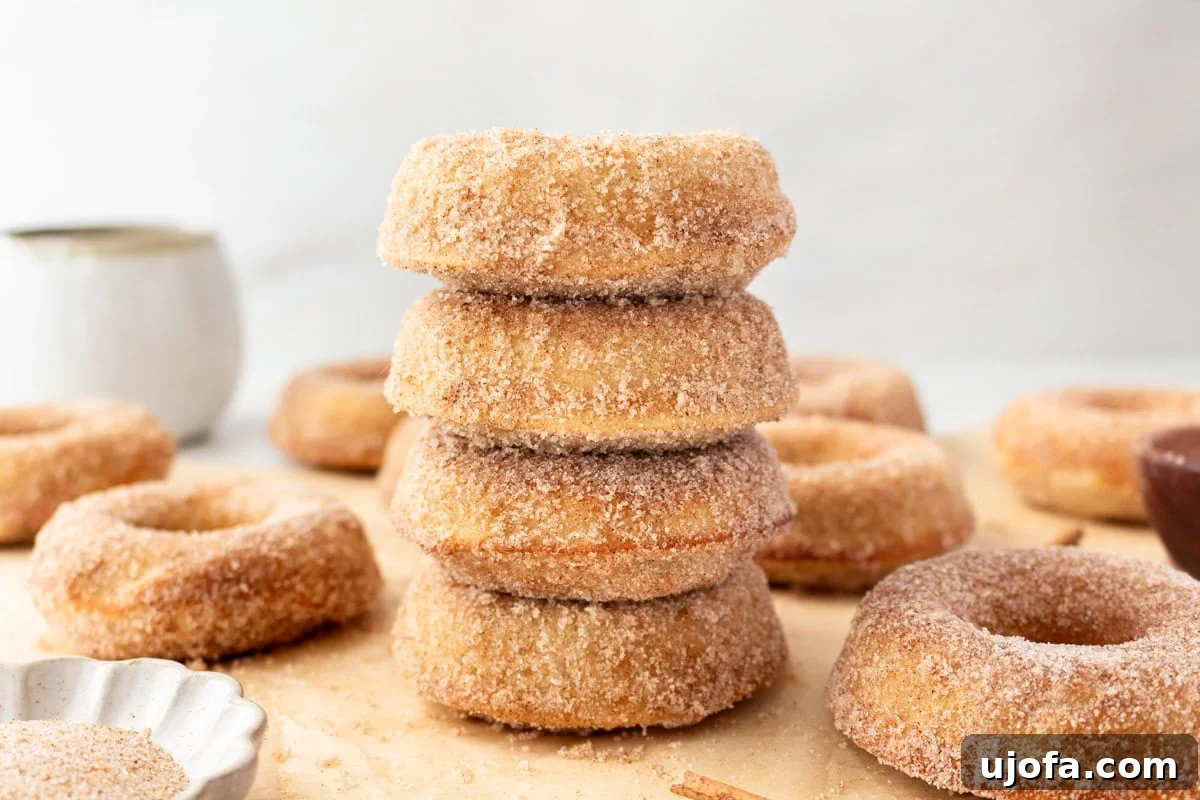
Step 10: Serve and Enjoy: Once all your gluten-free baked donuts are coated, arrange them on a platter. They are truly best when served warm, so enjoy them immediately! The combination of the warm, tender donut with the sweet, spiced crunch of the cinnamon sugar is absolutely irresistible. Get ready for smiles and compliments!
Serving Suggestions for Your Delicious Baked Donuts
These freshly baked gluten-free baked donuts are an absolute delight right after being rolled in their cinnamon sugar coating. Their warm, soft interior and subtly spiced exterior make them a perfect accompaniment to a variety of beverages and meals. Pair them with a steaming cup of coffee for a classic breakfast experience, or elevate your morning with a cozy chai latte. For those who enjoy a touch more indulgence, consider drizzling them with a simple homemade vanilla glaze, a rich chocolate sauce, or even a tangy lemon glaze. I also love to serve them alongside a scoop of my keto ice cream for a unique and fun dessert twist.
Beyond breakfast, these donuts make an impressive centerpiece for any brunch gathering. Pile them high on a beautiful platter, and watch as they quickly disappear. They are also fantastic for afternoon tea or as a sweet snack any time of day. Their light texture ensures they’re never too heavy, making them suitable for any sweet craving.
Storage Instructions for Gluten-Free Baked Donuts
While these easy baked donuts are undoubtedly at their peak freshness and flavor when enjoyed warm on the day they are baked, you can still store them for later. To maintain their quality, place any leftover donuts in an airtight container at room temperature. They will remain fresh and delicious for up to two days. For longer storage, you can freeze them in an airtight freezer-safe container or bag for up to one month. When ready to enjoy from frozen, simply thaw them at room temperature and warm them gently in the microwave for 10-15 seconds, or in a preheated oven at 300°F (150°C) for 5-7 minutes, until soft and warm again. If reheating, consider giving them a fresh dusting of cinnamon sugar for an extra boost of flavor and texture!
Discover More Irresistible Gluten-Free Bakes
If you’ve fallen in love with these homemade gluten-free donuts, you’re in for a treat! My kitchen is a treasure trove of delightful gluten-free recipes designed to bring joy and ease to your baking. Explore some of my other popular and equally delicious gluten-free bakes:
- Gluten-Free Muffins: A versatile master recipe that allows for endless flavor combinations, perfect for breakfast or a quick snack.
- Gluten-Free Cupcakes: Light, fluffy, and utterly delicious, these vanilla cupcakes are perfect for any celebration or simply when you need a sweet pick-me-up.
- Gluten-Free Chocolate Chip Cookies: The classic favorite, perfectly soft and chewy with gooey chocolate chips, ensuring everyone can enjoy this timeless treat.
- Gluten-Free Brownies: Rich, fudgy, and incredibly decadent, these brownies are so good, you won’t believe they’re gluten-free!
Each of these recipes is crafted with simplicity and flavor in mind, proving that gluten-free baking can be just as enjoyable and delicious as traditional methods. Happy baking!