
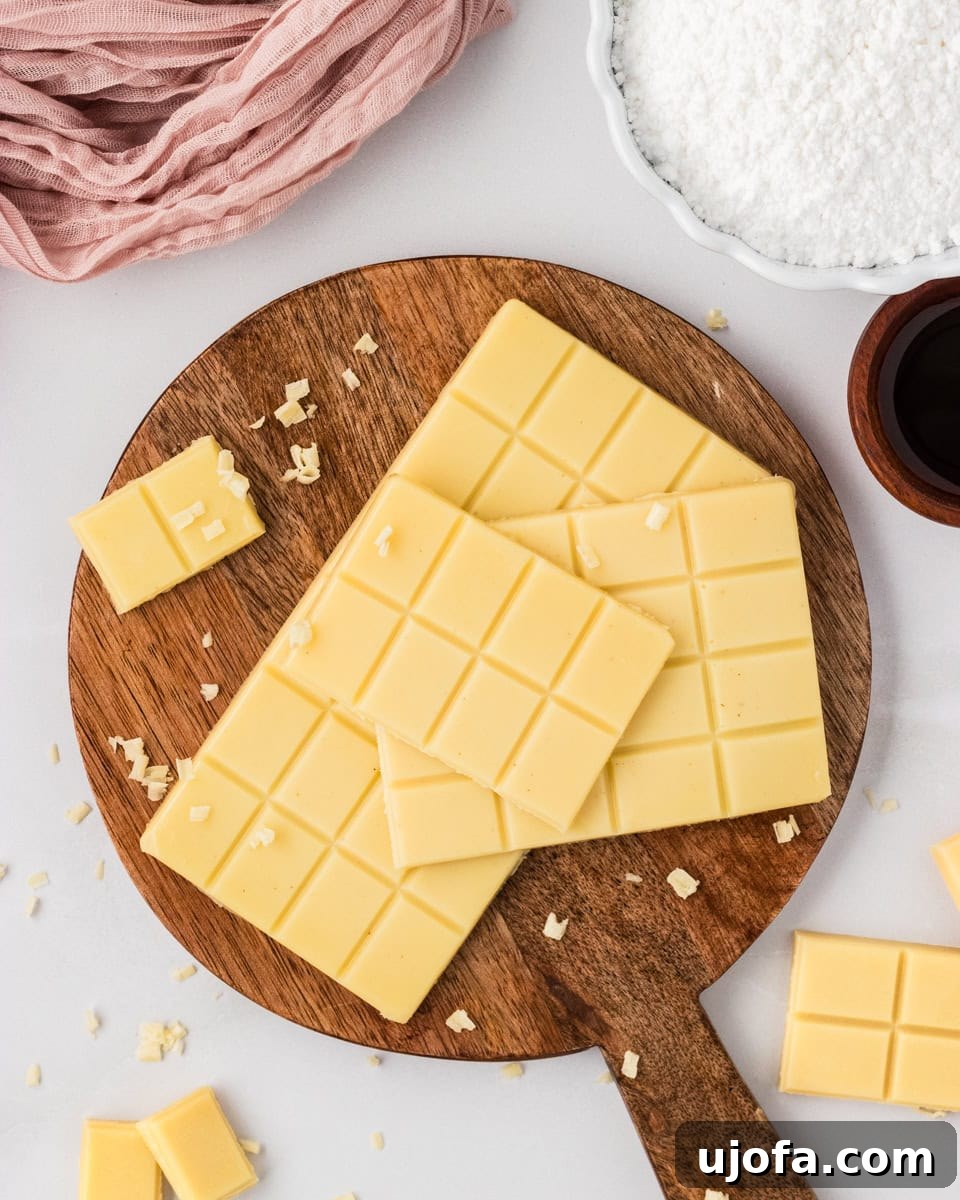
Are you searching for a vegan white chocolate that truly rivals its dairy-laden counterparts? Look no further! This exceptional dairy-free white chocolate recipe promises a luxurious, silky, and buttery sweet experience, all achievable in under an hour. Crafted with just five simple ingredients – pure cacao butter, powdered sugar, and a touch of vegetable shortening – it delivers a smooth, creamy texture that boasts a satisfying snap and melts beautifully on your tongue. Forget complicated processes or hard-to-find ingredients like milk powder; this homemade vegan white chocolate is surprisingly easy to create. Prepare to stash this delightful confection in your fridge for spontaneous sweet cravings, thoughtful homemade gifts, or as a stunning addition to any dessert board.
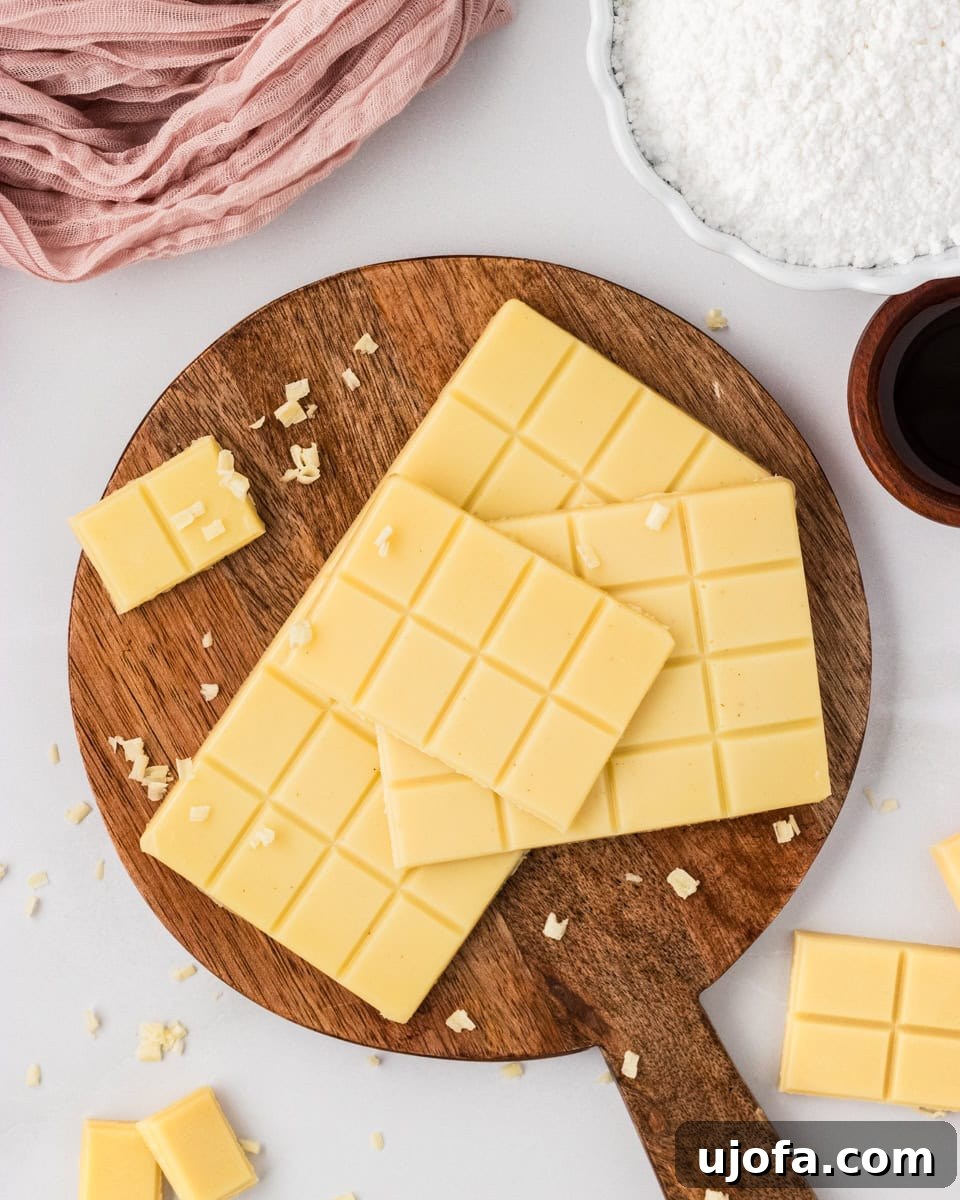
I find myself making this vegan white chocolate recipe time and time again, and for good reason. It comes together quickly, offering a rich and creamy taste without being overly sweet. The harmonious blend of natural cacao butter and a hint of vanilla creates that unmistakable, classic white chocolate flavor we all adore. You won’t need any specialized equipment or esoteric ingredients to achieve its perfectly smooth finish. Sometimes, I like to elevate mine with a sprinkle of chopped pistachios or vibrant dried fruit for added texture and flavor. Other times, I prefer to savor its pure, unadulterated simplicity, enjoying a piece straight from the fridge. I encourage you to try it and discover your favorite way to customize this delightful treat!
Why Make Your Own Vegan White Chocolate?
Choosing to make your own vegan white chocolate offers a multitude of benefits that extend beyond simply satisfying a sweet tooth. Here’s why this homemade approach is a game-changer:
- Dietary Inclusivity: Perfect for those with dairy allergies, lactose intolerance, or anyone following a vegan or plant-based diet. You get to enjoy classic white chocolate flavor without compromise.
- Control Over Ingredients: When you make it yourself, you know exactly what goes into your chocolate. No artificial flavors, preservatives, or unwanted additives. You can opt for high-quality, ethically sourced cacao butter and organic ingredients.
- Adjustable Sweetness: Commercial white chocolates can often be excessively sweet. This recipe allows you to tailor the sugar content to your preference, ensuring a perfectly balanced treat.
- Freshness and Flavor: Homemade chocolate tastes incredibly fresh. The pure cacao butter combined with real vanilla extract provides a depth of flavor that is often superior to many store-bought options.
- Cost-Effective: While high-quality vegan white chocolate bars can be pricey, making your own often proves to be more economical in the long run, especially if you enjoy it frequently.
- Creative Freedom: This recipe is a fantastic base for experimentation. Easily incorporate your favorite nuts, fruits, spices, or extracts to create unique flavor combinations tailored to your palate or for special occasions.
Essential Ingredients Explained
Achieving the perfect vegan white chocolate texture and flavor relies on a few key ingredients, each playing a crucial role:
- Raw, Food-Grade Cacao Butter: This is the star of our white chocolate. Cacao butter is the pure fat extracted from the cacao bean, giving white chocolate its characteristic creamy texture and delicate aroma. Ensure it’s food-grade and raw for the best flavor profile. It’s the foundation that makes our chocolate snap and melt.
- Vegetable Shortening: A small amount of vegetable shortening helps to achieve a super smooth consistency and a firmer set, preventing the chocolate from becoming too soft at room temperature (though refrigeration is still recommended). It also contributes to the “buttery” mouthfeel. For a healthier alternative, you could experiment with refined coconut oil, which has a neutral flavor, but be aware it melts at a lower temperature.
- Powdered Sugar (Sifted): Unlike granulated sugar, powdered sugar (also known as confectioners’ sugar or icing sugar) dissolves more easily into the melted fats, preventing a gritty texture. Sifting it beforehand ensures there are no lumps, contributing to the ultimate smooth finish.
- Vanilla Extract: Essential for that classic white chocolate aroma and taste. Use a good quality vanilla extract for the best results.
- Pinch of Salt: A tiny pinch of salt acts as a flavor enhancer, balancing the sweetness and bringing out the subtle notes of the cacao butter and vanilla. Don’t skip it!
Tools You’ll Need for Perfect Vegan White Chocolate
Making homemade vegan white chocolate is surprisingly simple and doesn’t require a lot of specialized kitchen gadgets. Here are the essential tools that will help you achieve success:
- Heat-Safe Bowl: A glass or metal bowl that can withstand heat and fit snugly over a pot for creating a double boiler.
- Small Pot: For simmering water to create your double boiler, ensuring gentle and even melting of the cacao butter.
- Whisk or Spatula: For stirring the melting ingredients and combining the powdered sugar.
- Small Blender or Food Processor: Crucial for transforming the slightly grainy mixture into a velvety smooth, professional-grade chocolate. A powerful blender will yield the best results.
- Silicone Molds: These are ideal for shaping your white chocolate bars or individual pieces. Silicone is non-stick, making unmolding incredibly easy.
- Baking Tray: Placing your silicone molds on a baking tray before filling provides essential support, making it simple to transfer the liquid chocolate to the fridge without spills or distortion.
Vegan White Chocolate
Share by Email
Print Recipe
If you’ve been looking for a vegan white chocolate that rivals the store-bought kind, this dairy-free white chocolate delivers silky, buttery sweetness in just 45 minutes.
Equipment
- 2 silicone molds
- Heat-safe bowl
- Small pot (for double boiler)
- Small blender or food processor
- Whisk or spatula
- Baking tray
Ingredients
- 4 oz. raw, food grade cacao butter (110g)
- 2 tbsp vegetable shortening (21g)
- 1 cup powdered sugar, sifted (100g)
- 1 tsp vanilla extract
- Pinch of salt
Instructions
- Prepare Cacao Butter: If your cacao butter comes in large chunks, chop it into smaller, uniform pieces. This ensures it melts more quickly and evenly. Combine the chopped cacao butter and vegetable shortening in a heat-safe bowl.
- Create a Double Boiler: Fill a small pot with about an inch of water and bring it to a gentle simmer over medium-low heat. Place the heat-safe bowl containing the cacao butter and shortening on top of the pot, ensuring the bottom of the bowl does not touch the simmering water. Allow the mixture to melt slowly, stirring occasionally with a whisk or spatula until completely liquid and smooth.
- Combine with Sweetness and Flavor: Once the cacao butter and shortening are fully melted, remove the bowl from the heat. Carefully whisk in the sifted powdered sugar, vanilla extract, and a pinch of salt. At this stage, the mixture might appear slightly grainy; this is entirely normal and will be resolved in the next step. Set the mixture aside and allow it to cool down until it is warm but no longer hot. This cooling step is crucial for safe and effective blending.
- Prepare Molds: While the chocolate mixture cools, arrange your silicone molds on a sturdy baking tray. This will provide stability and make it much easier to transfer the filled molds to the refrigerator without any spills or bending.
- Blend for Silkiness: Once the chocolate mixture has cooled to a warm, pourable temperature, transfer it to a small, powerful blender or a food processor. Blend the mixture for approximately 1-2 minutes, or until it transforms into a perfectly smooth, creamy, and glossy liquid. This blending step is key to breaking down any remaining sugar crystals and achieving that desirable silky-smooth texture.
- Add Optional Flavorings/Toppings: This is your chance to get creative! If you wish to add extra flavorings (like extracts or spices) or toppings (such as nuts, dried fruit, or sprinkles), you have two options: either stir them directly into the blended white chocolate mixture, or place them at the bottom of your silicone molds before pouring in the chocolate.
- Mold and Chill: Carefully pour the smooth vegan white chocolate mixture into the prepared silicone molds. Transfer the baking tray with the filled molds to the refrigerator. Chill for at least 30 minutes, or until the white chocolate is completely hardened and set.
- Enjoy: Once firm, gently remove the white chocolate bars or pieces from the silicone molds. Store your homemade vegan white chocolate in the refrigerator until you are ready to savor every delicious bite!
Notes & Tips for Success
- Using in Baked Goods: This homemade white chocolate melts very easily due to its natural ingredients. If you plan to incorporate it into baked goods like cookies or cakes, we highly recommend freezing the chopped pieces of white chocolate first. Then, fold them into your batter or dough right before baking to help them maintain their shape better.
- For an Extra Firm Texture: If you desire a firmer white chocolate bar, particularly in warmer climates, consider slightly increasing the amount of vegetable shortening by about an extra teaspoon.
- For a Less Sweet Treat: If you prefer a less intensely sweet white chocolate, you can reduce the amount of powdered sugar to ¾ cup instead of 1 cup. Taste and adjust to your preference.
- Sifting Powdered Sugar is Key: Don’t skip sifting the powdered sugar. This prevents lumps and ensures your final white chocolate is incredibly smooth.
- Avoid Water Contact: When using the double boiler method, ensure the water in the pot does not touch the bottom of the bowl holding your chocolate mixture. Direct contact can cause the chocolate to seize or become grainy.
- Cool Before Blending: Blending hot liquids can create steam pressure in a blender. Always allow the mixture to cool to a warm but not hot temperature before transferring it to the blender or food processor.
Nutrition
Calories: 105 kcal
Carbohydrates: 19g
Protein: 0.2g
Fat: 3g
Saturated Fat: 1g
Polyunsaturated Fat: 1g
Monounsaturated Fat: 1g
Trans Fat: 0.4g
Sodium: 2mg
Potassium: 91mg
Fiber: 1g
Sugar: 15g
Vitamin A: 11 IU
Vitamin C: 1mg
Calcium: 7mg
Iron: 0.1mg
Nutrition information is automatically calculated and provided as an approximation. It may vary based on specific ingredients and brands used.
Additional Info
Mastering the Method: Step-by-Step Guide with Visuals
Follow these detailed steps to create your perfect batch of homemade vegan white chocolate. Each stage is designed to ensure a smooth, creamy, and delightful end product.
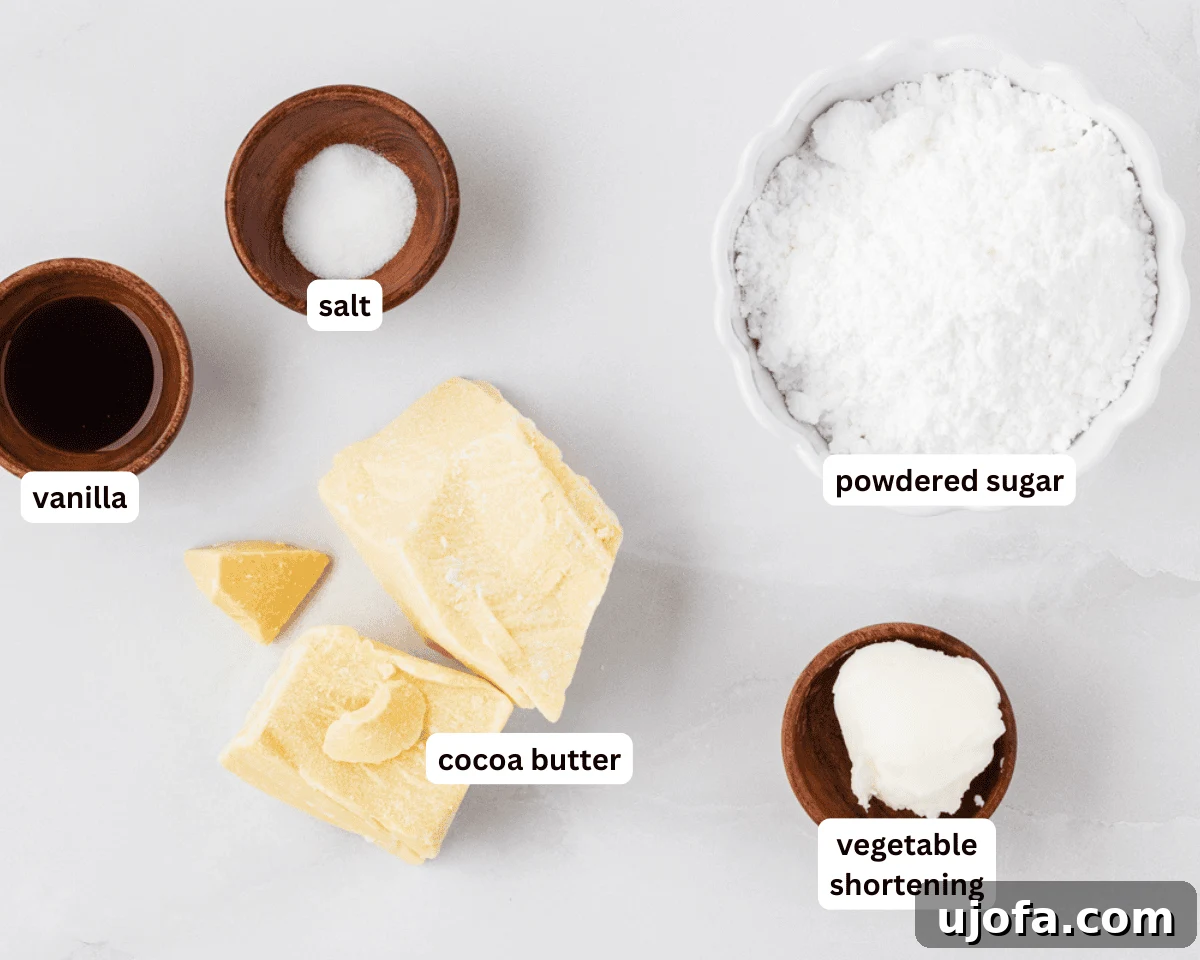
Step 1: Gather Your Ingredients. Lay out all your ingredients: cacao butter, vegetable shortening, powdered sugar, vanilla extract, and salt. Ensure your cacao butter is in smaller pieces for easier melting. Having everything prepped before you start will make the process seamless.
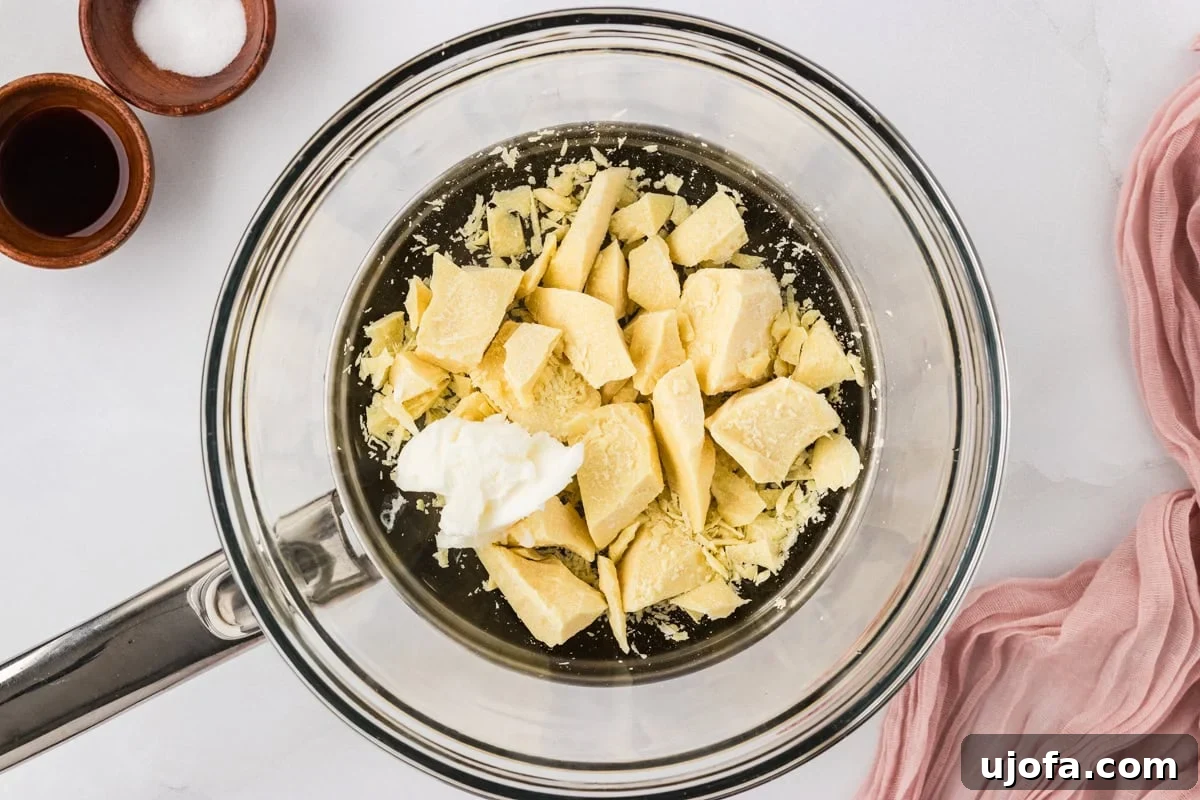
Step 2: Create a Double Boiler and Melt the Base. Chop your 4 oz. (110g) raw cacao butter into smaller, uniform pieces if it’s not already. This crucial step promotes even melting and reduces the time required. Place the chopped cacao butter and 2 tbsp (21g) vegetable shortening into a heat-safe bowl. Set this bowl over a pot containing about an inch of water, ensuring the water level is low enough so it doesn’t touch the bottom of your bowl. Bring the water to a gentle simmer over medium-low heat. The indirect heat of the steam will gently melt the fats, preventing scorching and ensuring a smooth base.
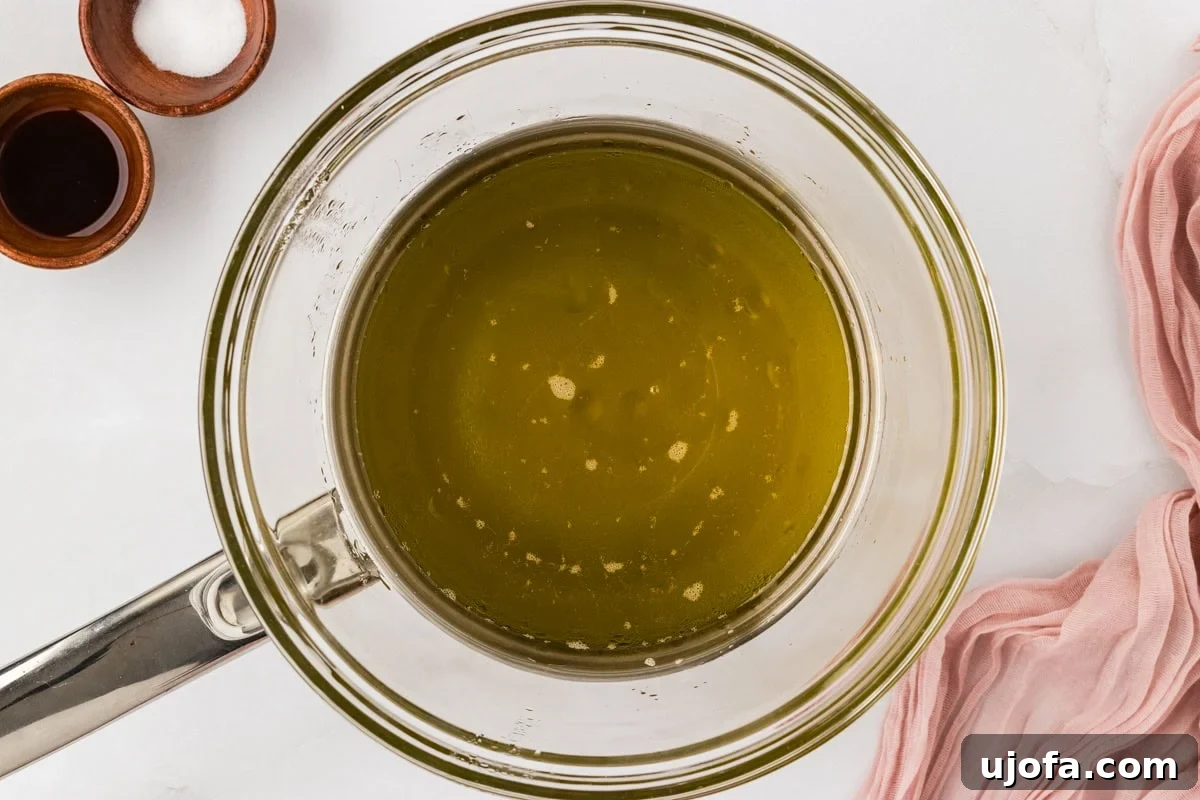
Step 3: Continue Melting Until Fully Liquid. Keep warming the mixture over the simmering water, stirring occasionally with a whisk or spatula. It’s important to be patient here; gentle heat is key to preserving the quality of the cacao butter. Continue until both the cacao butter and shortening are completely melted and thoroughly combined into a clear, liquid state. There should be no solid pieces remaining.
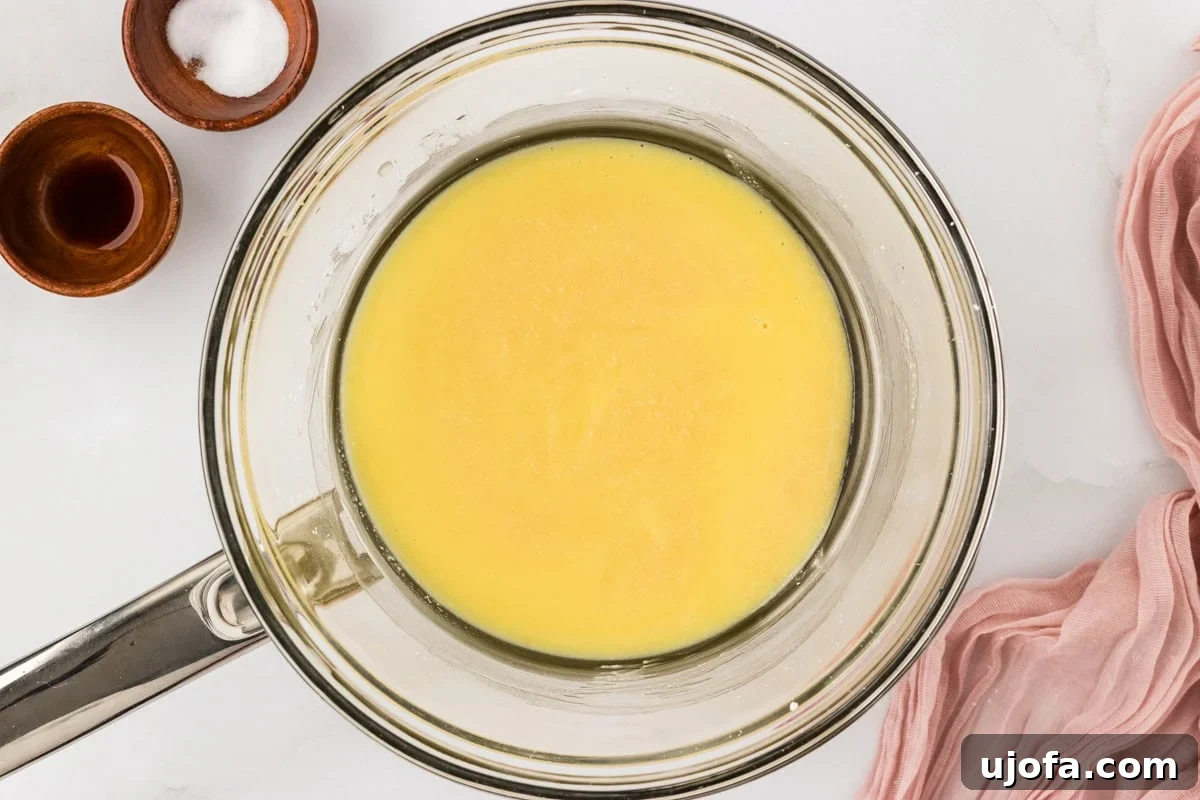
Step 4: Incorporate Sweetness and Flavor. Once the fat base is fully melted and removed from the heat, it’s time to add the flavor. Whisk in 1 cup (100g) of sifted powdered sugar, 1 tsp of vanilla extract, and a small pinch of salt. Mix vigorously until all ingredients are well combined. Don’t be alarmed if the mixture appears slightly grainy at this stage; this is a common occurrence due to the sugar crystals and will be refined later. Remove the bowl from the heat and allow the mixture to cool down slightly. It should still be warm and pourable, but not steaming hot.
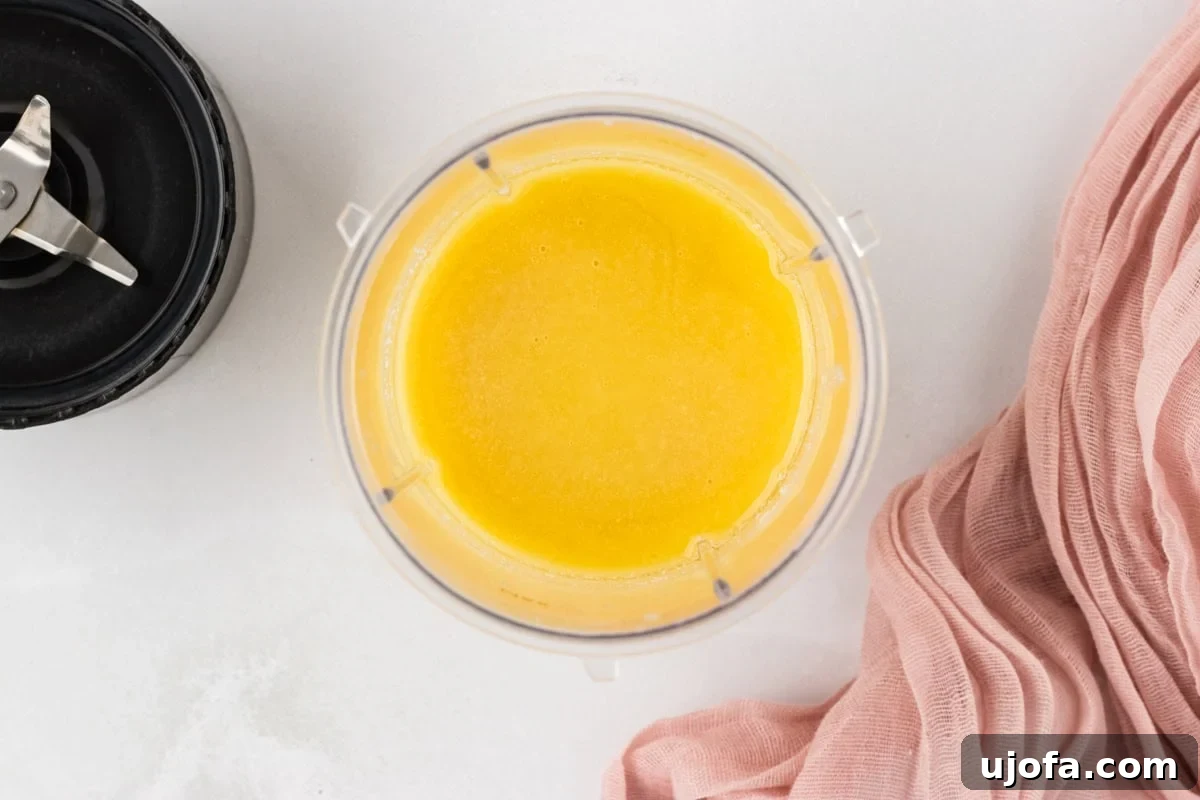
Step 5: Blend for a Silky Smooth Finish. This is a critical step for achieving a professional, silky texture. Once the mixture has cooled to a warm (but not hot) temperature, carefully transfer it to a small blender or food processor. Blend on high for 1 to 2 minutes. The powerful blades will break down any remaining sugar crystals, transforming the grainy mixture into a beautifully smooth, creamy, and glossy liquid. This “conching” process, even on a home scale, is what makes your white chocolate truly luxurious.
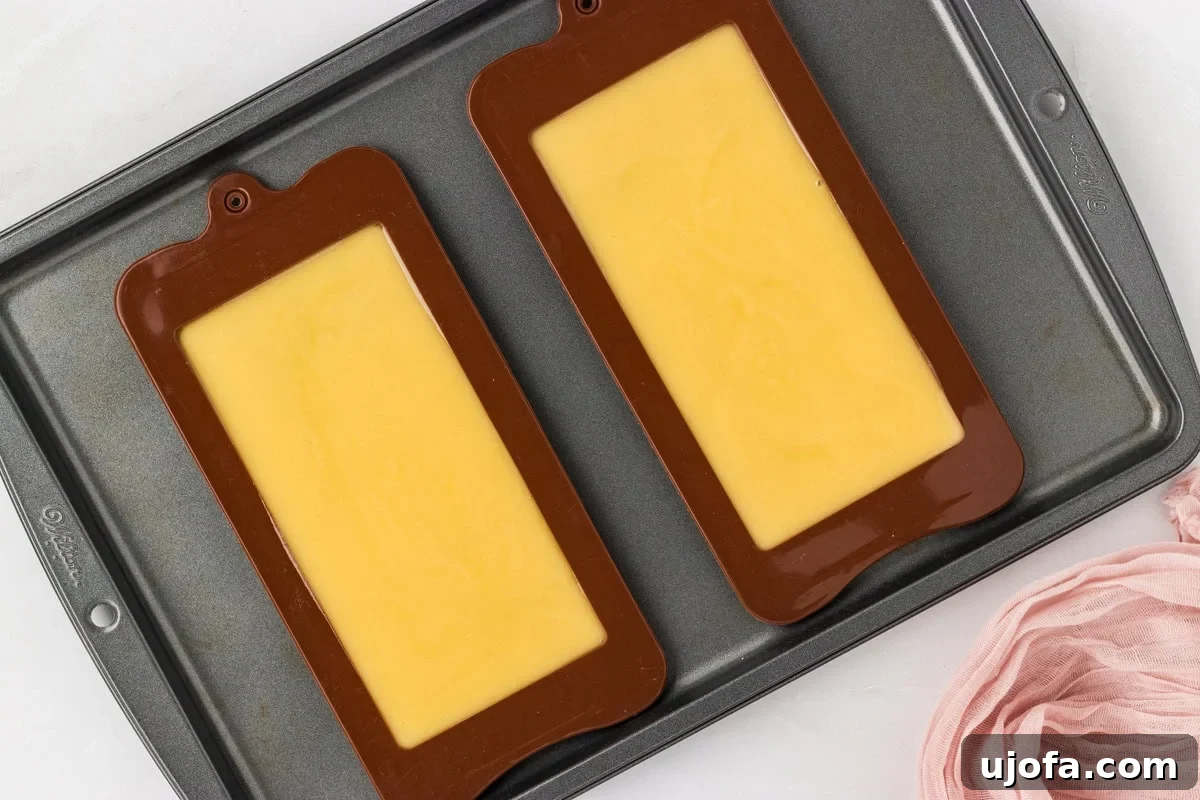
Step 6: Prepare Molds and Pour. Before pouring, ensure your silicone molds are placed flat on a sturdy baking tray. This provides essential support and makes it effortless to move the molds to the refrigerator without any spillage or distortion. If you plan to add any optional toppings or flavor variations, now is the time! You can either stir them directly into the blended chocolate mixture or sprinkle them into the bottom of the molds just before pouring. Carefully pour the silky-smooth white chocolate into each cavity of your prepared silicone molds.
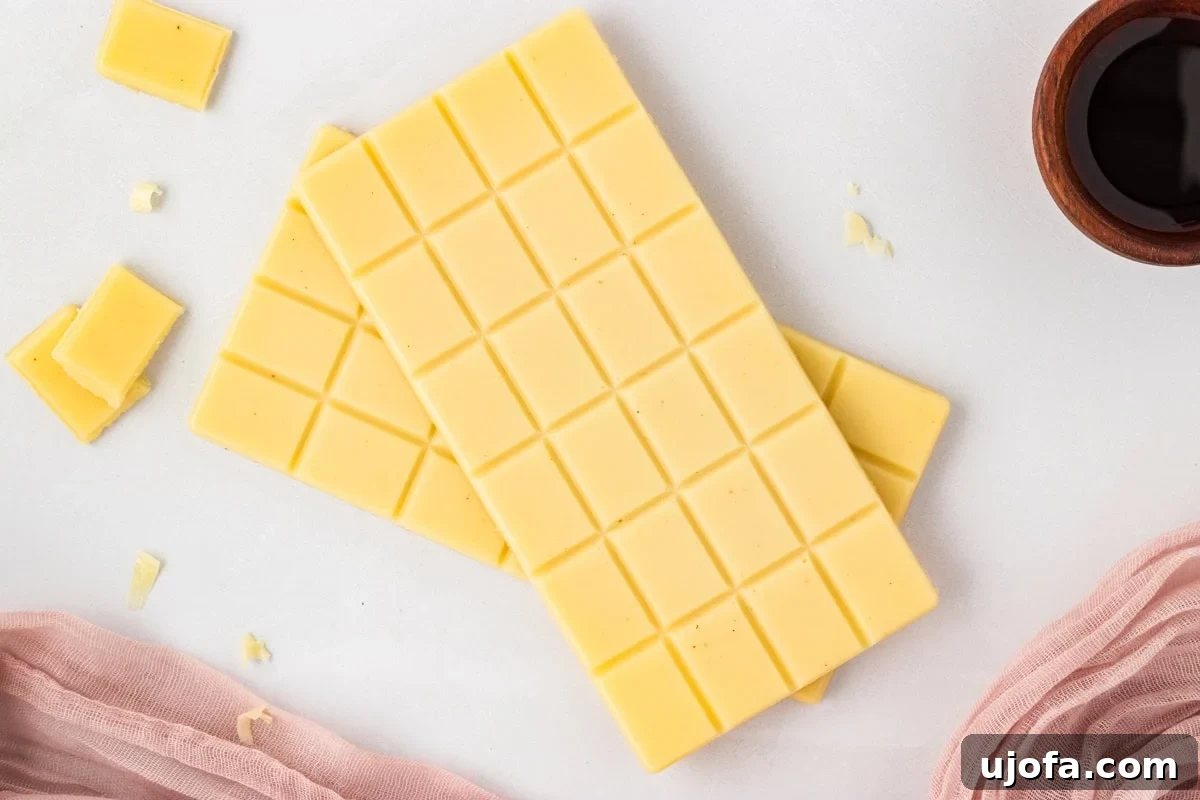
Step 7: Chill Until Set. Once the molds are filled, gently transfer the baking tray to the refrigerator. Allow the white chocolate to chill for at least 30 minutes, or until it is completely hardened and firm to the touch. This chilling time is vital for the chocolate to set properly and develop its characteristic snap.
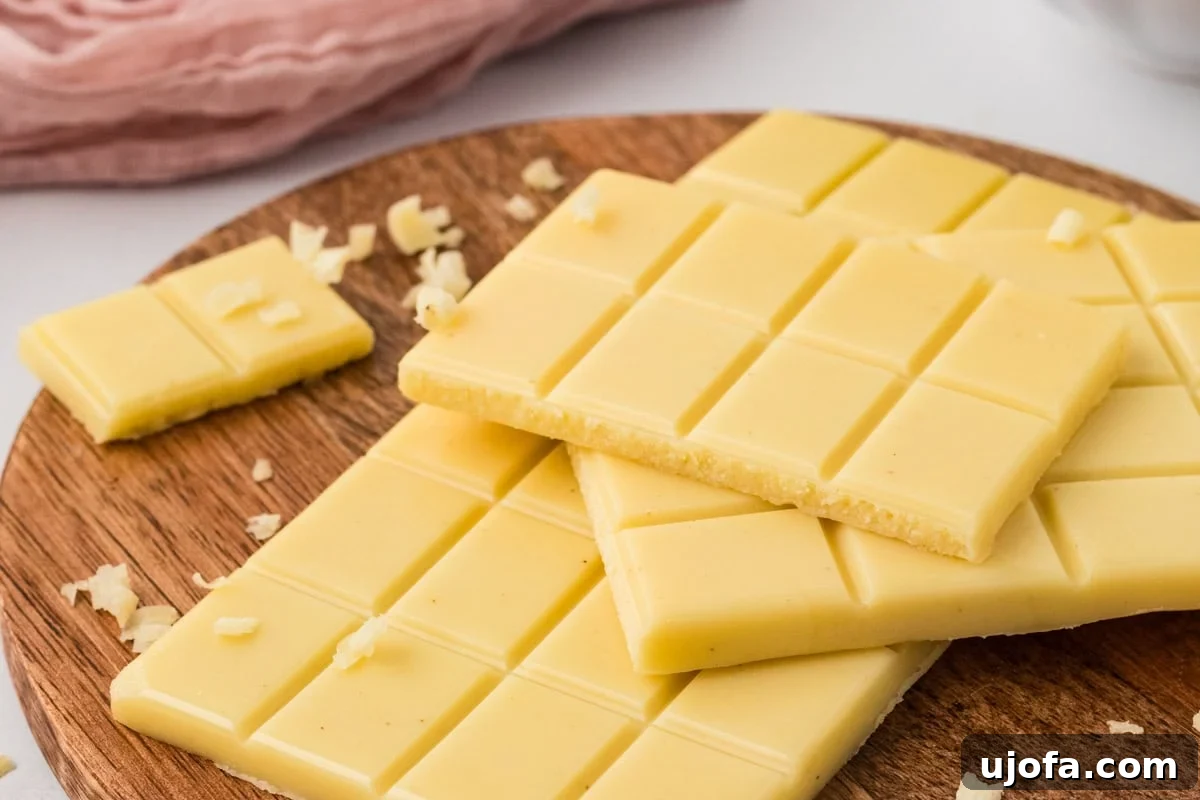
Step 8: Unmold and Enjoy. Once fully set, carefully pop the individual white chocolate pieces or bars out of their silicone molds. They should release easily. Your beautiful homemade vegan white chocolate is now ready to be enjoyed! Remember to keep any unused portions stored in the refrigerator to maintain their best texture and firmness. Indulge in this guilt-free, delicious treat!
Creative Flavor Combinations for Your Vegan White Chocolate
While delicious on its own, homemade vegan white chocolate is an incredible canvas for a variety of exciting flavor additions. Elevate your bars with these ideas:
- Chopped Nuts: For a delightful crunch and rich, earthy flavor, fold in finely chopped pistachios, toasted almonds, pecans, or macadamia nuts.
- Salted Pretzel Pieces: Craving a sweet-and-salty dynamic? Crush some gluten-free pretzels and mix them into your melted chocolate for an irresistible textural contrast.
- Freeze-Dried Fruits: Add vibrant bursts of tartness and color with crushed freeze-dried strawberries, raspberries, blueberries, or even banana slices. These maintain their crunch and flavor beautifully.
- Citrus Zest: A delicate infusion of fresh lemon, lime, or orange zest can provide a bright, zippy, and refreshing note that cuts through the sweetness.
- Spices: Warm spices like a hint of cardamom, a tiny pinch of cayenne pepper for a subtle kick, or cinnamon can add an unexpected depth of flavor.
- Extracts: Beyond vanilla, consider almond extract, peppermint extract (especially for holiday treats!), or a touch of coffee extract for sophisticated variations. Add these sparingly to the melted mixture.
- Toasted Coconut Flakes: For a tropical twist and added texture, stir in some lightly toasted coconut flakes.
- Cacao Nibs: If you enjoy a slight bitter contrast and a superfood boost, cacao nibs offer a lovely crunch and intense chocolate flavor.
Serving Suggestions: Ways to Enjoy Your Dairy-Free White Chocolate
This versatile vegan white chocolate isn’t just for snacking! It’s an excellent ingredient for elevating a wide array of desserts and beverages. Here are some delicious serving ideas:
- Simple Snacking: Break off a piece and enjoy it as a satisfying, dairy-free treat straight from the fridge.
- Dessert Topping: Roughly chop the white chocolate into chunks and sprinkle over your favorite desserts. It’s fantastic on top of almond milk ice cream, gluten-free mini cheesecakes, or even crumbled over gluten-free lemon bars for a sweet contrast.
- Vegan White Hot Chocolate: Gently melt the chocolate with your favorite plant-based milk (almond, oat, or soy work wonderfully) for a decadent and creamy vegan white hot chocolate.
- Holiday Treats: Use it to make festive peppermint bark during the holidays. Melt it down, spread it thin, and sprinkle with crushed candy canes for a seasonal delight. Remember to keep it chilled!
- Drizzle for Fruits: Melt it slightly and drizzle over fresh berries, banana slices, or apple wedges for an elegant and simple dessert.
- Baking Inclusions: While it melts easily, you can still use frozen chopped pieces in muffins, cookies, or blondies for pockets of melty goodness.
Storage Best Practices for Homemade Vegan White Chocolate
Proper storage is key to maintaining the delightful texture and freshness of your homemade vegan white chocolate. Because it’s not tempered in the traditional sense, it behaves differently than commercial chocolate bars.
- Refrigeration is Essential: Always keep your vegan white chocolate stored in an airtight container in the refrigerator. This is crucial for maintaining its firm, snappy texture. At room temperature, especially in warmer environments, it will soften quickly due to the melting point of cacao butter and shortening. Stored correctly, it will remain firm and fresh for approximately 3 weeks.
- Freezing for Longer Storage: For extended enjoyment, you can freeze extra bars or pieces for up to 3 months. Wrap them tightly in plastic wrap, then place them in an airtight freezer-safe container or bag to prevent freezer burn.
- Thawing Frozen White Chocolate: When you’re ready to enjoy frozen white chocolate, transfer it to the refrigerator to thaw slowly. This gradual thawing process helps to maintain its smooth and creamy consistency, preventing any undesirable textural changes.
Frequently Asked Questions About Vegan White Chocolate
Here are some common questions you might have when making your own dairy-free white chocolate:
- Can I use coconut oil instead of vegetable shortening? Yes, you can. Refined coconut oil has a neutral flavor and can be used as a substitute. However, keep in mind that coconut oil melts at a lower temperature than vegetable shortening, so your white chocolate might be softer at room temperature and will definitely require refrigeration.
- Why do I need to sift the powdered sugar? Sifting powdered sugar is important to prevent lumps and ensure it dissolves smoothly into the melted fats. This step is crucial for achieving a truly silky-smooth white chocolate texture without any grittiness.
- My mixture is grainy after adding sugar, is that normal? Yes, it’s completely normal for the mixture to appear slightly grainy after you initially stir in the powdered sugar. The magic happens in the next step when you blend it. The blender or food processor will break down these sugar crystals, transforming it into a smooth liquid.
- Do I need to temper this vegan white chocolate? This recipe does not require tempering, which simplifies the process considerably. Tempering is a specific heating and cooling process used for traditional chocolate to stabilize its crystals, making it resistant to melting at room temperature and giving it a glossy finish and a hard snap. While this recipe delivers a great snap and melts beautifully, it’s not truly tempered and thus needs refrigeration for firmness.
- What kind of cacao butter should I buy? Always look for “raw, food-grade cacao butter” or “cocoa butter.” Ensure it’s not cosmetic grade, as that is not safe for consumption. High-quality cacao butter will have a lovely, mild chocolate aroma.
- Can I make this nut-free? Absolutely! All the core ingredients (cacao butter, shortening, powdered sugar, vanilla, salt) are typically nut-free. Just be mindful of any cross-contamination if you have severe nut allergies, especially if using a blender that processes nuts frequently. When adding optional toppings, choose nut-free alternatives.
More Delicious Dairy-Free Chocolate Desserts
If you’ve enjoyed making this vegan white chocolate, you’ll love exploring other dairy-free chocolate treats. Here are a few more recipes to satisfy your chocolate cravings, all without any dairy:
- Decadent Vegan Chocolate Mousse
- Smooth and Creamy Dairy-Free Chocolate Pudding
- Rich and Comforting Dairy-Free Hot Chocolate
Conclusion: Indulge in Homemade Vegan White Chocolate
Crafting your own silky, buttery, and utterly delicious vegan white chocolate has never been easier. With just a handful of ingredients and a simple process, you can create a dairy-free confection that rivals any store-bought variety. This recipe not only caters to dietary needs but also offers the joy of customization, allowing you to infuse your bars with unique flavors and textures. Whether you’re enjoying a quiet moment of indulgence, preparing thoughtful gifts, or enhancing your favorite desserts, this homemade vegan white chocolate is sure to become a cherished staple in your kitchen. So go ahead, gather your ingredients, follow these steps, and delight in the sweet, creamy perfection that awaits. Don’t forget to share your creations and tell us your favorite ways to customize this wonderful treat!