
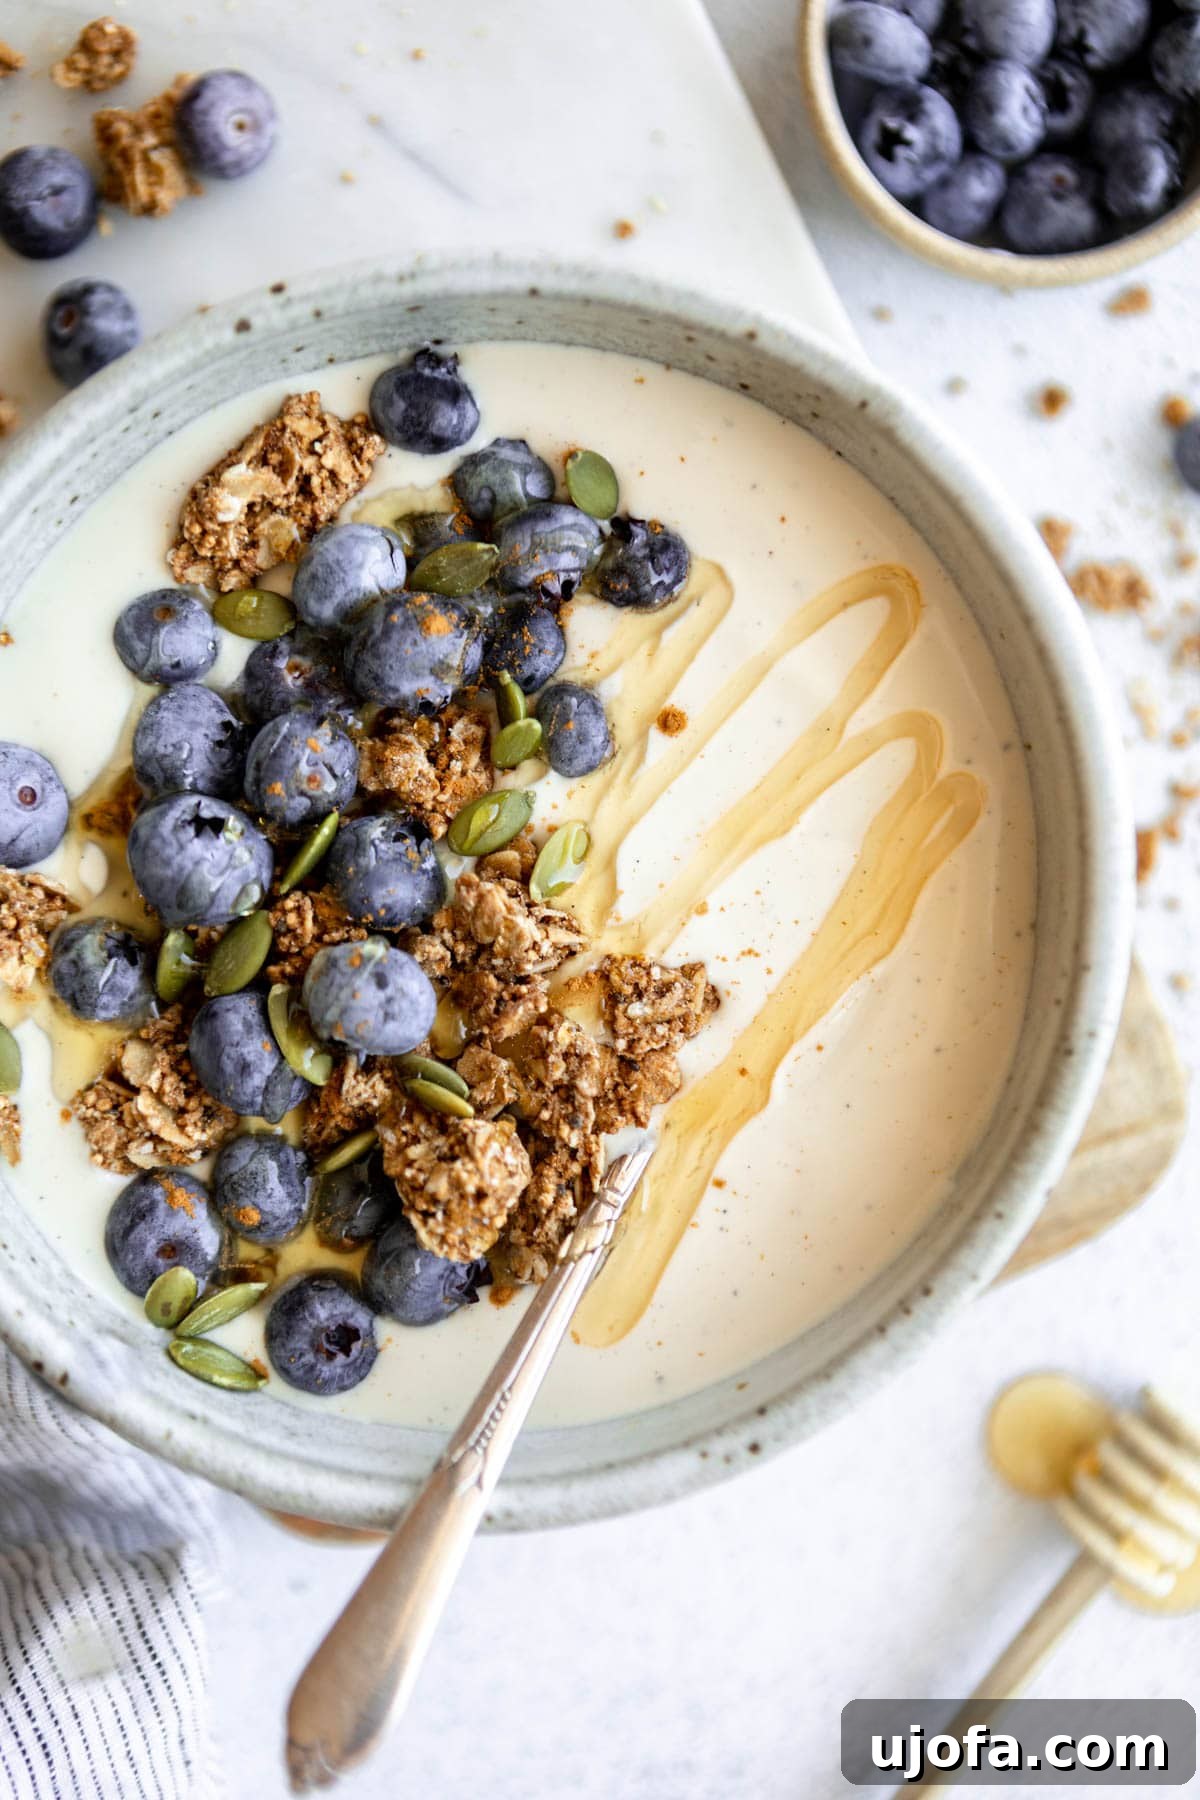
Craving a rich, creamy yogurt but adhering to a dairy-free, gluten-free, or vegan lifestyle? Your search ends here! This homemade dairy-free coconut yogurt recipe is a true culinary gem. It’s not only incredibly simple to prepare, but it’s also a consistent favorite in our home, especially with my kids. This guide will teach you how to effortlessly create thick, lusciously creamy yogurt without any dairy products whatsoever. Our recipe is inherently dairy-free, gluten-free, and perfectly suitable for a vegan diet, offering a wholesome alternative to traditional yogurts.
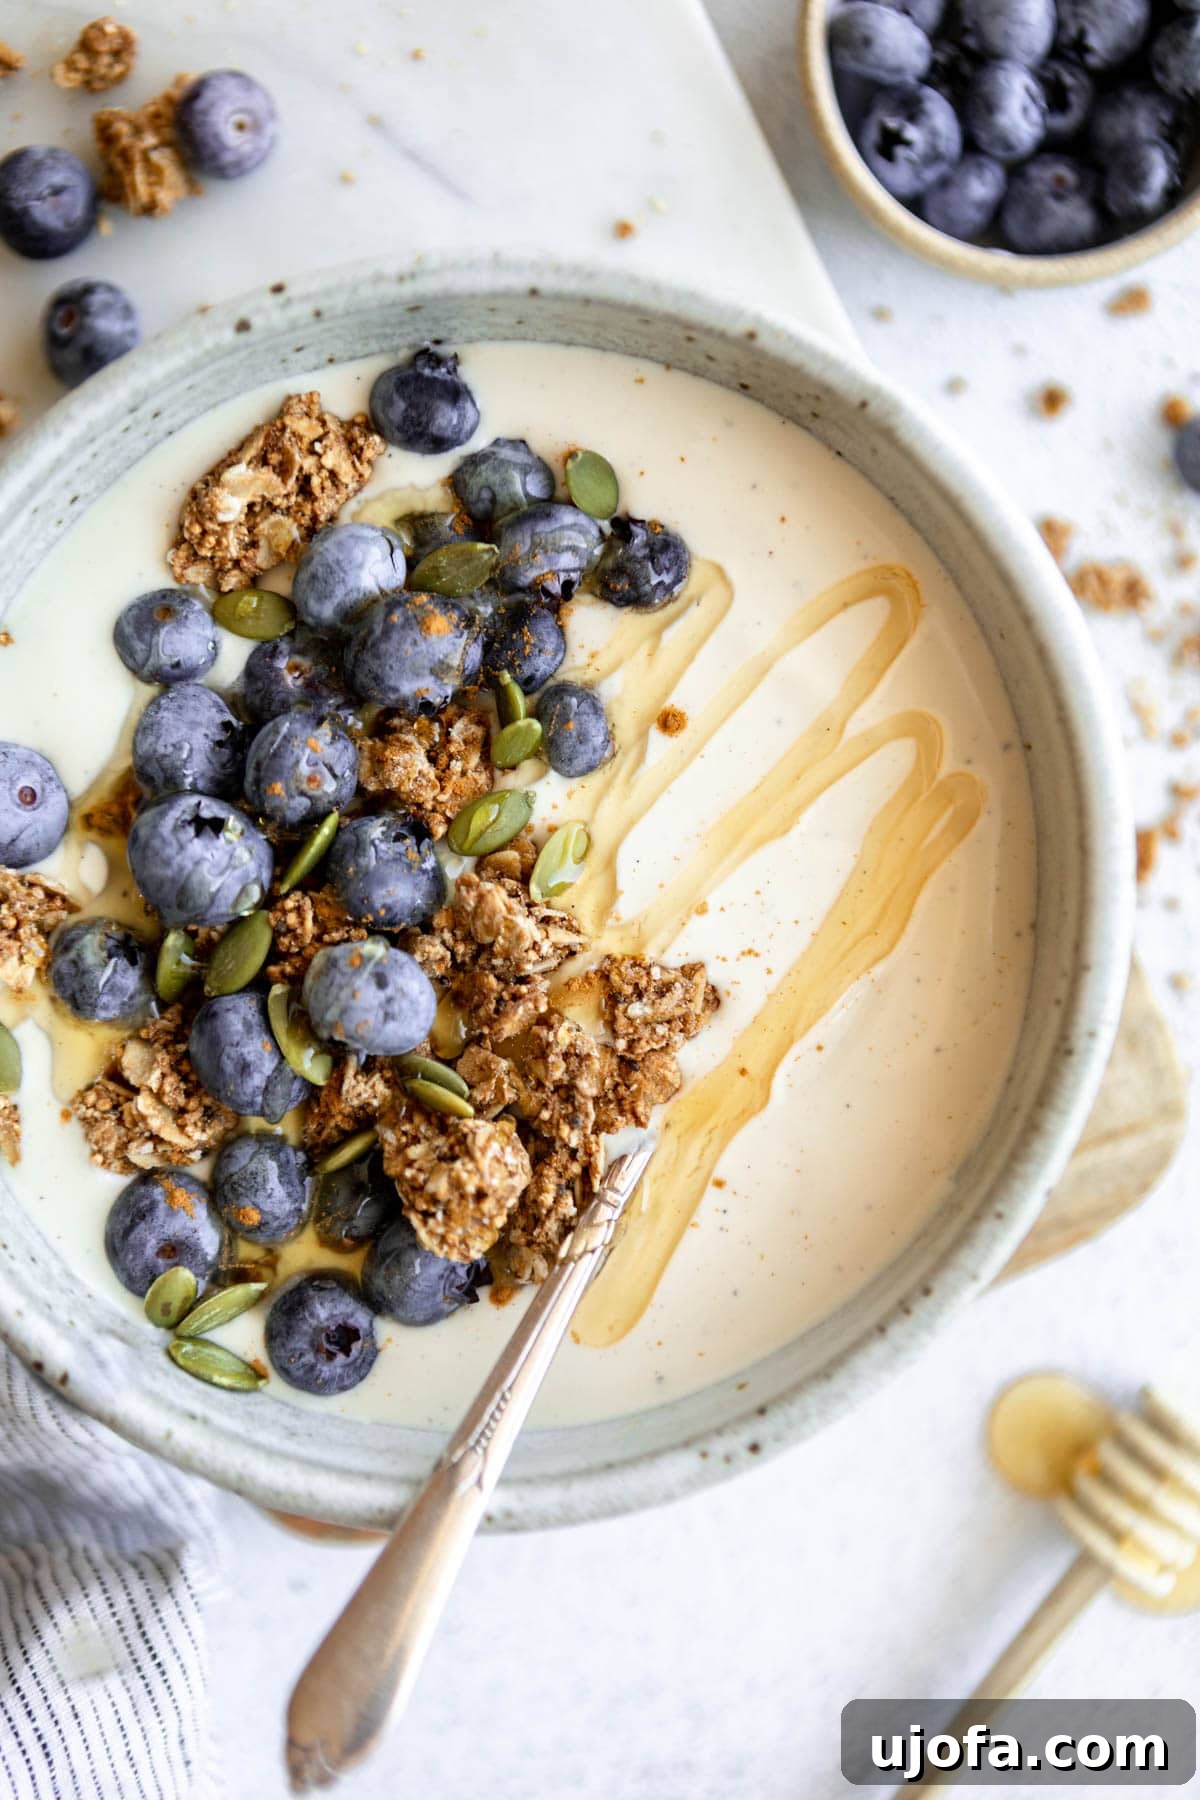
Mastering Homemade Dairy-Free Coconut Yogurt: Your Ultimate Vegan Recipe
Dairy-free coconut yogurt is the answer to your quest for a truly decadent and guilt-free treat. Its rich texture and profound flavor profile are so satisfying, you might even forget it’s completely dairy-free! This versatile creation serves as an exceptional substitute for traditional yogurt or sour cream, seamlessly integrating into all your dairy-free, gluten-free, and vegan baking endeavors. Imagine creamy dressings, fluffy pancakes, or tangy dips—all powered by the goodness of homemade coconut yogurt.
We’ve meticulously designed this recipe to be easy to follow, empowering you to achieve perfect results every time. Our detailed technique notes and practical tips, complemented by clear step-by-step photos, will guide you through the process, ensuring your homemade yogurt is wonderfully thick, impeccably creamy, and bursting with beneficial probiotics. Get ready to elevate your plant-based cooking with this incredible staple!
The Benefits of Crafting Your Own Coconut Yogurt
Opting to make your own coconut yogurt at home comes with a plethora of advantages that far outweigh simply buying it from the store. Firstly, you gain complete transparency over what goes into your food, avoiding artificial thickeners, excessive sugars, and preservatives commonly found in commercial products. Secondly, it’s often more cost-effective in the long run, especially if you consume yogurt regularly. Beyond the financial and health benefits, there’s an undeniable satisfaction in fermenting your own food, knowing you’re cultivating live, active probiotic cultures that support gut health. Plus, the ability to customize the tanginess, sweetness, and consistency to your exact preference is a luxury only homemade offers.
Key Ingredients for Your Dairy-Free Coconut Yogurt
Creating truly spectacular homemade coconut yogurt hinges on selecting the right ingredients. Here’s a breakdown of what you’ll need and why each component is essential:
- Full-Fat Canned Coconut Milk (Two 15 oz. Cans): This is arguably the most crucial ingredient for achieving a thick, creamy texture. Always choose full-fat canned coconut milk, not the carton varieties, which are too thin for yogurt. For best results, chill both cans in the refrigerator for at least 24 hours. This chilling process allows the rich, thick coconut cream to solidify and separate from the watery liquid (coconut water), making it easy to scoop out the cream that will form the base of your yogurt.
- Vegan Probiotic Capsules (2 Capsules): These living cultures are what transform coconut milk into yogurt through fermentation. It’s vital to use high-quality, multi-strain vegan probiotic capsules that are meant for internal consumption. Look for brands that are refrigerated to ensure maximum potency and specifically state they are free from prebiotics, enzymes, or any added ingredients that might interfere with the fermentation process. Alternatively, you can use a dedicated vegan yogurt starter culture, following the manufacturer’s instructions.
- Maple Syrup (1 Tablespoon, Optional): While purely optional, a touch of pure maple syrup can lend a lovely, subtle sweetness that balances the natural tartness of the fermented coconut yogurt. Adjust the amount to your personal taste, or use other natural sweeteners like agave nectar, date syrup, or stevia. Remember that the probiotics will feed on some of the sugars during fermentation, so if you want a sweeter yogurt, you might add more after the fermentation process.
- Pure Vanilla Extract (1 Teaspoon, Optional): A dash of pure vanilla extract enhances the flavor profile of your homemade yogurt, adding a warm and inviting aroma. This is entirely optional, but highly recommended for a classic taste. Feel free to experiment with other flavorings, such as almond extract, a pinch of cinnamon, or a hint of citrus zest for different variations.
Detailed Step-by-Step Instructions for Making Creamy Coconut Yogurt
Transforming simple ingredients into a delicious probiotic-rich yogurt is an incredibly rewarding experience. Follow these precise steps for a flawless batch:
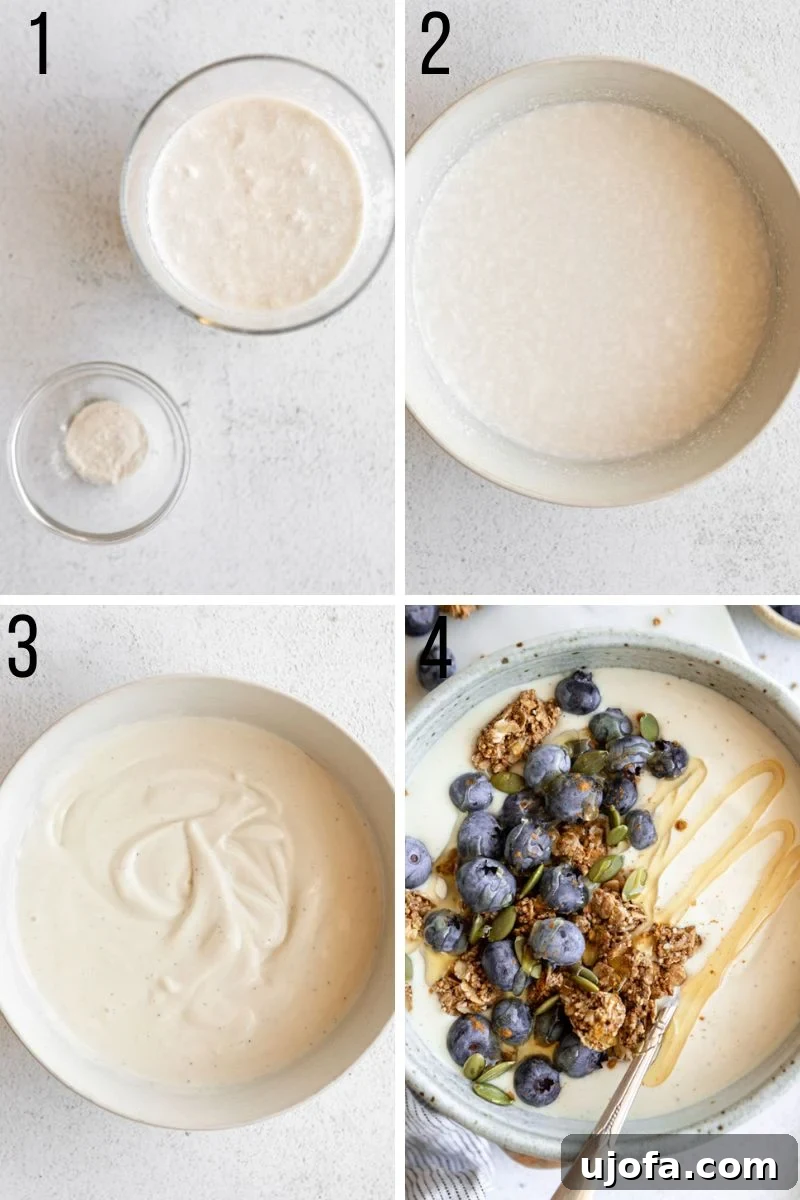
- Prepare and Combine Coconut Milk: Take your two thoroughly chilled cans of full-fat coconut milk from the refrigerator. Open one can fully and pour its entire contents (both the thick cream and any liquid) into a clean, non-metal mixing bowl. Next, open the second can. Gently spoon out only the solid, creamy white part from the top, leaving the clear coconut water behind in the can. Add this thick cream to your mixing bowl. The reserved coconut water can be used later to thin your yogurt or in smoothies.
- Incorporate Probiotics: Carefully twist open the two vegan probiotic capsules and empty their powdery contents directly into the bowl with the coconut milk mixture. If you’re using a specific vegan yogurt starter culture, refer to its package instructions for the precise amount to add.
- Thoroughly Mix: Using a clean wooden, silicone, or plastic spoon (it’s crucial to avoid metal utensils as they can sometimes react with and inhibit the live probiotic cultures), mix the coconut milk and probiotic powder vigorously. Stir until the probiotic powder is completely dissolved and evenly incorporated into the creamy coconut mixture, ensuring no clumps remain. This step is key for even fermentation.
- Ferment in a Warm Environment: Cover the mixing bowl tightly with a lid or plastic wrap to prevent air exposure. Place the covered bowl in a warm, undisturbed spot for 24 to 48 hours. An ideal fermentation temperature ranges between 75°F and 110°F (24°C to 43°C). Excellent environments include an oven with just the light on (pre-check the temperature with a thermometer to ensure it’s not too hot), a food dehydrator set to a low temperature, a dedicated yogurt maker, or even a warm corner of your kitchen, especially in warmer climates. The longer your yogurt ferments within this timeframe, the tangier and slightly thicker its final consistency will be.
- Chill for Optimal Thickness: Once your coconut yogurt has achieved your desired level of tanginess and has begun to thicken visibly, transfer the bowl to the refrigerator. Allow it to chill for a minimum of 4 to 6 hours, or ideally overnight. This refrigeration period is essential as it will further firm up the yogurt and solidify its texture, giving you that delightful creaminess.
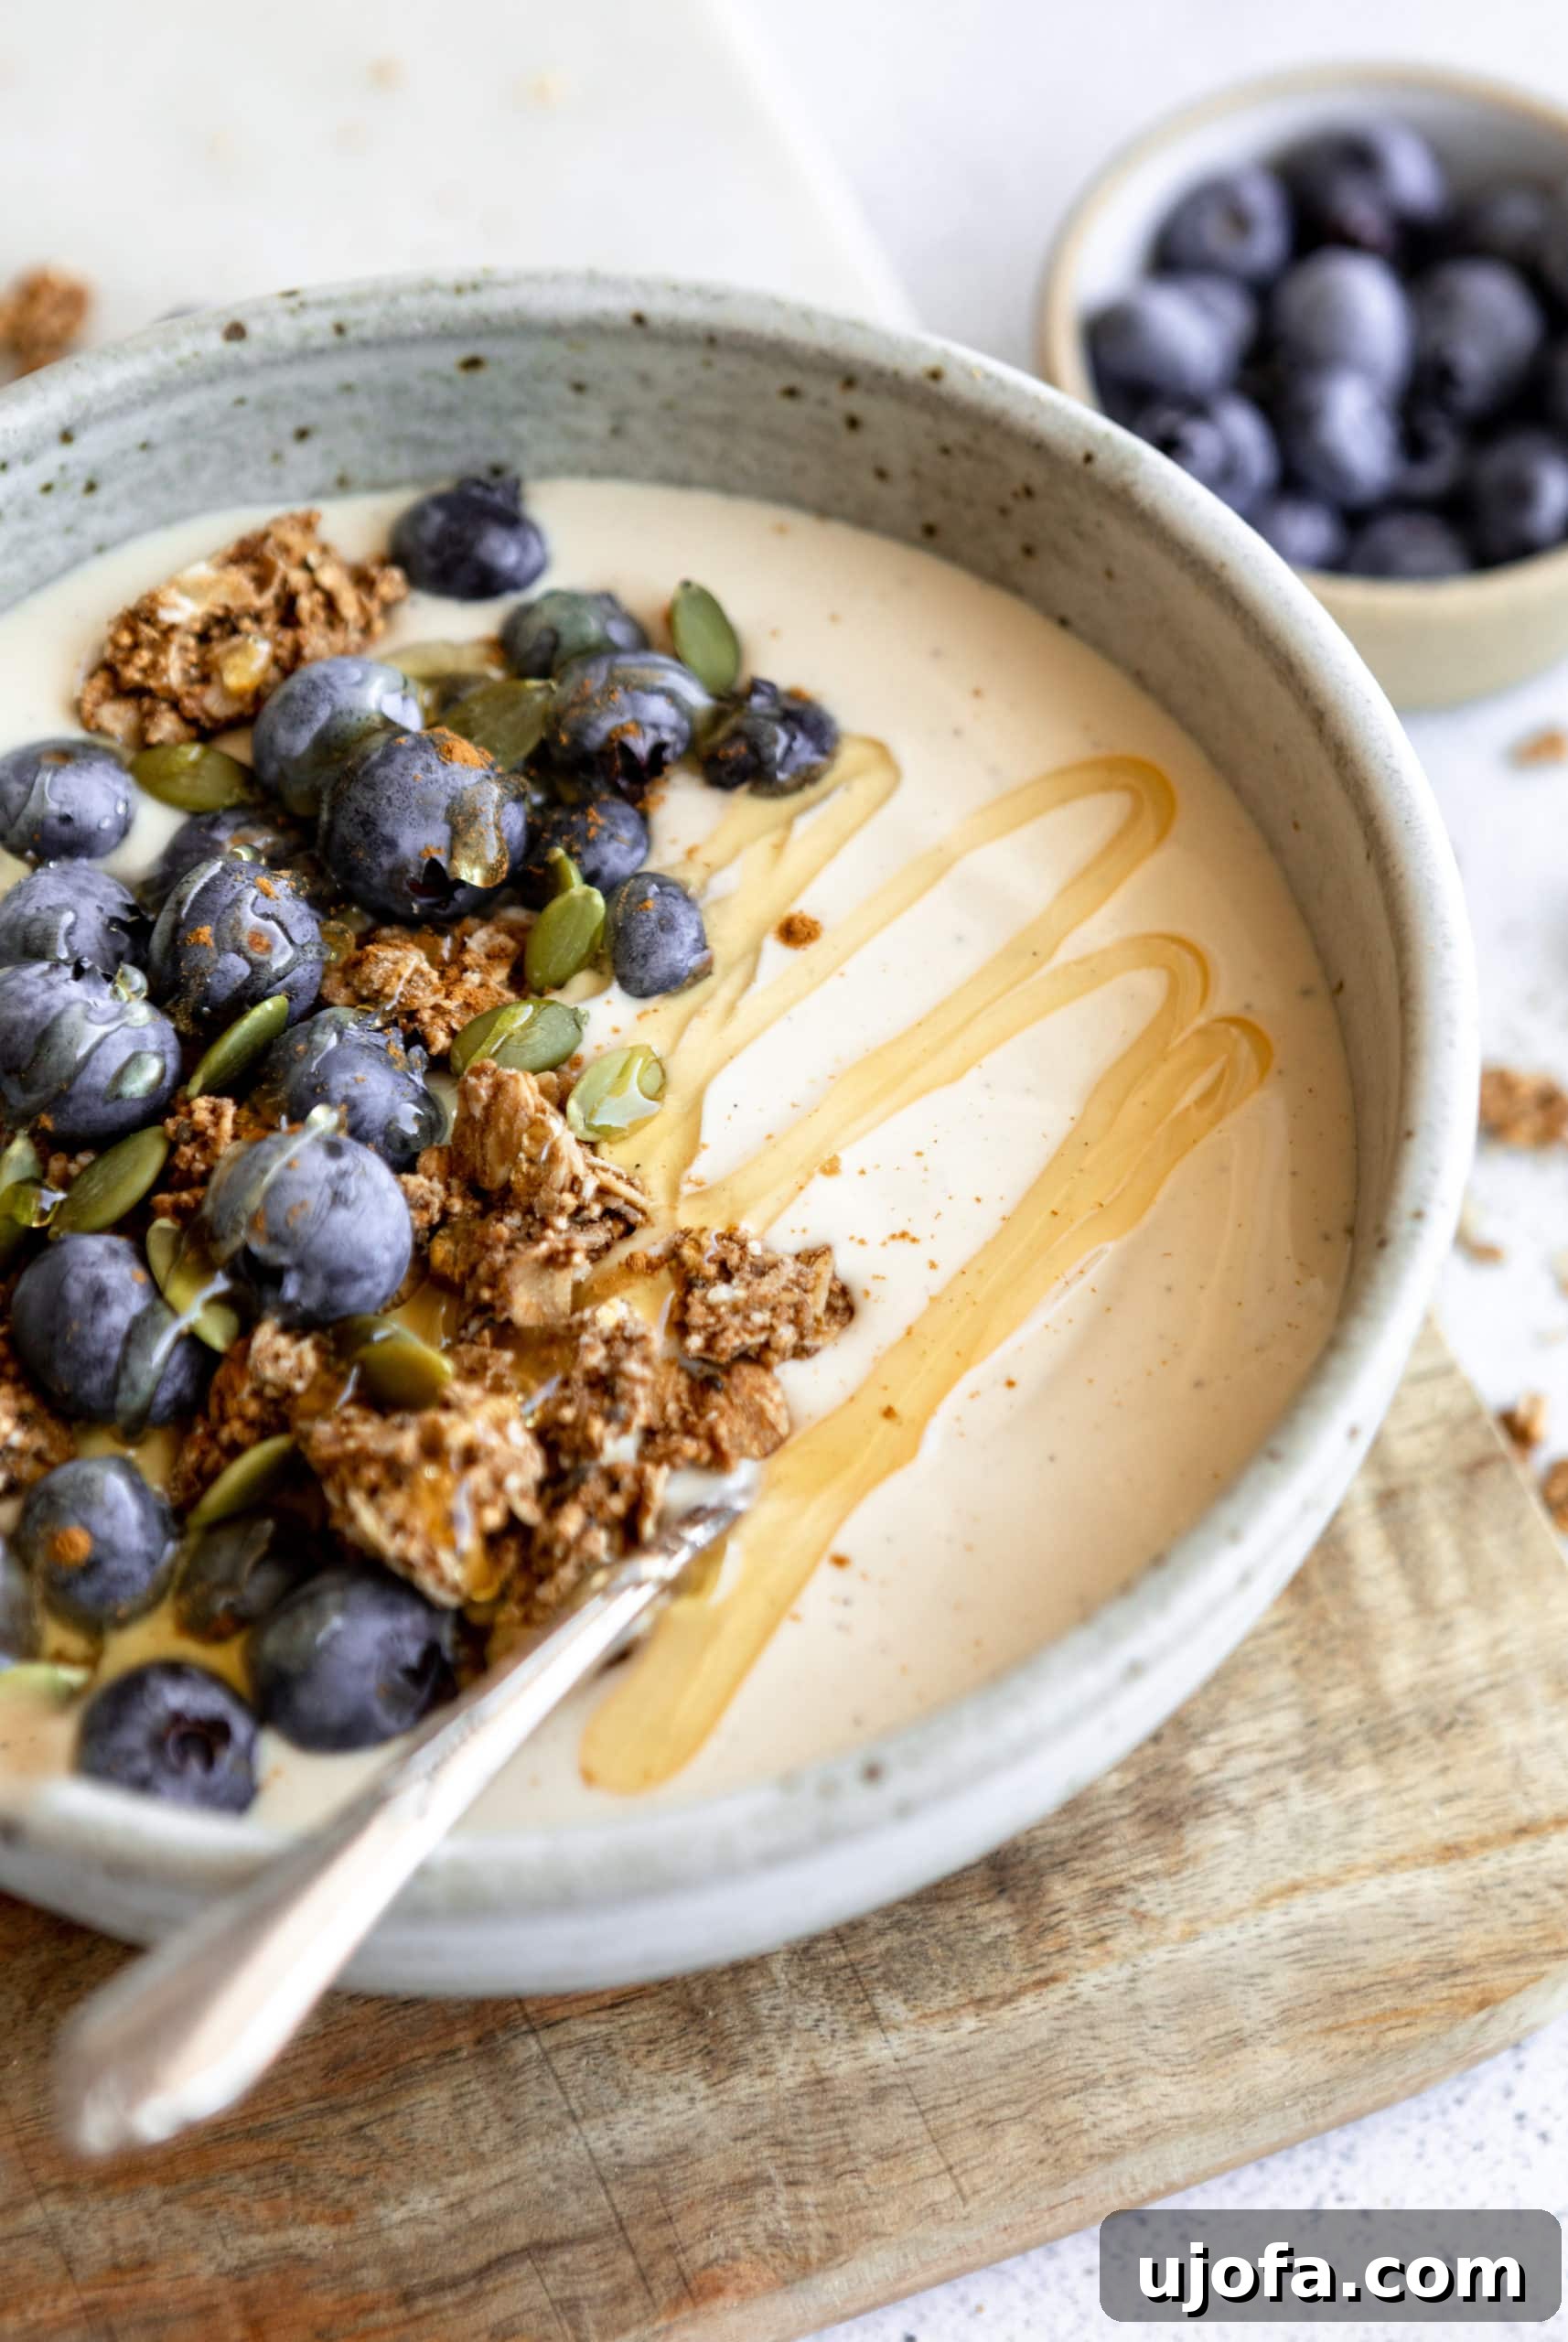
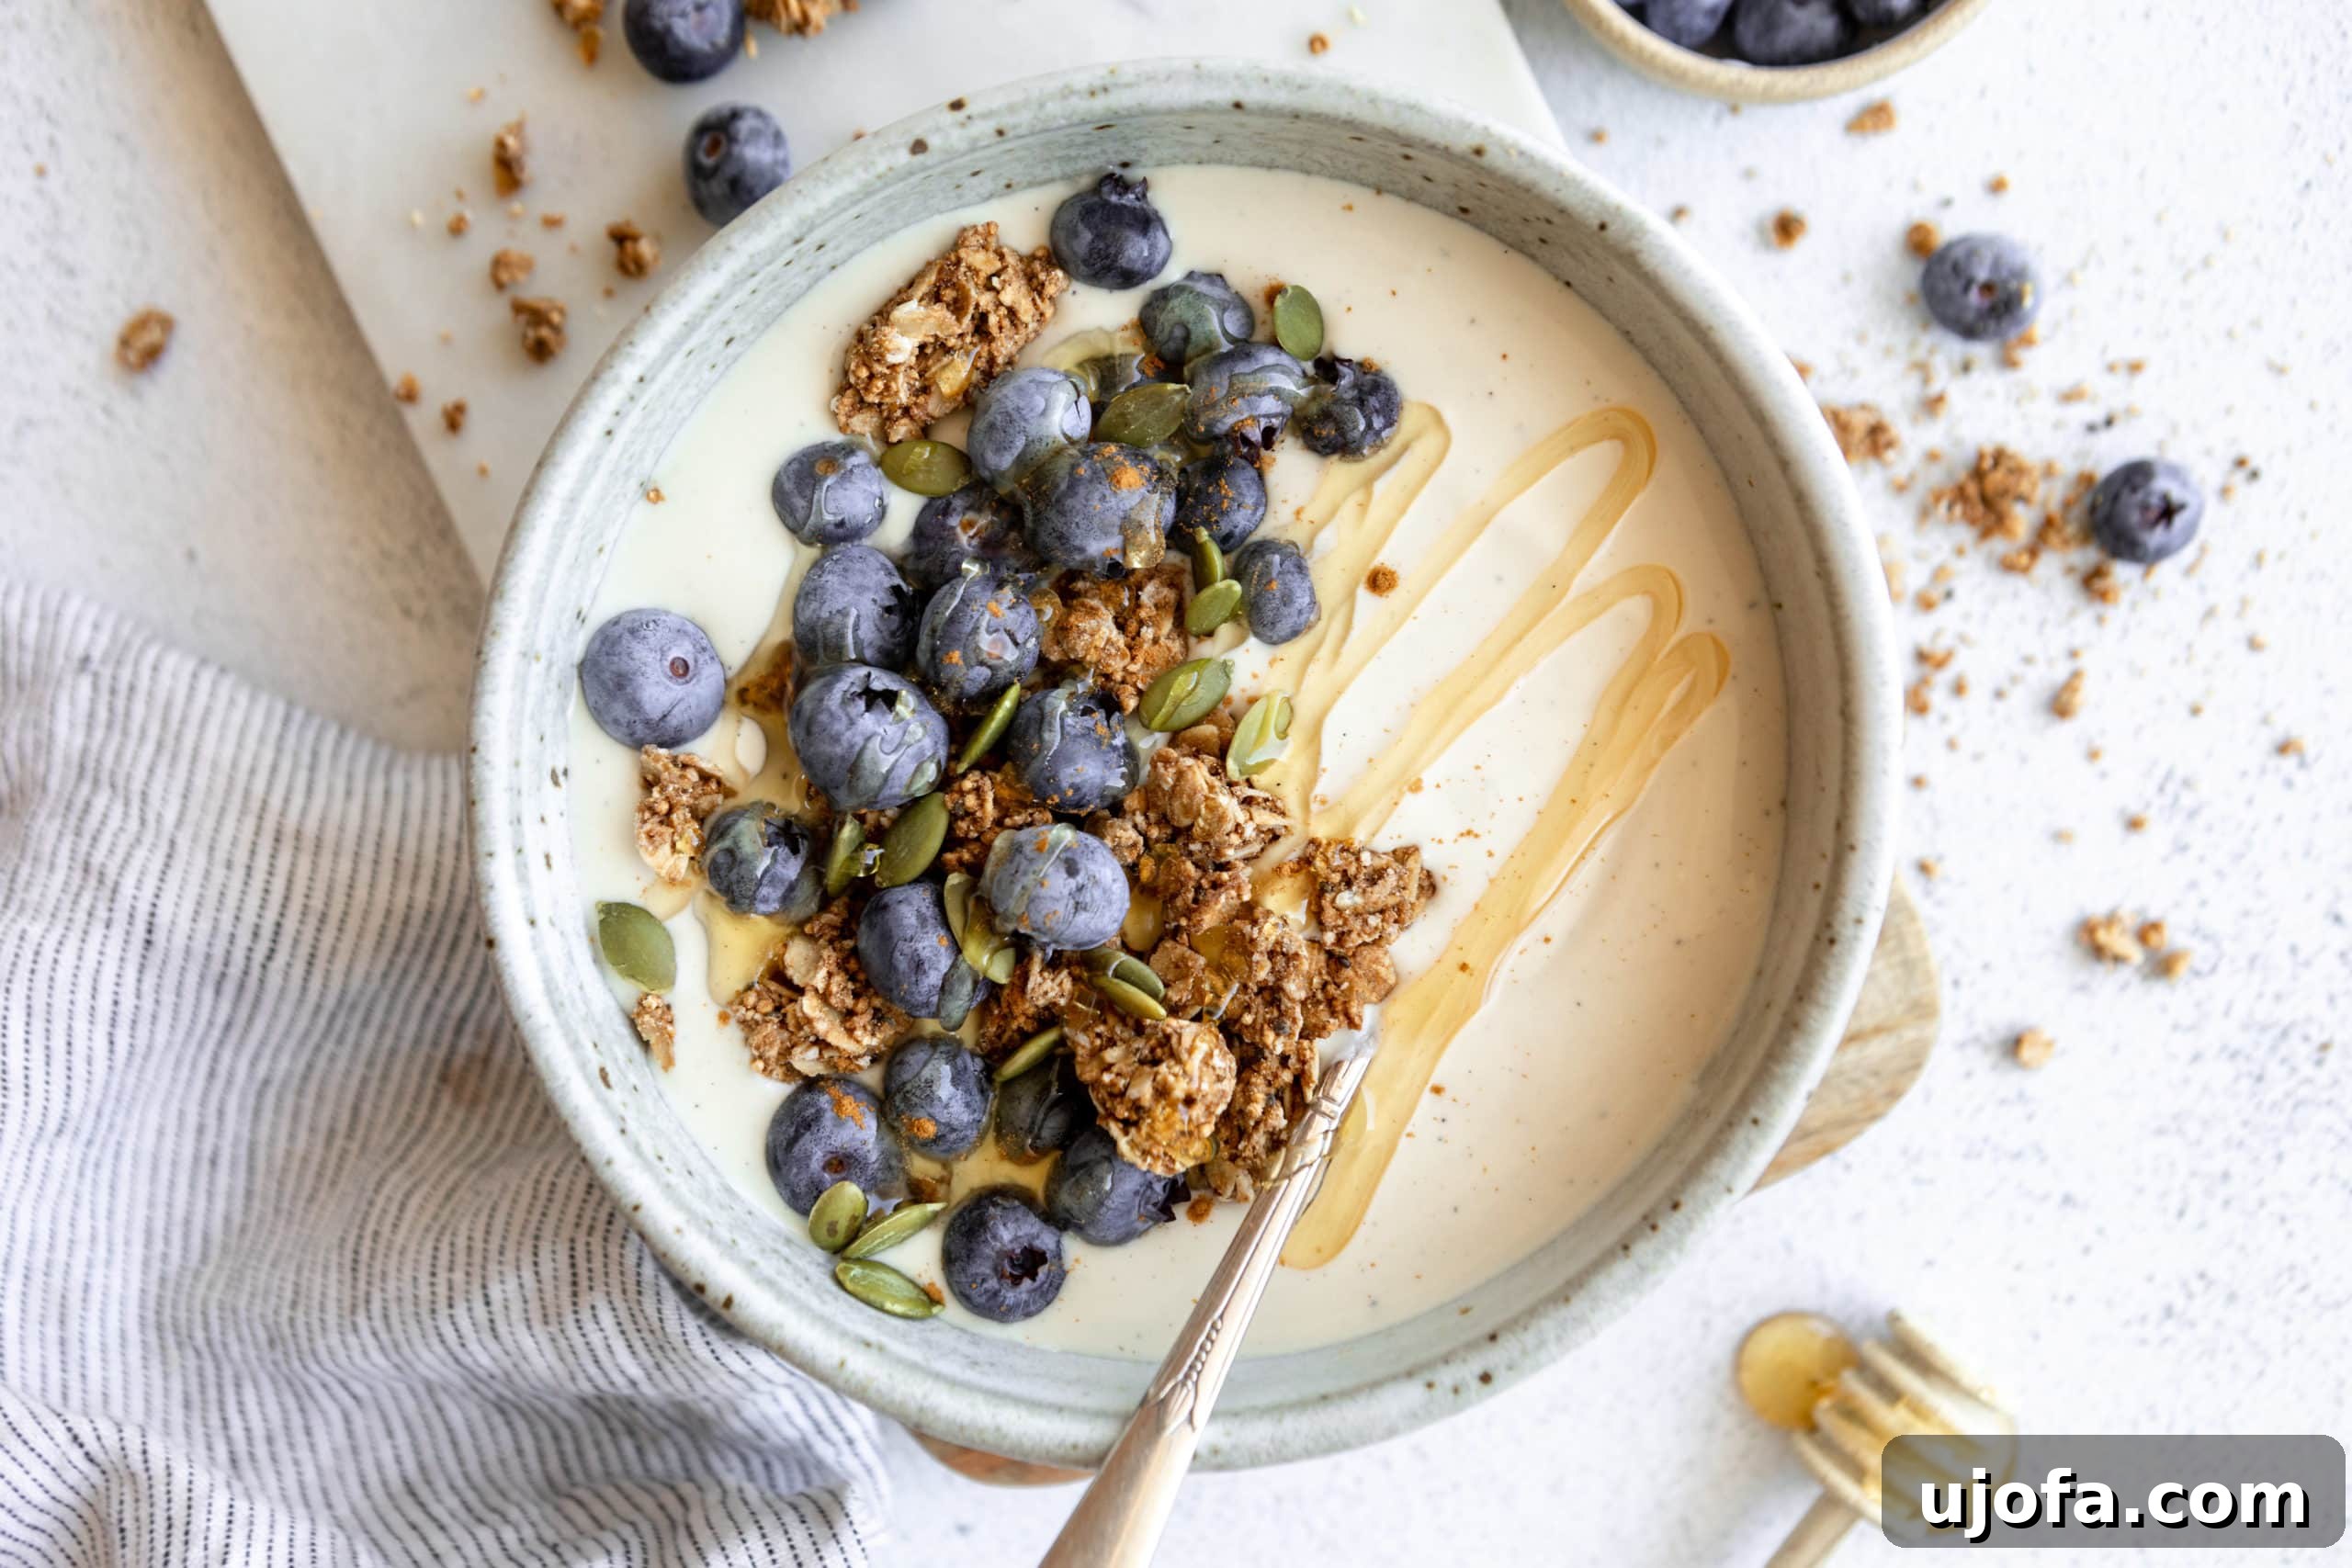
- Serve and Enjoy: Your homemade dairy-free coconut yogurt is now ready to be savored! Before serving, give it a gentle stir to reincorporate any separation that might have occurred. It’s delicious on its own, but truly shines when topped with fresh berries, sliced fruit, a drizzle of maple syrup or honey, a sprinkle of crunchy granola, or a spoonful of your favorite fruit jam.
Expert Tips and Troubleshooting for Perfect Coconut Yogurt
- Choose High-Quality Probiotics: The success of your yogurt hinges on active cultures. Always select a reputable brand of vegan probiotic capsules that explicitly states they are suitable for fermentation and do not contain prebiotics or other enzymes that could interfere. Ensure they are not expired and have been stored correctly (often refrigerated).
- Use Non-Reactive Utensils: As mentioned in the instructions, always use non-metal bowls and stirring implements (glass, ceramic, wood, or plastic). Metal can sometimes interact with and potentially kill the live probiotic cultures, hindering or preventing fermentation.
- Don’t Panic if it Separates: It’s perfectly normal for homemade dairy-free yogurt to separate, resulting in a thicker top layer and a thinner, clear liquid (whey) at the bottom. This is a sign of successful fermentation. Simply stir it thoroughly before serving to achieve a consistent texture.
- For Extra Thick Yogurt: If you desire a Greek-yogurt-like consistency, you can strain your finished coconut yogurt. Line a fine-mesh sieve with several layers of cheesecloth or a clean kitchen towel. Place the sieve over a deeper bowl, spoon in the yogurt, cover, and refrigerate for 4-8 hours or overnight. The longer it drains, the thicker it will become.
- Recognize Spoilage: While rare, always inspect your homemade yogurt before consuming. If it develops an unusual or foul odor (beyond a pleasant tangy smell), shows any signs of mold, or has a strange discoloration, discard it immediately.
- Flavor Variations are Endless: While delicious as is, this coconut yogurt is a blank canvas for flavors. Stir in fruit purees, citrus zest, a pinch of spices like cardamom or nutmeg, or even a teaspoon of cocoa powder for a chocolatey treat.
- Sweetness Control: For precise sweetness, consider adding maple syrup or other sweeteners *after* fermentation and chilling. This way, the probiotics won’t consume the added sugars, allowing you to achieve your desired sweetness level.
Clarifying: Is Coconut Yogurt Truly Dairy-Free?
Yes, absolutely! The beauty of this creamy coconut yogurt is that it is naturally and unequivocally dairy-free. This makes it an ideal option for anyone managing lactose intolerance, dairy allergies, or simply choosing to follow a vegan or plant-based diet. Furthermore, our carefully crafted recipe ensures it is also inherently gluten-free and vegan. By taking control of the yogurt-making process at home, you eliminate any concerns about hidden dairy ingredients, unwanted additives, or cross-contamination often found in commercially produced items. It’s pure, wholesome, plant-based goodness you can trust.
Coconut Yogurt vs. Greek Yogurt: A Health Comparison
When comparing coconut yogurt to traditional Greek yogurt, it’s not a matter of one being inherently “healthier” across the board, but rather that each offers distinct nutritional advantages tailored to different dietary needs and preferences. Dairy-free coconut yogurt stands out for its richness in healthy fats, particularly medium-chain triglycerides (MCTs), which are easily digested and serve as a quick energy source. It also provides dietary fiber, potassium, and some calcium (especially if the coconut milk is fortified). However, Greek yogurt is widely celebrated for its significantly higher protein content, which is excellent for satiety, muscle repair, and growth.
Ultimately, the “healthier” choice depends on your individual nutritional goals. If you’re looking for a plant-based, dairy-free option rich in beneficial fats and probiotics, coconut yogurt is an excellent choice. If high protein is your primary concern, Greek yogurt might be preferred. Both can certainly be part of a balanced and nutritious diet.
Troubleshooting: Why Didn’t My Homemade Coconut Yogurt Thicken?
Achieving the perfect, thick consistency for homemade dairy-free coconut yogurt can sometimes present a challenge, but with a few adjustments, you can troubleshoot common issues. While it won’t typically reach the exact gelatinous thickness of some traditional Greek yogurts, it should be substantially creamy. Here are the main reasons your yogurt might not have thickened and how to fix them:
- Incorrect Coconut Milk Usage: The most frequent culprit is not using enough of the thick coconut cream. Always use full-fat canned coconut milk, and ensure it’s chilled for at least 24 hours to separate the cream effectively. Scooping out only the thick cream from the top of the can and minimizing the clear coconut water is crucial.
- Inactive Probiotics: If your probiotic capsules are old, expired, or weren’t stored properly (e.g., not refrigerated if required), their live cultures might be inactive. This means they can’t effectively ferment the coconut milk to thicken it. Ensure you’re using fresh, potent vegan probiotics.
- Suboptimal Fermentation Temperature: Probiotics need a warm environment to thrive and multiply. If your fermentation space is too cool (below 75°F/24°C), the cultures will be sluggish and won’t adequately ferment the milk, resulting in a thin mixture. Conversely, if it’s too hot (above 115°F/46°C), it can kill the probiotics.
- Insufficient Fermentation Time: Allowing enough time for the probiotics to work is key. While 24 hours is a good starting point, some batches may require up to 48 hours for optimal tanginess and thickness. Gently taste-test after 24 hours to see if it needs more time.
- Adding Thickeners Post-Fermentation: If, after all troubleshooting, you still desire a significantly thicker yogurt, you can incorporate a natural thickener. After fermentation and chilling, whisk in a small amount (start with 1-2 teaspoons per batch) of cornstarch, tapioca starch, or pectin. If using starches, you might need to gently heat a portion of the yogurt with the starch to activate it before stirring it back into the main batch and chilling again. Agar-agar is another excellent vegan thickener; dissolve it in a small amount of liquid, bring to a simmer, then stir into the chilled yogurt. Psyllium husk powder can also thicken cold, fermented yogurt and adds fiber.
Storing Your Homemade Dairy-Free Coconut Yogurt
To maximize the freshness and shelf life of your delicious homemade coconut yogurt, proper storage is essential. Once your yogurt has successfully chilled and achieved its desired thickness in the refrigerator, transfer it to a clean, airtight container. It will remain fresh and delicious in the refrigerator for up to 2 weeks. Always practice good food safety: before consuming, perform a quick visual check and a sniff test. Any signs of mold, unusual discoloration, or an off-putting odor indicate spoilage, and the yogurt should be discarded. While you can freeze this yogurt for up to a month, be aware that its texture will undergo a significant change upon thawing, often becoming more granular or separated. For this reason, frozen and thawed coconut yogurt is best utilized in recipes where texture isn’t paramount, such as smoothies, baking, or sauces, rather than consumed plain.
Beyond Breakfast: Versatile Uses for Homemade Coconut Yogurt
This dairy-free coconut yogurt is a truly indispensable ingredient, extending far beyond a simple breakfast item. Its creamy texture and delightful tang make it incredibly versatile for both sweet and savory applications. Incorporate it into your daily meals to add a healthy, probiotic boost:
- Breakfast & Snack Perfection: The most obvious use! Enjoy it straight up with fresh fruit, a sprinkle of nuts and seeds, or your favorite gluten-free granola. It’s also fantastic layered in vibrant parfaits, stirred into overnight oats, or blended into creamy, nutrient-packed smoothies.
- Baking & Cooking Substitute: This yogurt shines as a direct, equal-part substitute for dairy yogurt, buttermilk, or sour cream in countless vegan and gluten-free baking recipes. Use it to add moisture and a slight tang to muffins, quick breads, cakes, pancakes, or waffles.
- Savory Dips & Dressings: Transform it into a rich and tangy base for savory dips. Mix with fresh herbs, minced garlic, lemon juice, and a pinch of salt and pepper for a delicious vegetable dip or a creamy dressing for salads and grain bowls. It can also be a healthy, flavorful alternative to mayonnaise in sandwiches and wraps.
- Refreshing Desserts: Layer your coconut yogurt with fruit and crumbled gluten-free cookies for a light, guilt-free dessert. For a cool treat, you can even slightly sweeten and freeze it into a homemade “froyo” (frozen yogurt).
More Delicious Breakfast Recipes to Explore!
If you enjoyed the simplicity and deliciousness of making this dairy-free coconut yogurt, you’re in for a treat with these other fantastic breakfast creations from our kitchen. Expand your morning meal repertoire with these easy-to-make, gluten-free options:
- Gluten-Free Danish
- Easy Gluten-Free Breakfast Casserole
- Gluten-Free French Toast
Dairy-Free Coconut Yogurt Recipe Card
Dairy Free Coconut Yogurt Recipe
Claire Cary
6 Servings
5 mins
1 day
1 day 5 mins
An easy recipe for dairy-free coconut yogurt. Learn to make thick, creamy homemade yogurt without any dairy products. This recipe is naturally dairy-free, gluten-free, and vegan.
Ingredients
- 2 (15 oz.) cans full-fat coconut milk, chilled
- 2 capsules vegan probiotics
- 1 tablespoon maple syrup, optional, for sweetening
- 1 teaspoon pure vanilla extract, optional, for flavor
Instructions
- Open one can of coconut milk and add all contents to a non-metal mixing bowl. Open the other can and use only the top creamy white part.
- Open the probiotic capsules into the bowl.
- Mix really well with a wooden spoon until combined. Avoid metal as this can react with the probiotics.
- Cover tightly and let rest for 24 hours in a warm environment. The longer it sits, the tangier it gets.
- Chill in the fridge to thicken. You can thin it out with the remaining coconut water from the other can, but I like it fairly thick.
Notes
- Use high-quality probiotics that don’t include prebiotics or other enzymes.
- Use non-reactive, non-metal bowls and utensils.
- If your yogurt separates, that’s ok! Just stir before serving.
- To thicken this yogurt even more, place it in a cheesecloth set over a fine-mesh sieve set over a bowl. This will help drain out any excess moisture.
- If your yogurt takes on an odd odor or color, toss it! It has likely spoiled.
- This yogurt is so yummy topped with fresh fruit, honey, fruit jam or gluten-free granola.
- This recipe yields 1.5 cups of yogurt. A serving is ¼ cup.
- To Store: Store coconut yogurt in an airtight container in the refrigerator for up to 2 weeks or in the freezer for up to 1 month.
Nutrition
Serving Size: 0.25 cup
Calories: 290 kcal
Carbohydrates: 6 g
Protein: 3 g
Fat: 30 g
Saturated Fat: 27 g
Polyunsaturated Fat: 0.3 g
Monounsaturated Fat: 1 g
Sodium: 19 mg
Potassium: 320 mg
Sugar: 2 g
Vitamin C: 1 mg
Calcium: 29 mg
Iron: 5 mg
Nutrition information is automatically calculated, so should only be used as an approximation.
Additional Info
Breakfast
American
We hope you enjoy this easy and delicious dairy-free coconut yogurt recipe. It’s a fantastic staple for any dairy-free, gluten-free, and vegan kitchen, whether you’re using it in baking, as a healthy snack, or a delightful breakfast!