
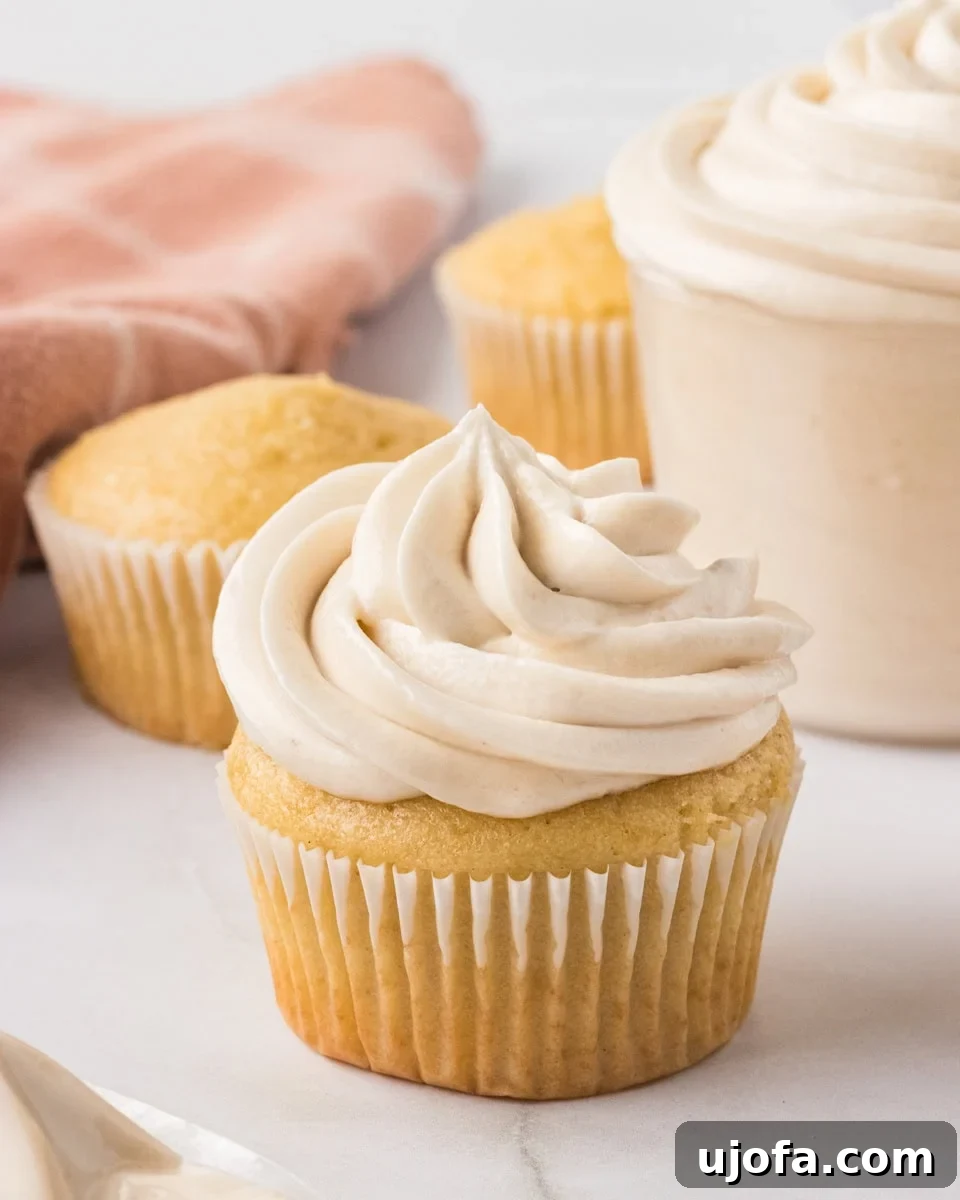
Craving a rich, creamy frosting that’s entirely dairy-free and vegan? Look no further! This ultimate guide to making the most delectable dairy-free buttercream frosting will transform your baking. Whether you’re decorating a birthday cake, swirling it onto cupcakes, or spreading it over holiday cookies, this versatile 4-ingredient recipe promises a light, fluffy, and perfectly balanced sweet treat. Forget about dairy – this plant-based buttercream whips up in minutes, delivers an exquisite texture, and is so incredibly delicious, no one will ever guess it’s dairy-free.
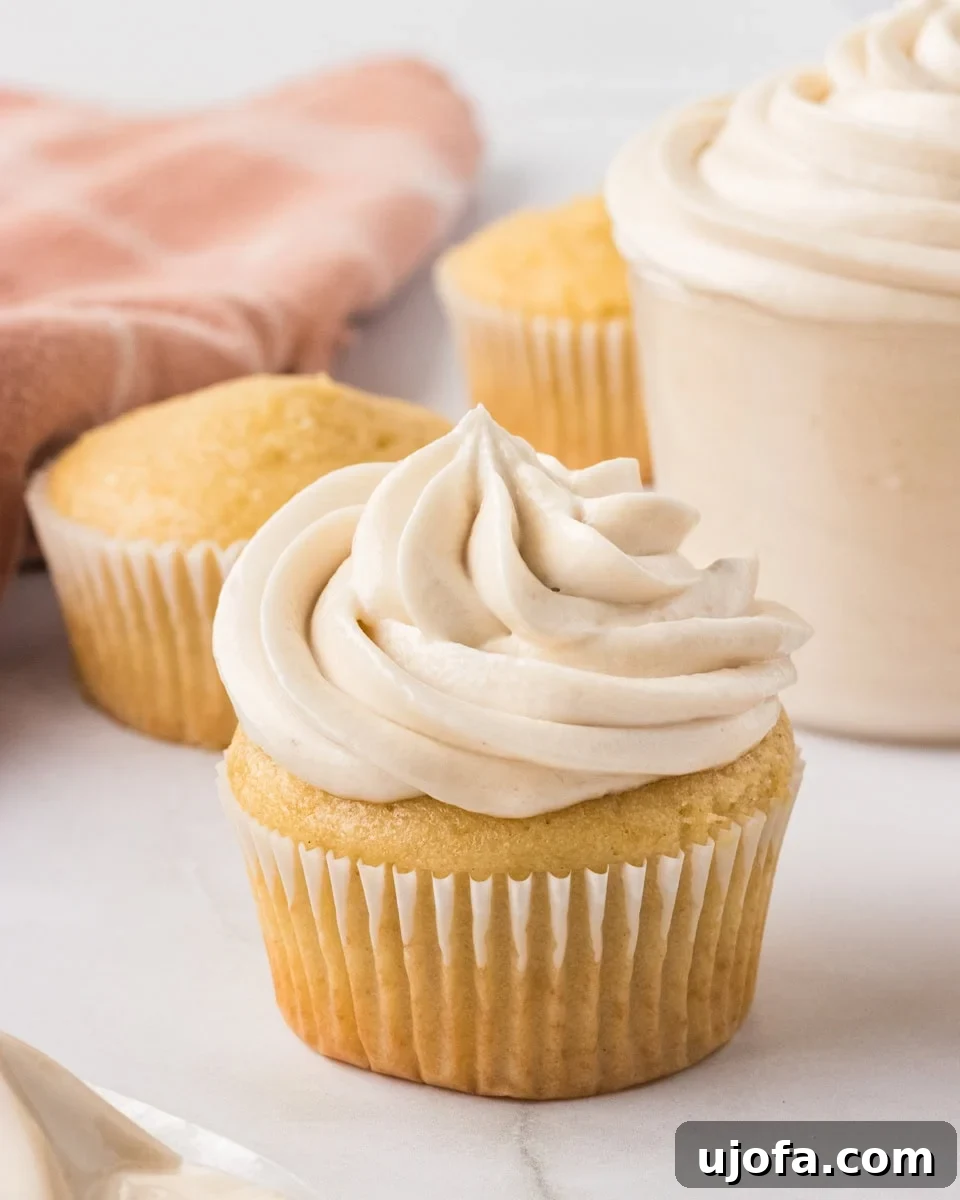
For years, I searched for a dairy-free frosting that could truly rival traditional buttercream in both taste and texture. After numerous kitchen experiments, I discovered the secret: vigorously beating the dairy-free butter until it’s incredibly light and airy. This crucial step creates that signature fluffy consistency that makes classic buttercream so irresistible. What I love most about this recipe is its adaptability. It serves as a fantastic base for endless flavor variations – a touch of cocoa powder transforms it into rich chocolate buttercream, a hint of lemon zest adds brightness, or a pinch of cinnamon makes it perfect for fall bakes. Crafted from simple pantry staples, this frosting is my trusted choice for all my dairy-free and vegan baking endeavors. It’s so good, even those who aren’t dairy-free rave about it!
Why Choose Dairy-Free Buttercream?
In today’s diverse culinary landscape, dietary preferences and restrictions are more common than ever. Choosing a dairy-free buttercream isn’t just for those with lactose intolerance or a vegan lifestyle; it’s a delicious option for everyone. This plant-based alternative offers the same luxurious mouthfeel and versatility of traditional buttercream, without any dairy products. It’s perfect for catering to guests with allergies, ensuring everyone can enjoy your baked goods. Plus, many find dairy-free buttercreams to be surprisingly light yet rich, making them a fantastic choice for any dessert.
Essential Ingredients for Perfect Dairy-Free Buttercream
Achieving a flawless dairy-free buttercream relies on a few key ingredients, each playing a vital role in the final texture and flavor. Understanding these components is the first step to mastering this recipe.
- Dairy-Free Butter: This is the foundation of your buttercream. The quality and type of dairy-free butter you choose will significantly impact the outcome. Look for a brand specifically designed for baking, which often has a firmer texture and a richer flavor profile, mimicking traditional butter more closely. Brands like Miyoko’s Kitchen Cultured Vegan Butter or Earth Balance Vegan Butter Sticks are often recommended for their consistency and ability to hold up well in frosting. Avoid overly oily or soft margarines, as they can result in a greasy, unstable frosting.
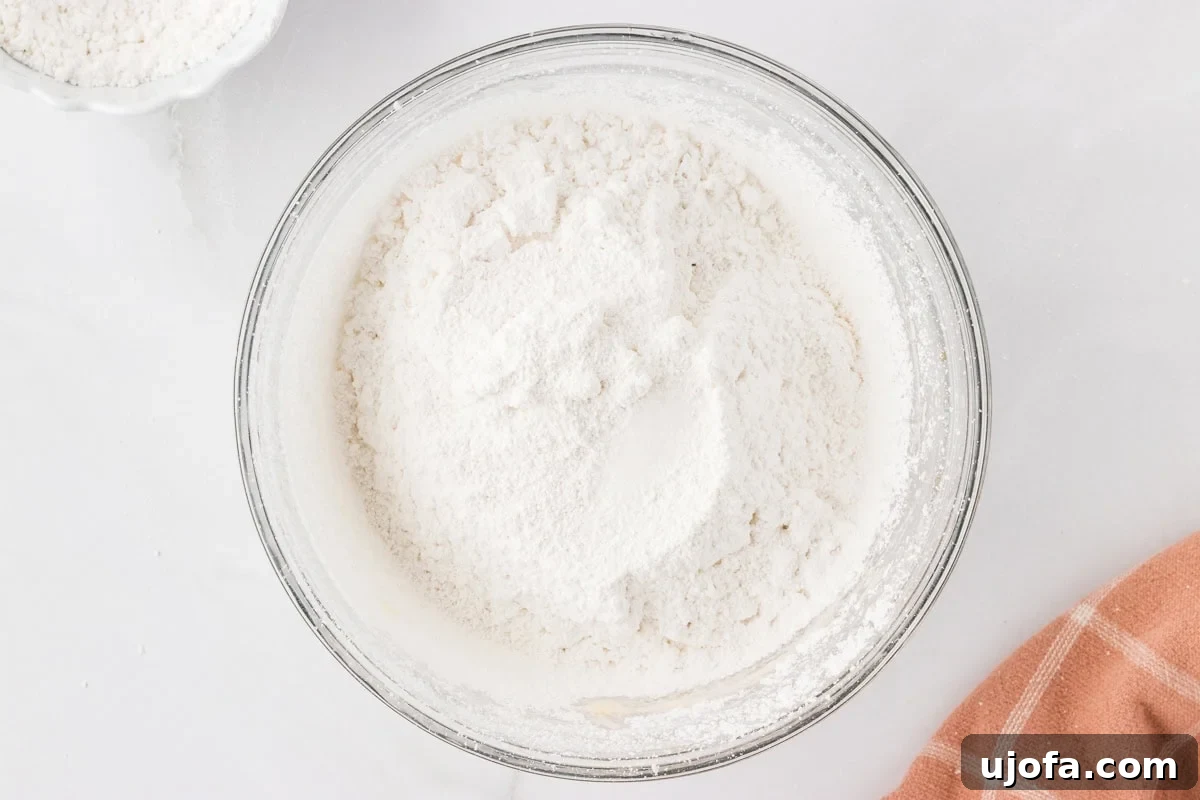
- Powdered Sugar (Confectioners’ Sugar): Powdered sugar provides the sweetness and structure for your buttercream. It’s crucial to sift it before adding to prevent any lumps, ensuring an incredibly smooth and silky frosting. Lumps can be more noticeable in dairy-free frostings, so this step is non-negotiable for a professional finish.
- Vanilla Extract: For a classic vanilla buttercream, use a high-quality pure vanilla extract. Its aromatic notes elevate the flavor, providing that familiar warmth and sweetness. While imitation vanilla can be used, pure vanilla extract offers a superior, more complex flavor that truly shines in a simple frosting.
- A Pinch of Salt: Don’t skip the salt! A small pinch balances the sweetness of the powdered sugar, preventing the frosting from being cloyingly sweet and enhancing all the other flavors. It’s a secret ingredient that makes a big difference.
- Dairy-Free Milk (Optional): A splash of plant-based milk (such as almond, soy, or oat milk) is your secret weapon for adjusting the consistency. If your frosting is too thick, a teaspoon or two can thin it out to your desired piping or spreading consistency without compromising flavor or stability.
Gluten-Free & Dairy-Free Baking Tips for Success
While this recipe is naturally gluten-free and dairy-free, a few specific tips can help you achieve professional-quality results every time. These insights will guide you through common pitfalls and ensure your buttercream is perfect.
- Choose the right dairy-free/vegan butter. This is perhaps the most critical tip. As mentioned above, not all dairy-free butters are created equal, especially for buttercream. I consistently get excellent results with Miyoko’s Kitchen Cultured Vegan Butter, as it boasts a superior smooth consistency and a rich, buttery flavor that holds up wonderfully at room temperature. Earth Balance sticks are another popular and reliable choice. Many other brands can be too oily, leading to a greasy, separated, or unstable frosting. Take the time to select a high-quality vegan butter for the best outcome.
- Keep your dairy-free butter slightly cool. The temperature of your dairy-free butter is paramount. While it needs to be softened for easy creaming, it shouldn’t be overly warm or melted. If the butter becomes too warm, the plant-based oils can separate, causing your frosting to turn greasy and lose its structure. Aim for a temperature where it’s pliable and easily indented but still cool to the touch. If your kitchen is warm, you might even chill your mixing bowl for a few minutes before starting.
- Whip the butter really well before adding anything else. This is the true magic trick for achieving that classic, light, and airy buttercream texture. Before incorporating any other ingredients, beat the softened dairy-free butter on medium-high speed for several minutes until it becomes noticeably pale, fluffy, and significantly increased in volume. Be patient; this step might take longer than you expect, but it’s essential for a truly luxurious frosting.
- Always sift your powdered sugar. To avoid any gritty texture or visible lumps in your finished buttercream, sifting the powdered sugar is a must. Dairy-free buttercreams can sometimes highlight imperfections more easily than their dairy counterparts, so a smooth, silky finish is guaranteed by this simple extra step.
- If the frosting looks curdled or separated, keep mixing. Don’t panic if your frosting initially looks a little odd or separated after adding the powdered sugar. Dairy-free butter often requires an extra minute or two of mixing to fully emulsify and come together into a cohesive, smooth frosting. Keep your mixer running on medium speed, scraping down the sides of the bowl occasionally, and watch it transform into the perfect buttercream. Persistence pays off!
Dairy-Free Buttercream Frosting
Julia Elizabeth
12
servings (2-2 1/2 cups)
5 mins
5 mins
Share by Email
Print Recipe
Ingredients
- 1 cup dairy-free butter, softened (I highly recommend Miyoko’s Plant Milk Butter)
- 1 tsp vanilla extract (pure vanilla for best flavor)
- 3 cups powdered sugar, sifted
- 1 pinch salt
- 2-4 tsp dairy-free milk, optional (for adjusting consistency)
Instructions
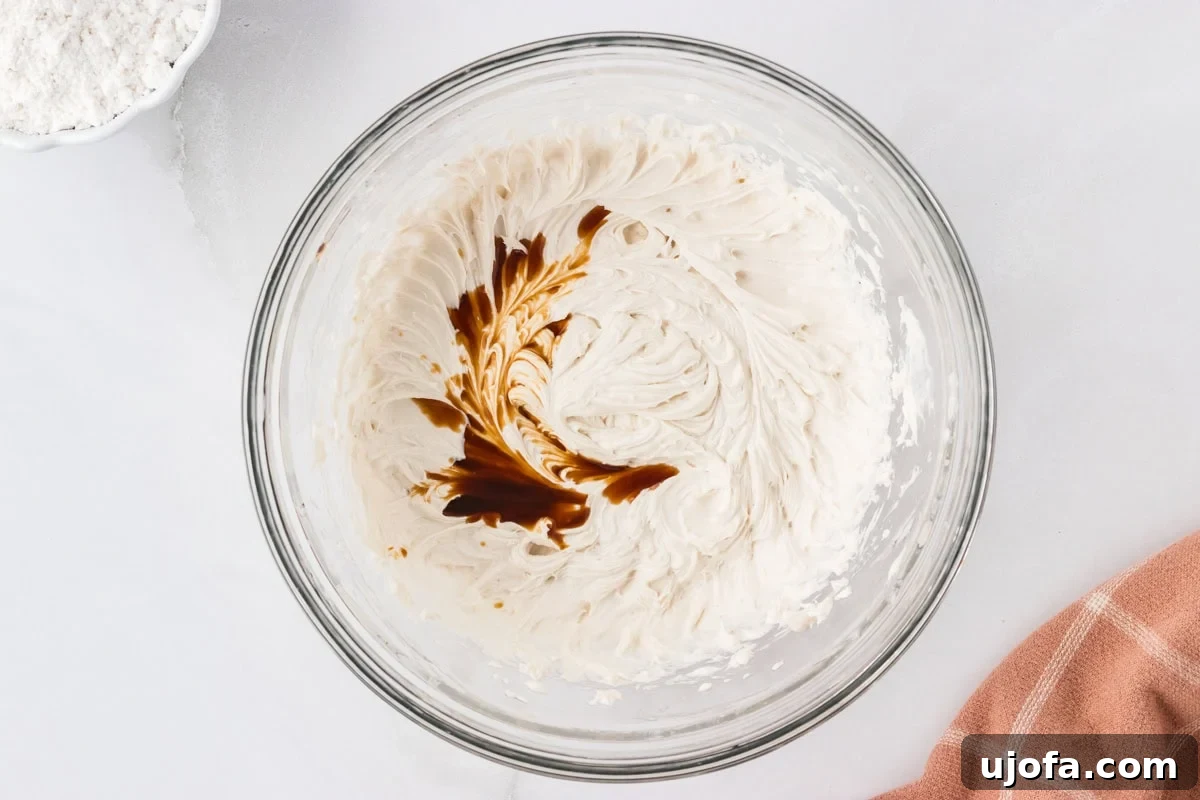
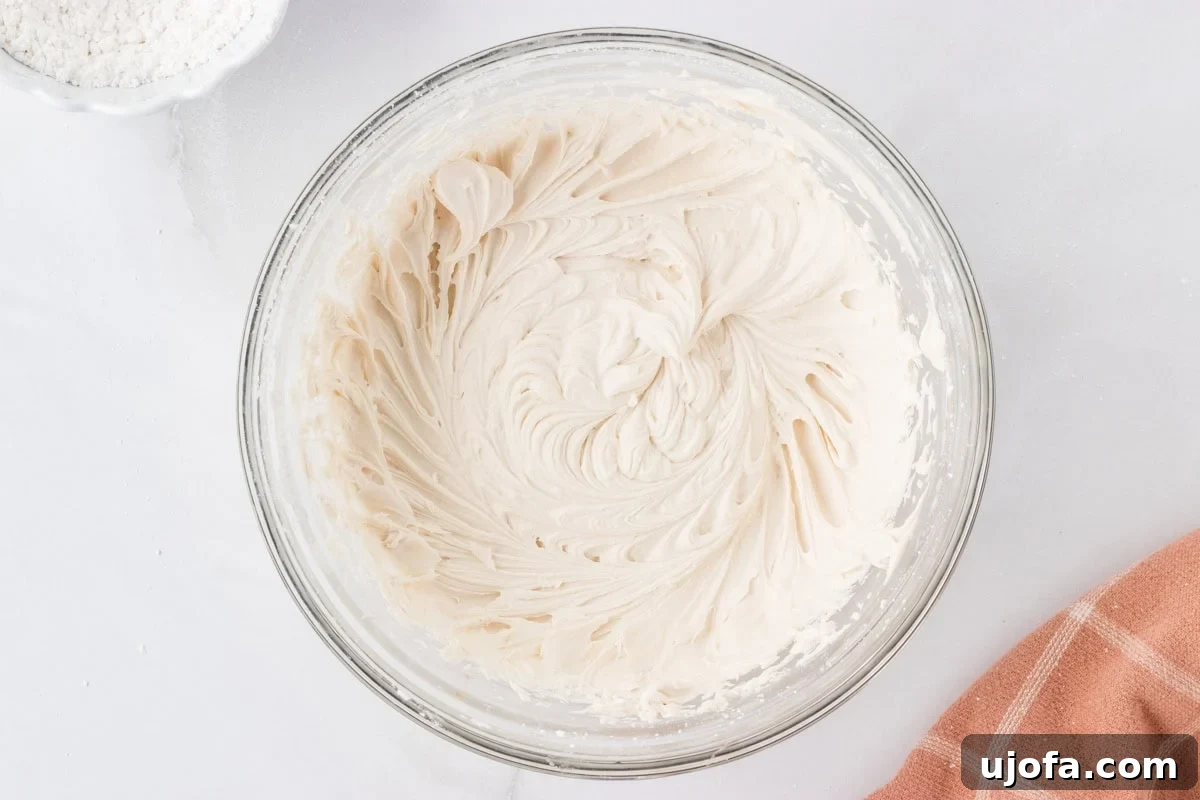
- Whip the butter: In a large mixing bowl, beat the softened dairy-free butter using a hand mixer or stand mixer fitted with the paddle attachment. Continue beating for several minutes until the butter becomes incredibly smooth, noticeably fluffy, and light in color. This extended whipping is crucial for incorporating air and achieving a truly light texture. Add the vanilla extract and mix until it’s fully combined and fragrant.
- Incorporate dry ingredients: Carefully sift the powdered sugar and the pinch of salt directly into the whipped butter mixture. To avoid a dusty cloud of sugar, gently mix the ingredients by hand with a spoon or silicone spatula until the powdered sugar is mostly incorporated into the butter and no longer loose. This initial manual mixing will prevent a mess when you turn on your mixer.
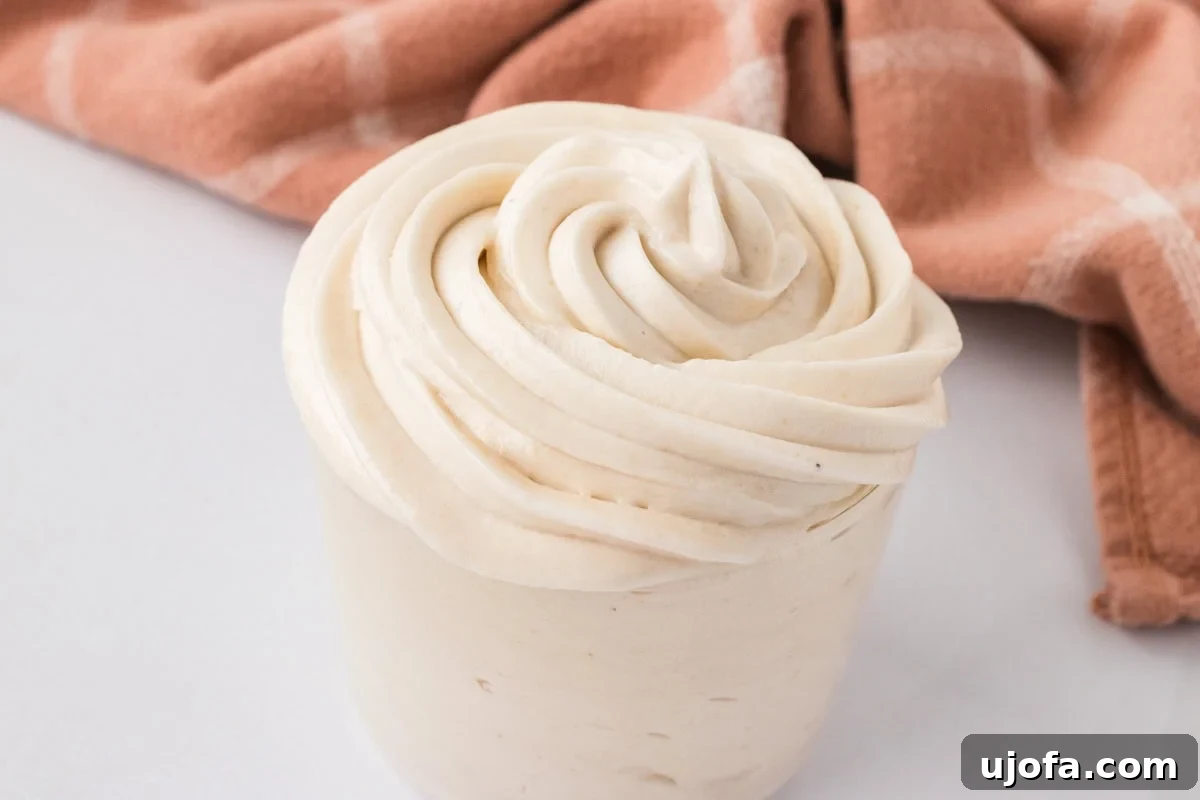
- Beat until smooth: Once the powdered sugar is mostly mixed in, switch back to your hand or stand mixer. Beat the frosting on medium-high speed until it is completely combined, smooth, and has a silky, pipeable consistency. Scrape down the sides of the bowl as needed to ensure everything is evenly mixed.
- Adjust consistency (if needed): If you find your buttercream is a little too thick for your preference or for easy piping, gradually add dairy-free milk, 2 teaspoons at a time. Mix well after each addition until the frosting reaches your desired consistency. I often find I don’t need any additional milk, but it’s a useful trick if your butter was firmer.
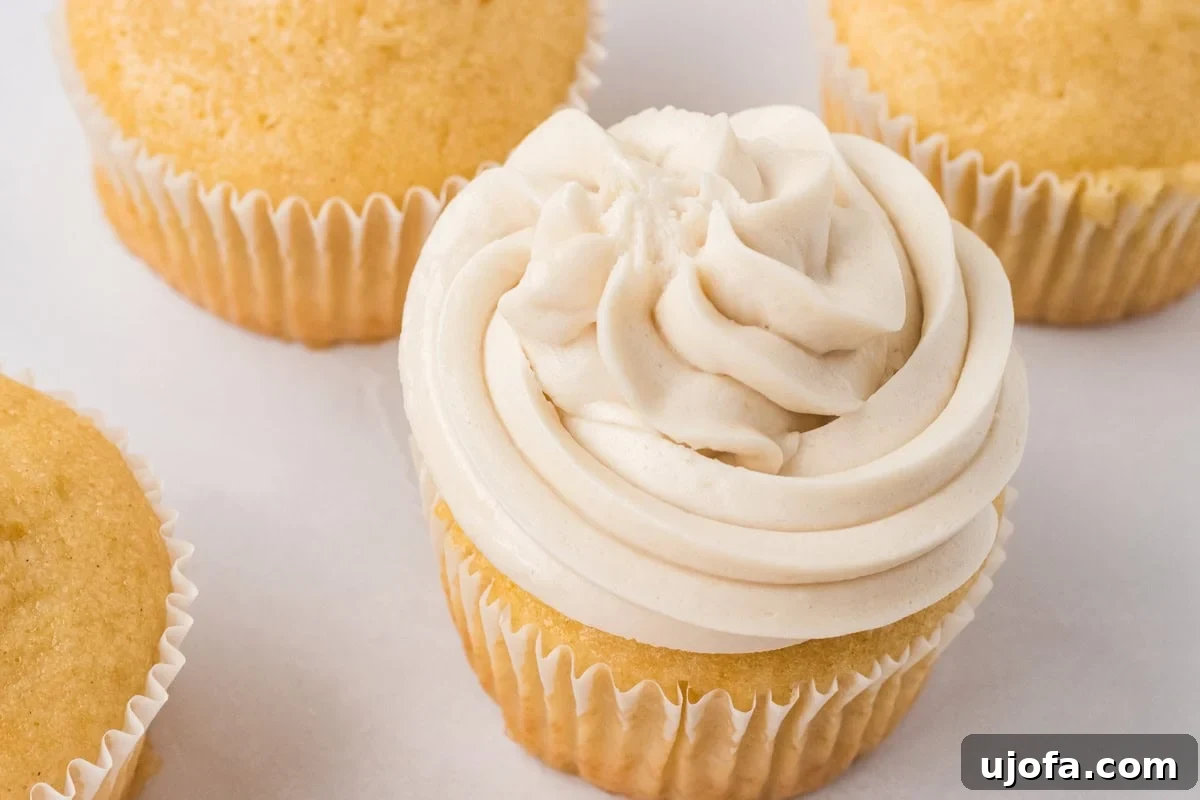
- Use and enjoy: Your perfectly fluffy dairy-free buttercream is now ready! Use it to generously frost your favorite cakes, cupcakes, cookies, or any other sweet desserts. Enjoy the delightful taste and texture!
Notes
- Use pure vanilla extract for the best and most authentic flavor in this simple frosting.
- If the buttercream is melting or too soft: This usually means your butter was too warm, or your kitchen is too hot. Move the bowl to a cooler space or chill it in the refrigerator for 10-15 minutes, then re-whip until fluffy again.
- If the buttercream is too thick: Add dairy-free plant milk 1 teaspoon at a time, mixing well after each addition until you reach the desired spreadable or pipeable consistency.
- If the buttercream is grainy: Ensure you’ve sifted your powdered sugar thoroughly. If it’s still grainy, continue mixing on medium-high speed for another 2-3 minutes. Sometimes, undissolved sugar crystals just need more time to break down.
Nutrition
Calories: 244kcal
Carbohydrates: 30g
Protein: 0.03g
Fat: 14g
Saturated Fat: 3g
Polyunsaturated Fat: 4g
Monounsaturated Fat: 7g
Trans Fat: 3g
Sodium: 120mg
Potassium: 4mg
Fiber: 0.003g
Sugar: 29g
Calcium: 2mg
Iron: 0.04mg
Nutrition information is automatically calculated, so should only be used as an approximation.
Additional Info
Baking, Dessert
American
How to Make Dairy-Free Buttercream Frosting: A Visual Guide
Sometimes, seeing is believing! Here’s a step-by-step visual breakdown to help you create the perfect dairy-free buttercream frosting.

Serving Suggestions for Dairy-Free Buttercream
This incredibly versatile dairy-free buttercream frosting is perfect for a multitude of desserts. Its classic flavor and smooth texture make it an ideal topping for almost any sweet treat. I regularly use this frosting on my gluten-free vanilla cake and my rich gluten-free chocolate cake, where it spreads beautifully to create a stunning finish. It’s also fantastic for piping intricate designs onto cupcakes for any celebration, from birthdays to festive holidays. Don’t limit yourself to cakes – it’s equally delightful on gluten-free sugar cookies and adds an extra layer of sweet, fluffy indulgence to gluten-free brownies. Get creative and enjoy this adaptable frosting on all your favorite baked goods!
Exciting Flavor Variations
While classic vanilla is always a hit, this dairy-free buttercream serves as an excellent base for countless flavor variations. Unleash your creativity and customize it to suit any occasion or preference:
- Chocolate Buttercream: Add 1/2 to 3/4 cup of unsweetened cocoa powder (sifted, of course!) along with the powdered sugar. You might need an extra splash of dairy-free milk to reach the desired consistency.
- Lemon Zest Buttercream: Incorporate 1-2 tablespoons of finely grated lemon zest and a squeeze of fresh lemon juice for a bright, tangy flavor perfect for spring and summer desserts.
- Coffee Buttercream: Dissolve 1-2 tablespoons of instant espresso powder or strong coffee powder in 1-2 tablespoons of warm dairy-free milk, then add it to the frosting for a sophisticated coffee flavor.
- Cinnamon or Spice Buttercream: Mix in 1-2 teaspoons of ground cinnamon, pumpkin pie spice, or apple pie spice for a warm, comforting frosting ideal for fall and winter treats.
- Fruit Puree Buttercream: For a natural fruit flavor, gently fold in a few tablespoons of finely strained fruit puree (like raspberry or strawberry) after the buttercream is fully mixed. Be cautious not to add too much liquid, which can thin the frosting.
Storage Instructions for Dairy-Free Buttercream
Proper storage ensures your dairy-free buttercream remains fresh and ready for use. Its stability makes it quite easy to prepare ahead of time, saving you valuable baking time.
- Refrigeration: For immediate use within a few days, transfer any leftover buttercream to an airtight container and store it in the refrigerator. When you’re ready to frost, allow the buttercream to sit at room temperature for about 30-60 minutes until it softens sufficiently to be workable. For best results and to restore its light and airy texture, give it a quick whip with a hand mixer or spoon to reincorporate air before piping or spreading.
- Freezing: For longer-term storage, dairy-free buttercream freezes beautifully. Place the frosting in an airtight, freezer-safe bag or container, pressing out any excess air. It can be frozen for up to 3 months. To use, thaw the frozen buttercream overnight in the refrigerator, or for several hours at room temperature. Once thawed, it will likely be quite firm. Give it a thorough re-whip with your mixer to bring back its original smooth, fluffy consistency before applying to your desserts.
More Delicious Gluten-Free and Dairy-Free Desserts
If you love this dairy-free buttercream, you’ll surely enjoy exploring other delicious gluten-free and dairy-free sweet treats. Here are some more recipes to inspire your baking adventures:
- Keto Cheesecake
- Gluten-Free Vanilla Buttercream Frosting
- Avocado Ice Cream
- Dairy-Free Chocolate Pudding
- Almond Milk Ice Cream