

Delight in the exquisite taste of a perfectly crafted Gluten-Free Quiche, featuring a wonderfully light and flaky crust that sets it apart. This culinary masterpiece boasts a rich, creamy egg custard, generously infused with your favorite medley of fresh vegetables, savory meats, and premium cheeses. More than just a simple breakfast, this rustic French classic offers a versatile meal solution, ideal for a hearty dinner, an elegant brunch, or a quick, satisfying morning bite. Discover how this comforting dish can become a staple in your gluten-free kitchen.

Absolutely delicious! This is by FAR my favorite quiche and I will be making this again and again!
– Julia
The Timeless Appeal of Quiche: A Versatile Family Favorite
Quiche stands as a beloved classic, an enduring recipe for a savory egg custard baked in a pie crust. For many, including myself, it evokes fond memories of home-cooked meals. My mother often prepared Quiche Lorraine, and it wasn’t just reserved for breakfast; it frequently graced our dinner table, offering a comforting and deeply satisfying meal that earned universal family approval. This recipe captures that same essence of warmth and delight, making it perfect for any time of day.
The beauty of quiche lies in its incredible adaptability. While my personal rendition features crispy bacon, sharp shredded cheddar, fresh scallions, and ripe tomatoes, all nestled within my signature gluten-free pie crust recipe, the possibilities for customization are endless. This recipe provides a robust foundation, allowing you to incorporate your family’s favorite ingredients, whether they be a variety of vibrant vegetables or pre-cooked meats and cheeses. Remember, if you’re adding vegetables like mushrooms or onions, it’s best to sauté them beforehand to remove excess moisture and enhance their flavor, ensuring your quiche isn’t watery (spinach, however, wilts quickly during baking and can be added raw).
For those navigating dietary restrictions, this quiche is effortlessly adaptable. I often prepare it with dairy-free alternatives for my family, using unsweetened coconut milk and Violife cheddar shreds, which yield a remarkably creamy and flavorful result without compromising on taste or texture. This flexibility makes it an inclusive dish that everyone can enjoy, regardless of their dietary needs. Whether you prefer a traditional approach or need a dairy-free option, this gluten-free quiche delivers on both flavor and convenience.
Gluten-Free Quiche
Audrey Roberts
8
servings
15
mins
40
mins
55
mins
Email Recipe
Print Recipe

Experience the ultimate gluten-free quiche, featuring an irresistibly light and flaky crust. This recipe delivers a rich and creamy egg custard, generously filled with a delightful combination of your chosen vegetables, succulent meats, and flavorful cheeses. It’s a rustic French breakfast reimagined, making it a perfect fit for a delightful dinner, an elegant brunch, or a quick, easy breakfast any day of the week.
Ingredients
-
1
unbaked gluten-free pie crust in a 9-inch pie pan,
I recommend using my easy recipe for Gluten-Free Pie Crust. -
1
cup
half-and-half or milk,
For a dairy-free option, use unsweetened almond milk or coconut milk. -
4
large
eggs, whisked -
1/2
teaspoon
salt -
1/4
teaspoon
ground pepper -
1
cup
cooked chopped gluten-free bacon -
1/2
cup
diced tomatoes -
3
tablespoon
chopped green onions -
1 1/2
cup
shredded cheddar cheese,
For a dairy-free version, I used Violife cheese shreds.
Instructions
-
Preheat your oven to 350°F (177°C) to ensure it’s ready for baking.
-
In a medium-sized mixing bowl, gently whisk the four large eggs until the yolks and whites are well combined and slightly frothy.
-
Add the half-and-half (or your chosen dairy-free milk alternative), along with the salt and ground pepper, to the whisked eggs. Mix thoroughly until all ingredients are fully combined into a smooth custard base. Set this mixture aside.
-
Carefully spread the cooked, chopped bacon evenly across the bottom of your prepared 9-inch gluten-free pie crust. Layer one cup of the shredded cheddar cheese over the bacon, followed by a generous sprinkling of the chopped green onions.
-
Gently pour the egg mixture directly over the layered fillings in the pie crust, ensuring it distributes evenly.
-
Sprinkle the remaining 1/2 cup of shredded cheese over the top of the quiche, creating a delicious golden crust once baked.
-
Place the assembled quiche on the middle rack of your preheated oven and bake for 20 minutes. After this initial baking period, loosely cover the quiche with a piece of aluminum foil to prevent the crust edges from browning too quickly or burning. (Alternatively, you can use a dedicated pie shield.) Continue to bake for an additional 20-30 minutes, or until a knife inserted into the center comes out clean, indicating the custard is fully set.
-
Once baked, remove the quiche from the oven and allow it to cool and set for 5 to 10 minutes before slicing and serving. This cooling time is crucial for the custard to firm up properly.
-
To store any leftovers, cover the quiche tightly with plastic wrap or aluminum foil, or transfer slices to an airtight container. Refrigerate promptly for optimal freshness.
-
Reheat individual slices of leftover quiche in the microwave for a quick meal, or for a crispier crust, reheat in a preheated oven at 350°F (177°C) until warmed through.
Notes for the Perfect Gluten-Free Quiche
-
Achieving the perfect quiche often starts with the crust. You can prepare your pie crust ahead of time, or even freeze it unbaked, making meal prep much easier. My recipe for tender and flaky pie crust is truly worth the effort of making it from scratch, elevating your quiche to another level. If you’re looking for an even quicker and simpler quiche, consider going crustless, or explore my versatile frittata recipe for a similar savory egg dish without the crust.
-
For dairy-free adaptations, ensure all your ingredients are dairy-free, from the milk alternative to the cheese shreds. Unsweetened coconut milk or almond milk work beautifully in the custard, providing a rich and creamy texture. Brands like Violife offer excellent dairy-free cheese alternatives that melt and taste great in quiche.
-
When adding vegetables, always consider their moisture content. High-moisture vegetables like mushrooms, onions, or zucchini should be sautéed or roasted briefly before adding to the quiche filling to prevent a soggy crust and watery custard. This simple step ensures your quiche maintains its delightful texture.
-
Don’t be afraid to get creative with your fillings! Quiche is incredibly forgiving. Experiment with different cheeses like Swiss or Gruyere, various cooked meats such as ham or sausage, and a wide array of vegetables like bell peppers, broccoli, or spinach. Just ensure any meat is pre-cooked and cooled before adding.
Nutrition Facts
Serving: 1 slice
Calories: 345 kcal
Carbohydrates: 15g
Protein: 16g
Fat: 24g
Saturated Fat: 11g
Cholesterol: 140mg
Sodium: 671mg
Potassium: 224mg
Fiber: 1g
Sugar: 1g
Vitamin A: 494 IU
Vitamin C: 2mg
Calcium: 211mg
Iron: 2mg
Nutrition information is automatically calculated and should be used as an approximation. Individual results may vary based on ingredients and preparation methods.
Additional Info
Breakfast, Brunch, Dinner
French, American
How to Make Gluten-Free Quiche: A Simple Step-by-Step Guide
Creating a delicious gluten-free quiche is simpler than you might think. Follow these detailed steps to achieve a perfect, golden, and flavorful savory pie every time.
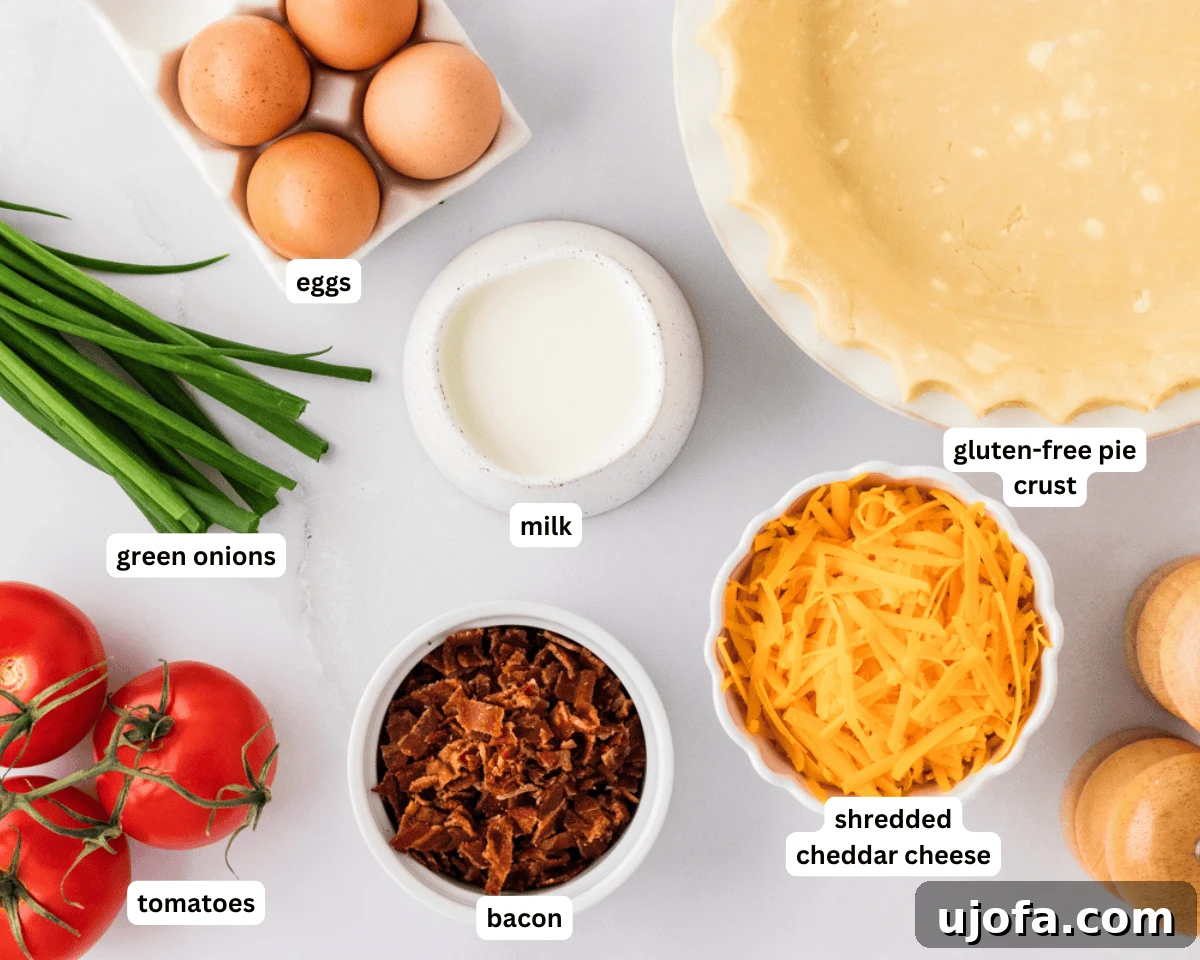
Step 1: Gather Your Ingredients and Preheat. Begin by gathering all your necessary ingredients. This practice, known as “mise en place,” ensures a smooth cooking process and prevents you from forgetting anything important. Once your ingredients are ready, preheat your oven to a precise 350°F (177°C).
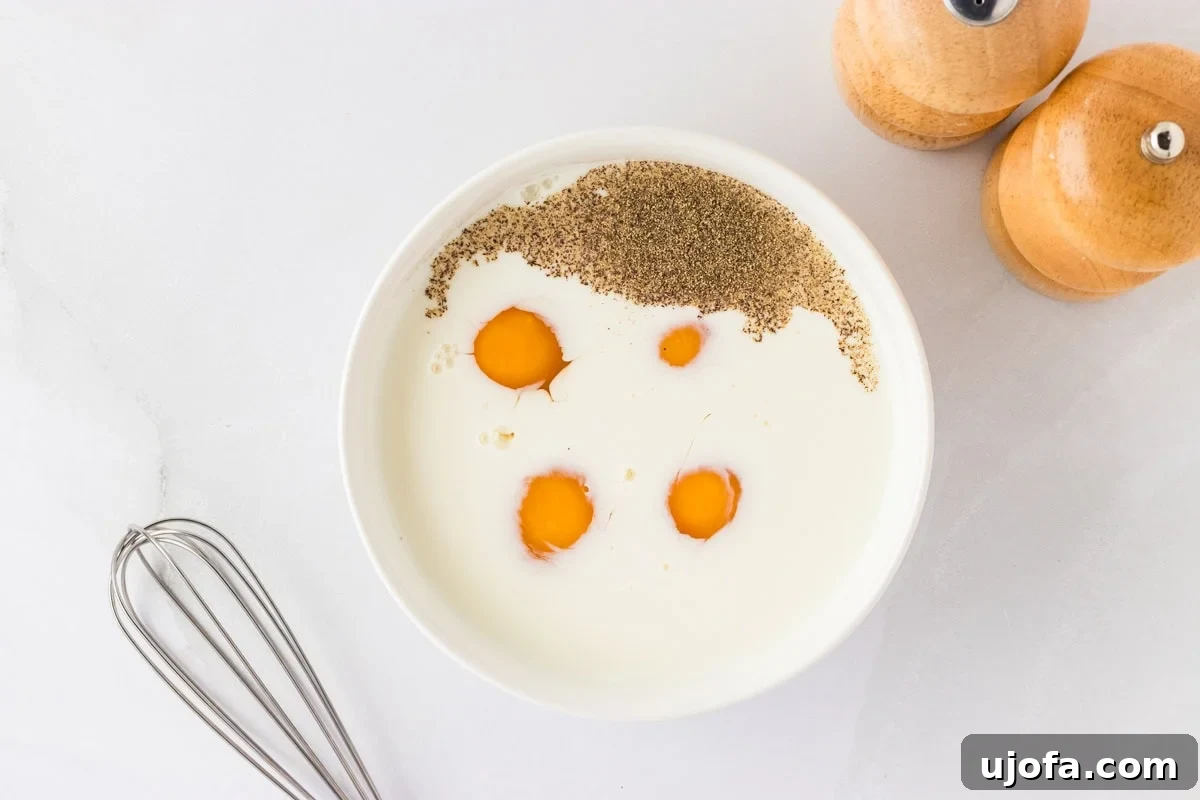
Step 2: Prepare the Custard Base. In a medium-sized mixing bowl, crack and whisk the four large eggs until the yolks and whites are fully incorporated and have a uniform pale yellow color. Pour in 1 cup of half-and-half or your preferred milk alternative (such as unsweetened almond or coconut milk), then add ½ teaspoon of salt and ¼ teaspoon of black pepper. The seasoning is key to a flavorful custard.
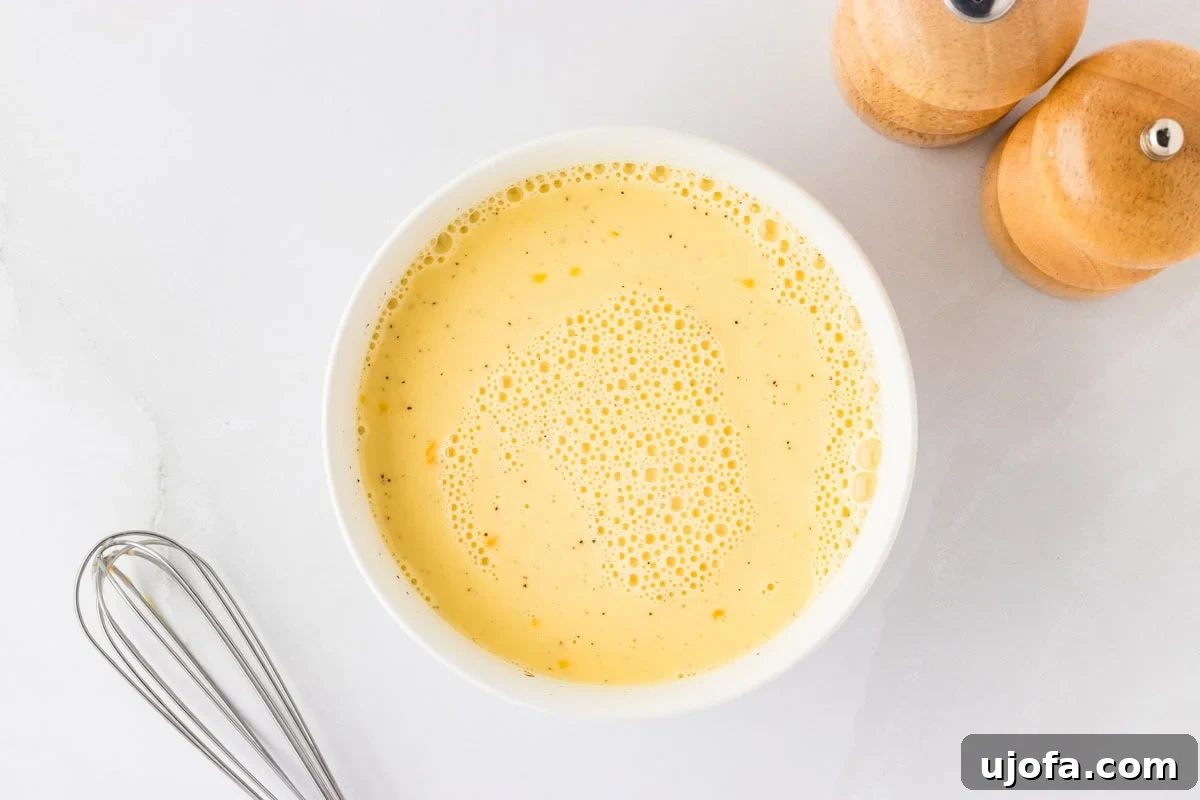
Step 3: Whisk Until Smooth. Continue whisking all the ingredients in the bowl until they are thoroughly combined and the mixture is smooth and consistent. This ensures that every bite of your quiche will have a perfectly balanced flavor and creamy texture. Set this prepared custard aside while you build your layers.
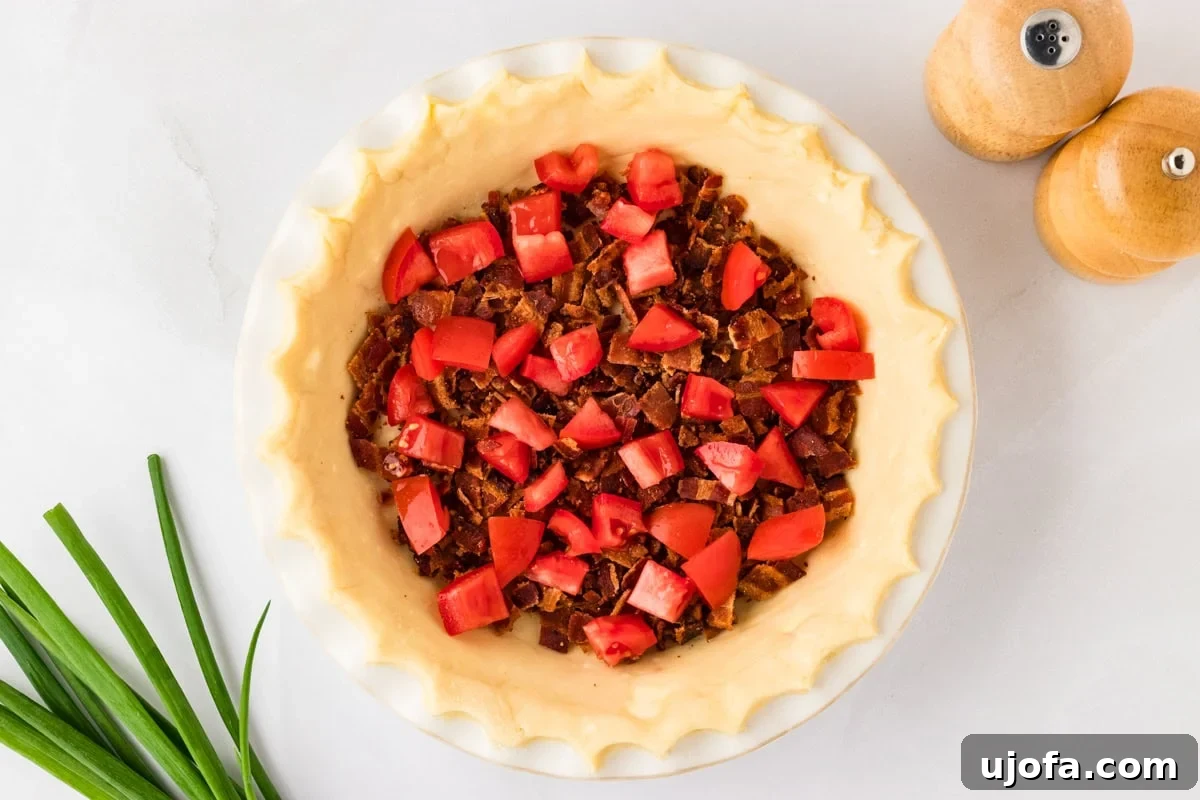
Step 4: Layer the Bacon and Tomatoes. Take your prepared gluten-free pie crust and sprinkle 1 cup of crispy, cooked bacon evenly over the bottom. This provides a savory foundation. Next, layer ½ cup of fresh diced tomatoes on top of the bacon. The tomatoes add a touch of sweetness and moisture that perfectly complements the rich bacon.
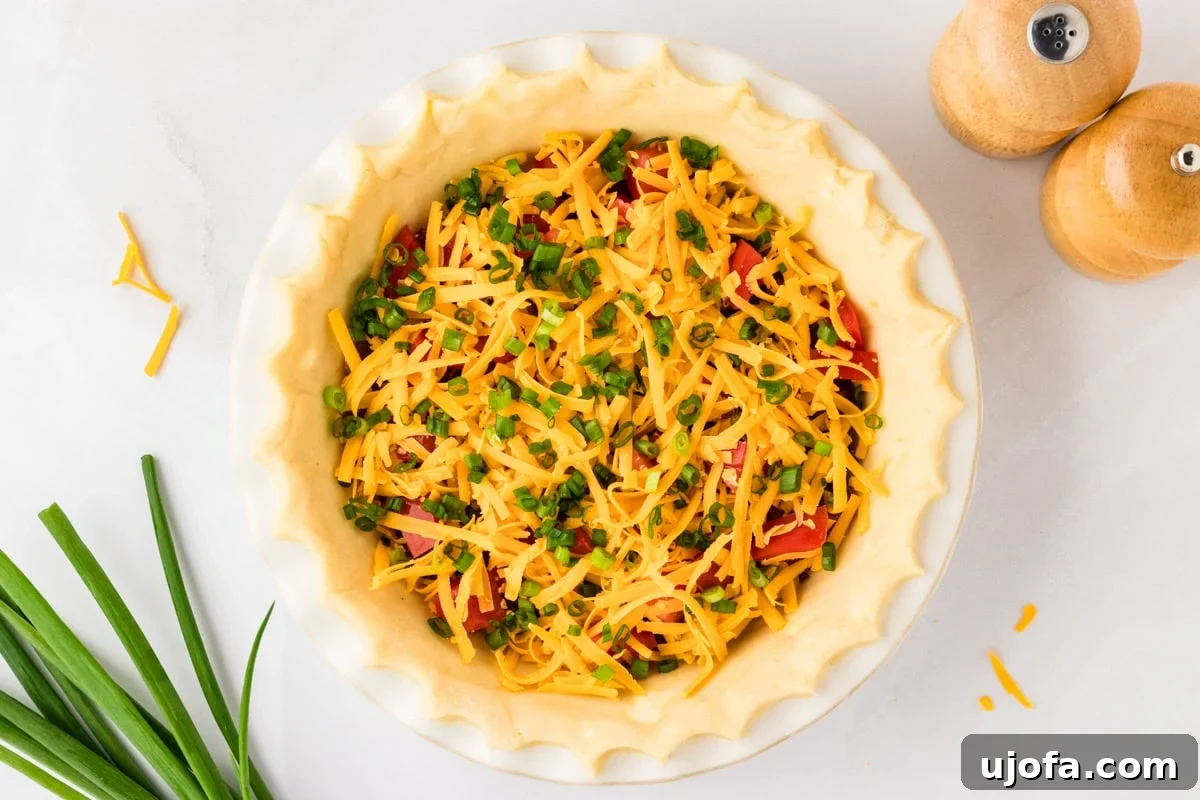
Step 5: Add Cheese and Green Onions. Distribute 1 cup of shredded cheddar cheese over the tomatoes and bacon. The cheese will melt beautifully, binding the layers together. Finally, evenly sprinkle 3 tablespoons of freshly chopped green onions over the cheese. These add a subtle oniony flavor and a pop of color that brightens the quiche.

Step 6: Pour the Egg Mixture. Carefully pour the whisked egg and milk mixture into the pie crust, ensuring it flows evenly over and around all the layered fillings. Make sure the liquid reaches just below the top edge of the crust to prevent overflow during baking.

Step 7: Final Cheese Topping. For an extra layer of cheesy goodness and a beautiful golden-brown top, sprinkle the remaining ½ cup of shredded cheddar cheese evenly over the surface of the quiche. This creates a delicious crust and helps seal in the flavors.

Step 8: Initial Bake. Place the quiche on the middle rack of your preheated oven. Bake for the first 20 minutes. Keep an eye on the edges of the crust; if they start to brown too quickly, you’ll need to protect them in the next step.

Step 9: Continue Baking and Check for Doneness. After 20 minutes, loosely cover the quiche with a piece of aluminum foil. This crucial step prevents the crust edges from burning while the custard finishes cooking. Return the covered quiche to the oven and bake for an additional 20-30 minutes. To test for doneness, gently shake the quiche; the center should be mostly set with only a slight jiggle. Alternatively, insert a thin knife into the center; it should come out clean when the quiche is fully cooked. The top will be golden brown and beautiful.
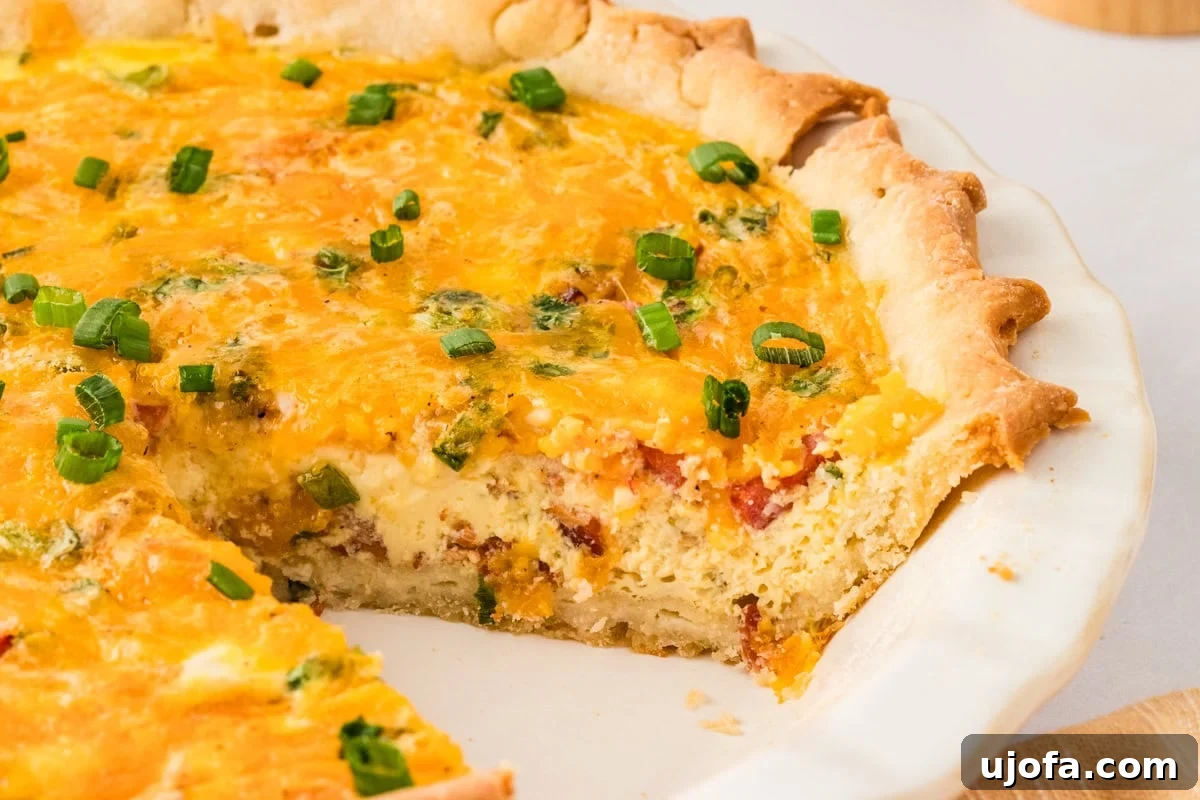
Step 10: Cool and Serve. Once baked, remove the quiche from the oven and allow it to cool and set for 5-10 minutes before slicing. This resting period allows the custard to firm up completely, preventing it from crumbling when cut. Slice into wedges and serve warm. Enjoy your homemade gluten-free quiche!
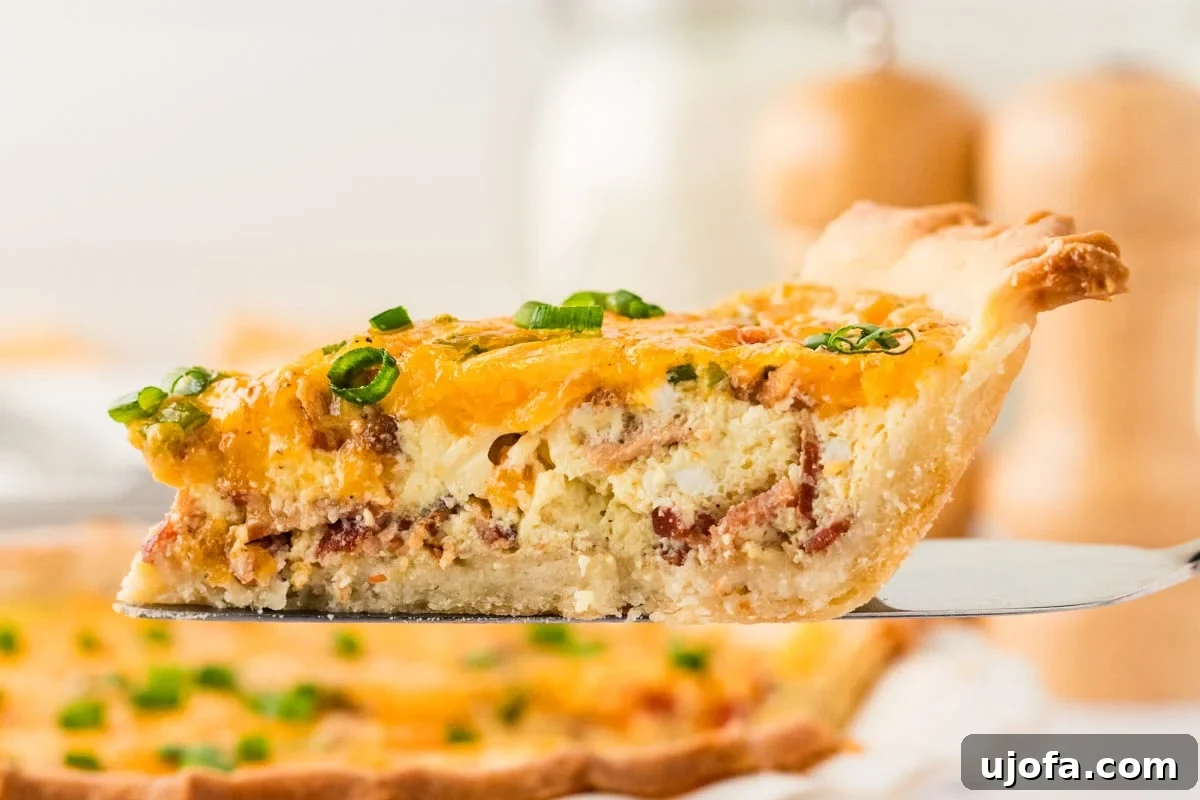
Serving Suggestions for Your Gluten-Free Quiche
Gluten-free quiche is wonderfully versatile and can be enjoyed at any time of day, making it a truly flexible dish. For a casual weeknight dinner, pair it with a crisp green salad tossed in a light vinaigrette. The freshness of the salad beautifully balances the richness of the quiche.
Elevate your quiche to a celebratory brunch centerpiece, especially for special occasions like Easter or Mother’s Day. Serve it alongside delicate gluten-free olive oil cake for a touch of sweetness, and a hearty portion of gluten-free sausage gravy for a more traditional breakfast flair. Complement the meal with fresh fruit, a mimosa, or a hot cup of coffee for a truly memorable experience. For lighter mornings, a single slice of quiche with a side of berries and yogurt makes for a quick and nutritious start to your day.
Storage and Reheating Instructions for Gluten-Free Quiche
Proper storage is key to enjoying your delicious gluten-free quiche for days to come. Once the quiche has completely cooled to room temperature, you can store it in the refrigerator for 3-4 days. To maintain its freshness and prevent it from drying out, either wrap the entire baking dish tightly with plastic wrap or aluminum foil, or transfer individual slices to an airtight container. Make sure the container is sealed well to keep out air and preserve the flavors.
To reheat refrigerated quiche, you have a couple of options. For best results and a crisper crust, cover the quiche loosely with foil and bake it in a preheated oven at 350°F (177°C) for about 15-20 minutes, or until it is heated through to your liking. If you’re short on time, individual slices can be quickly reheated in the microwave, though the crust may be softer. Heat in 30-second intervals until warm.
Quiche is also an excellent candidate for freezing, making it perfect for meal prep. Once your baked quiche has cooled completely, wrap it very tightly in several layers of aluminum foil, then seal it in a freezer-safe bag or an airtight container. This helps prevent freezer burn. It can be frozen for up to 3 months. When you’re ready to enjoy it, thaw the quiche in the refrigerator overnight. Once thawed, you can reheat it as described above, by baking it at 350°F (177°C) for 15-20 minutes, ensuring it’s thoroughly warmed through.

Explore More Gluten-Free Brunch Recipes
If you’ve enjoyed this delightful gluten-free quiche, you’re in for a treat! Our collection of gluten-free recipes is designed to bring joy back to your kitchen, offering delicious and safe options for every meal. Discover more fantastic ideas for your next breakfast or brunch gathering:
- Gluten-Free Dutch Baby: A puffy, oven-baked pancake that’s as impressive as it is easy to make.
- Easy Gluten-Free Cinnamon Rolls: Sweet, sticky, and perfect for a special morning indulgence.
- Breakfast Sausage Casserole: A hearty and savory casserole, ideal for feeding a crowd.
- Coconut Flour Muffins: Light, fluffy, and naturally gluten-free, these muffins are a healthy and delicious option.
- Gluten-Free Waffles: Crisp on the outside, fluffy on the inside – the ultimate brunch staple.
Each recipe is crafted to ensure a wonderful culinary experience without compromise. Happy cooking!