
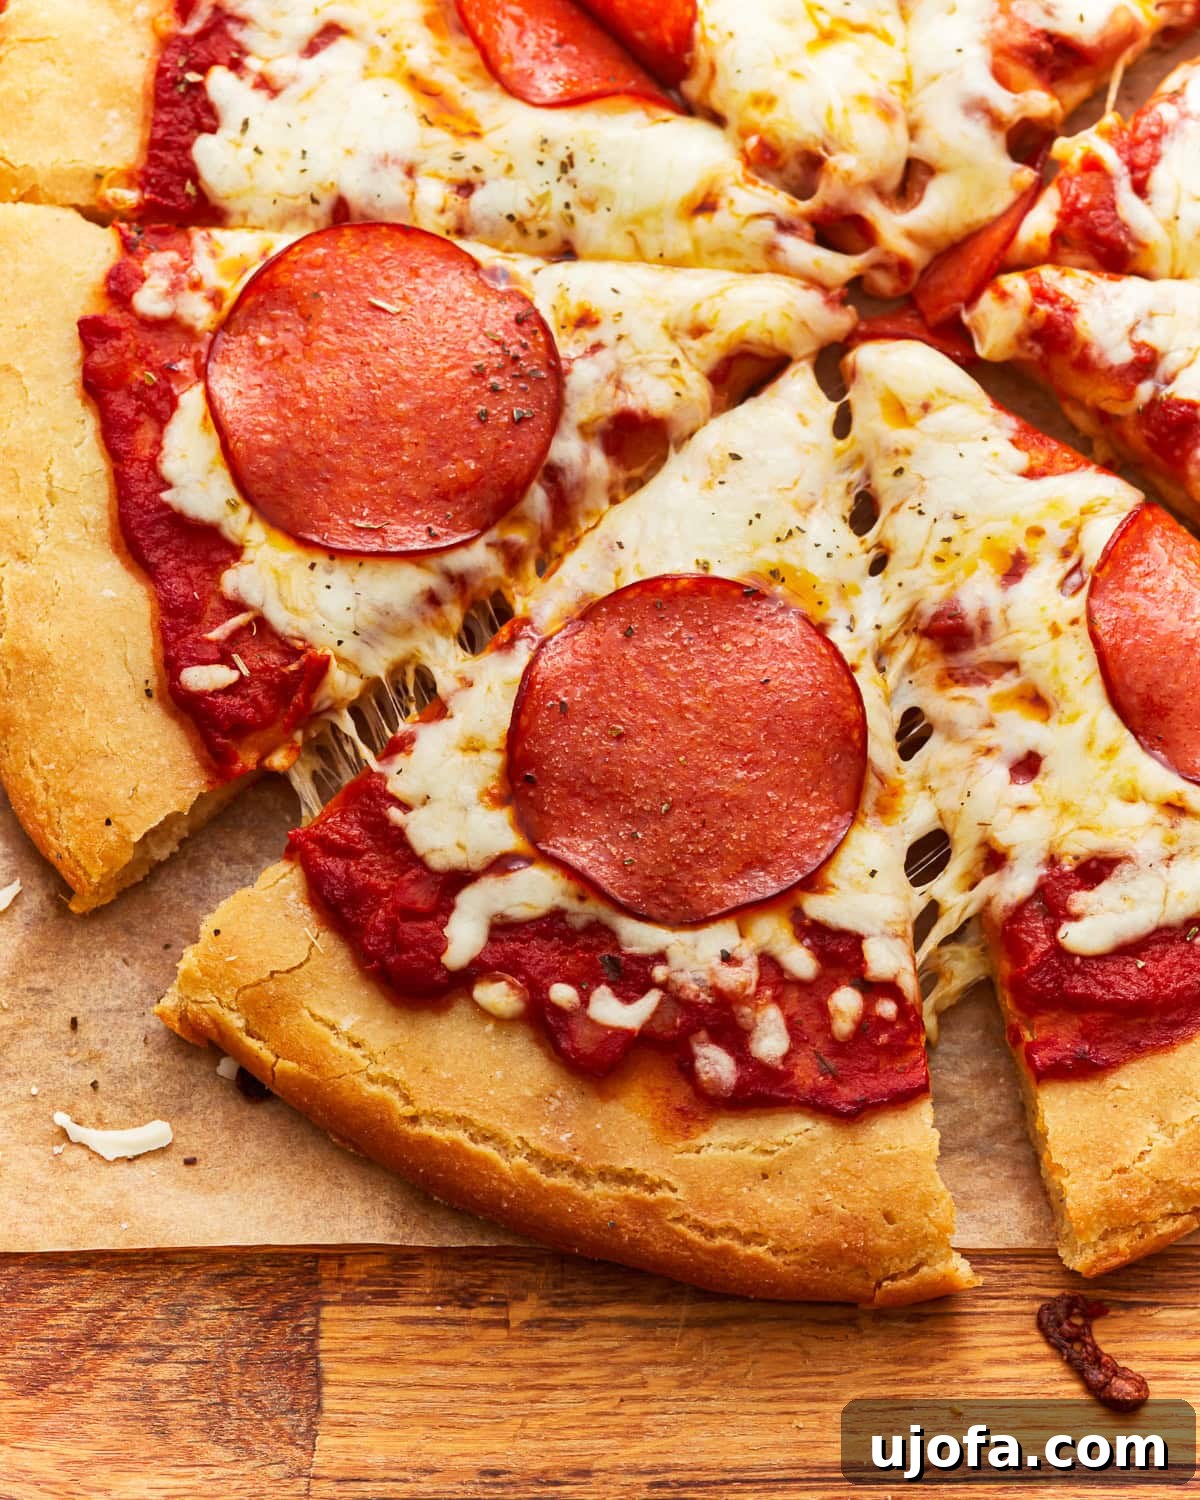
For many with gluten sensitivities or celiac disease, the joy of a classic pizza slice seems like a distant memory. But what if we told you that missing out on that thick, chewy, and satisfying pizza experience is a thing of the past? With this incredibly easy recipe for gluten-free pizza dough, you can bring authentic, homemade pizza back to your table. Prepare to delight in a crust that’s not only robust enough to hold all your favorite toppings but also boasts a perfectly soft interior and a deliciously crisp, golden edge. Say goodbye to flimsy, flavorless alternatives and hello to your new go-to gluten-free pizza night!
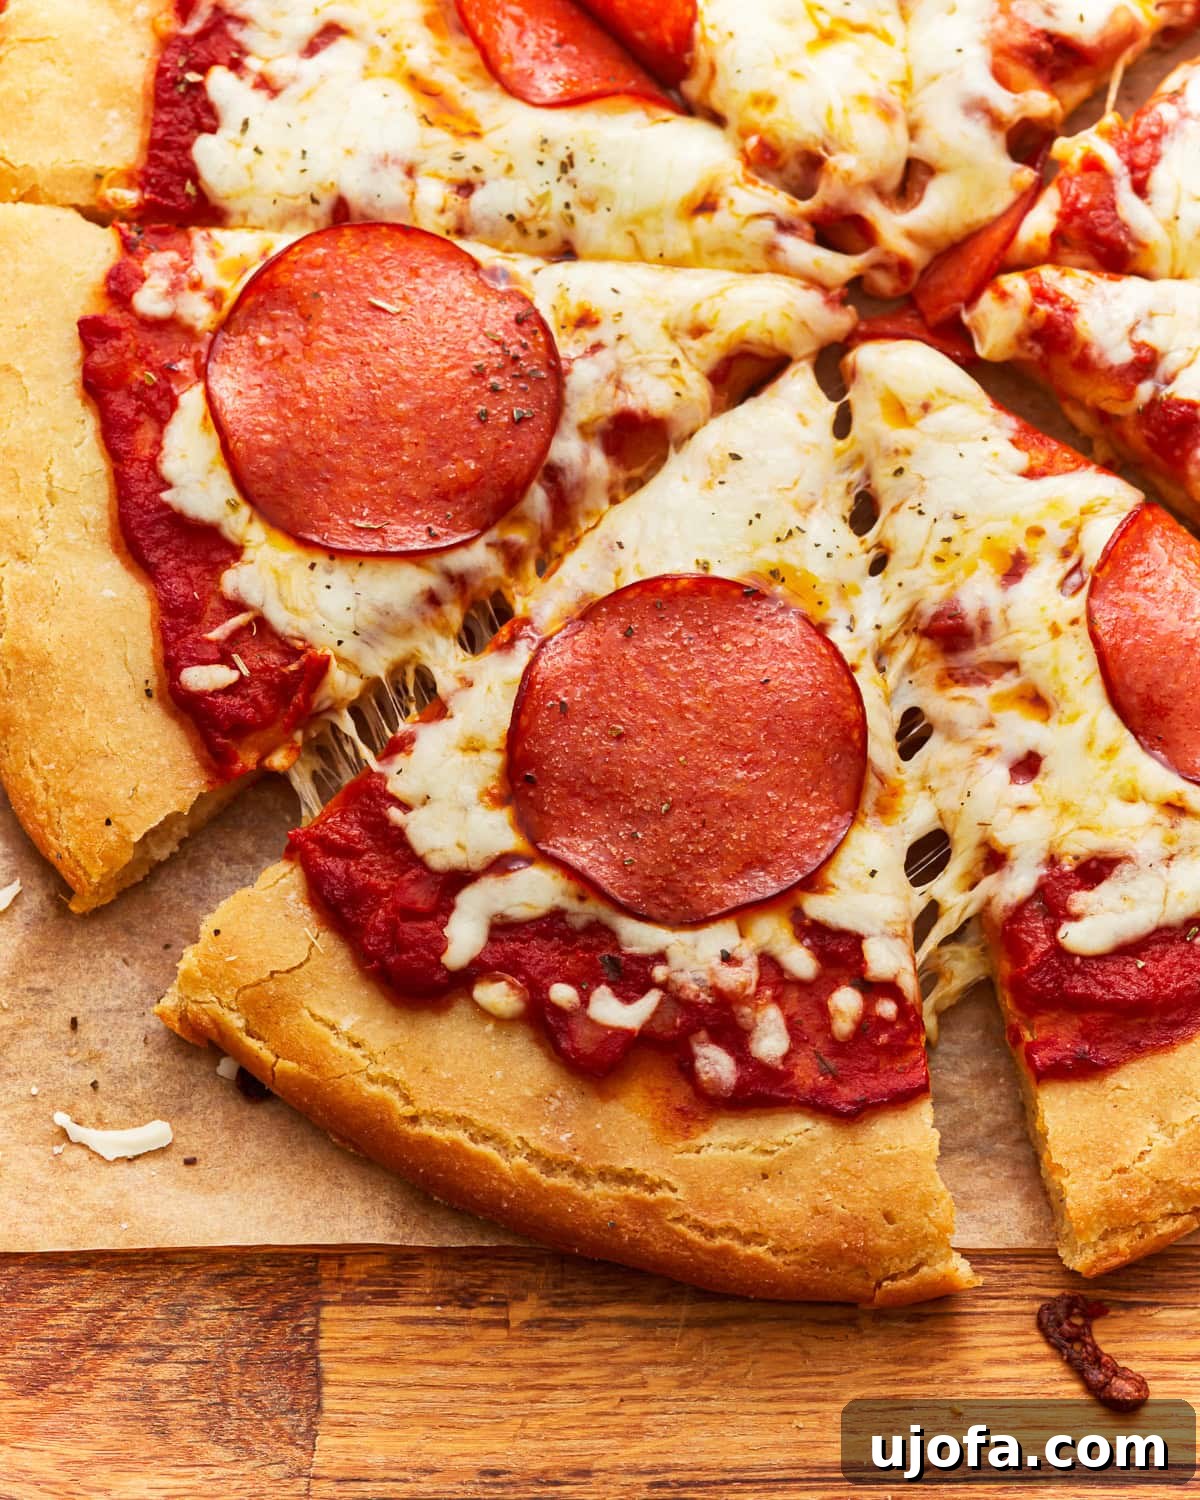
The Ultimate Gluten-Free Pizza Dough Recipe: Thick, Chewy & Easy
Creating the perfect gluten-free pizza dough has been a culinary quest for me, involving countless trials to achieve that elusive balance of texture and taste. The result? A dough that delivers a soft, airy center with a delightfully crisp, golden-brown crust – reminiscent of the beloved, gluten-filled pizzas I cherished growing up, but without any of the gluten. This recipe simplifies the pizza-making process dramatically, requiring just one bowl for mixing and absolutely no kneading, making it an ideal choice for busy weeknights or whenever that irresistible pizza craving strikes. Whether your preference is a traditional pepperoni, a vibrant vegetable medley, or a gourmet combination, this versatile crust stands up beautifully to any topping you choose, offering a foundation that’s both flavorful and structurally sound.
Gluten-Free Pizza Dough
Audrey from Mama Knows Gluten Free
1 gluten-free pizza dough
10 mins
30 mins
30 mins
1 hr 10 mins
Print Recipe

An easy recipe for gluten-free pizza dough that yields a thick and chewy homemade crust. Perfect for a delicious, celiac-friendly pizza night!
Ingredients
Gluten-Free Pizza Dough
- 2 1/2 cups gluten-free all-purpose flour with xanthan gum (We recommend Pillsbury or Better Batter. Note: not all gluten-free flours are ideal for yeast baking; results may vary depending on the blend.)
- 1 tbsp baking powder
- 1 tsp salt
- 2 1/4 tsp rapid yeast/instant yeast
- 1 1/2 cups warm water (110°-115°F / 43-46°C)
- 1 tbsp granulated sugar
- 1/2 cup olive oil
- 1 tsp apple cider vinegar
- 2 tbsp gluten-free all-purpose flour, for dusting
Recipe Video
Watch this helpful video to guide you through the process of making the perfect Gluten-Free Pizza Crust (Dairy-Free and Vegan).
Watch: Gluten-Free Pizza Crust (Dairy-Free and Vegan)
This video provides an easy guide for homemade gluten-free pizza crust, demonstrating how to achieve a thick and chewy texture that is also naturally dairy-free and vegan.
Instructions
Gluten-Free Pizza Dough
-
Prepare Your Oven for Proofing: Preheat your oven to its proofing setting. If your oven doesn’t have a specific proofing function, set it to 200°F (93°C). As soon as the oven reaches 100°F (38°C), turn it off completely. This creates a perfectly warm environment for your dough to rise without getting too hot and killing the yeast.
-
Combine Dry Ingredients: In the large bowl of a stand mixer, fitted with the paddle attachment, measure and combine the gluten-free all-purpose flour, instant yeast, baking powder, and salt. Give them a quick whisk or mix on low speed to ensure they are thoroughly combined. This initial step helps distribute the leavening agents evenly.
-
Warm the Water: Carefully warm the water in your microwave for about 30-45 seconds. The ideal temperature range is 110°-115°F (43-46°C). It’s crucial to use a kitchen thermometer to verify the temperature. Water that is too hot will kill the yeast, preventing your dough from rising, while water that’s too cold won’t activate it effectively.
-
Dissolve the Sugar: Add the granulated sugar to the precisely warmed water and stir until the sugar is completely dissolved. The sugar acts as food for the yeast, helping it activate and thrive, which is essential for a good rise and flavorful crust.
-
Begin Mixing: With your stand mixer on a low speed, gradually pour the warm sugar water into the dry gluten-free flour mixture. Mix until the ingredients just start to come together, forming a shaggy dough.
-
Add Remaining Wet Ingredients: Introduce the olive oil and apple cider vinegar to the dough mixture. Continue mixing on low speed for 1-2 minutes. During this time, the dough will start to fully form. Keep in mind that gluten-free pizza dough is naturally very sticky, which is perfectly normal for this recipe.
-
First Rise (Proofing): Transfer the sticky dough into an ovenproof bowl that has been lightly greased. Cover the bowl tightly with plastic wrap, then drape a clean kitchen towel over it. Place the covered bowl into your warm (but turned-off) oven and let the dough rise for 30 minutes. This warm, draft-free environment is perfect for yeast activation.
-
Prepare for Baking: Once the dough has risen, carefully remove it from the oven. Now, preheat your oven to a baking temperature of 425°F (218°C). This high temperature is key for achieving a crispy crust.
-
Prep the Parchment Paper: Lay a large sheet of parchment paper on your countertop. Sprinkle about 1 tablespoon of gluten-free all-purpose flour onto the parchment paper. Spread this flour into a circular shape, approximately 15 inches in diameter, matching the desired size of your pizza crust.
-
Shape the Dough: Invert the bowl containing the risen dough directly onto the floured parchment paper. Sprinkle another 1 tablespoon of gluten-free all-purpose flour on top of the dough ball. With floured fingertips, gently pat the dough in an outward motion, working from the center. Gradually push and spread the dough out to form a 15-inch circle. Use your fingertips to press down around the outer edge, creating a slightly raised crust. Finish by using your hands to fine-tune the shape and round the edges, ensuring an even thickness.
To Bake Gluten-Free Pizza
-
First Bake (Pre-bake the Crust): Carefully transfer the parchment paper with the shaped dough onto a pizza pan or a large baking sheet. Bake the crust in the preheated 425°F (218°C) oven for 15 minutes. This initial bake helps the crust set and achieve that desired chewiness before toppings are added.
-
Add Your Favorite Toppings: Remove the partially baked crust from the oven. Now it’s time for customization! Spread your favorite gluten-free pizza sauce evenly over the crust, followed by your preferred cheese (dairy-free options work wonderfully here!), and any other delicious toppings you desire.
-
Final Bake: Return the pizza with all its toppings to the oven. Continue to bake for an additional 10-15 minutes, or until the cheese is beautifully melted and bubbly, and the crust edges are a rich, golden brown. Keep a close eye on it to prevent over-browning.
-
Storage: Allow the pizza to cool slightly before slicing and serving. For any delicious leftovers, store them in an airtight container and refrigerate. They can be reheated in the oven for a crisper crust or in the microwave for convenience.
Notes & Advanced Prep
- To Freeze Raw Dough: If you’re planning ahead, you can freeze the raw dough. Let the dough complete its full rise cycle as described in the instructions. Once risen, wrap the dough tightly in plastic wrap, ensuring no air can get in. Then, place it into a plastic freezer bag. The raw dough can be frozen for up to three months. When you’re ready to use it, transfer the frozen dough to the refrigerator and let it thaw overnight before proceeding with shaping and baking.
- To Par-Bake and Freeze Crusts: For ultimate convenience, you can par-bake and freeze pizza crusts, just like store-bought frozen options. Follow the gluten-free pizza dough instructions through step 10 (shaping the dough). Then, bake the shaped gluten-free pizza crust for 15 minutes in a 425°F (218°C) oven. Allow the crust to cool completely after this initial bake. Once cooled, wrap the par-baked crust tightly with plastic wrap or freezer-safe foil. These par-baked crusts can be frozen for up to a month. When a pizza craving hits, simply retrieve a par-baked crust from the freezer, add your desired toppings, and bake for 10-15 minutes at 425°F (218°C) until the cheese is melted and bubbly.
- Always Check Labels: As Mama always says, “Always check your labels!” This is especially important for gluten-free products to ensure they meet your dietary needs and are certified gluten-free.
Nutrition Information (Approximate)
Calories: 169 kcal
Carbohydrates: 20 g
Protein: 3 g
Fat: 10 g
Saturated Fat: 1 g
Polyunsaturated Fat: 1 g
Monounsaturated Fat: 7 g
Sodium: 302 mg
Potassium: 6 mg
Fiber: 3 g
Sugar: 2 g
Vitamin C: 0.002 mg
Calcium: 77 mg
Iron: 1 mg
Nutrition information is automatically calculated and should only be used as an approximation. Actual values may vary based on ingredients and preparation.
Additional Information
Main Course
Italian
Gluten-Free Pizza Dough: A Visual Step-by-Step Guide
Let’s walk through each stage of making this incredible gluten-free pizza dough with helpful visuals to ensure your success. From gathering your ingredients to shaping the perfect crust, these steps will guide you to a fantastic homemade pizza experience.
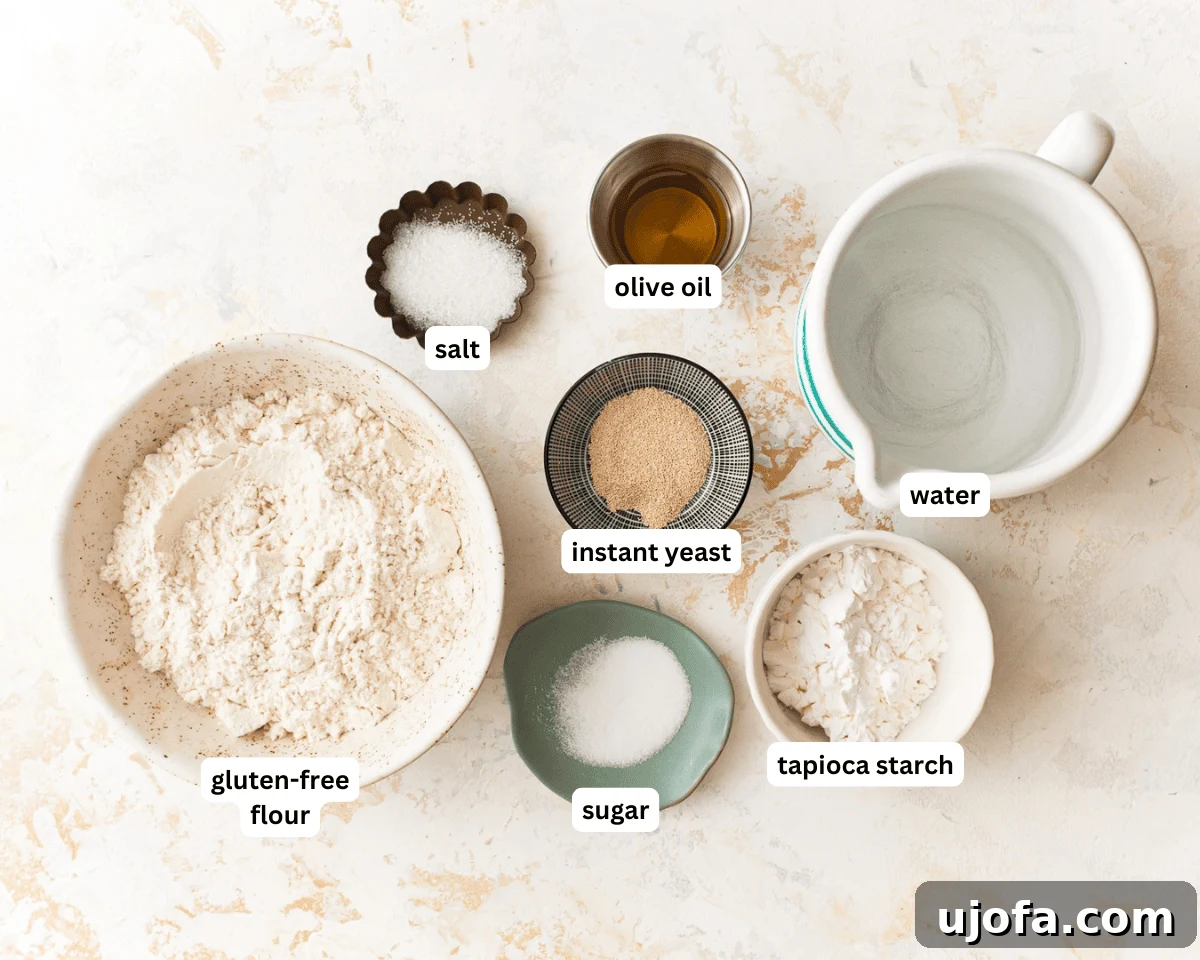
Step 1: Gather Your Ingredients and Preheat Oven. Begin by laying out all your necessary ingredients. Precision is key in gluten-free baking, so having everything measured and ready will streamline your process. Simultaneously, preheat your oven to its proofing setting. If your oven lacks this feature, simply heat it to 200°F (93°C). The moment it reaches 100°F (38°C), turn the oven off. This creates a gently warm environment that is perfect for encouraging yeast activity without overheating the dough.
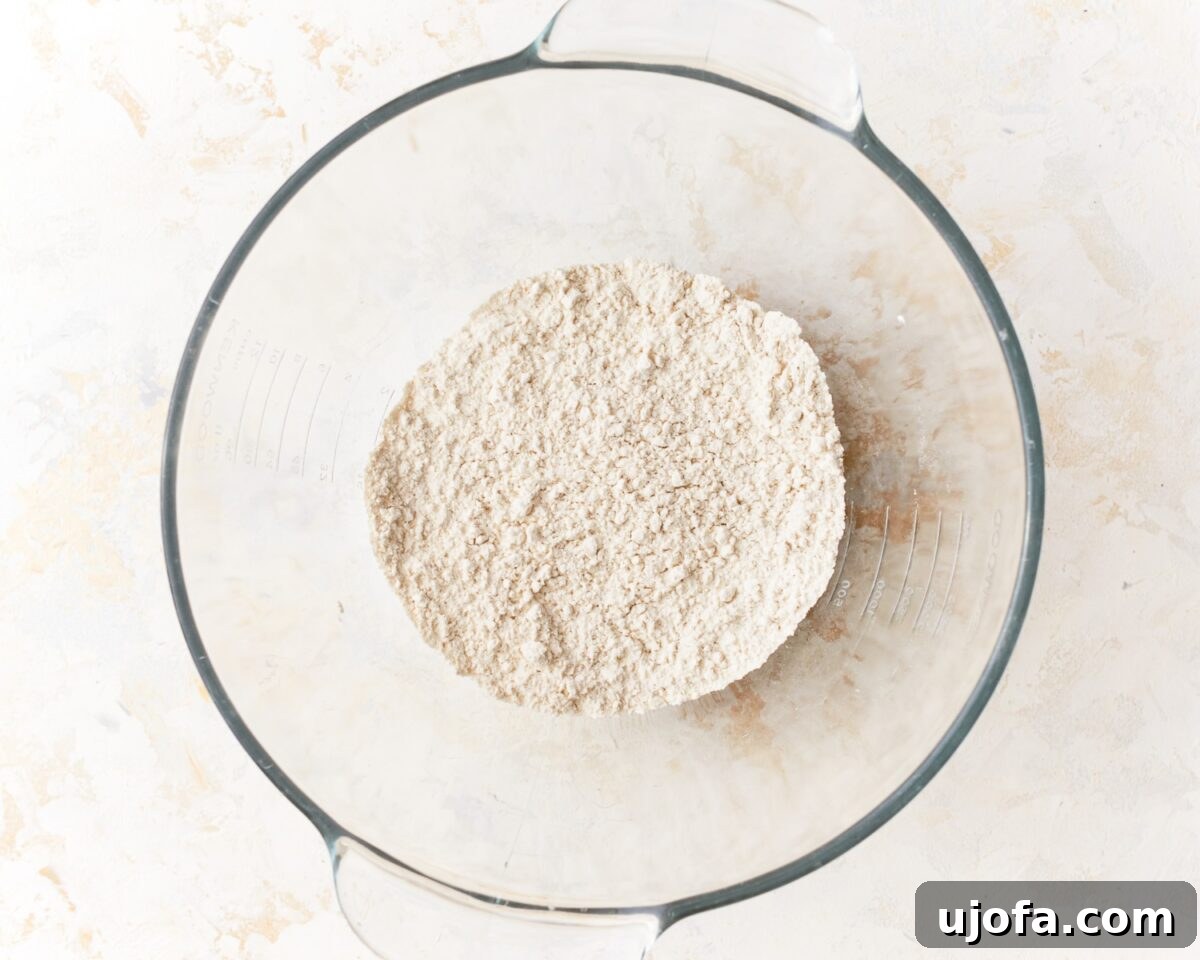
Step 2: Mix the Dry Ingredients. In the bowl of your stand mixer, fitted with the paddle attachment, combine 2 1/2 cups of your chosen gluten-free all-purpose flour (ensure it contains xanthan gum – Pillsbury or Better Batter are excellent choices for yeast baking). Add 1 tablespoon of baking powder, 1 teaspoon of salt, and a single packet (or 2 1/4 teaspoons) of rapid rise or instant yeast. Mix these dry ingredients together on a low speed for a few seconds to ensure they are well distributed. The quality of your gluten-free flour significantly impacts the outcome, so choose wisely!
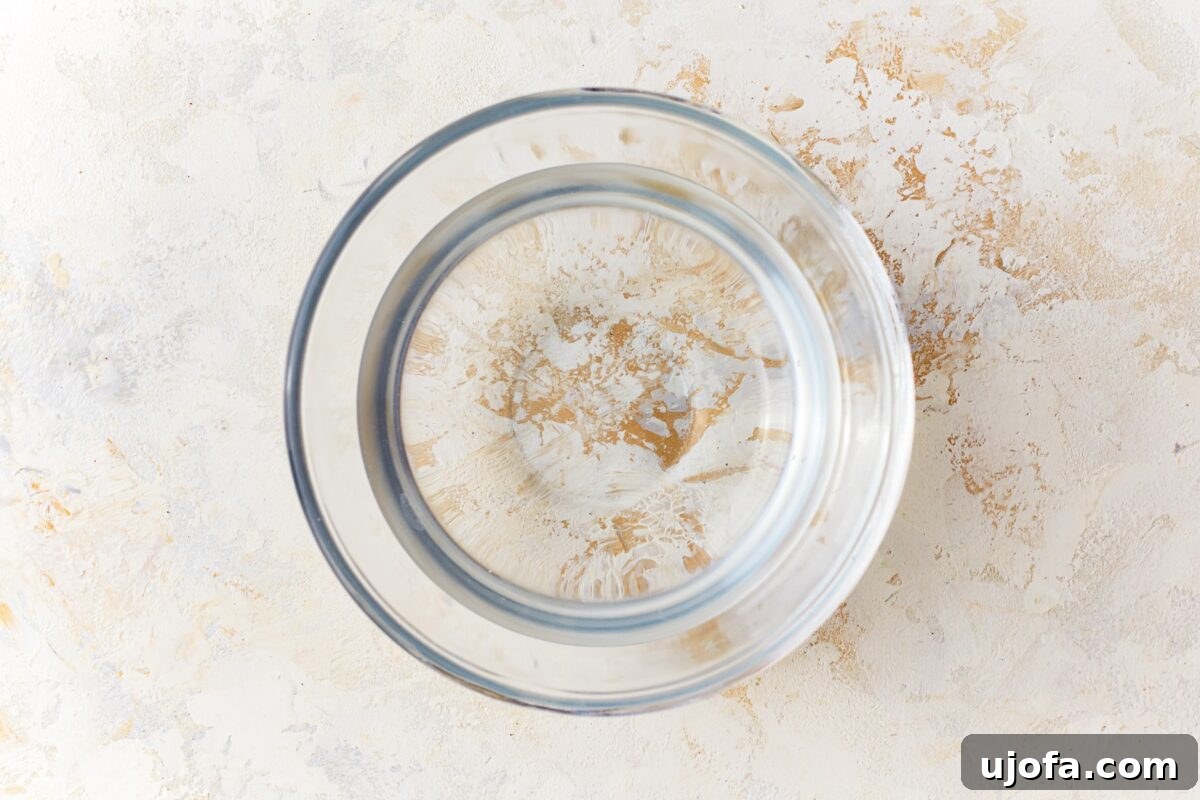
Step 3: Activate the Yeast. Warm 1 1/2 cups of water in the microwave for approximately 30-45 seconds. It is absolutely crucial that the water reaches a temperature between 110°F and 115°F (43°C-46°C). Using a kitchen thermometer here is non-negotiable; water that is too hot will kill the yeast, rendering it inactive, while water that’s too cold won’t properly activate it. Once the water is at the correct temperature, stir in 1 tablespoon of granulated sugar until it completely dissolves. This sugar will feed the yeast, kicking off the fermentation process.
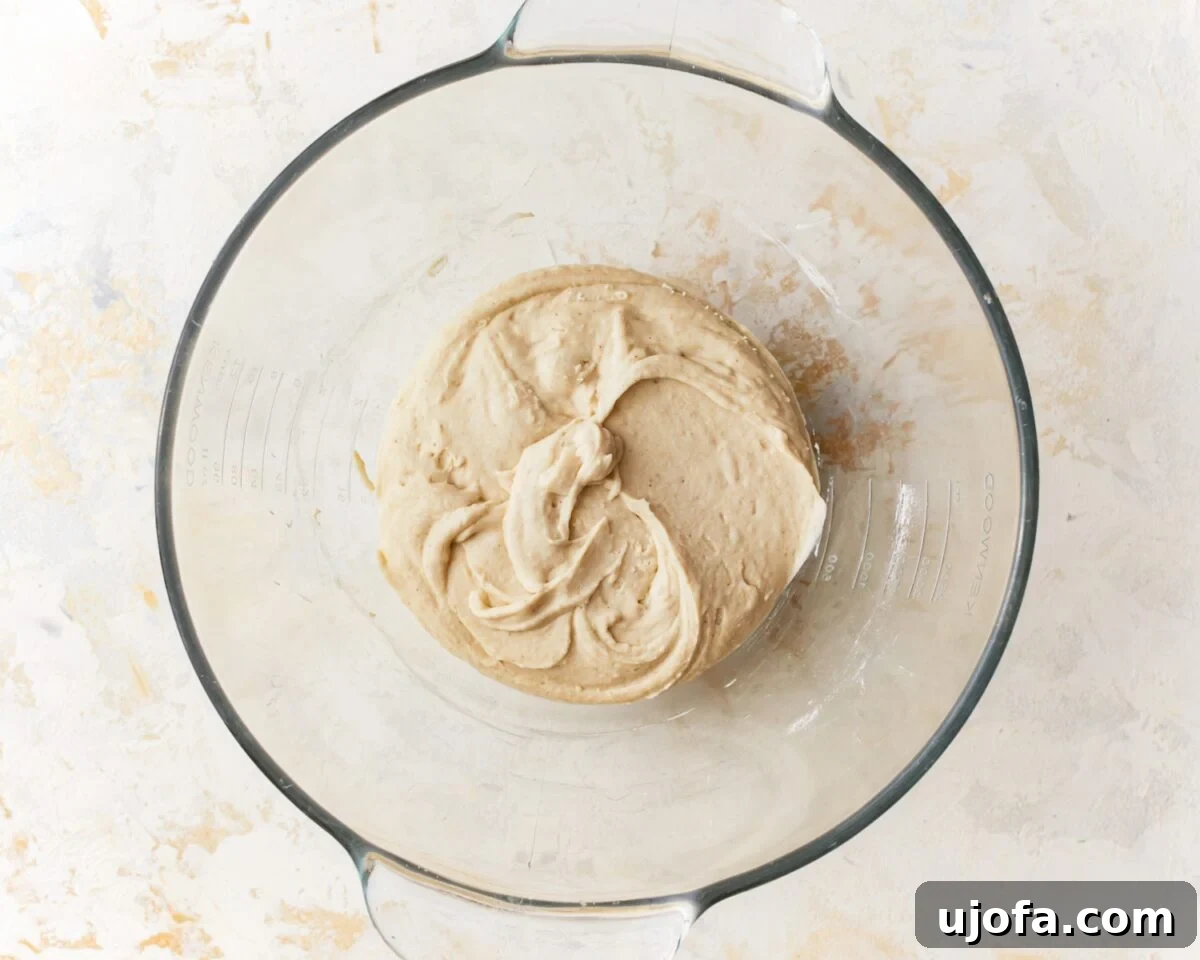
Step 4: Combine the Sugar Water. With your stand mixer set to a low speed, slowly and steadily pour the warm sugar water mixture into the bowl containing your dry flour blend. Mix until the ingredients are just combined and begin to form a rough, shaggy dough. Avoid overmixing at this stage, as we’ll add the remaining liquid ingredients next.
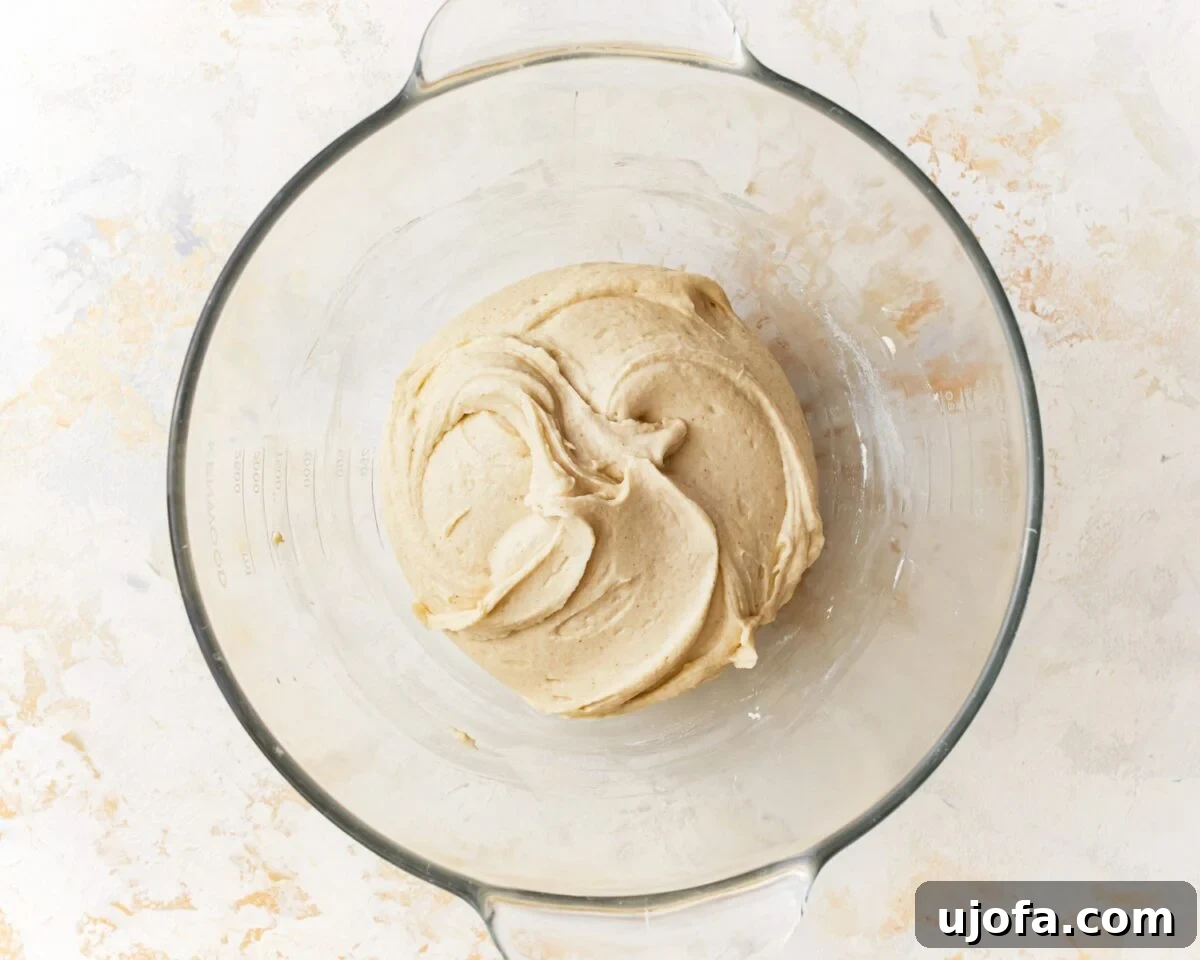
Step 5: Add Remaining Wet Ingredients. Now, add 1/2 cup of olive oil and 1 teaspoon of apple cider vinegar to the dough in the mixer. Continue to mix on low speed for another 1–2 minutes. During this time, the dough will fully come together. It’s important to note that gluten-free dough tends to be much stickier than traditional wheat dough, and this is perfectly normal for this recipe. Embrace the stickiness!
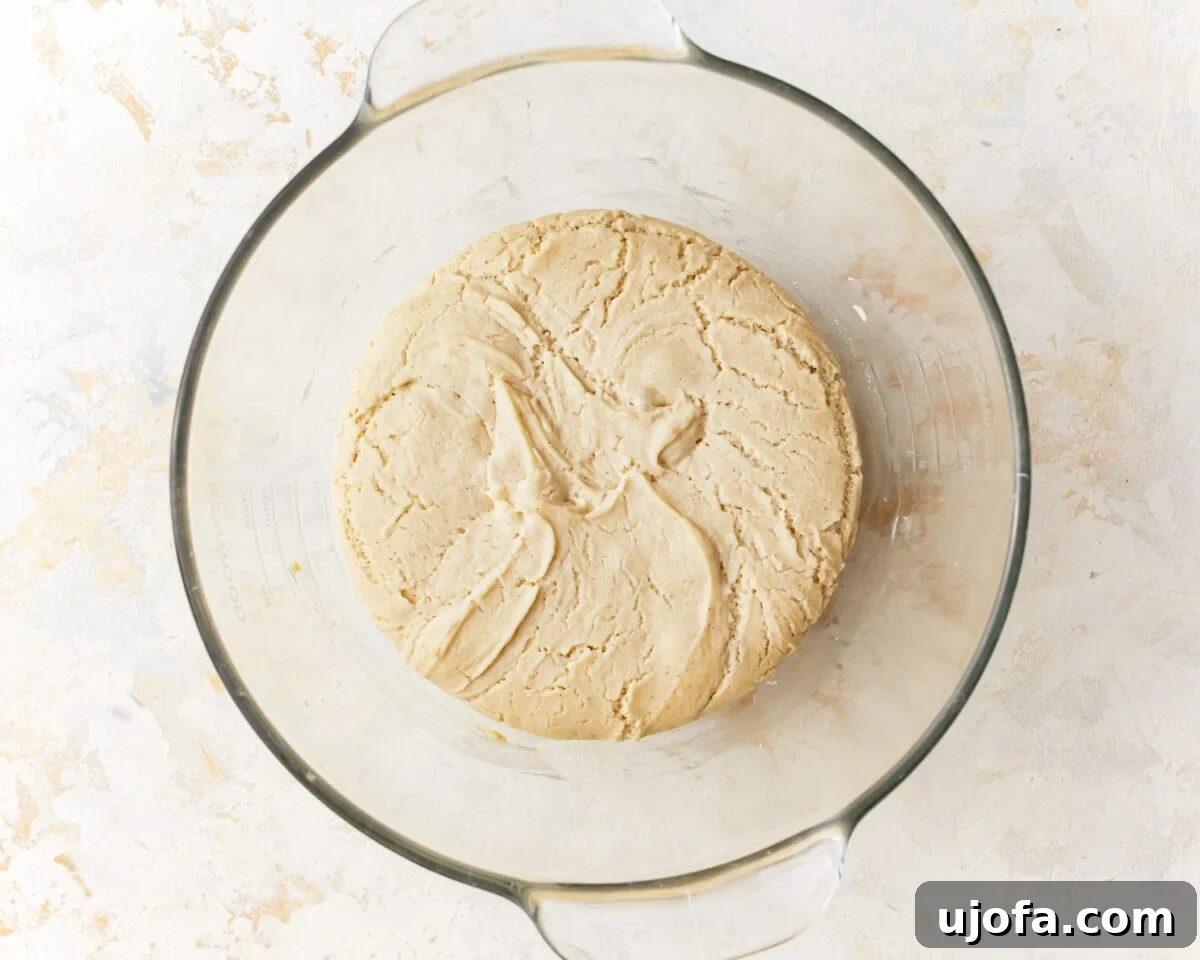
Step 6: Let the Dough Rise. Carefully transfer the sticky dough into a greased, oven-safe bowl. The grease will prevent sticking as it rises. Cover the bowl tightly with plastic wrap, then place a clean kitchen towel over the plastic wrap. Transfer the covered bowl to your warm (turned-off) oven. Let the dough rise for a full 30 minutes. This period is crucial for developing the dough’s structure and flavor.
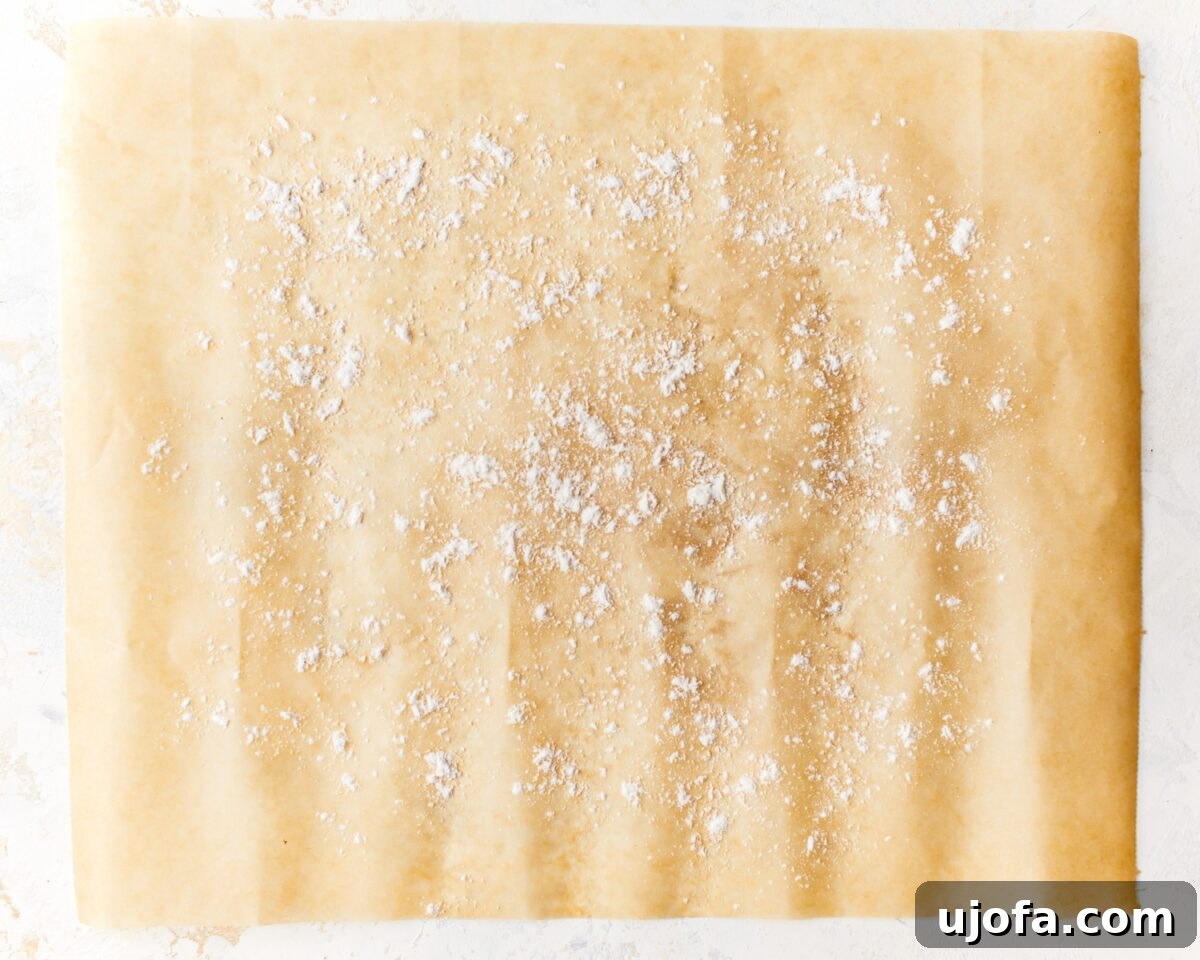
Step 7: Prep the Oven and Parchment. After the dough has completed its rise, remove it from the oven. Now, preheat your oven to 425°F (218°C) for baking. While the oven heats, take a large sheet of parchment paper and lay it flat. Sprinkle approximately 1 tablespoon of gluten-free all-purpose flour onto the parchment, spreading it into a generous circle that will accommodate your 15-inch pizza crust. This dusting of flour will prevent the sticky dough from adhering to the parchment.
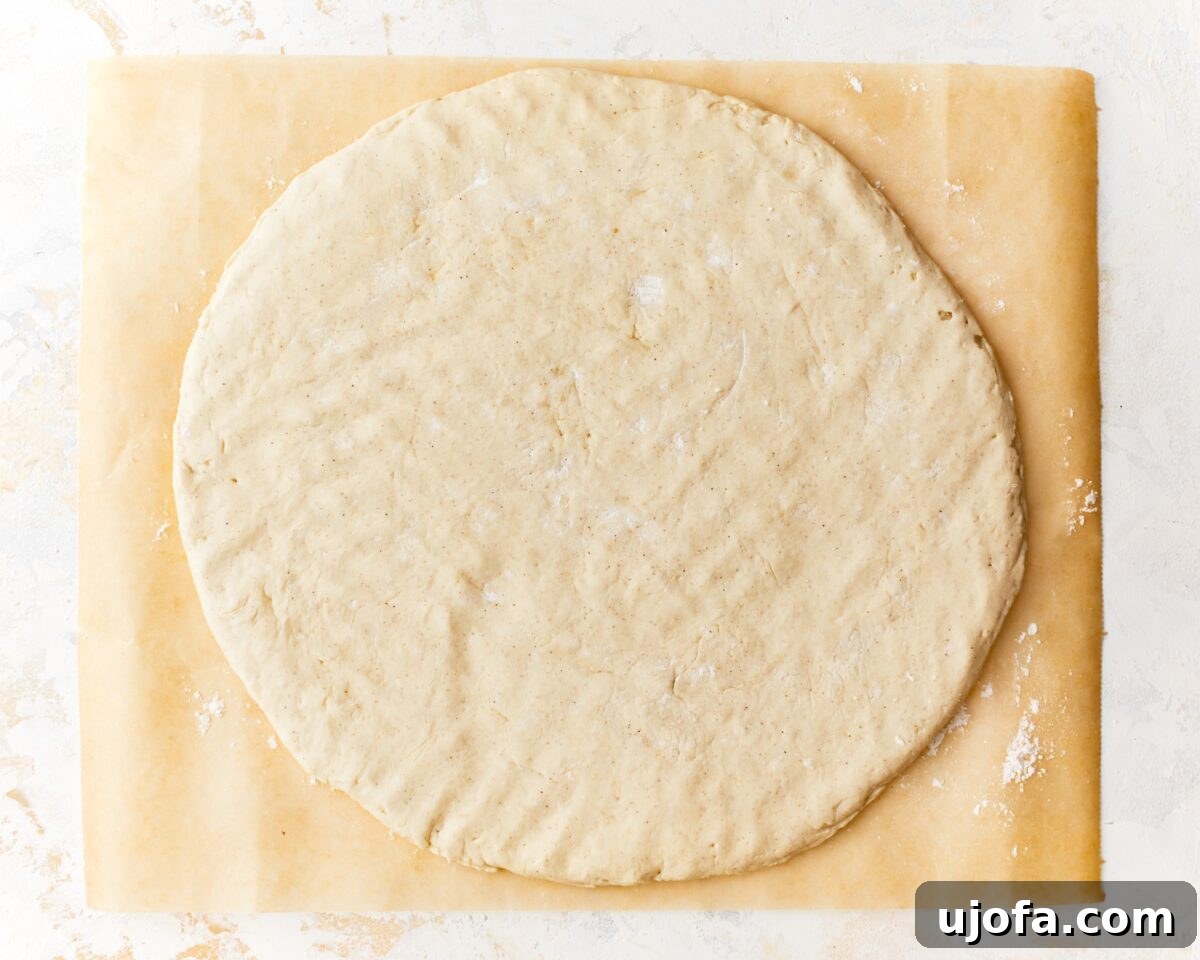
Step 8: Shape the Dough. Gently invert the bowl containing the risen dough onto the center of your floured parchment paper. Sprinkle another 1 tablespoon of gluten-free flour evenly over the top of the dough ball. Now, using your floured hands, begin to gently pat and push the dough outwards from the center. Continue working in this manner until you’ve formed a uniform 15-inch circle. Use your fingertips to press down around the edges, creating a slightly thicker, defined crust. Finish by carefully rounding and smoothing the edges with your hands for a perfect pizza base.
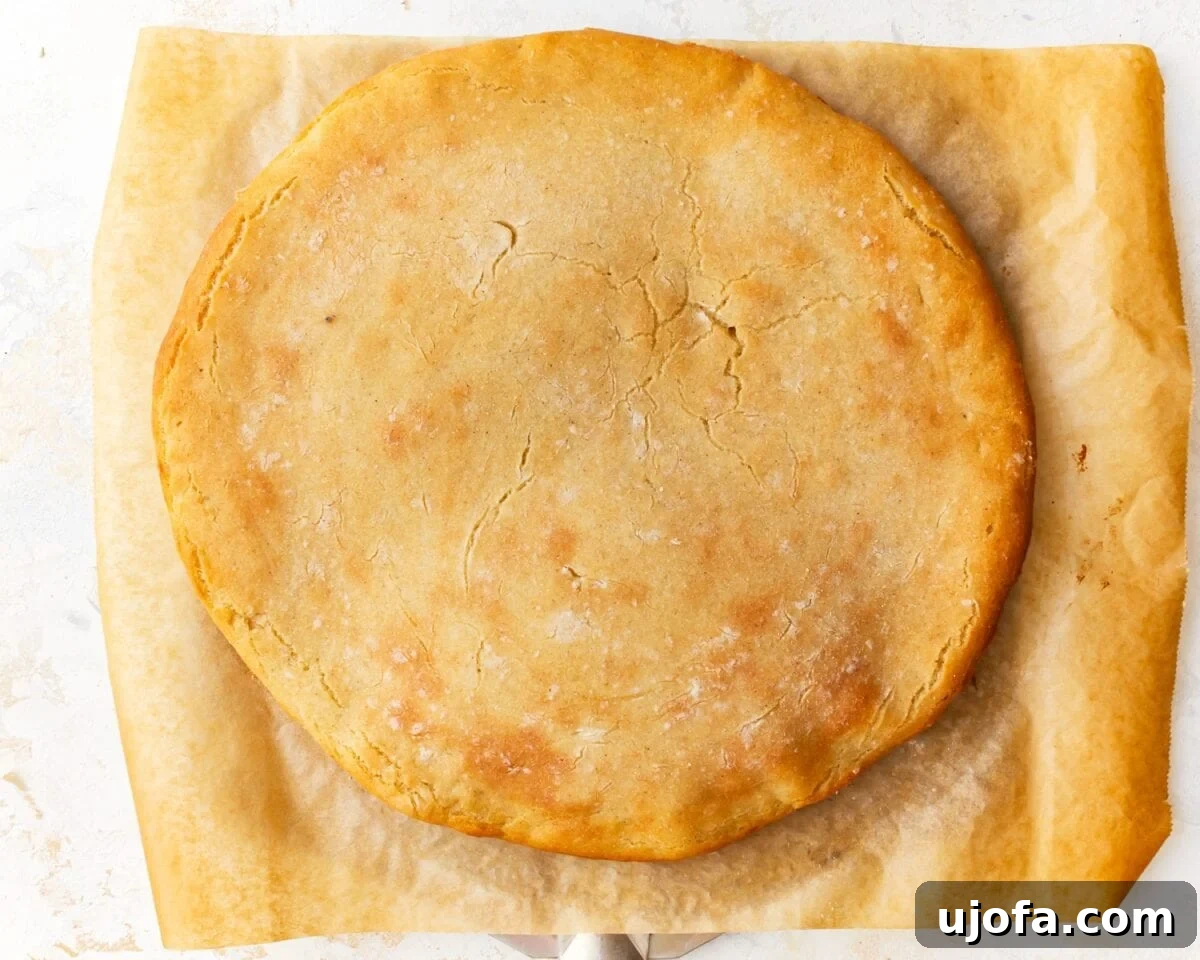
Step 9: First Bake (Par-Baking). Carefully transfer the parchment paper with the shaped dough onto a pizza pan or a large baking sheet. This ensures easy handling and even heat distribution. Place it into your preheated 425°F (218°C) oven and bake for 15 minutes. This crucial first bake, often called par-baking, helps to set the crust, giving it structure and a head start on crispiness before you load it with toppings. It prevents a soggy bottom and ensures a perfectly cooked base.
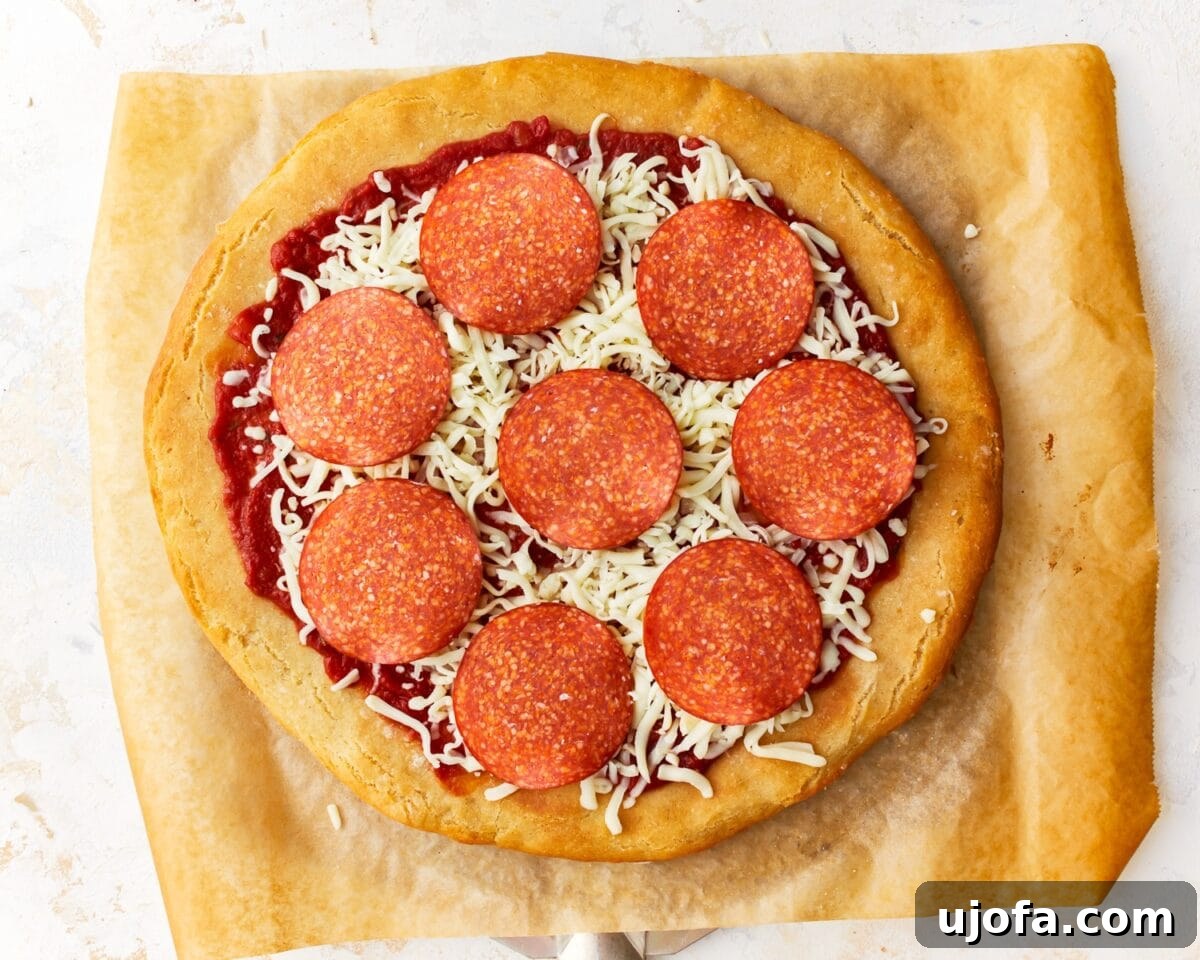
Step 10: Add Toppings. Once the crust has finished its initial bake, carefully remove it from the oven. Now comes the fun part – customization! Spread your favorite gluten-free pizza sauce evenly over the par-baked crust, leaving a small border for the crust. Follow with a generous layer of cheese (dairy-free cheese alternatives work wonderfully here for a vegan option), and then artfully arrange all your desired toppings. Feel free to get creative with vegetables, meats, or additional seasonings!
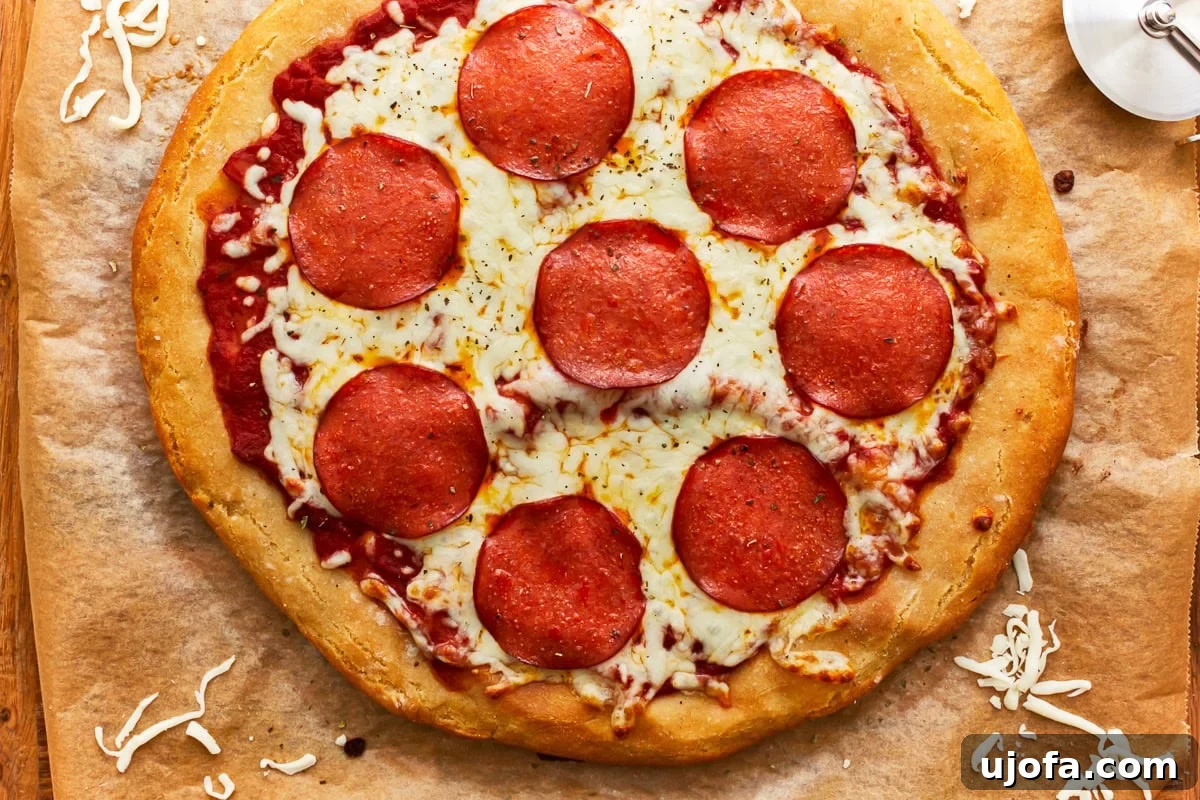
Step 11: Final Bake. Return your fully topped pizza to the oven for its final bake. Continue to bake for an additional 10-15 minutes. Keep a close watch on it during this time. The pizza is ready when the cheese is gloriously melted, bubbly, and slightly browned in spots, and the crust has achieved a beautiful golden hue and desired crispness. The aromas filling your kitchen will be an unmistakable sign of its readiness!
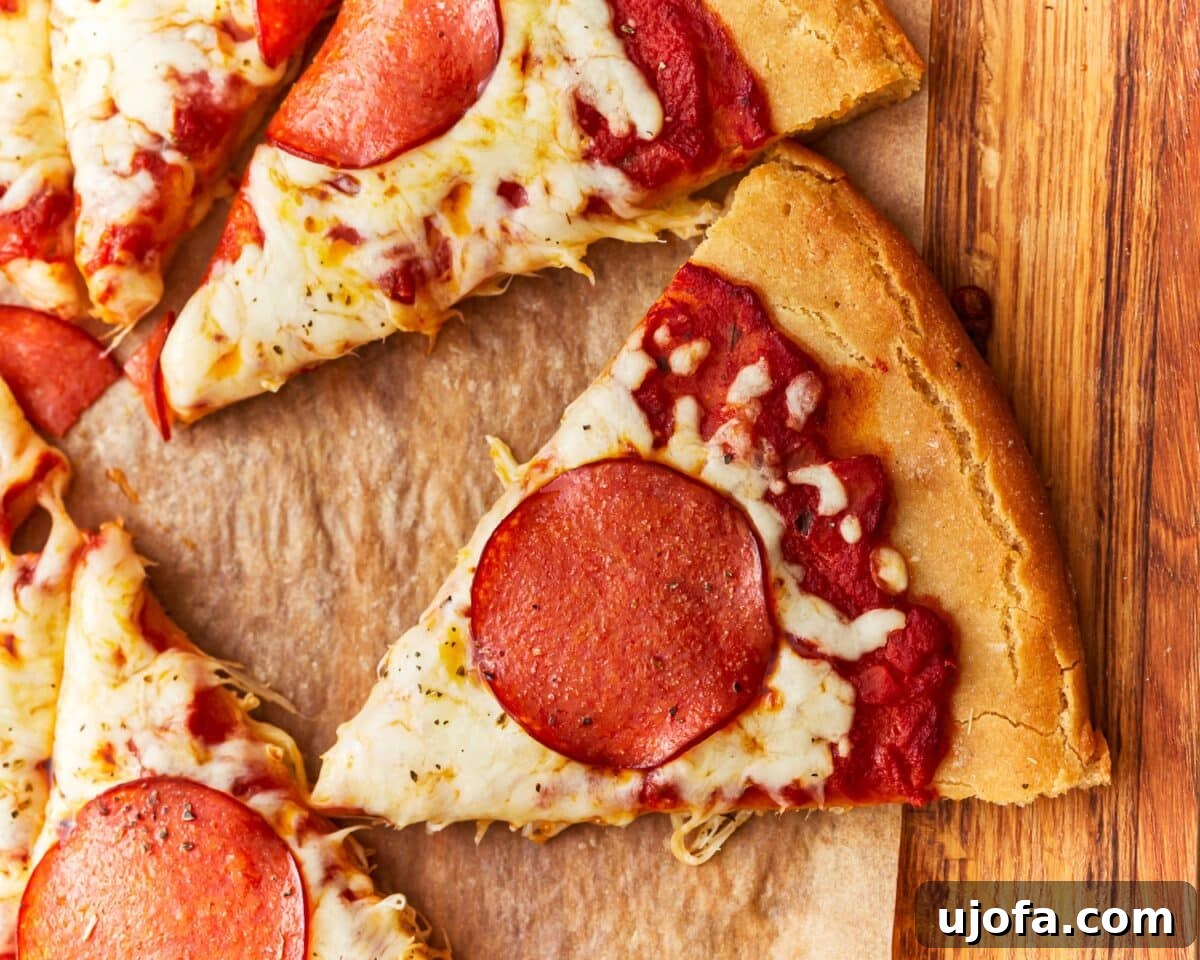
And there you have it! A mouthwatering, homemade gluten-free pizza, ready to be sliced and savored. This recipe proves that going gluten-free doesn’t mean sacrificing flavor or texture. Enjoy every thick, chewy bite!
Freezing Instructions: Planning Ahead for Gluten-Free Pizza Night
One of the best aspects of this gluten-free pizza dough recipe is its freezer-friendly nature, allowing you to prepare ahead and enjoy homemade pizza whenever the craving strikes without the immediate effort. You have a couple of excellent options for freezing:
Freezing Raw Gluten-Free Pizza Dough
To freeze the dough in its raw state, first ensure it has completed its full 30-minute rise as outlined in the main recipe instructions (Step 6). After rising, gently transfer the dough onto a piece of plastic wrap. Wrap it very tightly, pressing out as much air as possible to prevent freezer burn. Then, place the wrapped dough into a sturdy plastic freezer bag, sealing it securely. This raw dough can be stored in the freezer for up to three months. When you’re ready for pizza night, simply transfer the frozen dough to your refrigerator the night before. Allow it to thaw completely overnight, then proceed with shaping (Step 8) and baking as per the recipe.
Par-Baking and Freezing Gluten-Free Pizza Crusts
For even greater convenience, you can par-bake your gluten-free pizza crusts, creating a ready-to-top base similar to those found in grocery store freezer aisles. To do this, follow the recipe instructions all the way through the gluten-free pizza dough steps (Steps 1-10), which includes mixing, rising, and shaping the dough, and then the first bake (par-baking) for 15 minutes at 425°F (218°C). Once the crust is par-baked and has achieved a light golden color and firm texture, remove it from the oven and allow it to cool completely on a wire rack. This cooling step is essential to prevent condensation and ice crystals when freezing. Once entirely cool, wrap the par-baked gluten-free pizza crust tightly with plastic wrap, followed by a layer of aluminum foil or place it in a freezer-safe bag designed for freezing larger items. These par-baked crusts can be stored in the freezer for up to a month. When you’re ready to make your pizza, simply remove a par-baked crust from the freezer, add your desired gluten-free pizza sauce, cheese, and favorite toppings directly to the frozen crust, and bake for 10-15 minutes at 425°F (218°C) until the cheese is melted and bubbly and the crust is golden and heated through.
Tips for Success: Achieving Perfect Gluten-Free Pizza Every Time
Baking gluten-free can sometimes present unique challenges, but with these proven tips, you’ll master this pizza dough recipe and consistently produce delicious results:
- Choose the Right Gluten-Free Flour: The type of gluten-free all-purpose flour blend you use is critical. Always check the packaging to see if your chosen brand is specifically recommended for yeast baking. Many blends are formulated differently, and some may not contain the necessary components (like sufficient starches or a good balance of gums) to support yeast activity and proper dough structure. Brands like Pillsbury or Better Batter are often reliable choices for recipes involving yeast.
- Measure Gluten-Free Flour Accurately: Unlike wheat flour, gluten-free flour should never be scooped directly from the bag with your measuring cup. This can compact the flour and lead to using too much, resulting in a dense, dry crust. Instead, use the “spoon & level” method: use a spoon to lightly scoop the flour into your measuring cup until it’s overflowing. Then, use the flat back of a knife or a straight edge to level off the top of the measuring cup. This technique ensures you get the correct, lighter measurement.
- Verify Yeast Freshness: Yeast is a living organism, and its activity is paramount for a good rise. Always double-check the expiration date on your instant yeast packet or jar. Using old or expired yeast will lead to a flat, unrisen dough. If you’re unsure, you can “proof” a small amount by mixing it with warm water and sugar; if it doesn’t foam within 5-10 minutes, it’s likely dead and should be replaced.
- Handle Sticky Dough with Care: Gluten-free dough is inherently stickier than traditional wheat dough due to the absence of gluten structure. Don’t be alarmed by this! To make handling easier, I highly recommend liberally flouring your hands with gluten-free all-purpose flour before you touch the dough. You can also lightly oil your hands with olive oil if you prefer. This simple step will prevent the dough from sticking excessively to your hands during shaping.
- Dairy-Free and Egg-Free Versatility: This recipe is naturally dairy-free and egg-free, making it an excellent base for various dietary needs. This means you can effortlessly customize your pizza with your favorite dairy-free or vegan cheese alternatives and any plant-based or meat toppings without worrying about the crust’s compatibility.
- The Importance of Water Temperature: As mentioned in the instructions, the temperature of your water for activating yeast is crucial. Too hot, and you’ll kill the yeast; too cold, and it won’t activate. A kitchen thermometer is your best friend here, aiming for 110°-115°F (43-46°C).
- Don’t Overwork the Dough: While traditional dough often benefits from kneading, gluten-free dough does not. Overworking can lead to a crumbly or tough texture. Mix only until the ingredients are just combined and a sticky dough forms.
- High Heat for Crispy Crust: Baking at a high temperature (425°F / 218°C) is key to achieving that desirable crispy crust while maintaining a soft interior. Ensure your oven is fully preheated before placing the pizza in.
Explore More Delicious Gluten-Free Dinner Recipes!
If you’ve enjoyed this gluten-free pizza dough recipe, you’ll be thrilled to discover a world of other fantastic gluten-free dinner options. Here are a few of our favorites that are sure to become staples in your kitchen:
- Hearty Gluten-Free Meatloaf: A classic comfort food, reimagined to be completely gluten-free without sacrificing any of its savory, satisfying flavor. Perfect for a cozy family dinner.
- Zesty Gluten-Free Orange Chicken: Craving takeout? This vibrant and tangy orange chicken recipe is not only gluten-free but also incredibly flavorful and much healthier than restaurant versions. A guaranteed crowd-pleaser!
- Flavorful Gluten-Free Meatballs: Whether served with pasta, in a sub, or as an appetizer, these tender gluten-free meatballs are packed with flavor and hold their shape beautifully. A versatile addition to any meal plan.
Don’t let a gluten-free diet limit your culinary adventures. These recipes, like our pizza dough, are designed to bring joy and deliciousness back to your table. Happy cooking!