
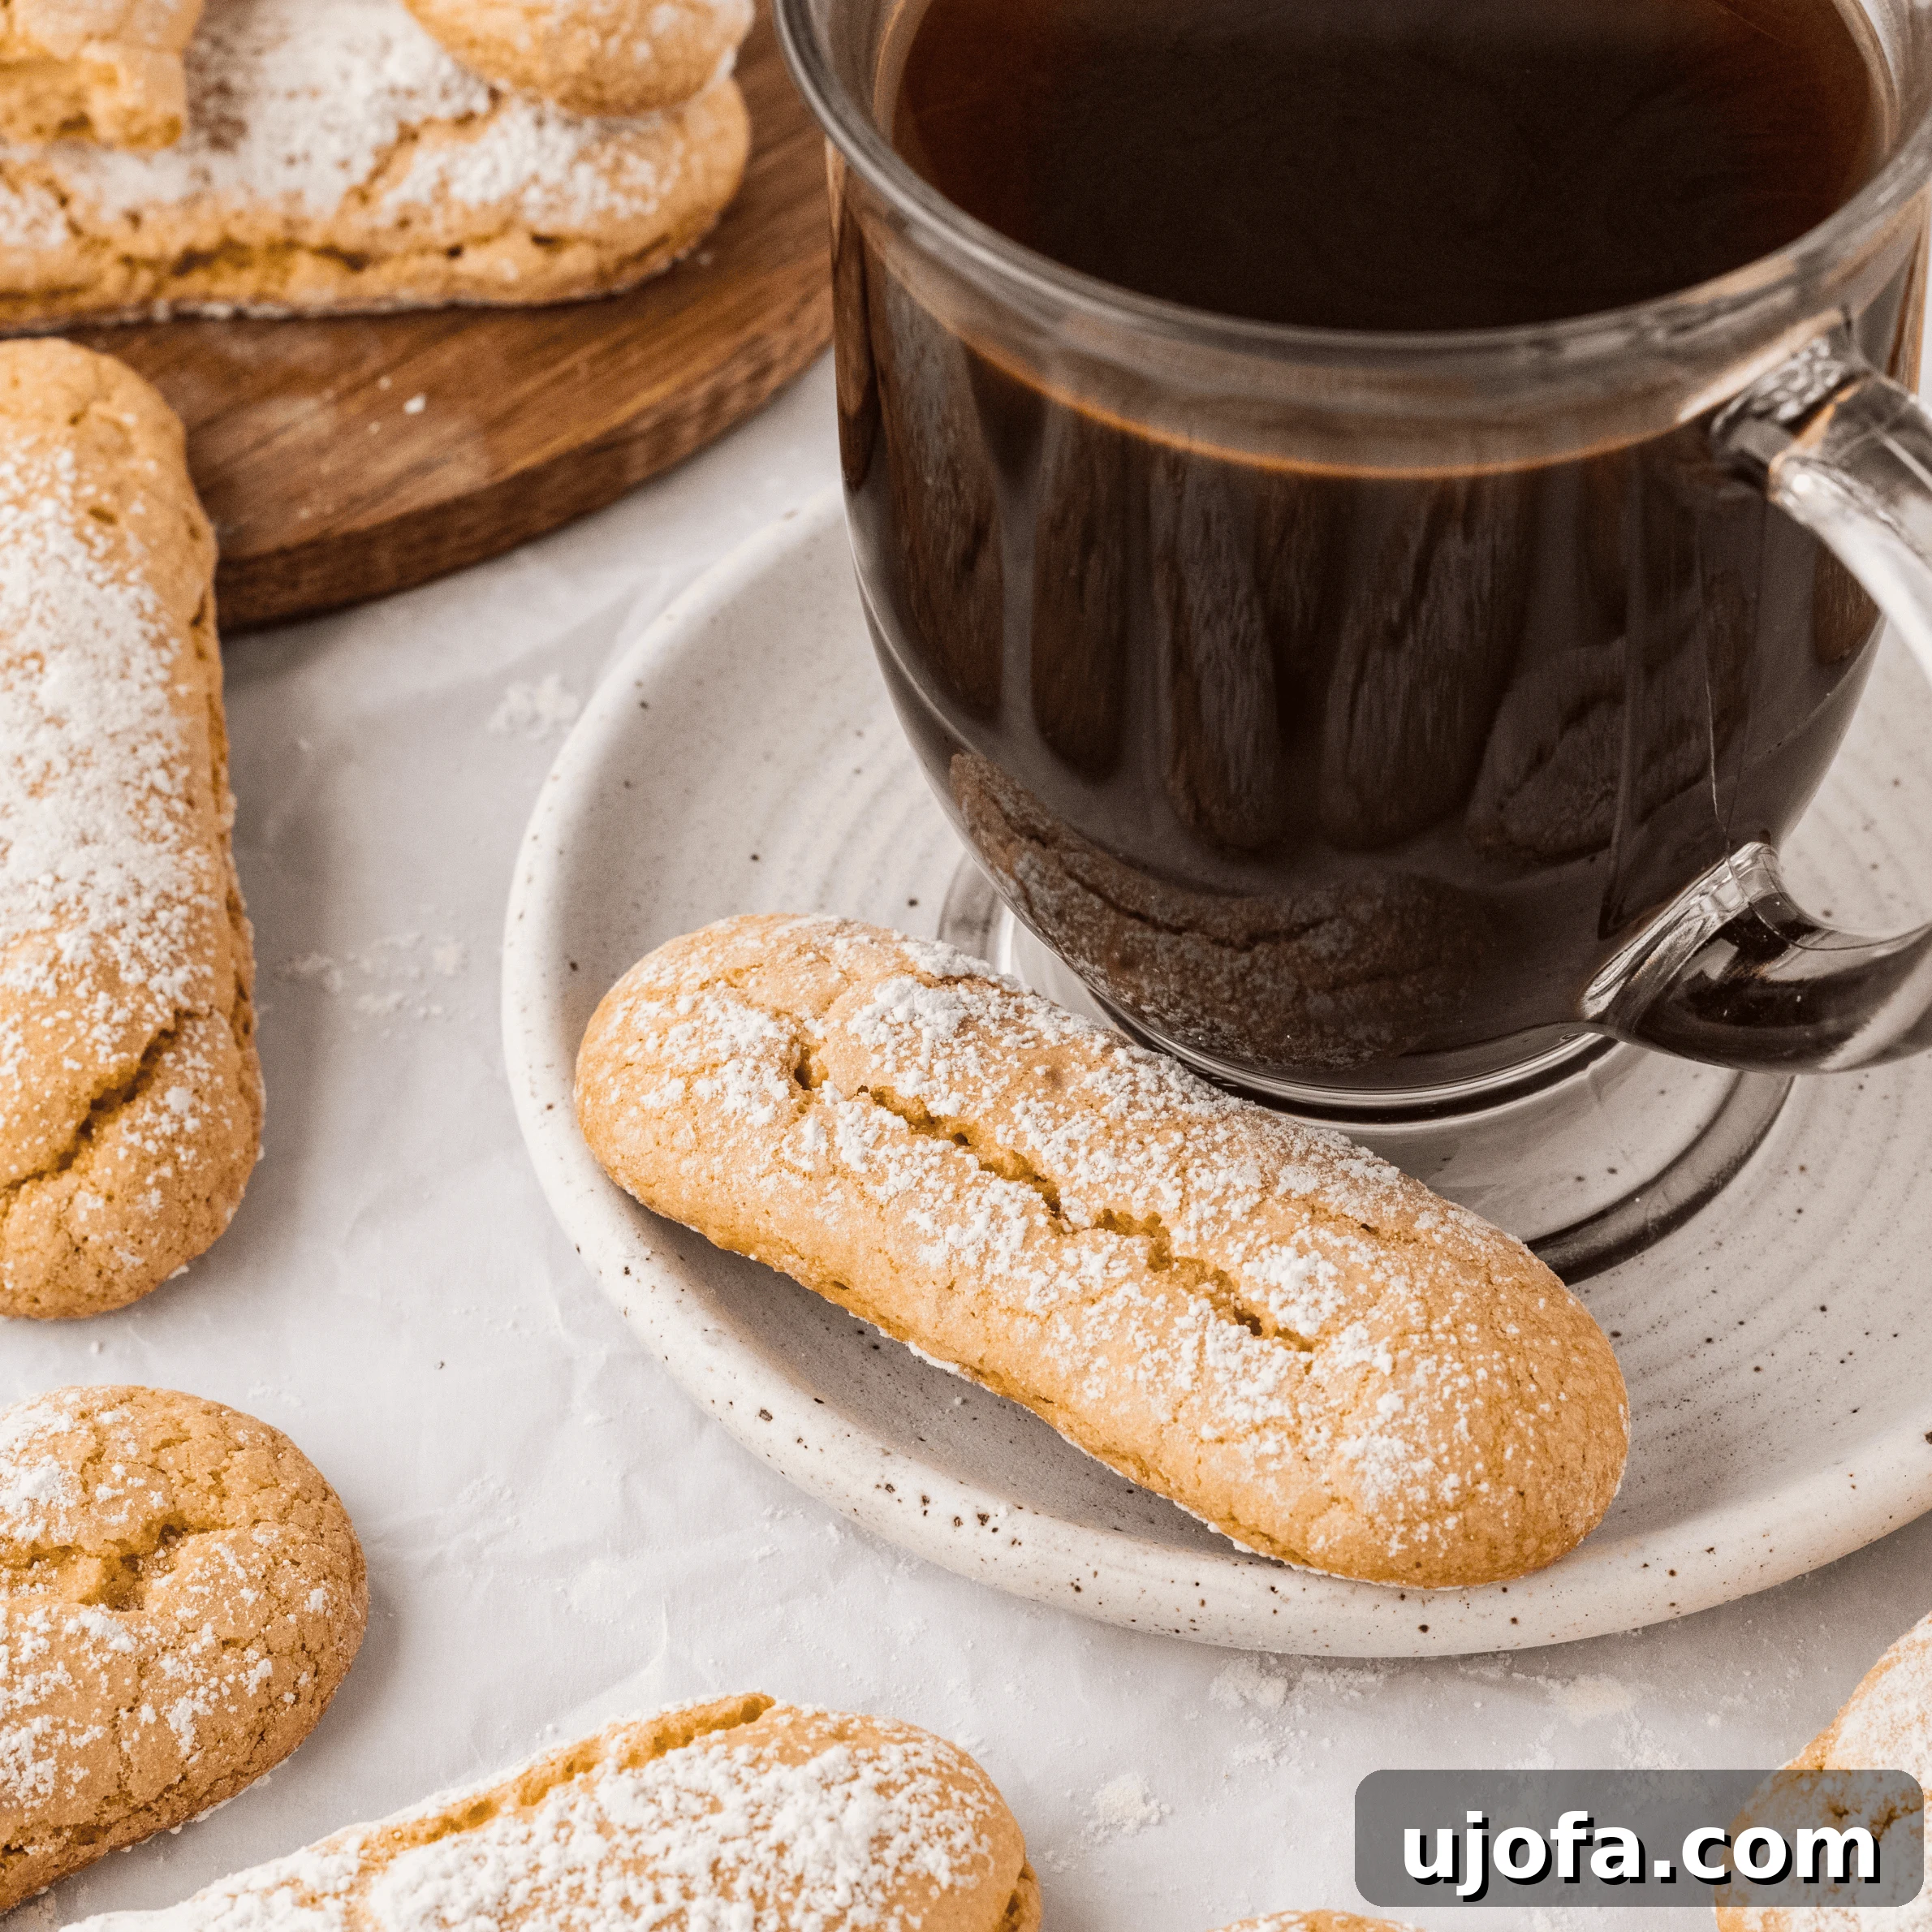
Homemade Gluten-Free Ladyfingers: Your Guide to Light, Crispy Savoiardi
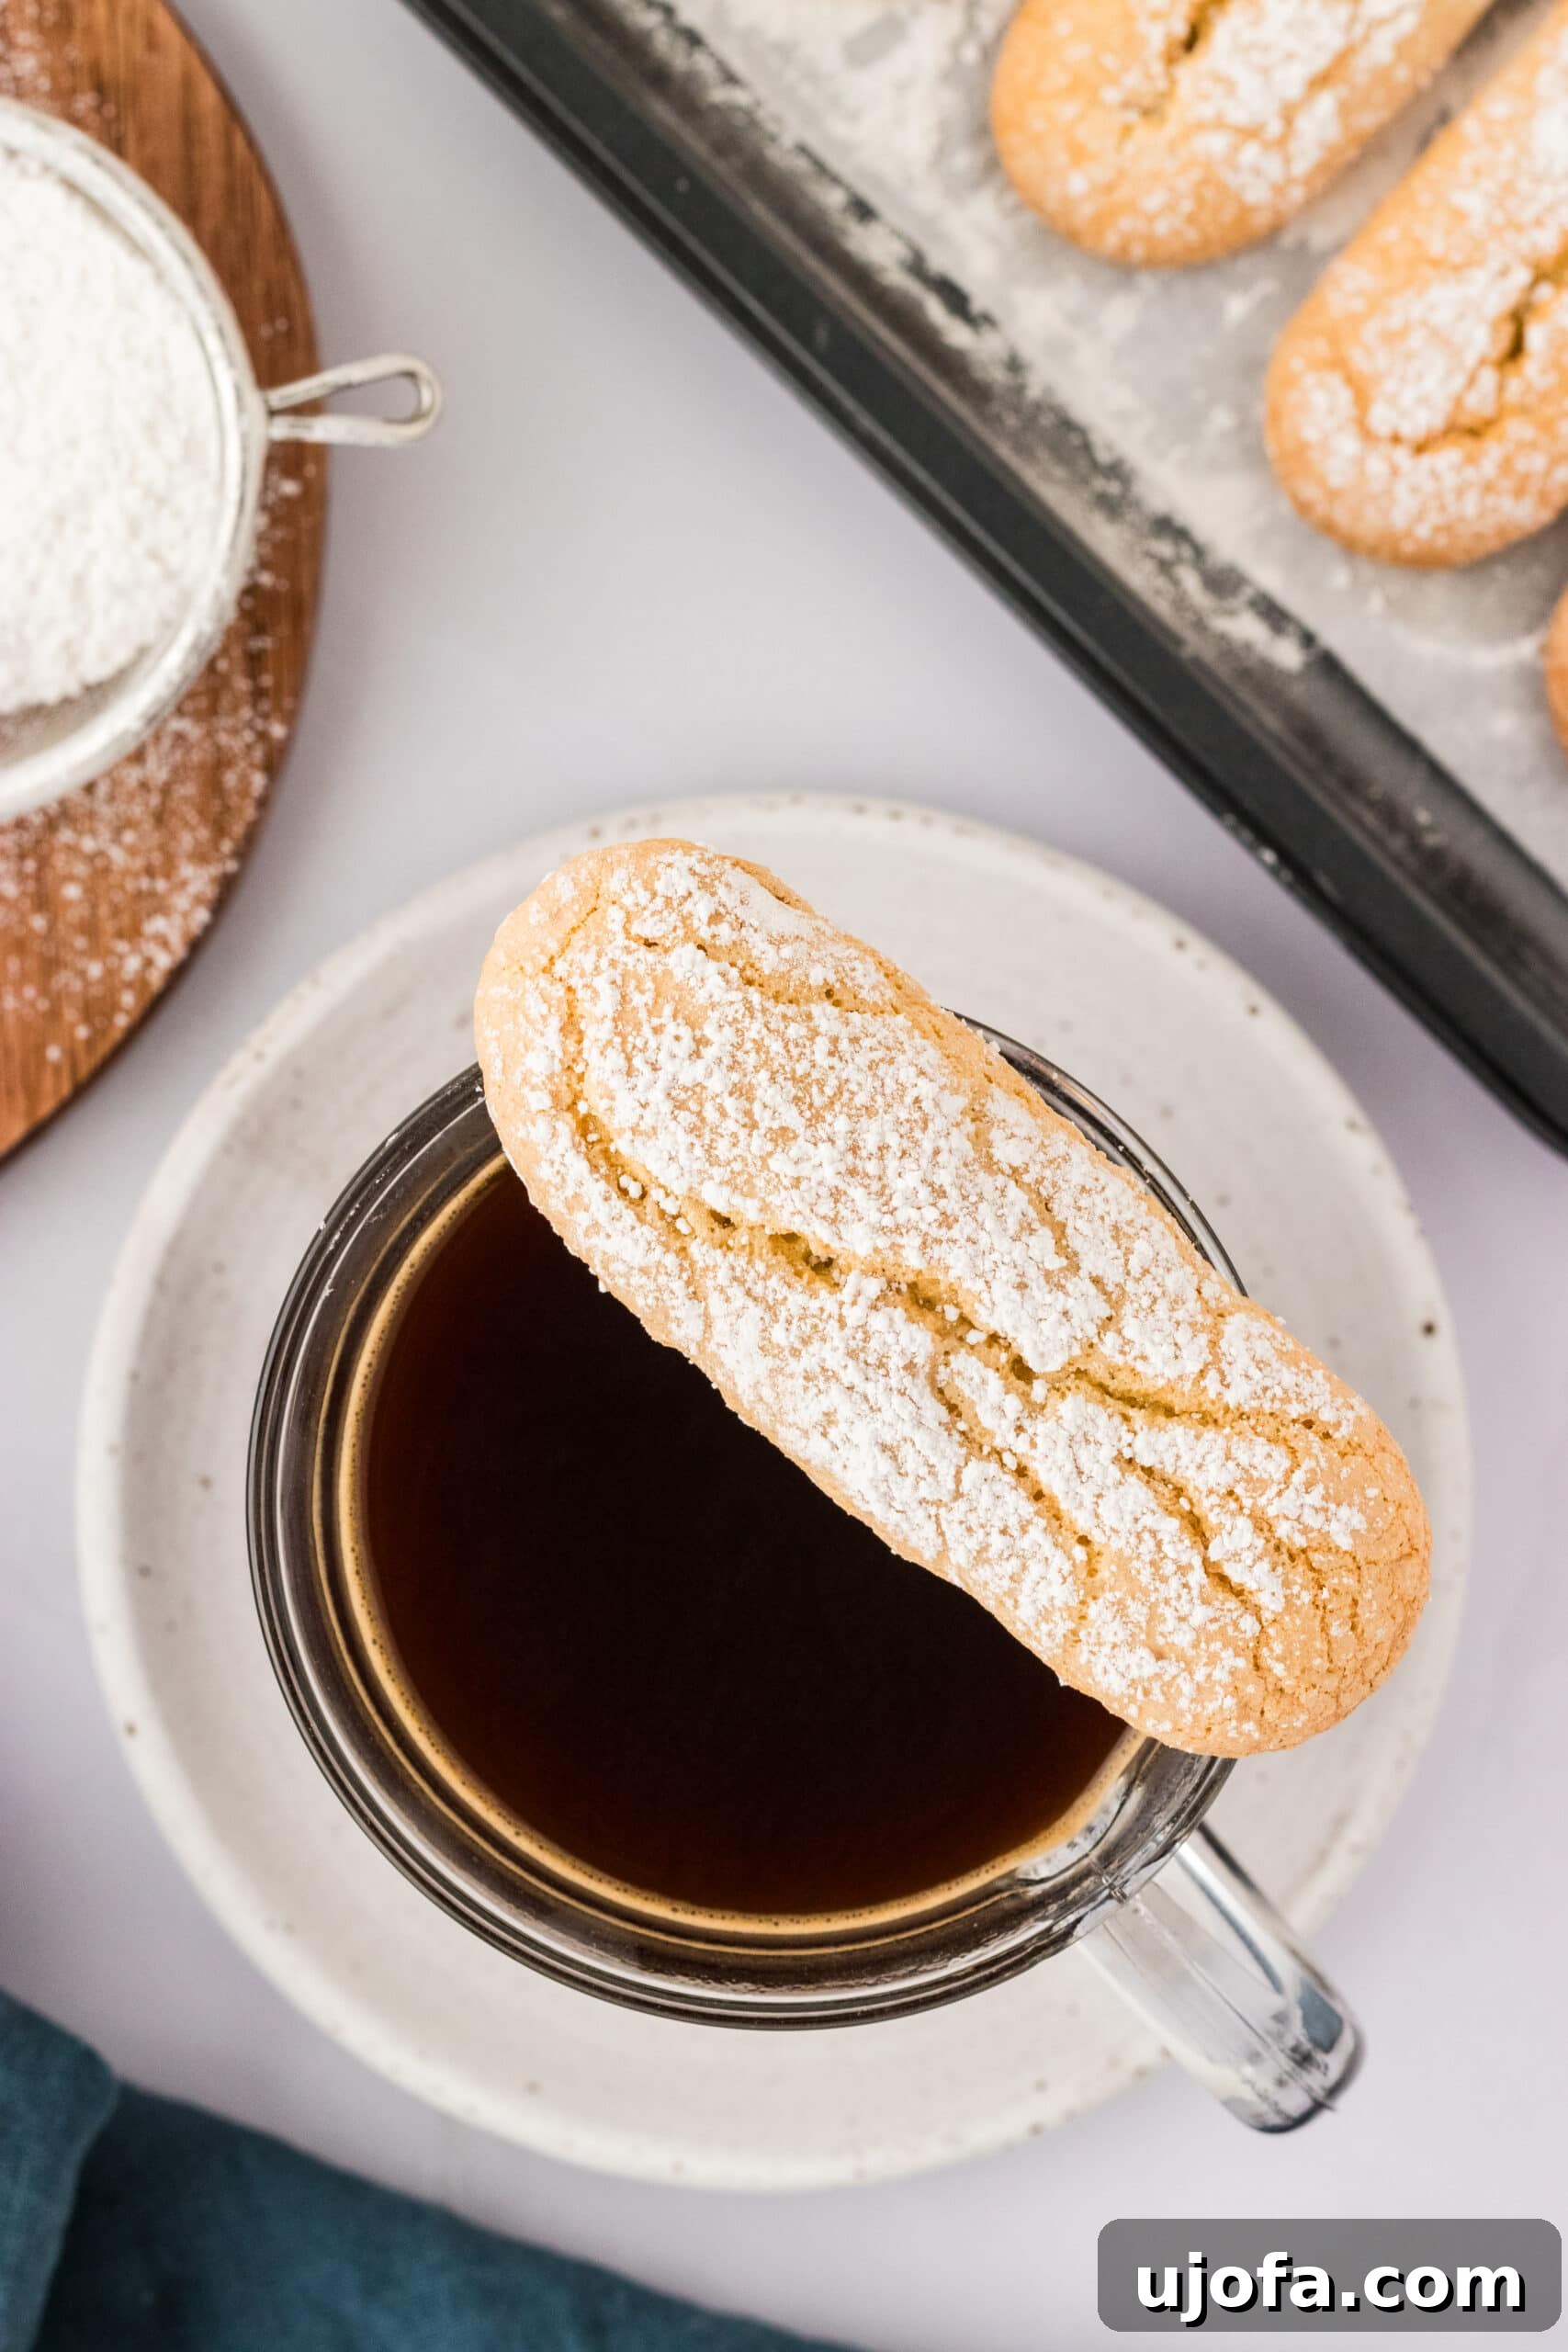
There’s an undeniable charm to a perfectly baked ladyfinger – light, airy, and delicately sweet. Imagine sinking your teeth into a gluten-free version, fresh from your own oven, offering that same classic texture and taste without compromise. These versatile Italian cookies, known as Savoiardi, are a staple for good reason. They’re ideal for a subtle treat, not overly indulgent, and lend themselves beautifully to an array of desserts or simply a quiet moment with a cup of coffee. This recipe masterfully combines the traditional simplicity and exquisite flavor of ladyfingers with a gluten-free twist, making them an indispensable delight for anyone with gluten sensitivities.
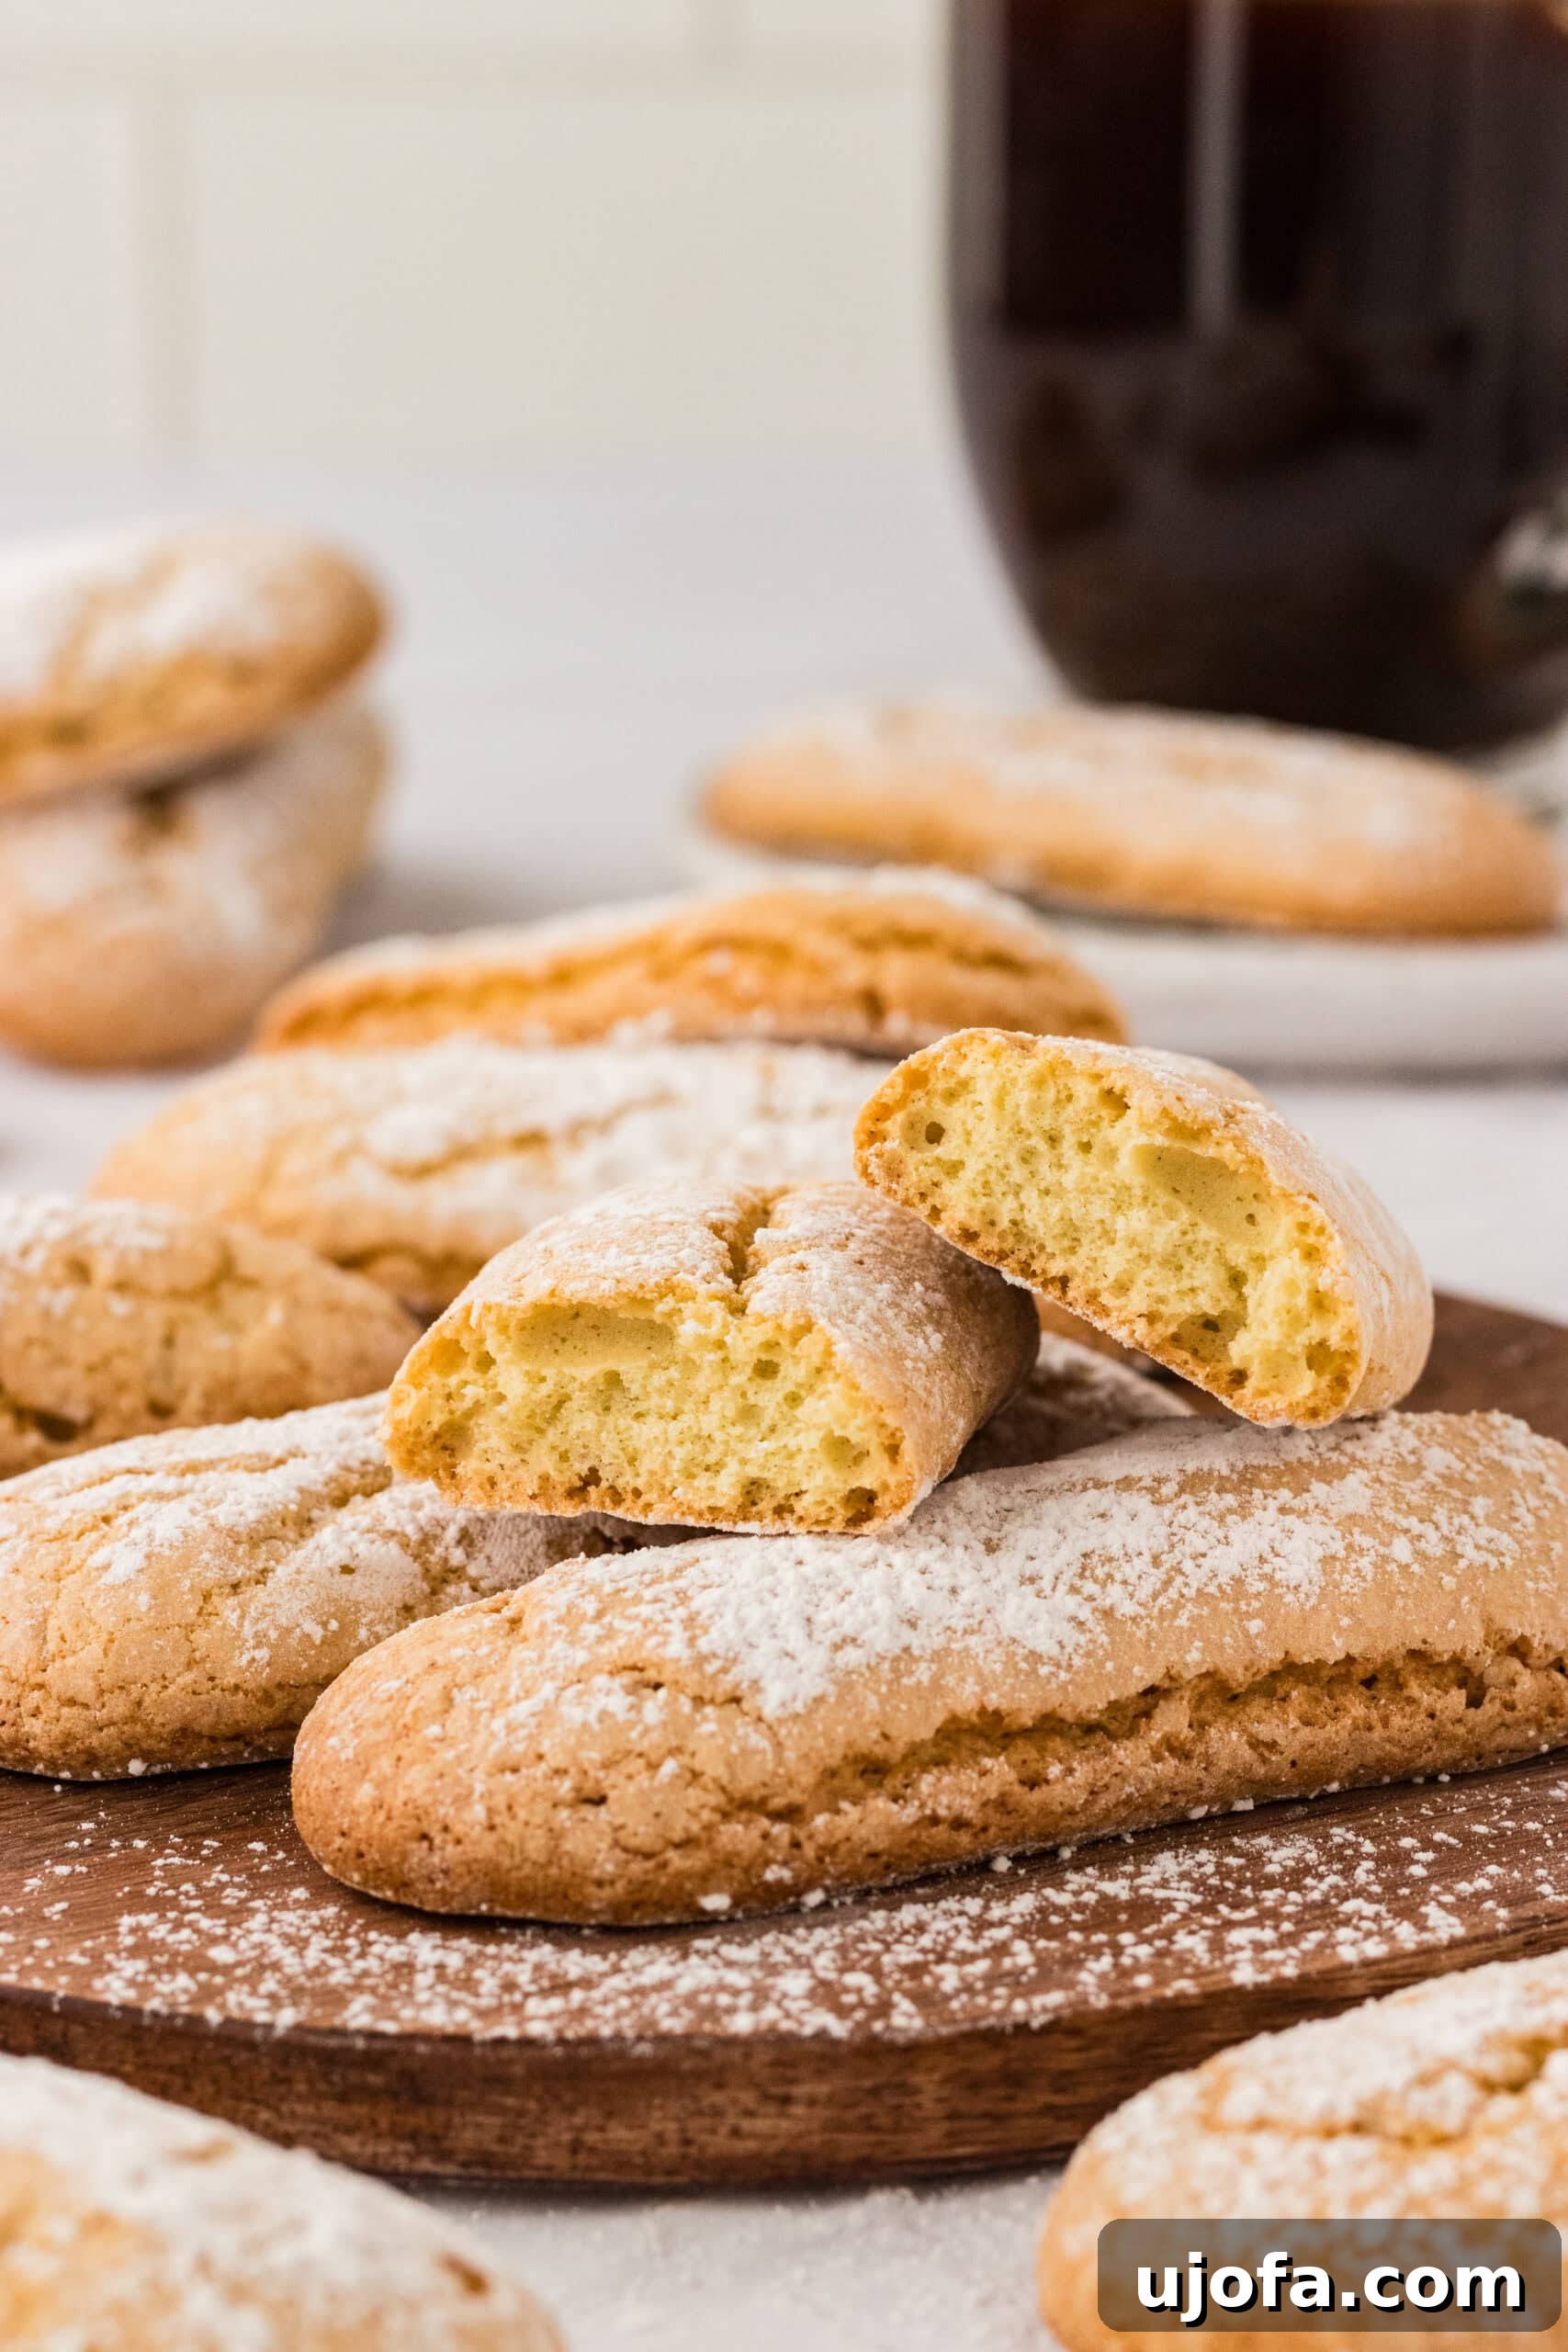
Crafting the Perfect Gluten-Free Ladyfingers
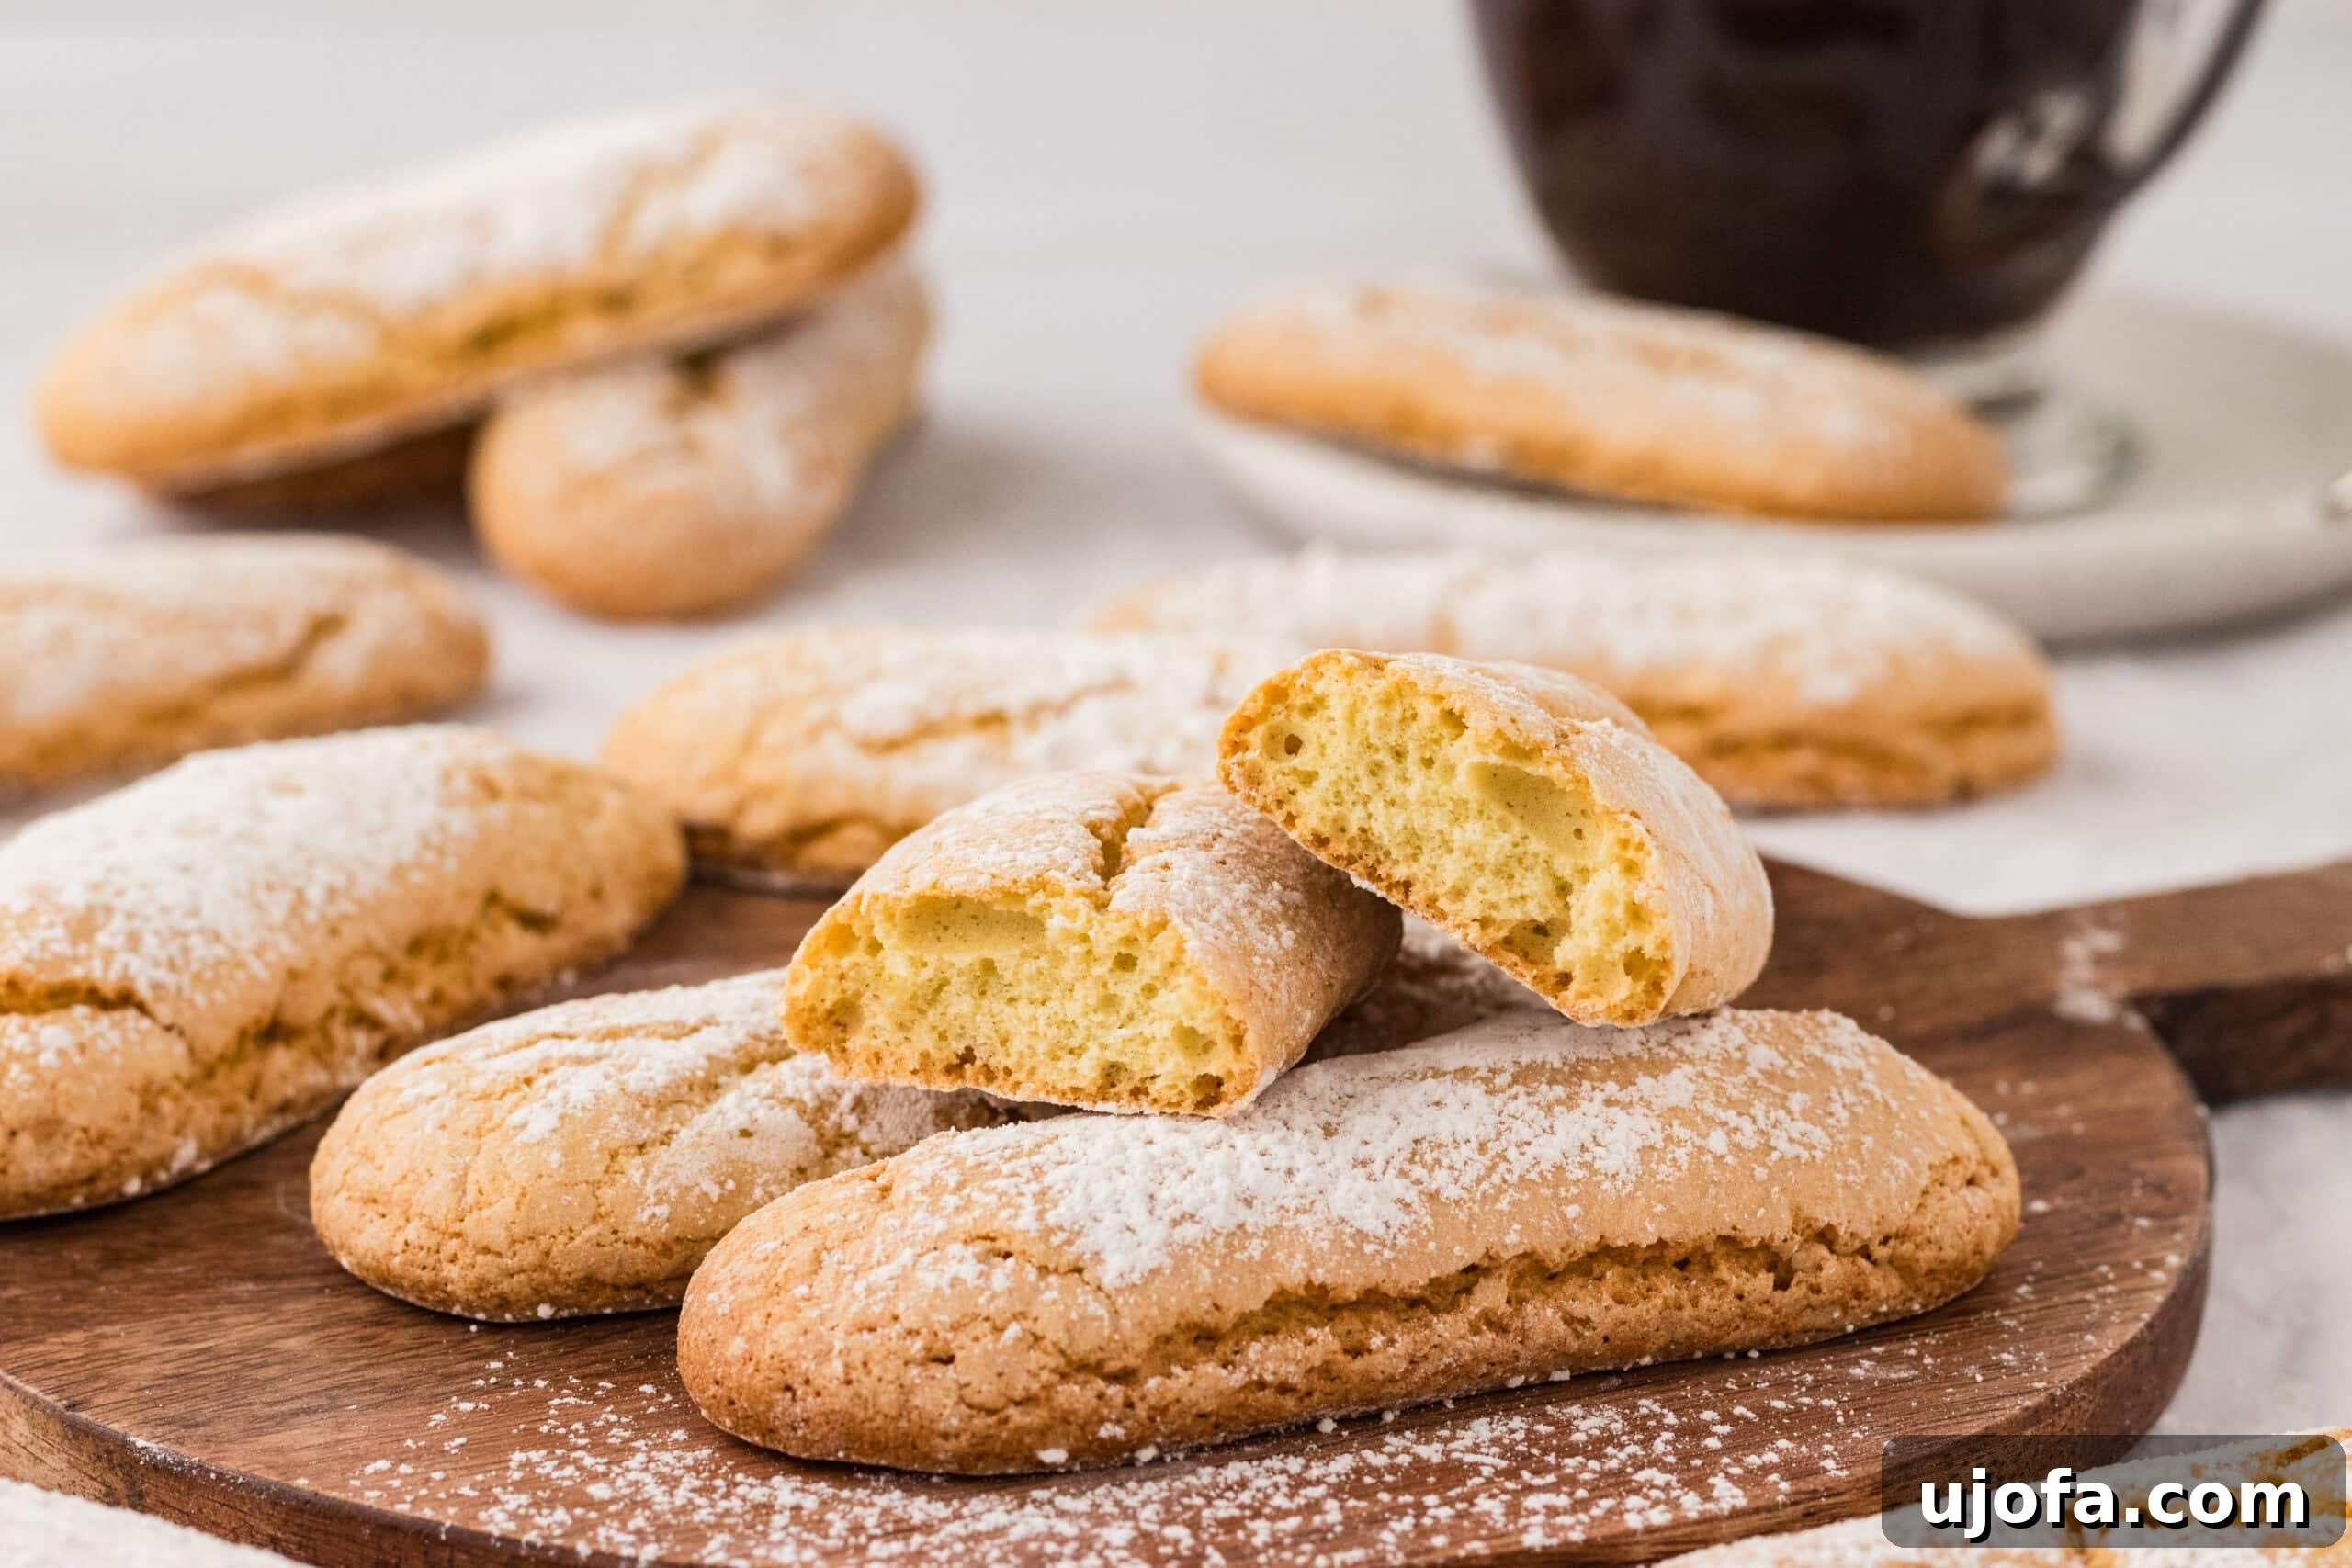
These elegant vanilla biscuits are more than just a cookie; they’re a cornerstone of Italian dessert culture. Their distinctive light and crisp texture makes them perfect for dunking into your morning coffee, enhancing an afternoon tea, or, most famously, forming the foundational layers of a rich, creamy gluten-free tiramisu. Many assume that baking a delicate treat like ladyfingers at home is a daunting task, especially when catering to gluten-free needs. However, this recipe proves just how accessible and rewarding homemade gluten-free alternatives can be. With just a few common pantry staples, you’ll be able to create exquisite gluten-free sponge fingers that boast a satisfyingly crisp exterior and a tender, airy interior – perfectly designed to absorb the flavors of your favorite beverages or dessert fillings.
Beyond the sheer enjoyment of baking, crafting your own ladyfingers offers significant advantages over store-bought options. Not only are homemade versions often more cost-effective, but they also deliver an unparalleled freshness and authentic taste that packaged varieties simply cannot match. Once you experience the superior flavor and delicate texture of these from-scratch gluten-free ladyfingers, you’ll undoubtedly find yourself reaching for this recipe again and again. It’s an authentic Italian treat, brought directly to your kitchen, offering a delightful experience that will transform your gluten-free baking repertoire.
Why Choose Homemade Gluten-Free Ladyfingers?
Opting to bake ladyfingers at home, particularly the gluten-free variety, comes with a host of benefits. First and foremost, you have complete control over the ingredients, ensuring that only the freshest and highest-quality components are used. This is especially important for gluten-free baking, where the right blend of flours can make all the difference in achieving the desired texture and flavor. Homemade ladyfingers also eliminate preservatives and artificial additives often found in commercial products, offering a healthier and more natural dessert option. Moreover, the sense of accomplishment from baking such a classic and elegant cookie from scratch is incredibly rewarding. They are not just cookies; they are an expression of culinary care, perfect for sharing with family and friends, particularly those with dietary needs.
Essential Ingredients for Your Gluten-Free Ladyfingers
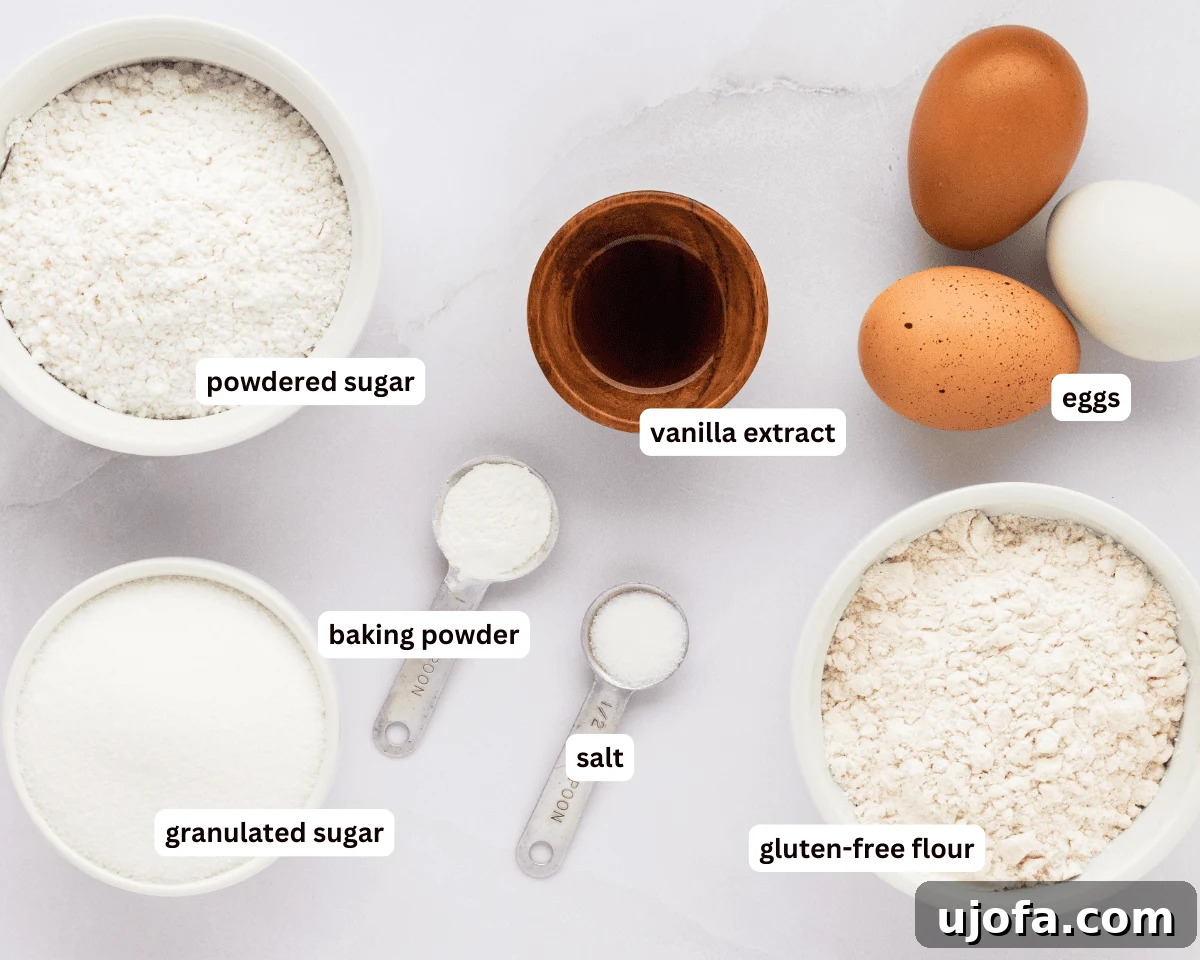
The beauty of this recipe lies in its simplicity, utilizing basic ingredients to create something truly remarkable. Each component plays a vital role in achieving the signature light and airy texture of traditional ladyfingers, adapted perfectly for a gluten-free diet. Here’s a detailed look at what you’ll need:
- Gluten-Free All-Purpose Flour: The foundation of our gluten-free success. I highly recommend a high-quality blend like King Arthur’s Measure for Measure Gluten-Free Flour, which has consistently yielded the best results in my kitchen. The key is to ensure your chosen blend contains xanthan gum. Xanthan gum acts as a binder and thickener, mimicking the elasticity that gluten provides in traditional baking, which is crucial for preventing crumbly baked goods. If your preferred gluten-free flour blend does not include xanthan gum, simply add ½ teaspoon to your dry ingredients to achieve the perfect texture and stability.
- Baking Powder: This chemical leavening agent is essential for creating the light, ‘puffed up’ structure characteristic of ladyfingers. It reacts during baking to produce carbon dioxide gas, which gets trapped in the batter, giving the cookies their delicate, airy crumb.
- Salt: While often overlooked in sweet recipes, a pinch of salt is vital. It doesn’t just add a salty taste; instead, it plays a crucial role in enhancing and balancing the sweet vanilla flavors, preventing the cookies from tasting flat or overly sugary.
- Eggs: Eggs are the true star of this recipe, contributing significantly to the fluffy texture. Specifically, separating the yolks and whites and whipping the whites separately creates the necessary aeration and volume. The egg whites, when whipped to stiff peaks, incorporate a tremendous amount of air, which is the secret behind the ladyfingers’ incredibly light and tender crumb. The yolks, meanwhile, provide richness and a delicate structure.
- Granulated Sugar: This provides the primary sweetness to the ladyfingers. When added to the egg whites and yolks, it also helps to stabilize the whipped mixture, contributing to the overall structure and achieving that perfect delicate crispness on the outside.
- Vanilla Extract: A staple in most dessert recipes, vanilla extract infuses the ladyfingers with a wonderfully mild, aromatic vanilla flavor. Opt for a good quality pure vanilla extract for the best results, as it truly enhances the overall taste profile.
- Powdered Sugar: Used primarily for dusting the ladyfingers after they’ve baked. This step adds a beautiful, subtle sweetness and a classic finish to the cookies. If you prefer a less sweet treat, or if you plan to use them in a very sweet dessert like tiramisu, this step can be easily omitted.
Expert Tips for Ladyfinger Success
Achieving the perfect ladyfinger texture – crisp on the outside and wonderfully soft within – requires a few key techniques. These tips will help you navigate the baking process, ensuring your gluten-free ladyfingers turn out perfectly every time.
- Piping for Perfection: The distinct “finger-like” shape of ladyfingers is traditionally achieved with a piping bag. For consistency and a professional look, I recommend using a piping bag fitted with a ½-inch round tip. If you don’t have a piping bag, a large freezer bag (like a gallon-sized Ziploc) with one corner snipped off to create a ½-inch opening works just as well. Aim for uniform lengths, typically 3-4 inches, to ensure even baking.
- The Peril of Overmixing: This is perhaps the most crucial tip for light and airy ladyfingers. The delicate volume you create by whipping the egg whites is fragile. Overmixing the batter after the egg whites have been folded in will deflate them, resulting in dense, heavy cookies instead of the desired fluffy texture. It’s essential to fold gently and stop mixing as soon as the ingredients are just combined and no streaks of flour remain. Think of it as carefully combining rather than vigorously stirring.
- Mastering Egg White Peaks: Understanding the stages of whipped egg whites is fundamental.
- Soft peaks occur when the egg whites are foamy and, when the whisk is lifted, the peaks gently droop over. This is the stage at which you begin to incorporate sugar to stabilize them.
- Stiff peaks are achieved when the egg whites are glossy and firm, holding their shape perfectly straight up when the whisk is removed. This stable, airy structure is vital for the ladyfingers’ lift and lightness.
Be careful not to overbeat to the point where they become dry and curdled, as this can also lead to a less tender cookie.
- Customizing Cookie Texture: Ladyfingers are typically known for their crispness, but you can easily adjust their texture to suit your preference. If you desire a softer, more cake-like cookie for casual snacking, reduce the final baking time. Instead of the full 12 minutes at 300°F, bake them for only 5 minutes at this lower temperature. This will result in a tender, moist interior.
- Adjusting Sweetness: The cookies themselves are only mildly sweet, designed to be versatile. If you prefer them even less sweet, feel free to skip the powdered sugar dusting after baking. This allows the subtle vanilla notes to shine through even more.
- Strategic Baking Temperatures: Our recipe employs a two-stage baking process (initial bake at 350°F, then a lower temperature at 300°F). This technique is intentional. The initial higher heat helps the ladyfingers rise quickly and set their shape, while the subsequent lower temperature bake is crucial for drying them out evenly, which is what gives them their characteristic crisp exterior without over-browning the delicate interior. Don’t skip this step for the best results!
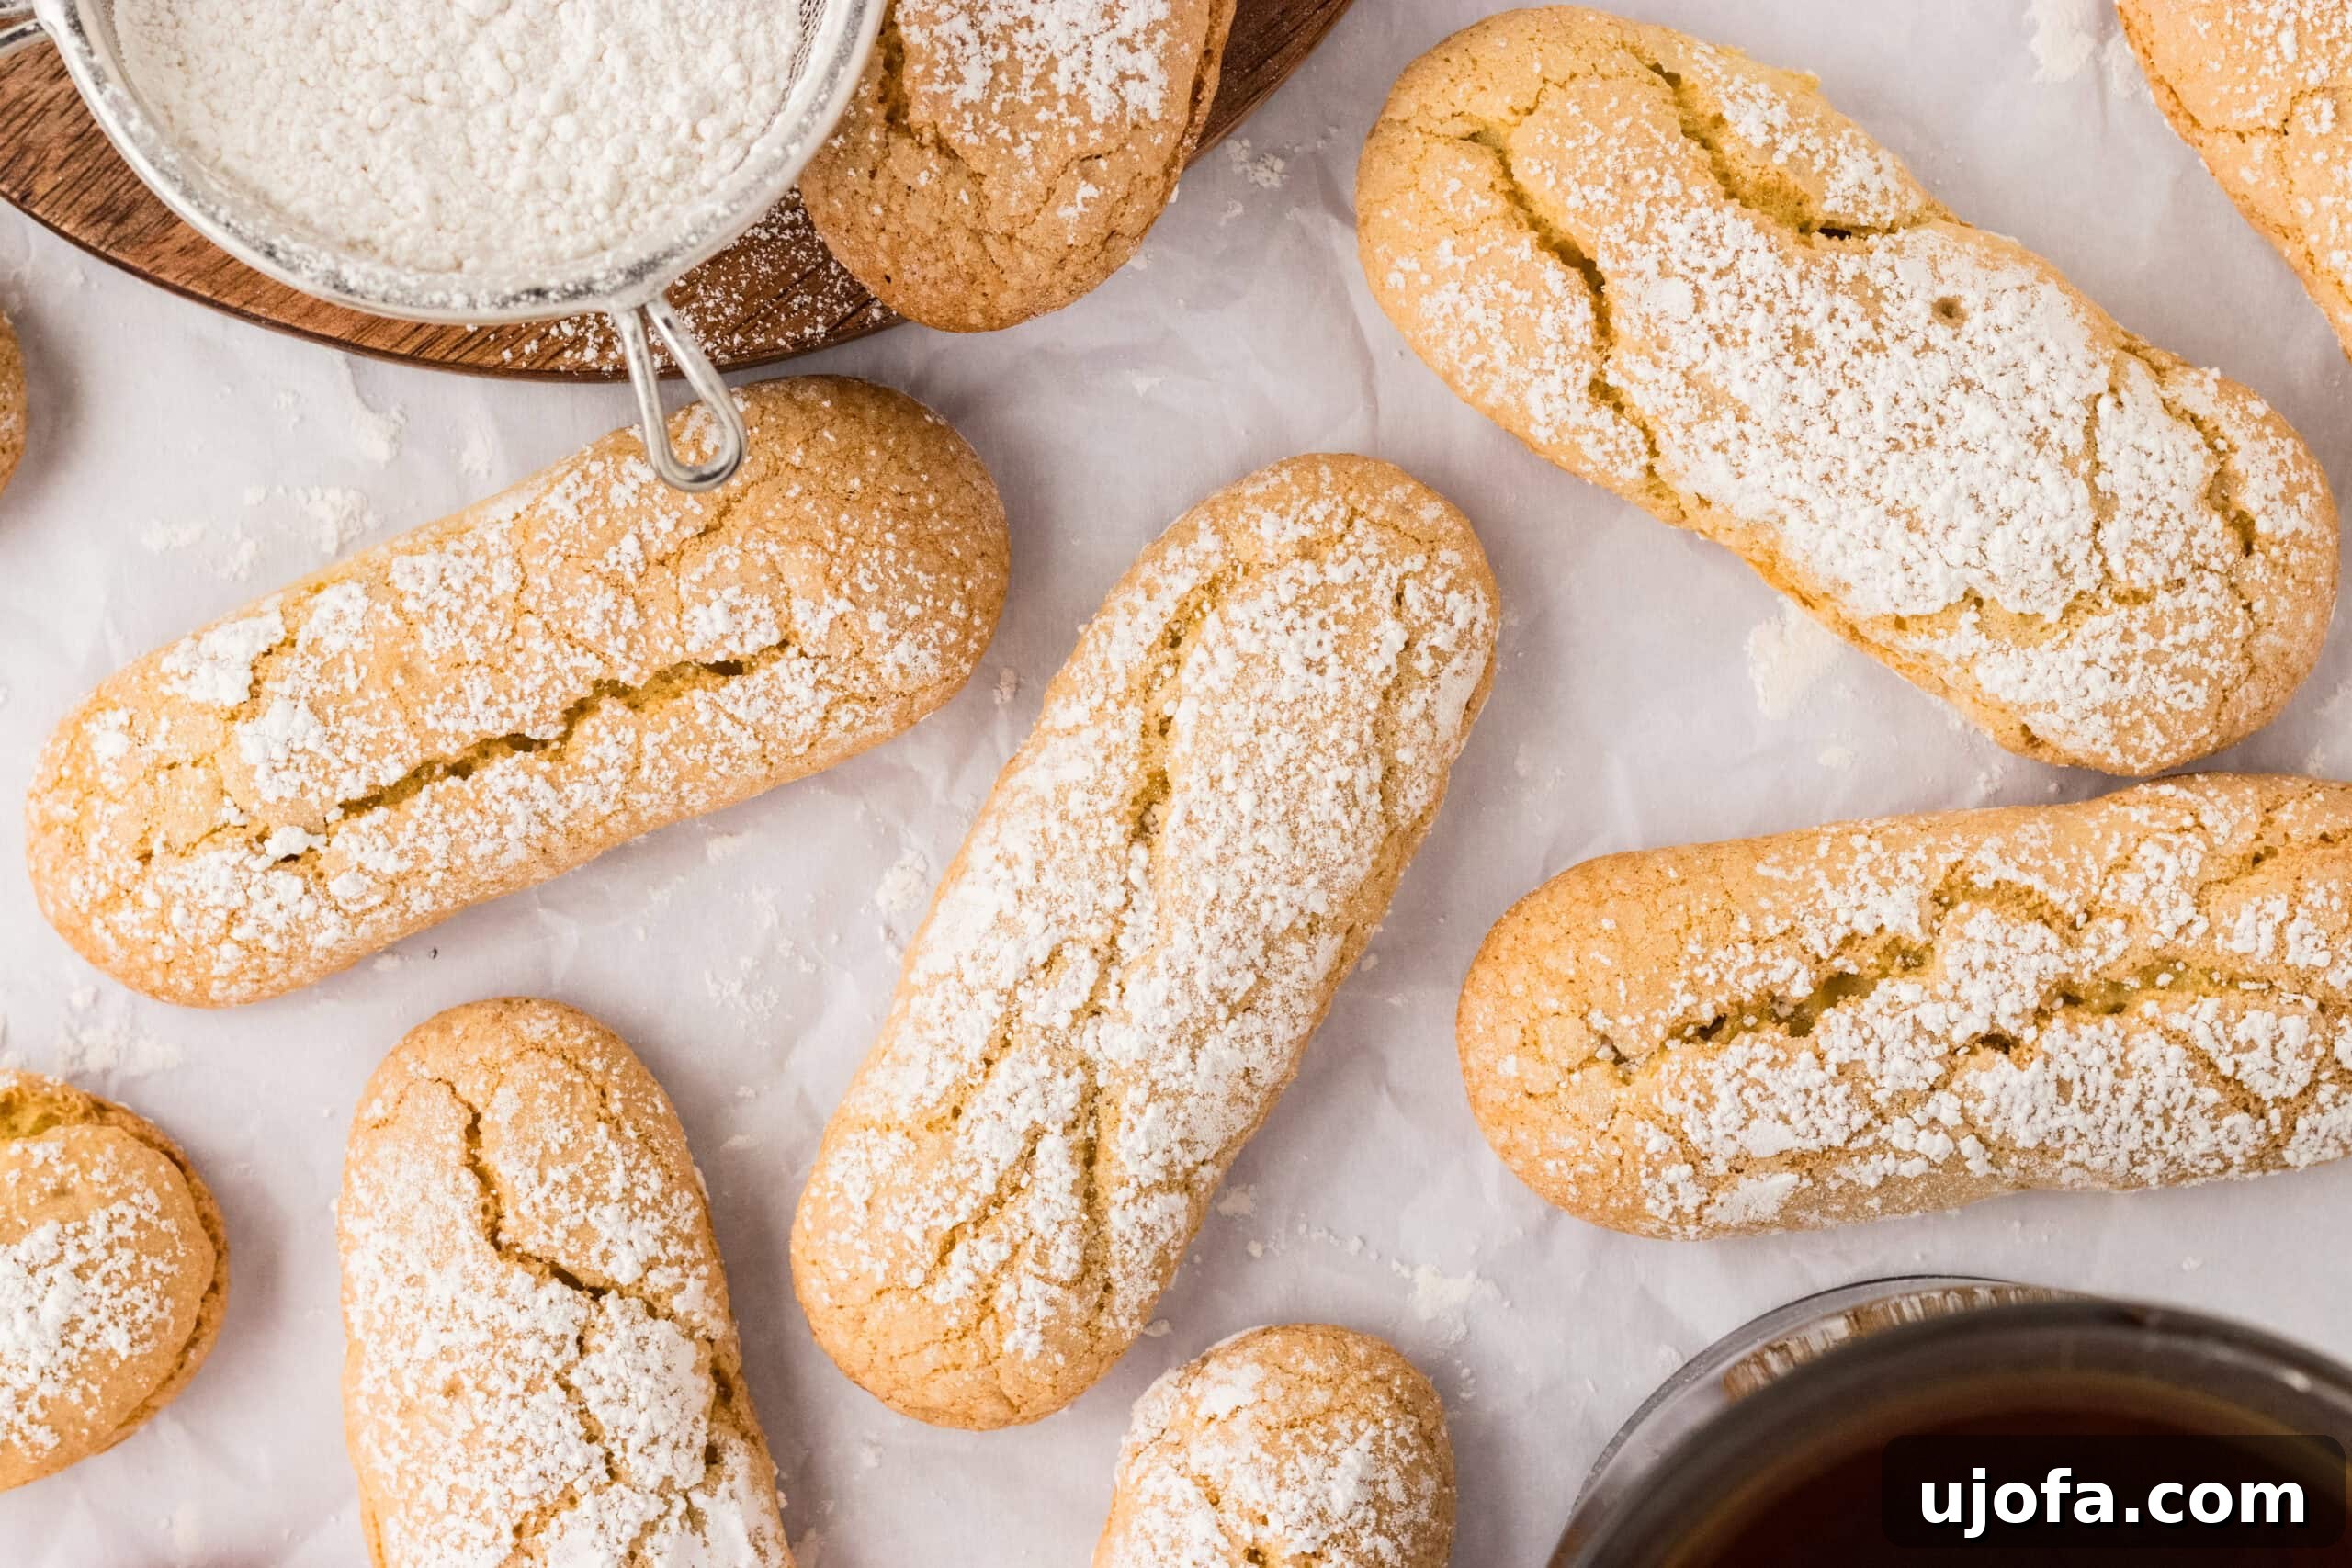
Delicious Ways to Enjoy Your Ladyfingers
The beauty of gluten-free ladyfingers lies not only in their delightful taste and texture but also in their incredible versatility. While they are famously paired with tiramisu, their applications extend far beyond this classic Italian dessert. Here are some delectable suggestions for serving your homemade ladyfingers:
- The Classic Tiramisu Companion: Ladyfingers are the undisputed star of tiramisu, absorbing the rich coffee and liqueur beautifully to create layers of exquisite flavor and texture. Their crisp yet yielding quality is unmatched in this beloved dessert. Use your homemade gluten-free ladyfingers to create a truly authentic and safe treat for everyone.
- Perfect with Your Favorite Hot Beverage: Embrace the European tradition by serving ladyfingers with an afternoon cup of coffee or tea. Their subtle sweetness and ability to absorb liquid make them an ideal dunking cookie, softening just enough to melt in your mouth and complement the warmth of your drink.
- Elegant Dessert Trifles and Layered Parfaits: Ladyfingers make a fantastic base or layer in various layered desserts. Substitute them for sponge cake in a fruit trifle, soak them in fruit juice or liqueur, and layer with custard, whipped cream, and fresh berries for a stunning presentation. They also work wonderfully in individual parfaits, adding texture and absorbing creamy fillings.
- A Light Post-Meal Treat: Thanks to their mild sweetness, ladyfingers serve as an excellent light cookie treat after any meal. They satisfy a craving for something sweet without being overly heavy, providing a perfect palate cleanser.
- Dipped in Chocolate or Fruit Coulis: For an extra touch of indulgence, consider dipping one end of your cooled ladyfingers in melted dark or white chocolate. You can also serve them alongside a vibrant fruit coulis or a berry compote for a refreshing and simple dessert.
- For Charlotte Cakes: Ladyfingers are the traditional “walls” of elegant Charlotte cakes, encasing a Bavarian cream or mousse filling. Their structural integrity and delicate flavor make them perfect for this sophisticated dessert.
Storage and Freezing Guidelines
Proper storage is key to maintaining the crispness and freshness of your homemade gluten-free ladyfingers. Follow these guidelines to ensure they remain delicious for as long as possible:
- Countertop Storage: Once your ladyfingers have cooled completely to room temperature, transfer them to an airtight container. Stored on the counter, they will maintain their freshness and crisp texture for a generous 2-3 weeks. Be sure the container is truly airtight to prevent them from becoming stale or absorbing moisture.
- Freezing for Longer Shelf Life: While freezing is a convenient option for long-term storage, it’s important to note one downside: ladyfingers tend to lose some of their characteristic crisp texture once thawed. They become slightly softer, more akin to a cake. However, if the convenience of having them on hand is worth this slight textural change, you can freeze them effectively.
- To freeze, arrange the completely cooled ladyfingers in a single layer on a baking sheet and freeze for about an hour until firm. This prevents them from sticking together.
- Once firm, transfer them to an airtight freezer bag or container, separating layers with parchment paper if stacking. They can be frozen for up to 6 months.
- When ready to use, especially for desserts like tiramisu, allow them to thaw completely at room temperature before incorporating them into your recipe. This ensures even absorption of liquids.
More Gluten-Free Dessert Inspiration
If you loved making these gluten-free ladyfingers, you might be eager to explore other delightful gluten-free baking projects. Here are some more recipes to inspire your culinary adventures:
- Gluten-Free Biscotti
- Gluten-Free Cinnamon Rolls
- Gluten-Free Molasses Cookies
- Gluten-Free Shortbread Cookies
Gluten-Free Ladyfingers Recipe Card
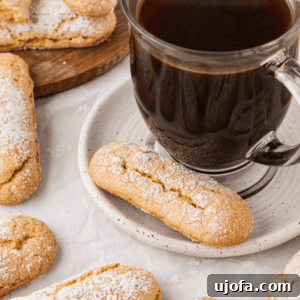
These light, airy gluten-free ladyfingers are a versatile, mildly sweet treat that brings the classic flavor of traditional ladyfingers to gluten-sensitive dessert lovers. Perfect for tiramisu, coffee, or as a light snack!
By: Julia Elizabeth
Servings: 18 servings
Prep Time: 15 minutes
Cook Time: 27 minutes
Total Time: 42 minutes
Equipment
- 2 baking sheets
- 1 hand or stand mixer
- 1 piping bag (or gallon freezer bag)
Ingredients
- 1 cup gluten-free all-purpose flour (with xanthan gum)
- ¾ teaspoon baking powder
- ½ teaspoon salt
- 3 large eggs, separated
- ½ cup and 1 tablespoon granulated sugar, divided
- 1 teaspoon vanilla extract
- Powdered sugar, for dusting (optional)
Instructions
- Preheat your oven to 350°F (163°C) and line two baking trays with parchment paper.
- In a medium bowl, sift together the gluten-free flour, baking powder, and salt. Set aside.
- Separate your egg yolks from the whites and place them in separate medium-sized bowls.
- Using a hand or stand mixer, beat the egg whites until they reach soft peaks. Gradually add in ¼ cup of the granulated sugar while continuing to beat until stiff, glossy peaks are achieved. Set aside carefully.
- To the egg yolks, add the vanilla extract and the remaining ¼ cup plus 1 tablespoon of granulated sugar. Beat with a hand or stand mixer on medium-high speed until the mixture is pale in color and has tripled in volume, which usually takes about 4-5 minutes.
- Gently fold ⅓ of the whipped egg whites into the yolk mixture. Use a spatula to make swooping motions from the bottom of the bowl to the top, being careful not to deflate the mixture. Once incorporated, add the remaining egg whites and fold until almost fully combined, leaving a few streaks.
- Add the sifted flour mixture to the egg mixture. Carefully fold everything together using the same gentle swooping motion, just until there are no visible lumps of flour. Avoid overmixing.
- Once your batter is ready, spoon it into a piping bag fitted with a ½-inch round piping tip. Alternatively, use a gallon freezer bag and snip off one corner to create a similar-sized opening.
- On your parchment-lined baking sheets, pipe the ladyfingers in neat, even rows, each about 3-4 inches long. Ensure you leave 1-2 inches of space between each cookie to prevent them from touching as they expand during baking.
- Using a fine-mesh sieve or sifter, lightly dust the tops of the piped ladyfingers with powdered sugar. This adds a delicate sweetness and a classic finish.
- Place both trays in the preheated oven and bake for 15 minutes. After 15 minutes, reduce the oven temperature to 300°F (150°C) and bake for an additional 12 minutes. This two-stage baking helps to dry out the cookies, resulting in that desirable crisp texture.
- Remove the trays from the oven and allow the ladyfingers to cool completely on the baking sheets before handling or enjoying. Cooling is crucial for them to fully crisp up.
Notes
- For precise shaping, a piping bag with a ½-inch round tip is recommended. A freezer bag with a snipped corner can be used as an alternative.
- Avoid overmixing the batter after adding the egg whites and flour to maintain their light, airy volume.
- Soft peaks droop when the whisk is lifted; stiff peaks stand straight up. Aim for stiff peaks when whipping egg whites for this recipe.
- For a softer, more cake-like cookie, bake for only 5 minutes at 300°F instead of 12 minutes.
- If you prefer less sweet cookies, skip the powdered sugar dusting.
- Store cooled ladyfingers in an airtight container at room temperature for 2-3 weeks.
- Ladyfingers can be frozen for up to 6 months, but they may lose some crispness upon thawing. Thaw completely at room temperature before use.
Nutrition Information
Nutrition information is automatically calculated, so should only be used as an approximation.
- Serving: 1 serving
- Calories: 55 kcal
- Carbohydrates: 10g
- Protein: 2g
- Fat: 1g
- Saturated Fat: 0.2g
- Polyunsaturated Fat: 0.2g
- Monounsaturated Fat: 0.3g
- Trans Fat: 0.003g
- Cholesterol: 27mg
- Sodium: 93mg
- Potassium: 11mg
- Fiber: 1g
- Sugar: 6g
- Vitamin A: 40 IU
- Calcium: 18mg
- Iron: 0.4mg
Additional Info
- Course: Baking
- Cuisine: Italian
Step-by-Step Visual Guide to Gluten-Free Ladyfingers
Follow these detailed steps, accompanied by visual cues, to successfully bake your own batch of light and delightful gluten-free ladyfingers at home.
Step 1: Prepare Your Workspace and Oven. Begin by preheating your oven to 350°F (163°C). Take two standard baking trays and line them carefully with parchment paper. This non-stick surface is crucial for easily removing the delicate ladyfingers after baking.
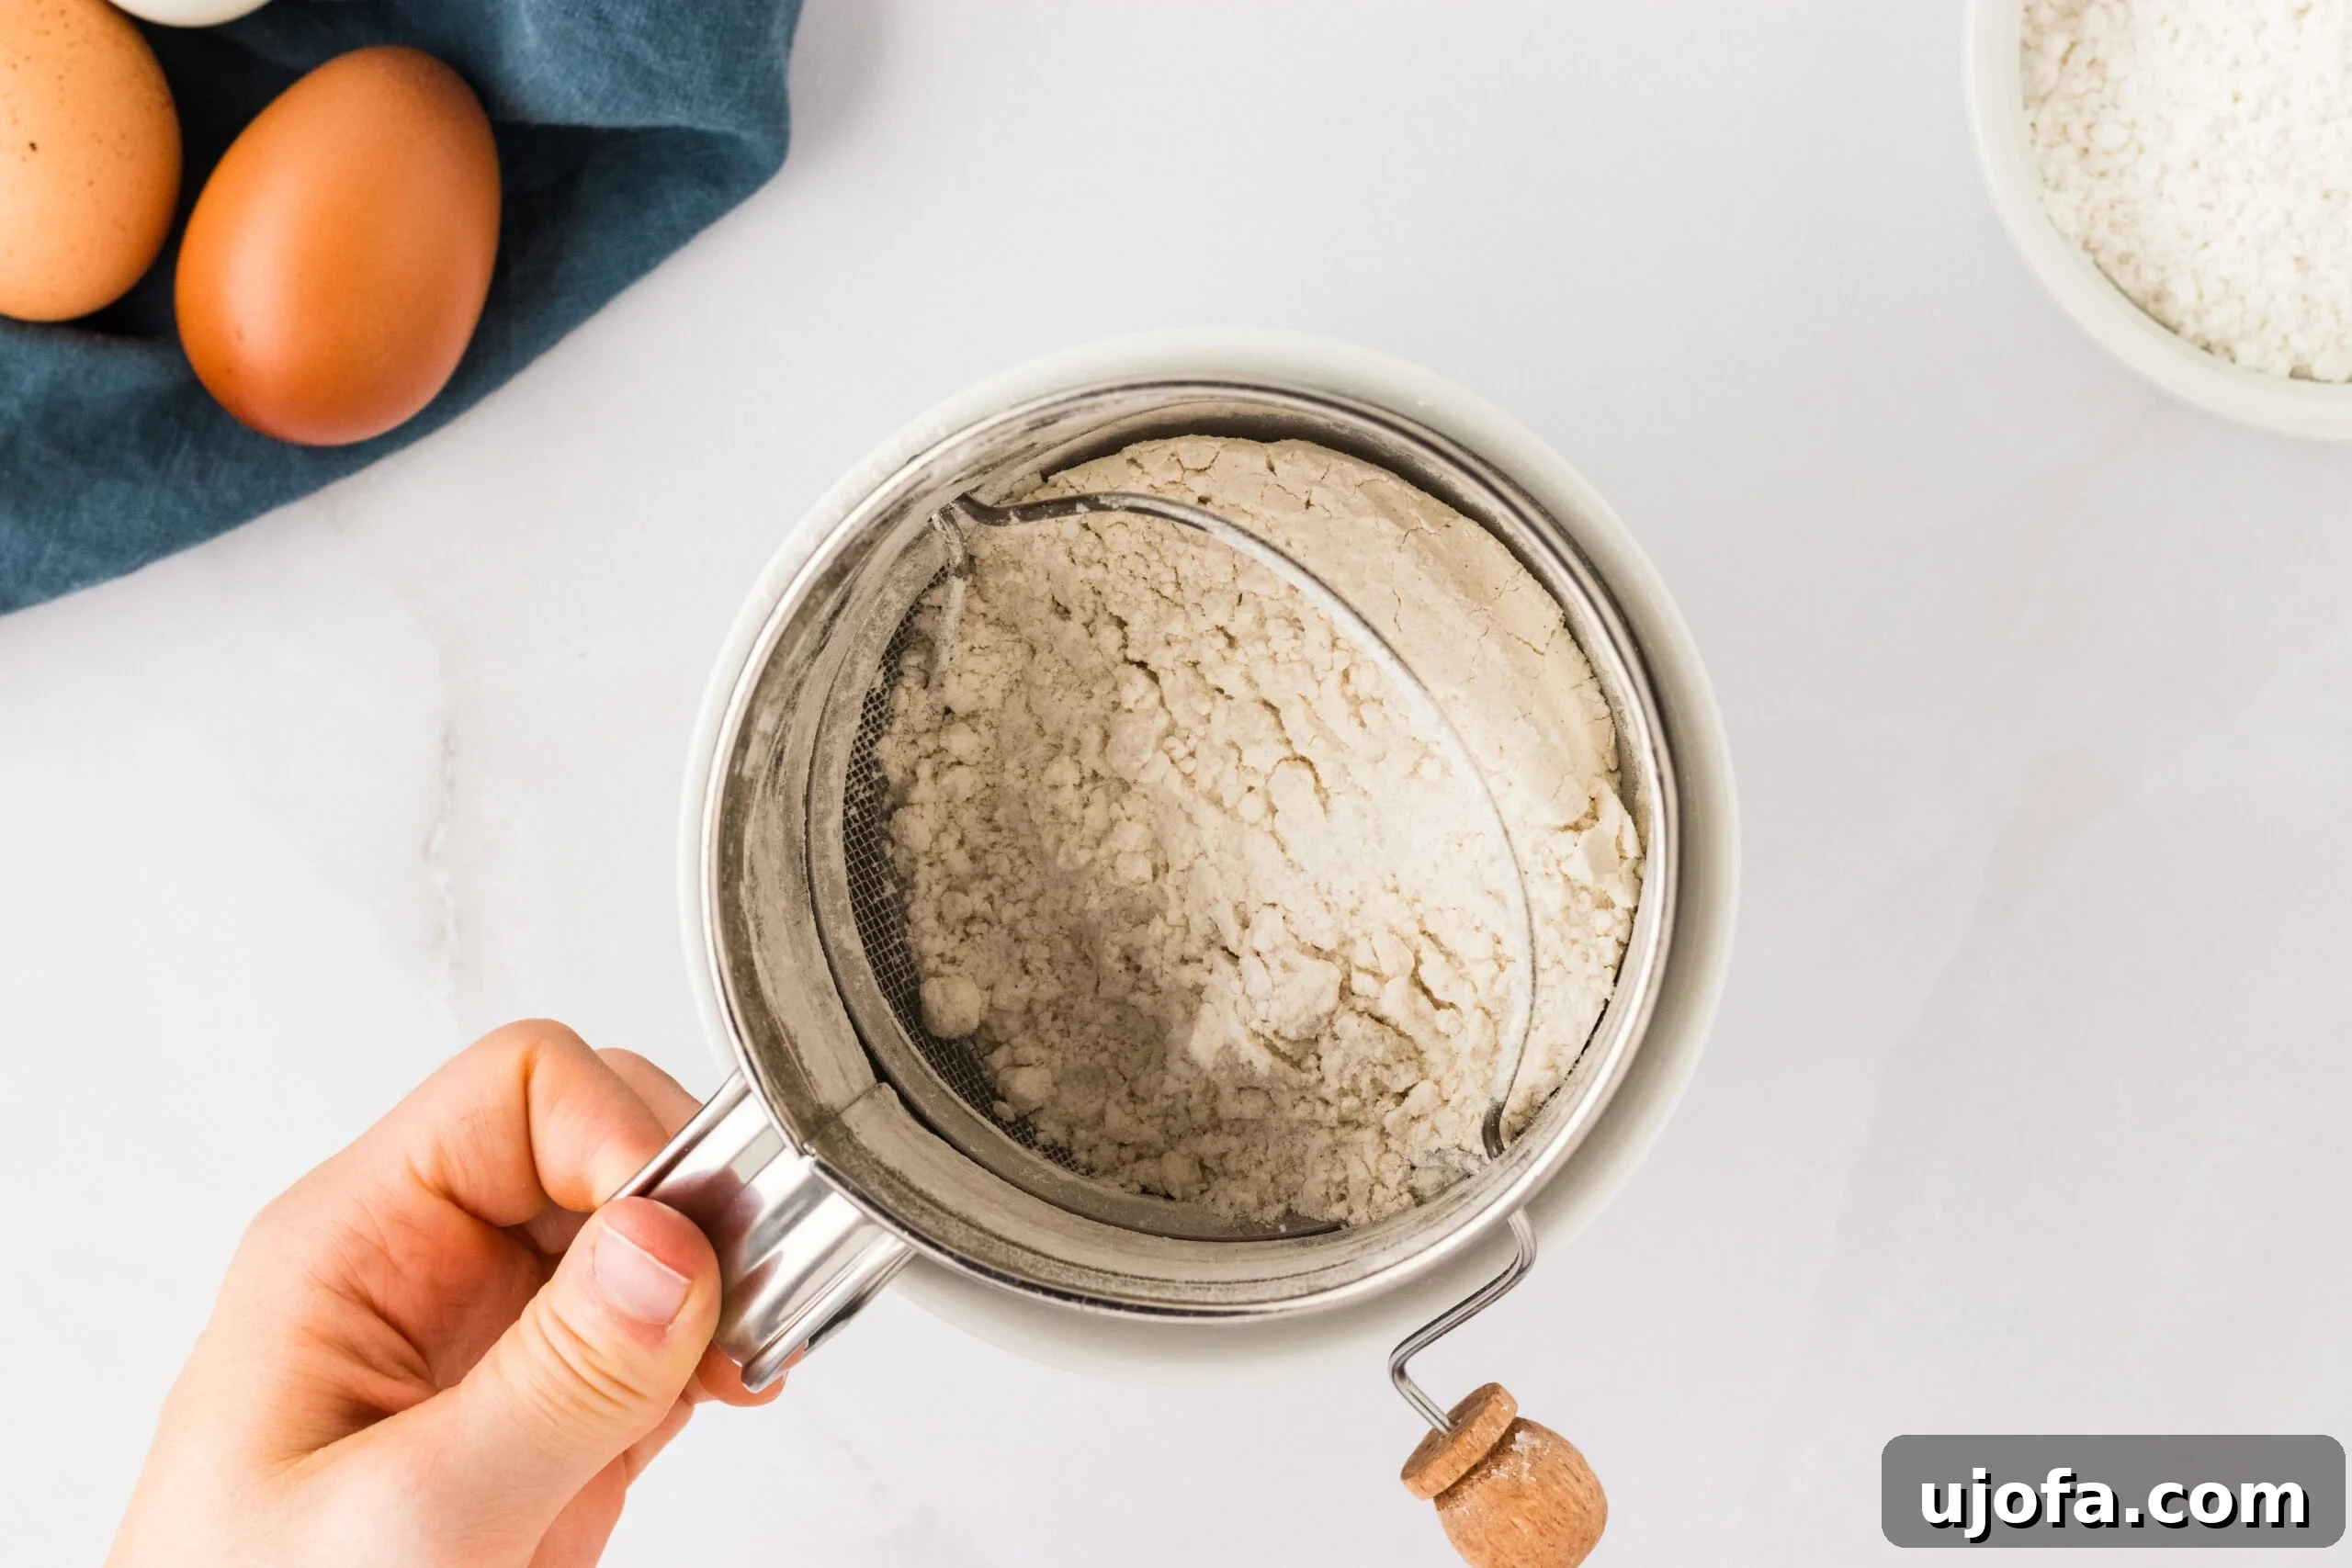
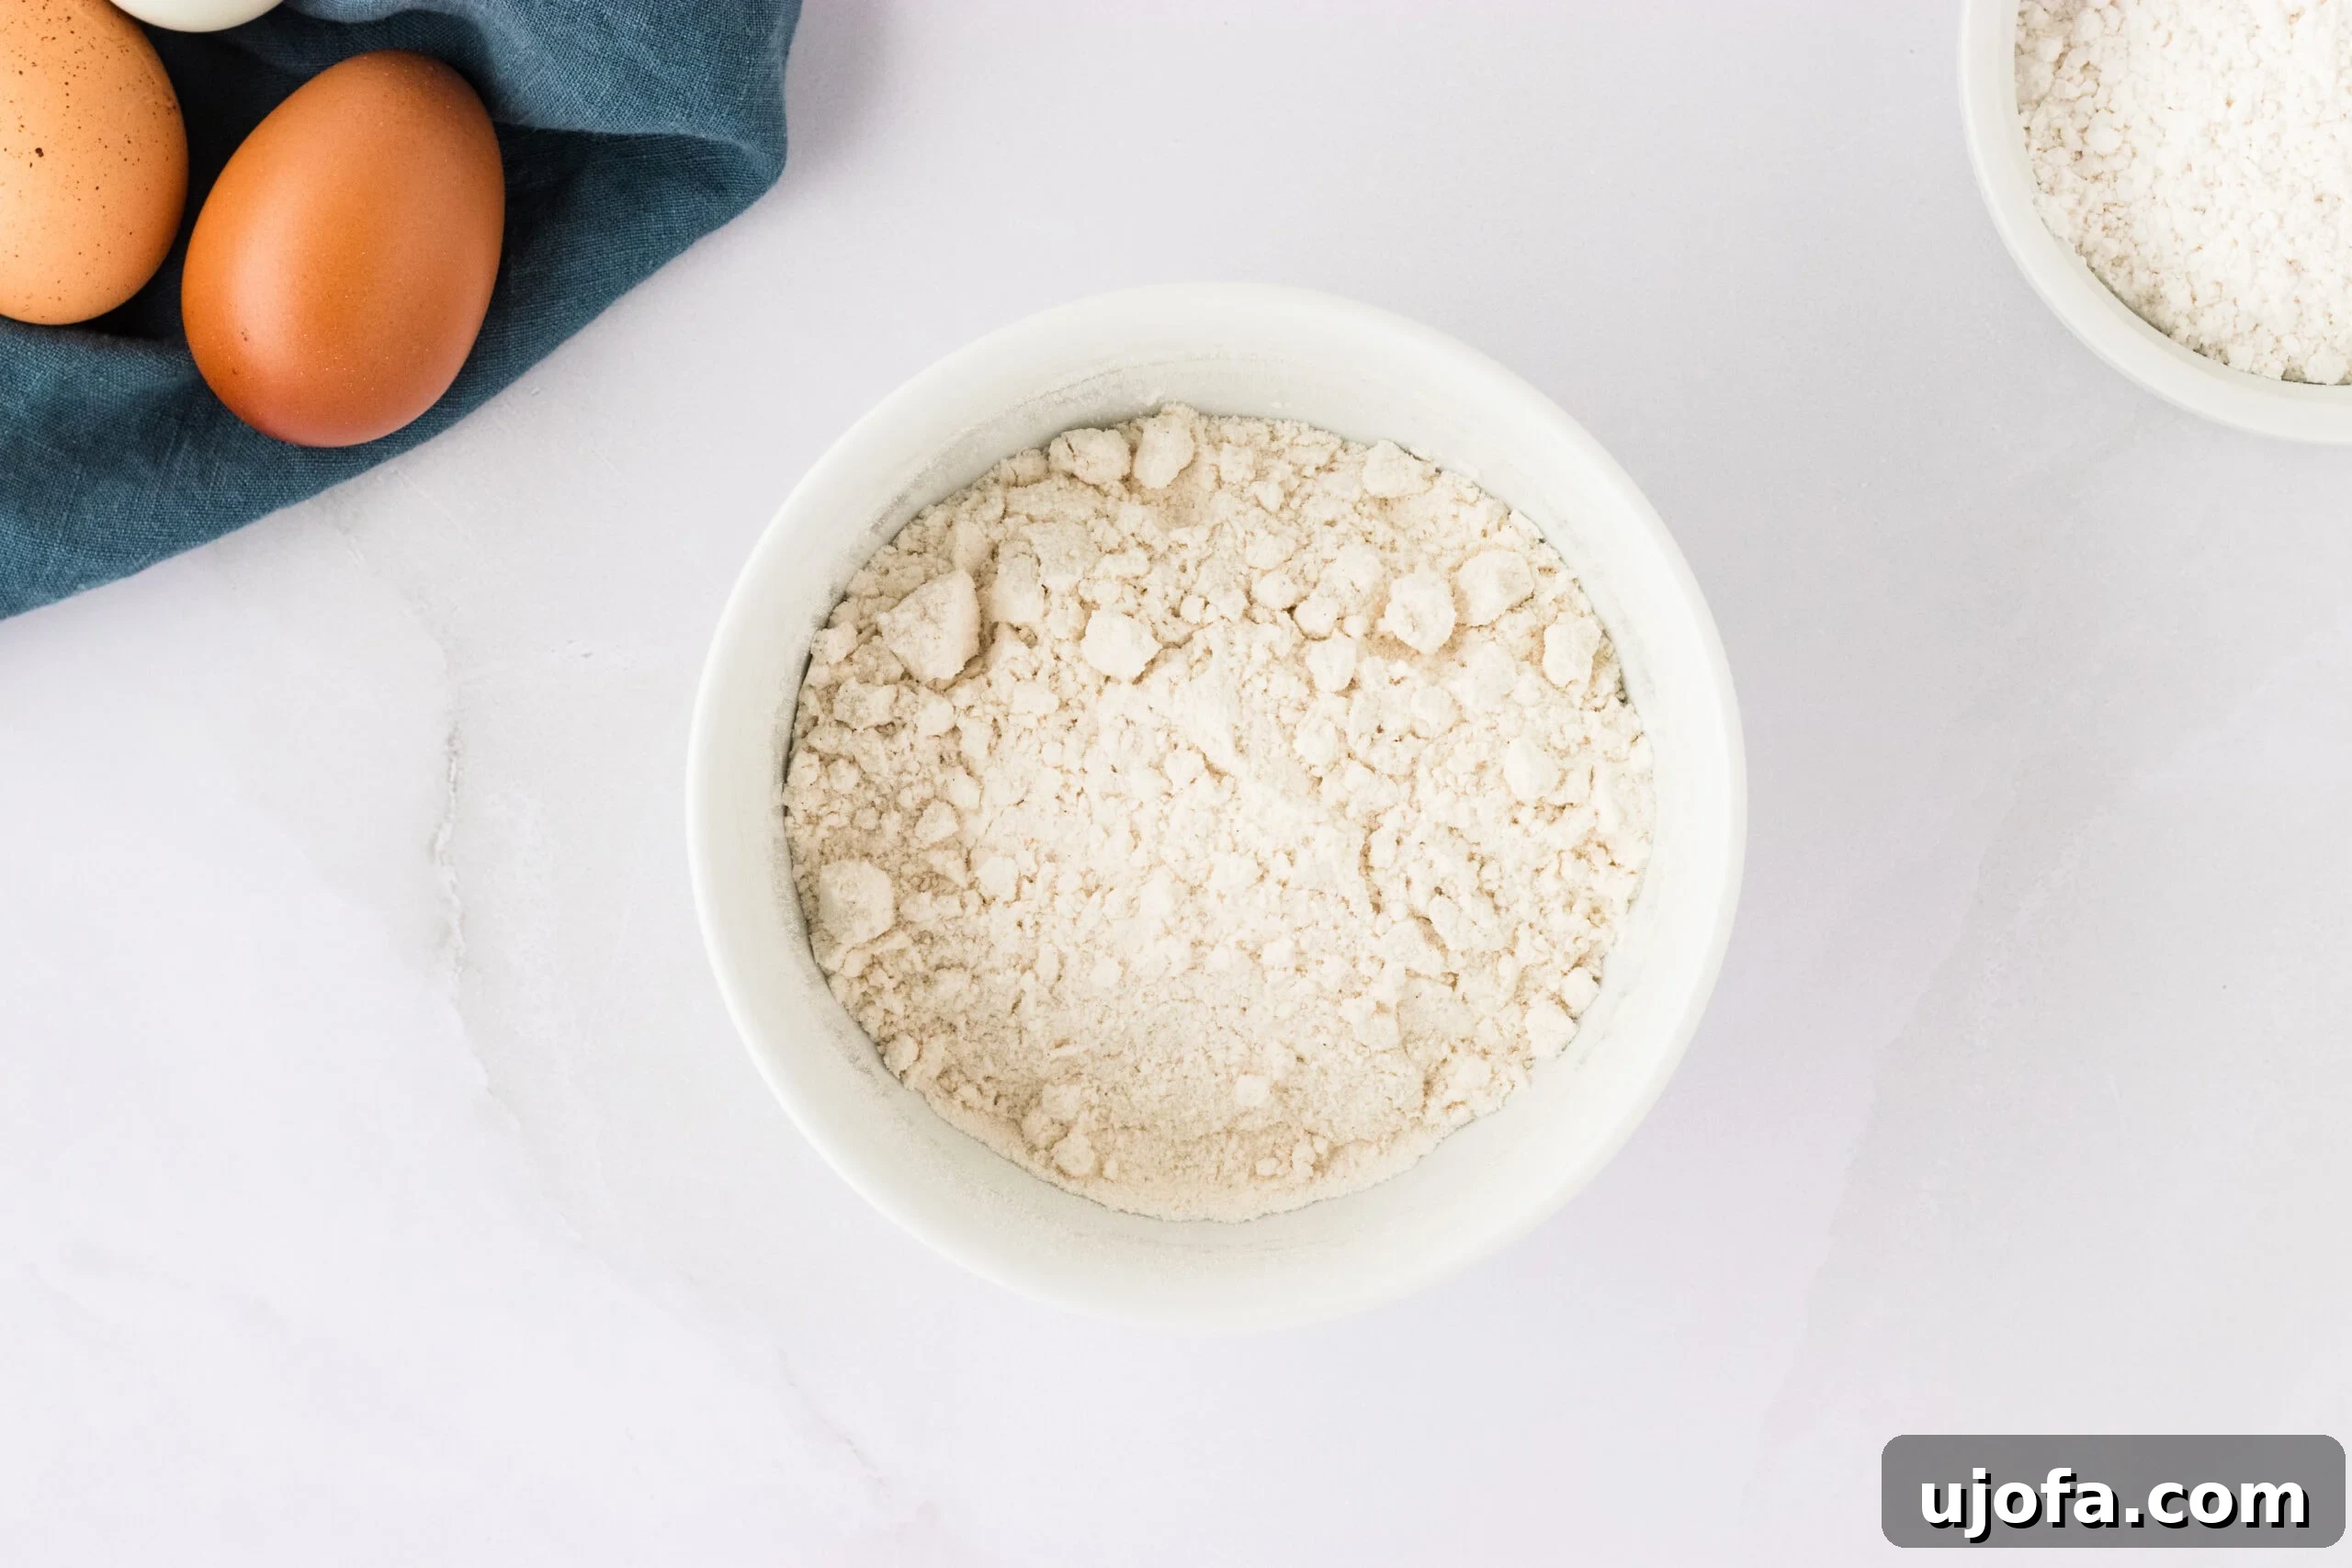
Step 2: Combine Dry Ingredients. In a medium-sized mixing bowl, sift together 1 cup of your chosen gluten-free all-purpose flour (ensuring it contains xanthan gum or adding ½ tsp separately), ¾ teaspoon of baking powder, and ½ teaspoon of salt. Sifting helps to aerate the flour and remove any lumps, ensuring a smooth batter. Set this mixture aside.
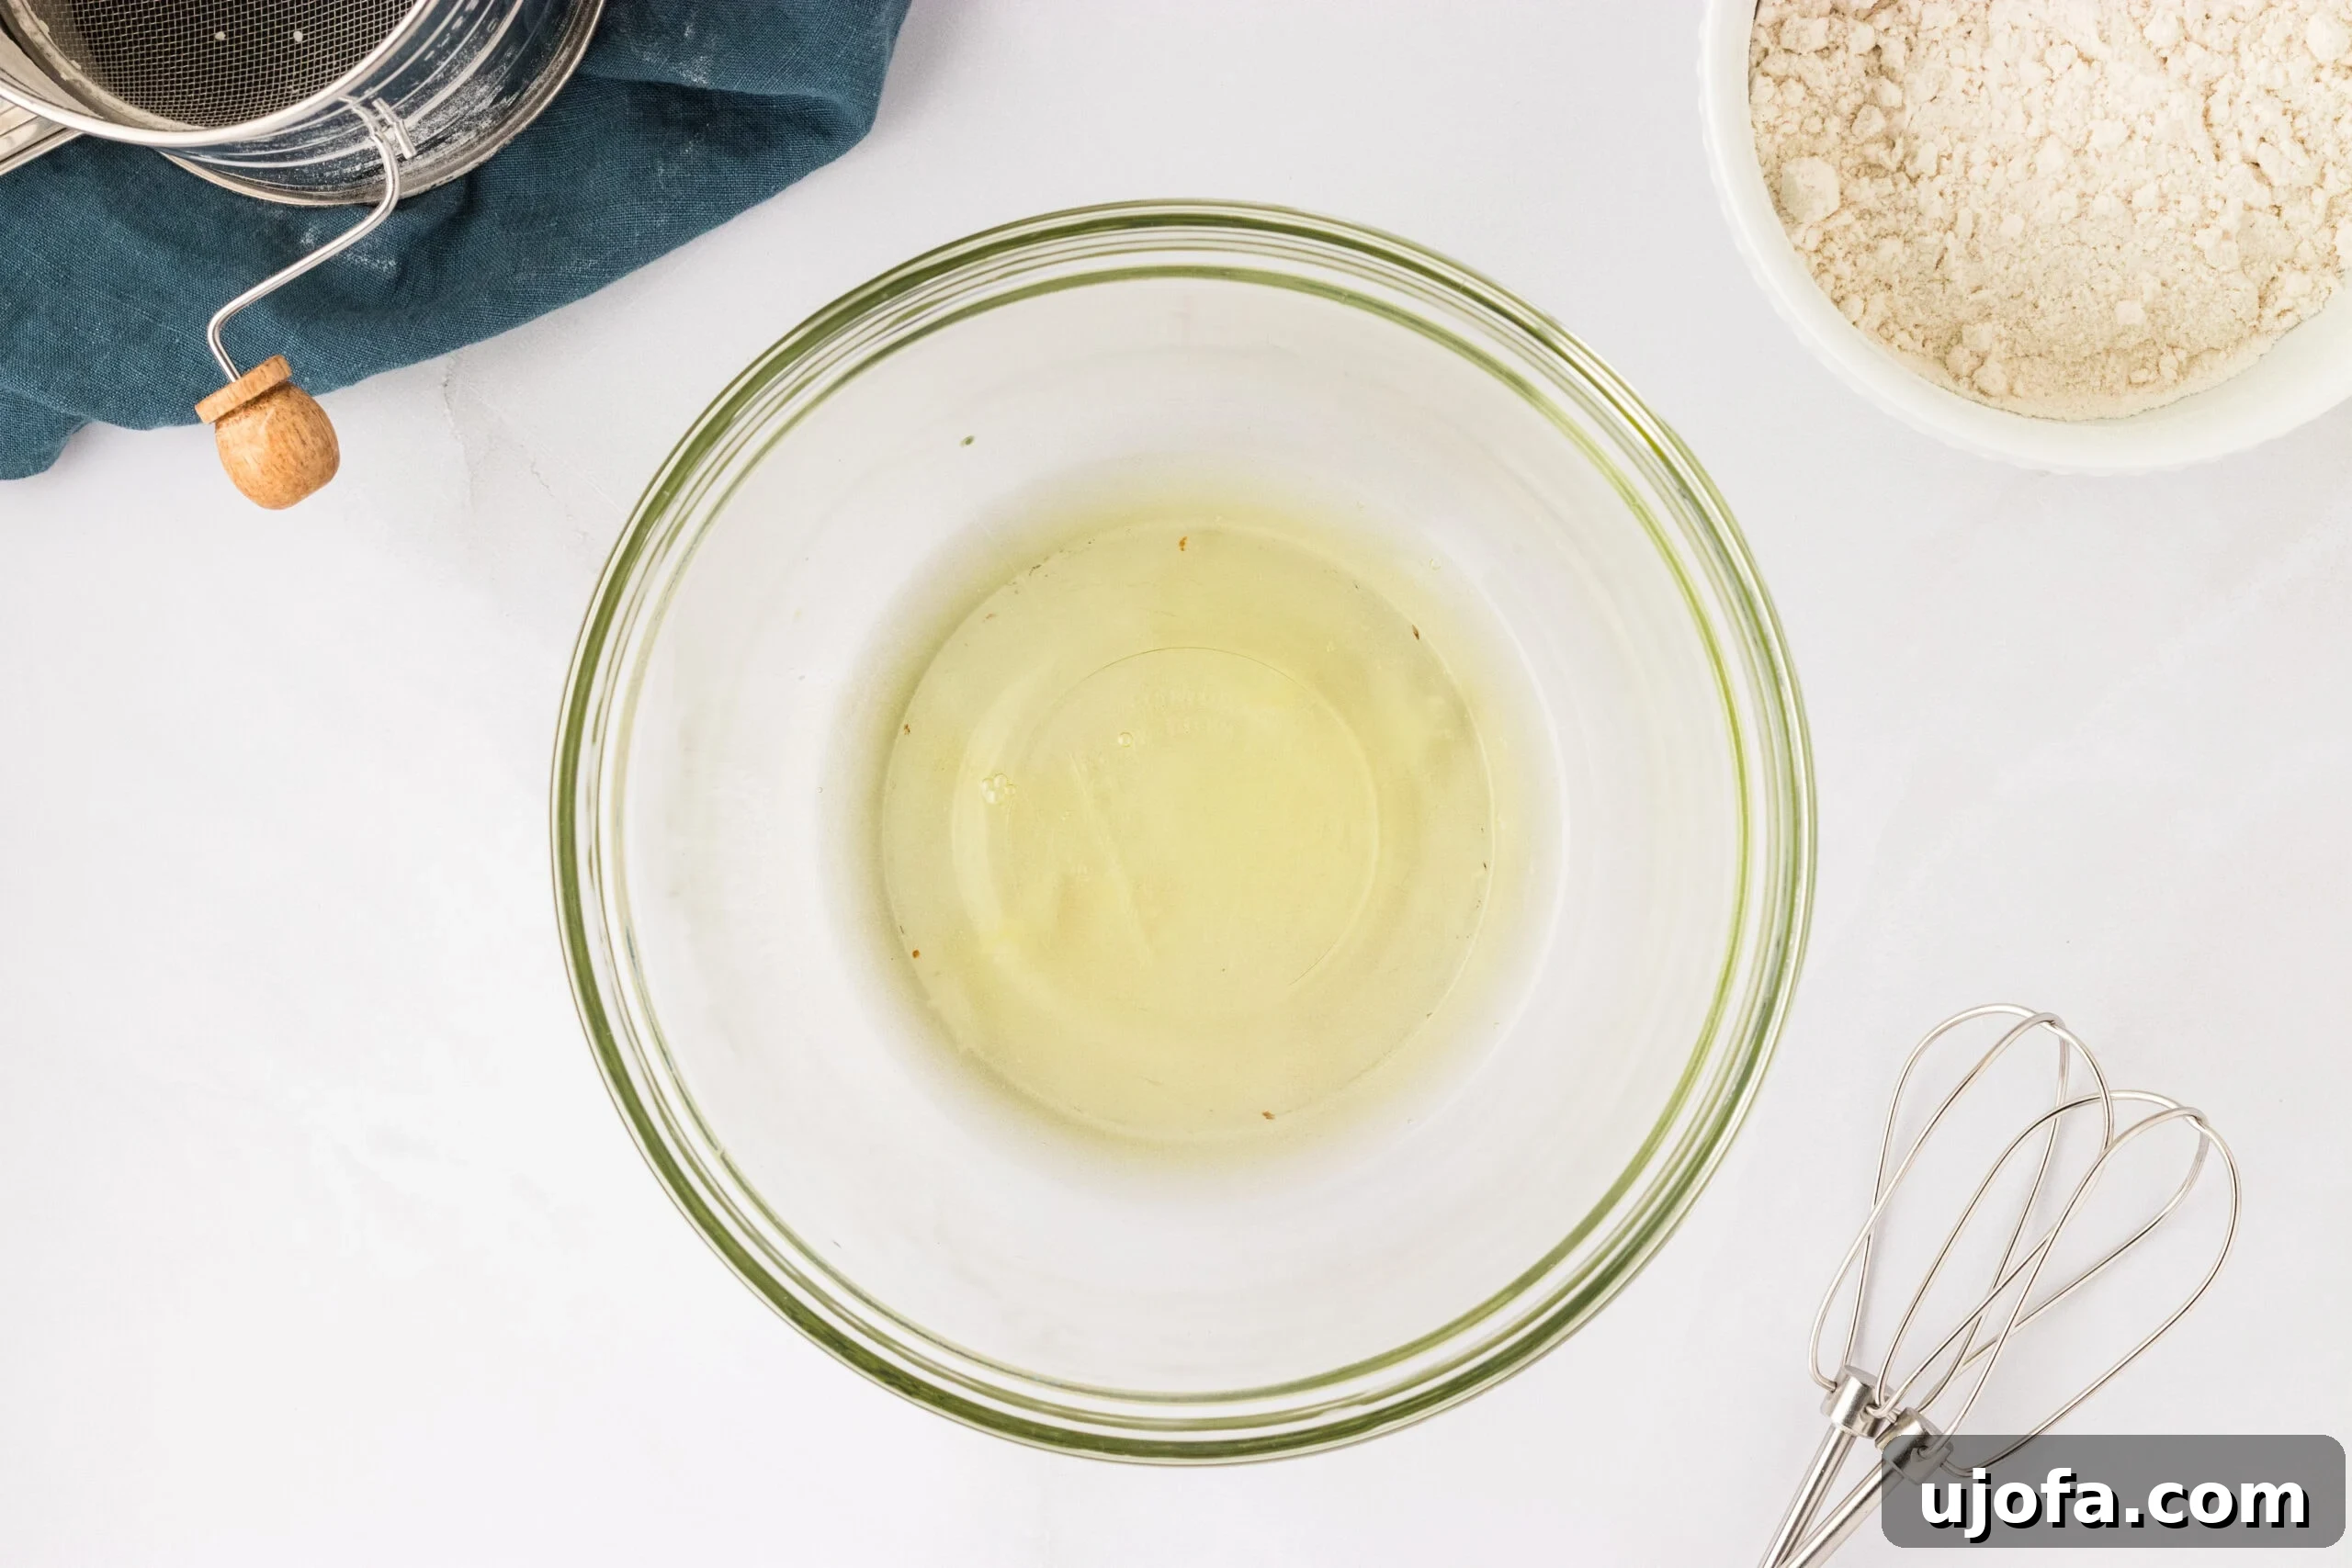
Step 3: Separate Eggs. Carefully separate the yolks from the whites of 3 large eggs. Place the egg whites in one clean, dry medium-sized bowl and the egg yolks in another medium-sized bowl. It’s critical that no yolk gets into the whites, as this can prevent them from whipping properly.
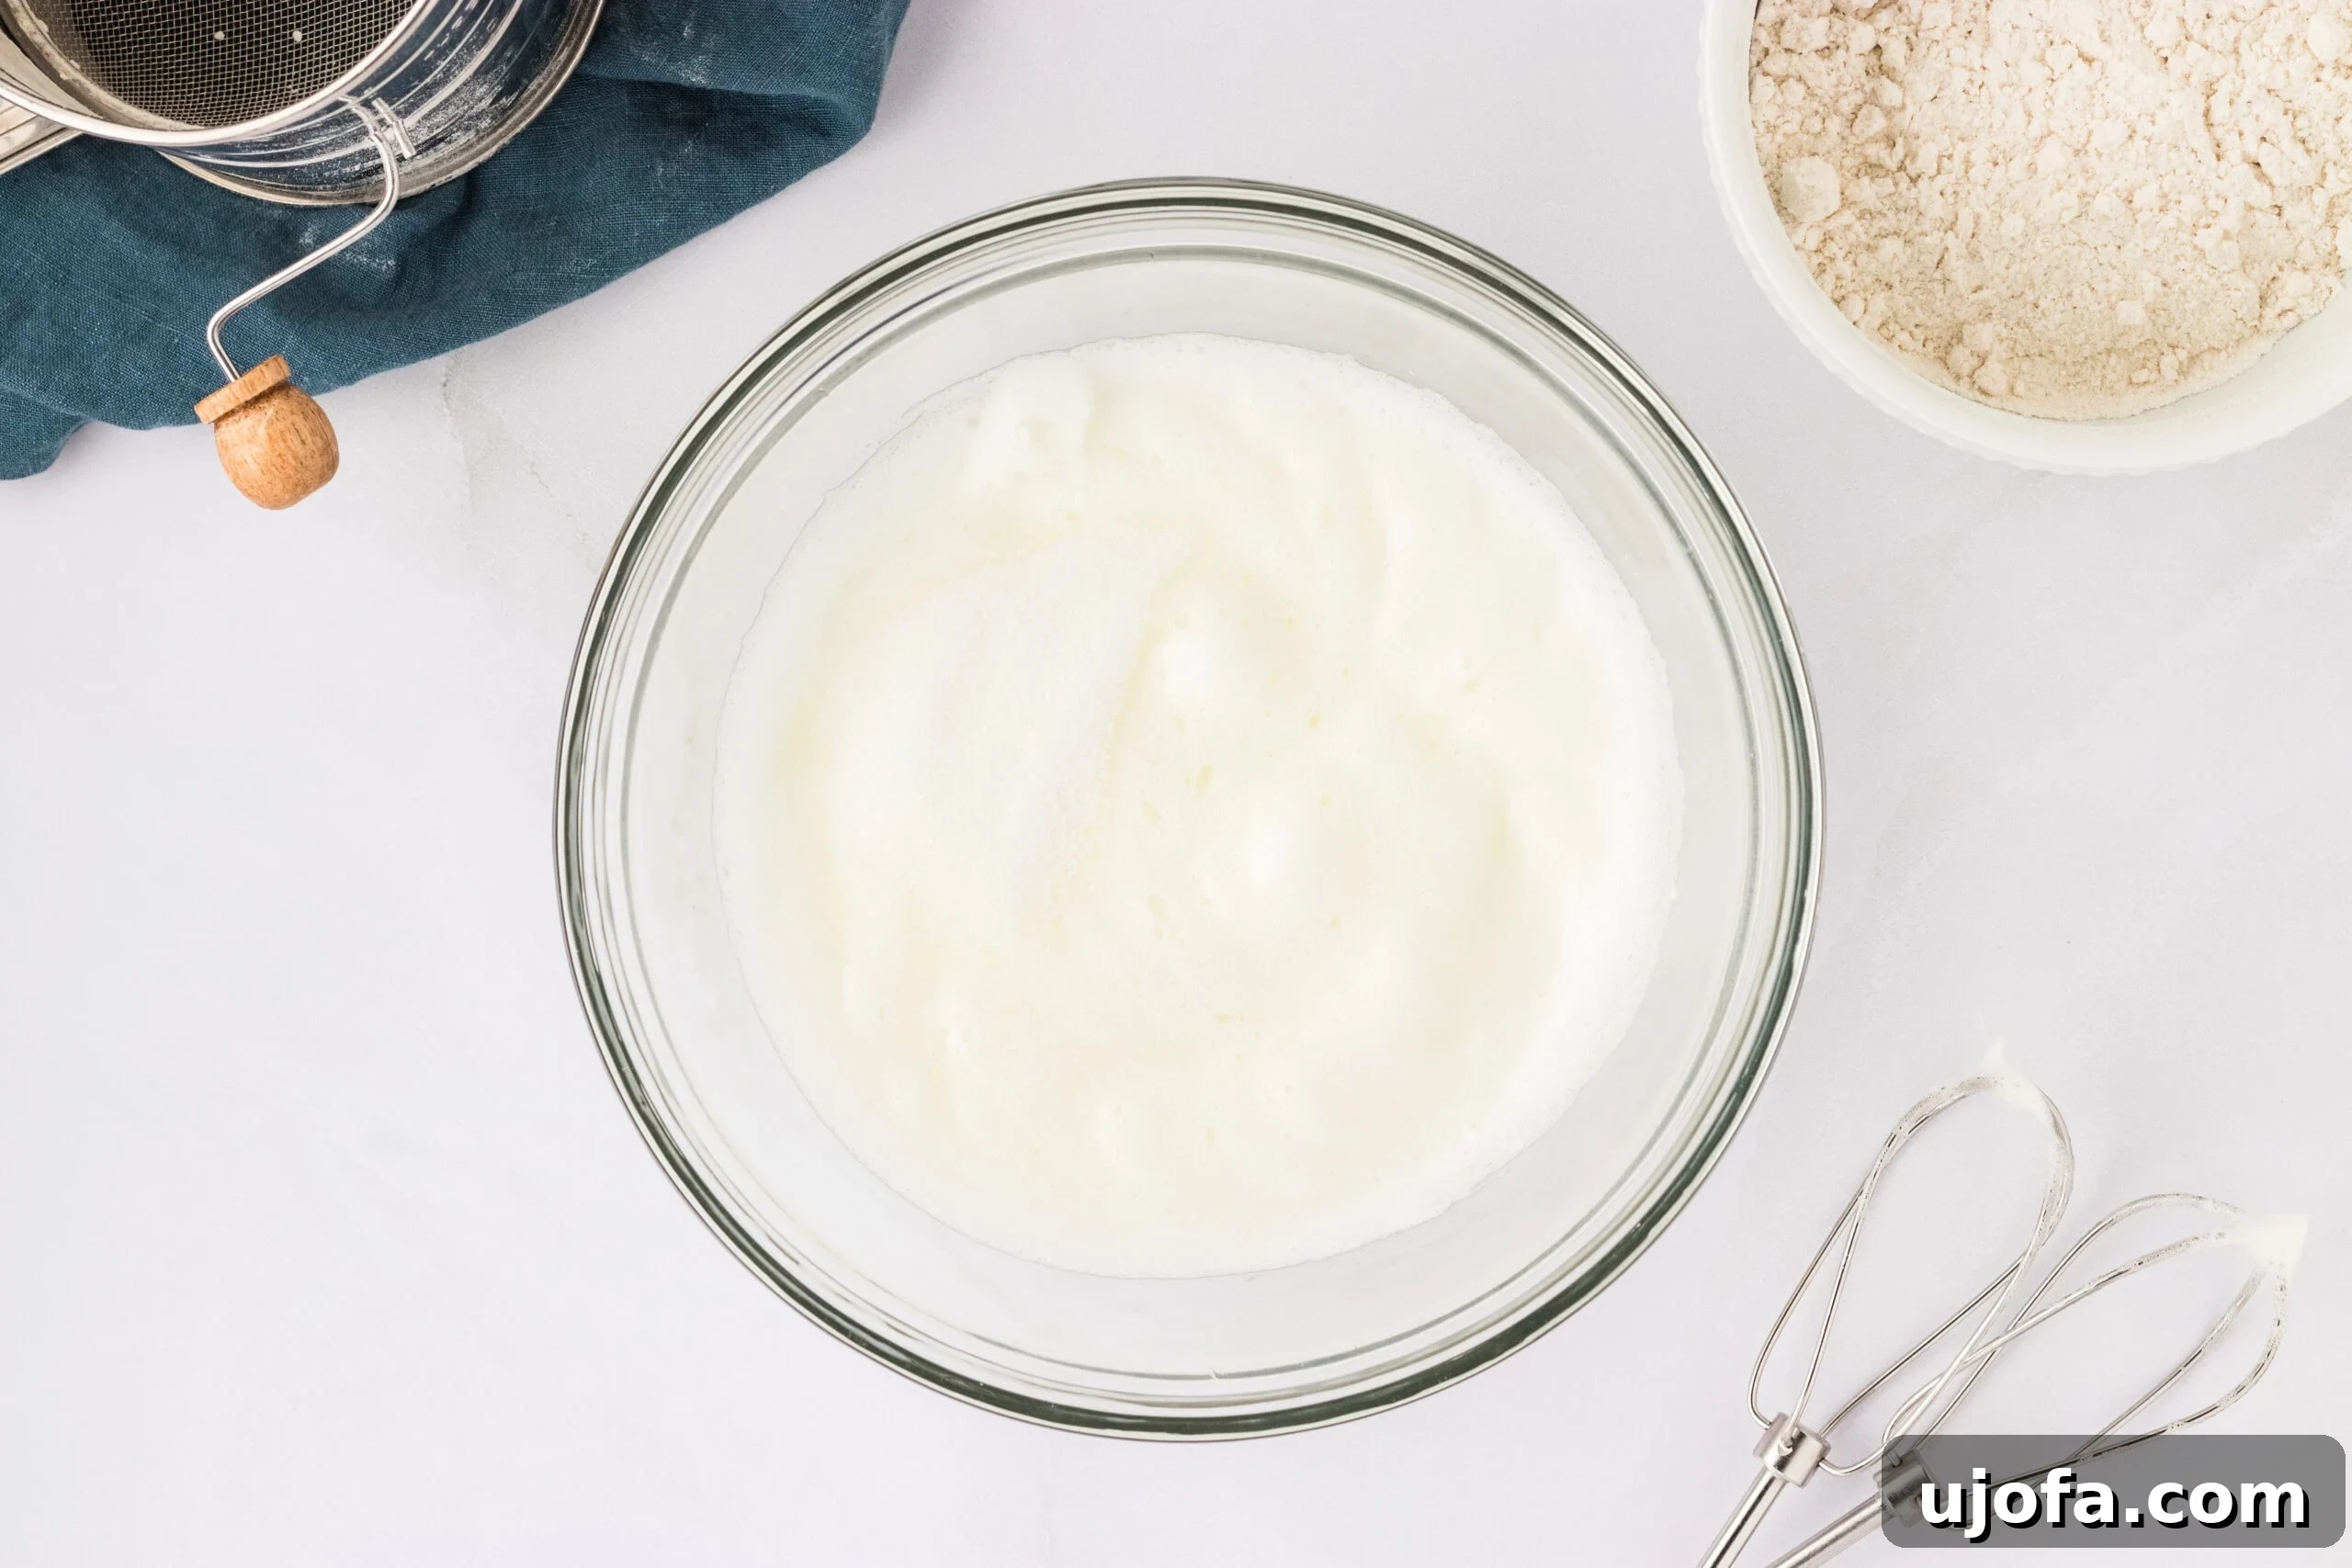
Step 4: Whip Egg Whites to Stiff Peaks. Using a hand mixer or a stand mixer with the whisk attachment, begin whipping the egg whites on medium speed. Once they start to become foamy and reach soft peaks (where the peaks gently fold over when the whisk is lifted), slowly and gradually add in ¼ cup of the granulated sugar. Continue beating on medium-high speed until the egg whites become glossy, firm, and form stiff peaks that stand straight up when the whisk is removed. Be careful not to overbeat, as they can become dry. Set this bowl aside.
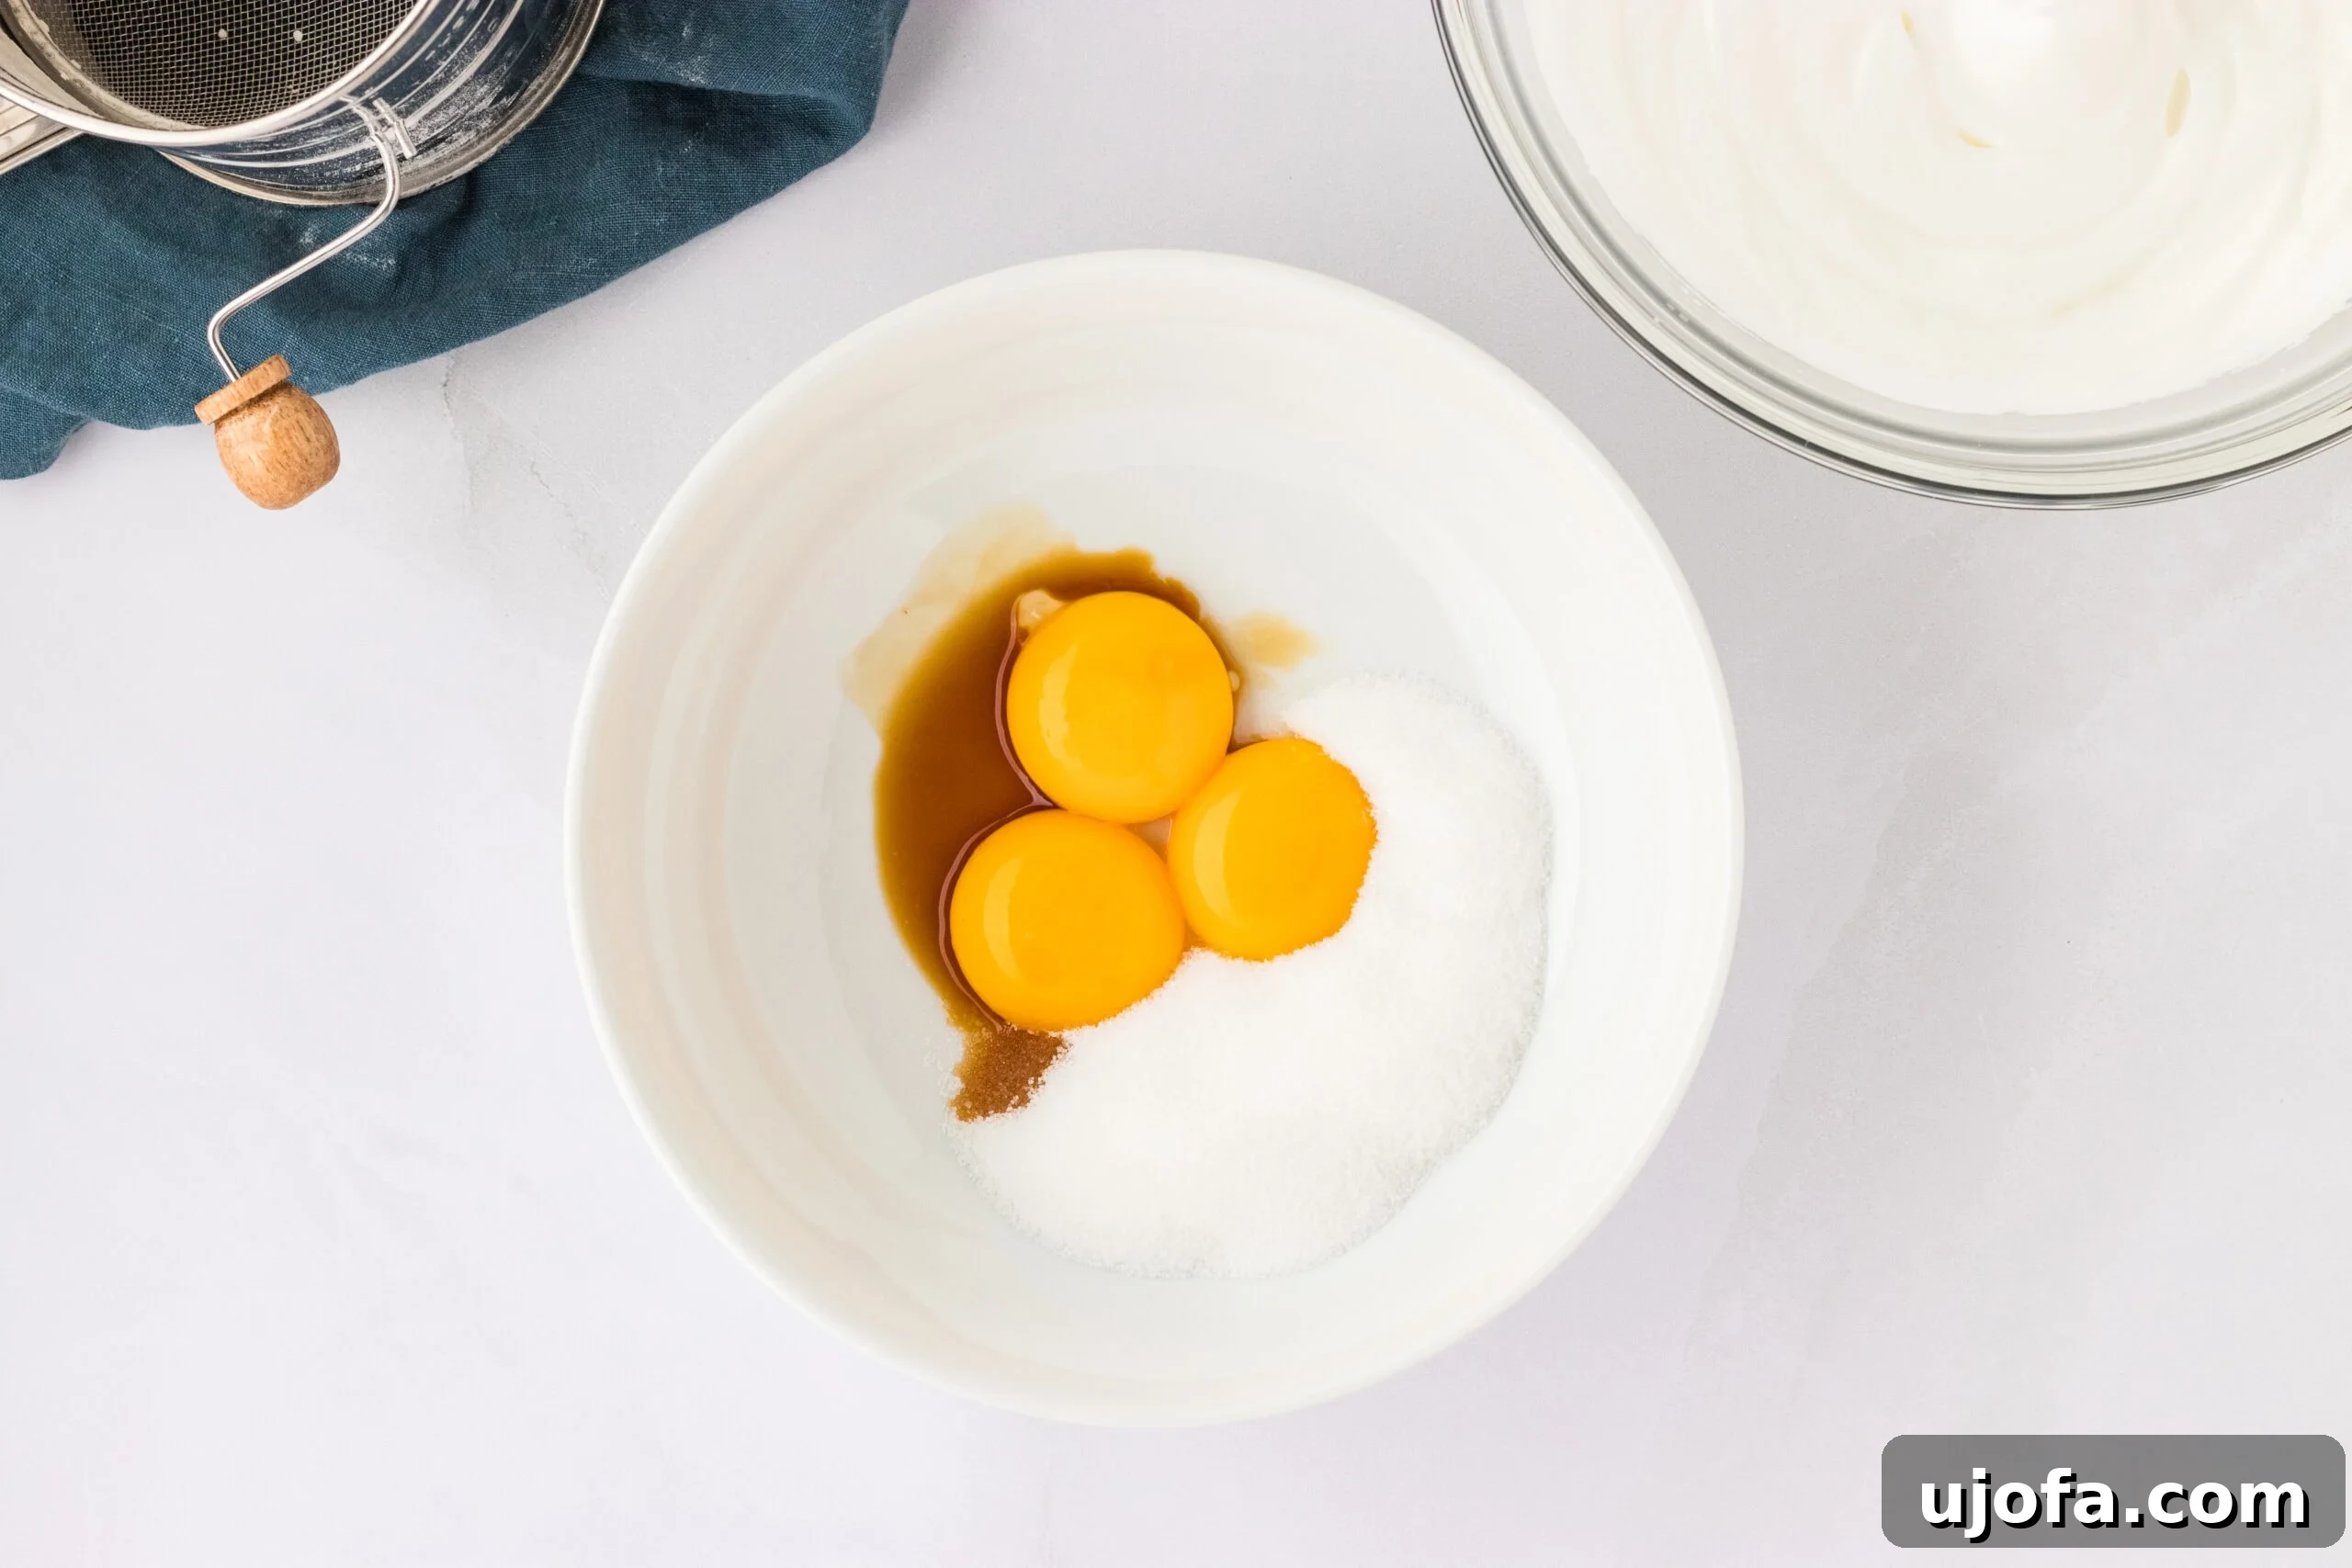
Step 5: Beat Egg Yolks Until Pale and Voluminous. Now, turn your attention to the bowl of egg yolks. Add 1 teaspoon of vanilla extract and the remaining ¼ cup plus 1 tablespoon of granulated sugar to the yolks. With your hand or stand mixer, beat this mixture on medium-high speed for approximately 4-5 minutes. The goal is to achieve a pale, lemon-yellow color and a significantly increased volume, roughly tripled, indicating proper aeration.
Step 6: Gently Fold Egg Whites into Yolks. This step requires a delicate touch. Carefully take about ½ of your whipped egg whites and gently fold them into the aerated egg yolk mixture using a rubber spatula. Use a “swooping” motion, moving the spatula from the bottom of the bowl up and over, turning the mixture. The aim is to combine them without deflating the precious air you’ve incorporated. Once the first half is just incorporated with a few streaks remaining, add the second half of the whipped egg whites and continue folding gently until almost fully mixed. Overmixing at this stage will result in dense cookies.
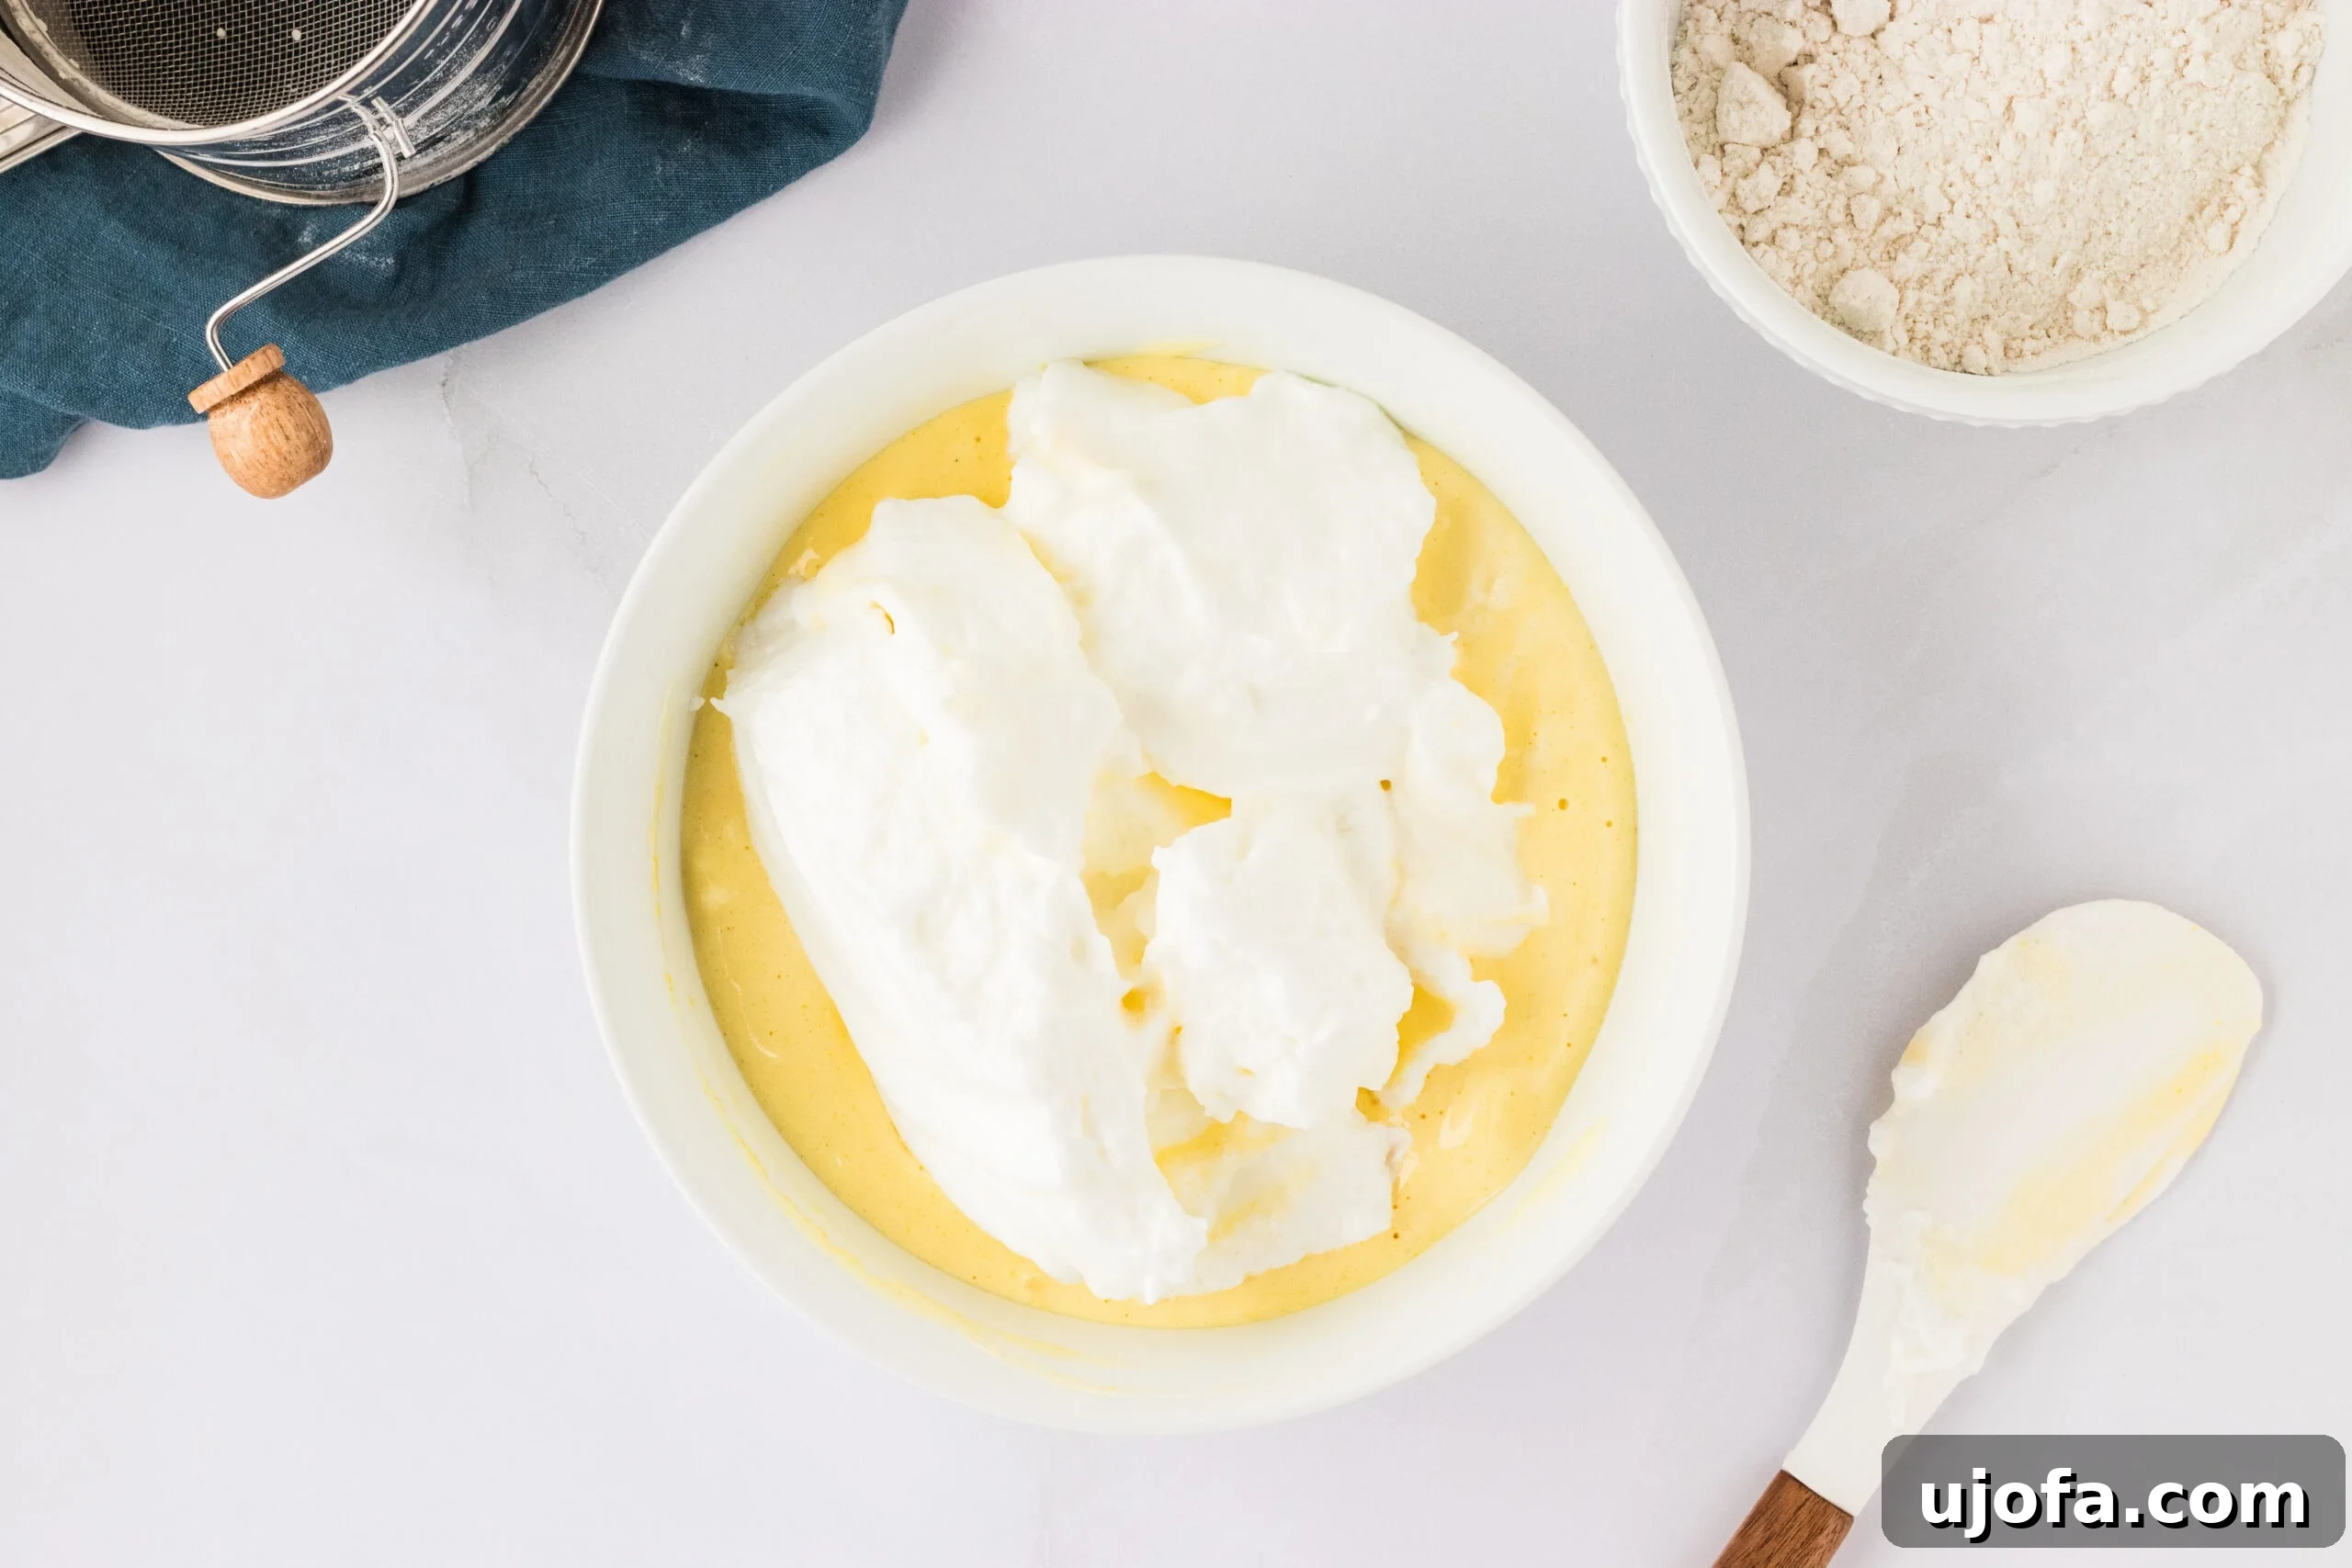
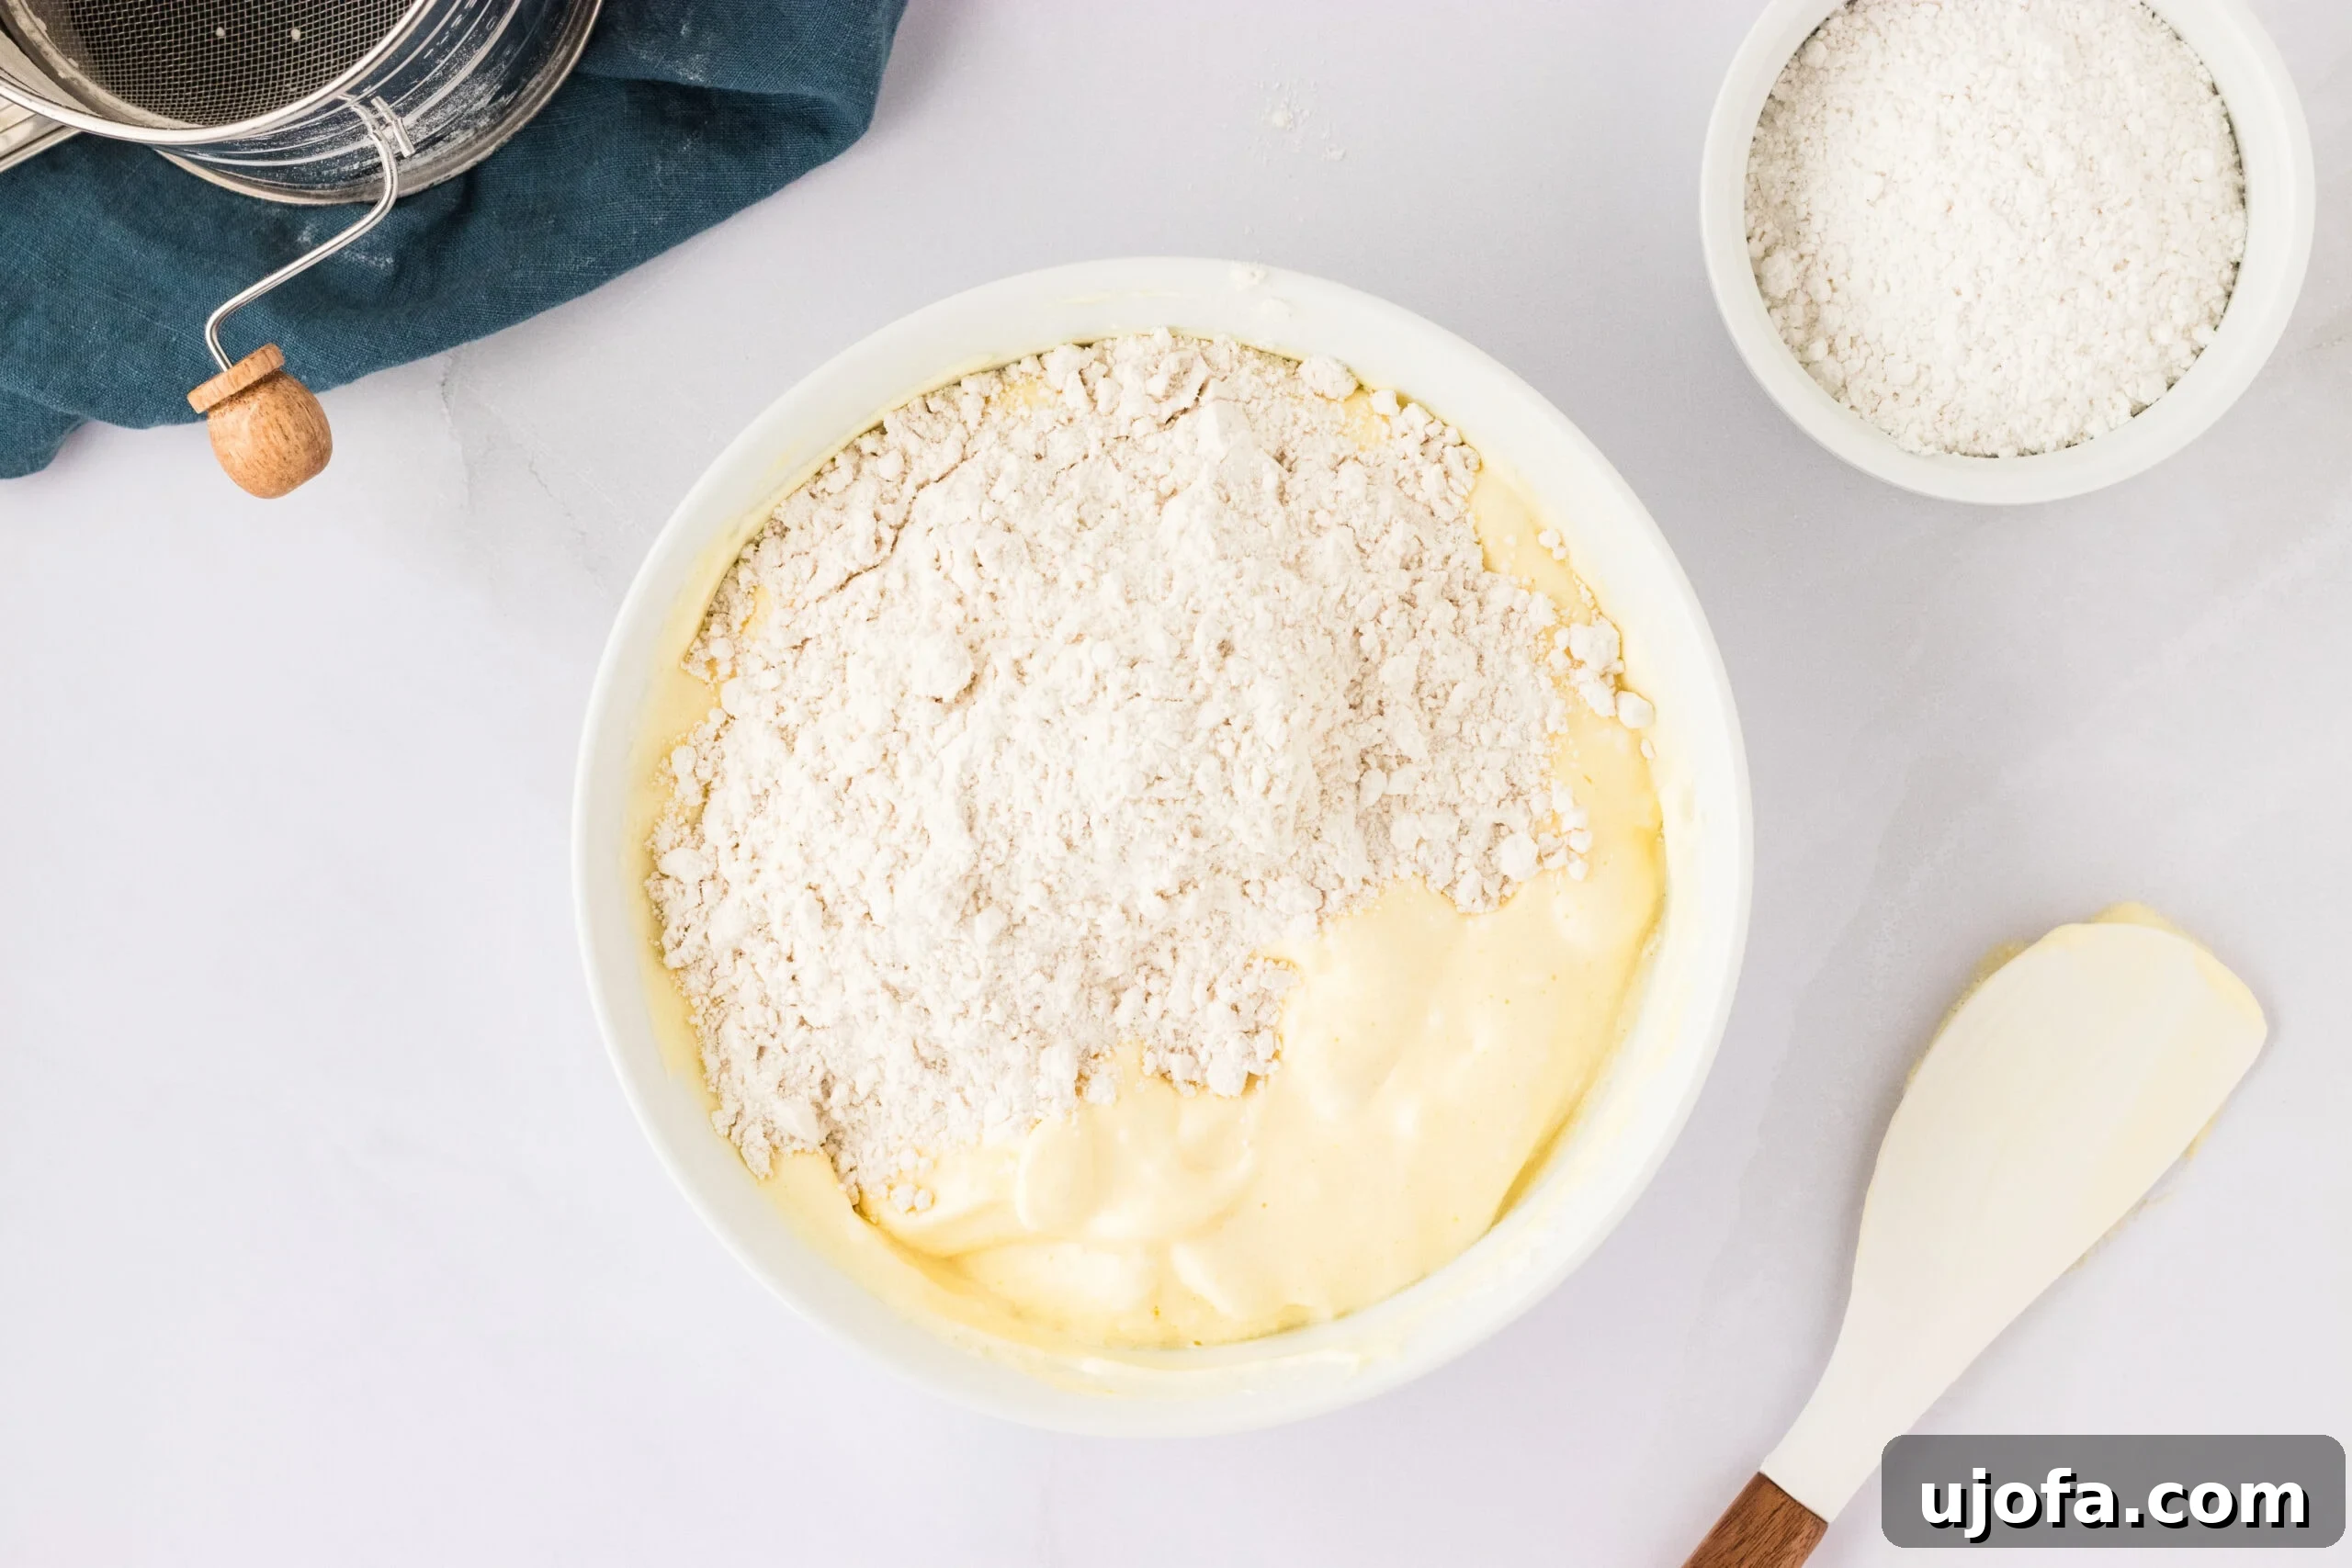
Step 7: Incorporate Dry Ingredients. Now, add the reserved sifted flour mixture (flour, baking powder, salt) into your wet mixture. Continue the gentle folding motion with your spatula, ensuring all the dry ingredients are fully incorporated and no lumps remain. Stop folding as soon as the mixture is smooth and homogenous, being careful not to overwork the batter.
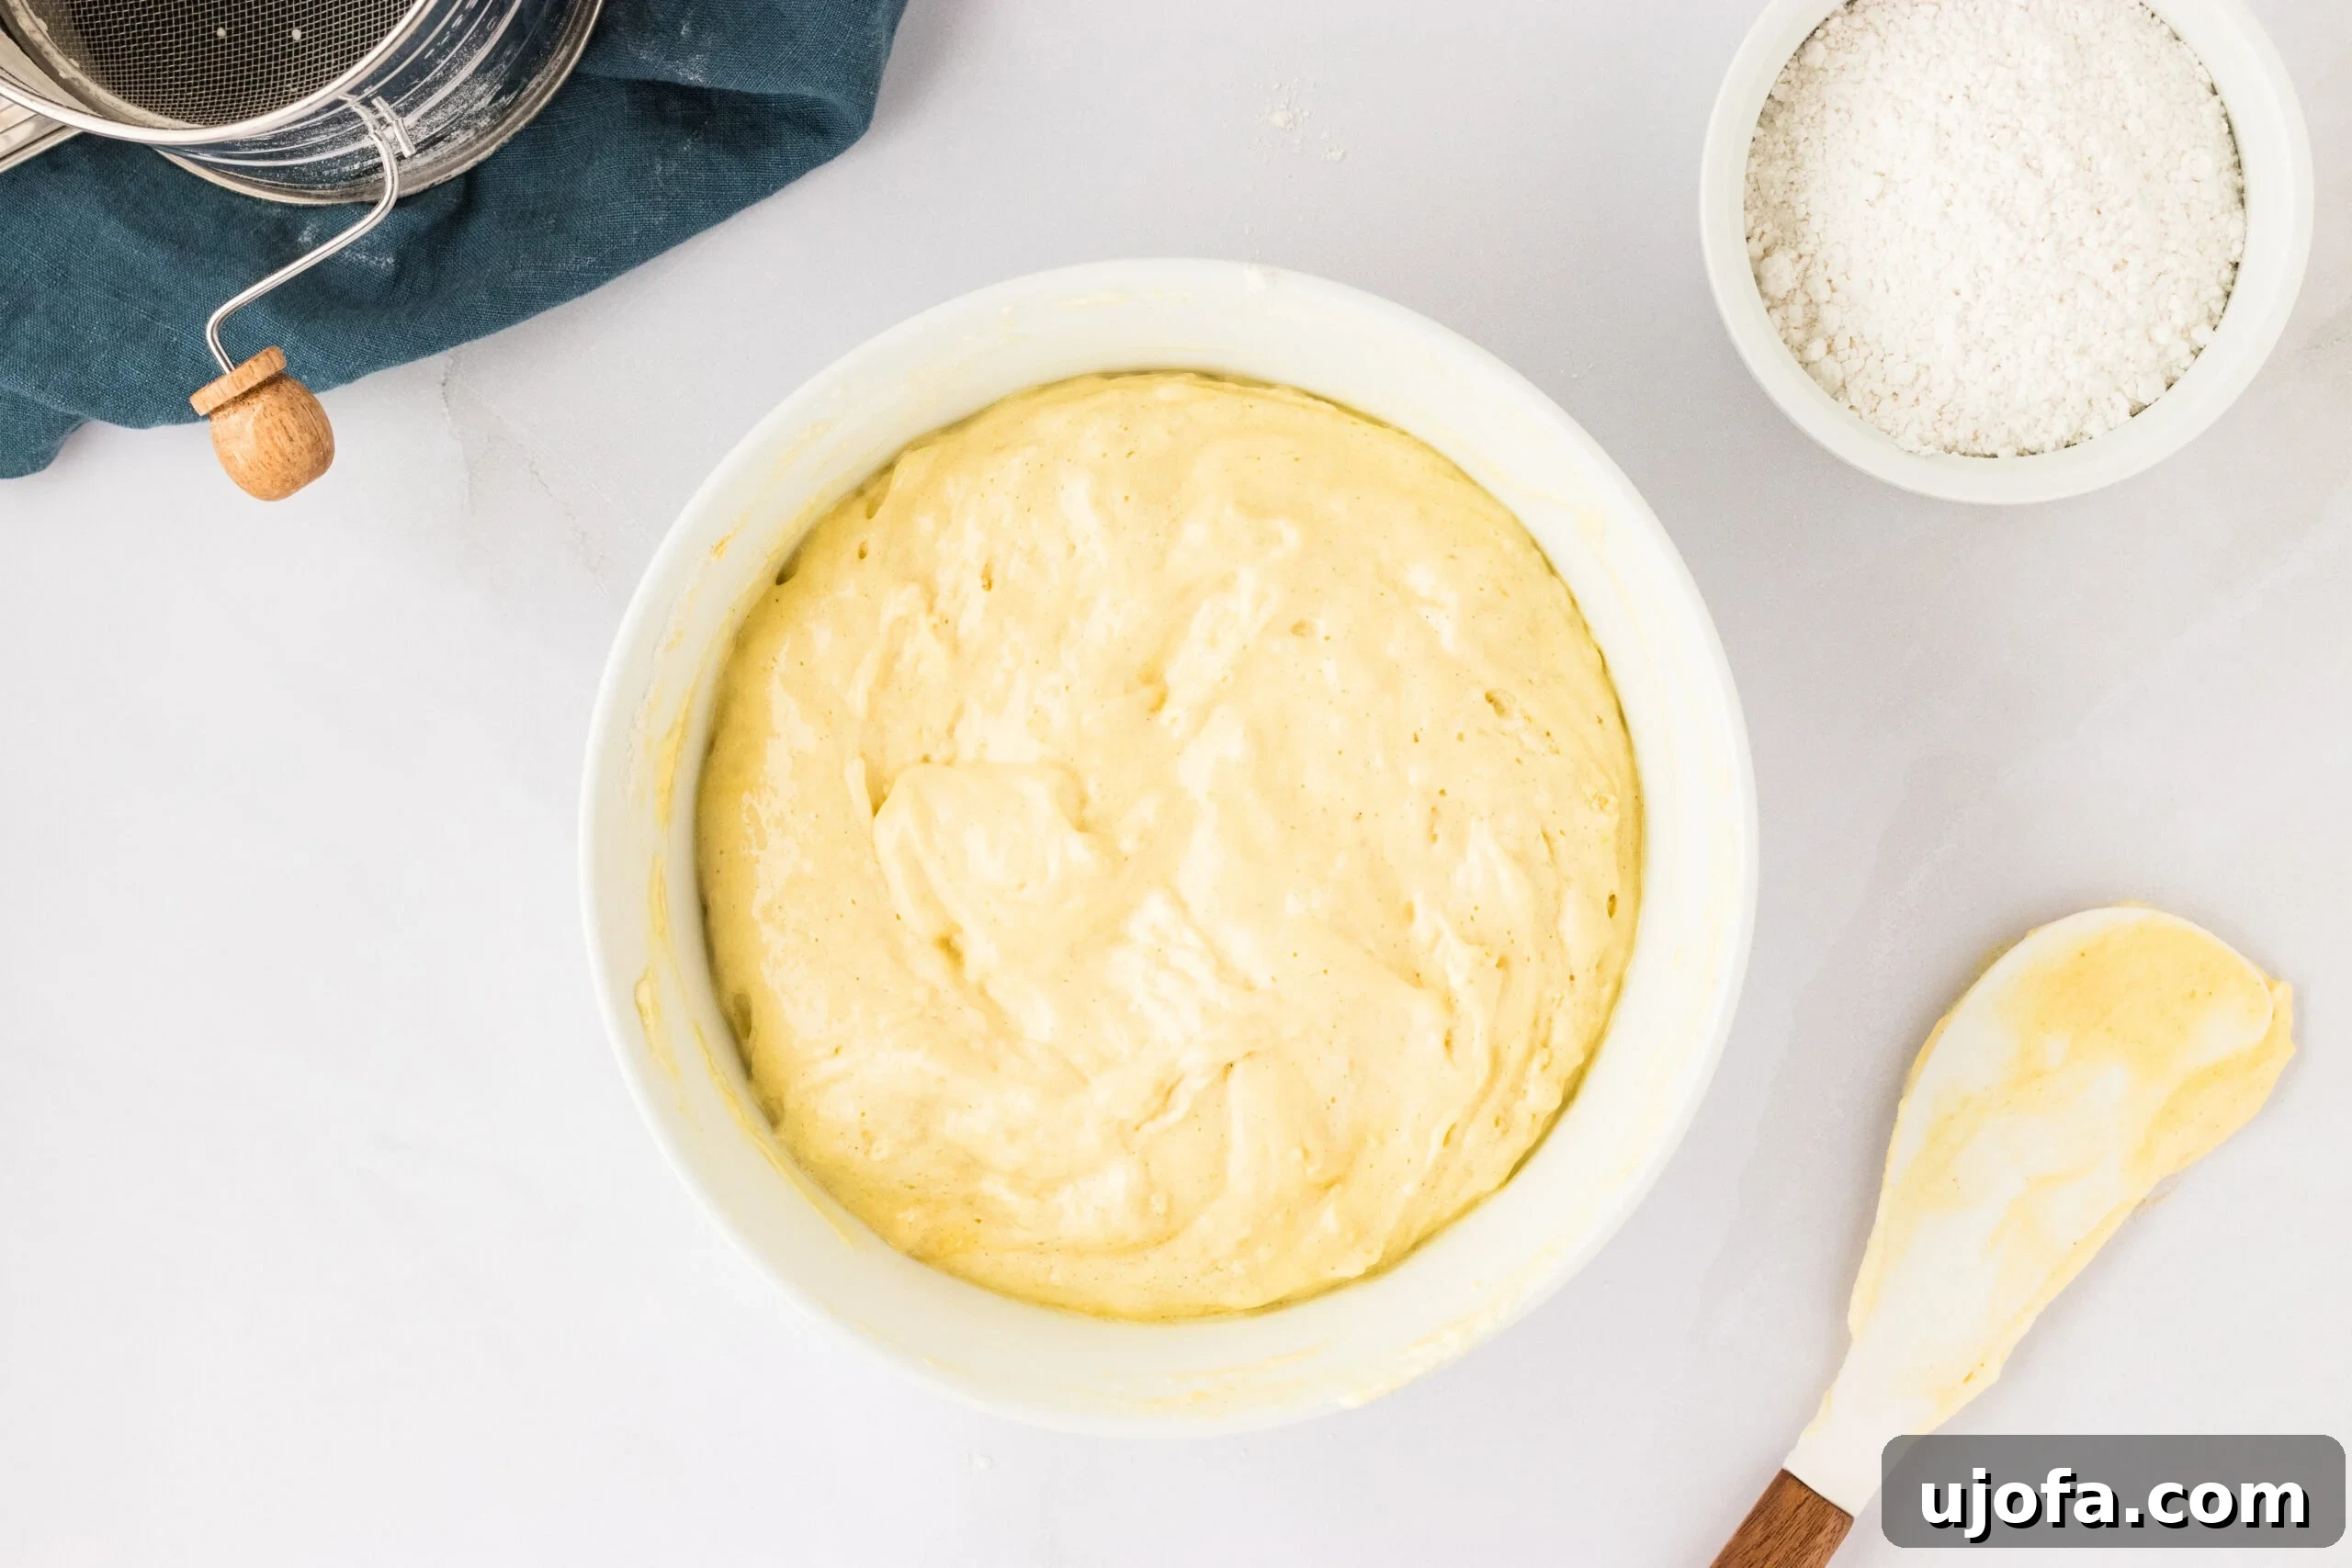
Step 8: Prepare for Piping. Carefully spoon or pour your delicate ladyfinger batter into a piping bag that has been fitted with a ½-inch round piping tip. If you’re using a gallon-sized freezer bag, simply snip off one corner to create an opening of roughly ½ inch in diameter. This prepares your batter for precise piping.
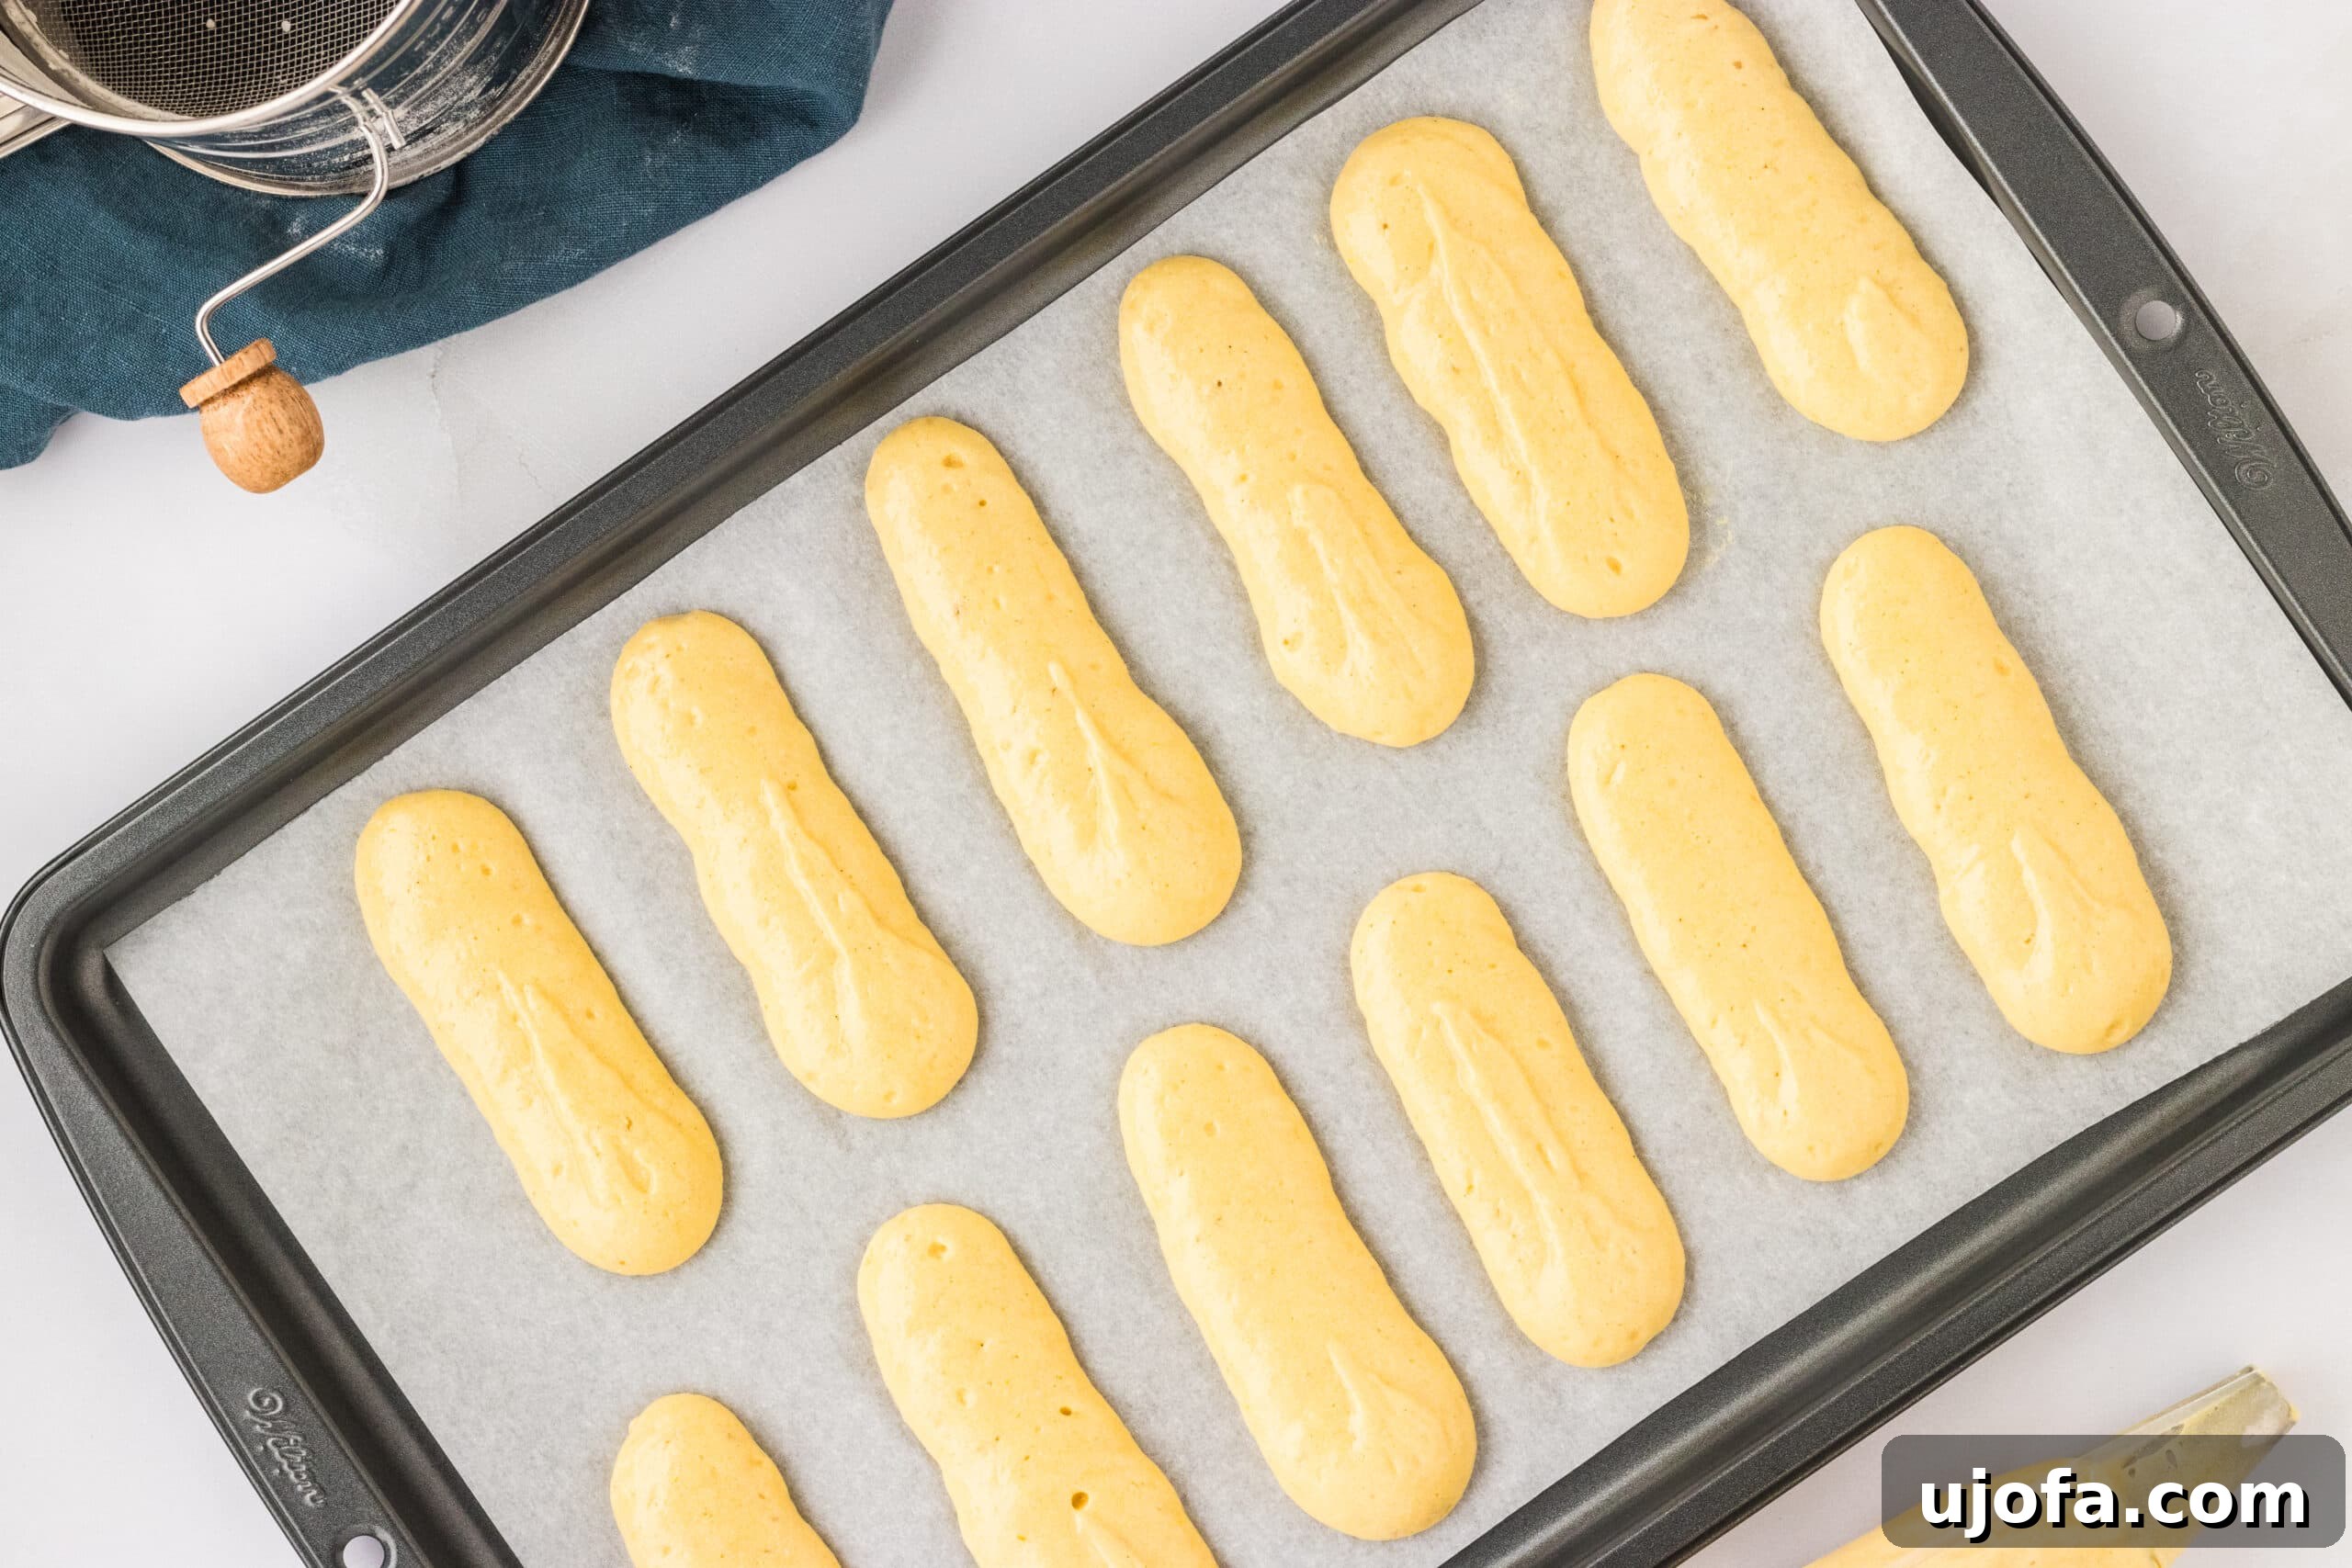
Step 9: Pipe the Ladyfingers. Onto your parchment-lined baking sheets, pipe the ladyfingers into neat, uniform rows. Aim for each “finger” to be approximately 3-4 inches long. Crucially, leave about 1-2 inches of space between each piped biscuit to allow for expansion during baking, preventing them from merging together.
Step 10: Dust with Powdered Sugar. Using a fine-mesh sieve or sifter, lightly and evenly dust the tops of all the uncooked ladyfingers with powdered sugar. This step adds a subtle layer of sweetness and contributes to the classic crisp exterior and beautiful finish of the baked cookies.
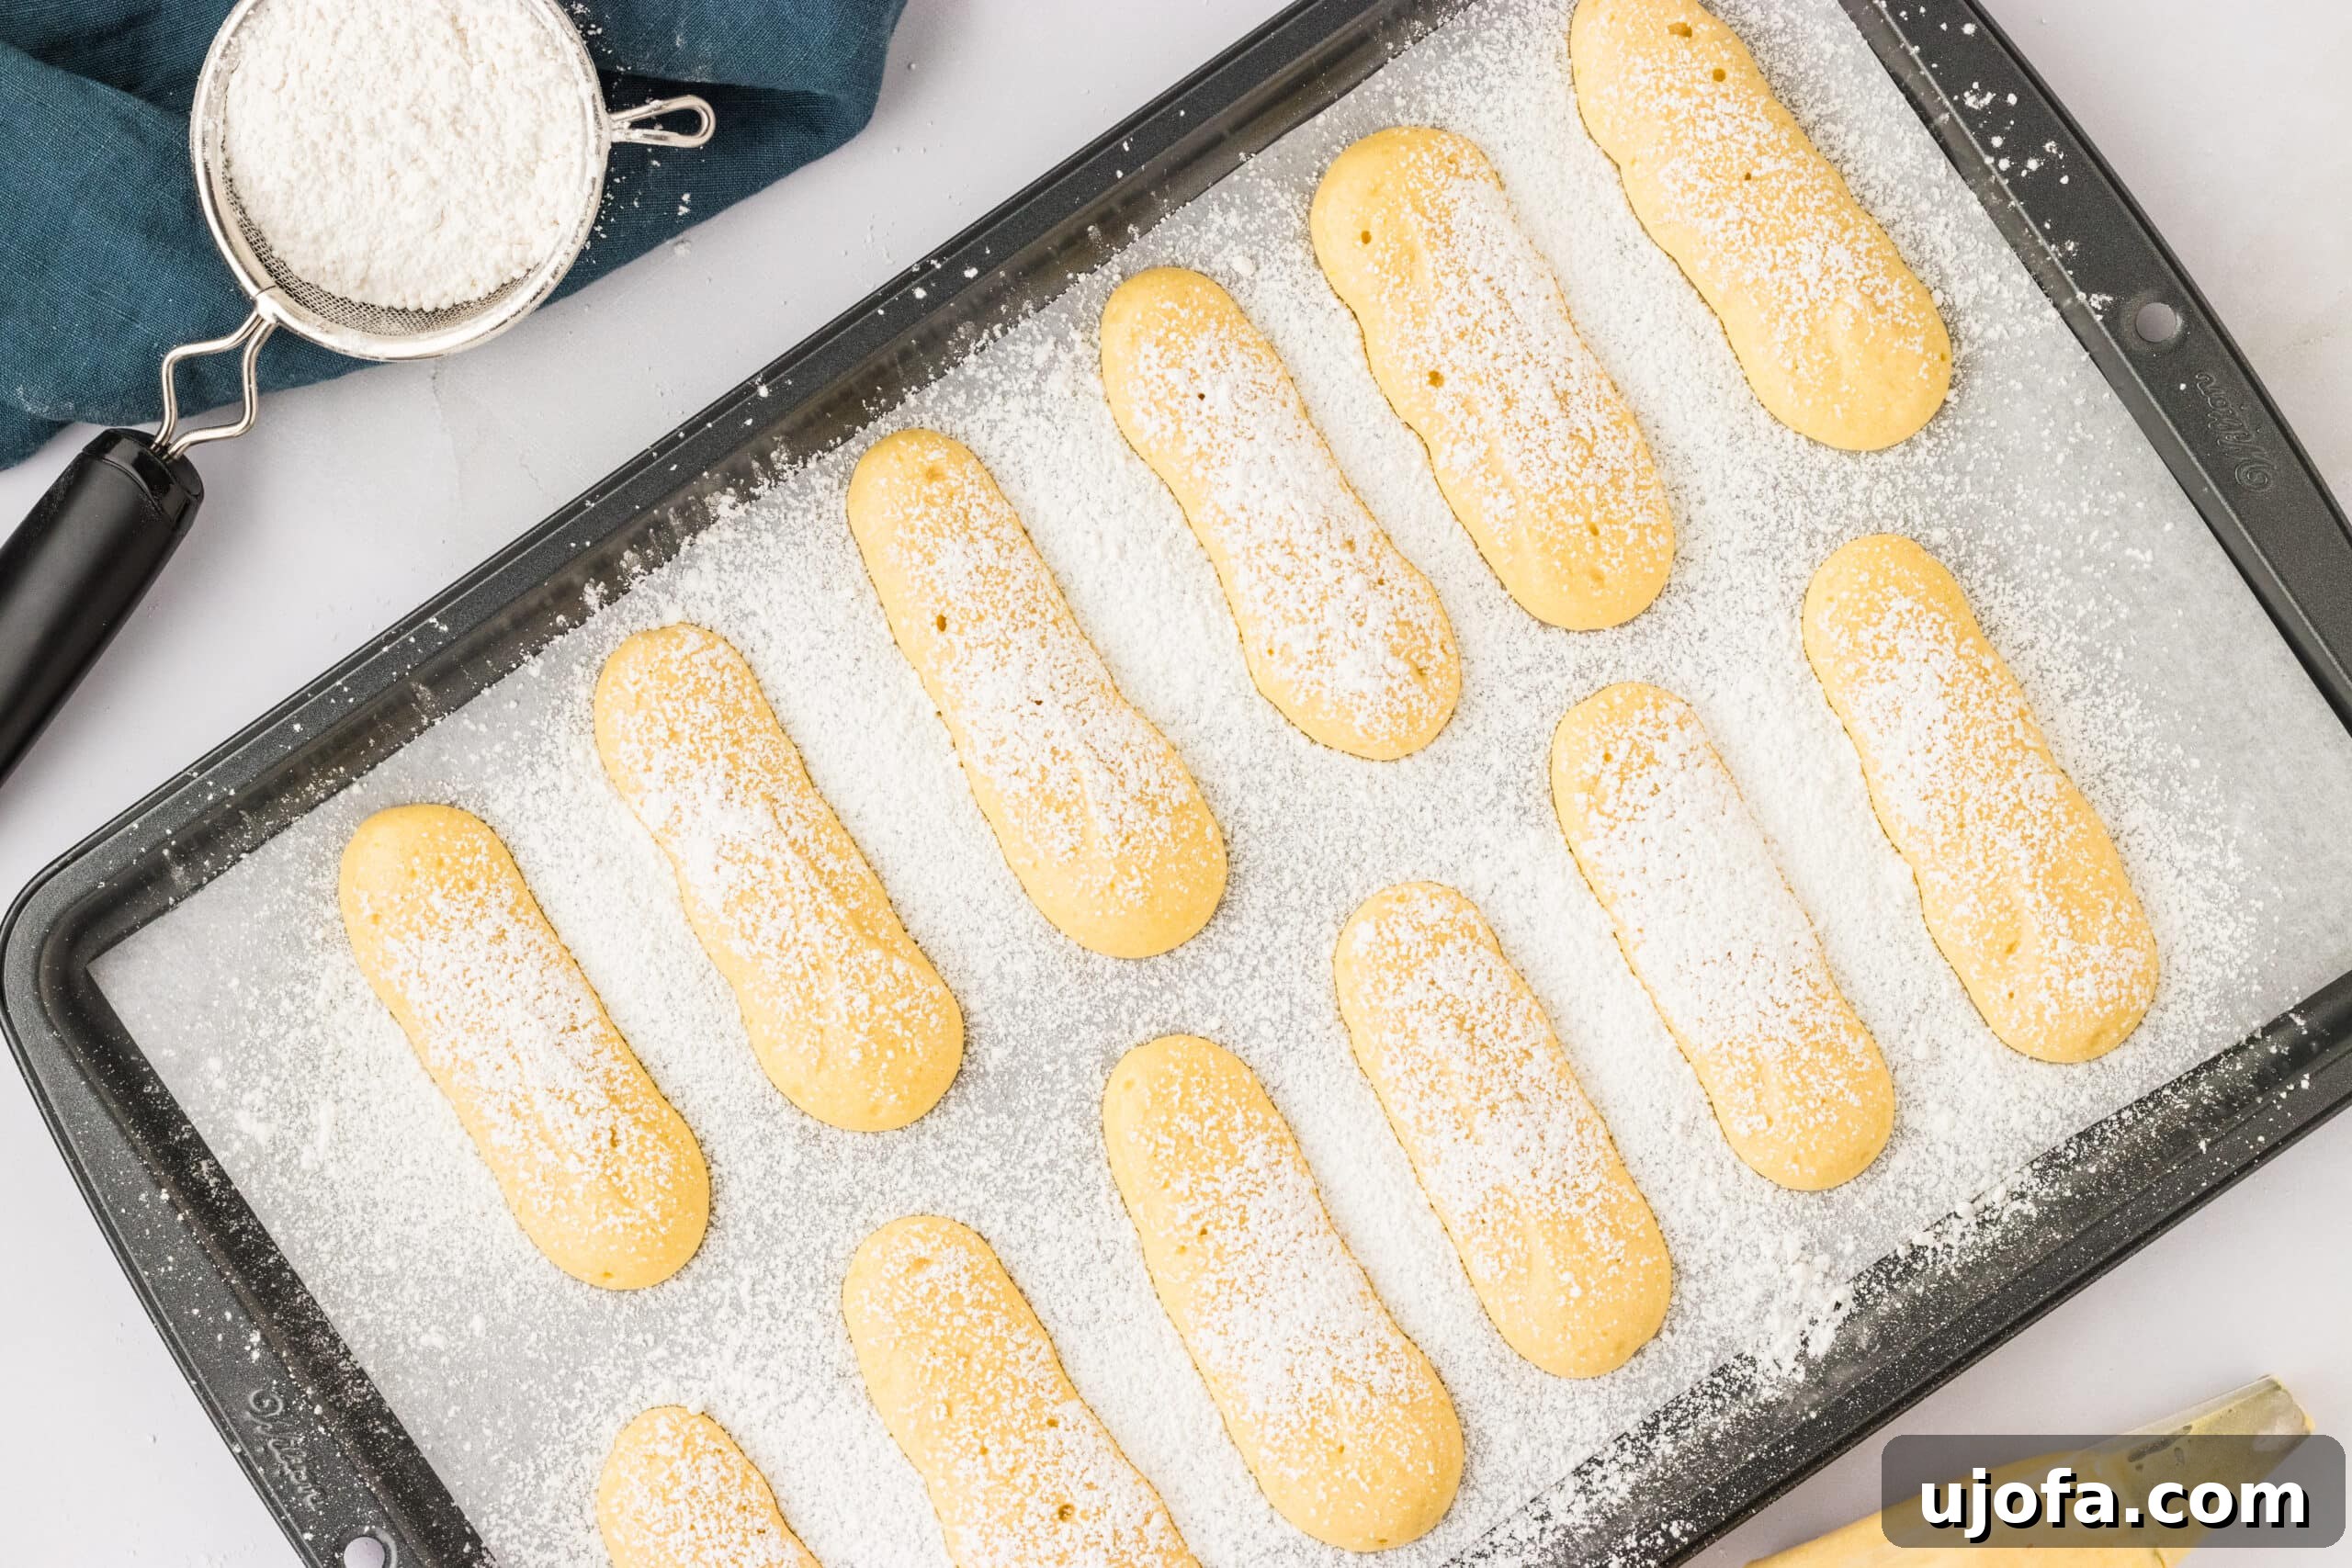
Step 11: Bake to Perfection. Place both baking sheets into your preheated 350°F (163°C) oven. Bake for an initial 15 minutes. After this time, reduce the oven temperature to 300°F (150°C) and continue baking for an additional 12 minutes. This two-stage baking process is essential; the initial heat helps them rise, and the lower temperature thoroughly dries them out, creating their characteristic crisp texture without burning.
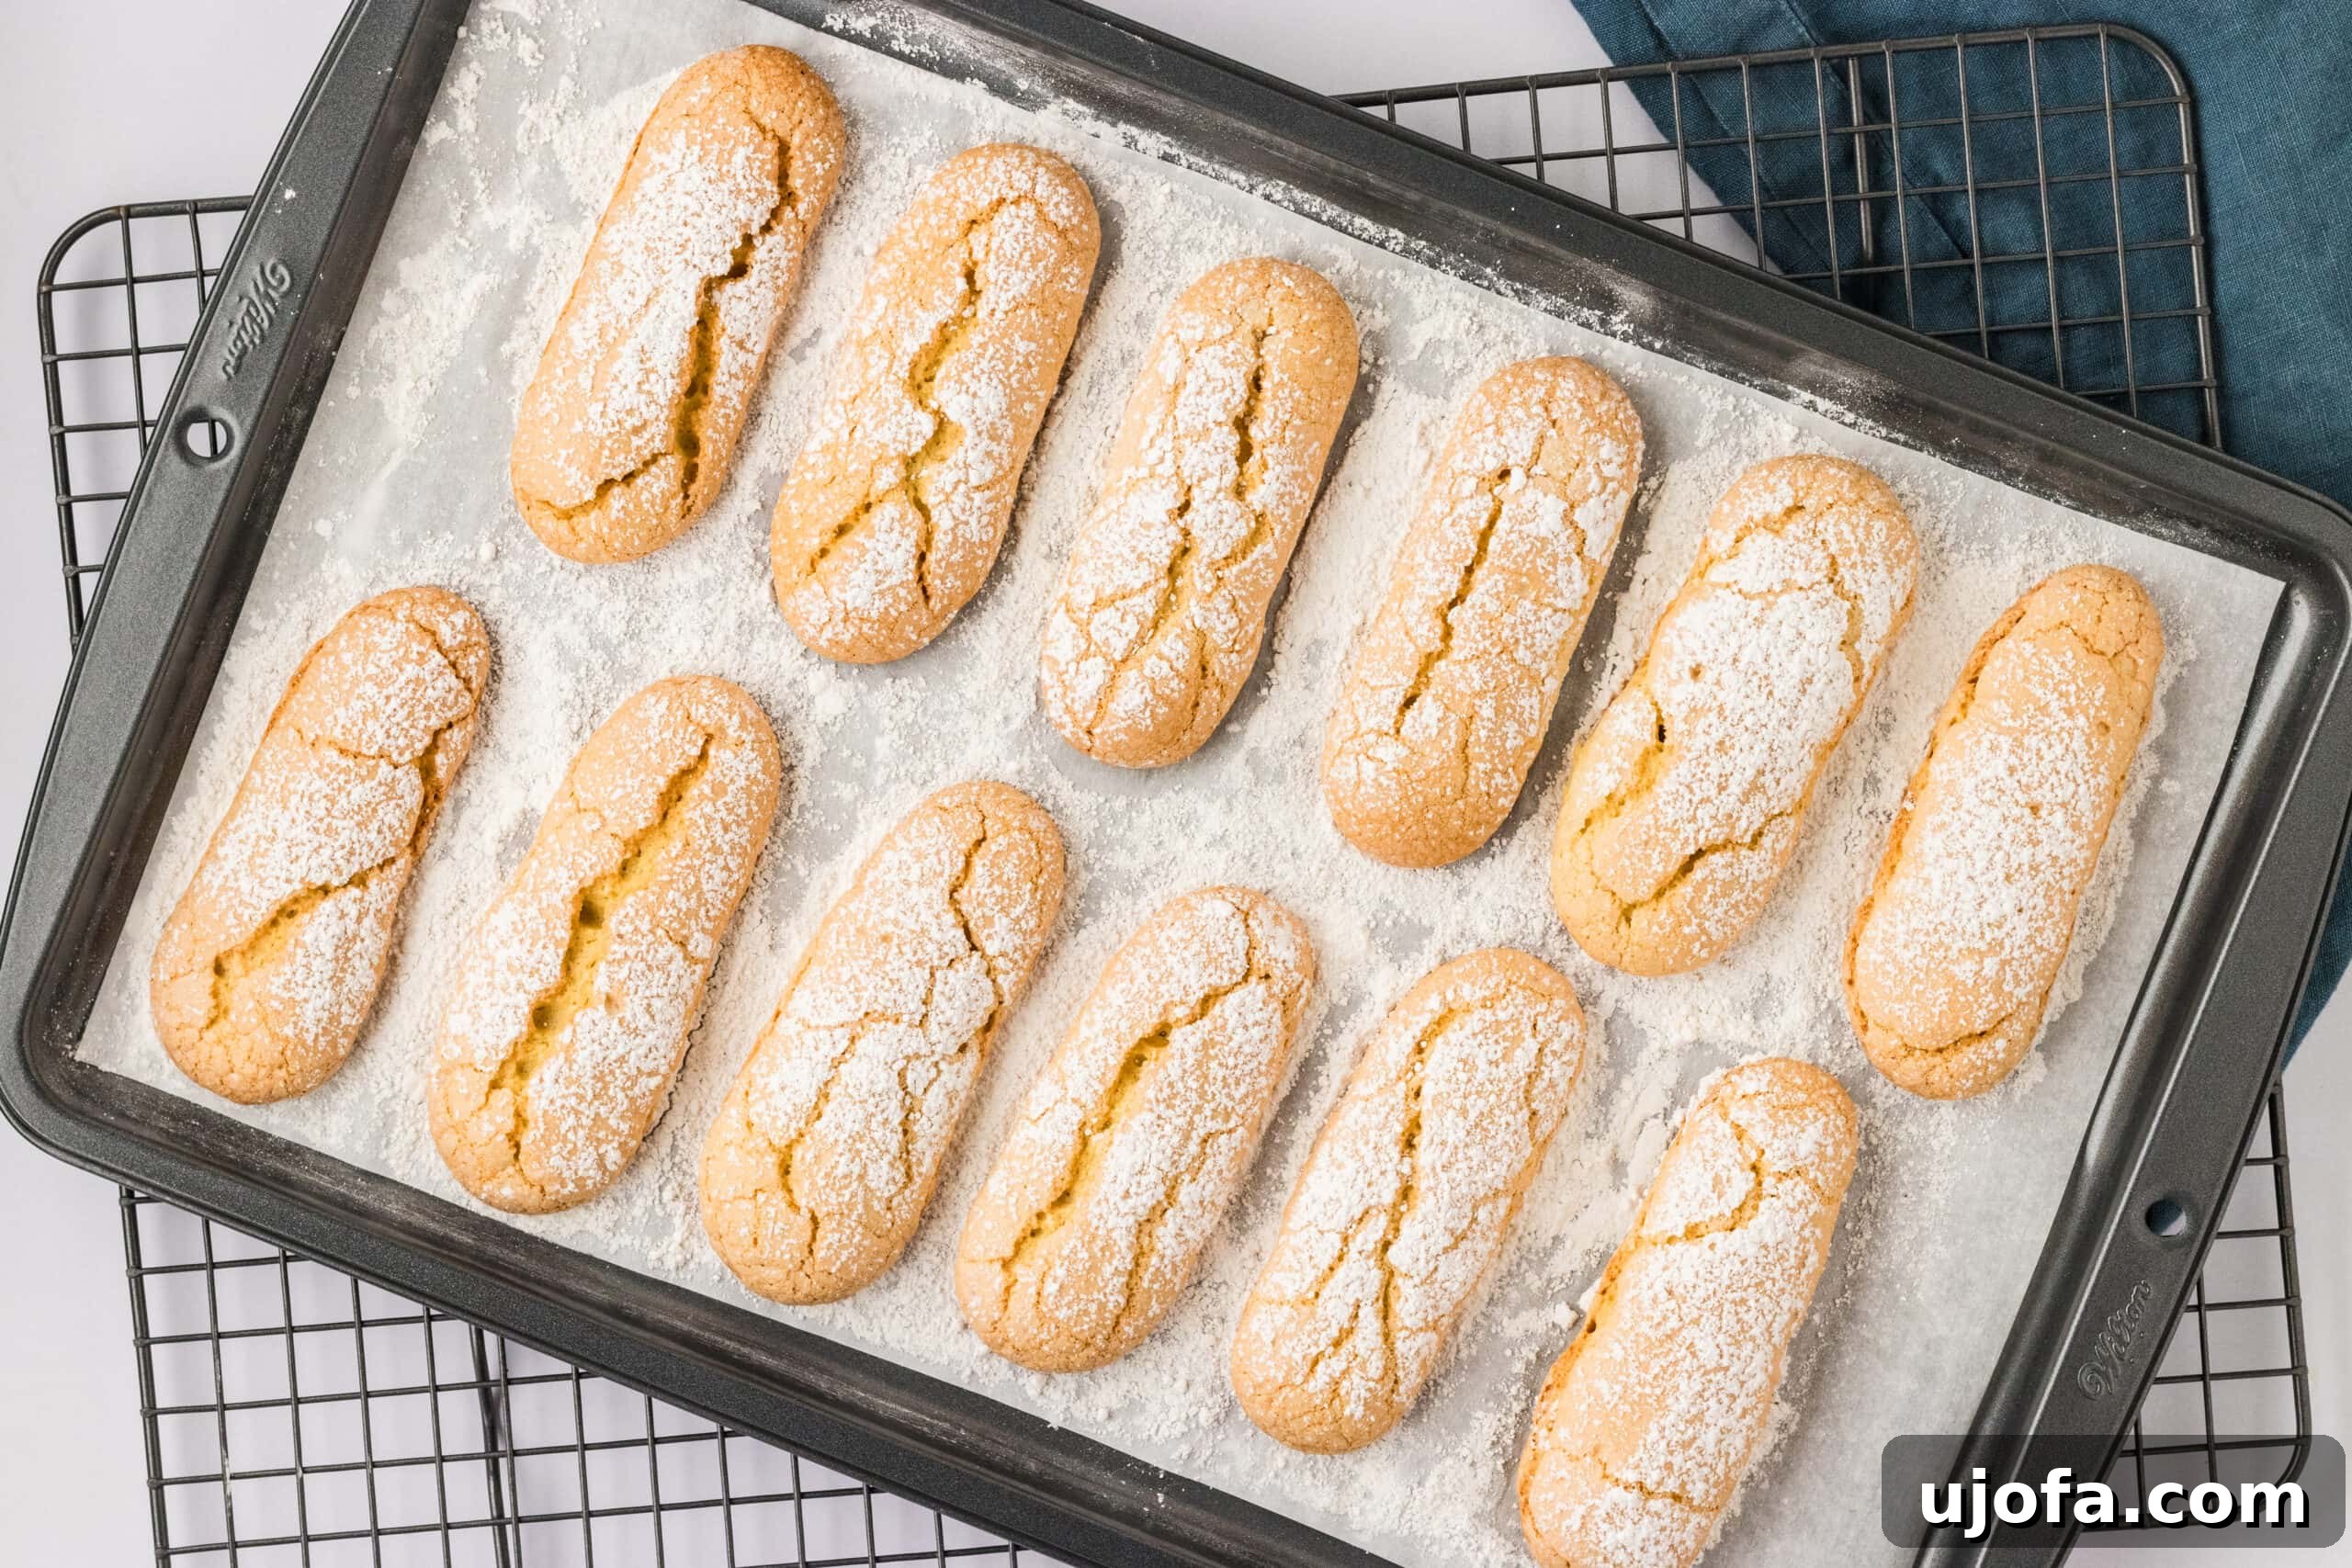
Step 12: Cool and Enjoy! Once the baking is complete, carefully remove the trays from the oven. Allow the ladyfingers to cool completely on the baking sheets. As they cool, they will continue to firm up and achieve their desired crisp texture. Once fully cooled, they are ready to be enjoyed! Serve them alongside a warm cup of coffee or tea, or use them as the star ingredient in a luscious gluten-free tiramisu. Enjoy your delicious homemade creation!
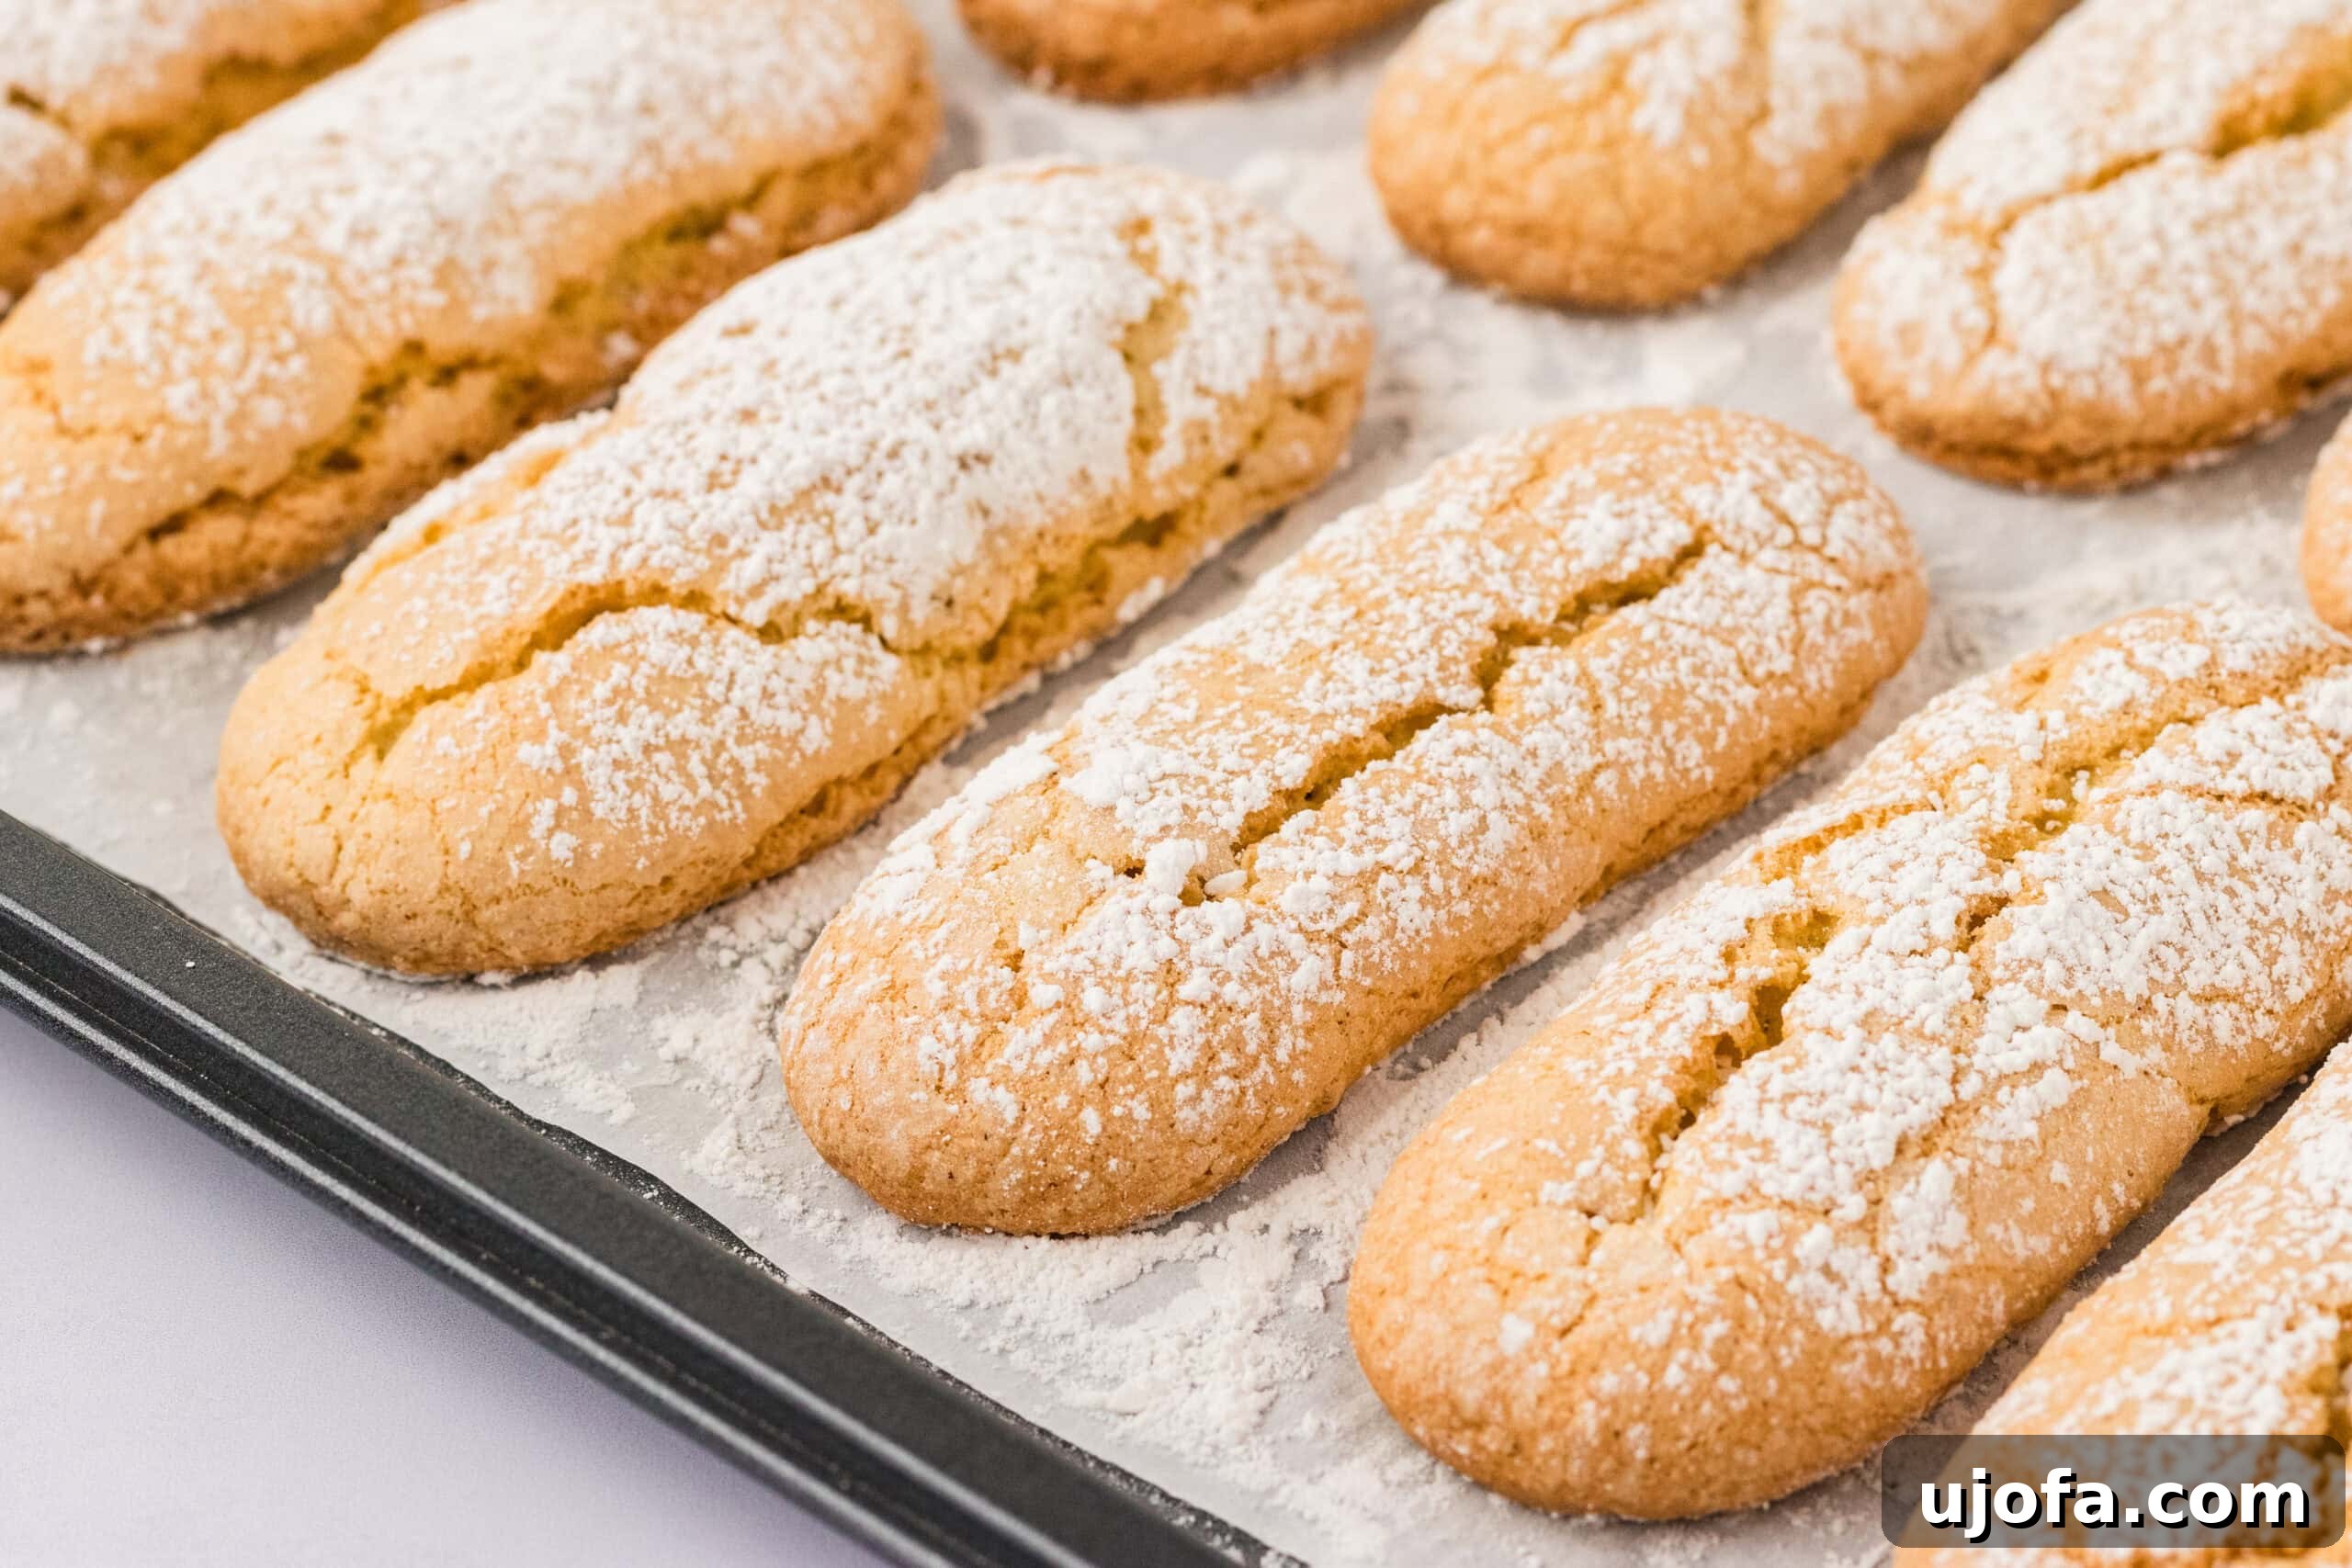
Making gluten-free ladyfingers at home is a rewarding experience that yields a versatile and elegant treat. Whether you’re assembling a show-stopping tiramisu or simply craving a delicate biscuit to accompany your favorite beverage, these light, airy cookies are sure to impress. Don’t be shy – dive into this recipe and discover the joy of homemade gluten-free baking. We’re confident these Savoiardi will become a beloved staple in your kitchen!