
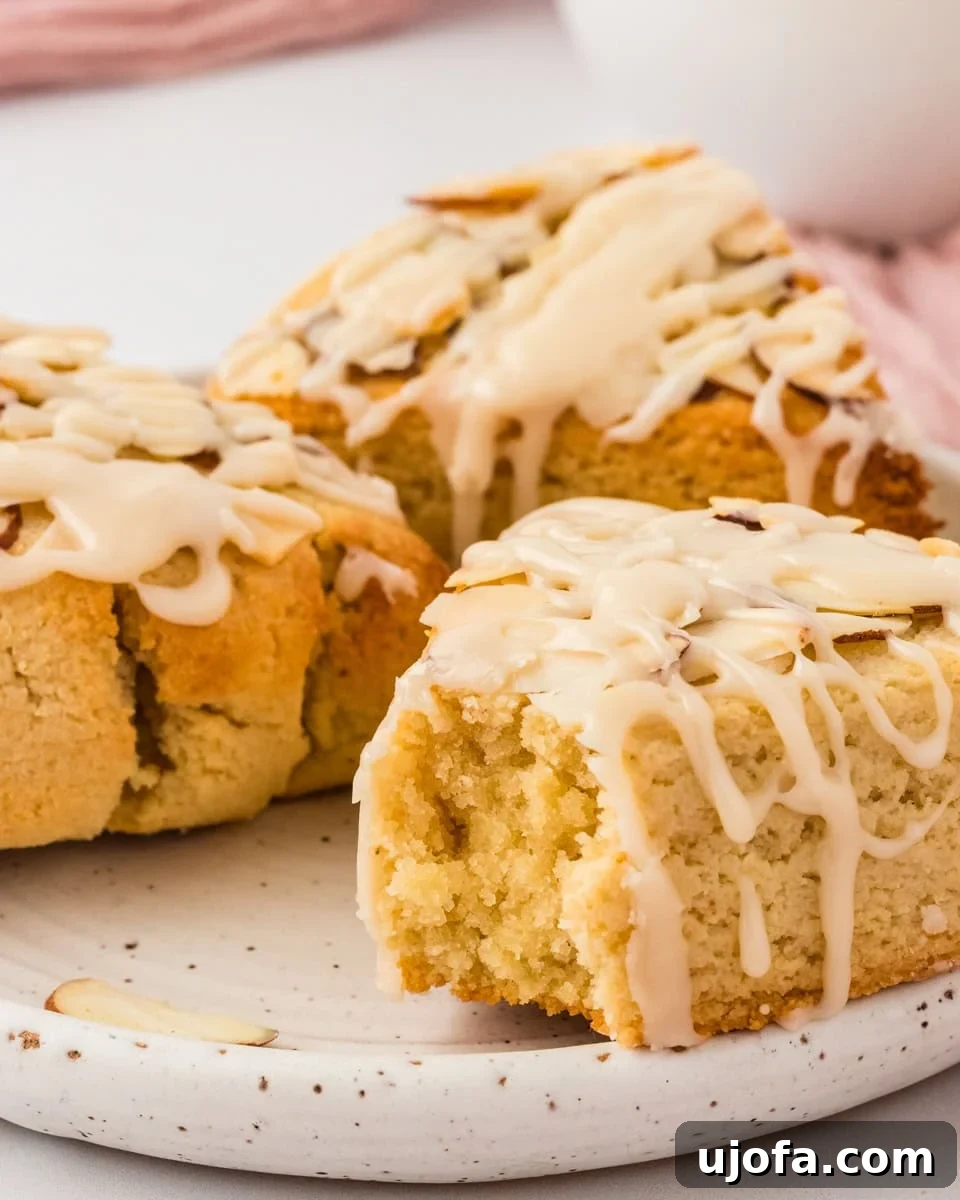
Welcome to the ultimate guide for crafting the most exquisite gluten-free almond flour scones. This recipe is meticulously designed to be simple, using a melted butter method that ensures an incredibly easy, no-fuss dough. The result? Scones that are wonderfully moist, tender, and possess a delicate crumb without any dryness, making them the ideal accompaniment for your morning coffee or afternoon tea. These gluten-free treats boast a naturally soft texture and a delightful nuttiness from the almond flour, all crowned with a subtly sweet vanilla icing. Perfect for those seeking a healthier, yet equally delicious, alternative to traditional baked goods.
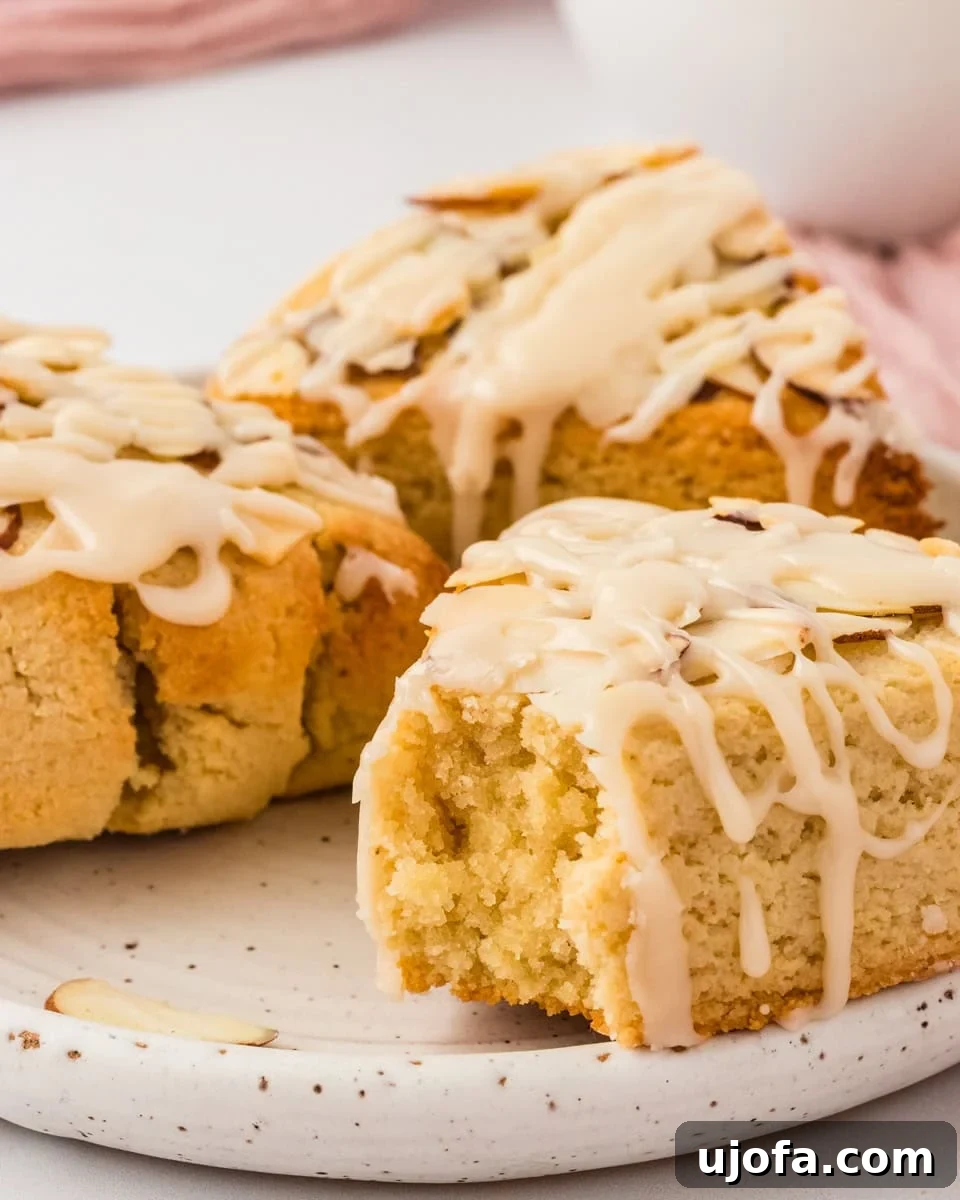
Discover the Joy of Homemade Almond Flour Scones
While I cherish a classic gluten-free scone, I was determined to develop an almond flour scone recipe that was not only delicious but also incredibly accessible for home bakers of all skill levels. After several rounds of testing, I proudly landed on this straightforward and remarkably easy method. Unlike traditional scones that demand cold butter expertly cut into dry ingredients, this recipe cleverly employs melted butter. This simple change eliminates much of the guesswork and difficulty, yielding a dough that’s much more beginner-friendly and ensures an irresistibly tender crumb every single time. Forget the dry, crumbly British-style scones; these are intentionally designed to be soft-style scones, offering a wonderfully moist texture that holds together beautifully. The final touch is a simple vanilla icing, but both the scones and the glaze are ripe for customization, allowing you to infuse your favorite flavors. If you decide to give these gluten-free marvels a try, I’d absolutely love to hear about your experience!
Expert Tips for Perfect Almond Flour Scones
Achieving bakery-quality almond flour scones at home is easier than you think, especially with these insider tips gathered from my own kitchen experiments. Mastering these simple techniques will ensure your scones are perfectly moist, tender, and flavorful every time.
-
Chill the dough for easier handling
Almond flour dough naturally has a softer consistency compared to traditional wheat-based scone dough. A quick chill in the freezer for 10-15 minutes works wonders, making the dough much firmer and significantly easier to shape without sticking to your hands or the work surface. This step is crucial for maintaining the scone’s structure during baking.
-
Dampen your hands, don’t add more flour
If you find the dough feels a bit sticky while shaping, resist the urge to add more almond flour to your hands or the surface. Adding extra flour can drastically alter the delicate moisture balance of the dough, leading to dry and dense scones. Instead, lightly dampen your hands with water. This provides just enough lubrication to handle the dough effectively without impacting the final texture.
-
Keep the dough disc thick for ideal rise
When pressing your dough into a disc, aim for a thickness of about 1 inch. If the disc is too thin, the scones will bake too quickly, losing their precious moisture and resulting in a less tender texture. A thicker disc allows the scones to rise properly and bake evenly, developing that characteristic soft interior.
-
Watch the color, not just the clock
These are soft-style almond flour scones, which means they don’t need to develop a deep golden-brown crust like some traditional versions. Pull them from the oven as soon as the tops are just lightly golden. Overbaking is the primary culprit behind dry almond flour scones, so trusting your eyes over the exact timer is key for optimal moisture.
-
Cool completely before icing
Almond flour has a unique property: it retains heat much longer than wheat flour. Attempting to ice warm scones will cause the icing to melt and soak directly into the scone, rather than forming a beautiful, delicate layer on top. Patience is a virtue here – allow your scones to cool down entirely before drizzling that delicious vanilla glaze.
-
Melted butter is your secret weapon
The use of melted butter in this recipe is intentional and a true game-changer. It’s what gives these almond flour scones their signature moist and tender crumb. This method also makes the recipe significantly simpler and less intimidating than traditional scone recipes that require cutting in cold butter, which can be a tricky technique for many bakers.
-
Be mindful of moisture with mix-ins
While these scones are incredibly versatile and easy to customize with different flavors, exercise caution when adding wet ingredients. Ingredients like frozen blueberries (unless thawed and thoroughly dried) or freshly cut, very juicy strawberries can introduce too much moisture into the dough, potentially affecting its texture and making the scones gummy or heavy. Opt for drier mix-ins or ensure wet ingredients are well-drained.
Almond Flour Scones
Julia Elizabeth
6 servings
30 mins
20 mins
50 mins
Pin Recipe
Share by Email
Print Recipe
This almond flour scones recipe uses a simple melted butter method for an easy, no-fuss dough. The baked scones are moist, tender, and lightly crumbly without being dry, making them perfect for afternoon tea or coffee. These gluten-free scones have a soft texture, a natural nuttiness from almond flour, and are finished with a lightly sweet vanilla icing.
Ingredients
For the Scones
- 3 cups almond flour
- ¼ tsp salt
- 2 tsp baking powder
- ¼ cup sugar
- 4 tbsp butter, melted
- 1 large egg
- 1 tsp vanilla extract
- 2 tbsp milk, plus more for brushing on top
- slivered almonds for sprinkling on top
For the Icing
- ¾ cup powdered sugar
- 1-2 tbsp milk
- 1 tsp vanilla extract
- pinch of salt
Instructions
- Preheat the oven to 350°F (175°C) and line a baking tray with parchment paper, then set aside.
- In a medium bowl, whisk together your almond flour, salt, and baking powder until well combined and lump-free. Set this dry mixture aside.
- In a separate large bowl, combine the melted butter and sugar, mixing until glossy and smooth. Stir in the large egg and vanilla extract until fully incorporated and the mixture is slightly thickened.
- Gradually add the dry flour mixture to the wet ingredients, stirring slowly until the ingredients just begin to come together and appear sandy and slightly crumbly, but not fully mixed.
- Pour in the 2 tablespoons of milk and continue mixing until a soft, slightly sticky dough has formed. Ensure there are no dry patches remaining.
- Tightly wrap the bowl containing the dough with plastic wrap and place it in the freezer for approximately 10-15 minutes. This chilling step is essential as it makes the almond flour dough firmer and much easier to handle and shape into scones without excessive stickiness.
- Transfer the chilled dough to a clean, lightly floured surface and gently form it into a ball. Using your hands, carefully press and flatten the ball into a thick disc, about 1 inch (2.5 cm) in height. The dough should be soft but manageable at this point.
- Using a sharp knife, cut the dough disc into 6 equal triangular scones. Carefully transfer these shaped scones to your prepared baking tray, ensuring there is a small space between each one for even baking.
- Lightly brush the tops of the scones with a little extra milk (this helps with browning and adhesion), then sprinkle and artfully arrange slivered almonds onto the tops. Bake in the preheated oven for 18-20 minutes, or until the tops are just lightly golden. It’s important not to overbake, as this can lead to dry scones.
- While the scones are baking and beginning to cool, prepare your vanilla icing. In a small bowl, combine the powdered sugar, 1 tablespoon of milk, vanilla extract, and a pinch of salt.
- Whisk the icing ingredients until smooth. Assess the consistency; if you desire a thinner, more pourable icing, add more milk one teaspoon at a time until your preferred consistency is reached.
- Once the baked scones are removed from the oven, allow them to cool completely on the baking tray. This is crucial for the icing to set properly. Once cool, use a spoon to generously drizzle the prepared icing over each scone. Let the glaze set for a few minutes before transferring them to a serving platter. Enjoy your homemade almond flour scones!
Notes
- Skip the icing: Leave it off for a lightly sweet, more traditional breakfast-style scone, perfect for pairing with jams or fresh fruit.
- Add Lemon Zest: For a bright, citrusy twist, fold 1-2 teaspoons of fresh lemon zest into the scone dough along with the wet ingredients.
- Gluten-Free Flour Blend: While this recipe is optimized for almond flour, ensure you are using blanched fine almond flour for the best texture. Coarser almond meal can result in a more crumbly scone.
Nutrition
Calories: 495kcal
Carbohydrates: 36g
Protein: 13g
Fat: 36g
Saturated Fat: 7g
Polyunsaturated Fat: 0.4g
Monounsaturated Fat: 2g
Trans Fat: 0.3g
Cholesterol: 52mg
Sodium: 313mg
Potassium: 28mg
Fiber: 6g
Sugar: 26g
Vitamin A: 290IU
Calcium: 213mg
Iron: 2mg
Nutrition information is automatically calculated, so should only be used as an approximation.
Additional Info
Tried this recipe?
Mention @mamaknowsglutenfree or tag #mamaknowsglutenfree!
How to Make Almond Flour Scones Step by Step
Creating these delightful almond flour scones is a straightforward process, made even simpler with our melted butter technique. Follow these visual steps to achieve perfectly tender, moist, and utterly delicious gluten-free scones every time.
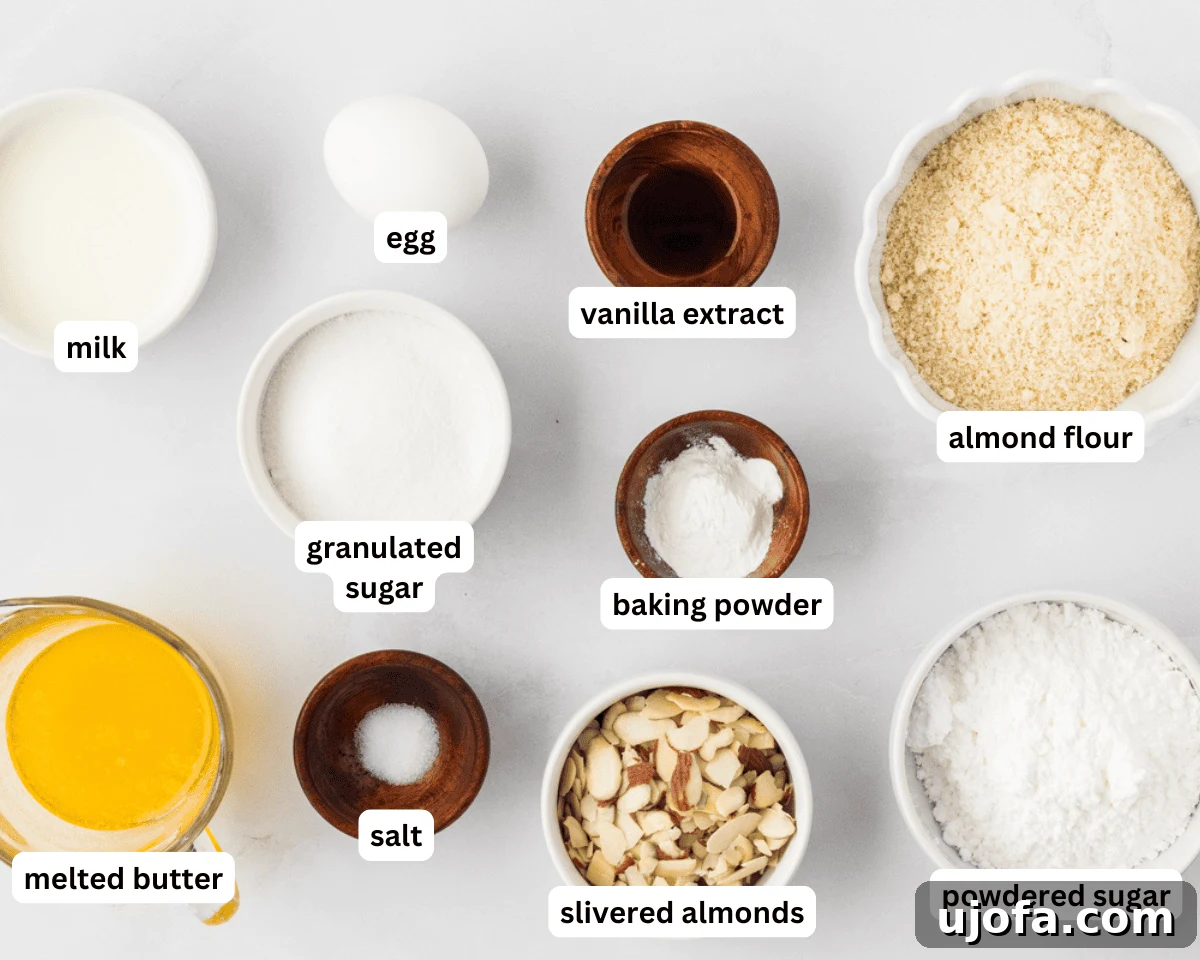
Step 1: Gather Your Ingredients: Before you begin, gather all the necessary ingredients to ensure a smooth baking process. Preheat your oven to 350°F (175°C) and line a baking tray with parchment paper, setting it aside for later use.
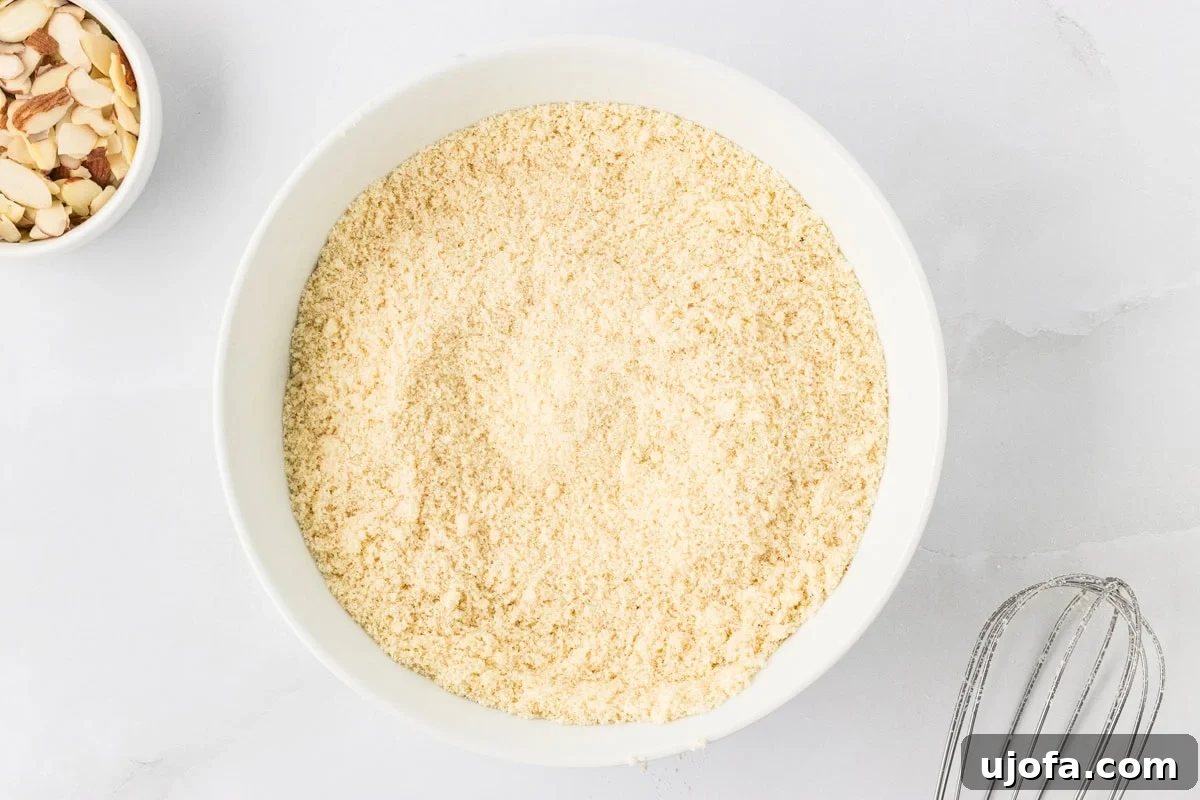
Step 2: Mix the Dry Ingredients: In a medium-sized bowl, whisk together the 3 cups (240g) of almond flour, ¼ teaspoon of salt, and 2 teaspoons of baking powder. Whisk thoroughly until all ingredients are evenly combined and there are no visible lumps. This ensures even leavening and flavor distribution in your gluten-free scones.

Step 3: Combine the Wet Ingredients: In a separate, large mixing bowl, stir together the 4 tablespoons (56g) of melted butter and ¼ cup (50g) of sugar until the mixture appears glossy and smooth. Then, crack in 1 large egg and add 1 teaspoon (3mL) of vanilla extract. Continue mixing until these wet ingredients are fully incorporated and the mixture has slightly thickened.
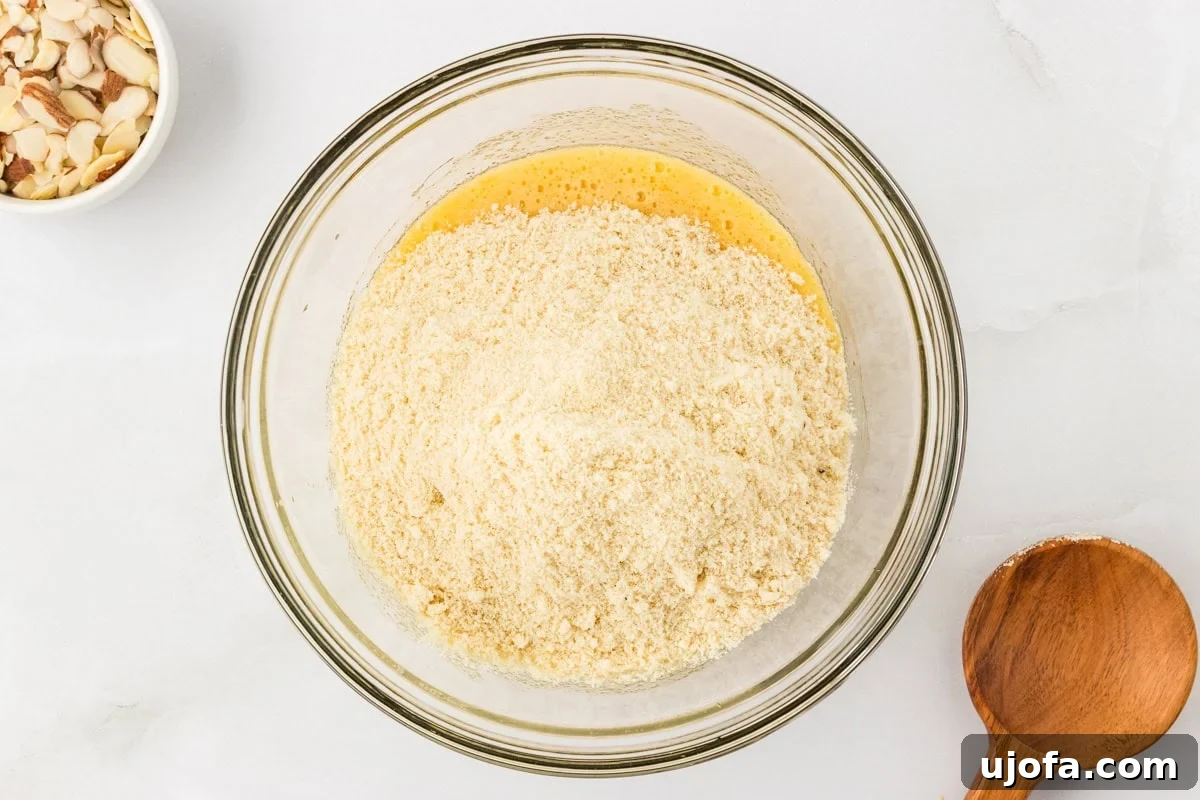
Step 4: Begin Forming the Dough: Now, gradually add the whisked dry mixture to the wet ingredients in the large bowl. Stir slowly, just until the ingredients begin to come together. At this stage, the mixture will look sandy and slightly crumbly; it should not be fully combined yet, preparing for the final liquid addition.
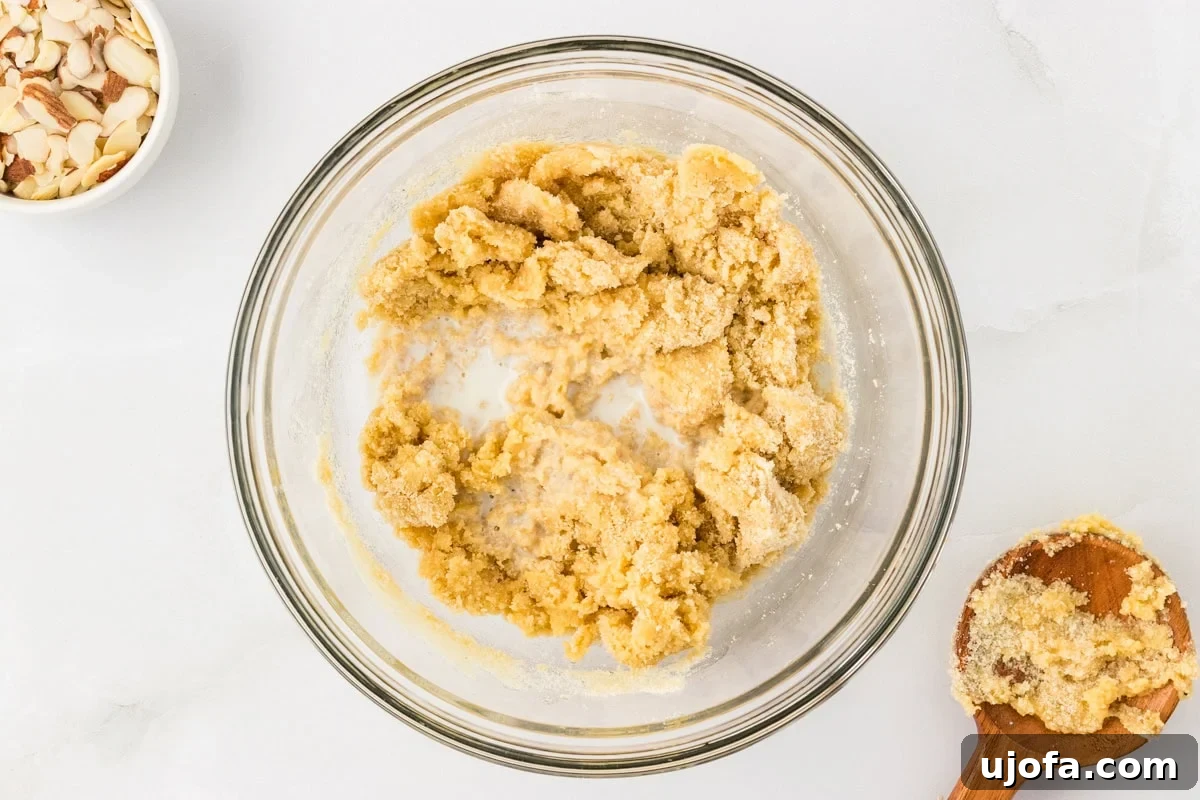
Step 5: Add the Milk for a Soft Dough: Pour in the 2 tablespoons (30mL) of milk. Continue mixing the dough gently until it fully comes together, forming a soft and slightly sticky consistency. Ensure there are no dry patches of flour remaining, as this will affect the final texture of your almond flour scone.
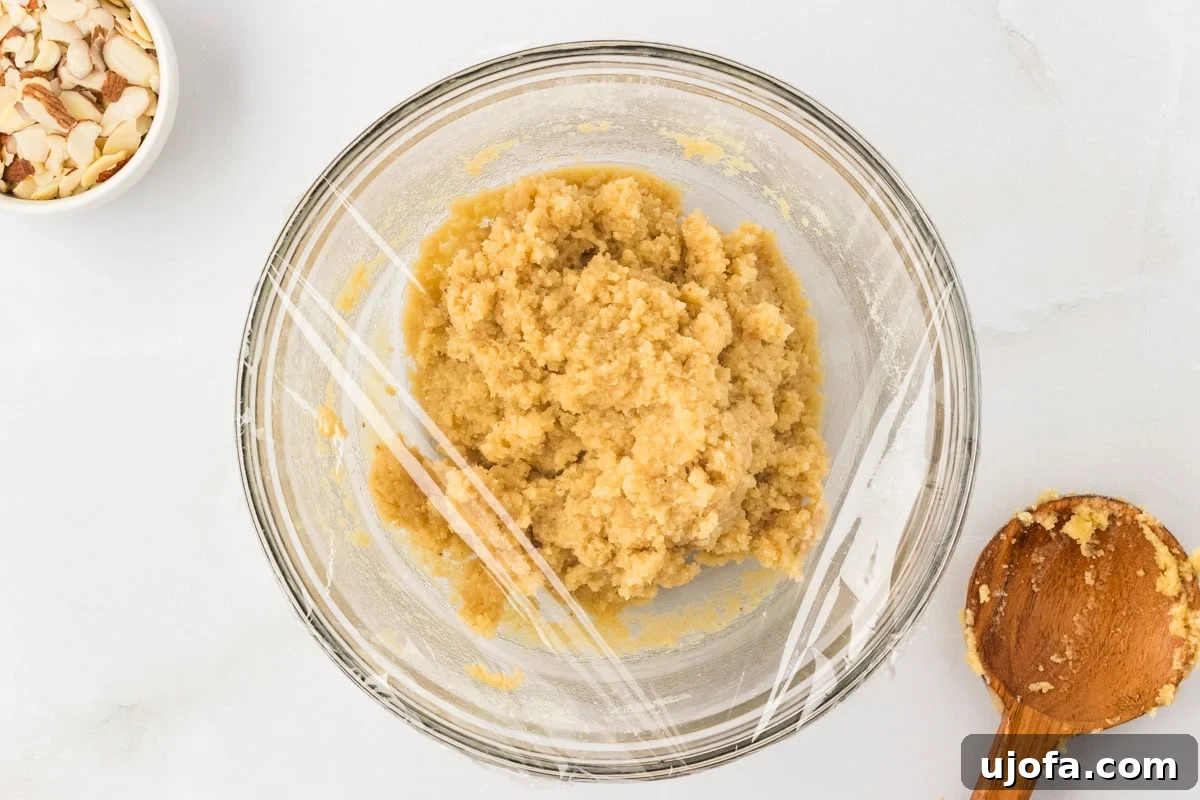
Step 6: Chill the Dough: Cover the bowl tightly with plastic wrap and place it in the freezer for about 10-15 minutes. This crucial chilling step firms up the almond flour dough, making it significantly easier to handle and shape into uniform scones without excessive stickiness.
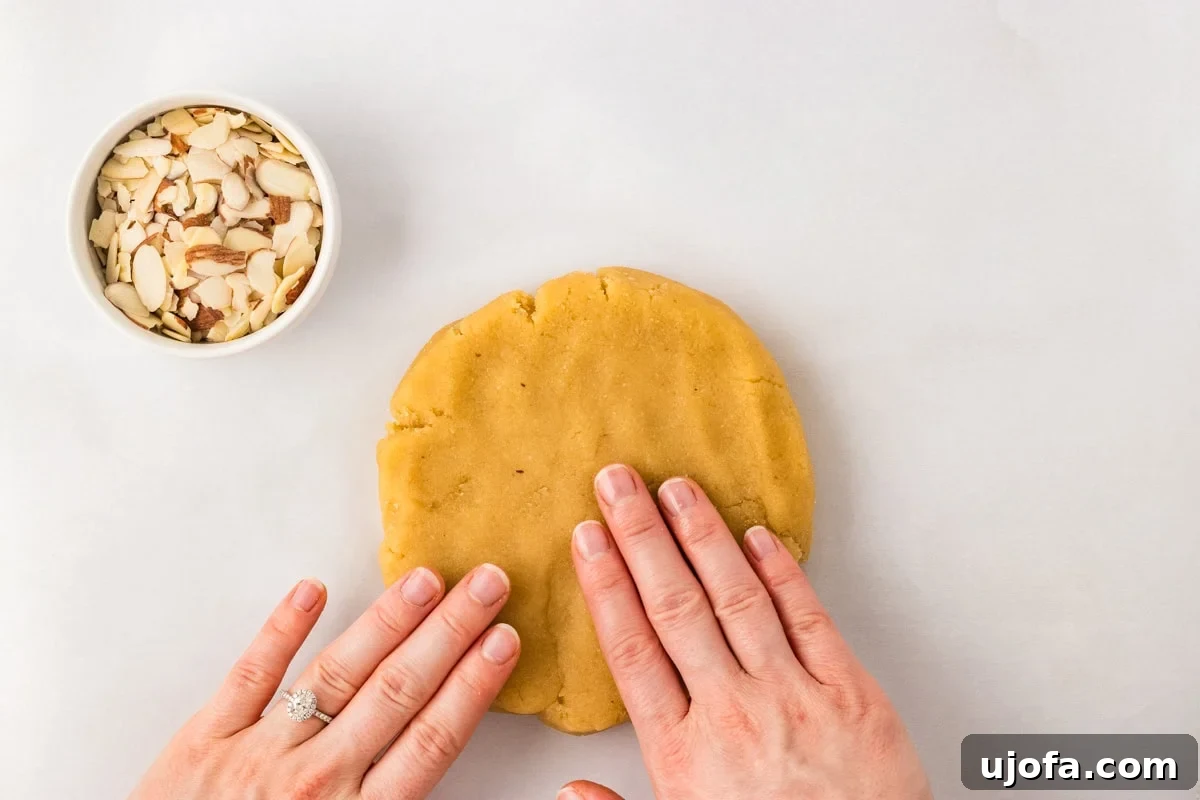
Step 7: Shape the Dough Disc: Transfer the chilled dough to a clean, lightly floured surface. Gently form the dough into a cohesive ball. With your hands, carefully press and flatten the ball into a thick disc, aiming for approximately 1 inch (2.5 cm) in height. The dough should now feel soft but perfectly manageable for shaping.
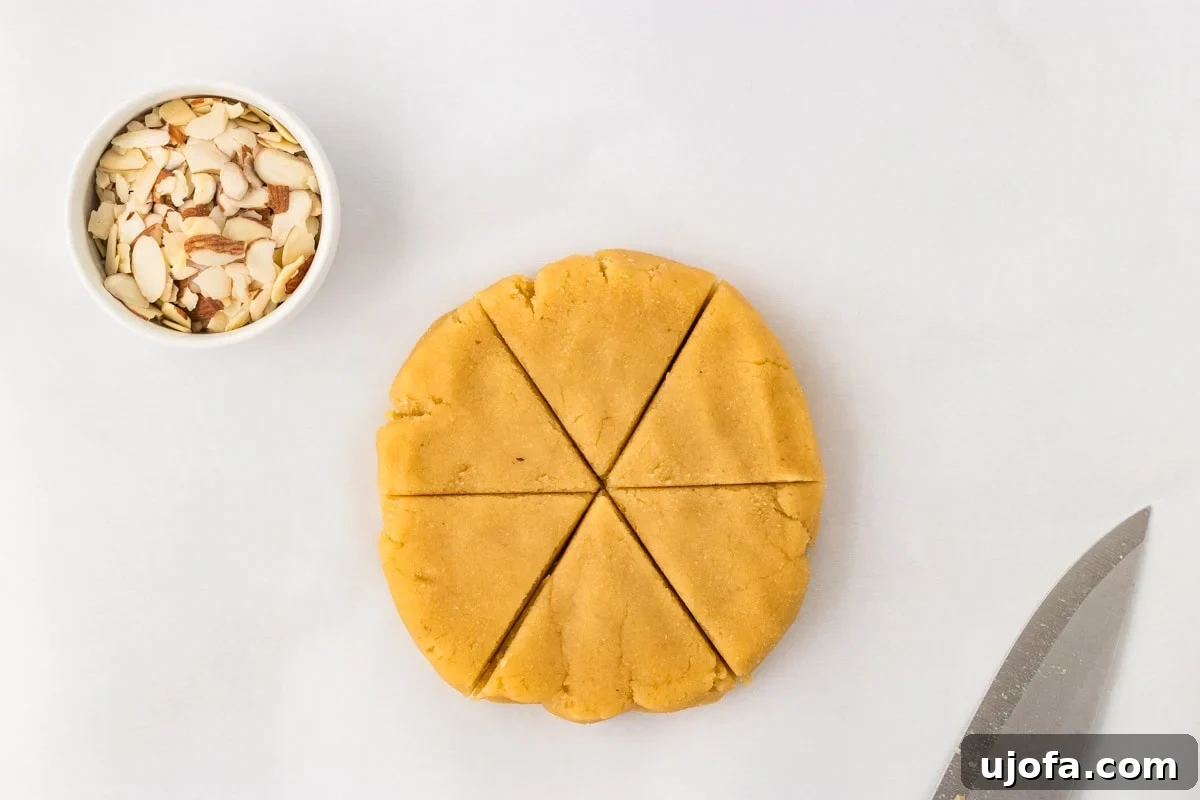
Step 8: Cut the Scones: Using a sharp knife or a scone cutter, slice the thick dough disc into 6 equal triangular portions. Carefully transfer each scone to your prepared baking tray, ensuring there is enough space between each scone to allow for proper airflow and even baking.

Step 9: Brush and Top the Scones: Lightly brush the tops of the unbaked scones with a small amount of extra milk. This simple step helps the scones achieve a beautiful golden hue during baking and also acts as an adhesive for the toppings. Sprinkle a generous amount of slivered almonds evenly over the tops of each scone for added texture and flavor.

Step 10: Bake the Scones to Perfection: Place the baking tray in the preheated oven and bake for 18-20 minutes. Keep a close eye on them; the scones are ready when their tops are just lightly golden. Avoid waiting for deep browning, as this can easily lead to dry scones, especially with almond flour. The goal is a tender, moist interior.

Step 11: Prepare the Vanilla Icing: While your scones are cooling, prepare the sweet vanilla icing. In a small bowl, whisk together ¾ cup (75g) of powdered sugar, 1 tablespoon (15mL) of milk, 1 teaspoon of vanilla extract, and a tiny pinch of salt. Mix until the icing is smooth and has a pourable consistency – it should be thick enough to cling to a spoon but still drizzle easily. If you prefer a thinner glaze, add more milk, one teaspoon at a time, until desired consistency is achieved.
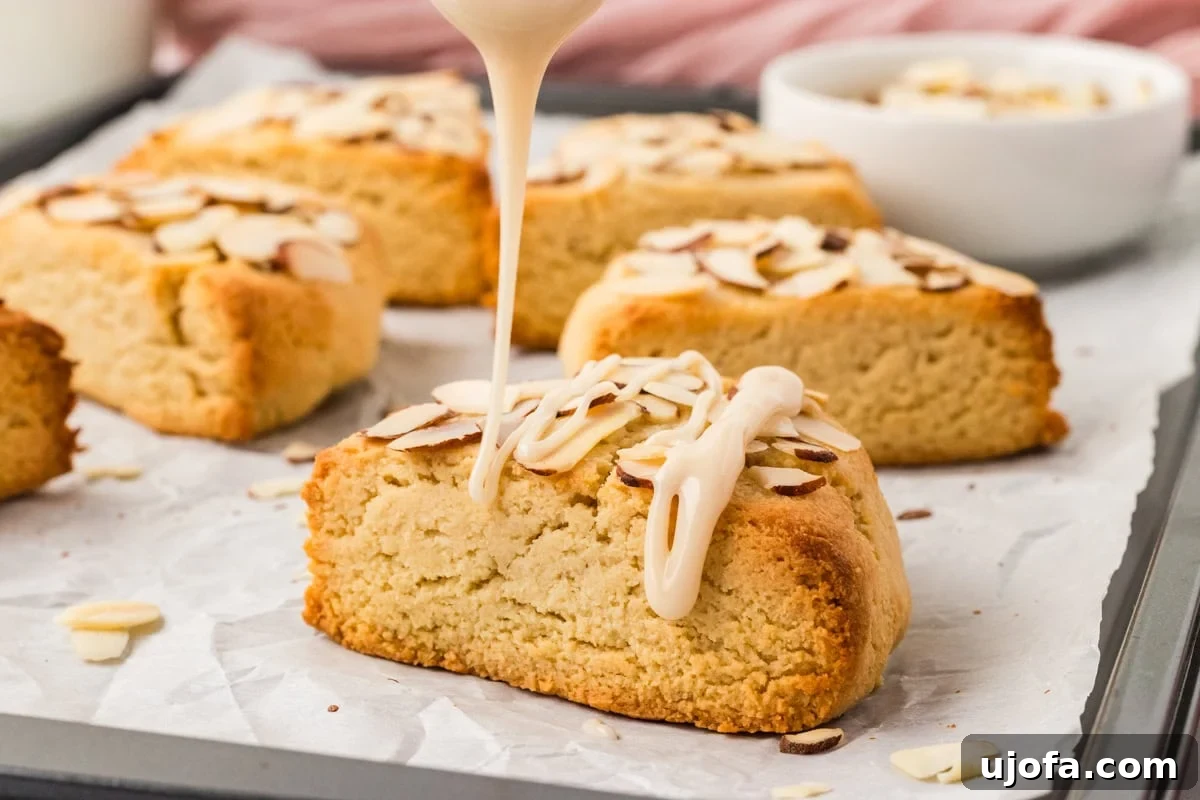
Step 12: Drizzle and Serve: This is the final and most satisfying step! Once the baked scones have completely cooled (remember, patience is key here to prevent melting), use a spoon to artistically drizzle the prepared vanilla icing over the tops of each scone. Allow the glaze to set for a few minutes until it hardens slightly. Then, carefully transfer your beautifully decorated almond flour scones to a serving platter and enjoy them with your favorite hot beverage.
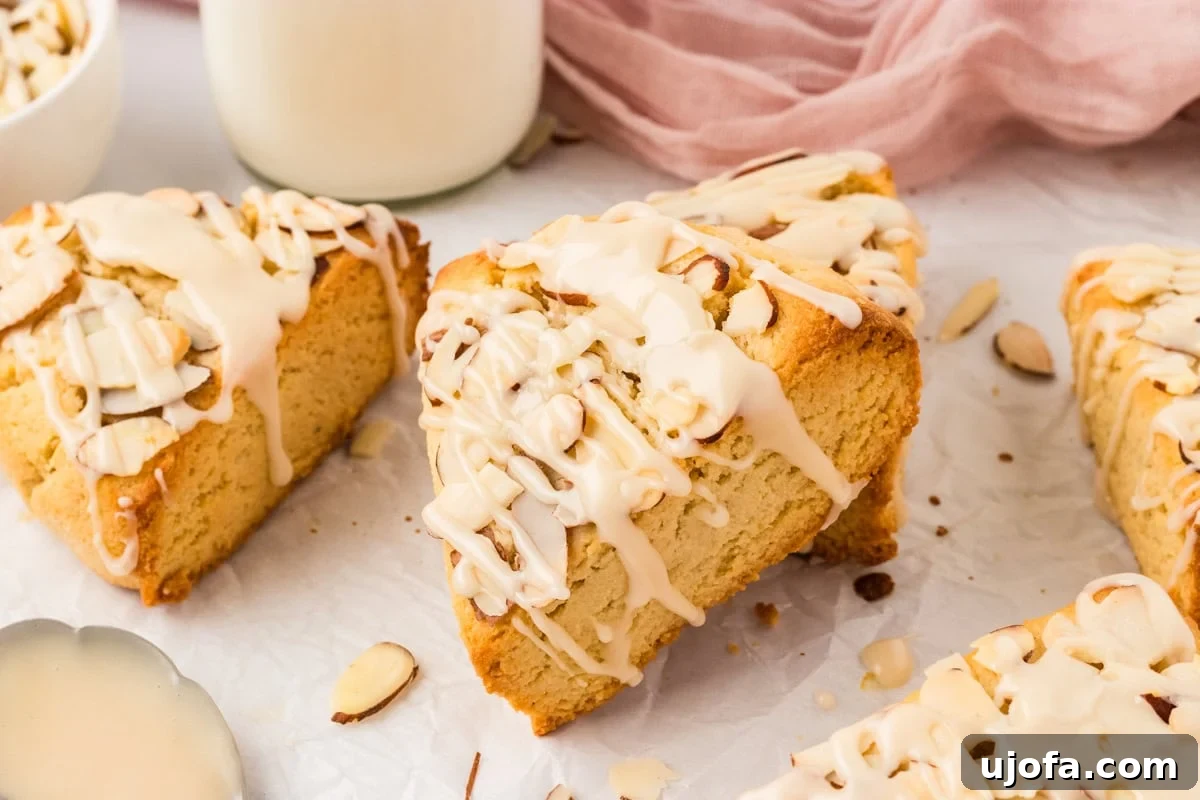
Customize Your Almond Flour Scones: Flavor Variations
One of the best aspects of this easy scone recipe is its incredible versatility. While the vanilla icing offers a classic finish, these almond flour scones serve as a perfect canvas for a myriad of flavor combinations. Don’t hesitate to get creative and tailor them to your personal preferences or seasonal ingredients:
-
Bright Berry & Lemon Zest
For a refreshing, bakery-style scone, gently fold in fresh blueberries and a little lemon zest into the dough. The tartness of the berries beautifully complements the nutty almond flour, while the lemon zest adds an aromatic lift. Ensure blueberries are patted dry if fresh, or thawed and drained if frozen, to prevent excess moisture.
-
Decadent Chocolate Chip Scones
Transform these into a sweeter, more indulgent treat by adding chocolate chips or chopped dark chocolate. You can even use white chocolate for a different flavor profile. The melted chocolate creates pockets of gooey deliciousness, making them perfect for chocolate lovers.
-
White Chocolate & Orange Zest Bliss
Combine the creamy sweetness of white chocolate chips with the bright, aromatic notes of orange zest for a delightful citrus twist. This pairing is sophisticated and incredibly flavorful, perfect for an elevated brunch.
-
Crunchy Nut Additions
For an extra layer of texture and a boost of nutty flavor, fold in chopped toasted almonds or pecans into the dough. Toasting the nuts beforehand enhances their flavor, adding a deeper, more complex note to the scones.
-
Warm Spices & Extracts
Infuse a cozy warmth into your scones with a pinch of cinnamon or a few drops of almond extract (in addition to or in place of vanilla). These spices and extracts deepen the flavor profile, making them perfect for cooler weather or holiday gatherings.
-
Citrus Glaze Swap
To perfectly match your fruit or zest mix-ins, consider swapping the vanilla icing for a lemon or orange glaze. Simply substitute some of the milk in the icing recipe with fresh lemon or orange juice and add a bit of zest for a vibrant, tangy finish.
Serving Suggestions for Your Homemade Scones
These moist and tender almond flour scones are truly a versatile delight, making them one of my favorite items to prepare for any relaxed occasion. Whether you’re planning a leisurely breakfast, a casual brunch with friends, or simply need a comforting treat for an afternoon coffee break, these scones fit the bill perfectly. I particularly love serving them warm, fresh from the oven, alongside a steaming cup of coffee or a fragrant tea. For a complete and elegant presentation, consider adding a bowl of fresh seasonal berries on the side, and a dollop of something creamy like dairy-free coconut yogurt or homemade whipped cream. If I’m aiming for a more elaborate spread, creating a mini-bakery experience at home, I might complement them with delicate almond flour crepes, a savory crustless spinach quiche, or even some flaky gluten-free croissants. The possibilities are endless, and these scones always manage to elevate the experience.
Storage and Freezing Tips for Almond Flour Scones
Ensuring your delicious almond flour scones stay fresh and enjoyable is simple with these storage guidelines. Proper storage helps maintain their tender texture and rich flavor for days.
-
Room Temperature Storage
For immediate enjoyment, store your baked and iced almond flour scones in an airtight container at room temperature. They will remain wonderfully fresh and tender for up to 5 days. Keeping them sealed prevents them from drying out and preserves their delicate crumb.
-
Refrigeration for Extended Freshness
If you wish to extend their shelf life beyond a few days, refrigerate the scones in an airtight container for up to 7 days. While refrigeration can sometimes alter the texture slightly, a quick warm-up can bring back some of their original softness. Ensure they are fully cooled before refrigerating to prevent condensation.
-
Freezing for Long-Term Enjoyment
These almond flour scones freeze exceptionally well, making them perfect for meal prepping or having a quick treat on hand. For best results, freeze un-iced scones. Wrap each scone tightly in plastic wrap, then place the individually wrapped scones into a large zip-top freezer bag or an airtight freezer-safe container. They can be stored in the freezer for up to 2 months without compromising quality.
-
Thawing and Reheating
When you’re ready to enjoy a frozen scone, simply remove it from the freezer and allow it to thaw at room temperature for a few hours. For an extra touch of warmth and freshness, you can gently reheat thawed scones in a preheated oven at 300°F (150°C) for about 5-10 minutes. If you froze them un-iced, apply the vanilla icing after they have fully thawed and cooled to room temperature for the best texture and appearance.
Explore More Gluten-Free Almond Flour Recipes
If you’ve enjoyed baking with almond flour and are looking for more delicious gluten-free options, explore these other fantastic recipes:
- Almond Flour Biscuits
- Almond Flour Cake
- Almond Flour Banana Muffins
- Gluten-Free Protein Pancakes
- Almond Flour Blueberry Muffins