
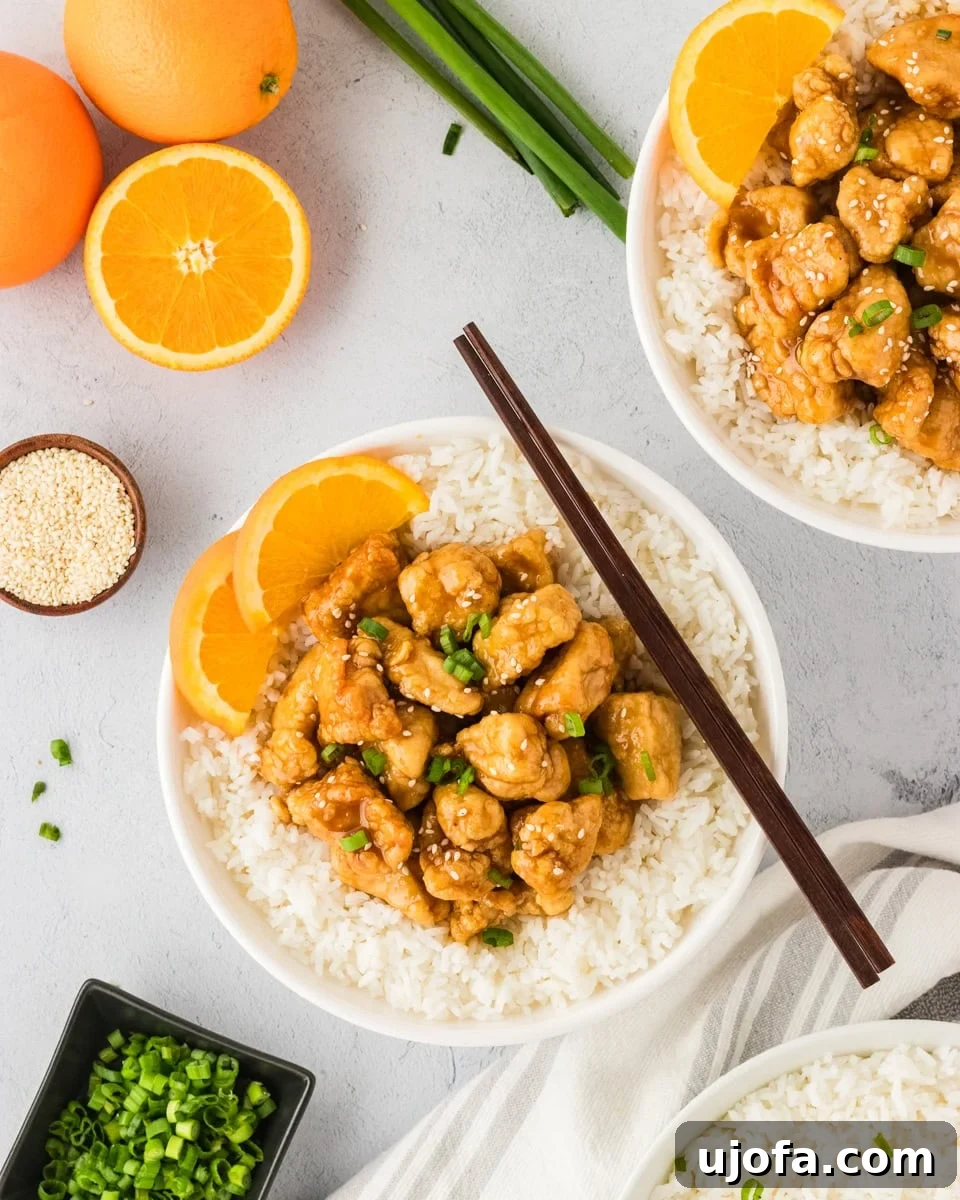
Craving the vibrant, tangy, and sweet flavors of classic Chinese orange chicken but need it to be gluten-free? Look no further! This comprehensive guide and recipe will show you how to recreate that beloved takeout experience right in your own kitchen, all while adhering to a gluten-free diet. We’ve perfected a homemade orange sauce that masterfully balances sweetness with a delightful citrus tang, perfectly coating succulent, crispy chicken. Whether you’re planning a quick weeknight meal, a family dinner that everyone will adore, or simply want a healthier alternative to traditional fried chicken, this easy gluten-free orange chicken recipe promises all the crunch and flavor you desire, completely free from gluten and dairy.
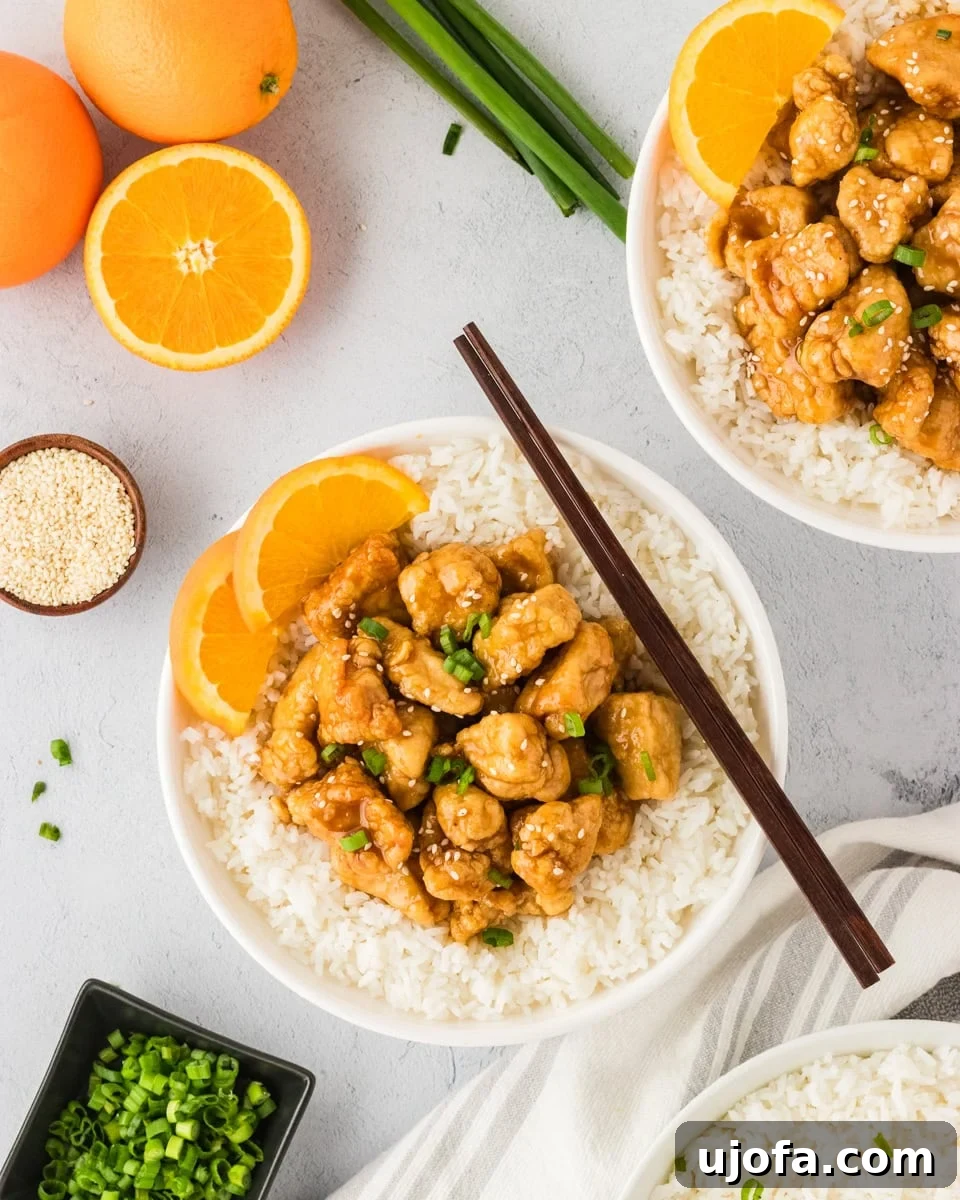
Mastering Gluten-Free Orange Chicken: A Homemade Takeout Favorite
There’s nothing quite like the satisfaction of transforming a classic takeout dish into a homemade, gluten-free culinary masterpiece. Our crispy citrus chicken stands out as a go-to meal, featuring a simple yet incredibly flavorful orange sauce that caramelizes beautifully over perfectly fried gluten-free chicken pieces. The result is an irresistible crispy and crunchy texture in every bite, delivering a depth of flavor that rivals your favorite restaurant.
Unlike many recipes that call for deep-frying, our method utilizes a pan-fried approach, which creates a lighter, yet still delightfully crispy coating. This technique ensures that the chicken remains wonderfully tender and juicy on the inside. The star of the dish is undoubtedly the sticky, glossy sauce, crafted with fresh orange juice, premium gluten-free soy sauce (or tamari), and a touch of honey or brown sugar for that perfect sweet-and-savory balance. Best of all, this stovetop orange chicken can be prepared and served in under 30 minutes, making it an ideal choice for a healthy, quick, and satisfying dinner that is naturally gluten-free and dairy-free.
Why Choose Homemade Gluten-Free Orange Chicken?
Opting for homemade orange chicken offers numerous benefits, especially for those managing a gluten-free diet. Beyond the obvious avoidance of gluten, preparing this dish at home gives you complete control over the quality and freshness of your ingredients. You can select organic chicken, choose your preferred cooking oil, and tailor the sweetness and spice level of the sauce to your exact liking. This empowers you to create a healthier version of a traditionally rich dish, free from hidden additives and allergens often found in restaurant preparations.
Furthermore, homemade means you can customize it to suit other dietary needs. This recipe is already dairy-free, but you can easily adjust sugar levels or substitute sweeteners. The process of making it yourself, from coating the chicken to simmering the sauce, is also a rewarding culinary experience that yields a dish bursting with fresh, vibrant flavors that store-bought versions simply can’t match. It’s a delicious way to bring the joy of a favorite Chinese-American dish to your gluten-free table without compromise.
Essential Gluten-Free Cooking Tips for Success
Achieving the perfect gluten-free orange chicken requires attention to a few key details. These tips will help ensure your chicken is crispy, your sauce is flavorful, and your meal is truly a triumph:
- **Oil Temperature is Key:** A reliable cooking thermometer is indispensable for maintaining the correct oil temperature. This is crucial for achieving perfectly crispy chicken that isn’t greasy or overcooked. For optimal results, heat your frying oil to precisely 350°F (175°C) before carefully adding the chicken. Remember that the oil temperature will naturally drop slightly when cold or room-temperature chicken is introduced. It’s important to allow the oil to return to 350°F (175°C) before frying subsequent batches to maintain consistent crispiness.
- **The Power of Cornstarch (and Alternatives):** Cornstarch plays a vital role in creating that desirable light, crispy crust on your chicken, whether you’re pan-frying or air frying. We recommend using a high-quality brand like Argo cornstarch. If cornstarch isn’t available or you prefer alternatives, arrowroot powder, potato starch, or tapioca starch are excellent substitutes that will yield similar crisping results. Ensure you’re using a certified gluten-free brand for any starch alternative.
- **Choosing Your Gluten-Free Soy Sauce:** Not all soy sauces are created equal when it comes to gluten-free diets. It is absolutely essential to use a certified gluten-free soy sauce. La Choy is a popular and reliable choice. For those looking for other gluten-free alternatives, tamari (which is traditionally gluten-free) or coconut aminos (a soy-free option) work wonderfully and contribute a similar umami depth to the sauce.
- **Sweetener Variations:** Our recipe uses a combination of granulated and brown sugar to achieve that signature sticky, glossy sauce texture and balanced sweetness. However, you have flexibility here. For a slightly different flavor profile or to use natural sweeteners, honey or maple syrup can be substituted. Adjust the quantity to your taste preferences, keeping in mind that these liquid sweeteners might slightly alter the sauce consistency.
- **Vinegar for Brightness and Tang:** Gluten-free rice vinegar, such as Marukan, is used to introduce a refreshing brightness and tangy note to the orange sauce, cutting through the sweetness and richness. If rice vinegar isn’t on hand, common kitchen alternatives like apple cider vinegar, white wine vinegar, or even fresh lemon juice can be used. Each will impart its unique subtle flavor, so choose what best suits your pantry and palate.
Gluten-Free Orange Chicken
Want to save this recipe?
Just enter your email and get it sent to your inbox! Plus you’ll get new recipes from us every week!
Ingredients
For the Crispy Chicken:
- 3 4-ounce boneless, skinless chicken breasts*, cut into 1-inch sized pieces
- 4 cups vegetable oil, for frying, I like peanut oil for frying
Dry Coating for Chicken:
- 1/2 cup gluten-free all-purpose flour, I used Pillsbury Gluten Free Flour
- 1/2 cup cornstarch**, I used Argo
- 2 teaspoons ground ginger
- 2 large eggs, whisked
For the Orange Sauce:
- 4 tablespoons gluten-free soy sauce, I used La Choy
- 1/2 teaspoon ground ginger
- 1 teaspoon garlic powder
- 1/2 cup granulated sugar
- 1/2 cup brown sugar
- 1/2 cup orange juice
- 1/2 cup gluten-free rice vinegar (or white vinegar)
- 4 tablespoons cornstarch
- 4 tablespoons water
Instructions
-
To create the dry coating, combine the gluten-free all-purpose flour, cornstarch, and ground ginger in a large plastic storage bag (like a Ziploc bag). This “shake and bake” method is the easiest way to ensure even coating, but you can also use a shallow bowl for dredging.
-
Carefully cut the boneless, skinless chicken breasts into uniform 1-inch pieces. A helpful tip is to first cut each chicken breast in half lengthwise, then cut those halves in half again crosswise, creating consistent bite-sized chunks that cook evenly.
-
In a medium-sized mixing bowl, whisk the two large eggs until well combined. Add the prepared chicken pieces to the whisked eggs and stir gently to ensure every piece is fully coated. This egg wash acts as a binder for the dry coating.
-
Transfer all the egg-coated chicken pieces into the plastic storage bag containing the gluten-free flour mixture. Seal the top of the bag securely, trapping some air inside. Vigorously shake the bag, turning it over and over, until each chicken piece is completely and evenly coated with the flour mixture. Once coated, place the bag in the refrigerator while your frying oil heats up.
-
In a large skillet or wok (a wok is ideal for even heat distribution), heat the 4 cups of vegetable oil over medium-high heat. Use a cooking thermometer to monitor the oil temperature, aiming for a steady 350°F (175°C).
-
Once the oil reaches the correct temperature, carefully add the coated chicken pieces to the hot oil. Avoid overcrowding the skillet, as this can lower the oil temperature and lead to soggy chicken. Fry the chicken in batches for 3-4 minutes per batch, or until the pieces are a beautiful light golden brown and cooked through. The chicken will continue to cook slightly as it rests.
-
Using a slotted spoon, carefully remove the cooked chicken pieces from the hot oil and transfer them to a baking sheet or plate lined with paper towels. This will help drain any excess oil, ensuring maximum crispiness.
-
Carefully pour the hot oil from the skillet into a heatproof bowl. Allow it to cool completely before disposing of it properly, or straining it if you wish to save it for future frying (ensure it’s completely cooled and filtered for reuse). Wipe the skillet clean with a paper towel to remove any fried bits and excess oil, then return it to the stovetop.
-
Lightly spray your cleaned skillet with a nonstick gluten-free cooking spray, or add a small amount of fresh oil, and set the stovetop heat to medium.
-
Add the granulated sugar, brown sugar, garlic powder, and ground ginger to the skillet. Stir these ingredients together until well combined. Next, pour in the orange juice, continuing to stir occasionally, until both types of sugar have completely dissolved into the liquid.
-
Introduce the gluten-free rice vinegar and gluten-free soy sauce to the skillet. Stir thoroughly to integrate all the liquid ingredients, creating the base of your rich orange sauce.
-
In a small separate bowl, whisk together the 4 tablespoons of cornstarch with 4 tablespoons of water until a smooth slurry forms. Slowly pour this cornstarch slurry into the simmering sauce in the skillet while continuously stirring. Continue to cook the sauce, stirring occasionally, until it thickens to a consistency similar to maple syrup – sticky and glossy.
-
Finally, return the fried chicken pieces to the skillet with the thickened orange sauce. Gently toss the chicken, ensuring each crispy piece is thoroughly and evenly coated with the luscious, tangy sauce.
-
Serve your homemade gluten-free orange chicken immediately over a bed of steamed rice or your favorite grain, and savor every flavorful bite!
Notes
**Arrowroot powder can be substituted for cornstarch in both the chicken coating and the sauce for a similar thickening and crisping effect.
Nutrition
Nutrition information is automatically calculated, so should only be used as an approximation.
Additional Info
A Visual Guide: How to Make Gluten-Free Orange Chicken Step by Step
Follow these step-by-step photos to ensure your gluten-free orange chicken turns out perfectly crispy and saucy every time. Each image guides you through the process, making this recipe accessible for cooks of all skill levels.
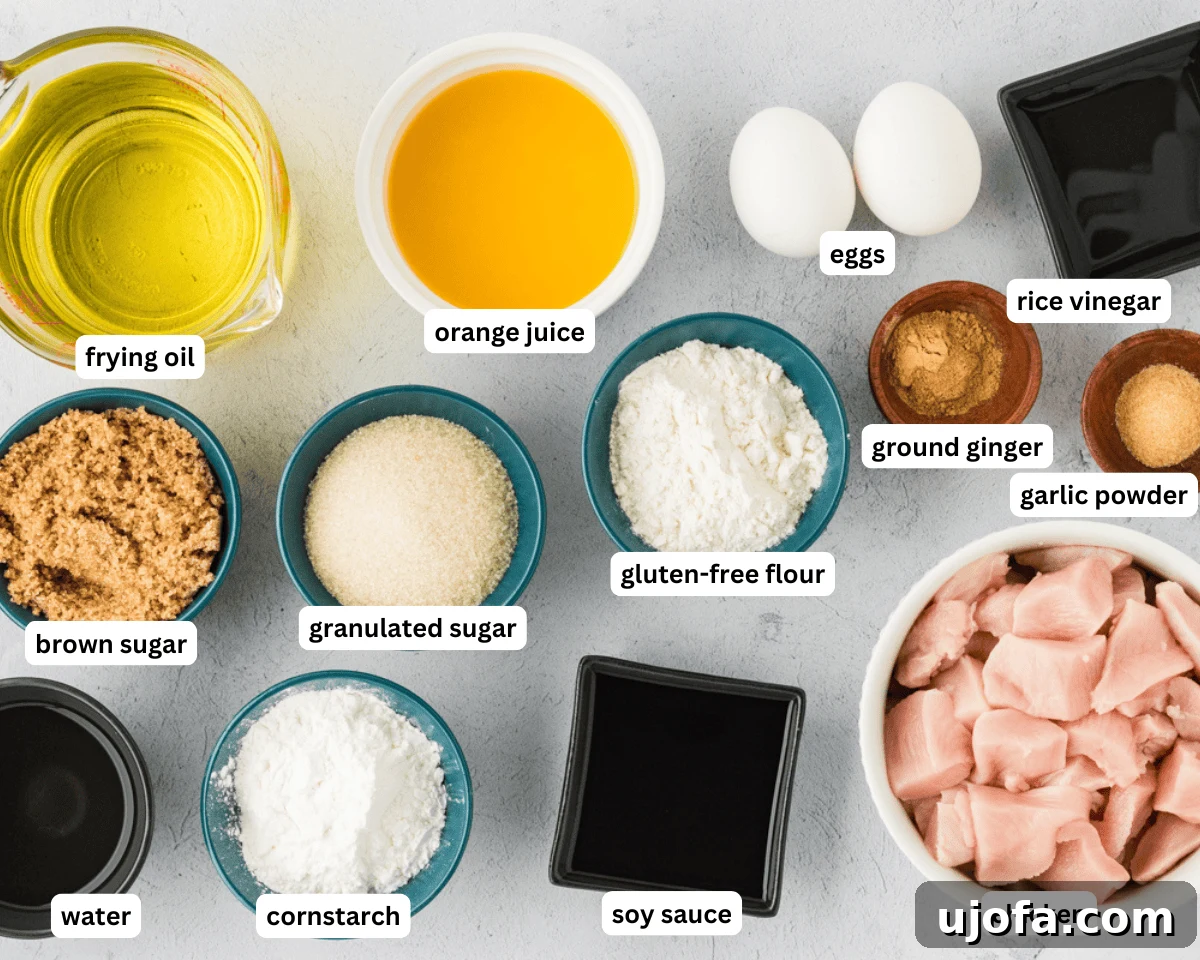
Start by gathering all your fresh and pantry ingredients. Having everything prepped and measured makes the cooking process smooth and enjoyable.
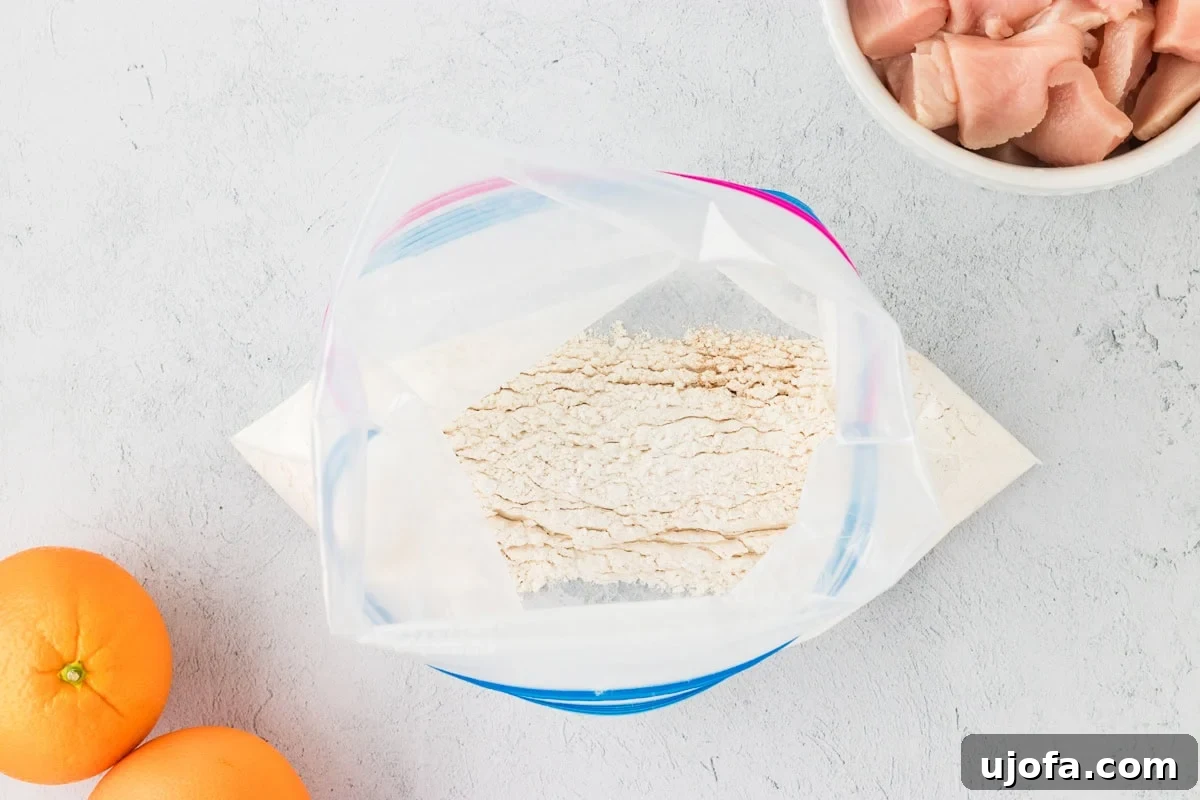
Prepare the Breading Mixture: Take a large plastic ziplock bag and combine ½ cup of your chosen gluten-free all-purpose flour, ½ cup of cornstarch, and 2 teaspoons of ground ginger. Shake the bag vigorously to ensure the ingredients are evenly mixed. This mixture will give your chicken its signature crispy coating.
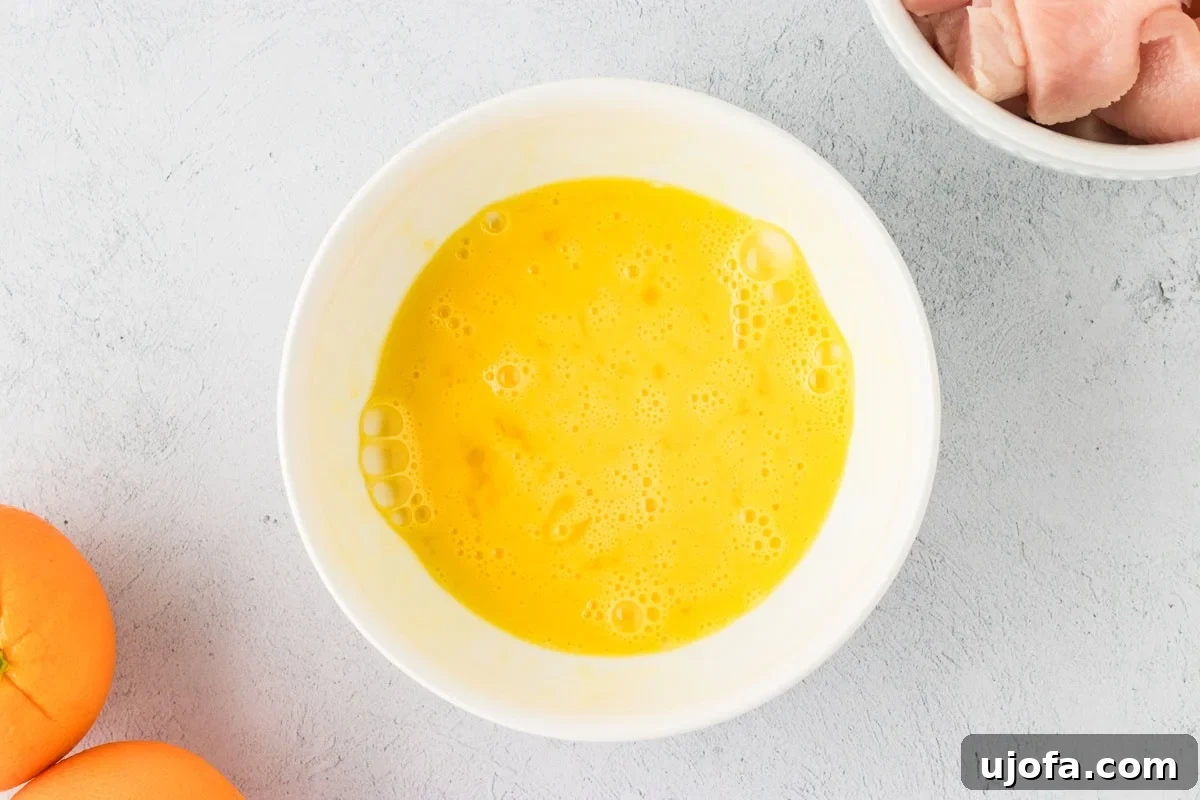
Next, prepare your chicken. Cut three 4-ounce boneless, skinless chicken breasts into uniform 1-inch pieces. In a separate medium-sized mixing bowl, whisk two large eggs until they are smooth and frothy. The egg wash will help the dry coating adhere to the chicken.
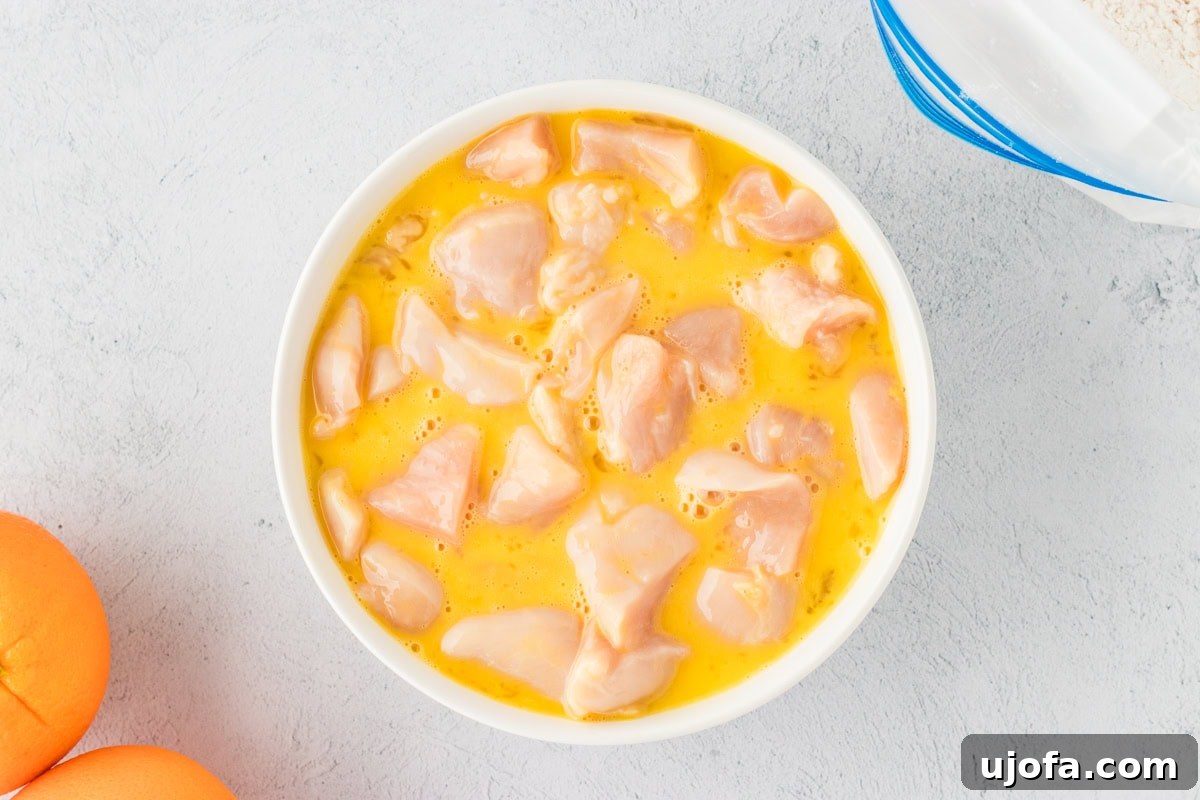
Add the 1-inch chicken pieces to the bowl of whisked eggs. Stir carefully to ensure that each piece of chicken is thoroughly coated in the egg mixture. This step is essential for creating a crispy crust.
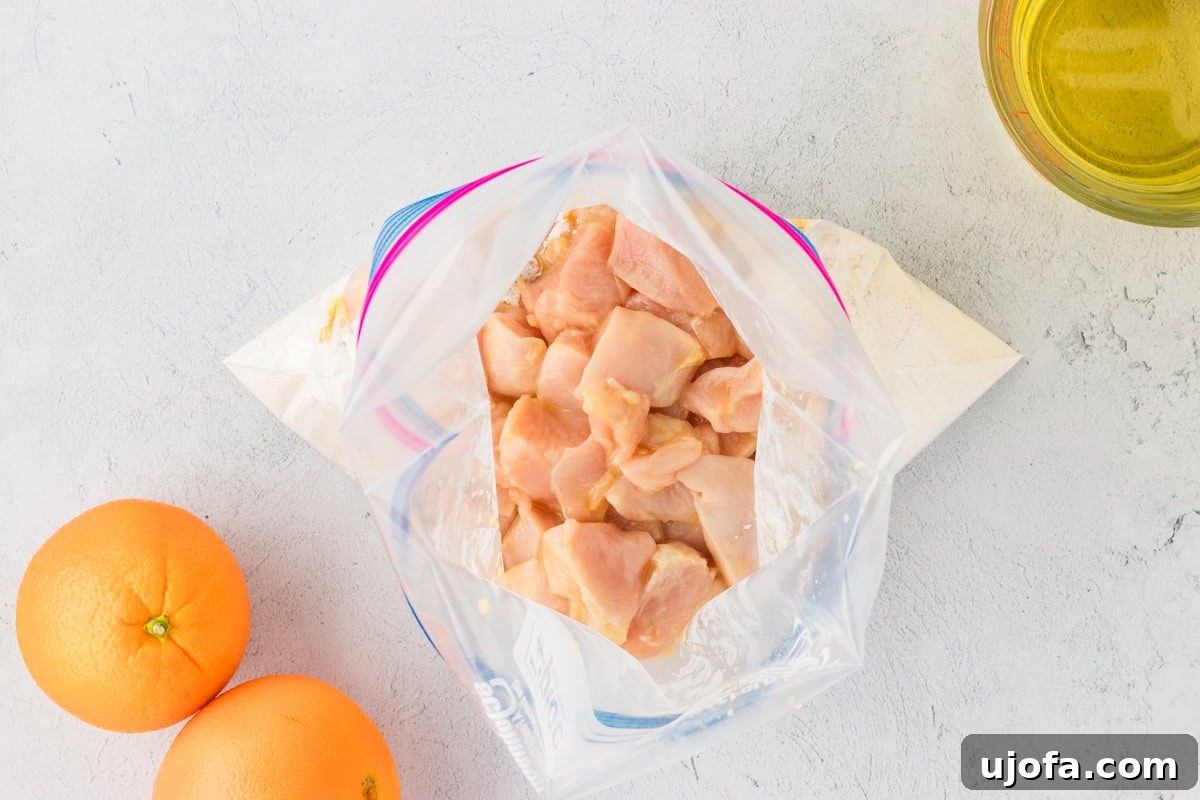
Carefully transfer all the egg-coated chicken pieces into the large plastic bag containing the gluten-free flour and spice mixture. Make sure to get all the chicken into the bag for even coating.
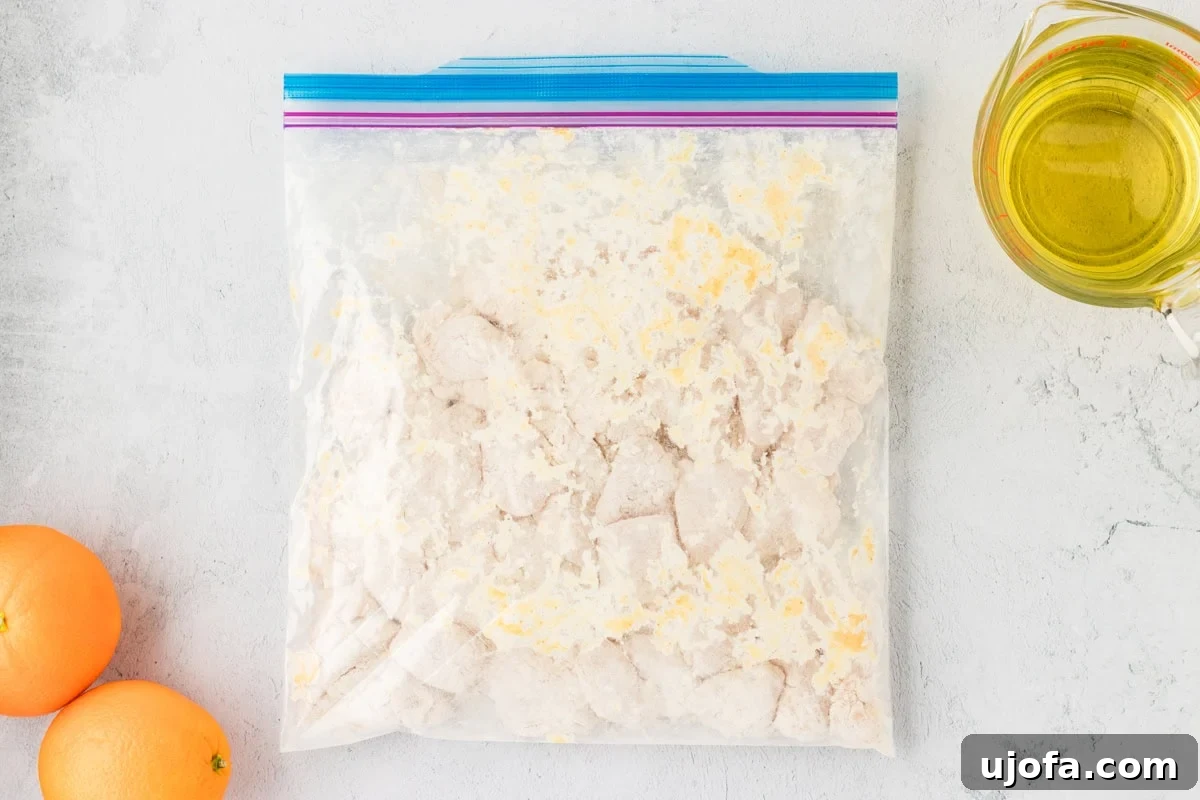
Seal and Shake: Seal the bag tightly, leaving some air inside. Then, vigorously shake the bag, turning it over and over until every single chicken piece is completely and uniformly coated with the dry mixture. This creates the perfect base for a crispy texture. Once coated, place the bag of chicken in the refrigerator while you prepare the oil.
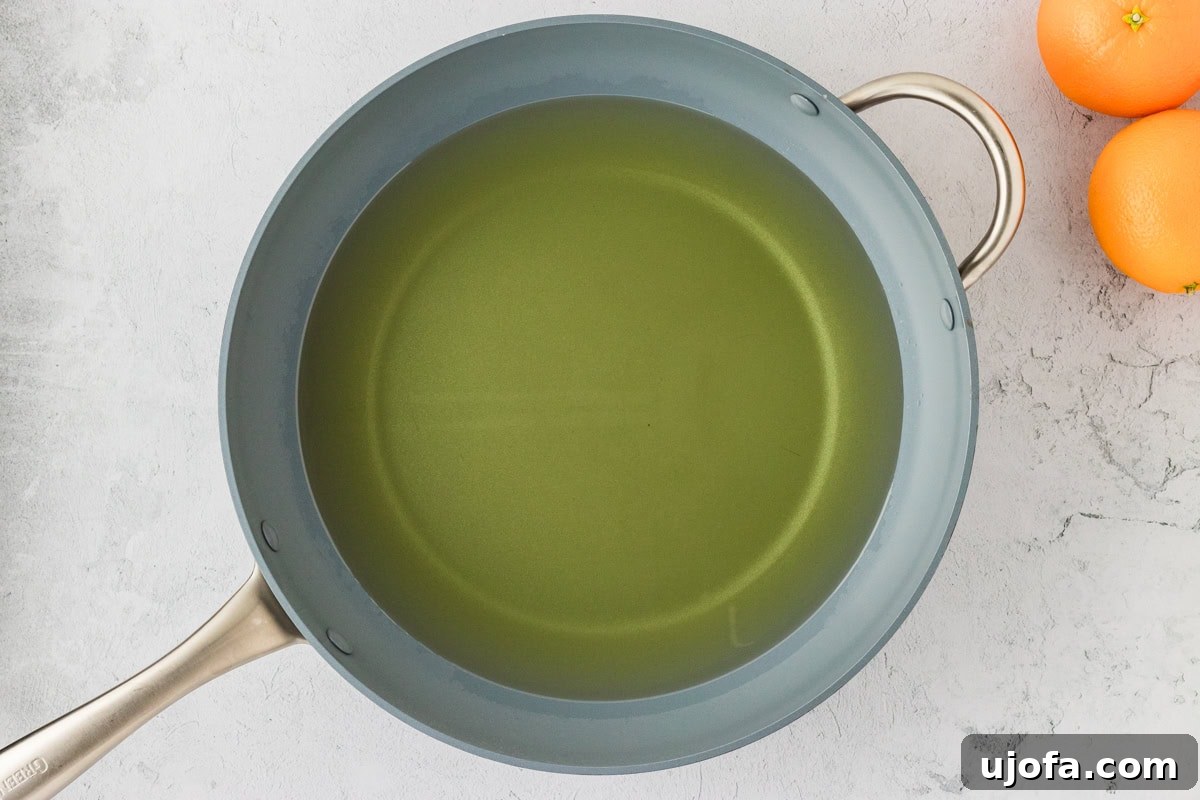
Heat 4 cups of vegetable oil (peanut oil is excellent for frying) in a wok or a high-sided pan over medium-high heat. A wok’s shape truly makes this recipe easier to manage. Use a cooking thermometer to ensure the oil reaches precisely 350°F (175°C). Maintaining the correct oil temperature is crucial for achieving that golden, crispy exterior without making the chicken greasy.
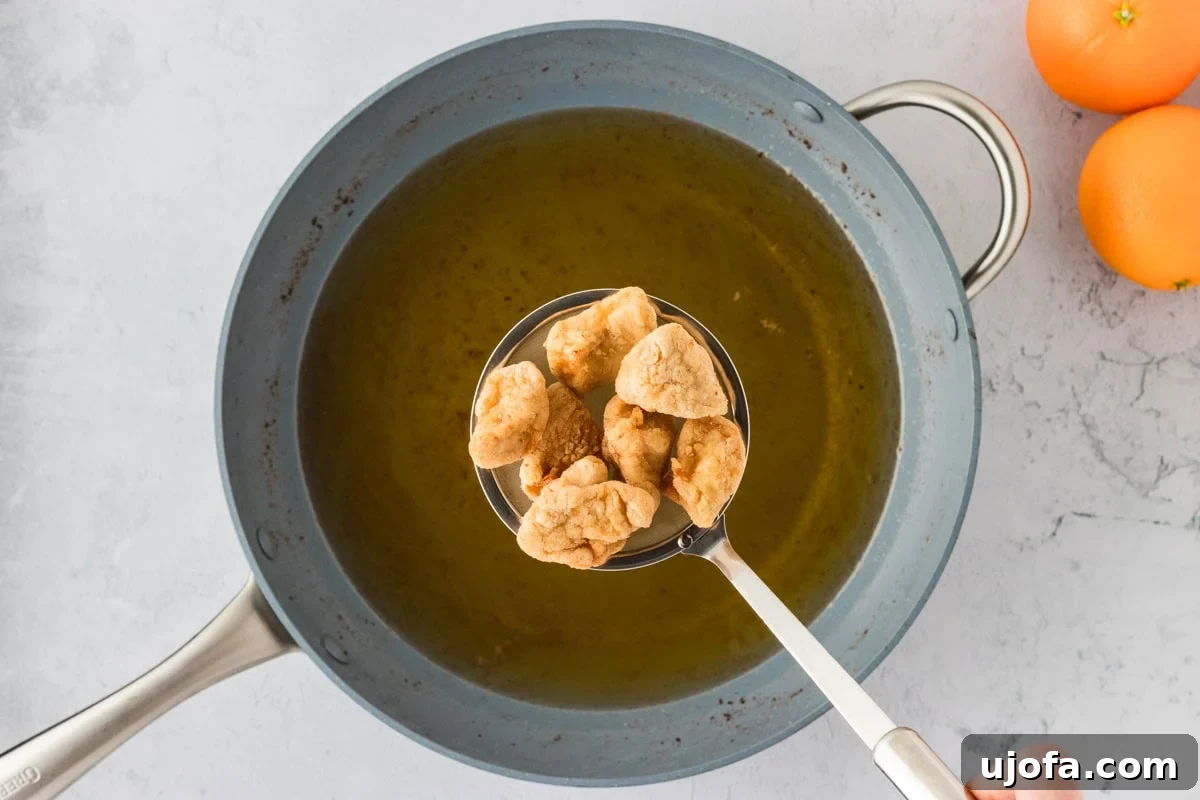
Cook the Chicken to Perfection: Gently and carefully add the breaded chicken pieces into the hot oil. Avoid overcrowding the skillet; you may need to cook the chicken in several batches, depending on the size of your pan. Overcrowding can lower the oil temperature, leading to less crispy, potentially soggy chicken. Fry each batch for 3-4 minutes, or until the chicken turns a beautiful light golden brown and is cooked through. The chicken will continue to cook slightly as it cools. For safety and to minimize mess, consider using a splatter guard over your wok while the chicken fries. Always allow the oil to return to 350°F (175°C) before adding the next batch. Once cooked, use a slotted spoon to remove the chicken pieces from the hot oil and place them on a paper towel-lined baking sheet to drain any excess oil.
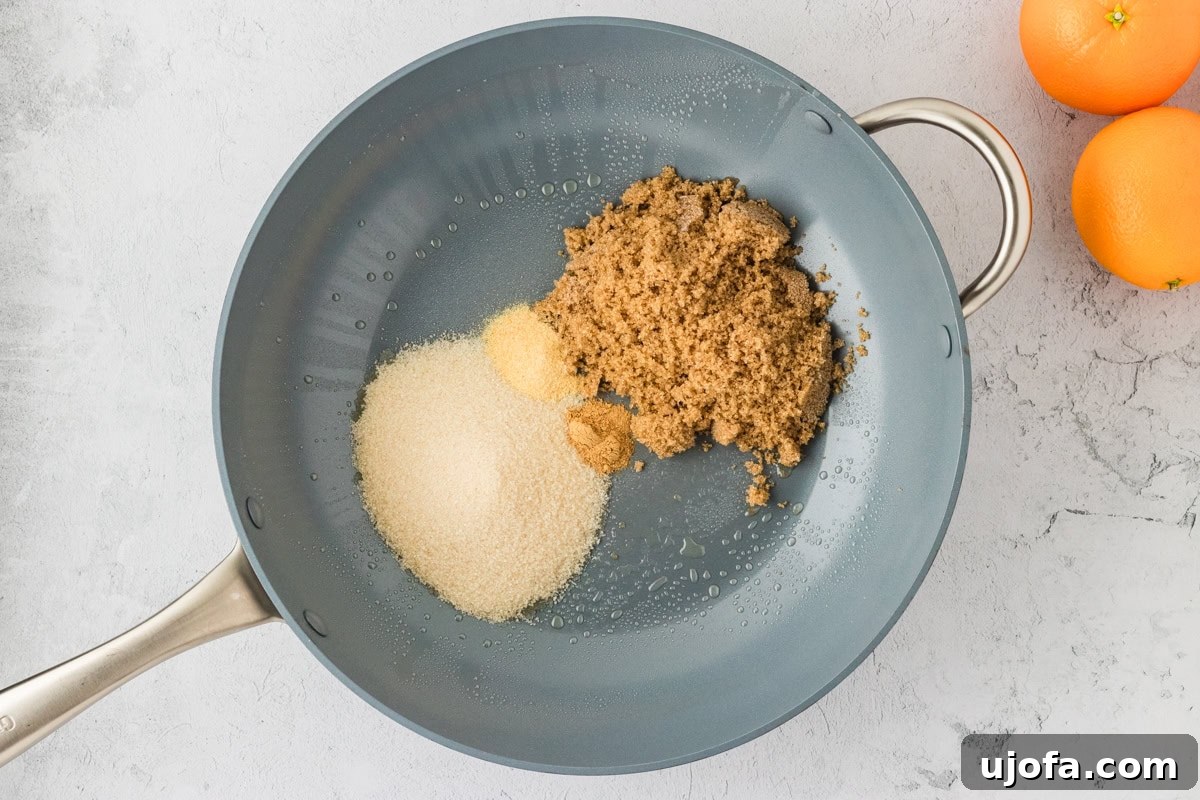
Begin the Orange Sauce: With the chicken fried, it’s time to prepare the delectable orange sauce. First, carefully pour the hot oil from the skillet into a heatproof bowl. Let it cool completely before disposing of it or saving it for another frying adventure. Once the skillet is empty and wiped clean with a paper towel, return it to the stovetop. Lightly coat the pan with gluten-free cooking spray or a small amount of fresh oil, and set the heat to medium. Add ½ cup granulated sugar, ½ cup brown sugar, ½ teaspoon ground ginger, and 1 teaspoon garlic powder to the pan. Stir these ingredients thoroughly to combine them.
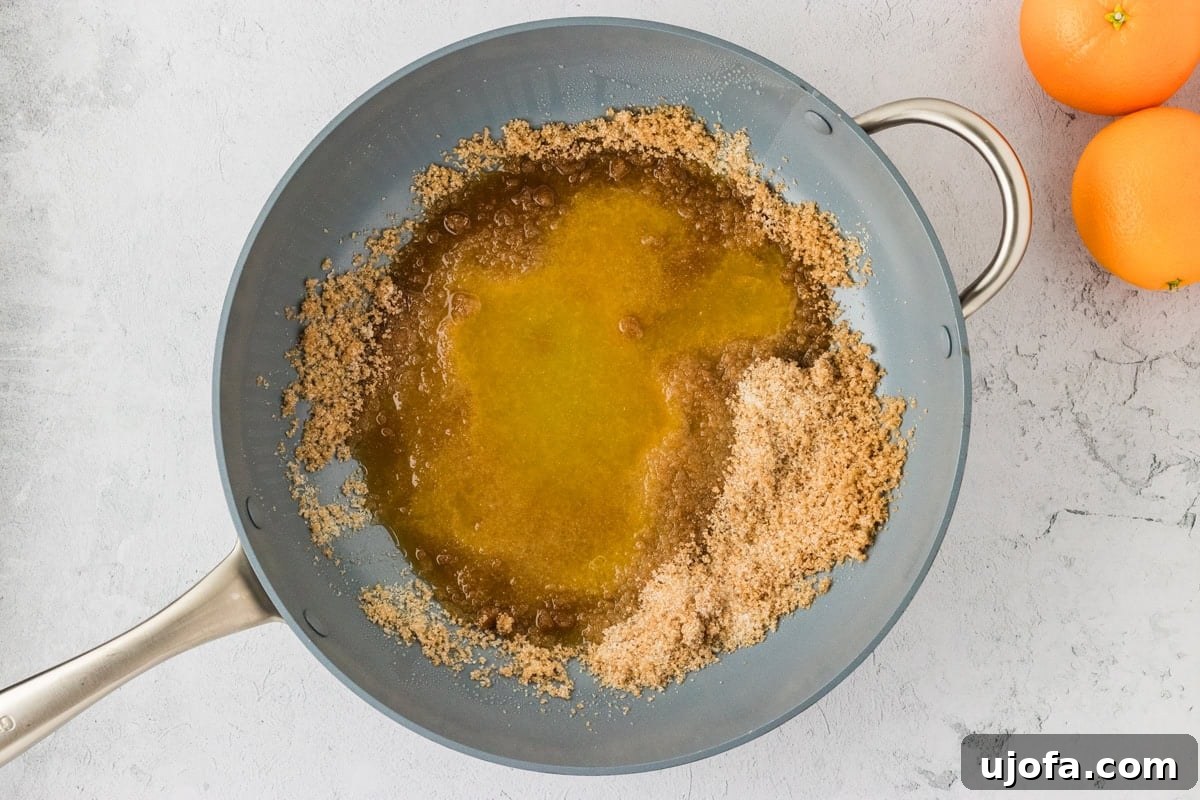
Next, pour in ½ cup of fresh orange juice. Continue stirring occasionally as the sauce gently heats, ensuring that both the granulated and brown sugars fully dissolve, creating a smooth, sweet base for your orange sauce.
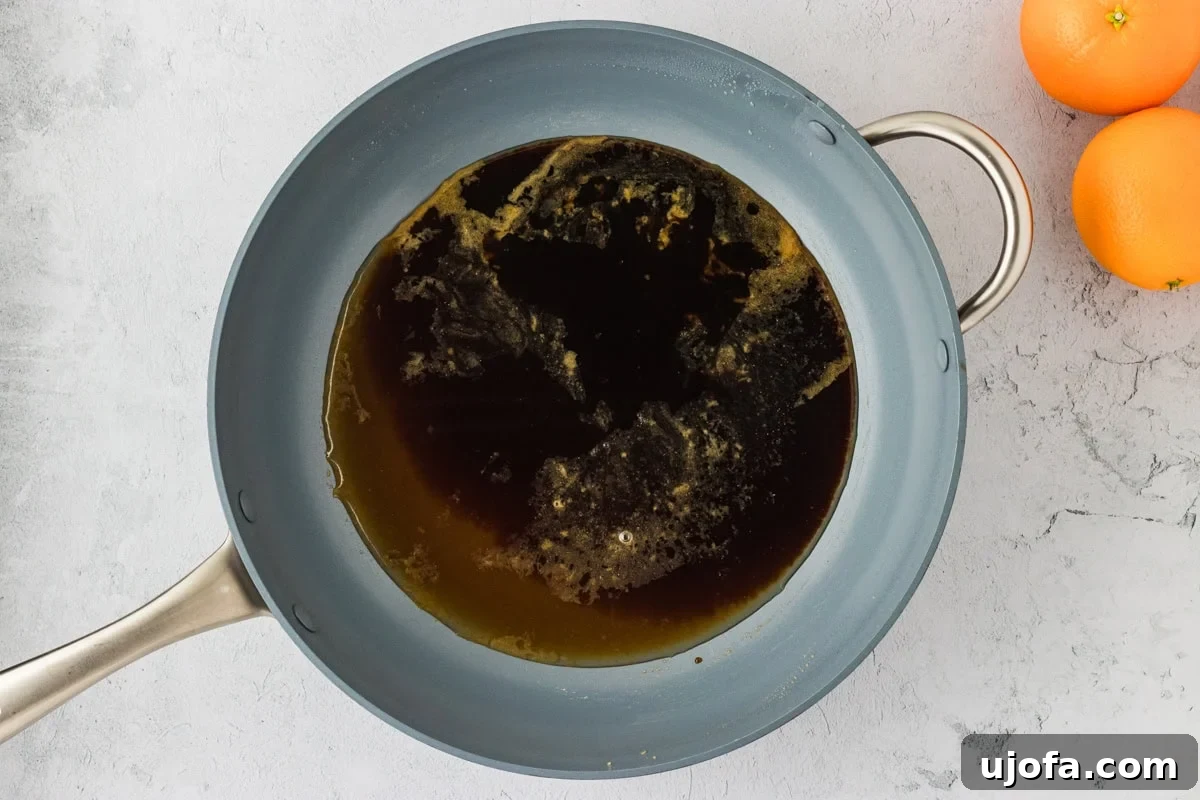
Now, add 4 tablespoons of gluten-free soy sauce and ½ cup of gluten-free rice vinegar to the skillet. Stir all the liquid ingredients well to combine them, allowing the flavors to meld and create a balanced sweet, savory, and tangy profile.
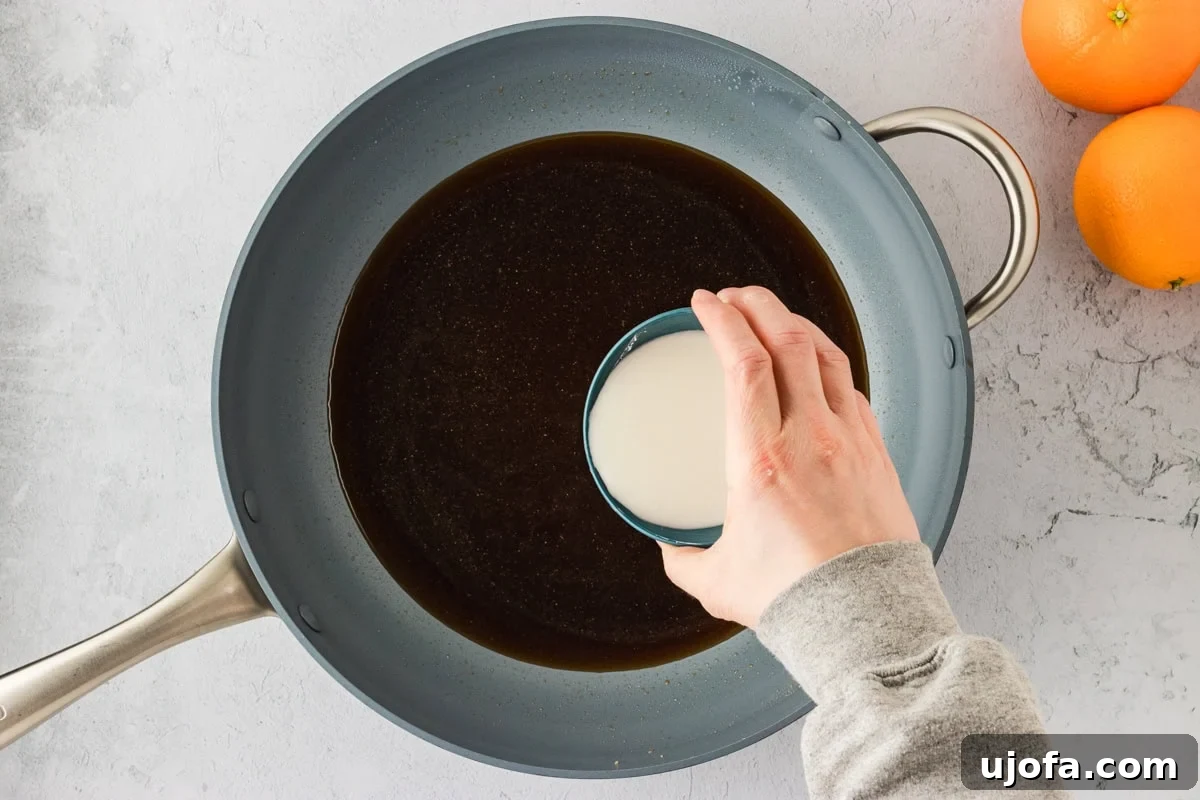
In a separate glass measuring cup or small bowl, whisk together 4 tablespoons of cornstarch with 4 tablespoons of water until you have a smooth, lump-free slurry. Gradually add this cornstarch slurry to the simmering sauce in the skillet, stirring continuously to prevent lumps from forming.
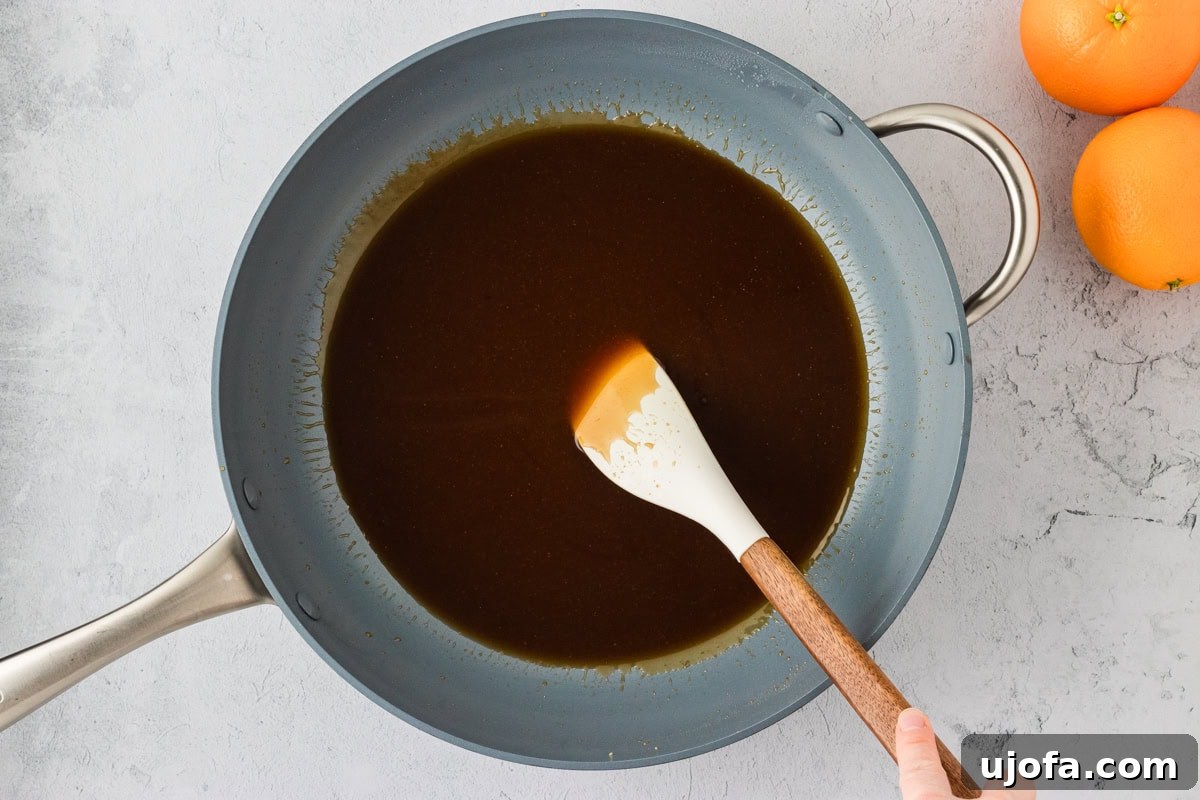
Continue to cook the sauce over medium heat, stirring occasionally, until it significantly thickens and develops a beautiful, glossy sheen. The ideal consistency should resemble warm maple syrup – rich, sticky, and able to coat the back of a spoon.
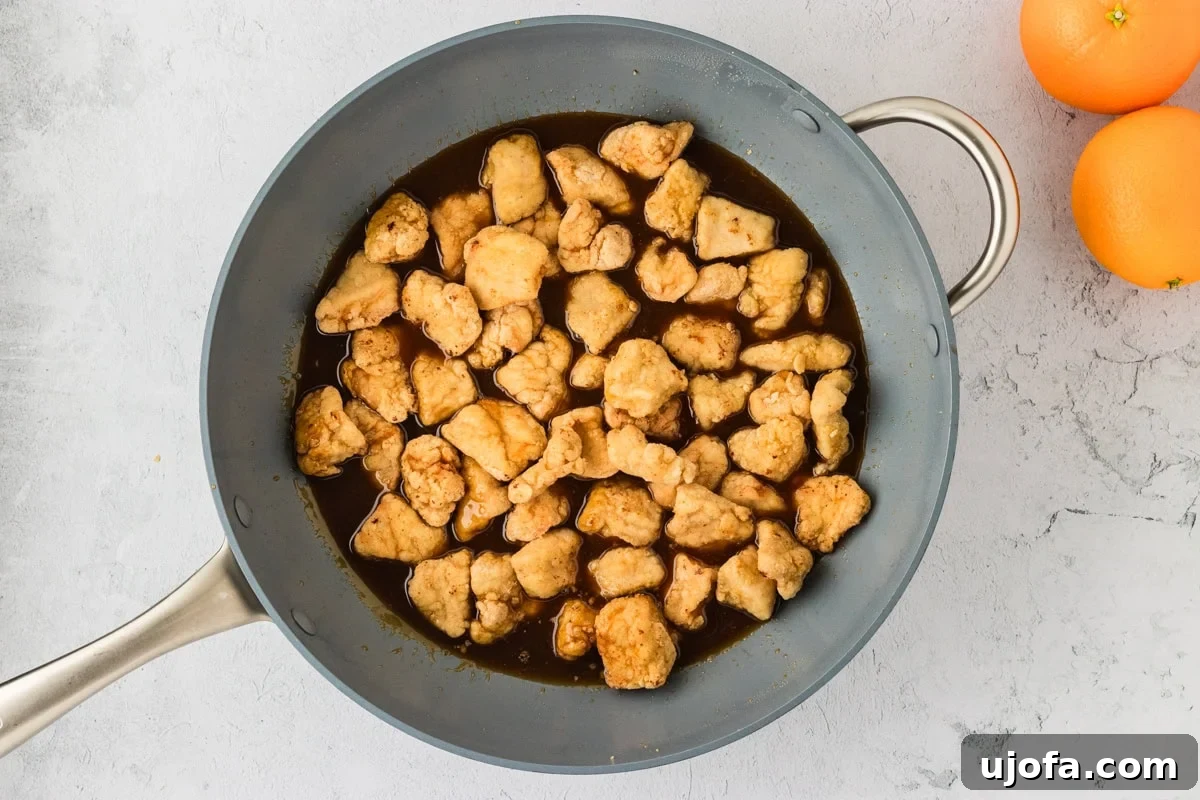
Return all the fried chicken pieces to the skillet with the luscious orange sauce. Gently toss the chicken, ensuring every single piece is thoroughly and evenly coated with the sticky, flavorful sauce. This step brings all the elements together into the final, irresistible dish.
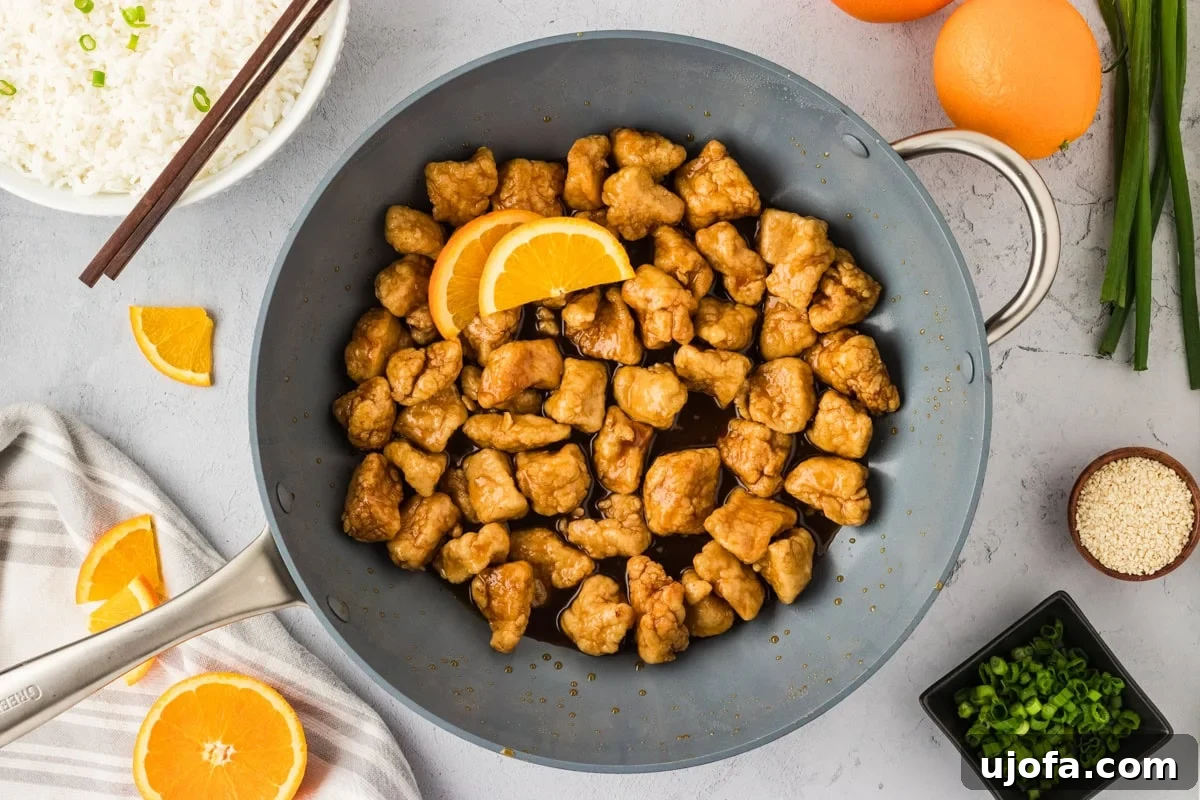
Serve your magnificent homemade gluten-free orange chicken immediately. It’s best enjoyed hot, straight from the pan, over a bed of fluffy rice.
Air Fryer Method for Gluten-Free Orange Chicken
For a lighter alternative that still delivers incredible crispiness, this gluten-free orange chicken recipe adapts beautifully to an air fryer. After coating the chicken pieces in the gluten-free flour and cornstarch mixture, lightly spray them with cooking oil. Arrange the chicken in a single layer in your air fryer basket, ensuring not to overcrowd it for optimal air circulation. Air fry at 375°F (190°C) for 12-15 minutes, flipping the chicken halfway through to achieve even browning and crispiness. Once the chicken is perfectly cooked and golden, toss it with the prepared orange sauce, just as you would with the pan-fried version. This method significantly reduces the amount of oil used while still providing a satisfying crunch.
Storage and Reheating Instructions
Proper storage is essential to keep your gluten-free orange chicken delicious for as long as possible. To store any leftover orange chicken, transfer it to an airtight container and refrigerate it promptly. It will remain fresh and tasty for up to 3 days. For longer storage, you can freeze the chicken in a freezer-safe container for up to 2 months. To best preserve the chicken’s crispy texture, we recommend storing the chicken and the orange sauce separately, if possible. If you anticipate reheating, consider storing them in individual containers.
When it’s time to reheat, avoid using the microwave for the chicken itself, as it can cause the crispy coating to become soggy. Instead, for best results, reheat the chicken in an air fryer or oven until crispy and warmed through. If the sauce was stored separately, gently warm it in a small saucepan over low heat until simmering, then toss it with the reheated chicken just before serving. This ensures that wonderful sticky, glossy texture and vibrant flavor are fully restored.
Delicious Serving Suggestions
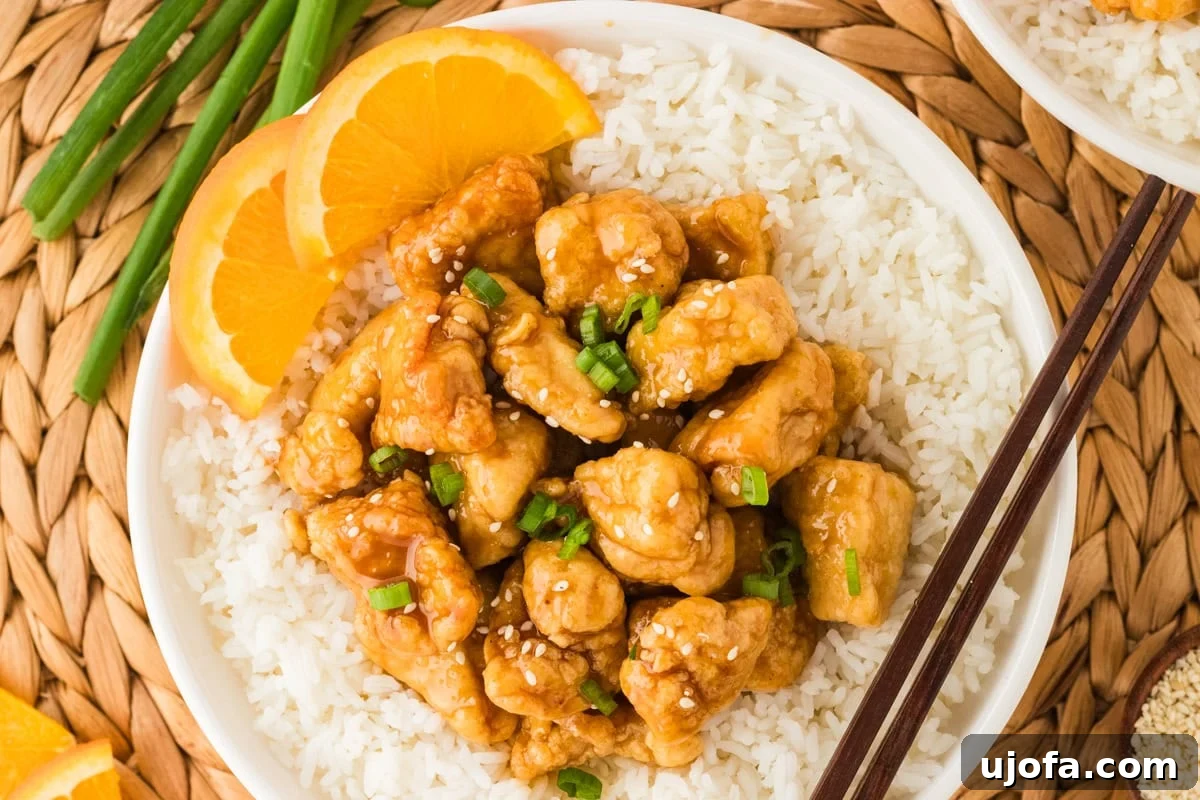
This crispy gluten-free orange chicken is incredibly versatile and pairs well with a variety of sides, allowing you to create a complete and satisfying meal. My personal favorite way to serve it is over a generous bed of fluffy, steamed jasmine rice, which perfectly soaks up the extra sauce. For a lighter, lower-carb option, cauliflower rice makes an excellent substitute. To elevate the dish and add a burst of freshness, I love to sprinkle it with toasted sesame seeds for an extra crunch and finely sliced green onions for a mild, aromatic bite just before serving.
If you’re looking to add more vegetables or make it a more substantial meal, consider pairing it with a side of stir-fried vegetables. Bell peppers (red, yellow, or orange), crisp snap peas, broccoli florets, or tender baby bok choy are all fantastic choices that complement the orange chicken beautifully. You can also serve it alongside a simple green salad with a light vinaigrette for a refreshing contrast.
Frequently Asked Questions About Gluten-Free Orange Chicken
Q: Can I use chicken thighs instead of breasts?
A: Absolutely! Boneless, skinless chicken thighs are an excellent substitute for chicken breasts. They tend to be juicier and more forgiving if slightly overcooked. Simply cut them into 1-inch pieces as directed in the recipe. The cooking time should remain roughly the same.
Q: Is this recipe dairy-free?
A: Yes, this recipe is naturally dairy-free! We do not use any dairy products in either the chicken coating or the orange sauce, making it suitable for those with dairy allergies or intolerances.
Q: Can I make the orange sauce ahead of time?
A: Yes, the orange sauce can be made a day or two in advance. Prepare the sauce according to the instructions, let it cool completely, then store it in an airtight container in the refrigerator. When you’re ready to serve, gently reheat the sauce over low heat, stirring until it’s smooth and glossy again. If it’s too thick, you can add a tablespoon or two of water or orange juice to reach your desired consistency.
Q: How can I make the chicken extra crispy?
A: For maximum crispiness, ensure your oil is at the correct temperature (350°F/175°C) and don’t overcrowd the pan when frying. Fry in small batches to maintain consistent oil temperature. Also, allowing the coated chicken to chill in the refrigerator for 15-20 minutes before frying can help the coating adhere better and result in a crispier texture.
Q: What if I don’t have rice vinegar?
A: If you don’t have gluten-free rice vinegar, you can substitute it with an equal amount of apple cider vinegar or white wine vinegar. Fresh lemon juice can also work in a pinch, though it will impart a slightly different flavor profile. The key is to add that essential tangy note to balance the sweetness of the sauce.
More Delightful Gluten-Free Dinner Recipes
If you loved this gluten-free orange chicken, you’re sure to enjoy these other family-friendly gluten-free dinner ideas:
- Gluten-Free Lasagna
- Gluten-Free Fried Chicken
- Gluten-Free Baked Macaroni and Cheese
- Dairy-Free Butter Chicken
- Gluten-Free Baked Ziti