
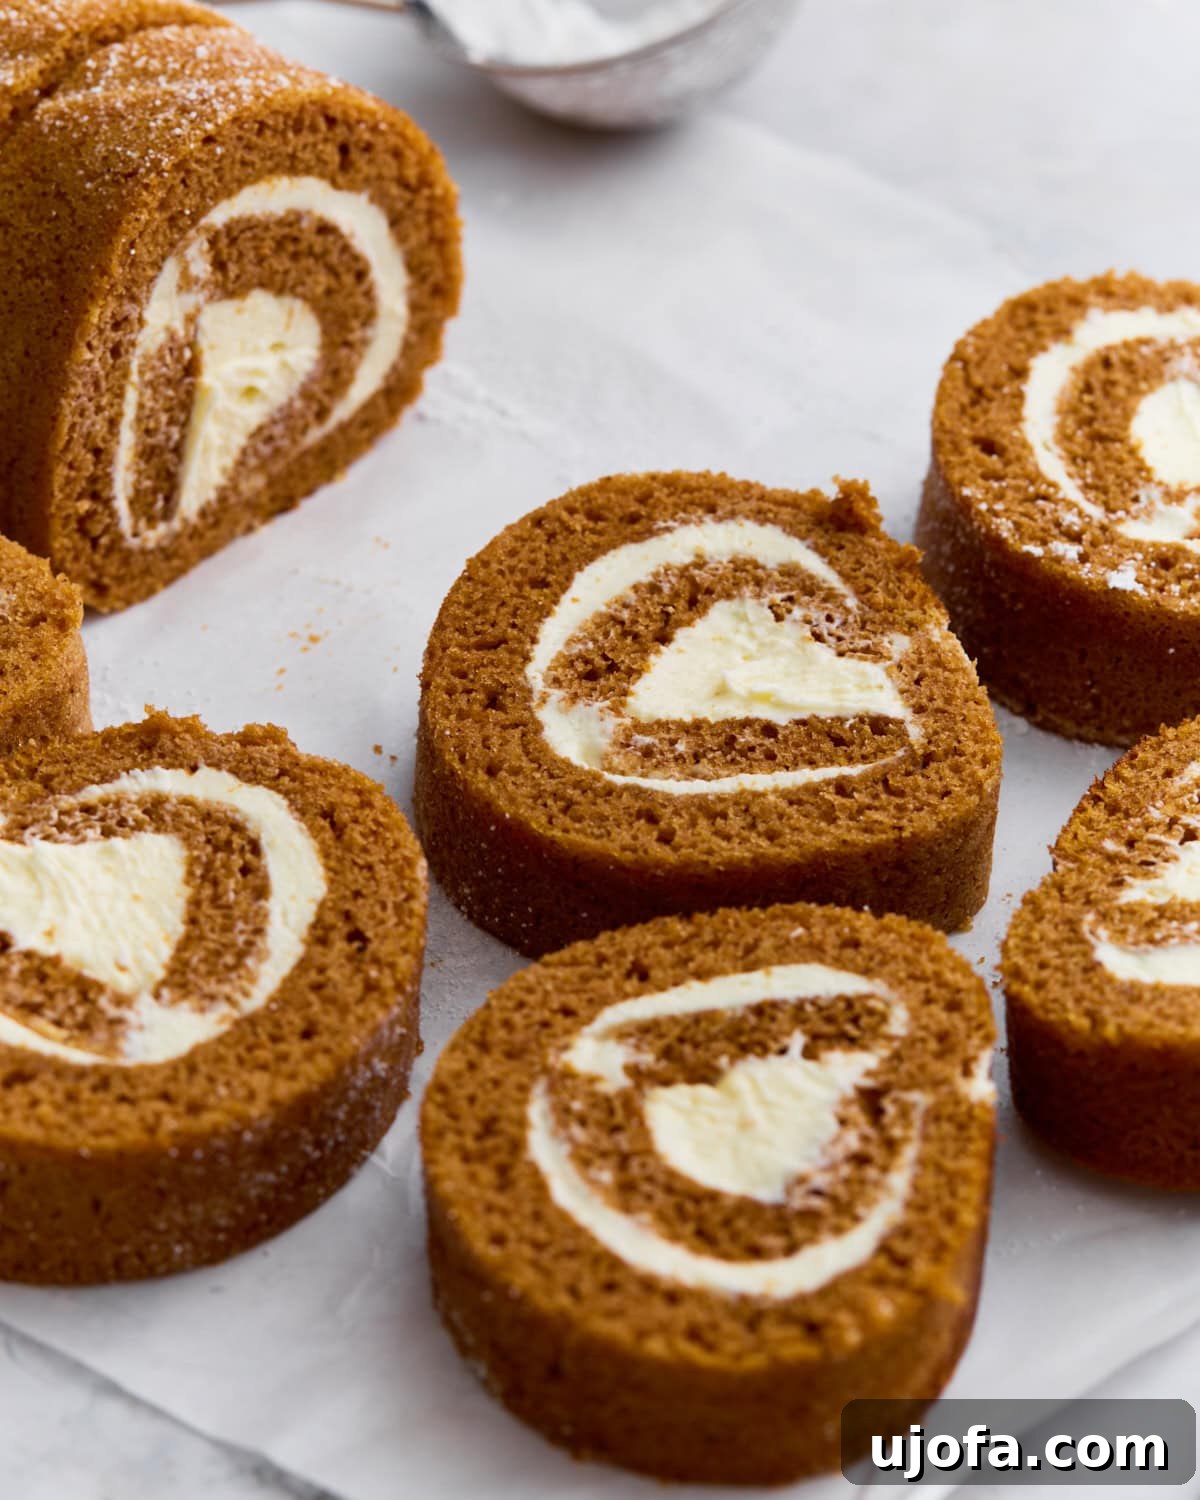
The Ultimate Gluten-Free Pumpkin Roll: A Holiday Must-Have
There’s an undeniable magic to the pumpkin roll, a dessert that instantly evokes the warmth and joy of the holiday season. Imagine a perfectly spiced, tender pumpkin cake, generously slathered with a rich, tangy cream cheese filling, all rolled into a beautiful, festive spiral. This isn’t just a recipe; it’s an experience, a delightful centerpiece that promises smiles with every slice. And for those navigating gluten sensitivities, this gluten-free pumpkin roll delivers all the classic charm and irresistible flavor you remember, ensuring everyone can partake in the holiday cheer.
Baking a show-stopping dessert like a pumpkin roll might seem daunting, especially when working with gluten-free flours. However, with the right techniques and a carefully crafted recipe, you’ll discover that achieving a soft, moist, and crack-free roll is not only possible but surprisingly straightforward. This recipe has been perfected through numerous trials, guaranteeing a light, airy pumpkin sponge that rolls beautifully, enveloping a sweet, creamy filling that truly melts in your mouth. It’s the ideal treat for Thanksgiving gatherings, Christmas feasts, or simply whenever the craving for cozy fall spices strikes. We invite you to try this recipe, and we’d love to hear about your baking success in the comments below!
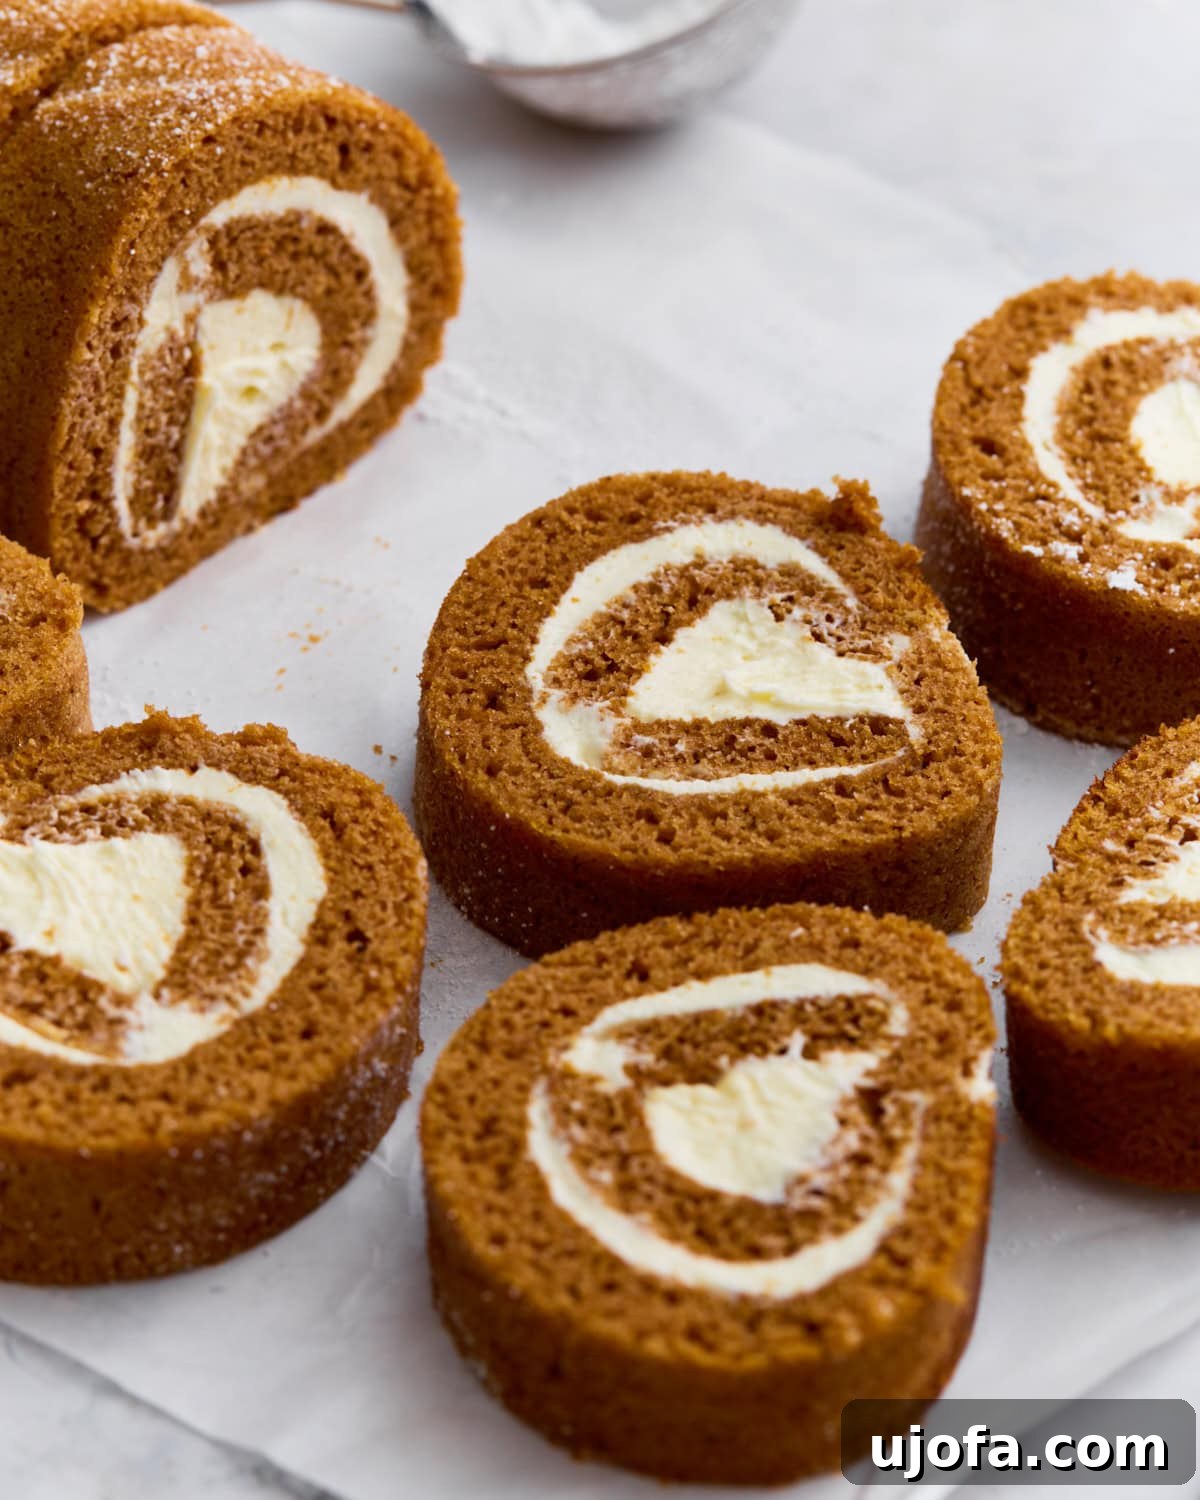
I used KA gf all-purpose flour and Kroger simple truth cream cheese with Country Crock plant butter. It was AMAZING. My family said it was the best pumpkin roll they had ever had.
– Birdsmom
Essential Gluten-Free Baking Tips for a Perfect Pumpkin Roll
Achieving a flawless gluten-free pumpkin roll requires a few specific considerations, different from traditional baking. Follow these expert tips to ensure your cake is soft, moist, and rolls without a hitch:
- Cool Completely Before Rolling: Unlike conventional methods where you might roll the cake in a towel while warm, this gluten-free recipe thrives on patience. Allowing the cake to cool completely at room temperature before rolling is crucial. A fully cooled cake is less likely to crack and more pliable, giving you a clean, tight spiral. Rushing this step often leads to breakage, as gluten-free flours tend to be more delicate when warm.
- Line Your Pan Generously: This is a non-negotiable step for easy removal. Use parchment paper that extends beyond the edges of your 10×15-inch jelly-roll pan. These overhangs act as handles, allowing you to gently lift the delicate cake out of the pan without tearing or breaking it, making the transfer and rolling process significantly smoother.
- Do Not Overbake: Overbaking is the arch-nemesis of a moist, rollable gluten-free cake. Begin checking for doneness around the 13-minute mark. The cake should feel springy to the touch and a toothpick inserted into the center should come out clean. An overbaked cake will be dry, crumbly, and almost certainly crack when you attempt to roll it. It’s better to slightly underbake than overbake for a pliable sponge.
- Choose the Right Gluten-Free Flour Blend: The quality and composition of your gluten-free flour blend are paramount. Not all blends are created equal. Some are very starch-heavy, which can result in a gummy texture, while others may lack xanthan gum, leading to a crumbly cake. For this recipe, a 1:1 gluten-free baking blend that already contains xanthan gum is highly recommended. Brands like Pillsbury Gluten-Free All-Purpose Flour are excellent choices. If your cake turns out denser than desired, try sifting the flour before mixing to introduce more air and lighten the texture. Xanthan gum provides the elasticity and structure that gluten would typically offer, preventing the cake from falling apart.
- Spread the Batter Evenly: Take an extra minute to carefully spread the cake batter uniformly across the prepared pan. An even thickness ensures that the cake bakes consistently, preventing thin spots that could overbake and thick spots that might remain undercooked. A flat, evenly baked cake is much easier to roll into a neat spiral.
- Chill the Cream Cheese Filling: A slightly chilled cream cheese frosting is much easier to spread. If your frosting is too warm, it can become runny and challenging to apply evenly, potentially oozing out during the rolling process. A firm, chilled frosting holds its shape better and contributes to a cleaner, more defined spiral within the roll.
- Gentle Mixing of Cake Batter: While regular cakes benefit from vigorous mixing, gluten-free batters perform best with gentle handling. Overmixing can develop starches too much, leading to a tougher, less tender cake. Mix until just combined, ensuring no dry streaks of flour remain, but avoid excessive beating.
Gluten-Free Pumpkin Roll
Share by Email
Print Recipe

Step-by-step photos can be seen below the recipe card.
Equipment
-
10 x 15-inch pan
Ingredients
Pumpkin Cake
- 3 large eggs
- 1 cup granulated sugar
- ⅔ cup canned pumpkin puree
- ½ tsp baking powder
- ½ tsp baking soda
- 1 tsp pumpkin pie spice
- ½ tsp cinnamon
- ¼ tsp salt
- 1 tsp vanilla extract
- ¾ cup all-purpose gluten-free flour with xanthan gum
- ⅛ cup powdered sugar, to sprinkle over the pumpkin roll
Cream Cheese Frosting
- 1 8-oz package cream cheese, softened
- 6 tbsp butter, softened
- 1 cup powdered sugar
- 1 tsp pure vanilla extract
Instructions
Gluten-Free Pumpkin Cake
-
Preheat oven to 375°F. Line a 15 x 10-inch jelly-roll pan with parchment paper, allowing for an overhang on the short sides. Lightly spray the parchment paper with gluten-free cooking oil spray to prevent sticking.
-
In a large mixing bowl, beat the eggs and granulated sugar with an electric mixer on medium-high speed until the mixture is light in color, slightly thickened, and creamy (about 2-3 minutes).
-
Reduce speed to low. Add the pumpkin puree, baking powder, baking soda, salt, pumpkin pie spice, cinnamon, and pure vanilla extract to the egg mixture. Mix until all ingredients are just combined and smooth, taking care not to overmix.
-
Gradually add in the gluten-free all-purpose flour. Mix on low speed until the flour is fully incorporated and the batter is smooth. Do not overmix, as this can lead to a tough cake.
-
Carefully spread the batter evenly into the prepared pan, ensuring it forms a uniform layer from edge to edge. Use an offset spatula for best results.
-
Bake for 13 to 15 minutes, or until the cake springs back when lightly touched in the center and a toothpick inserted comes out clean. Avoid opening the oven door frequently.
-
Once the cake is out of the oven, immediately cover the baking pan tightly with aluminum foil. This traps moisture and helps the cake remain pliable. Allow the covered cake to cool completely to room temperature, which can take 1-2 hours.
-
Once the cake is fully cooled to room temperature, remove the aluminum foil. The cake should be flexible and ready for frosting.
-
Using a spatula, evenly spread the prepared cream cheese frosting over the entire surface of the cooled cake, leaving a small border (about ½ inch) along the short edges for a cleaner roll.
-
Turn the cake so that one of the short edges of the cake pan is closest to you. Using the parchment paper as a guide and support, lift the edge of the cake closest to you (the short edge) and gently fold it over itself to start the roll. Be firm but gentle.
-
Continue to gently lift the parchment paper, guiding the cake to roll away from you, maintaining a tight but careful pressure to form a compact log. Once fully rolled, the seam should be on the bottom.
-
Carefully wrap the entire gluten-free pumpkin roll tightly in plastic wrap. Refrigerate for at least one hour (or up to 4 days) to allow the frosting to firm up and the cake to set, which makes slicing much easier. Sprinkle the pumpkin roll generously with powdered sugar just before slicing and serving.
Cream Cheese Frosting
-
In a medium-sized bowl, using an electric mixer, beat the softened butter, softened cream cheese, and pure vanilla extract together until the mixture is completely smooth, light, and creamy, with no lumps (about 2-3 minutes). Ensure all ingredients are at room temperature for the best consistency.
-
Gradually add in the powdered sugar, one cup at a time, mixing on low speed until fully incorporated. Once all sugar is added, increase speed to medium-high and beat until the frosting is light, fluffy, and easily spreadable.
Notes
- For Dairy-Free Option: To make this pumpkin roll dairy-free, use a high-quality dairy-free cream cheese alternative (such as Kite Hill or Violife brands) and a plant-based butter (like Smart Balance or Earth Balance). Alternatively, a Pillsbury canned dairy-free cream cheese frosting can be used for convenience, but homemade offers the best flavor.
- Trim for Picture-Perfect Presentation: For those beautiful, picture-perfect swirls, use a sharp knife to carefully slice a thin piece off each end of the chilled pumpkin roll after unwrapping. This creates clean, even edges.
- Measure Gluten-Free Flour Accurately: Precision is key in gluten-free baking. Always use the spoon-and-level method for measuring gluten-free flour. Use a spoon to lightly fill your dry measuring cup, then level it off with the back of a knife. Avoid scooping directly from the bag, as this compacts the flour and can result in using too much, leading to a dry and dense cake.
- Room Temperature Ingredients: Ensure eggs, pumpkin puree, cream cheese, and butter for the frosting are at room temperature. This allows for smoother mixing and prevents lumps, resulting in a more uniform batter and a perfectly creamy frosting.
Nutrition
Nutrition information is automatically calculated, so should only be used as an approximation.
Additional Info
How to Make a Gluten-Free Pumpkin Roll: Step-by-Step Guide
Creating this festive gluten-free pumpkin roll is an enjoyable process, especially when you follow these visual steps. Each stage is designed to ensure a smooth, delicious outcome.
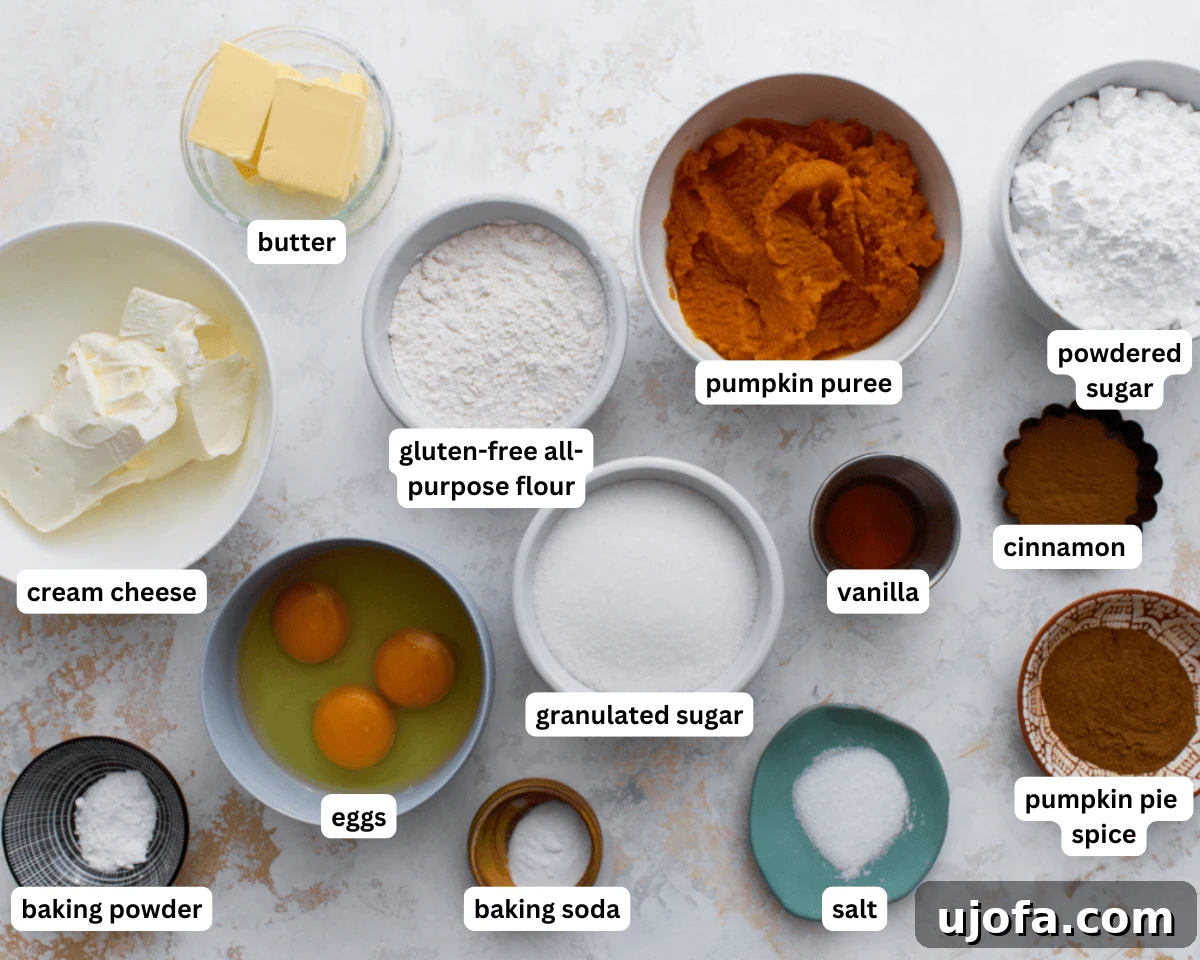
Step 1: Gather and Prep Ingredients. Ensure all your ingredients are measured and ready. Bring eggs, pumpkin puree, butter, and cream cheese to room temperature. Preheat your oven to 375°F (190°C). Line a 15 x 10-inch jelly-roll pan with parchment paper, allowing a generous overhang on the short sides. Lightly spray the parchment with a gluten-free cooking spray to ensure the cake doesn’t stick.
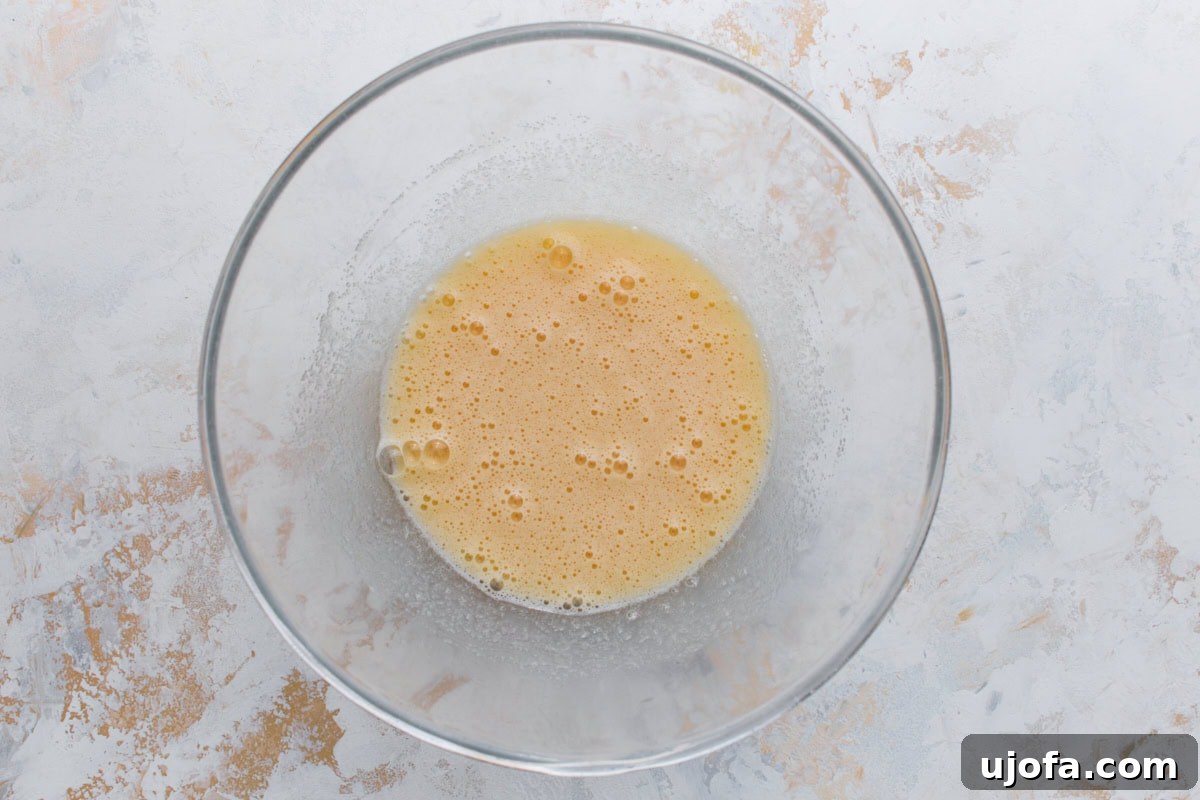
Step 2: Beat Eggs and Sugar. In a large mixing bowl, combine the 3 large eggs and 1 cup of granulated sugar. Beat them together with an electric mixer on medium-high speed for 2-3 minutes until the mixture becomes pale yellow, thick, and slightly frothy. This aeration is key for a light cake texture.
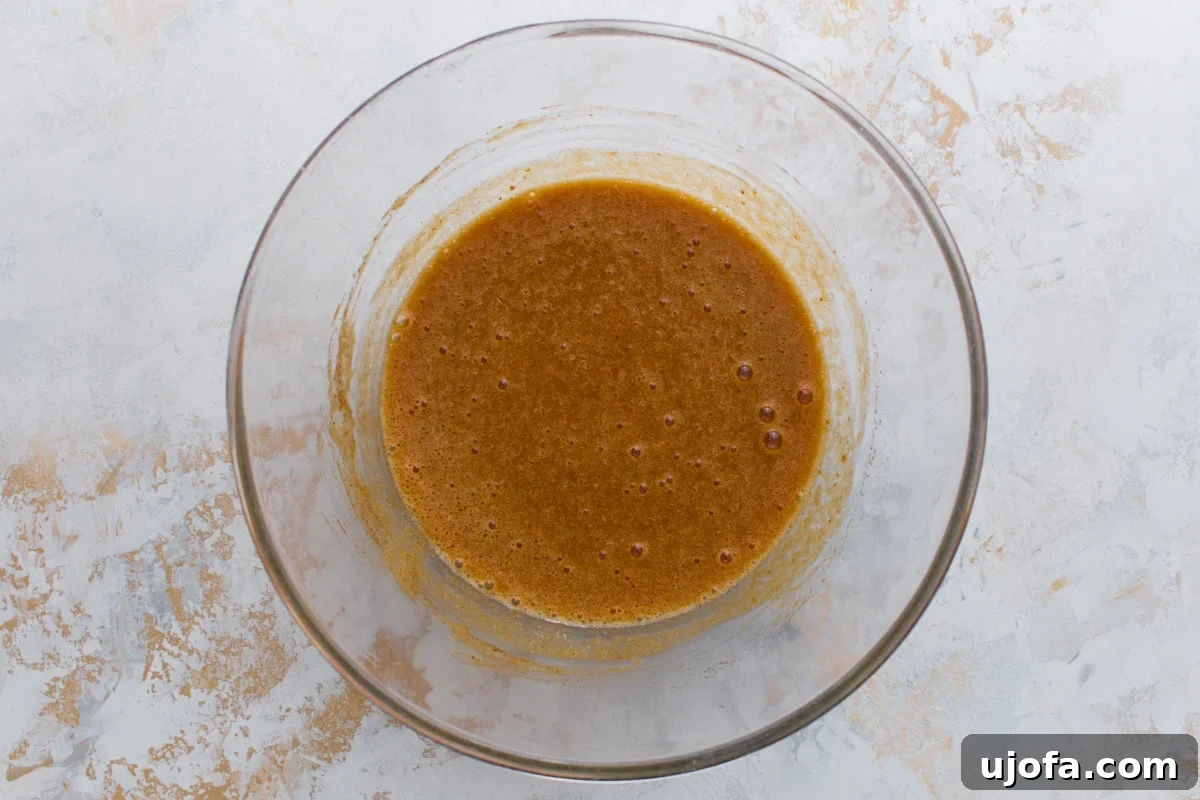
Step 3: Add Pumpkin and Spices. Reduce the mixer speed to low. Add ⅔ cup canned pumpkin puree, ½ tsp baking powder, ½ tsp baking soda, ¼ tsp salt, 1 tsp pumpkin pie spice, ½ tsp cinnamon, and 1 tsp vanilla extract to the egg mixture. Mix gently until all these wet and spiced ingredients are fully incorporated and the batter is a uniform light orange-brown color. The aromatic blend of spices will immediately fill your kitchen.
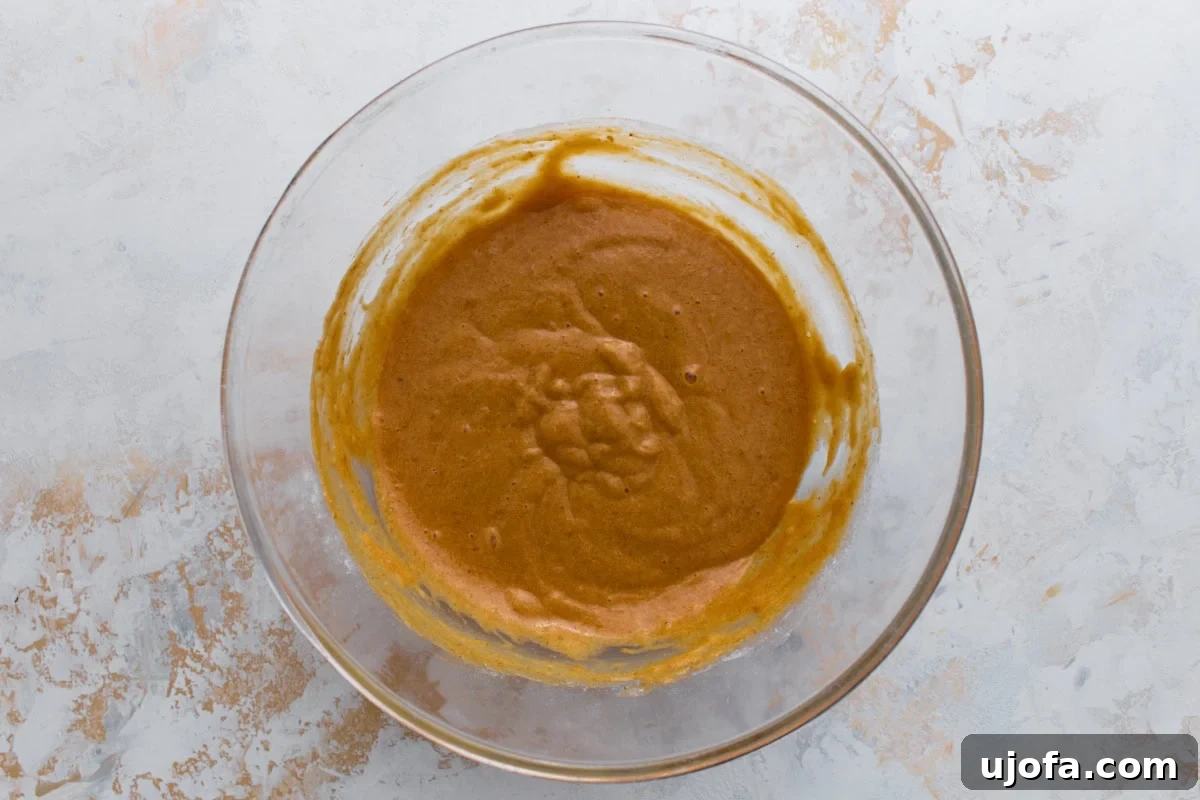
Step 4: Stir in Gluten-Free Flour. Gradually add ¾ cup of your preferred gluten-free all-purpose flour blend (one that includes xanthan gum, like Pillsbury Gluten-Free Flour) to the wet ingredients. Mix on low speed until the flour is just combined and no dry streaks remain. Avoid overmixing, as this can make the gluten-free cake tough and less pliable.
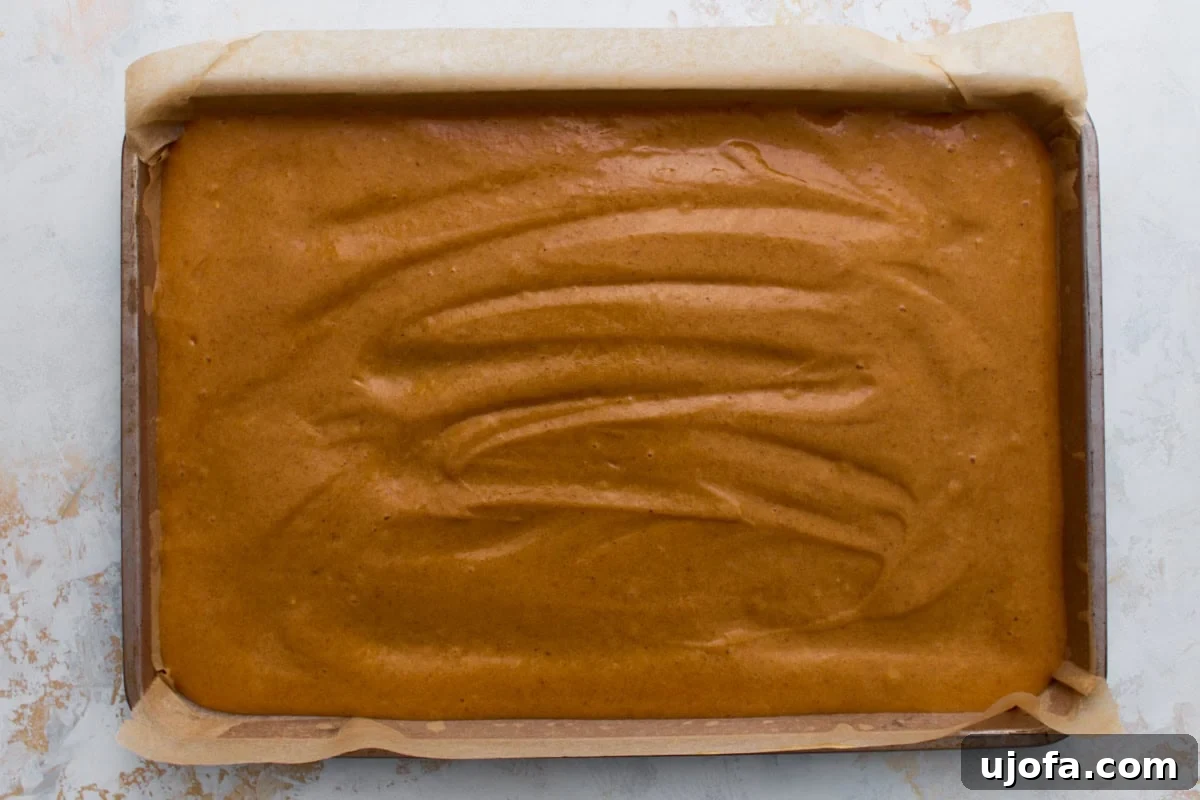
Step 5: Spread the Batter Evenly. Pour the prepared pumpkin cake batter into your parchment-lined jelly-roll pan. Use an offset spatula or the back of a spoon to gently spread the batter evenly across the entire surface of the pan. This step is crucial for consistent baking and an easy roll, ensuring there are no thin or thick spots that could cause issues.
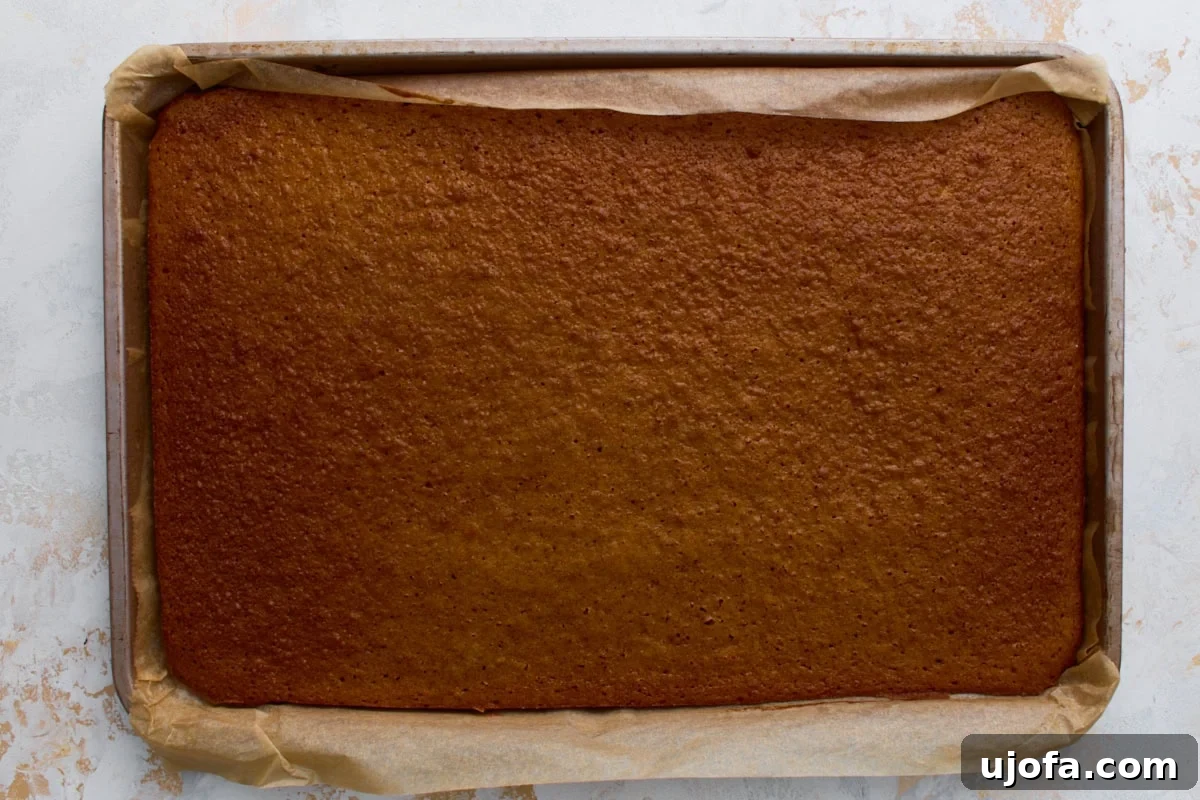
Step 6: Bake the Cake. Place the pan in the preheated oven and bake for 13 to 15 minutes. The cake is ready when it feels springy to the touch in the center and a wooden toothpick inserted into the middle comes out clean. Watch carefully, as overbaking can lead to a dry cake that cracks when rolled.
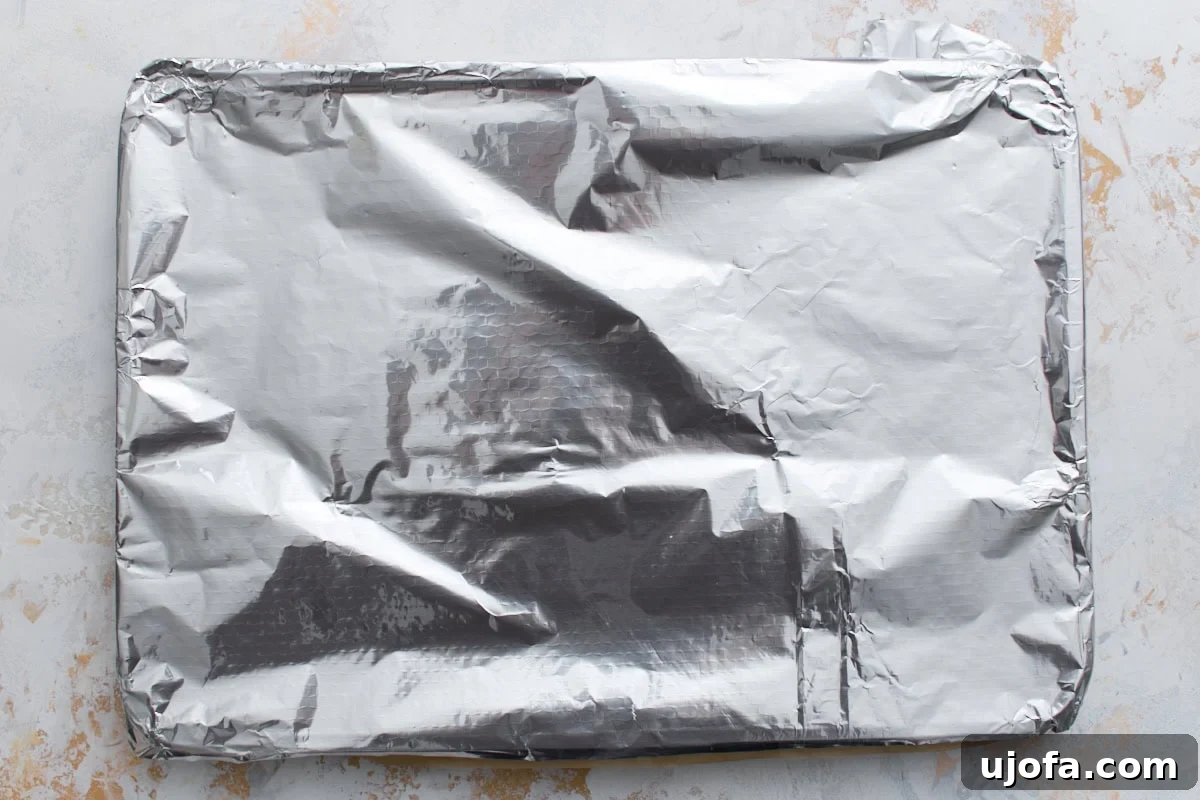
Step 7: Cover and Cool. Immediately upon removing the cake from the oven, cover the entire baking pan tightly with aluminum foil. This traps steam and moisture, keeping the gluten-free cake flexible and preventing it from drying out. Allow the cake to cool completely to room temperature while covered, which can take approximately 1-2 hours. Do not attempt to roll a warm cake.
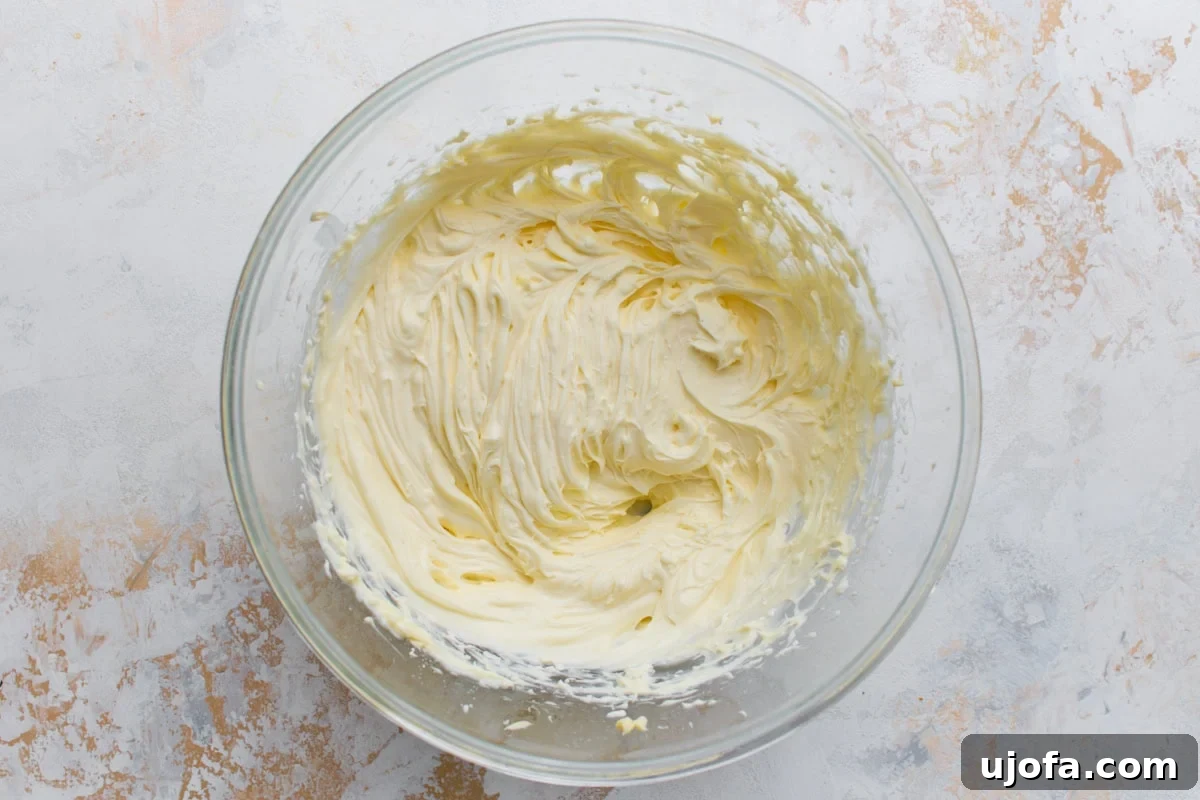
Step 8: Prepare the Cream Cheese Frosting. While the cake cools, prepare your irresistible cream cheese frosting. In a medium bowl, beat together 6 tbsp softened butter, 1 (8-oz) package softened cream cheese, and 1 tsp pure vanilla extract until the mixture is smooth, creamy, and free of any lumps. Gradually add 1 cup powdered sugar, beating until the frosting is light, fluffy, and perfectly spreadable. Ensure your butter and cream cheese are at room temperature for the best results.
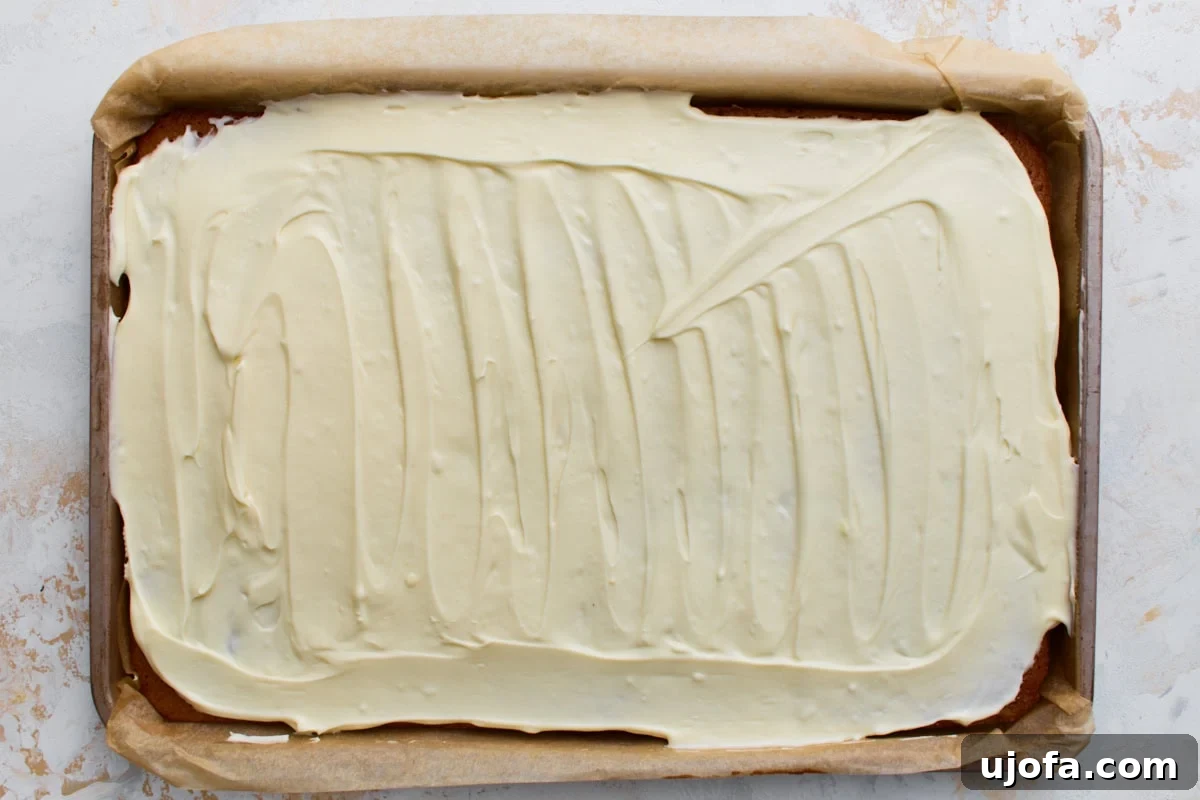
Step 9: Spread the Frosting. Once the pumpkin cake is completely cooled, remove the aluminum foil. Using an offset spatula, carefully spread an even layer of the prepared cream cheese frosting over the entire surface of the cake, extending almost to the edges but leaving a small border (about ½ inch) along the short sides. This ensures the frosting doesn’t squeeze out excessively during rolling.
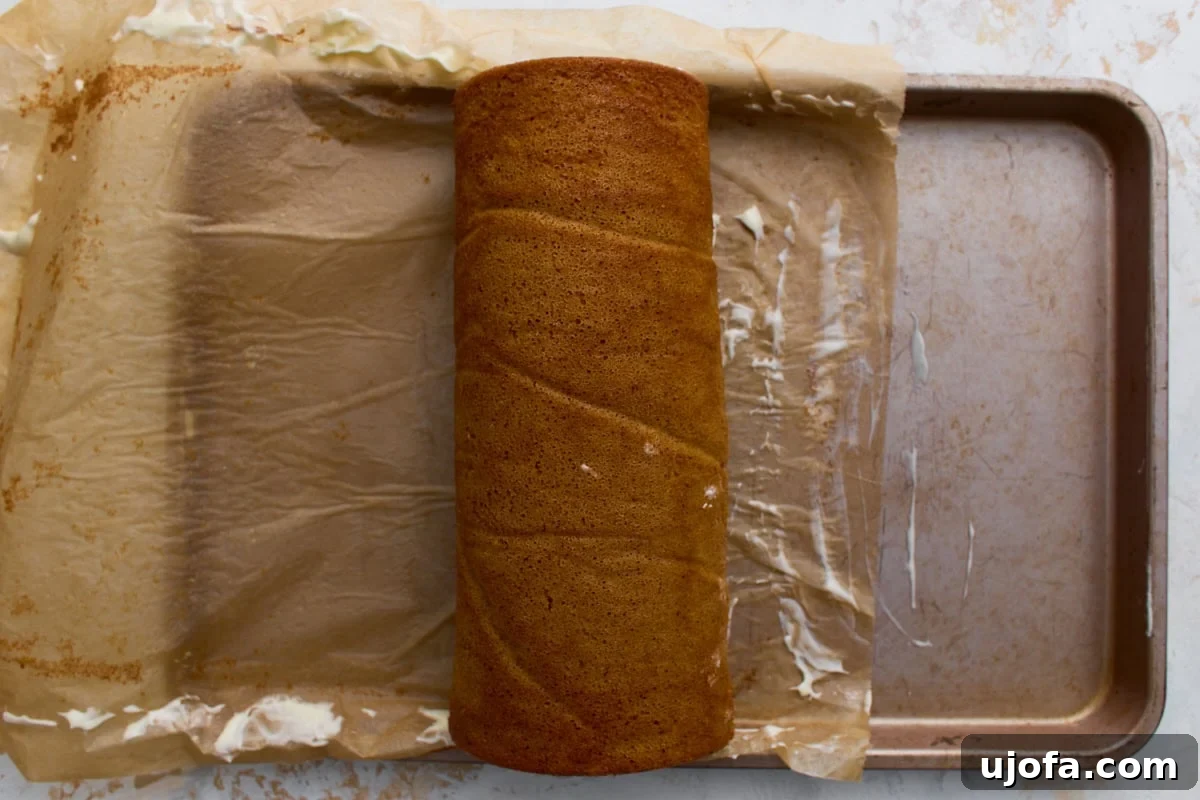
Step 10: Roll the Cake. Position the cake in the pan so one of the shorter edges is closest to you. Using the parchment paper for support (lift the paper, don’t peel it off the cake), gently fold the closest edge of the cake over itself to initiate the roll. Continue lifting the parchment paper and steadily rolling the cake away from you, maintaining a gentle but firm pressure to create a tight, uniform log. The parchment paper will help guide the roll and prevent sticking.
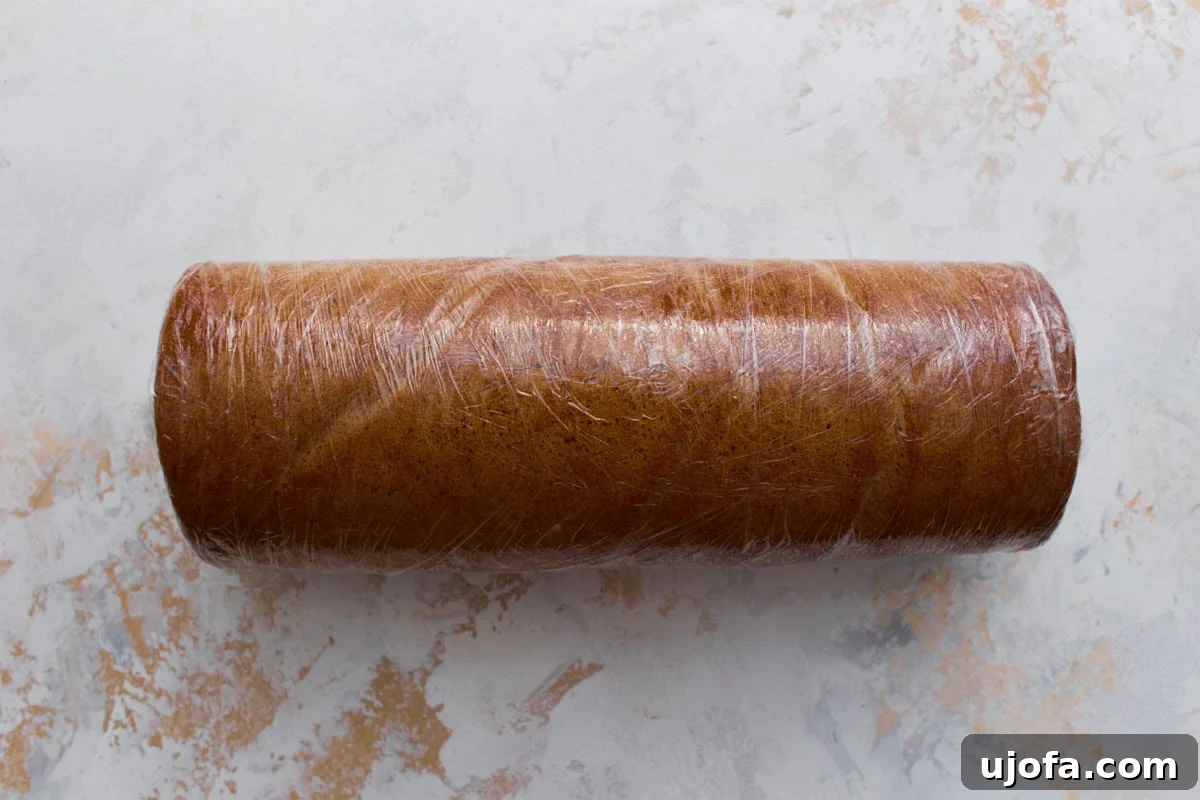
Step 11: Wrap and Chill. Once the cake is fully rolled, wrap it tightly in plastic wrap. Ensure it’s sealed well to prevent it from drying out in the refrigerator. Place the wrapped pumpkin roll in the refrigerator for at least 1 hour. Chilling is essential to allow the cream cheese frosting to firm up and the cake to set, making it much easier to slice cleanly and maintain its beautiful spiral shape.
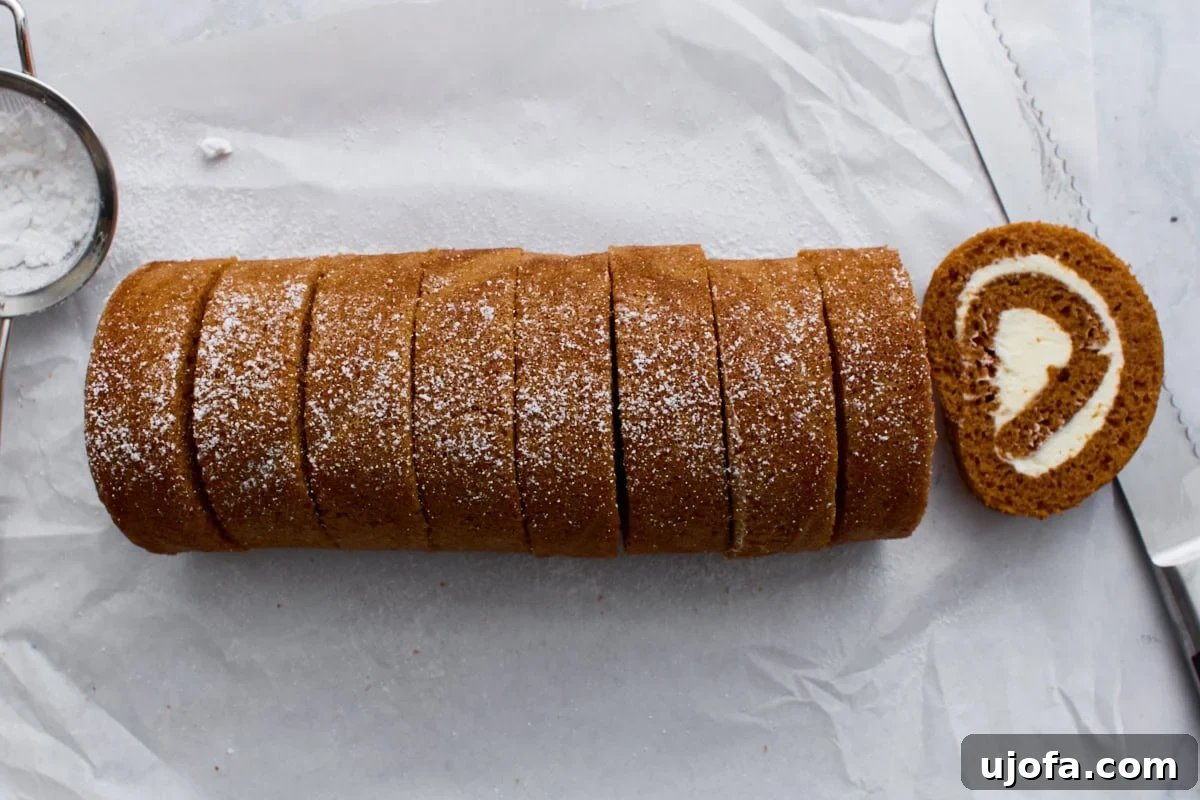
Step 12: Dust and Serve. Before serving, unwrap the chilled pumpkin roll. For a professional look, trim a thin slice off each end with a sharp knife to reveal the perfect inner spiral. Dust the entire roll generously with ⅛ cup powdered sugar (or more, to taste) using a fine-mesh sieve. Slice into individual portions and serve immediately.
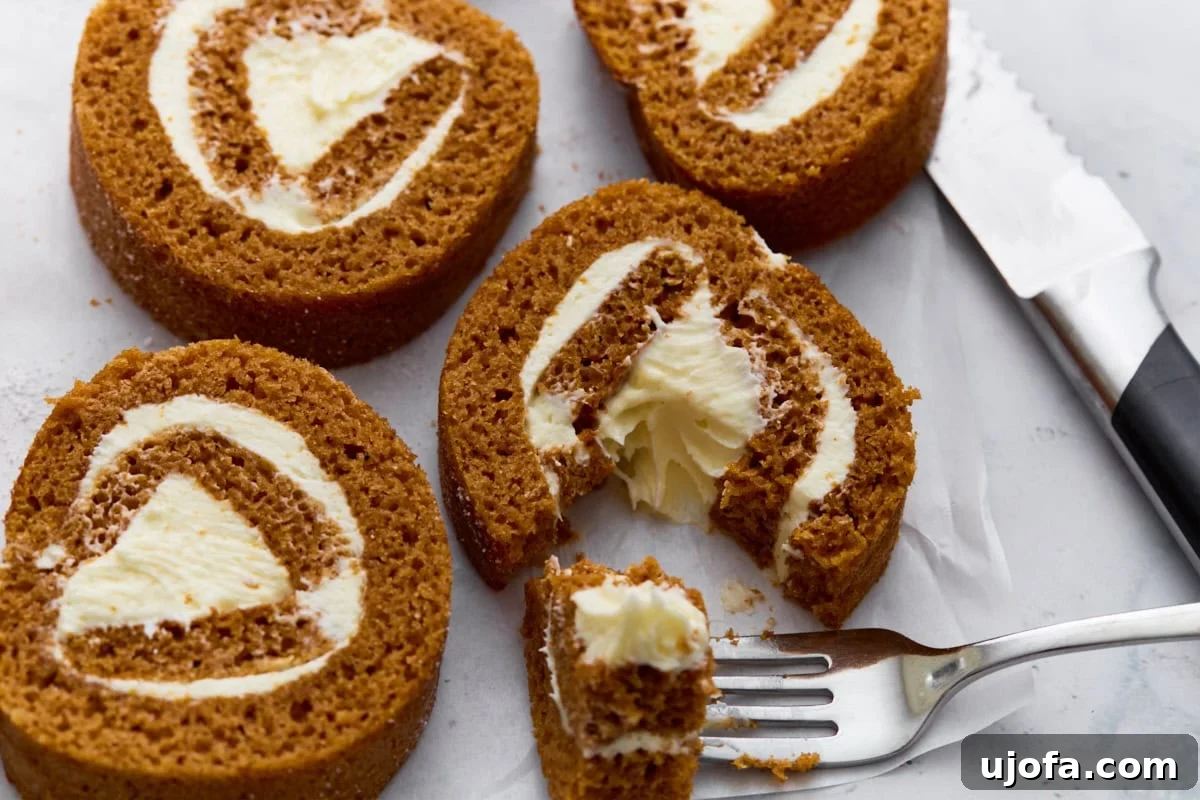
Serving Suggestions for Your Gluten-Free Pumpkin Roll
This magnificent gluten-free pumpkin roll is truly a showstopper on any dessert table, especially during the festive season. Its elegant swirls and comforting flavors make it incredibly versatile for serving. Here are some ideas to elevate your pumpkin roll experience:
- Classic Presentation: Simply slice into generous swirls and arrange them on a beautiful platter. A dusting of powdered sugar is classic, but you can also add a sprinkle of ground cinnamon or nutmeg for extra aroma.
- With a Warm Beverage: Pair slices with a steaming mug of coffee, a spiced chai latte, or a cozy cup of apple cider. The warmth of the drink perfectly complements the rich flavors of the pumpkin and cream cheese.
- Garnish Galore: For an extra touch of indulgence, serve each slice with a dollop of freshly whipped cream or a scoop of vanilla bean ice cream. A drizzle of caramel sauce or a scattering of toasted pecans or walnuts can also add texture and visual appeal.
- Holiday Dessert Spread: Make it a star among other holiday favorites. It pairs beautifully with other gluten-free delights like gluten-free spice cake, gluten-free apple pie, or even a simple fruit salad to balance the richness.
- Brunch Delight: Don’t limit this treat to just dinner. A pumpkin roll slice makes an exquisite addition to a holiday brunch spread, alongside fruit, pastries, and savory options.
Storage Instructions for Freshness and Convenience
One of the many advantages of this gluten-free pumpkin roll is its excellent make-ahead potential, which significantly reduces holiday baking stress. Proper storage ensures your dessert remains fresh, moist, and delicious.
- Refrigeration: Once the pumpkin roll is assembled, rolled, and chilled, wrap it tightly in plastic wrap. Store it in an airtight container in the refrigerator for up to 4 days. This keeps the cake moist and the cream cheese frosting firm. For best flavor, allow it to sit at room temperature for about 15-20 minutes before serving to soften the frosting slightly.
- Freezing for Longer Storage: If you plan to enjoy your pumpkin roll much later, it freezes beautifully. After it’s fully chilled and tightly wrapped in plastic wrap, add another layer of aluminum foil to protect it from freezer burn. Label with the date. It will maintain its quality in the freezer for up to 2 months.
- Thawing Instructions: To thaw a frozen pumpkin roll, simply transfer it to the refrigerator and let it thaw overnight. Once thawed, unwrap it, dust with powdered sugar, slice, and serve. You can also let it come to room temperature for about 30 minutes before slicing for the best texture.
- Pre-sliced Storage: If you prefer to slice the entire roll ahead of time, place parchment paper between each slice before wrapping the whole roll. This makes it easier to grab individual portions without disturbing the others. Store these pre-sliced portions in an airtight container in the refrigerator or freezer.
More Gluten-Free Pumpkin Dessert Recipes to Try
If you love the warm, comforting flavors of pumpkin and are looking for more gluten-free baking adventures, explore these delightful recipes that are perfect for fall and beyond:
- Gluten-Free Pumpkin Bread
- Crustless Pumpkin Pie
- Gluten-Free Pumpkin Pie
- Gluten-Free No-Bake Pumpkin Cheesecake
This ultimate gluten-free pumpkin roll is more than just a dessert; it’s a testament to how incredible gluten-free baking can be. With its moist sponge, aromatic spices, and luscious cream cheese filling, it promises to be a cherished addition to your holiday traditions. We hope you create lasting memories around this delicious treat and share the joy with loved ones. Happy baking!
Our Gluten-Free Pumpkin Roll recipe was originally published on 11/03/22. It was updated and republished to be better than ever 10/22/25.