
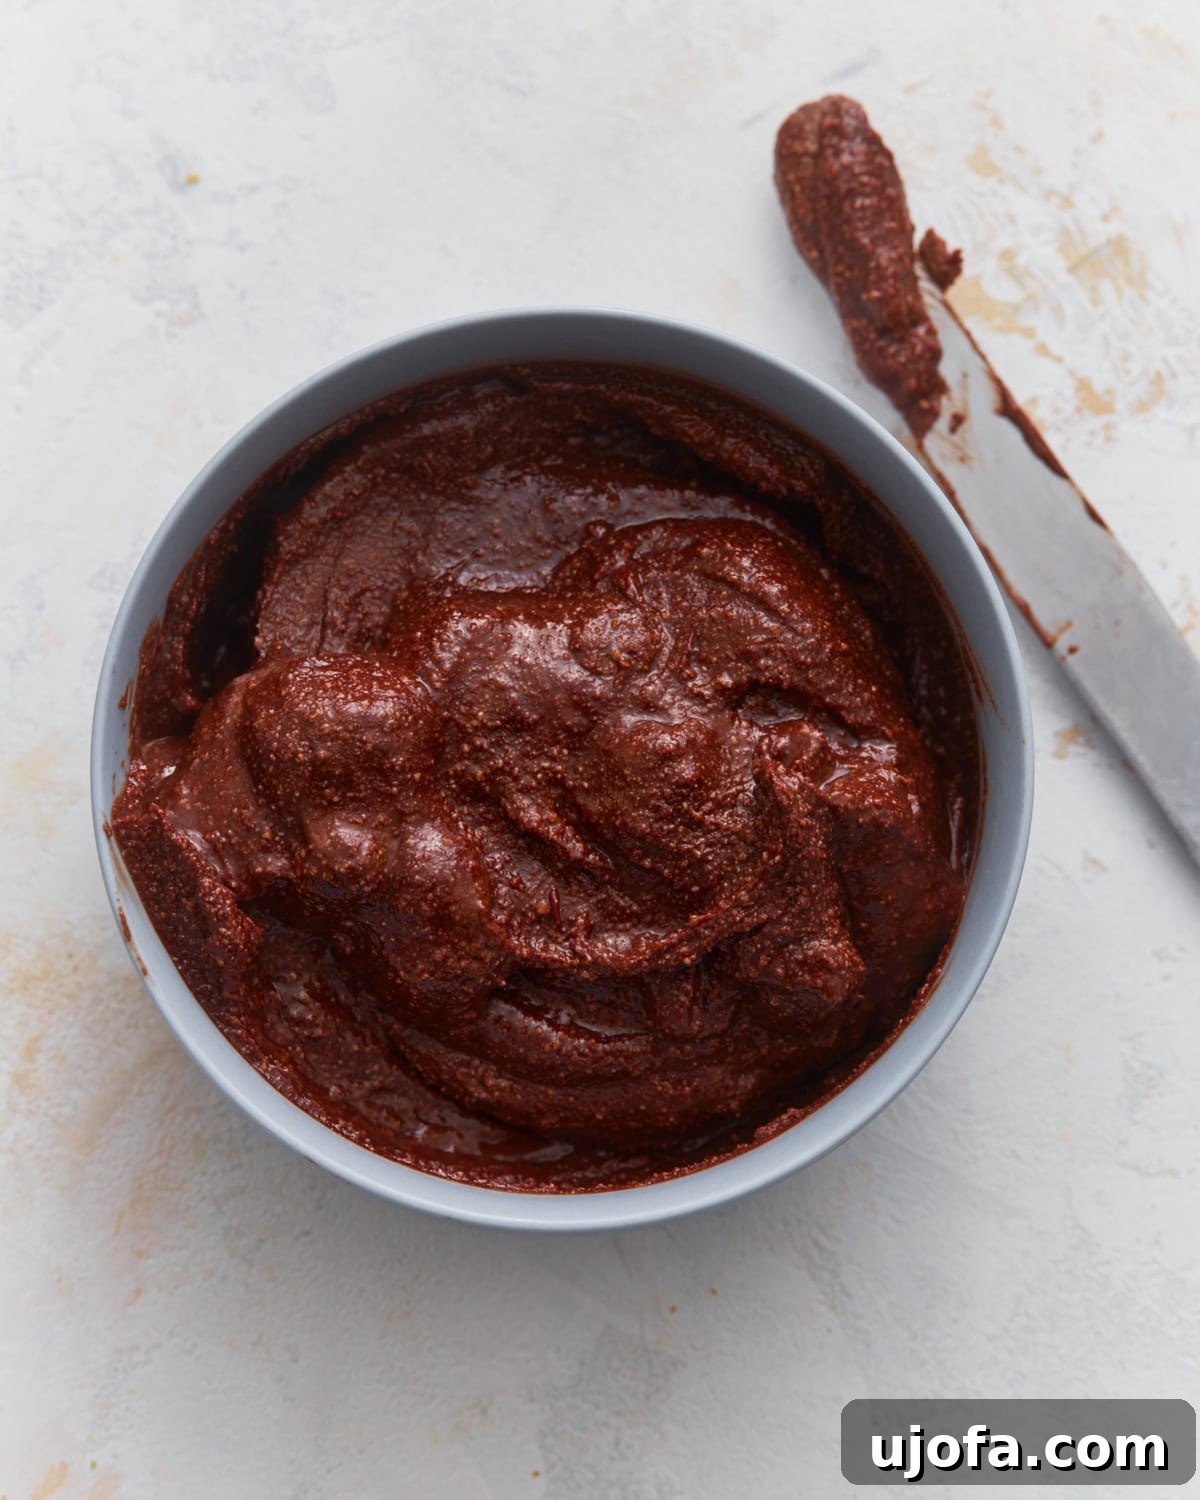
Indulge in the rich, velvety delight of homemade vegan Nutella! This exquisite chocolate hazelnut spread offers the same irresistible flavor and luxurious texture as its conventional counterpart, but with a wholesome, plant-based twist. Crafted from just five simple ingredients, it’s completely dairy-free, gluten-free, and comes together effortlessly in your kitchen. Imagine spreading it generously on warm toast, swirling it into a creamy bowl of oatmeal, drizzling it over fluffy pancakes, or using it as a decadent dip for fresh fruit. This homemade treat isn’t just a delicious alternative; it’s a culinary revelation that will quickly become a pantry staple.
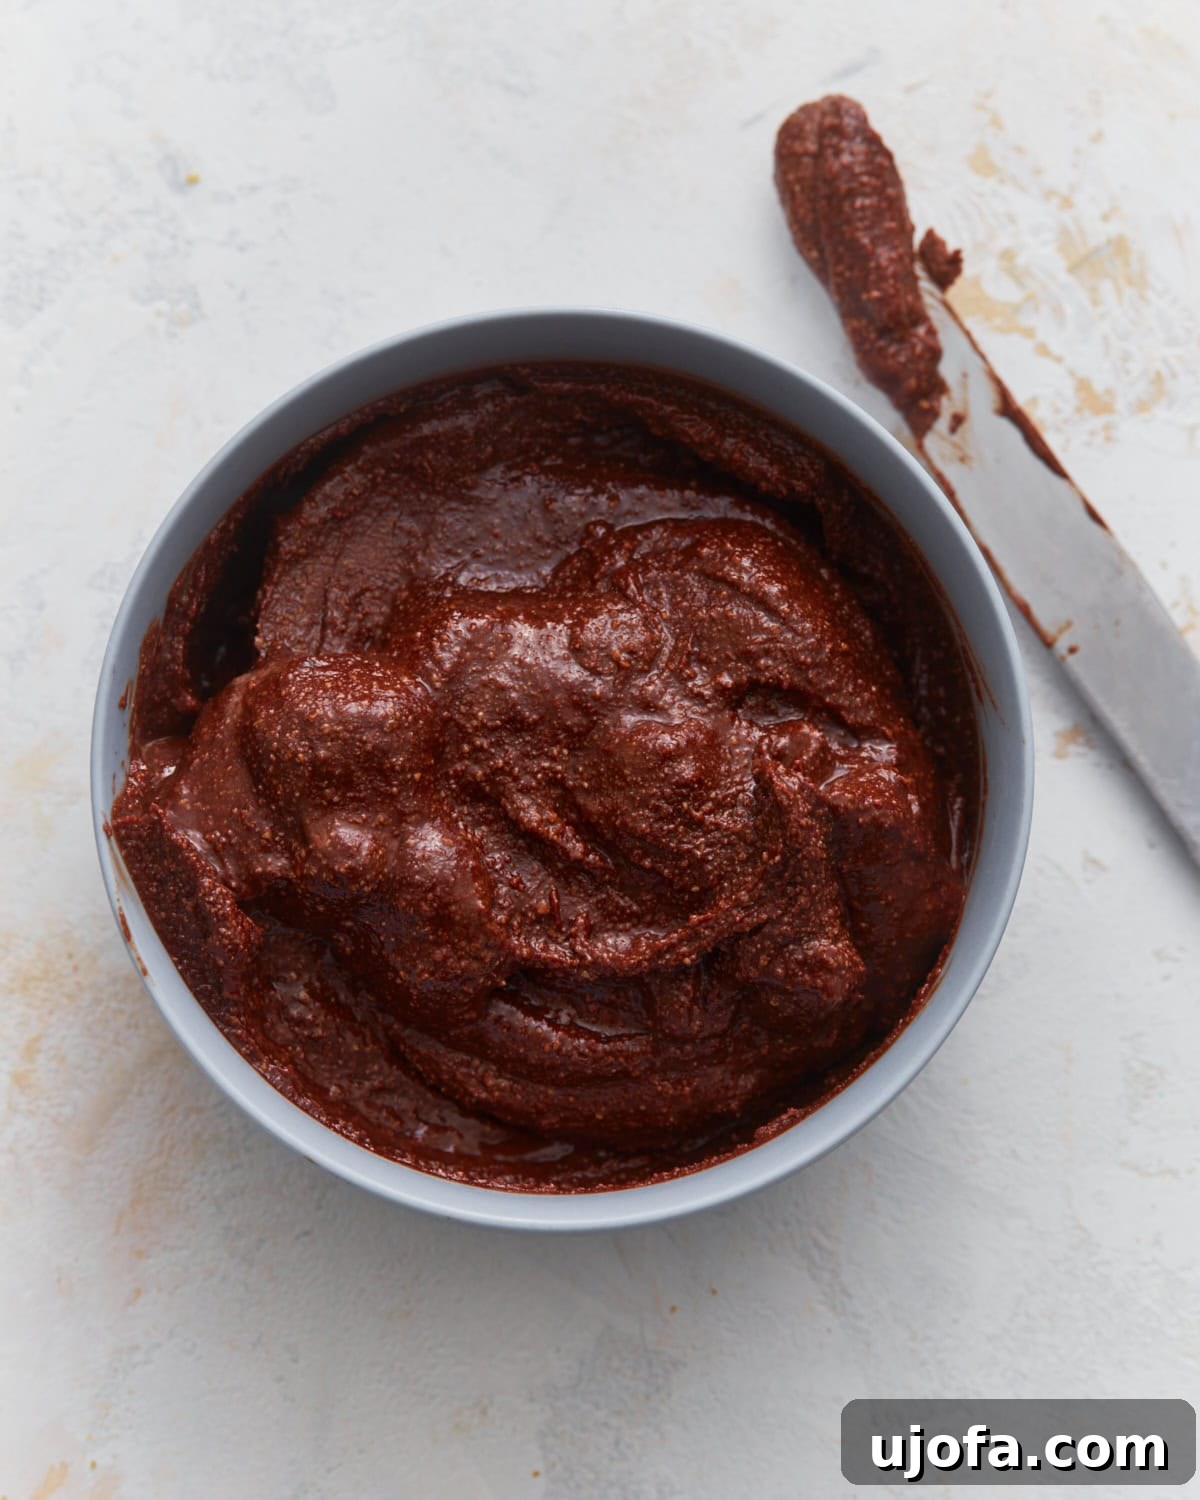
For many, Nutella holds a special place in their hearts (and cupboards!). Its unique blend of chocolate and hazelnut creates an unparalleled taste experience. However, finding a truly satisfying plant-based version in stores can be a challenge. That’s precisely why I embarked on a mission to create my own vegan Nutella recipe – one that captures all the beloved richness and smoothness of the original, but with minimal, wholesome ingredients. Through careful experimentation, I discovered that the secret lies in two crucial steps: expertly roasting the hazelnuts to unlock their deep, nutty aroma, and allowing ample time for them to transform into a silky, luscious nut butter in the food processor. From this creamy base, high-quality melted vegan dark chocolate infuses that iconic chocolatey flavor, while a touch of plant-based milk helps achieve the perfect, spreadable consistency. I find myself using this spread on everything from breakfast toast to an afternoon snack with apple slices, and it truly never lasts long in my fridge. If you give this recipe a try, I’d absolutely love to hear about your favorite ways to enjoy it!
Why Make Your Own Vegan Nutella?
There are countless reasons to swap store-bought chocolate hazelnut spreads for a homemade vegan version. Beyond the sheer joy of creating something delicious from scratch, making your own offers significant advantages:
- Control Over Ingredients: Commercial Nutella often contains palm oil, excessive sugar, and dairy. By making it yourself, you dictate what goes in. You can choose organic hazelnuts, high-quality vegan dark chocolate, and control the amount of sweetener, ensuring a healthier treat free from unwanted additives and animal products.
- Superior Freshness and Flavor: Freshly roasted hazelnuts provide an unparalleled depth of flavor that pre-packaged spreads simply can’t match. The aromas that fill your kitchen while making this spread are incredible, and the resulting taste is vibrant and authentic.
- Dietary Inclusivity: This recipe is naturally dairy-free and gluten-free, making it suitable for those with allergies, intolerances, or who simply follow a vegan diet. It’s a fantastic way to ensure everyone at your table can enjoy a beloved classic without compromise.
- Cost-Effective: While high-quality ingredients are important, buying individual components and making a batch at home can often be more economical than purchasing specialty vegan spreads from gourmet stores.
- Customization: Love a darker chocolate flavor? Add more cocoa powder. Prefer it sweeter? Adjust the sweetener. Want a hint of spice? A pinch of cinnamon or chili powder can elevate the profile. Homemade allows for endless personalization.
Key Ingredients for the Perfect Vegan Nutella
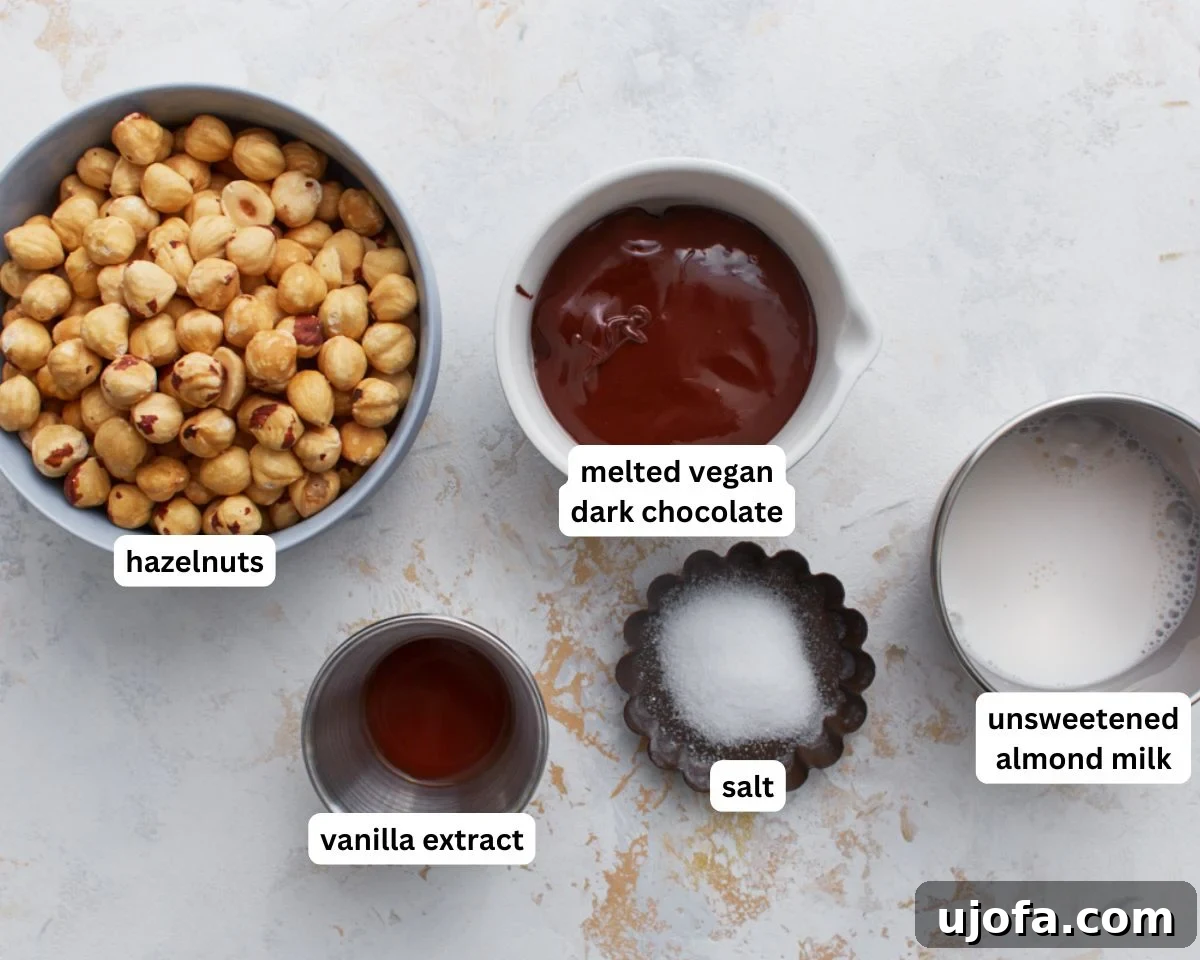
Each of the five ingredients in this recipe plays a vital role in achieving that signature Nutella taste and texture:
- Blanched Hazelnuts: These are the star of the show. Roasting them intensifies their nutty flavor and helps release their natural oils, which is crucial for creating a smooth nut butter. Using blanched hazelnuts (skins removed) ensures the silkiest texture possible, free from any bitterness or grittiness that hazelnut skins can impart.
- Dark Vegan Chocolate: This provides the rich, deep chocolate flavor. Opt for a high-quality vegan dark chocolate bar or chips with a cocoa content of 70% or higher for the best results. The higher cocoa content ensures a less sugary, more intense chocolate experience that balances beautifully with the hazelnuts.
- Vanilla Extract: A touch of vanilla extract rounds out the flavors, adding warmth and depth to both the chocolate and hazelnut notes. Don’t skip this, as it brightens the entire spread.
- Salt: A small pinch of salt is essential for balancing the sweetness and enhancing the overall flavor profile. It helps to bring out the complexity of both the chocolate and the hazelnuts, preventing the spread from tasting one-dimensional.
- Unsweetened Almond Milk (or other plant milk): This is added gradually to achieve the perfect creamy, spreadable consistency. Unsweetened varieties are preferred to control the overall sweetness. Oat milk or coconut milk are also excellent alternatives, offering slightly different nuances in flavor and richness.
What I Learned While Testing for Ultimate Creaminess
Crafting the perfect homemade vegan Nutella involved a fair bit of trial and error, and these insights proved to be absolute game-changers for achieving that ideal smooth and creamy consistency:
- Blend Longer Than You Think is Necessary. Seriously. This is perhaps the most crucial tip. Hazelnuts, like other nuts, need considerable time in a powerful food processor to break down and release their natural oils. The mixture will undergo several transformations: it will start as coarse crumbs, then become a thick, sticky paste, and finally, after persistent blending, it will magically transform into a pourable, smooth, and glossy nut butter. Do not rush this stage. It can take anywhere from 5 to 10 minutes, or even longer, depending on your food processor’s power. Patience here will be richly rewarded with an incomparably smooth spread.
- Roast Hazelnuts for Superior Flavor and Texture. Roasting is non-negotiable for an authentic Nutella experience. The heat caramelizes the natural sugars in the hazelnuts, deepening their flavor profile from simply “nutty” to a rich, toasty, and complex aroma. Beyond flavor, roasting also slightly dries out the nuts, making them more brittle and easier for the food processor to break down, which contributes to a smoother final texture. If you’re using pre-roasted hazelnuts, a quick warm-up in the oven for a few minutes will help them soften and process more efficiently.
- Add Liquid Slowly, One Tablespoon at a Time. Once your hazelnuts are beautifully blended into butter, it’s tempting to pour in the plant milk all at once. Resist this urge! Adding liquid too quickly can cause the spread to seize up or become too thin and watery. Start with a small amount (1 tablespoon), blend thoroughly until incorporated, and then assess the consistency. Continue adding more, a tablespoon at a time, until you reach your desired level of creaminess and spreadability. This gradual approach allows for precise control.
- Invest in a Strong Food Processor or High-Speed Blender. While it’s possible to make nut butter in some blenders, a high-powered food processor is truly your best friend for this recipe. Its wide base and strong blades are designed to continuously churn and scrape down the nuts, facilitating the oil release required for a super smooth butter. If you’re using a high-speed blender, you’ll likely need to stop and scrape down the sides much more frequently and may require slightly more liquid to keep the mixture moving efficiently. The right equipment makes the process smoother and the results consistently better.
Vegan Nutella: The Ultimate Homemade Chocolate Hazelnut Spread
By: Sabine Venier
Servings: 12 servings (approx. 1.5 cups)
Prep Time: 15 mins
Cook Time: 10 mins
Total Time: 25 mins
A luxurious, smooth, and creamy vegan Nutella crafted with just 5 simple ingredients. This dairy-free, gluten-free spread is quick to prepare, incredibly easy, and utterly perfect for daily indulgence or special occasions.
Equipment
- 1 food processor (high-powered recommended)
Ingredients
- 1½ cups blanched hazelnuts* (200g)
- ½ cup dark vegan chocolate, melted (85g)
- 1 tsp vanilla extract (5ml)
- ¼ tsp salt
- 2-3 tbsp unsweetened almond milk, as needed for blending (30-45g, sub oat or coconut milk)
(Measurements provided in US Customary, use a kitchen scale for best accuracy)
Instructions
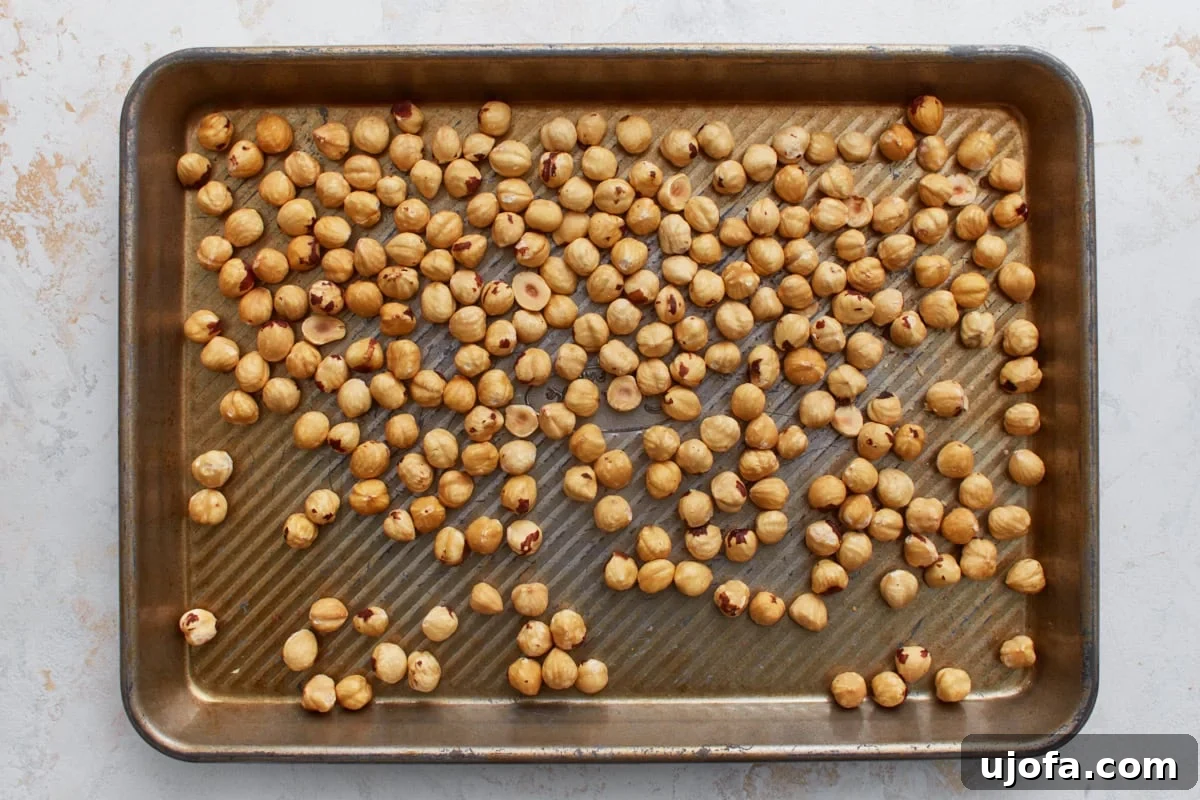
- Roast the Hazelnuts: Preheat your oven to 350°F (180°C). Spread the blanched hazelnuts in a single, even layer on a baking sheet. Roast for 10 minutes, or until they become fragrant and lightly golden. This step is crucial for developing their rich, nutty flavor.
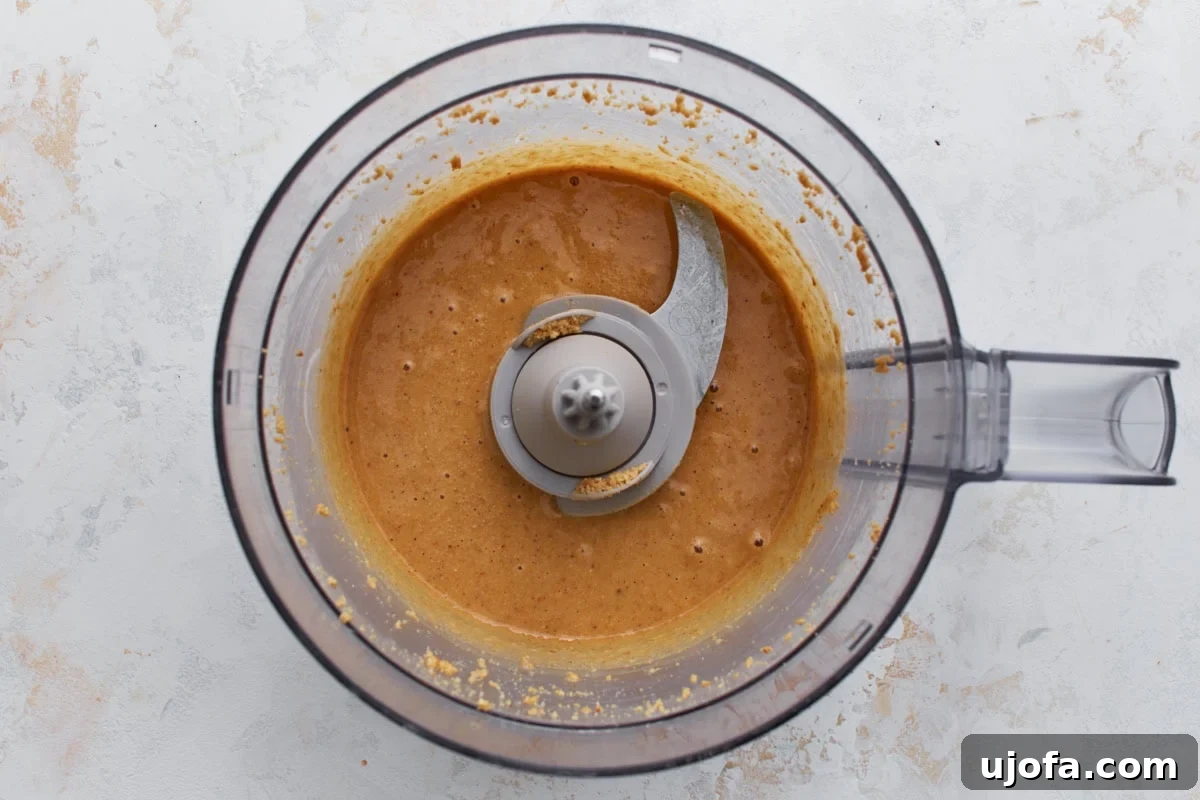
- Process into Nut Butter: Carefully transfer the warm, roasted hazelnuts into a high-powered food processor. Blend continuously for 5–7 minutes. During this process, you will observe the hazelnuts transforming from coarse crumbs to a thick, pasty consistency, and finally into a smooth, glossy, and pourable nut butter as their natural oils are released. Remember to stop and scrape down the sides of the food processor bowl with a spatula periodically to ensure everything is evenly processed.
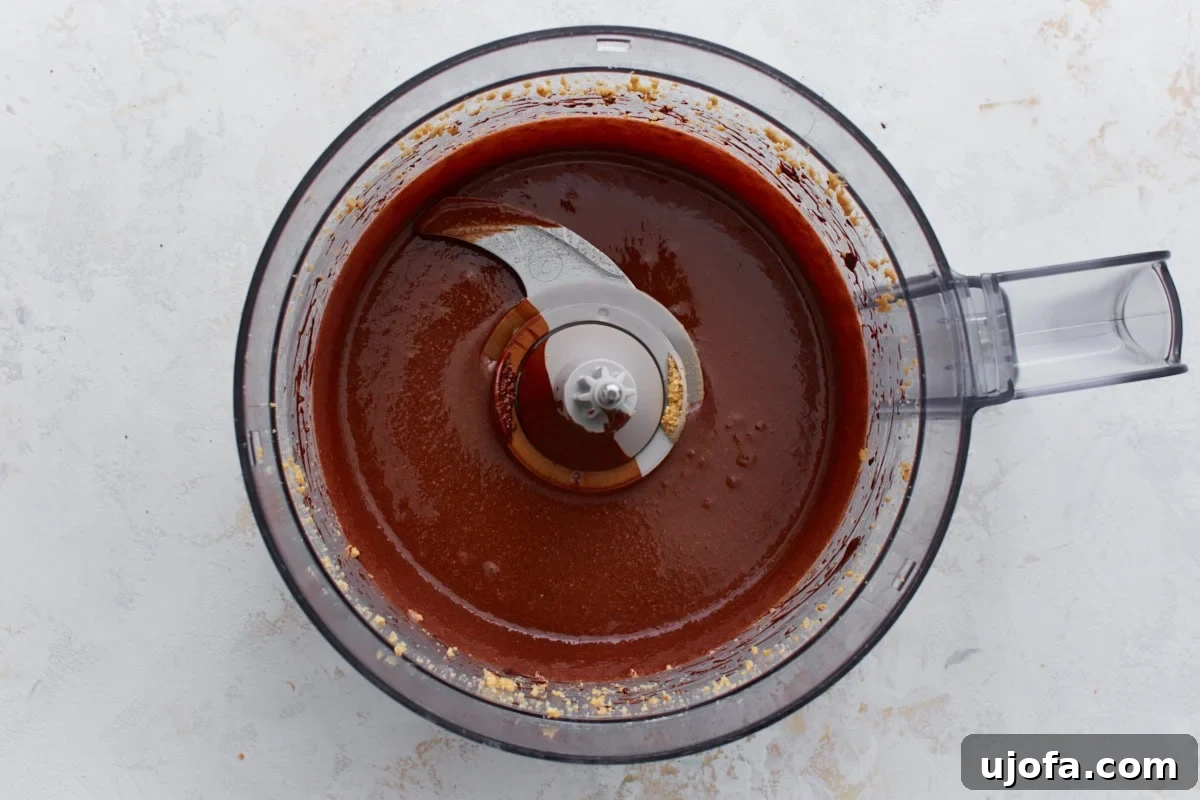
- Combine with Chocolate and Flavorings: Once your hazelnut butter is smooth, add the ½ cup of melted dark vegan chocolate, 1 teaspoon of vanilla extract, and ¼ teaspoon of salt to the food processor. Continue blending until all the ingredients are fully combined and the mixture is perfectly smooth and uniform.
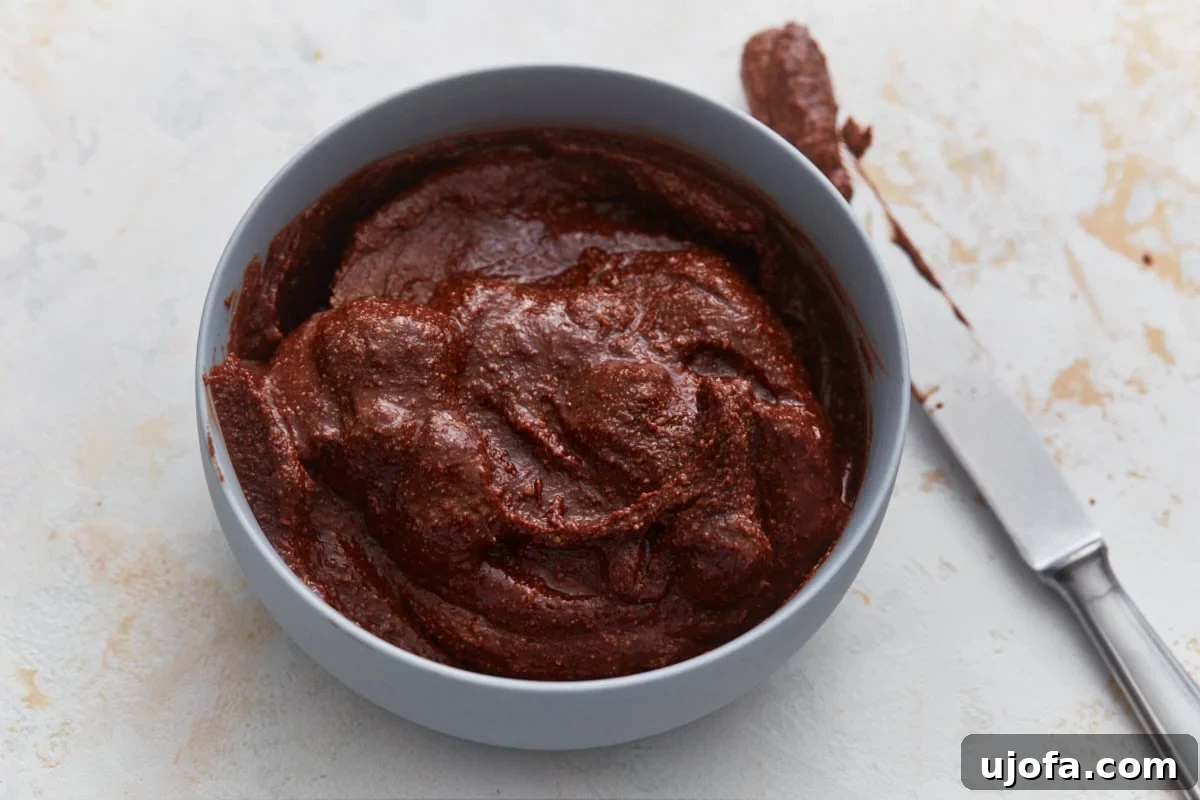
- Achieve Desired Consistency: Now, add the unsweetened almond milk, starting with 1 tablespoon at a time. Blend thoroughly after each addition. Continue adding and blending until the chocolate hazelnut spread reaches your preferred silky-smooth and easily spreadable texture. The exact amount may vary slightly depending on your hazelnuts and chocolate.
- Store Your Vegan Nutella: Transfer the freshly made vegan Nutella into a clean, airtight glass jar. Store it in the refrigerator for up to 2 weeks. Be aware that the spread will naturally firm up when chilled.
Notes
*Use blanched hazelnuts for the smoothest texture. You can easily buy blanched hazelnuts, which will save you preparation time (most grocery stores sell them this way). Alternatively, if you start with unblanched hazelnuts, you can remove their skins yourself after roasting by placing them in a clean kitchen towel and rubbing them vigorously. A few small bits of skin left behind are perfectly fine and will not negatively impact the final texture or flavor of your delicious spread.
Nutrition Information (per serving)
Serving: 1 serving (2 tbsp)
Calories: 133 kcal
Carbohydrates: 7g
Protein: 3g
Fat: 12g
Saturated Fat: 2g
Polyunsaturated Fat: 1g
Monounsaturated Fat: 7g
Sodium: 52mg
Potassium: 103mg
Fiber: 2g
Sugar: 4g
Vitamin A: 3IU
Vitamin C: 1mg
Calcium: 30mg
Iron: 1mg
Nutrition information is automatically calculated and should only be used as an approximation.
Additional Info
Course: Dessert
Cuisine: American
How to Make Vegan Nutella: A Visual Step-by-Step Guide
Creating this delicious vegan chocolate hazelnut spread is a simple and rewarding process. Follow these steps, aided by helpful visuals, to achieve perfect results every time.
Creative Ways to Enjoy Your Vegan Nutella
Having a jar of this homemade vegan Nutella on hand is a game-changer for quick breakfasts, delightful snacks, and decadent desserts throughout the week. Its versatility is truly impressive!
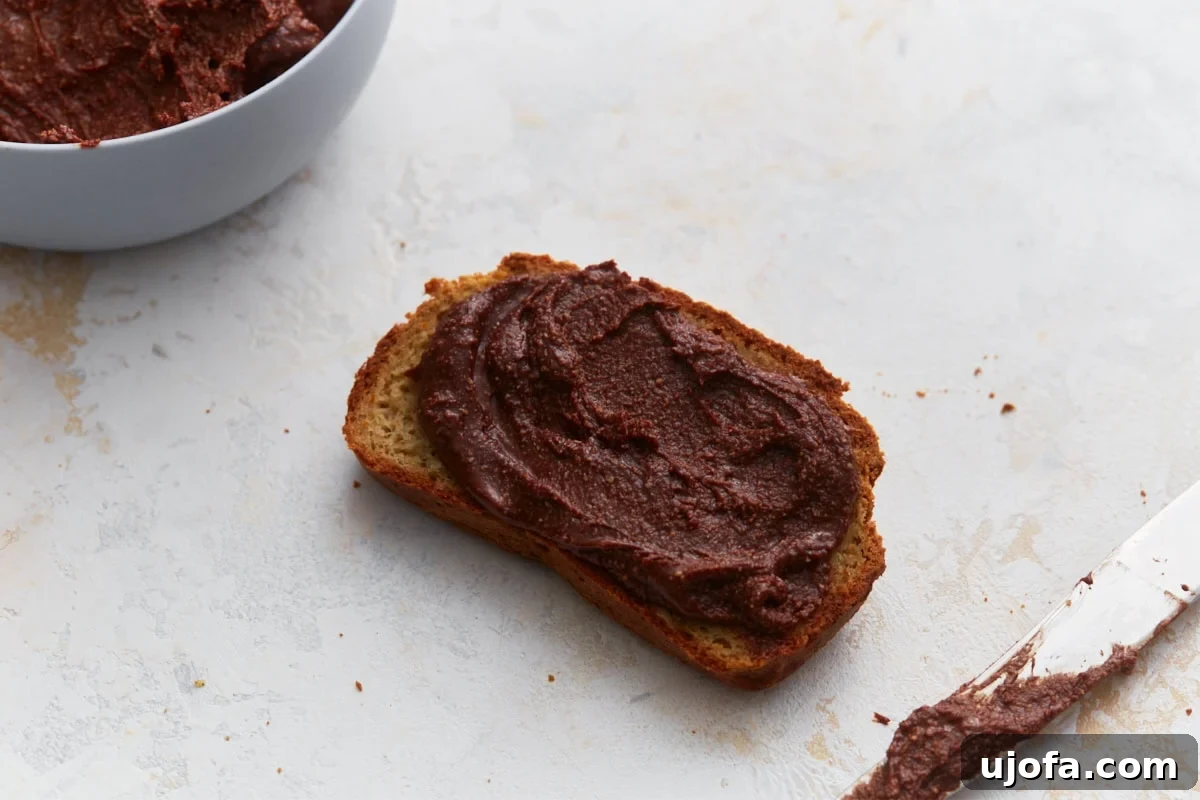
- Classic Toast Companion: Slather it generously over warm gluten-free sourdough or your favorite bread. The warmth of the toast will slightly melt the spread, creating an incredibly rich and gooey experience with every bite.
- Breakfast Booster: Swirl a dollop into your morning oatmeal, porridge, or even dairy-free coconut yogurt for a quick, chocolatey, and satisfying start to your day. It adds instant flavor and creaminess.
- Pancake & Waffle Topping: Drizzle it over stacks of freshly made pancakes, waffles, or crepes. Pair it with fresh berries and a dusting of powdered sugar for a truly indulgent brunch.
- Fruit Dip Extraordinaire: It’s the perfect accompaniment for fresh fruit. Think sliced apples, bananas, strawberries, or even mandarin orange segments. The sweetness of the fruit pairs beautifully with the rich chocolate hazelnut flavor.
- Dessert Enhancement: Use it as a topping for vegan ice cream, a filling for cupcakes, or as a decadent spread in a vegan sandwich cookie. It can even be gently warmed and poured over brownies or fruit tarts.
- Smoothie Sensation: Add a tablespoon or two to your morning smoothie for an extra boost of flavor and healthy fats. It blends in seamlessly, adding a delicious depth.
- Savory-Sweet Twist: For something unexpectedly delicious, try spreading it over socca (chickpea flatbread). The slightly savory notes of the socca create a fascinating contrast with the sweet, nutty spread.
Storage Instructions for Optimal Freshness
Proper storage is key to enjoying your homemade vegan Nutella for as long as possible while maintaining its delightful texture.
- Refrigeration is Essential: Always store your vegan Nutella in an airtight glass jar in the refrigerator. Because it contains fresh ingredients and no preservatives found in commercial spreads, refrigeration is crucial to prevent spoilage and maintain freshness. It will keep well for up to 2 weeks.
- Firming Up is Normal: When chilled, the spread will naturally firm up significantly due to the solidification of the chocolate and nut oils. This is completely normal and expected.
- Softening for Spreading: To bring it back to that smooth, creamy, and easily spreadable consistency, simply remove the jar from the refrigerator and let it sit at room temperature for 15–20 minutes before serving. You can also give it a good stir with a spoon or knife after it has softened slightly.
- Freezing Not Recommended: Freezing this vegan Nutella is generally not recommended. The texture can become grainy or separate after thawing, making it less enjoyable. It’s best to enjoy it fresh within its refrigerated shelf life.
Troubleshooting Common Vegan Nutella Issues
Even with the best instructions, sometimes things don’t go exactly as planned. Here are some common issues you might encounter when making vegan Nutella and how to fix them:
- My Nutella is Too Thick/Pastry: This almost always means the hazelnuts haven’t processed long enough, or you haven’t added enough liquid. Continue blending in the food processor, scraping down the sides. If it’s still too thick after 7-10 minutes of processing, add another tablespoon of plant milk, blend, and repeat until desired consistency is reached.
- My Nutella is Too Thin/Runny: If you’ve added too much plant milk, the spread might be too thin. To thicken it, you can try adding a few more roasted hazelnuts (process them into butter first) or a tablespoon of cocoa powder (this will also intensify the chocolate flavor). Alternatively, refrigerating it for a longer period will help it firm up naturally.
- My Nutella is Grainy: The primary culprit here is usually insufficient blending time for the hazelnuts. The nuts need to release their oils fully to become truly smooth. Keep blending! Another possibility is that your food processor isn’t powerful enough. You might need to blend in shorter bursts and scrape down the sides more frequently. Ensure your hazelnuts were properly roasted, as raw nuts can also lead to a grainier texture.
- Oil Separation: This can sometimes happen, especially if the spread gets very warm or if it’s stored for a while. It’s completely normal, similar to natural peanut butter. Simply give it a good stir with a spoon or knife, and it will re-emulsify.
- Not Sweet Enough: If your dark vegan chocolate is particularly bitter, or you simply prefer a sweeter spread, you can add a natural sweetener like maple syrup, agave nectar, or powdered sugar to taste. Add it a teaspoon at a time while blending until you reach your desired sweetness.
The Delicious Health Benefits of Homemade Vegan Nutella
Beyond being a delightful treat, this homemade vegan Nutella offers several nutritional advantages, especially when compared to its traditional, sugar-laden counterparts:
- Rich in Healthy Fats: Hazelnuts are packed with monounsaturated fats, which are known to be heart-healthy. These fats can help lower bad cholesterol levels and support overall cardiovascular health.
- Antioxidant Powerhouse: Both hazelnuts and dark vegan chocolate are rich in antioxidants, particularly flavonoids. Antioxidants help protect your body’s cells from damage caused by free radicals, contributing to overall well-being and potentially reducing the risk of chronic diseases.
- Good Source of Fiber: Hazelnuts provide a decent amount of dietary fiber, which is crucial for digestive health. Fiber helps regulate blood sugar levels, promotes satiety, and supports a healthy gut microbiome.
- Vitamins and Minerals: Hazelnuts are a good source of Vitamin E, B vitamins (like folate), and essential minerals such as magnesium, manganese, and copper, all vital for various bodily functions. Dark chocolate also contributes minerals like iron and zinc.
- Dairy-Free and Gluten-Free: For individuals with lactose intolerance, dairy allergies, or celiac disease/gluten sensitivity, this spread offers a delicious and safe indulgence without any compromise on flavor or texture.
- Reduced Processed Sugar: By making it at home, you have full control over the sugar content. You can choose to use dark chocolate with minimal added sugar and omit or reduce additional sweeteners, making it a lower-sugar alternative to many store-bought options.
Frequently Asked Questions About Vegan Nutella
Here are answers to some common questions you might have about making and enjoying your homemade vegan Nutella:
- Can I use unblanched hazelnuts? Yes, you can. However, using blanched hazelnuts (skins removed) is highly recommended for the smoothest, silkiest texture. Hazelnut skins can add a slightly bitter taste and a grainier texture. If using unblanched, you can roast them, then rub them vigorously in a kitchen towel while still warm to remove most of the skins.
- What kind of vegan chocolate should I use? For the best flavor, opt for high-quality vegan dark chocolate chips or a bar with a cocoa content of 70% or higher. Ensure it’s explicitly labeled vegan, as some dark chocolates can still contain dairy.
- How can I make my vegan Nutella sweeter? This recipe relies on the sweetness from the dark chocolate. If you prefer a sweeter spread, you can add a tablespoon or two of maple syrup, agave nectar, or powdered sugar along with the chocolate and vanilla. Add it gradually and taste as you go.
- Is this vegan Nutella suitable for children? Absolutely! It’s a fantastic, healthier alternative for kids, free from dairy and potentially excessive sugar found in commercial versions. Always be mindful of nut allergies.
- How long does homemade vegan Nutella last? When stored in an airtight container in the refrigerator, it will stay fresh and delicious for up to 2 weeks. Always check for any signs of spoilage if keeping it longer.
- Can I use a different type of plant milk? Yes! While almond milk is recommended for its neutral flavor, you can certainly use unsweetened oat milk or coconut milk (from a carton, not canned full-fat) for slightly different flavor profiles and richness. Adjust the amount as needed to reach your desired consistency.
More Easy Vegan Dessert and Pantry Recipes to Try
If you loved making this vegan Nutella, you’ll surely enjoy these other simple and delicious plant-based recipes:
- Vegan Chocolate Mousse: Indulge in a light, airy, and intensely rich chocolate mousse made with whipped coconut cream. It’s a smooth, spoonable dessert that feels incredibly luxurious yet surprisingly simple to create.
- Homemade Vegan Butter: Master this essential dairy-free staple that’s smooth, creamy, and remarkably easy to make right in your own kitchen. It’s perfect for spreading on toast, cooking, or incorporating into all your favorite baked goods.
- Vegan Buttermilk: Whip up this versatile ingredient in mere minutes using just a few basic pantry staples. Vegan buttermilk adds the ideal tangy note and helps create incredibly soft and tender textures in your baked creations, from pancakes to biscuits.
- Vegan White Chocolate: Discover the delicate sweetness and creamy texture of homemade vegan white chocolate. It’s fantastic for melting, baking, or simply enjoying as a standalone, easy homemade sweet treat.