
The Ultimate Guide to Homemade Gluten-Free Pupusas: Crispy, Cheesy Salvadoran Delights
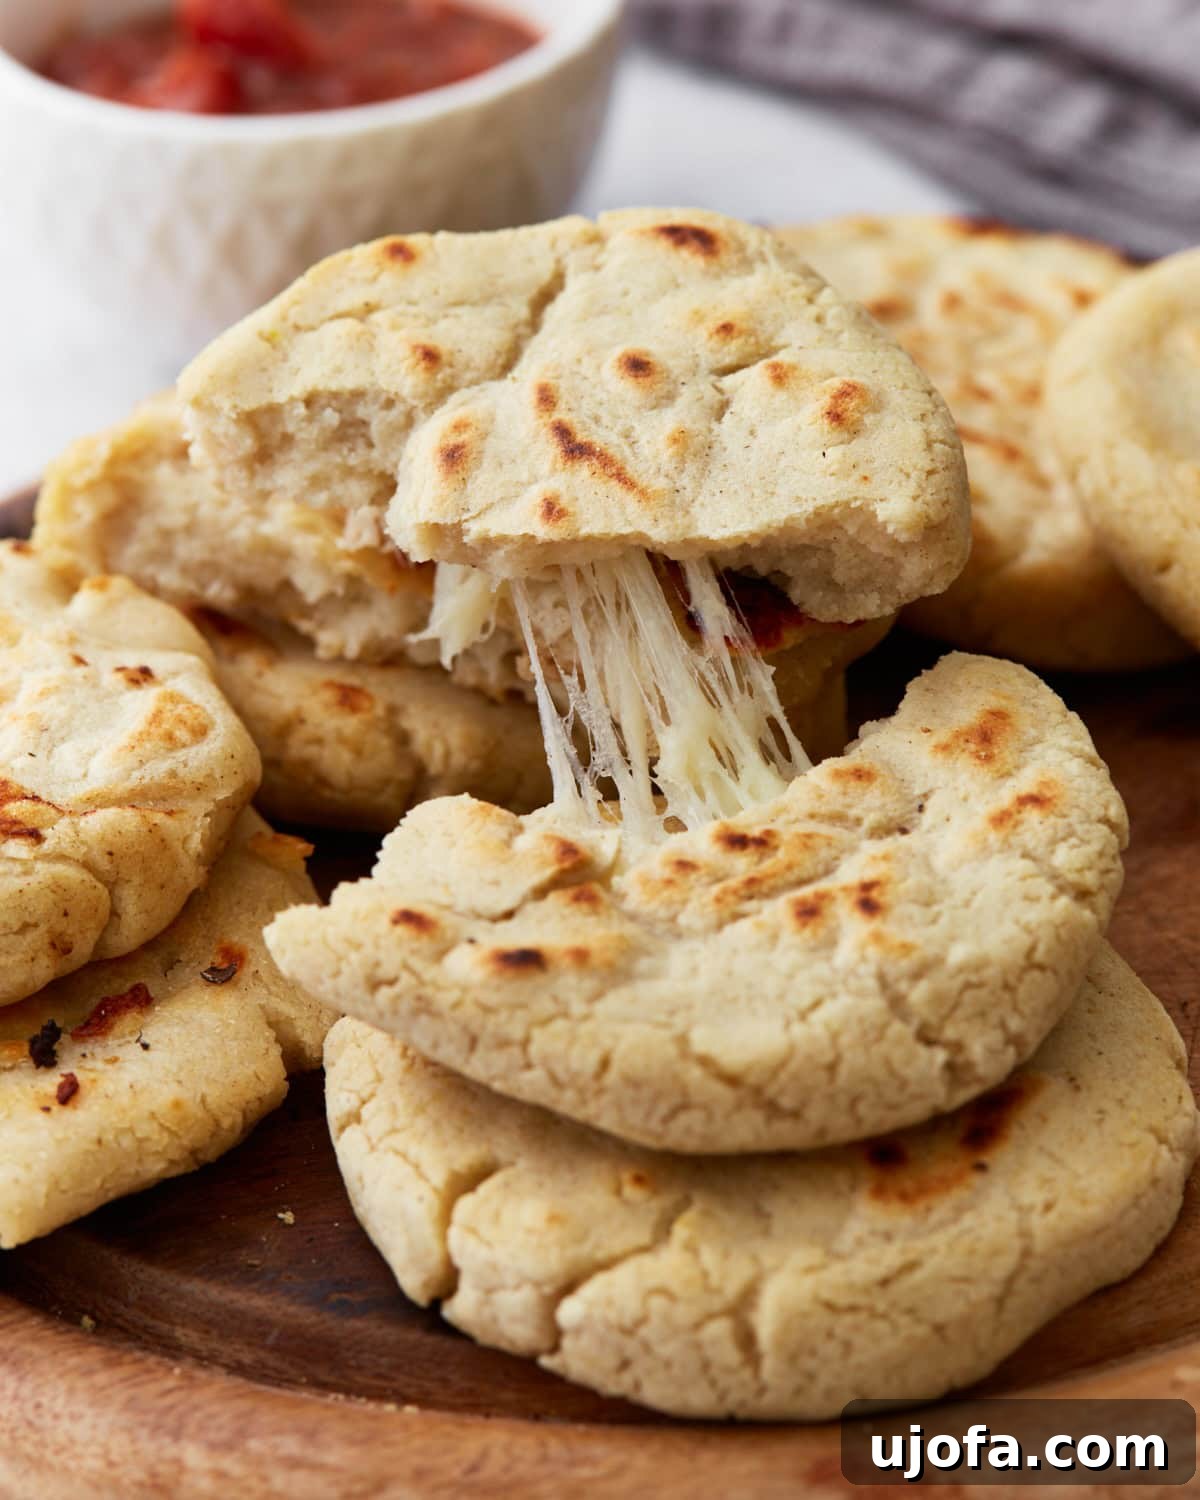
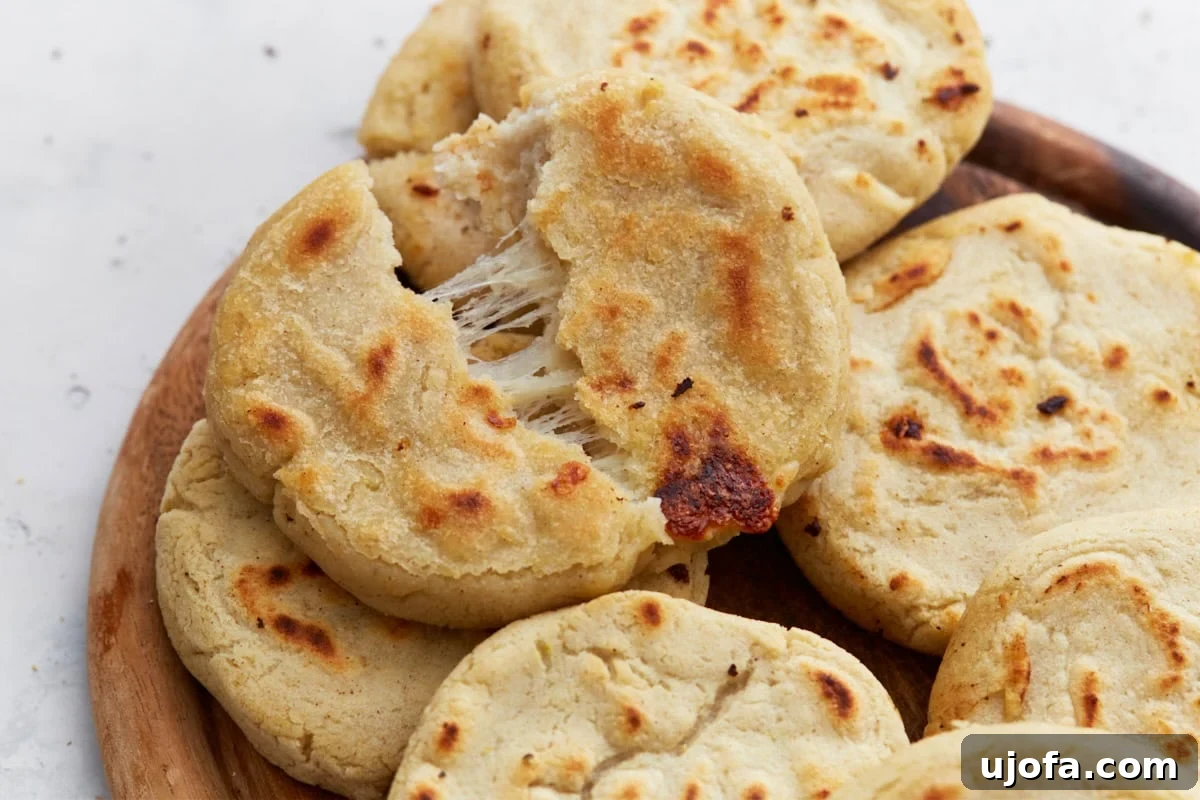
If you’ve never experienced the joy of biting into a warm, crispy, and gooey pupusa, you’re truly missing out on a culinary treasure. These beloved Salvadoran street food staples are not just snacks; they’re a comforting hug in food form. Imagine perfectly cooked corn cakes, boasting a golden, slightly charred exterior that gives way to a soft, flavorful interior bursting with melted cheese. The best part? They are naturally gluten-free and incredibly satisfying. Making them at home is simpler than you might think, and the result is an authentic taste that will transport your kitchen straight to El Salvador.
What Are Pupusas? A Dive into Salvadoran Cuisine
Pupusas are thick, handmade corn tortillas, originating from El Salvador, that are generously stuffed with various fillings before being cooked on a griddle. While cheese is one of the most popular fillings, others include beans, chicharrón (fried pork), loroco (an edible flower bud), or a combination of these ingredients (known as pupusas revueltas). Their history dates back centuries, playing a significant role in the indigenous Pipil culture of El Salvador, long before Spanish colonization. Today, they are a national dish, celebrated across the country and loved by many around the world.
The magic of pupusas lies in a key ingredient: masa harina. This specially processed corn flour is made from dried corn kernels that have been cooked and soaked in an alkaline solution (nixtamalization), then ground into a fine dough. This process gives masa harina its unique flavor, aroma, and elastic texture, making it perfect for tortillas and pupusas alike. It’s this distinct quality that differentiates pupusas from their distant cousins, arepas, which are also corn cakes but are typically made from a different type of corn flour and are usually split and filled after cooking. With just four core ingredients – masa harina, water, salt, and cheese – you can recreate this authentic Salvadoran experience in your own kitchen.
Pupusas
Servings: 8 pupusas
Cook: 20 mins
Total: 40 mins
Email Share
Print Recipe
Pupusas are a beloved Salvadoran street food, and once you make them at home, you’ll see why. These stuffed corn cakes are crispy on the outside, gooey in the center, and deeply comforting. This recipe uses just 4 naturally gluten-free ingredients to bring authentic flavor to your table. Step-by-step photos are included below for easy guidance!
Equipment
- 1 Cast iron skillet, non-stick pan, or griddle
Ingredients
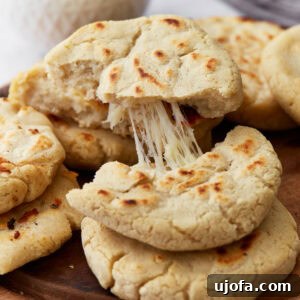
- 2½ cups masa harina, (such as Maseca, plus more as needed)
- 2¼ cups warm water, (plus more as needed)
- 1¼ tsp salt
- 1 cup shredded mozzarella (or Oaxaca, Monterey Jack, or a mix)
Instructions
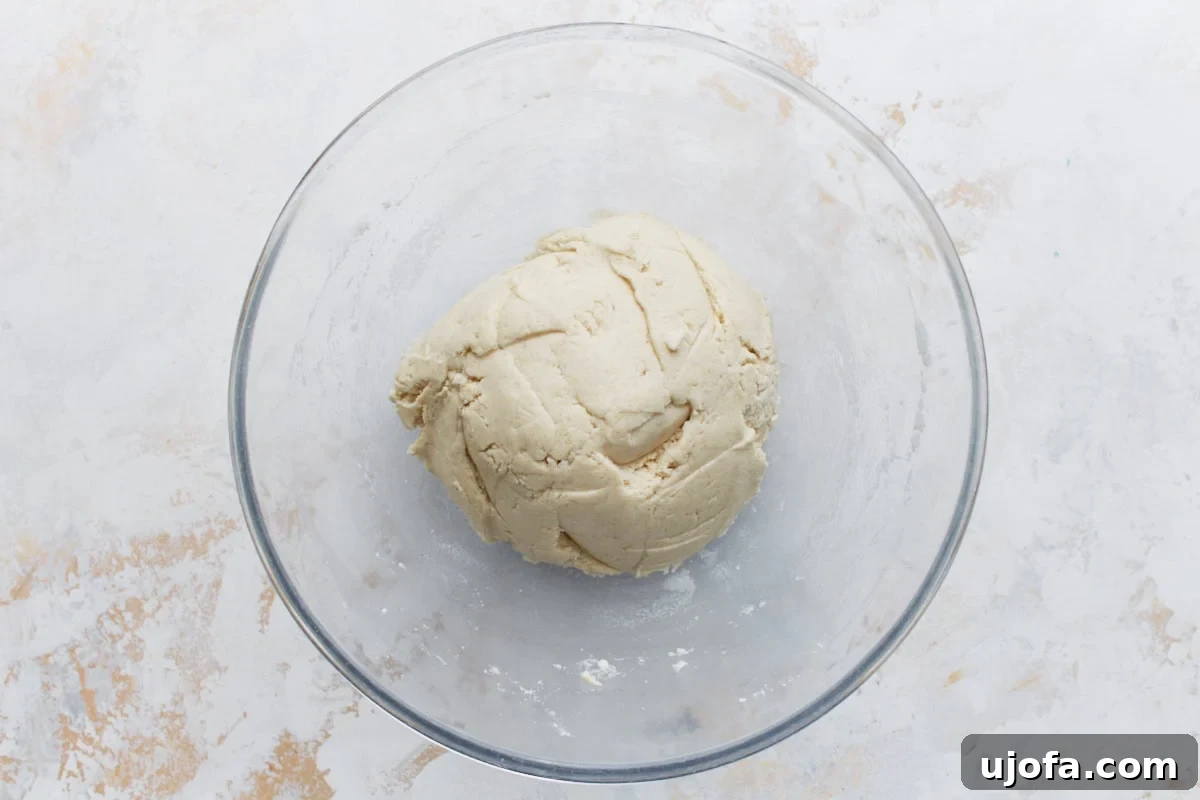
- Prepare the Dough: In a large mixing bowl, combine the masa harina, warm water, and salt. Mix thoroughly until a soft, pliable dough forms. It should feel smooth and moist, not crumbly. Cover the bowl and let the dough rest for 5–10 minutes. This resting period is crucial for the masa harina to fully hydrate, resulting in a more manageable and elastic dough.
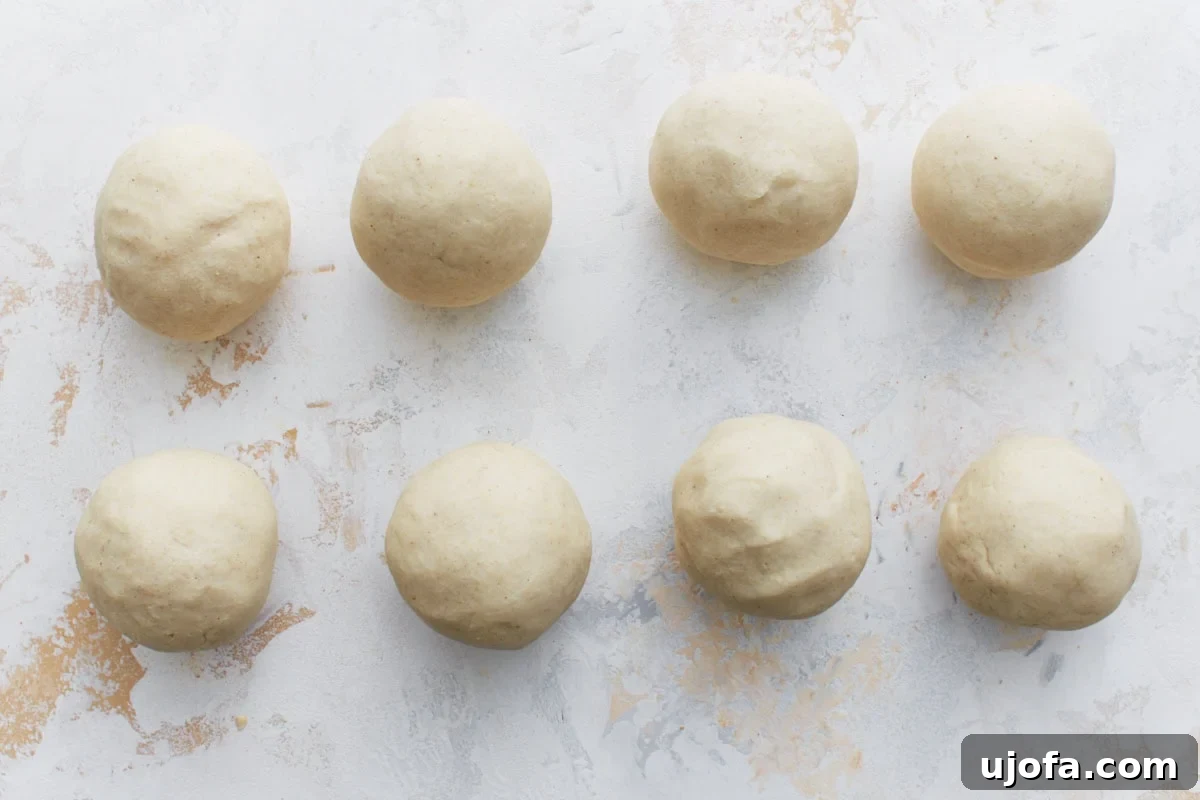
- Portion and Shape the Dough: Once hydrated, divide the dough into 8 equal portions. Roll each portion into a smooth ball. For easier handling and to prevent sticking, lightly wet your hands before shaping. If the dough feels too dry and cracks easily, add a teaspoon of warm water at a time and knead gently until smooth. If it’s too soft or sticky, incorporate a little more masa harina until it reaches a consistency similar to playdough.
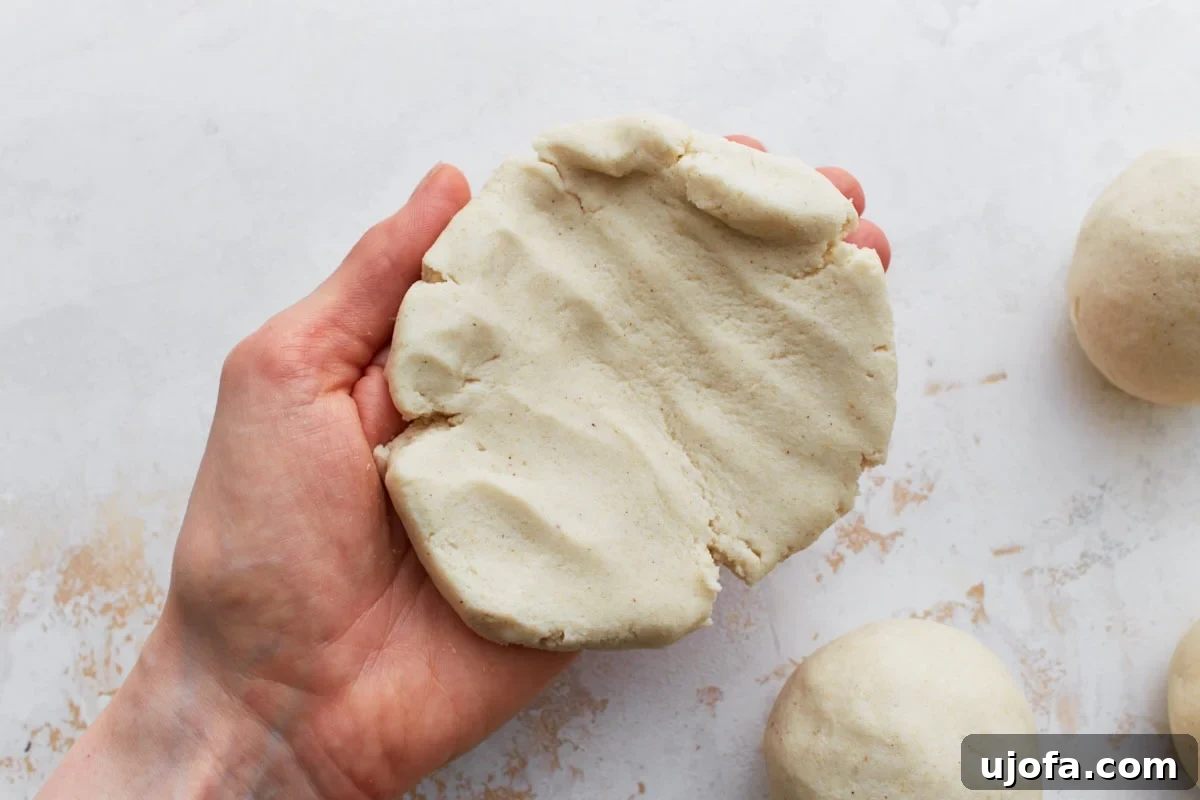
- Flatten for Filling: Take one dough ball and gently flatten it into a disc about 3-4 inches wide in the palm of your hand. Aim for an even thickness across the disc.
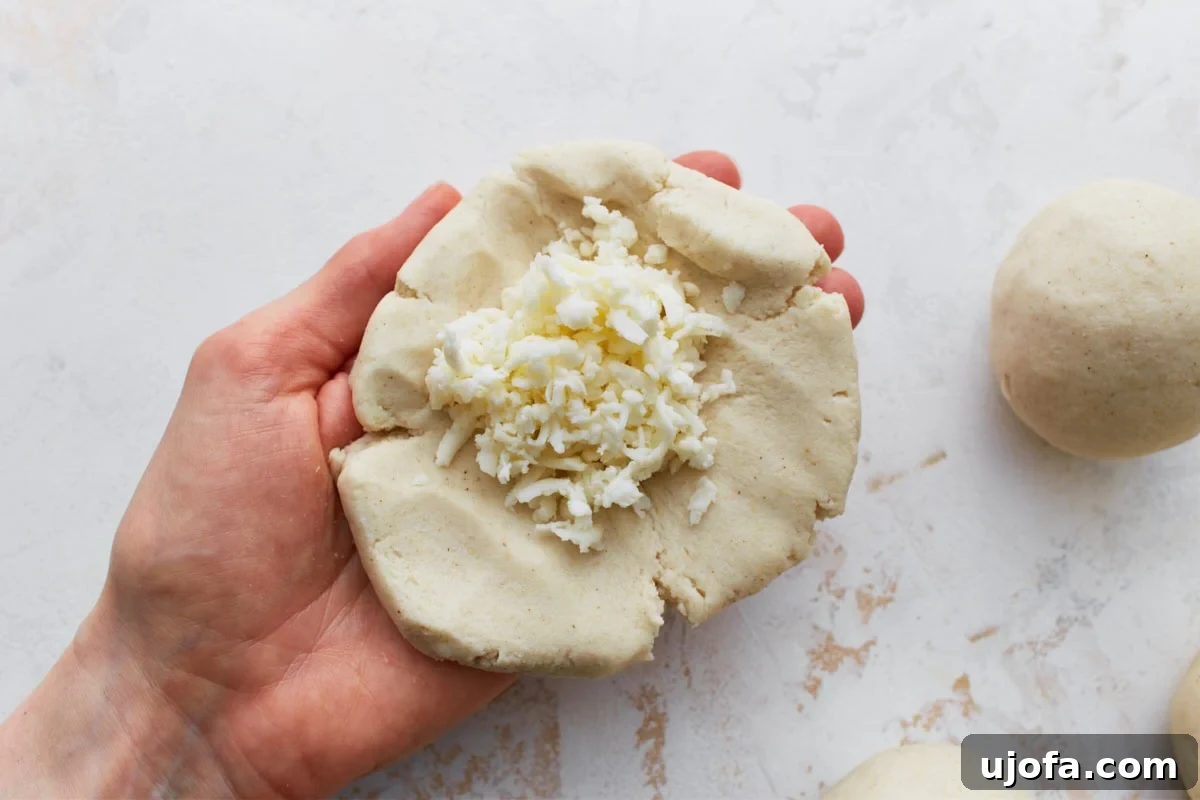
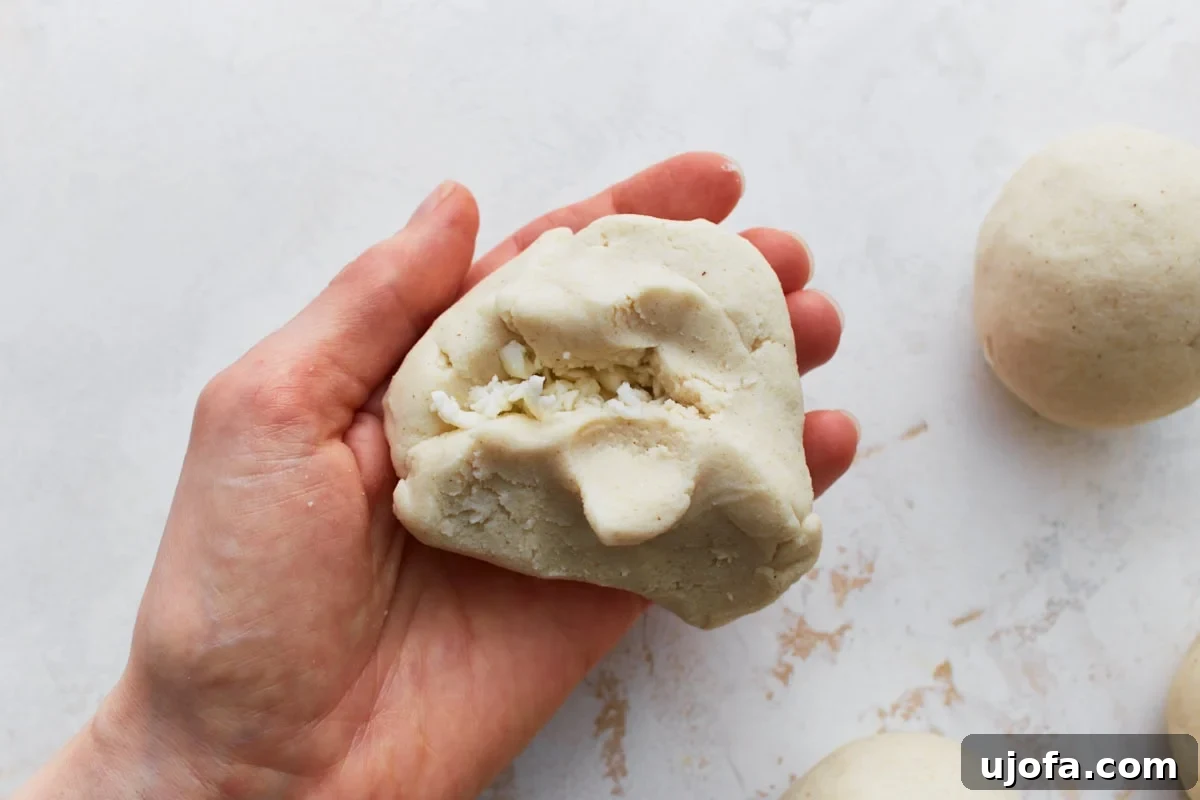
- Add the Filling: Place approximately 2 tablespoons of your chosen shredded cheese (mozzarella, Oaxaca, or a blend) into the center of the flattened dough disc. Do not overfill, as this can make sealing difficult.
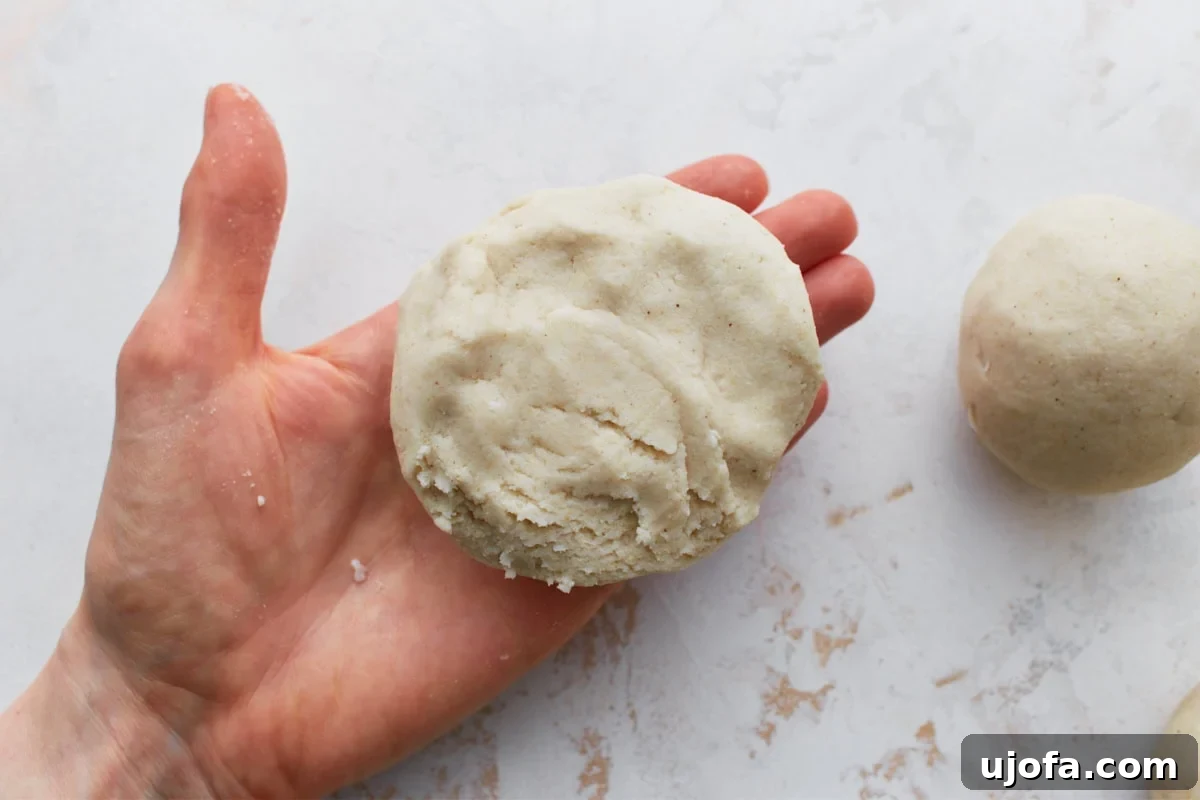
- Seal and Reshape: Carefully bring the edges of the dough up and over the cheese filling, pinching them together at the top to completely enclose the cheese. Once sealed, gently pat the dough ball back into a flat disc, about 4–5 inches in diameter and roughly ½ inch thick. Work slowly and gently to ensure the filling remains encased. Repeat this process with the remaining dough and cheese.
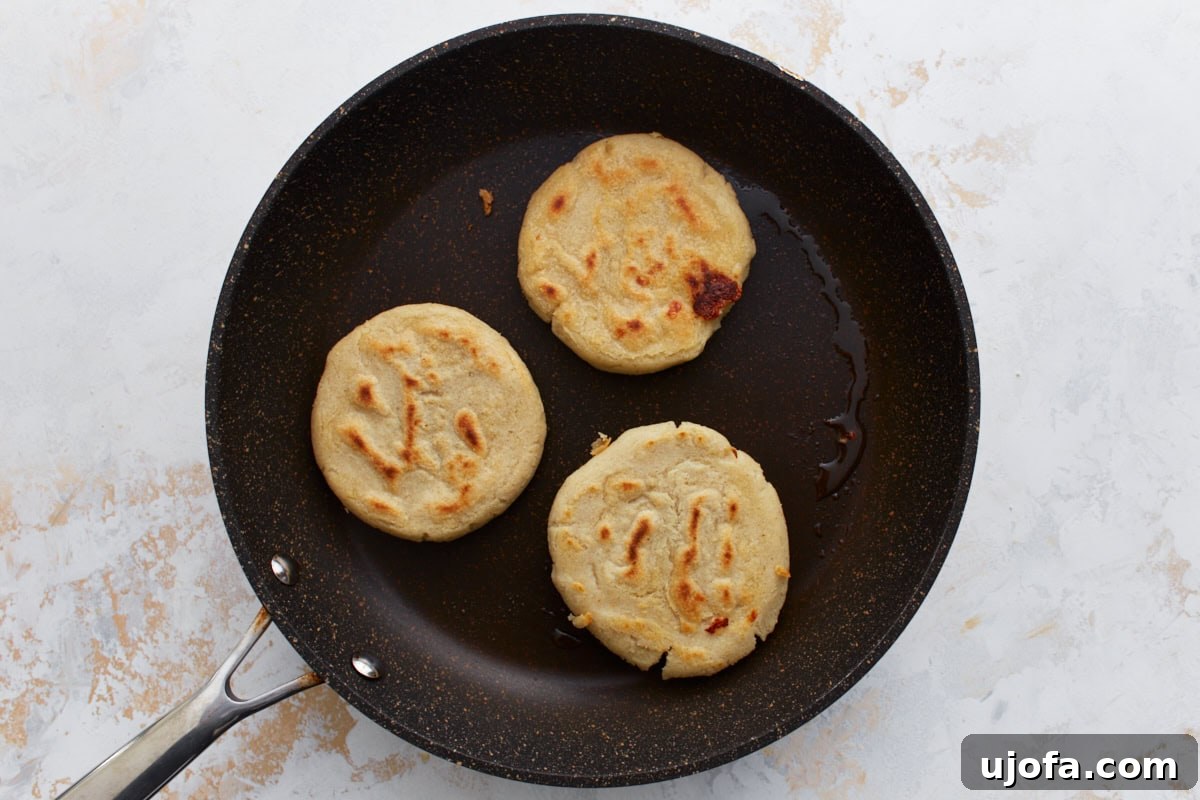
- Cook the Pupusas: Heat a lightly greased cast iron skillet, non-stick pan, or griddle over medium heat. Once hot, place the pupusas onto the cooking surface. Cook each pupusa for 4–5 minutes per side, or until they are golden brown with some desirable charred spots and the cheese inside is thoroughly melted and gooey.
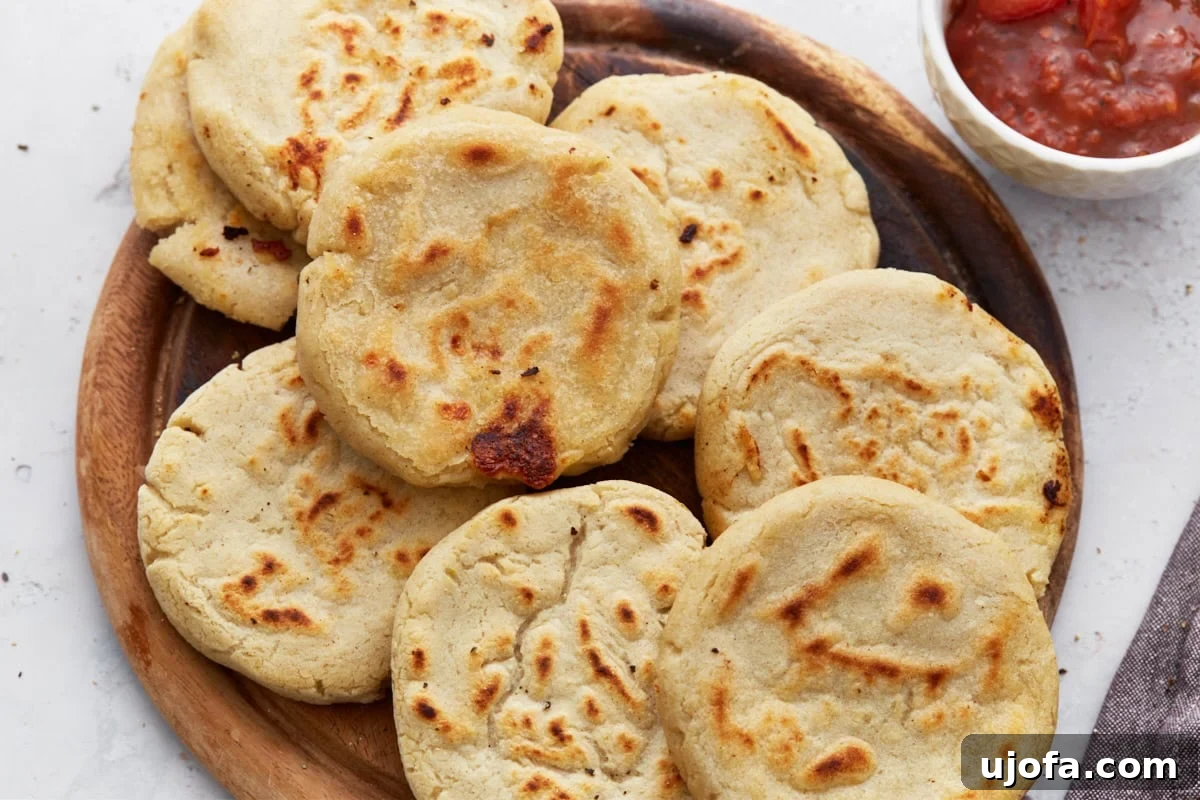
- Serve Warm: Remove the pupusas from the griddle and serve them immediately. Enjoy them fresh and hot!
Notes for Perfect Pupusas
- Cheese Choices: While mozzarella works wonderfully for its meltiness, for a more traditional Salvadoran flavor, opt for Oaxaca cheese. You can also experiment by mixing in a little feta or queso fresco for a tangy kick, or Monterey Jack for extra creaminess.
- Flavorful Variations: Elevate your pupusas by stirring additional ingredients into the cheese filling. Try finely chopped jalapeños for heat, cooked black beans for earthiness, or seasoned cooked pork like carnitas or chorizo for a heartier meal. Cooked and shredded chicken or sautéed mushrooms also make excellent additions.
- Gluten-Free Assurance: Most brands of masa harina, such as Maseca, are naturally gluten-free. However, if you have severe gluten sensitivities or Celiac disease, always look for products with a certified gluten-free label to ensure there is no cross-contamination.
- Dough Consistency is Key: The dough should be soft, pliable, and slightly moist. If it feels too dry or crumbly, it will crack during shaping and the filling will leak. Add warm water one teaspoon at a time and knead until smooth. If it’s too sticky, dust with a tiny bit more masa harina.
Nutrition
Nutrition information is automatically calculated and should only be used as an approximation.
- Serving: 1 pupusa
- Calories: 172 kcal
- Carbohydrates: 27g
- Protein: 6g
- Fat: 5g
- Saturated Fat: 2g
- Polyunsaturated Fat: 1g
- Monounsaturated Fat: 1g
- Cholesterol: 11mg
- Sodium: 456mg
- Potassium: 104mg
- Fiber: 2g
- Sugar: 0.1g
- Vitamin A: 171 IU
- Calcium: 121mg
- Iron: 3mg
Additional Info
Cuisine: Salvadoran
Tried this recipe? Share your creations on Instagram and mention @mamaknowsglutenfree or tag #mamaknowsglutenfree! We love seeing your delicious pupusas!
How to Make Pupusas: A Visual Guide
Essential Tips for Perfect Pupusas
- Always Use Masa Harina: For authentic texture and flavor, masa harina is non-negotiable. Regular cornmeal will not hydrate or bind in the same way, resulting in a crumbly dough that won’t hold its shape or filling. Make sure you’re using the correct type of corn flour.
- Achieving the Right Dough Consistency: The dough should be soft, smooth, and very pliable, much like modeling clay or playdough. If your dough cracks or crumbles when you try to flatten it, it’s too dry. Add warm water, about a teaspoon at a time, and knead it in until the dough becomes smooth and elastic. If the dough feels too sticky and hard to handle, add a small amount of masa harina, a tablespoon at a time, until it firms up slightly.
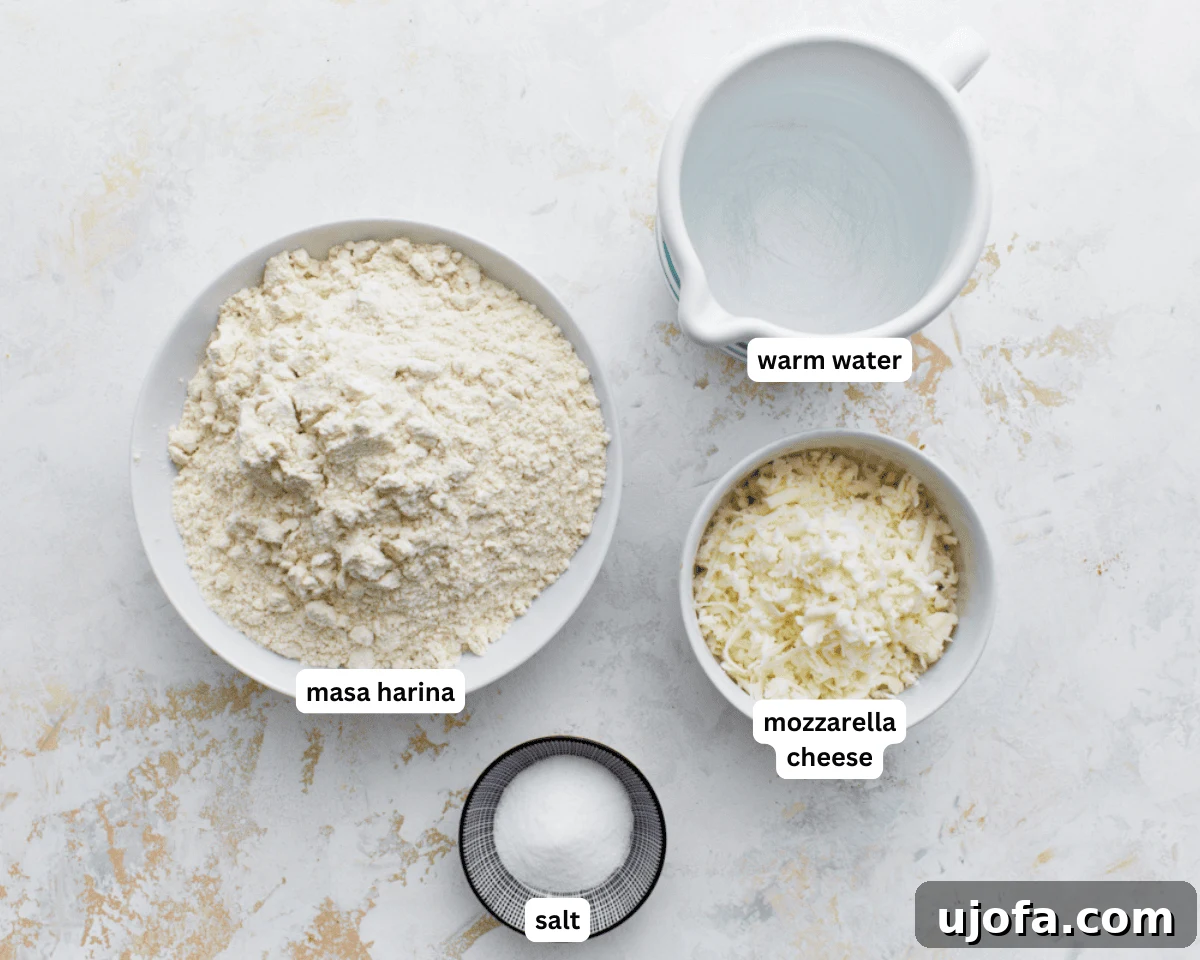
- Preventing Leaks and Blowouts: Overfilling pupusas is the most common cause of leaks. Start with just 1.5-2 tablespoons of filling per pupusa. When sealing, ensure the edges are thoroughly pinched together, forming a tight seam. Don’t worry if a little cheese escapes during cooking; those crispy, cheesy bits are often the best part! Just ensure the main structure holds.
- Wet Hands are Your Best Friend: Keep a small bowl of water nearby to moisten your hands periodically while shaping the pupusas. This prevents the dough from sticking to your hands and helps create a smoother exterior for your pupusas.
- Medium Heat is Key: Cook pupusas over medium heat. If the heat is too high, the outside will burn before the inside is cooked and the cheese has melted. If it’s too low, they might dry out and become tough. Medium heat ensures a golden, crispy crust and a perfectly melted interior.
Serving Suggestions: Completing the Pupusa Experience
While pupusas are delightful on their own, they are traditionally served with two essential accompaniments that elevate the experience: curtido and salsa roja. Curtido is a tangy, lightly fermented cabbage slaw, typically made with cabbage, carrots, onions, oregano, and vinegar. Its bright, acidic crunch provides a perfect counterpoint to the rich, savory pupusas. Salsa roja, a mild red tomato salsa, adds another layer of fresh flavor. If you’re looking to keep things simple, a dollop of sour cream or crema Salvadoran can also add a delightful creamy touch.
Pupusas are incredibly versatile and fit into many meal occasions. They make a fantastic, hearty lunch, a fun and interactive appetizer for gatherings, or even a laid-back dinner with friends and family. Pair them with a simple green salad, some refried beans, or even a fresh fruit salad for a complete and satisfying meal.
Storage and Reheating Tips
Have leftover pupusas? Lucky you! To store them, allow the pupusas to cool completely to room temperature. Then, stack them with pieces of parchment paper in between each pupusa to prevent sticking. Place them in an airtight container and refrigerate for up to 3 days.
When you’re ready to enjoy them again, reheating is simple. Place them in a dry skillet over medium heat, flipping occasionally, until they are hot all the way through and the exterior has regained its crispiness. You can also warm them in a toaster oven or air fryer for an extra crispy result.
Pupusas are also freezer-friendly, both cooked and uncooked! For cooked pupusas, follow the cooling and parchment paper method, then store in a freezer-safe bag or container for up to 3 months. Reheat directly from frozen on a skillet or in a toaster oven, adding a few extra minutes to the cooking time. For uncooked pupusas, freeze them flat on a baking sheet until solid, then transfer to a freezer bag. Cook from frozen as directed, adding about 5-7 minutes per side.
More Gluten-Free Street Foods You’ll Love
If you enjoyed making these delicious gluten-free pupusas, you might also love exploring other naturally gluten-free street foods from around the world. These recipes are perfect for those seeking flavorful and authentic culinary experiences without gluten:
- Pandebono (Colombian Cheese Bread)
- Grit Cakes
- Pão de Queijo (Brazilian Cheese Bread)
- Gluten-Free Falafel
- Pakora
Embark on a culinary adventure and discover how diverse and delicious gluten-free cooking can be!