
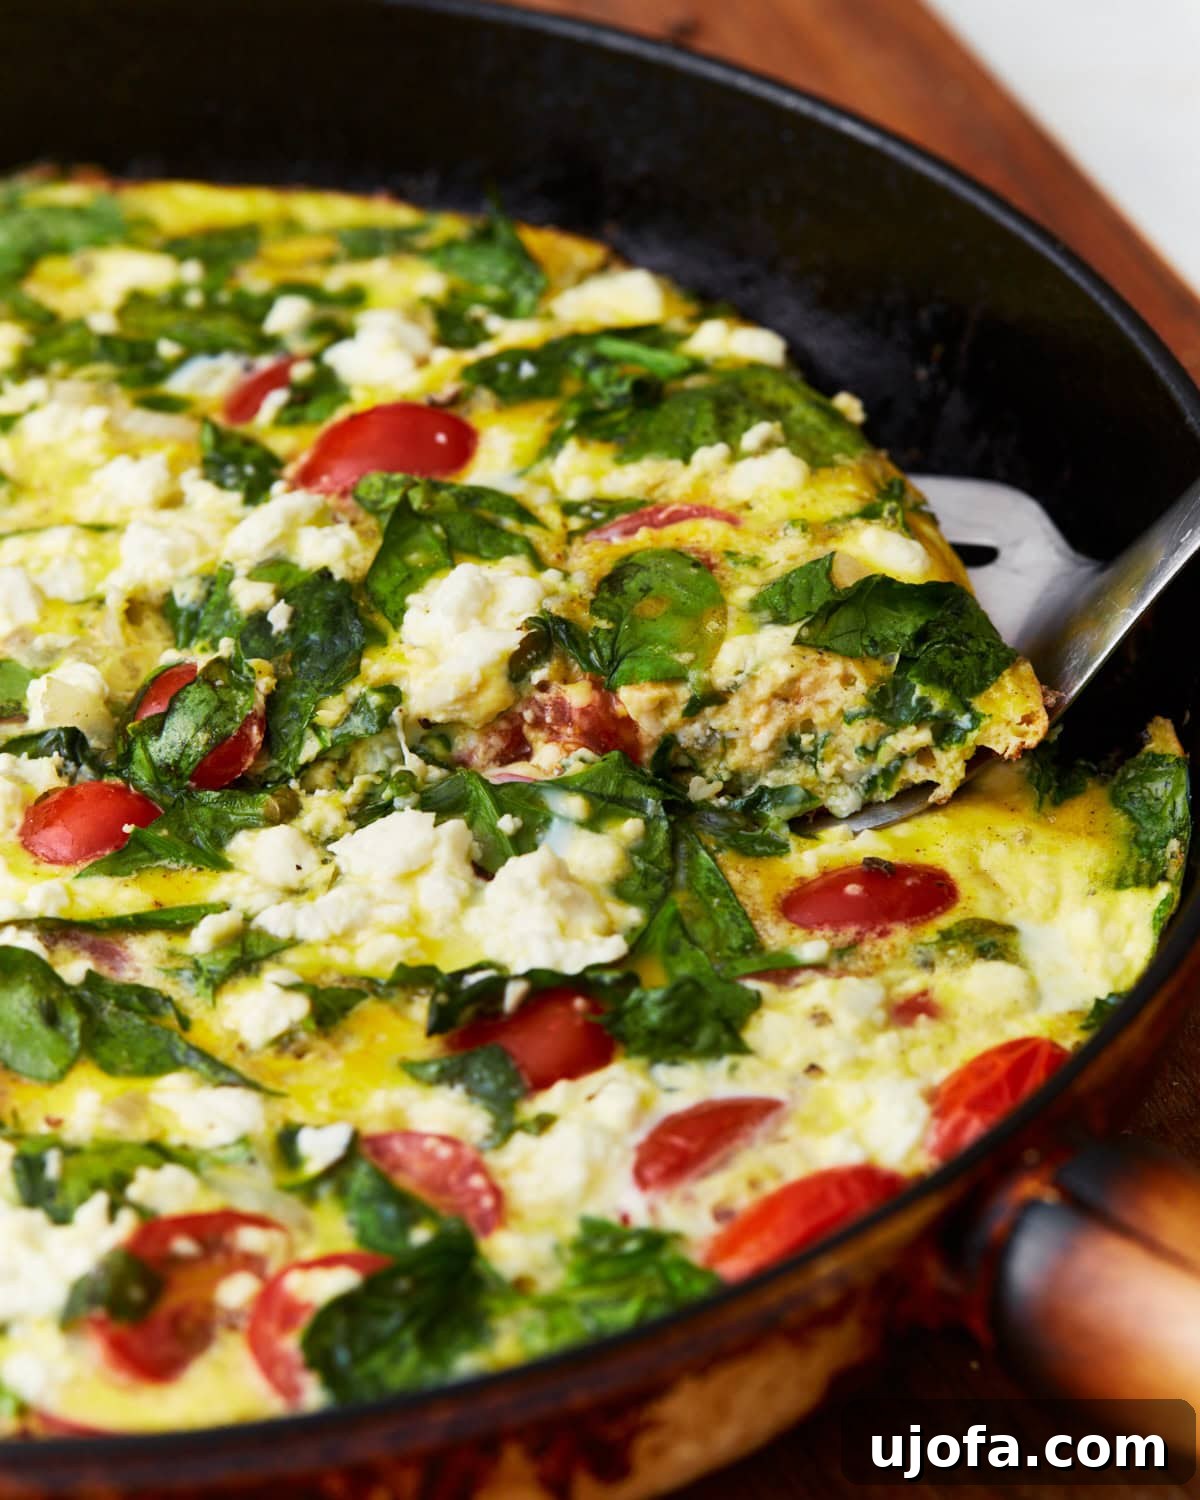
Effortless & Delicious Gluten-Free Frittata: Your Go-To Recipe for Any Meal
Discover the ultimate versatile dish with this easy and quick-to-make gluten-free frittata recipe. These savory, crustless quiches are not only simple to prepare but also incredibly adaptable, making them perfect for any meal of the day. Whether you’re planning for weekly meal prep, hosting a large brunch gathering, or simply need a satisfying dinner, this frittata delivers on flavor and convenience. Its light yet fulfilling nature makes it a household favorite, proving that wholesome cooking can be both delightful and straightforward.
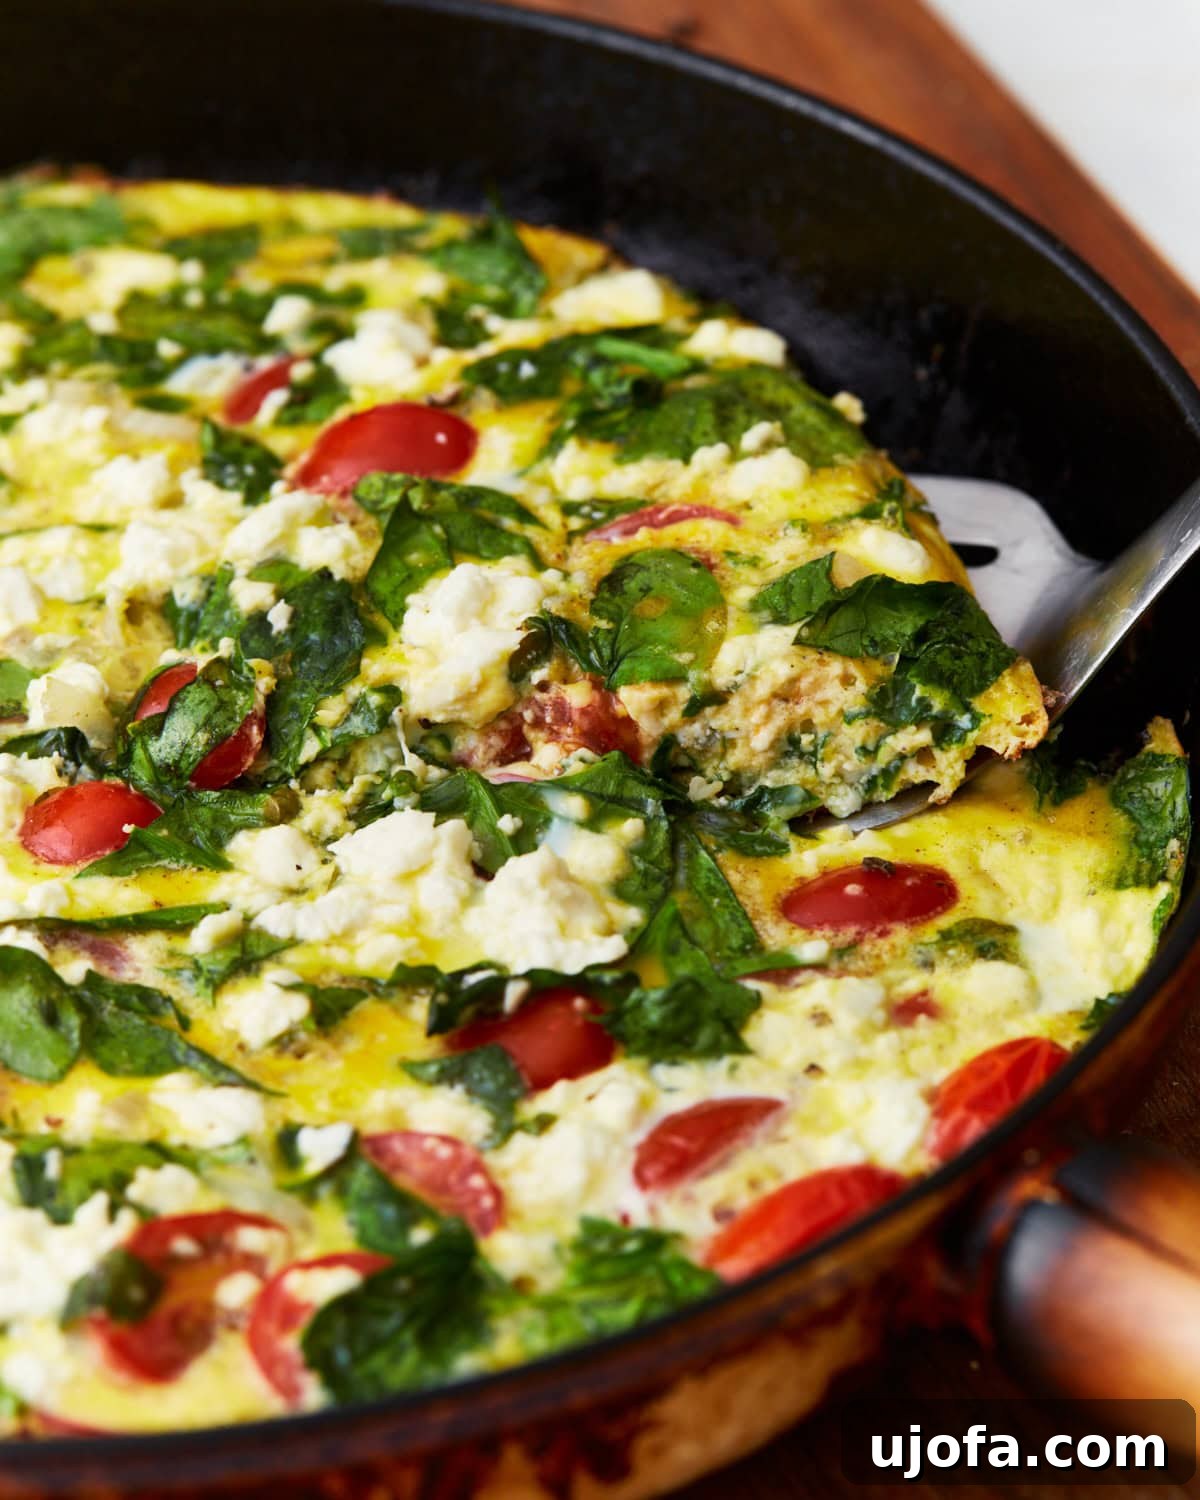
As a passionate fan of egg bakes, I can confidently say that frittatas stand at the pinnacle of my culinary list. Their unparalleled ease and flexibility make them a staple in my kitchen, especially when I need a delicious gluten-free meal to satisfy many hungry guests. This recipe can be whipped up effortlessly, either in advance or on the day of your event, depending on your schedule. What truly sets this dish apart for me is its naturally crustless nature, eliminating the need for a gluten-free pie crust, unlike my gluten-free quiche. This not only guarantees it’s entirely gluten-free but also allows for easy dairy-free modifications with simple substitutions, catering to various dietary needs without compromising taste.
My personal favorite rendition of this egg casserole leans towards a Mediterranean theme, bursting with the freshness of ripe tomatoes, tender spinach, and the delightful tang of salty feta cheese. However, the true beauty of a frittata lies in its adaptability. It’s a rustic egg bake that invites endless creativity, allowing you to incorporate virtually any ingredients you desire. On different occasions, I’ve experimented with spicy Italian sausage, creamy goat cheese, and vibrant bell peppers, each time yielding a uniquely satisfying and flavorful experience. This flexibility ensures that your frittata can always be a reflection of your current cravings or what you have on hand, making it a fantastic solution for minimizing food waste and maximizing flavor.
Perfect Gluten-Free Frittata
Sabine Venier
6 servings
10 mins
30 mins
40 mins
Print Recipe
This light and savory gluten-free frittata is incredibly easy to make. A simple, versatile, and deliciously satisfying meal, perfect for any occasion from casual brunches to quick dinners and effective meal prepping.
Ingredients
- 6 large eggs
- 1/4 cup milk (For dairy-free, use an unsweetened/full-fat alternative milk, such as almond milk.)
- 1/2 teaspoon salt
- 1/4 teaspoon pepper
- 2 tablespoons cooking oil*
- 1 yellow onion, diced
- 2 cups fresh spinach (about 4 ounces), roughly chopped
- 1 pint grape tomatoes, halved
- 1/4 cup feta cheese crumbles** (For dairy-free, omit or replace with a non-dairy option like Violife Just Like Cheddar Shreds.)
Instructions
- Preheat your oven to 350ºF (175ºC). This is a crucial first step for the stovetop-to-oven cooking method, ensuring your frittata bakes evenly and sets perfectly without becoming rubbery.
- In a large bowl, thoroughly whisk together the eggs, milk (or dairy-free alternative), salt, and pepper until the mixture is smooth and slightly frothy. Set this egg mixture aside; it will be ready to incorporate once your vegetables are prepared.
- Dice the yellow onion into small, even pieces. Setting it aside makes for a more organized cooking process, allowing you to focus on the sautéing.
- Heat an oven-safe skillet (a cast-iron skillet is highly recommended for its even heat distribution) over medium heat. Add the cooking oil to the pan. Once the oil is shimmering, add the diced onion and sauté until it becomes soft, translucent, and fragrant, typically taking about 5-7 minutes. This step builds the foundational flavor of your frittata.
- While the onion is cooking, prepare your fresh vegetables: roughly chop the spinach and slice the grape tomatoes in half. This ensures they cook quickly and distribute well within the egg mixture.
- Add the chopped spinach and halved tomatoes to the skillet with the sautéed onions. Stir quickly, just enough to combine the vegetables without fully cooking or wilting the spinach. The goal is to warm them slightly and distribute them evenly before the eggs are added.
- Immediately pour the whisked egg mixture over the vegetables in the skillet. Don’t worry if the eggs don’t completely cover all the vegetables; they will rise and fill out as they cook. Sprinkle the crumbled feta cheese evenly over the top of the egg mixture.
- Let the frittata continue cooking on the stovetop over medium heat for about 3 minutes, or until you observe the eggs beginning to set around the edges of the pan. This initial stovetop cooking helps to create a slightly crispy bottom layer and ensures the frittata holds its shape.
- Carefully transfer the skillet directly to the preheated oven. Bake for approximately 15 minutes, or until the center of the frittata is set but still retains a slight wobble when gently shaken. Total bake time can vary based on your oven and skillet, so it’s a good idea to check it around the 8-10 minute mark. Remember, the frittata will continue to cook slightly as it cools in the hot pan, so avoiding overcooking at this stage is key to a tender result.
- Remove the frittata from the oven. Allow it to cool in the pan for about 5 minutes before slicing and serving. This resting period allows the frittata to fully set and makes for cleaner slices. If, upon slicing, you find the eggs aren’t completely set, simply return the frittata to the warm oven for an additional 2-3 minutes. Serve warm and enjoy your delightful gluten-free frittata!
Notes & Tips for Success
*Cooking oil is your best friend! Even with a perfectly seasoned cast iron skillet, a thin, even layer of cooking oil is essential to prevent the eggs from sticking to the pan. Don’t skimp on this step for a smooth release.
**Cheese variations: While feta cheese adds a wonderful Mediterranean tang, feel free to experiment with other cheeses. I also love using cotija, creamy goat cheese, or a simple shredded cheese blend like mozzarella and cheddar for different flavor profiles.
***Oven-safe skillet check: If you’re not using a cast iron skillet, it’s absolutely vital to double-check that your chosen pan is oven-safe. Avoid pans with plastic handles, connectors, or non-stick Teflon coatings that are not rated for high oven temperatures, as these can melt or release harmful fumes.
Nutrition Information
Serving: 1 slice
Calories: 151 kcal
Carbohydrates: 6g
Protein: 8g
Fat: 11g
Saturated Fat: 3g
Polyunsaturated Fat: 2g
Monounsaturated Fat: 5g
Trans Fat: 0.04g
Cholesterol: 170mg
Sodium: 344mg
Potassium: 350mg
Fiber: 2g
Sugar: 4g
Vitamin A: 1876 IU
Vitamin C: 15mg
Calcium: 90mg
Iron: 1mg
Nutrition information is automatically calculated and should be used as an approximation.
Additional Info
Breakfast, Brunch, Dinner, Lunch, Main Course
American, Italian
Mastering Your Frittata: Popular Cooking Methods
While the recipe above details the stovetop-to-oven method, frittatas are incredibly versatile and can be prepared using various techniques. Understanding these methods allows you to adapt to your kitchen setup and preferred cooking style, ensuring a perfect frittata every time.
- The Stovetop-to-Oven Hybrid Method: This is generally considered the easiest and most reliable way to achieve a perfectly cooked frittata, with a lightly golden bottom and a fluffy, evenly set center. By starting on the stovetop, you get to sauté your fillings and kickstart the egg setting process, preventing the bottom from overcooking or burning. Finishing it in the oven ensures that the top sets beautifully without the need for flipping or constant monitoring. This method is especially recommended when your fillings require some initial cooking, such as onions, meats, or tougher vegetables. A well-seasoned cast-iron skillet is ideal for this approach due to its excellent heat retention and oven-safe properties, but any oven-safe pan will work as long as it’s properly greased.
- Pure Stovetop Method: For those without an oven-safe skillet or who prefer to avoid oven use, a stovetop-only frittata is entirely possible. The key here is low and slow heat. After adding your egg and filling mixture to the hot skillet, reduce the heat to very low and gently cook. You can cover the pan loosely for the last few minutes to help the top set, but be mindful that covering can introduce steam, potentially altering the texture. This method requires careful attention to ensure the eggs cook through without over-browning the bottom. It often results in a slightly denser frittata.
- Oven-Only Method: If your frittata fillings are already fully cooked or require no pre-cooking (like soft cheeses or fresh herbs), the oven-only method offers a hands-off approach. For best results, preheat your cast-iron skillet (or a baking dish) in the oven before adding the fillings and egg mixture. This initial warmth helps the frittata begin cooking immediately and prevents a soggy bottom. This method is convenient for preparing multiple frittatas at once, as you can use various baking dishes. Ensure your baking dish is oven-safe and greased well to prevent sticking.
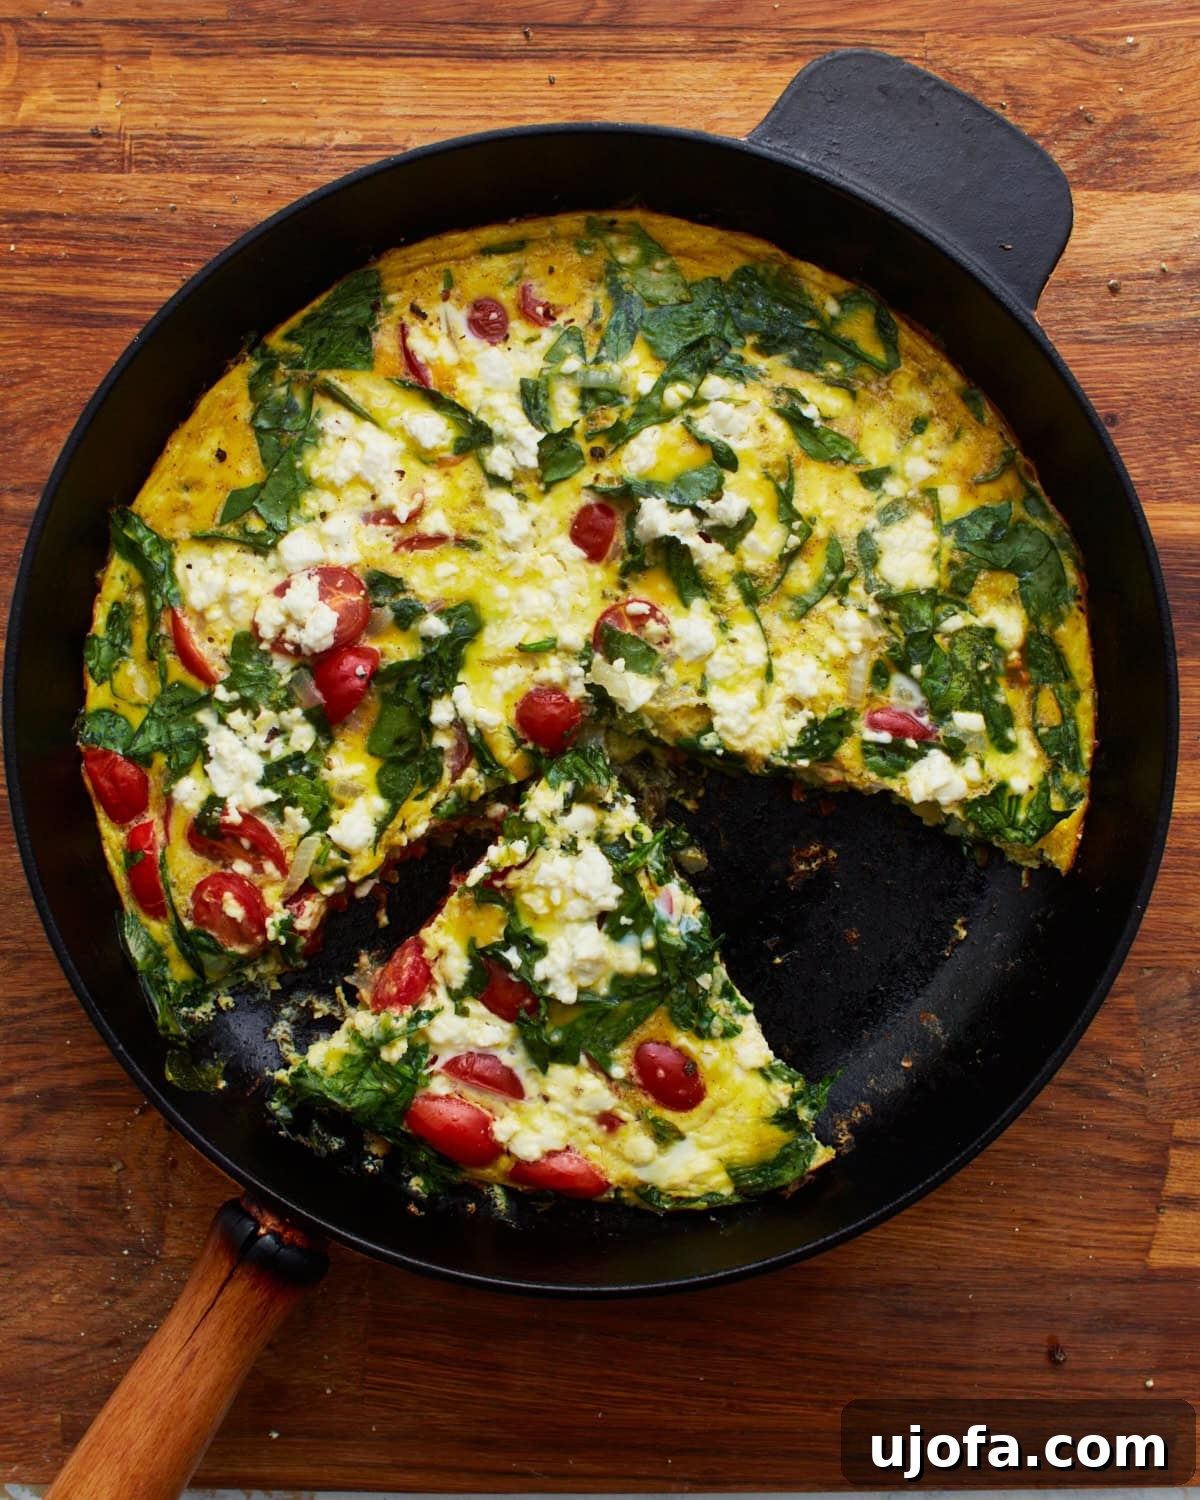
A Visual Guide: How to Craft Your Perfect Frittata
Let’s walk through the process of making this delightful frittata, ensuring every step is clear and yields a perfect result. These detailed steps, accompanied by visual cues, will help you master this versatile dish.
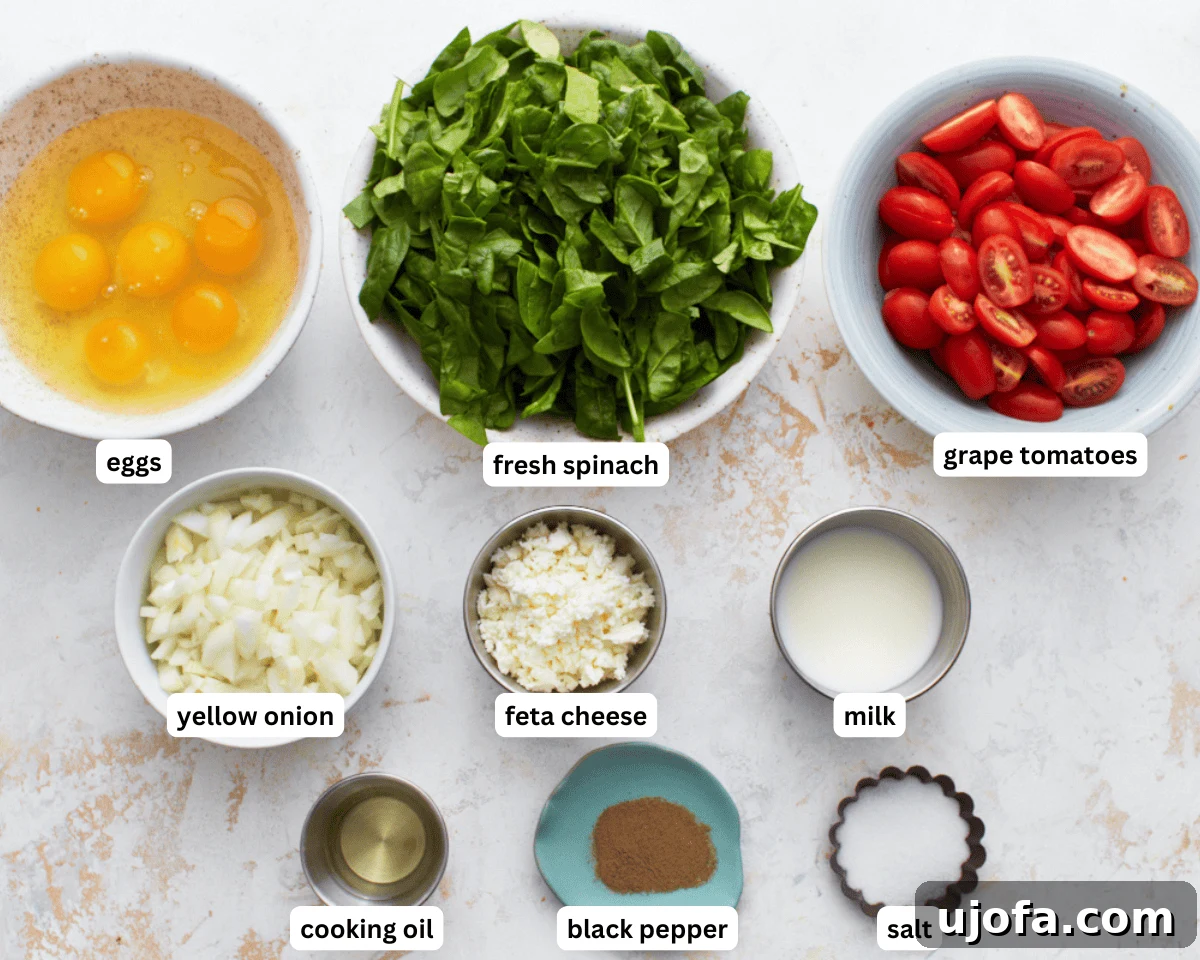
Step 1: Gather Your Ingredients. Before you begin cooking, lay out all your ingredients. This practice of “mise en place” (everything in its place) is a chef’s secret to smooth and stress-free cooking. Having everything prepped and ready will make the process much more enjoyable and efficient.
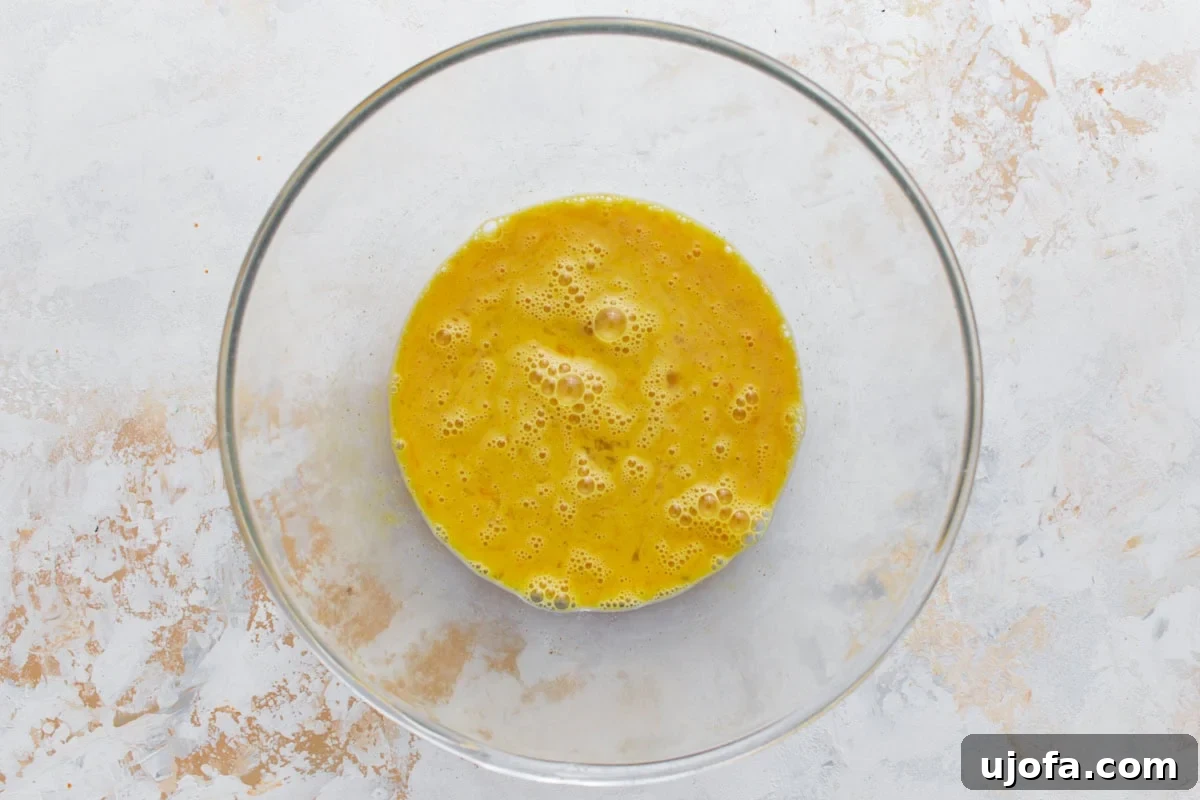
Step 2: Prepare the Egg Base. Preheat your oven to 350ºF (175ºC). In a spacious bowl, combine 6 large eggs, ¼ cup of milk (or your preferred dairy-free alternative for those with sensitivities), ½ teaspoon of salt, and ¼ teaspoon of freshly ground black pepper. Whisk this mixture vigorously until it’s light, frothy, and thoroughly combined. This aeration contributes to a lighter, fluffier frittata texture. Set this vibrant egg mixture aside; it’s the heart of your frittata.
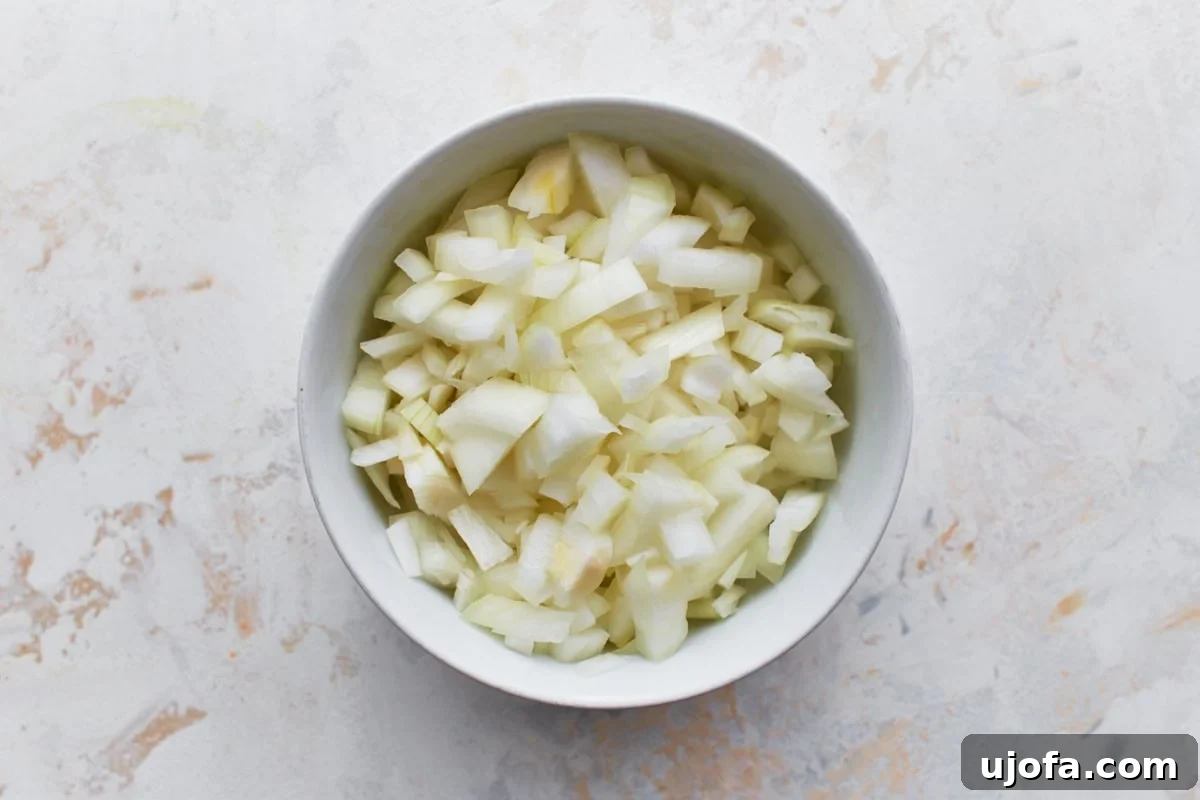
Step 3: Dice the Onion and Heat the Skillet. Take 1 yellow onion and dice it finely. Small, even pieces ensure the onion cooks uniformly and blends seamlessly into the frittata. Now, take your cast-iron skillet (or any other oven-safe skillet) and generously grease it with 2 tablespoons of cooking oil. Place the skillet on your stovetop and heat it over medium heat. The oil should be shimmering but not smoking, indicating it’s ready for the onions.
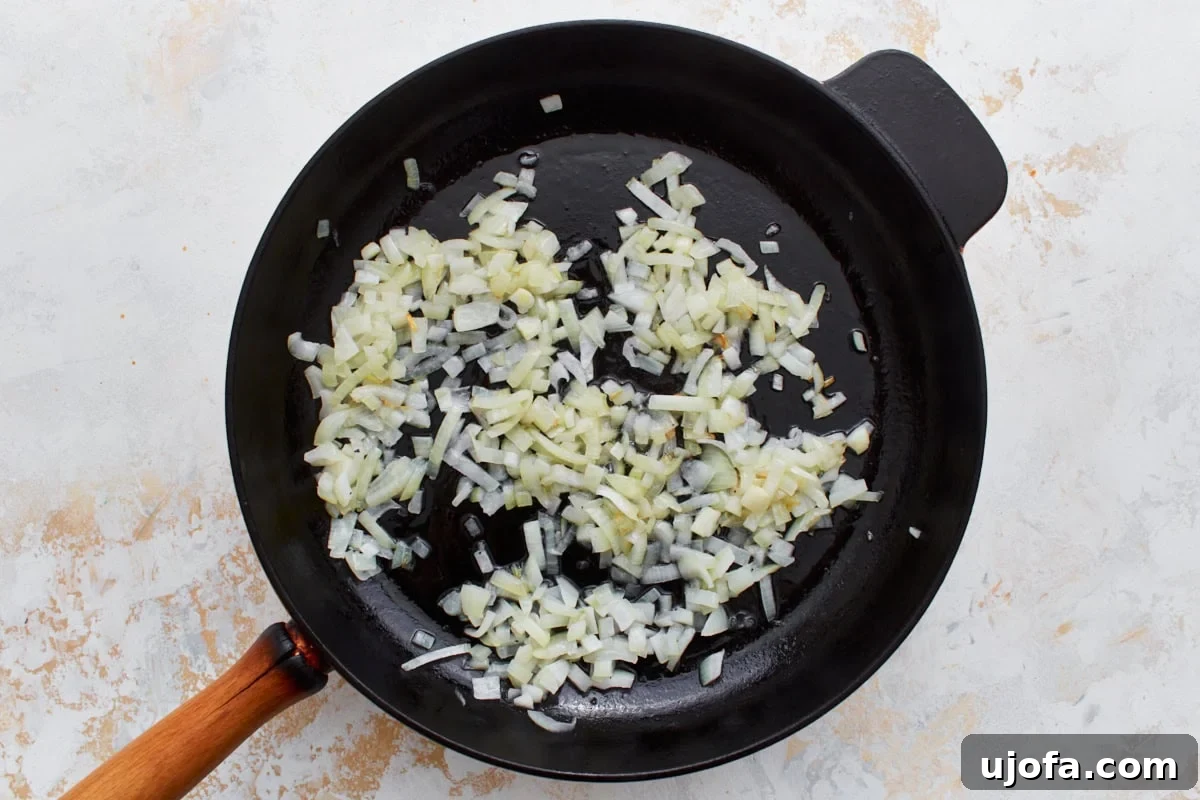
Step 4: Sauté the Onions to Perfection. Add the diced onions to the hot, oiled skillet. Sauté them patiently, stirring occasionally, until they become wonderfully soft and translucent. This process usually takes about 5-7 minutes. Sautéing brings out the natural sweetness of the onions, which will add a delicious depth of flavor to your frittata. Avoid browning them too much, as we’re aiming for tenderness rather than crispiness at this stage.
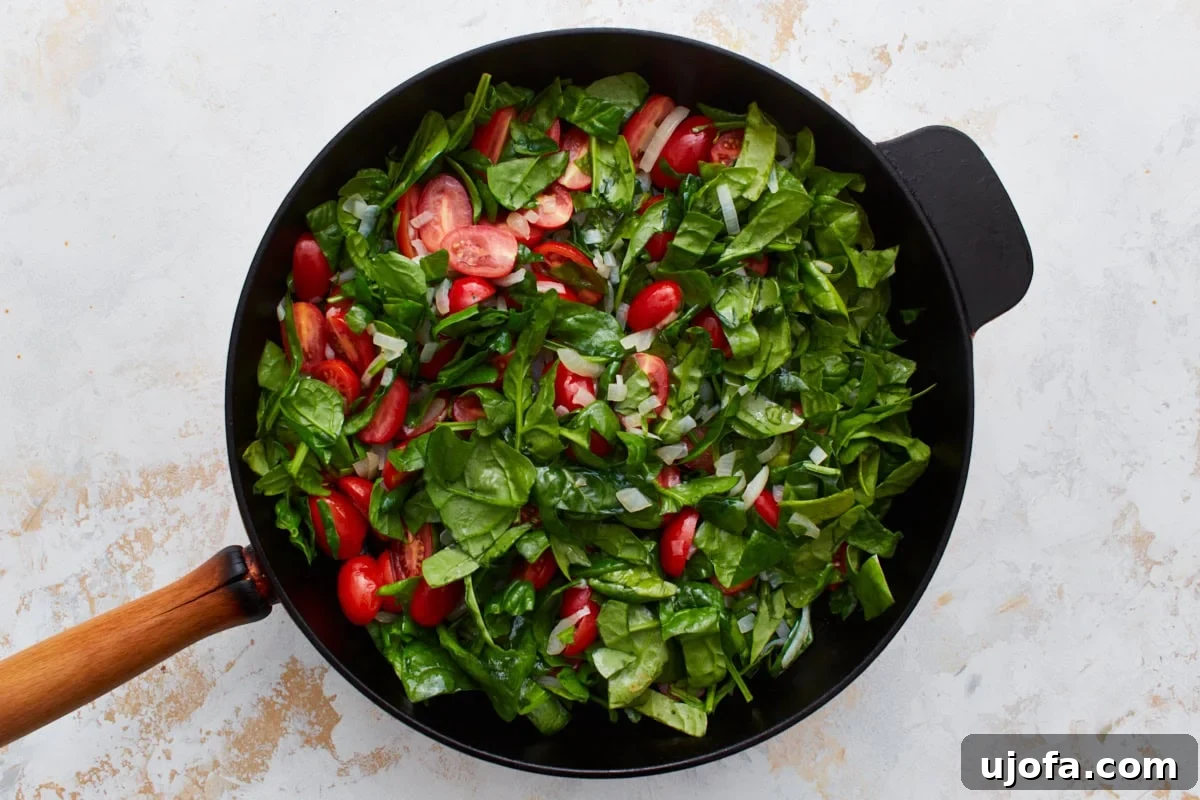
Step 5: Add Remaining Vegetables. While the onions are busy sautéing, take 2 cups of fresh spinach and give it a rough chop. Then, halve 1 pint of grape tomatoes. Once the onions are tender, add the chopped spinach and halved tomatoes to the skillet. Give it a quick stir, just enough to combine everything evenly with the onions. The goal is not to cook the spinach down completely on the stovetop, as it will continue to cook in the oven. A brief stir ensures even distribution and vibrant color.
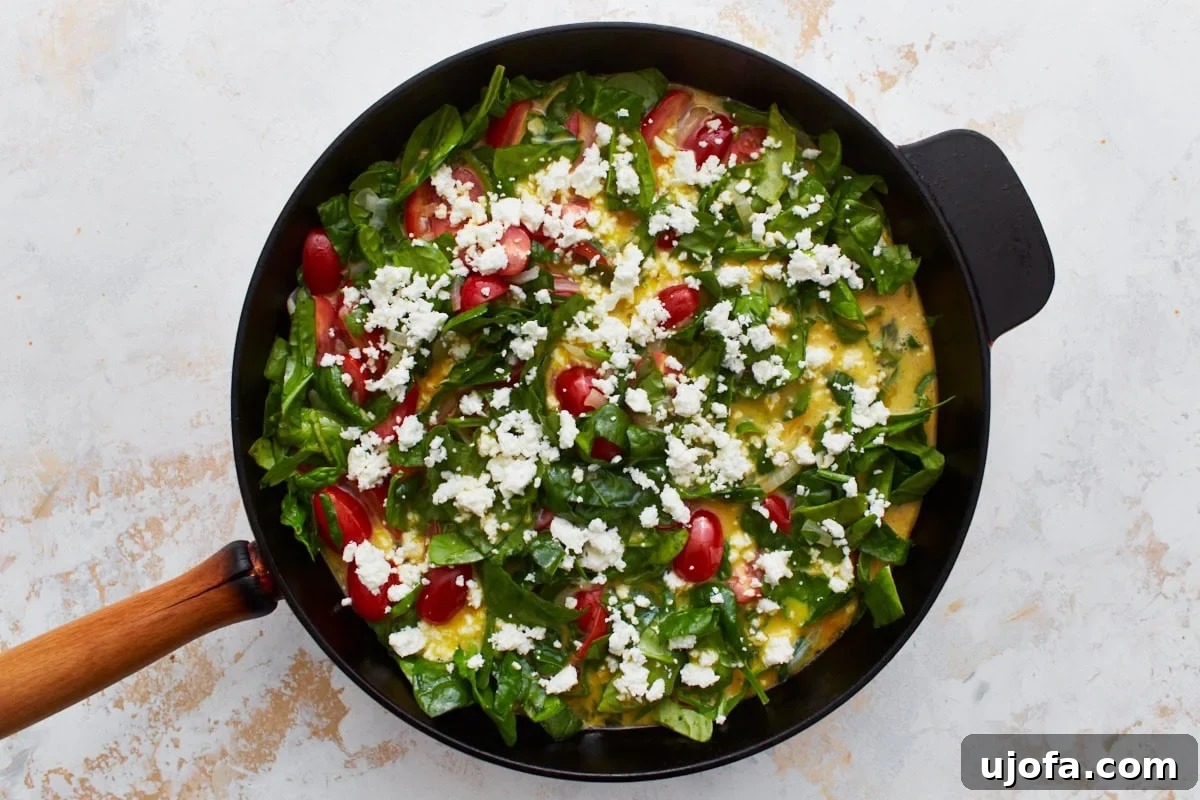
Step 6: Pour the Egg Mixture and Add Feta. Without delay, pour your whisked egg mixture directly over the colorful medley of vegetables in the skillet. Distribute the eggs as evenly as possible. Then, generously sprinkle ¼ cup of crumbled feta cheese (or your dairy-free alternative) over the top. The feta will melt slightly into the eggs, adding pockets of savory flavor. Ensure the eggs are well distributed around the vegetables for an even bake.
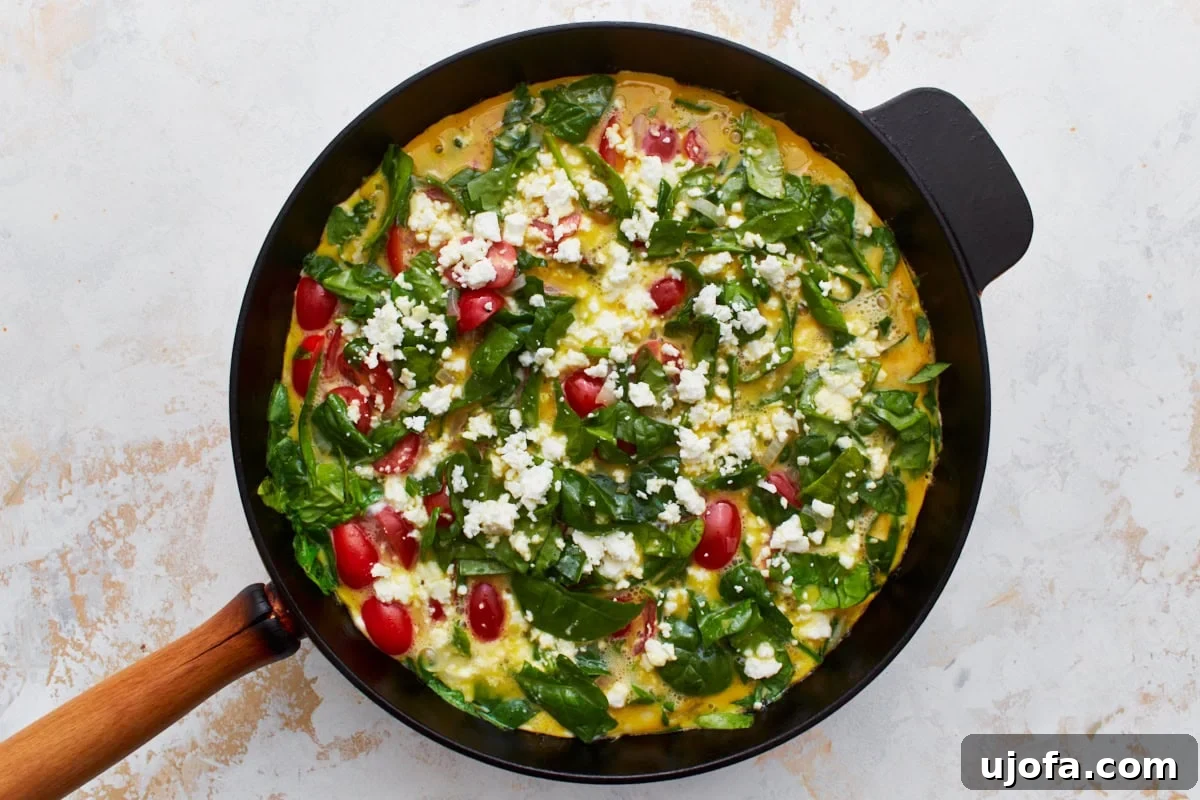
Step 7: Begin Stovetop Cooking. Keep the frittata on the stovetop over medium heat for approximately 3 minutes. During this time, you’ll observe the edges of the egg mixture beginning to set and pull away slightly from the sides of the pan. This initial stovetop cooking is crucial as it helps to create a stable base for the frittata, preventing the bottom from becoming watery and ensuring it holds its shape beautifully once transferred to the oven. It also provides a head start on cooking, contributing to the overall fluffy texture.
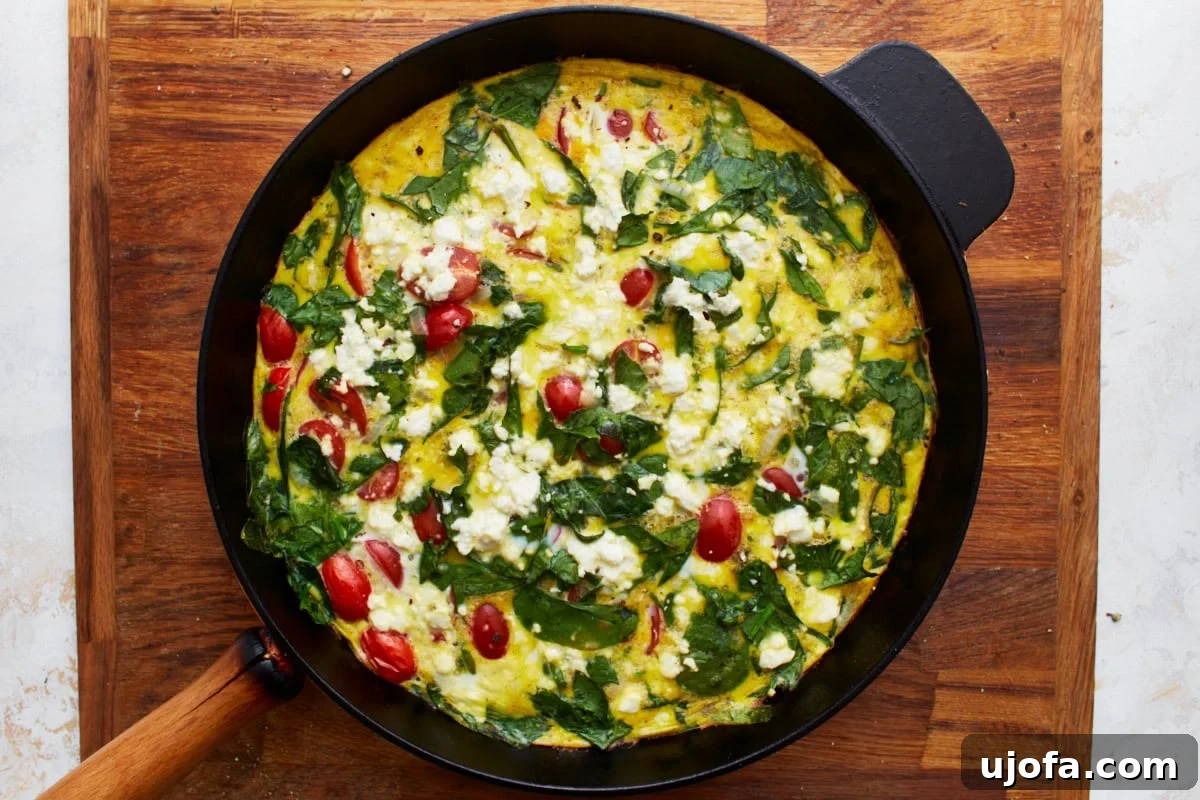
Step 8: Finish Baking in the Oven. With caution, transfer your hot, oven-safe skillet into the preheated oven. Allow the frittata to bake until the center is set but still exhibits a slight wobble when gently nudged. This usually takes about 15 minutes, but baking times can vary significantly depending on your oven’s calibration and the depth of your frittata. I recommend checking it around the 8-10 minute mark to gauge its progress. The key is to avoid overcooking; a slight wobble means it will finish setting as it cools, resulting in a custardy, moist texture. An overbaked frittata can become dry and rubbery.
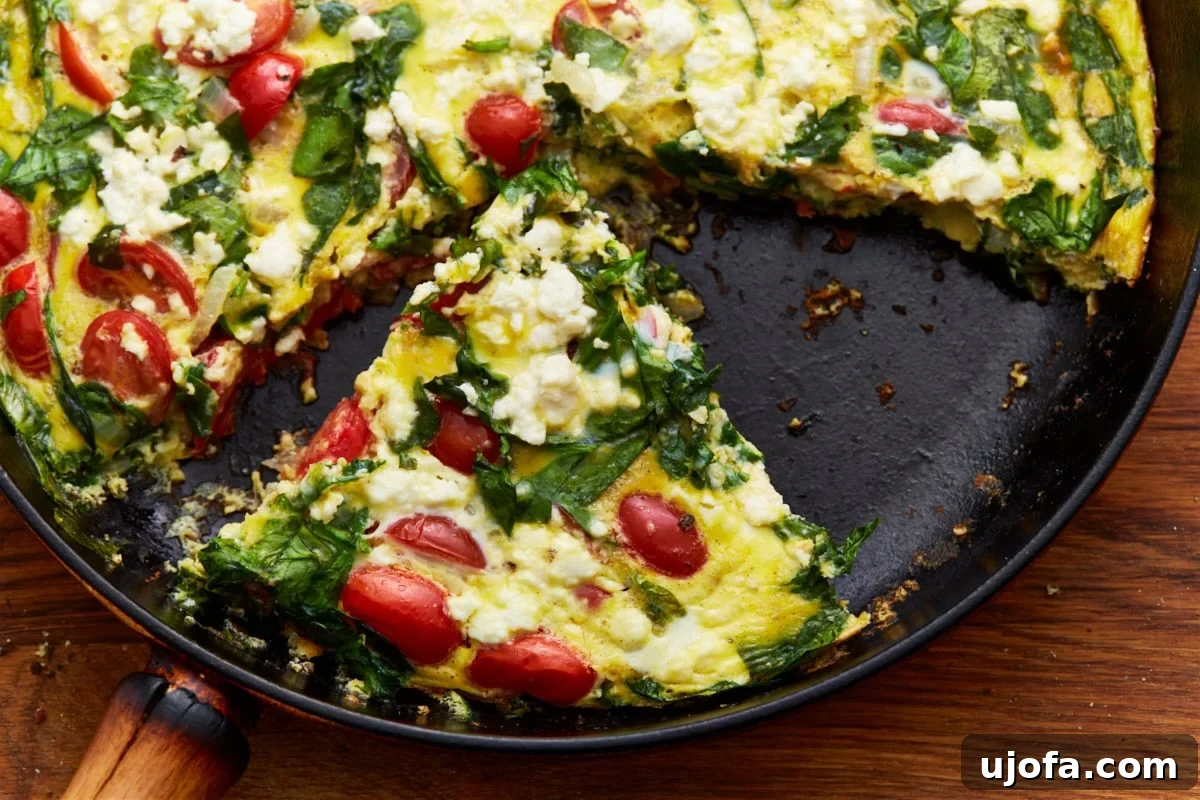
Step 9: Cool, Slice, and Serve. Once baked, carefully remove the frittata from the oven. Allow it to rest and cool in the hot pan for at least 5 minutes before you attempt to slice it. This crucial resting period permits the eggs to fully set and firm up, ensuring clean, elegant slices that hold their shape. Remember that the residual heat in the pan will continue to cook the frittata slightly, so taking it out when it’s just slightly underdone is ideal. If, after resting, you find the eggs aren’t fully set when you begin to slice, simply pop it back into the warm oven for another 2-3 minutes. Slice into wedges and serve your magnificent, gluten-free frittata while it’s still warm. Enjoy every savory bite!
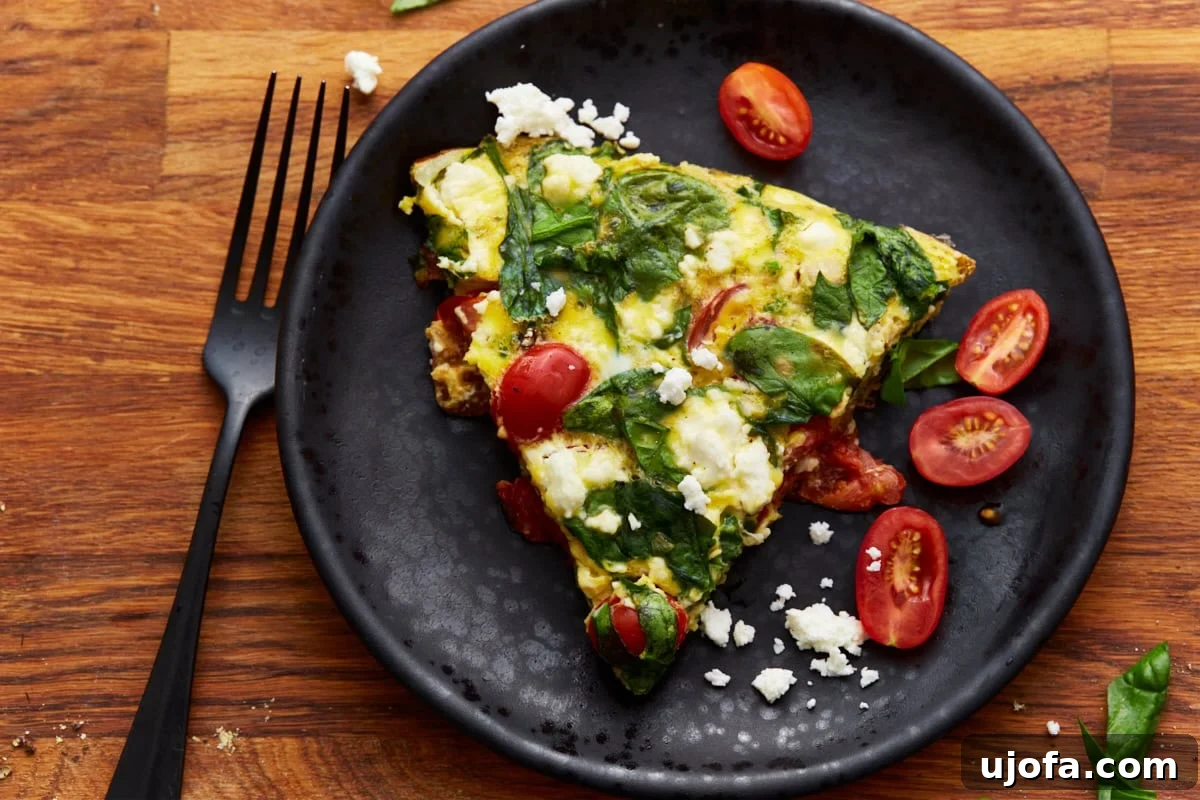
Serving Suggestions: Perfect Pairings for Your Frittata
A frittata is a wonderfully versatile dish that can anchor a meal or complement other dishes beautifully. Its savory profile makes it an excellent canvas for a variety of accompaniments. Here are some ideas to inspire your next frittata meal:
- For Brunch Bliss: On festive occasions like Christmas morning, I often pair this savory frittata with a sweeter dish, such as my gluten-free cinnamon roll French toast casserole. This combination offers a delightful contrast of flavors, creating a balanced and indulgent brunch spread that caters to all tastes.
- Classic Breakfast/Brunch Main: If serving as a standalone savory breakfast or brunch entrée, consider accompanying it with a refreshing side. A vibrant fruit salad, perhaps with berries, melon, and citrus, adds a light, sweet, and healthy counterpoint. For something more substantial, a starchy potato side is always a hit. Think Loaded Bacon Ranch Potato Salad (with a dairy-free option if needed) or my comforting Gluten-Free Scalloped Potatoes for a truly satisfying meal.
- Quick Lunch or Light Dinner: For a simpler meal, a slice of frittata pairs wonderfully with a crisp green salad tossed with a light vinaigrette. It’s also fantastic alongside a bowl of tomato soup or a side of crusty gluten-free bread.
- Garnishes: A sprinkle of fresh herbs like chopped chives, parsley, or dill can brighten up the flavors. A dollop of Greek yogurt or a drizzle of balsamic glaze can also add an extra layer of complexity and visual appeal.
Storage Instructions: Keeping Your Frittata Fresh
One of the many advantages of frittatas is how well they store, making them an excellent choice for meal prep throughout the week. You can enjoy it warm, at room temperature, or even chilled.
- Refrigerator Storage: For optimum freshness, store any leftover frittata in an airtight container in the refrigerator. It will maintain its quality and delicious flavor for up to 4 days. These chilled slices make for a fantastic, quick, and healthy meal or snack the next day – no reheating required if you prefer it cold!
- Reheating: If you prefer your frittata warm, reheating it in the microwave is a convenient option. To prevent the eggs from becoming rubbery or overcooked, use a low power setting and reheat in short, 30-second intervals until it’s warmed through. Alternatively, you can gently warm slices in a non-stick pan on the stovetop over low heat, or in a toaster oven.
- Freezing for Later: Frittatas also freeze beautifully, offering a convenient make-ahead option. Once your frittata has cooled completely to room temperature, wrap individual slices or the entire frittata tightly in aluminum foil, then place it in a freezer-safe bag or container. It can be stored in the freezer for up to 3 months. When you’re ready to enjoy, thaw it in the refrigerator overnight and then reheat as desired.
More Gluten-Free Brunch & Breakfast Recipes You’ll Love
If you’ve enjoyed this delightful frittata, you’re in for a treat! Our collection of gluten-free brunch and breakfast recipes offers a variety of delicious options, many with dairy-free and vegan alternatives, ensuring there’s something for everyone to savor. Explore these other fantastic recipes to expand your gluten-free culinary repertoire:
- Gluten-Free Quiche {Dairy-Free Option}: A classic savory pie, made safe for gluten sensitivities.
- Gluten-Free Breakfast Casserole {Dairy-Free Option}: A hearty and comforting bake, perfect for feeding a crowd.
- Eggs Benedict Casserole {Gluten-Free, Dairy-Free Option}: All the flavors of Eggs Benedict in an easy-to-serve casserole.
- Easy Gluten-Free Pancakes {Dairy-Free & Vegan Option}: Fluffy pancakes that are simple to whip up for a weekend treat.
- Easy Gluten-Free Banana Blueberry Muffins (Dairy-Free and No-Refined Sugar Option): Wholesome and delicious muffins for a grab-and-go breakfast or snack.