
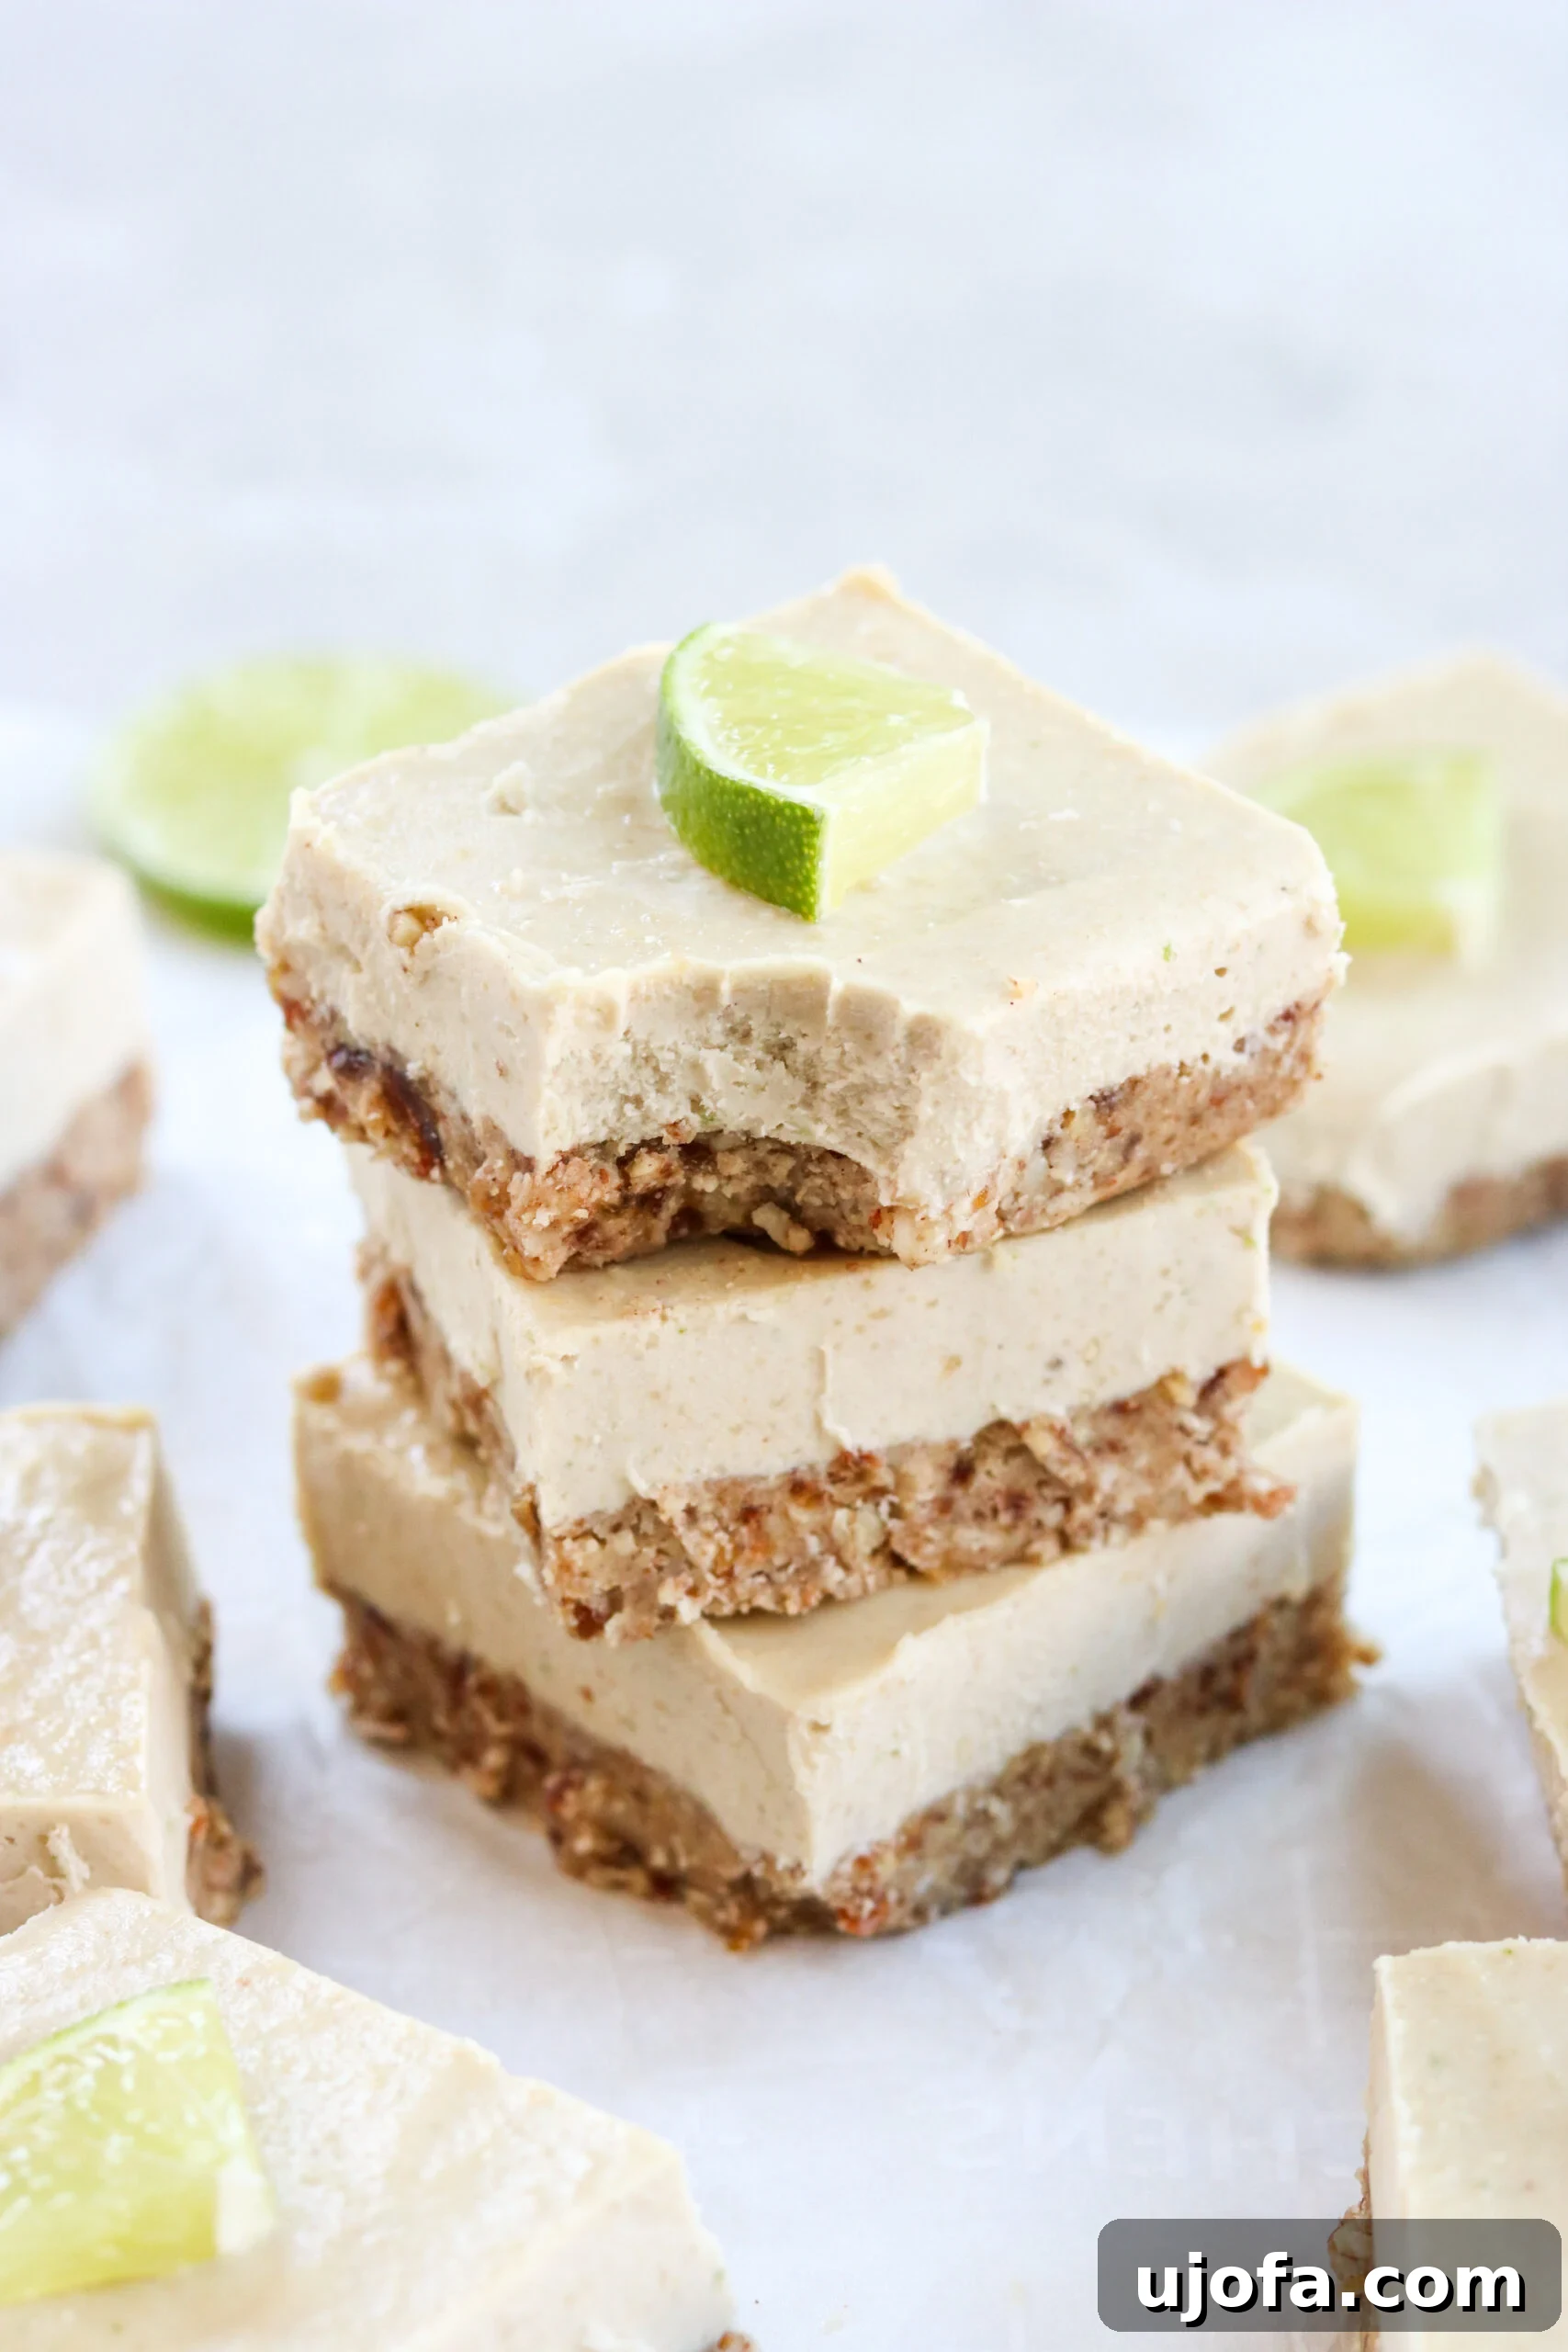
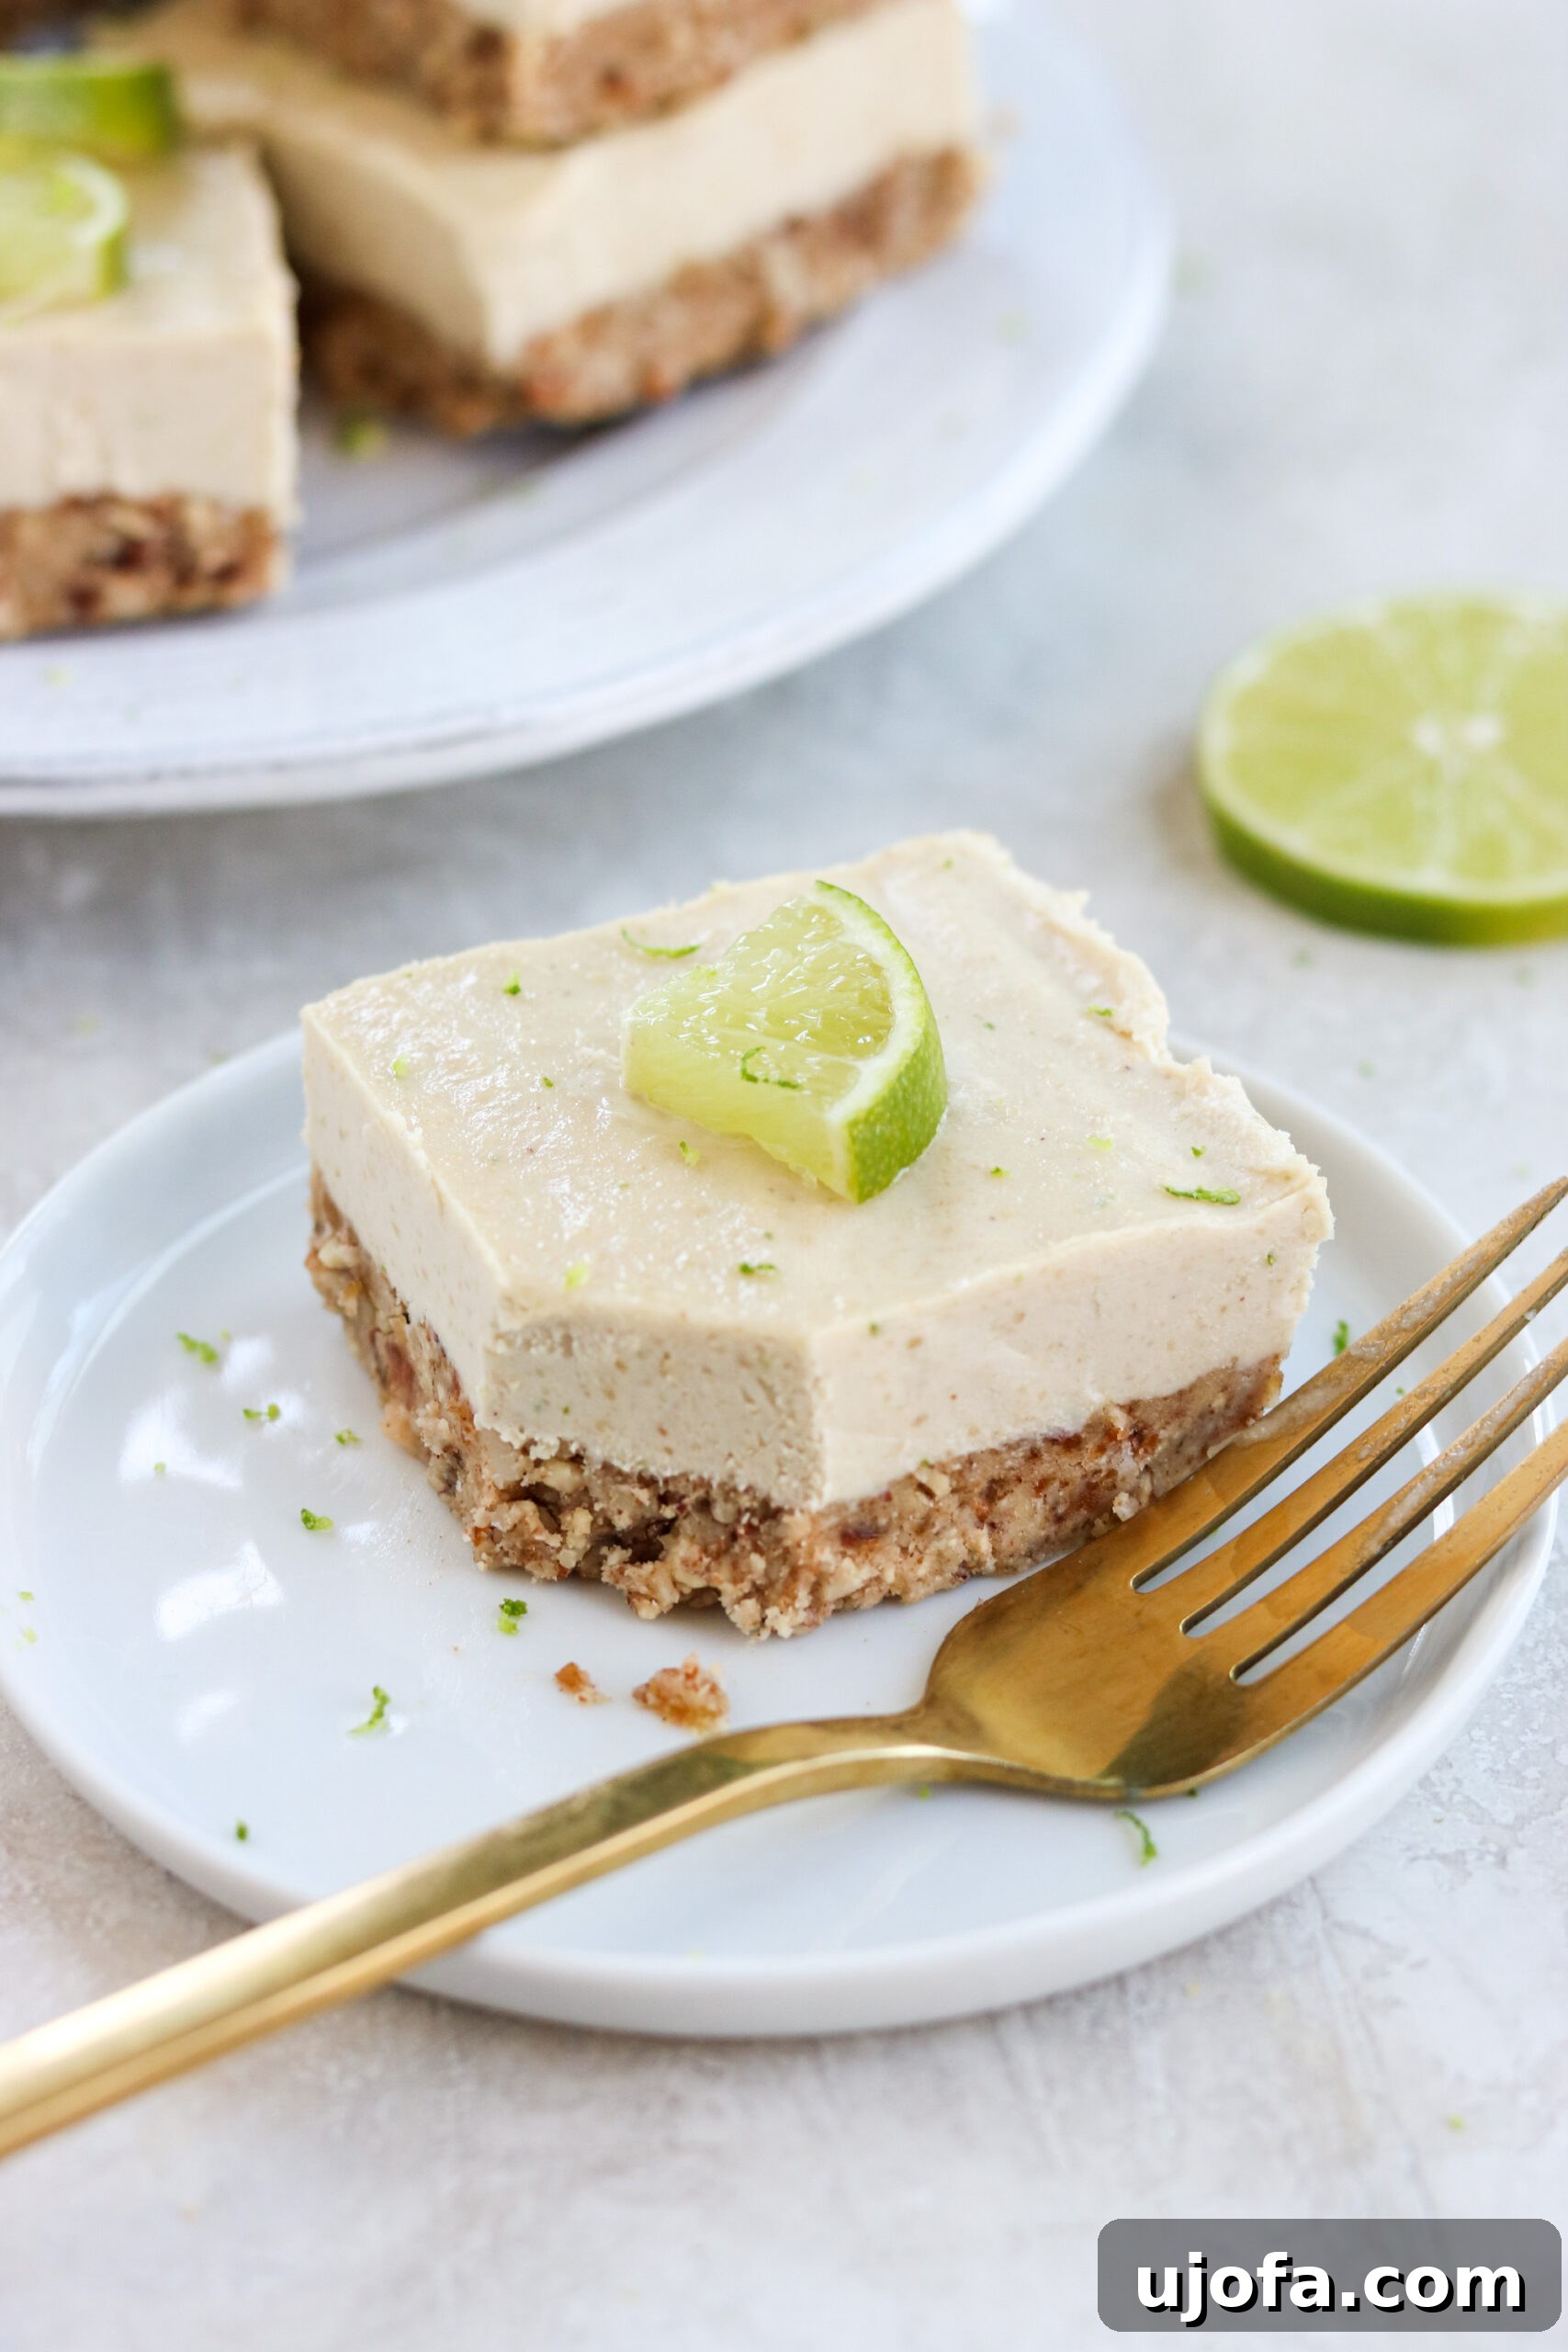
Indulge in these delightful dairy-free key lime pie bars, a perfect no-bake dessert for spring and summer! This recipe captures all the vibrant, zesty flavors of a traditional key lime cheesecake but is completely free from gluten and dairy. Featuring a rich, vegan, gluten-free pie crust and a creamy, tangy filling, these no-bake cheesecake bars are an ideal treat for anyone seeking a refreshing, allergy-friendly dessert. They are not only irresistibly delicious but also surprisingly simple to prepare, making them a fantastic addition to any celebration or a sweet everyday indulgence.
This crowd-pleasing recipe was first shared on April 7, 2020, and has since been updated on May 2, 2022, with fresh photographs and expanded content to enhance your baking experience.
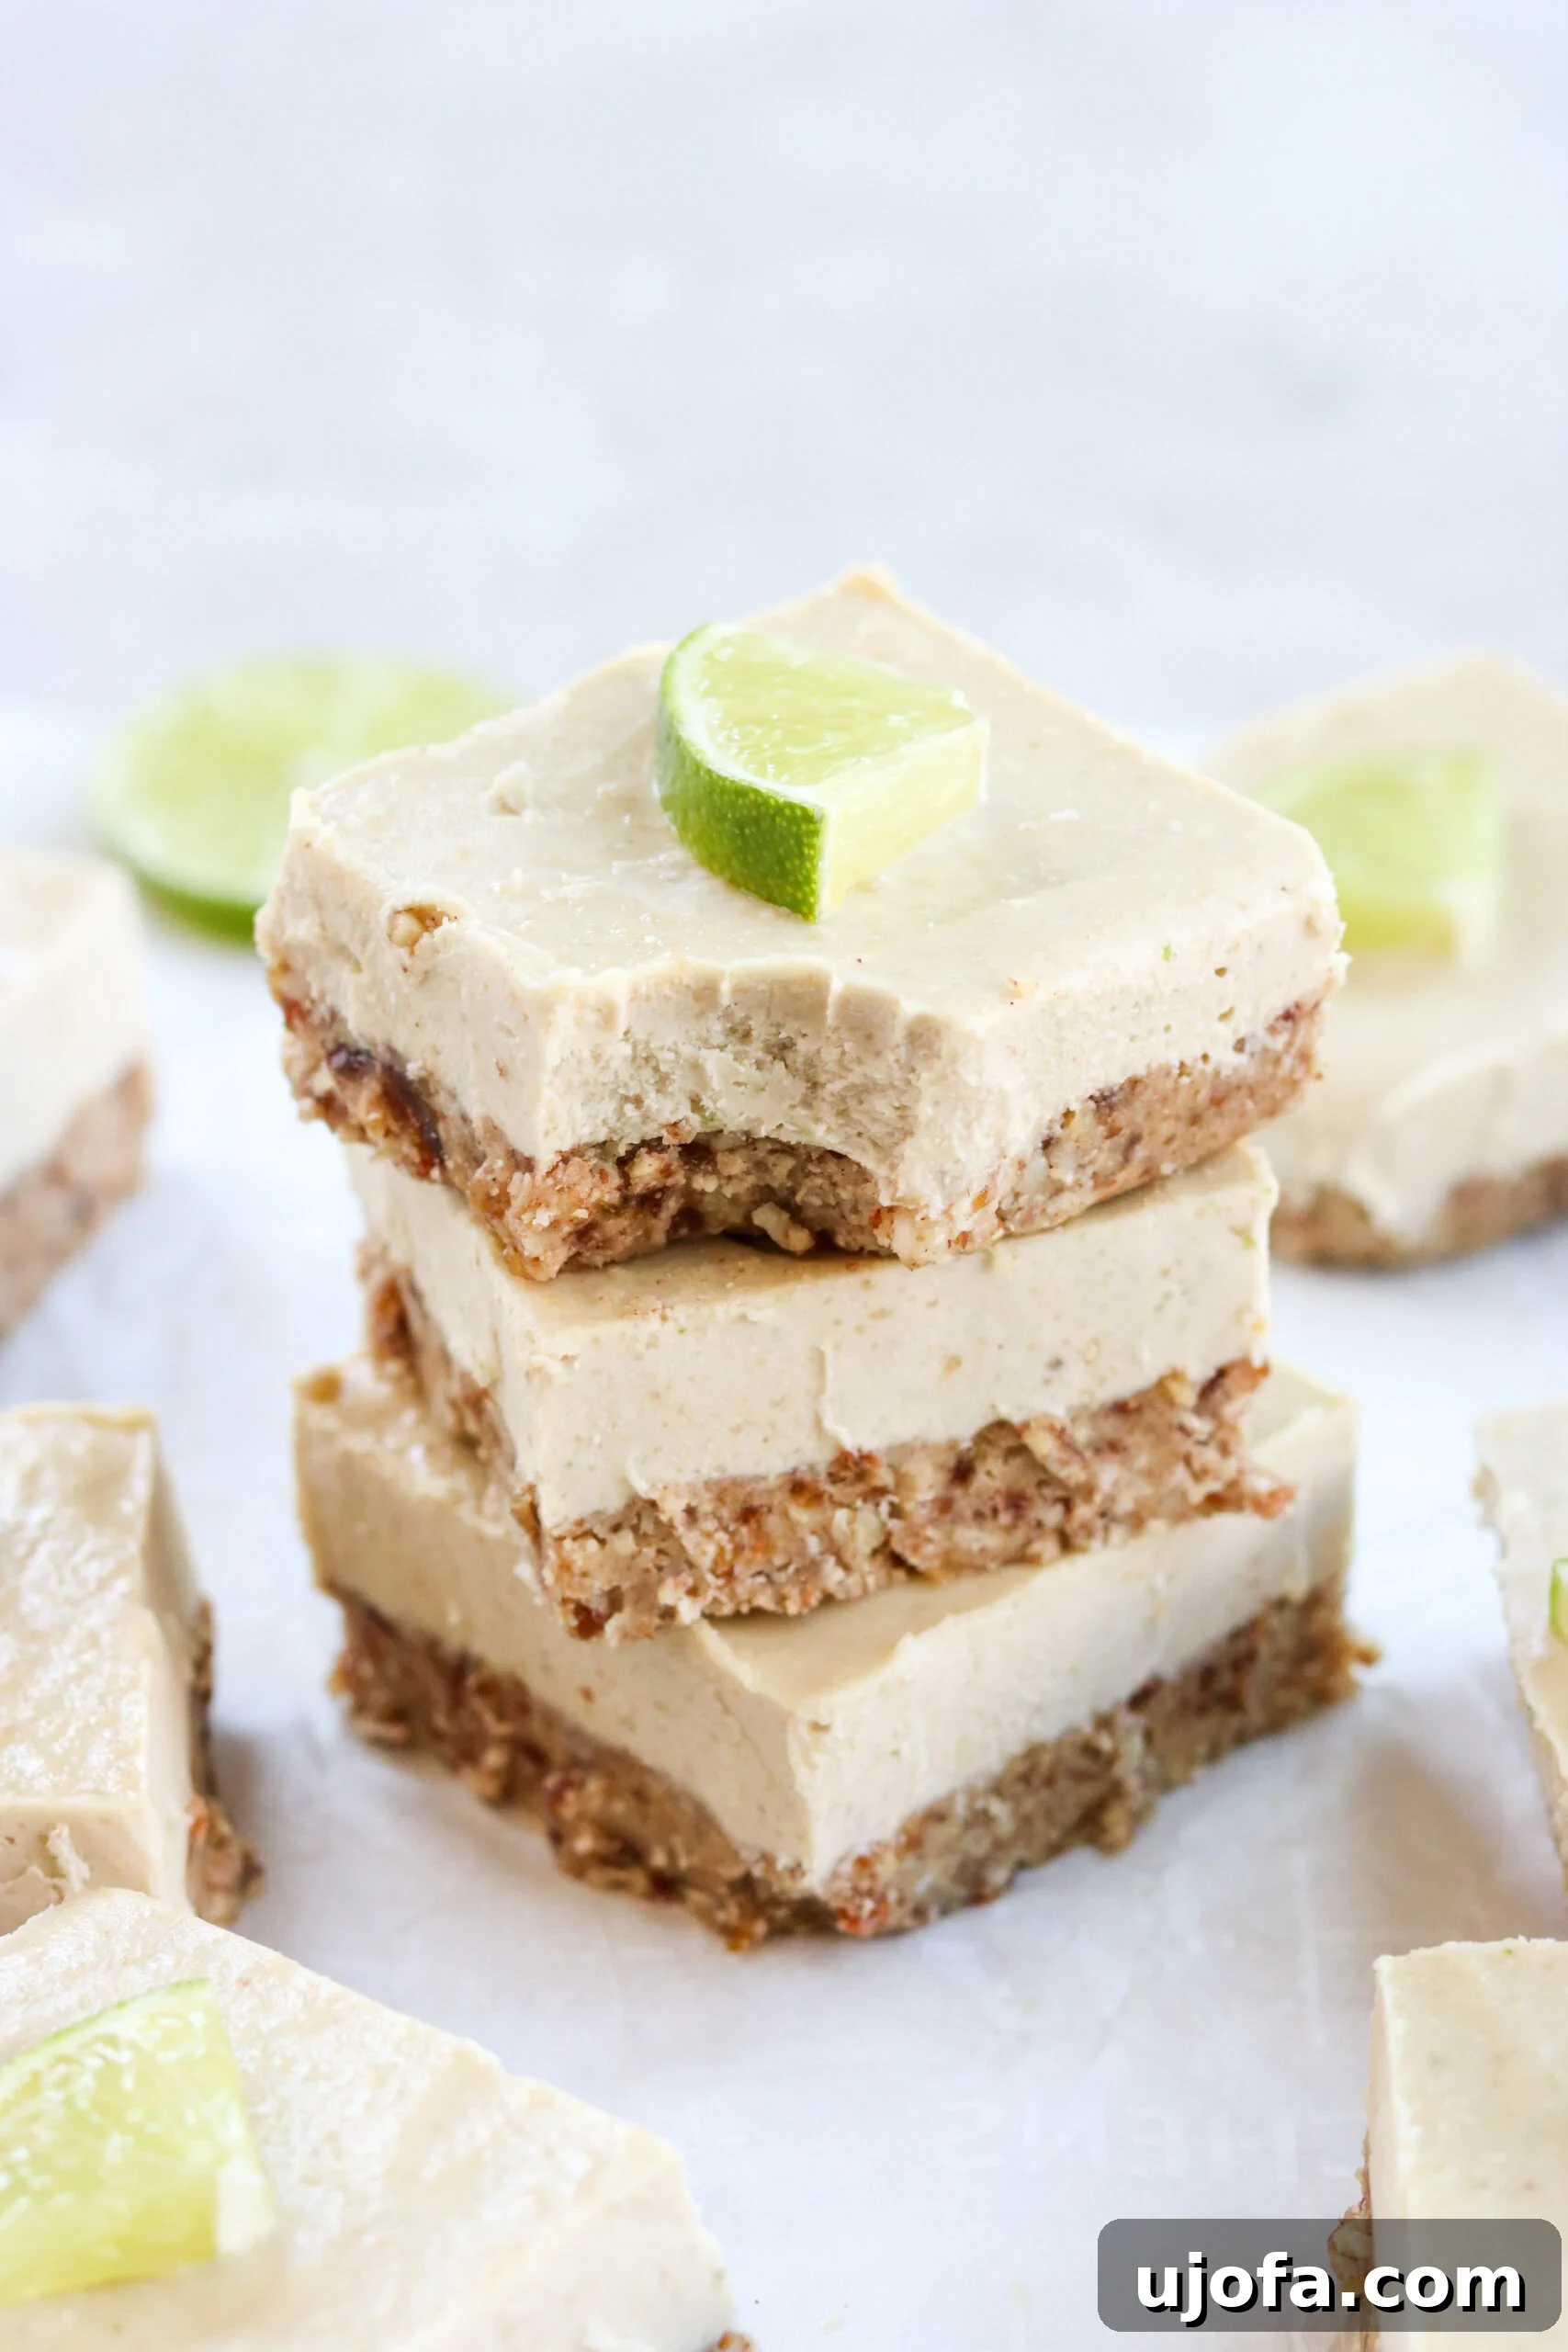
Why These Dairy-Free Key Lime Pie Bars Are a Must-Try
As the days grow longer and the sun shines brighter, it’s the perfect time to embrace the simplicity and deliciousness of no-bake desserts. Key Lime Pie has always been a personal favorite, celebrated for its enchanting balance of sweet and tart flavors that instantly evoke a sense of tropical delight. With a passion for creating inclusive and accessible treats, I set out to develop a quick and easy vegan and gluten-free version that would truly hit the spot for everyone. And these dairy-free key lime pie bars certainly do!
These bars offer all the creamy texture and tangy zest you’d expect from a classic key lime cheesecake, but without any of the dairy or gluten. They feature a sturdy yet tender vegan and gluten-free pie crust that perfectly complements the luscious key lime filling. Whether you’re adhering to specific dietary needs or simply looking for a lighter, refreshing dessert, these no-bake cheesecake bites are designed to be universally loved.
The true beauty of this recipe lies in its incredible ease of preparation. You won’t need an oven, and the process is straightforward, requiring primarily a food processor (though a powerful blender works too) and a handful of common pantry staples. The “cheesecake” filling achieves its rich, silky texture from an ingenious combination of creamy cashews and full-fat coconut milk. It’s genuinely remarkable how closely this plant-based filling mimics the luxurious taste and mouthfeel of traditional cheesecake, making these key lime bars an absolute triumph in dairy-free baking.
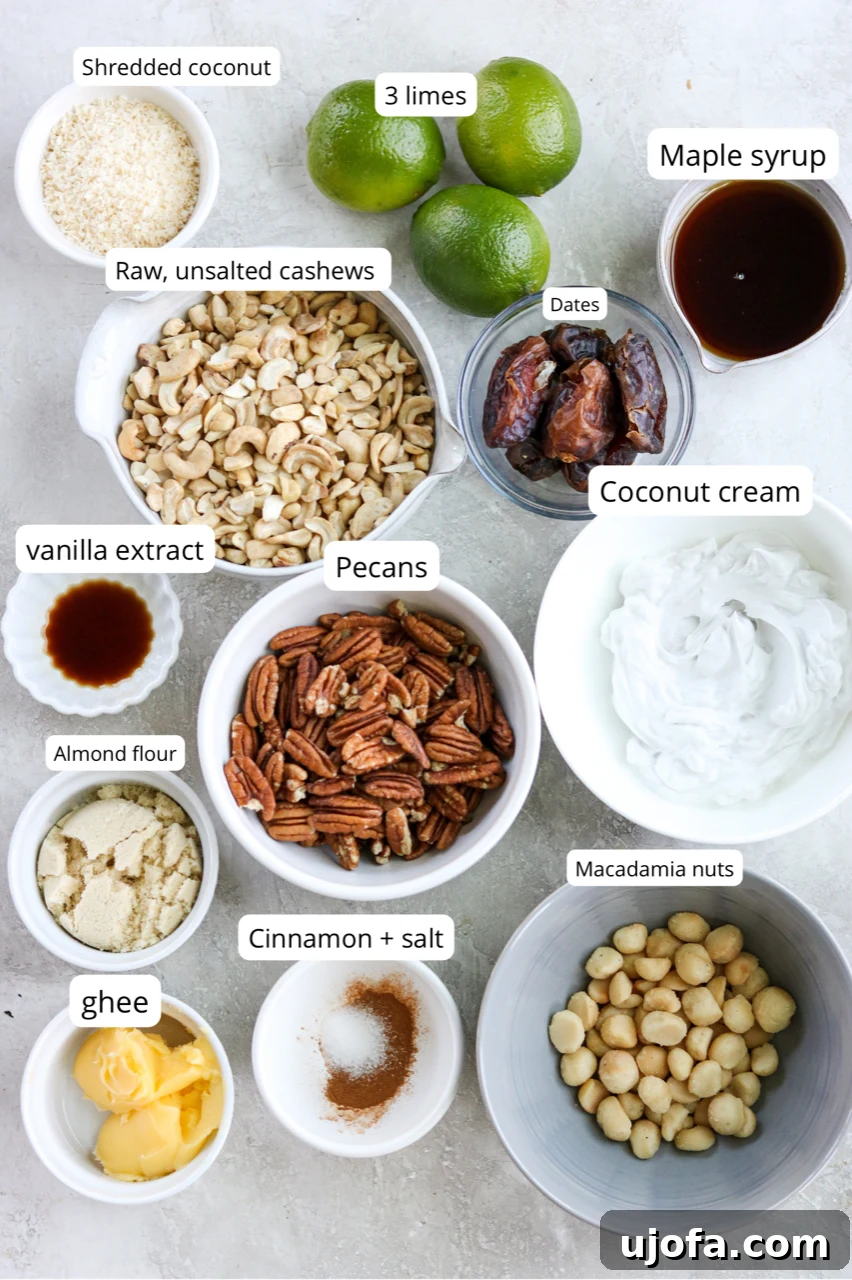
Essential Ingredient Notes for Perfection
Crafting the Vegan Gluten-Free Pie Crust
- Pecans & Macadamia Nuts: These nuts form the flavorful base of our no-bake crust, contributing a rich, buttery depth and satisfying crunch. I often source my raw nuts from places like Trader Joe’s for their quality and value, but any brand of raw pecans or macadamias will work beautifully. For best results, ensure they are raw, not roasted or salted. If macadamia nuts are hard to find or not to your taste, you can easily substitute them with an equal amount of additional raw pecans, maintaining the crust’s delightful texture and flavor.
- Coconut Oil or Ghee: This ingredient acts as the binding agent for our crust. For a strictly dairy-free and vegan option, unrefined or refined coconut oil is perfect. Unrefined coconut oil will impart a subtle tropical flavor, while refined coconut oil is virtually flavorless, making it an excellent choice if you prefer the key lime to be the star. If you don’t have a dairy allergy, ghee can also be used for a rich, buttery note, but remember it is not vegan.
- Pitted Dates: Dates are a fantastic natural sweetener and binder for the crust. Their sticky texture helps hold everything together without the need for baking, while their caramel-like sweetness provides a lovely contrast to the tangy filling. Medjool dates are particularly moist and plump, offering the best results.
- Almond Flour: Adding almond flour to the crust enhances its texture, making it more tender and less dense than a purely nut-based crust. It also contributes to the gluten-free nature of the bars and offers a great low-carb alternative to traditional grain-based flours. Ensure you use blanched almond flour for the finest texture.
- Shredded Unsweetened Coconut: This ingredient adds a wonderful chewiness and a hint of coconut flavor to the crust, complementing the tropical notes of the key lime filling. It’s crucial to use unsweetened shredded coconut to control the sugar content of your bars and avoid an overly sweet result.
- Sea Salt & Cinnamon: These pantry staples elevate the crust’s flavor, with sea salt balancing the sweetness and cinnamon adding a warm, aromatic undertone that perfectly rounds out the nutty base.
The Luscious Key Lime Pie Filling
- Raw Cashews: These are the secret to achieving an incredibly creamy, dairy-free “cheesecake” filling. When blended, soaked cashews transform into a smooth, rich cream that forms the backbone of our dessert. Refer to the “Mary’s Tips & Tricks” section below for detailed instructions on how to properly prep your cashews for the ultimate creamy consistency. Soaking is key to a truly velvety texture.
- Pure Maple Syrup: As a natural liquid sweetener, pure maple syrup provides a nuanced sweetness that pairs wonderfully with the tartness of the key limes. It’s a healthier alternative to refined sugars and helps achieve that perfect sweet-tart balance. You can substitute with agave nectar for a similar vegan option.
- Full-Fat Coconut Milk (or Cream): For this recipe, you’ll need the thick, hardened white cream from a can of full-fat coconut milk. It’s essential for the filling’s richness and body. To get the best results, refrigerate your can of full-fat coconut milk overnight. This causes the cream to separate and solidify at the top, allowing you to scoop out just the thick part, leaving the watery liquid behind for other uses.
- Key Limes: These small, intensely aromatic limes are indispensable for their distinctive floral, tart, and slightly sweet flavor. You’ll use both the zest and the juice to infuse the filling with authentic key lime essence. Key limes are typically smaller and have a stronger, more fragrant aroma than common Persian limes.
- Vanilla Extract & Salt: A touch of pure vanilla extract enhances the overall flavor profile, adding warmth and depth. A pinch of salt brightens the lime flavors and balances the sweetness, ensuring every bite is perfectly harmonious.
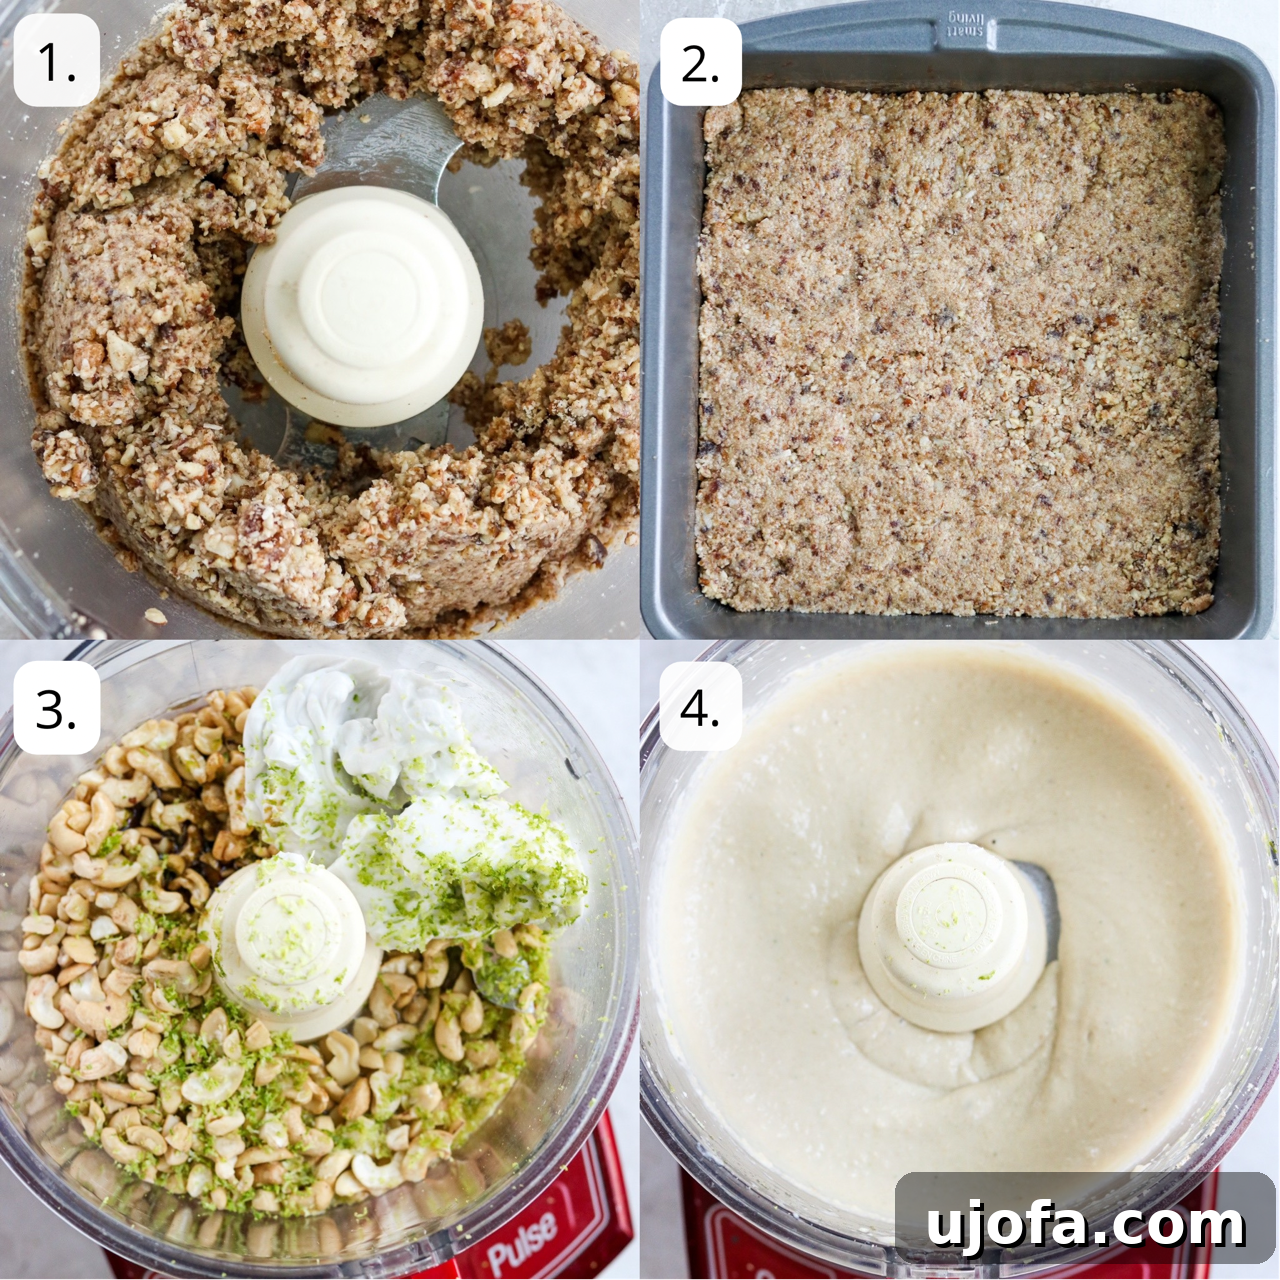
Recipe Step-by-Step Guide
- Prepare the Vegan Gluten-Free Crust: Begin by combining all the crust ingredients—pecans, macadamia nuts, solid coconut oil or ghee, pitted dates, almond flour, shredded unsweetened coconut, sea salt, and cinnamon—into the bowl of your food processor. Pulse the ingredients repeatedly until a sticky, slightly chunky mixture forms. The mixture should hold together when pressed between your fingers. Firmly and evenly press this mixture into the bottom of an 8×8 inch pan. For easier removal, you can line the pan with parchment paper, leaving an overhang on the sides. Place the prepared crust into the freezer while you move on to make the filling.
- Blend the Creamy Key Lime Filling: Thoroughly wash out your food processor bowl to remove any crust residue. If you opted to soak your cashews (highly recommended for ultimate creaminess), make sure to drain them completely before adding them to the food processor. Add the drained cashews along with the coconut cream, maple syrup, key lime zest, key lime juice, vanilla extract, and a pinch of salt. Blend on high speed for approximately 1.5 to 2 minutes, or until the mixture becomes incredibly smooth and velvety, with absolutely no cashew lumps remaining. Scrape down the sides of the bowl as needed to ensure all ingredients are fully incorporated.
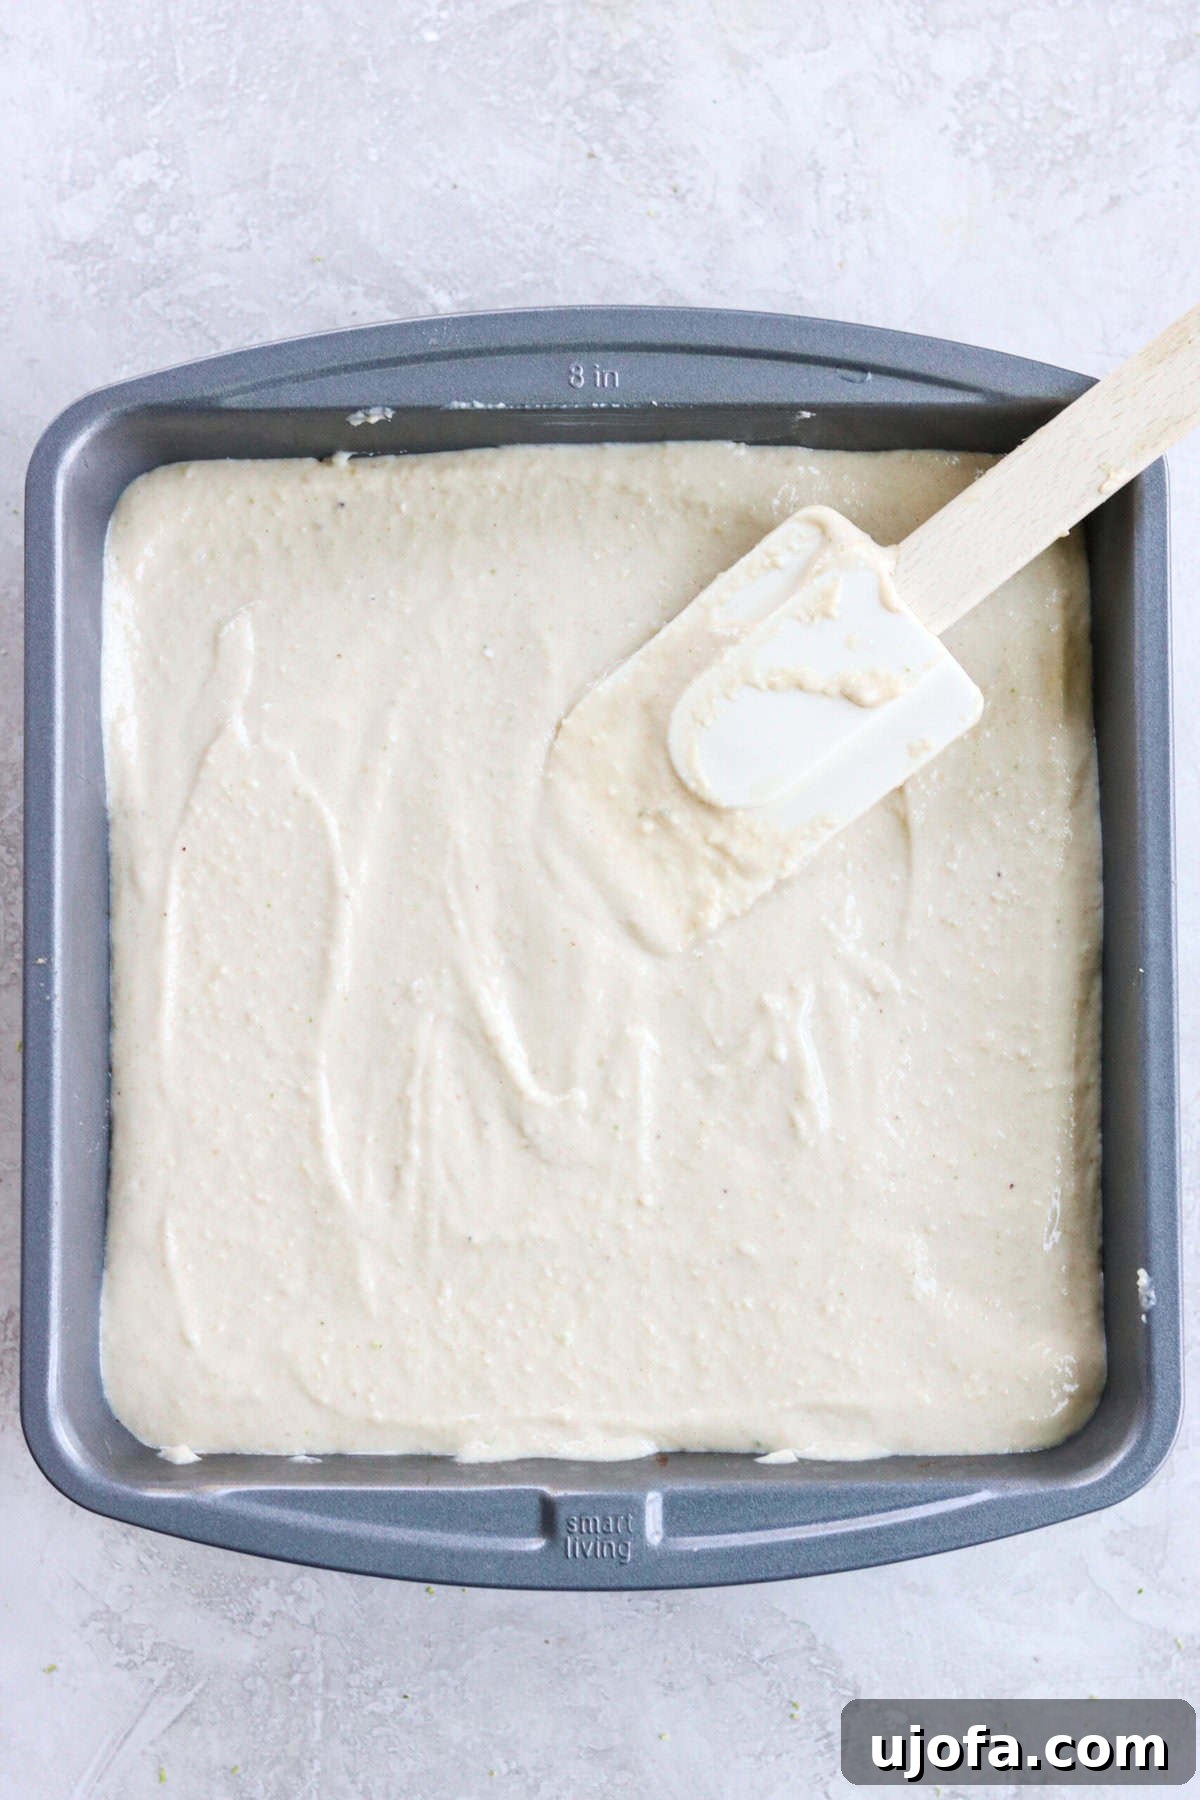
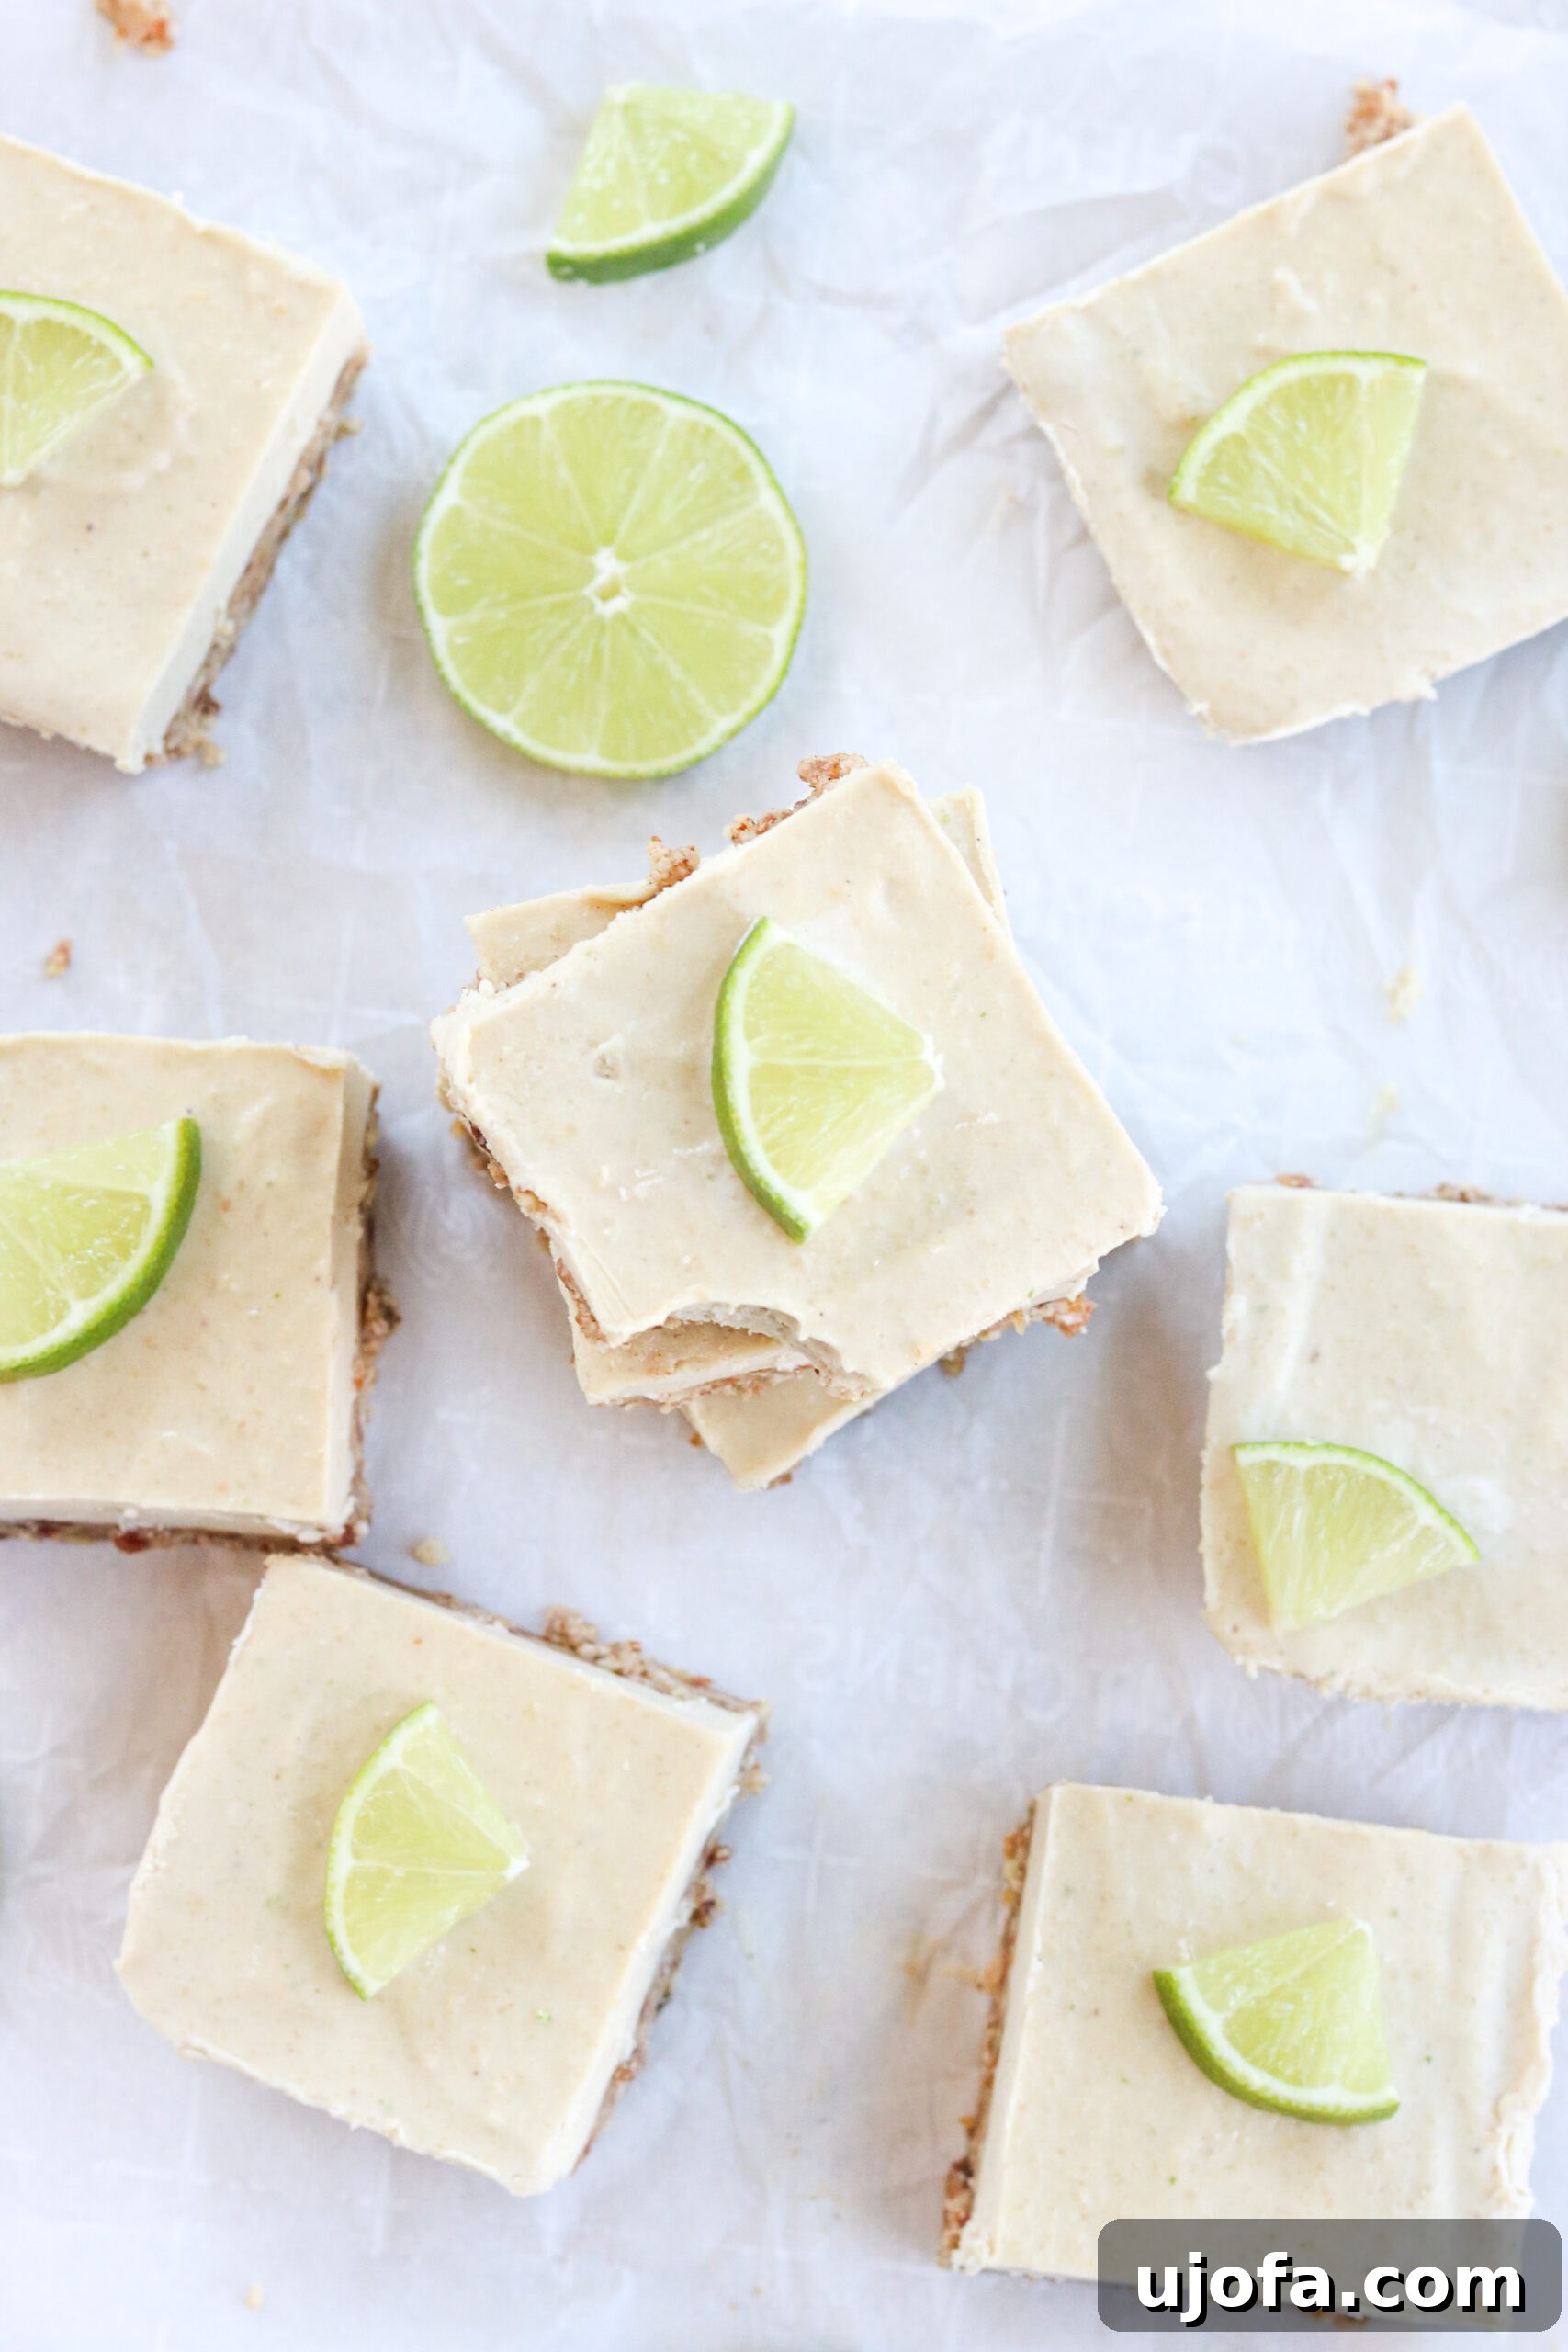
- Assemble and Chill the Bars: Retrieve the chilled crust from the freezer. Carefully pour the creamy key lime filling over the crust, using a spatula to spread it out evenly from edge to edge. Ensure the top surface is as smooth as possible. Once assembled, place the pan back into the freezer for at least 2 hours, or until the bars are completely firm and hardened. This ensures they will slice cleanly. Once firm, remove from the freezer, lift the bars out using the parchment paper overhang (if used), and slice into 9 even bars. Serve and enjoy!
Mary’s Expert Tips & Tricks for the Best Bars
Achieving the perfect dairy-free key lime pie bars is simple with a few helpful tips:
Soak Cashews for Ultimate Creaminess: This step is crucial for an exceptionally smooth filling. The cashews will blend into a far creamier consistency much faster if you soak them beforehand. Ideally, soak raw cashews in hot water for at least 30 minutes, or for a truly superior texture, soak them overnight in cold water. If you’re short on time, don’t worry—the recipe will still work! I’ve successfully made these without soaking by just extending the blending time to about 2 minutes to achieve that desired silky texture.
Choosing the Right Pan Size: I typically use an 8×8 inch metal pan for this recipe. There’s usually no need to grease the bottom because the natural oils from the crust ingredients are sufficient, allowing the bars to pop out easily. If you opt for a 9×9 inch pan, the bars will simply be a bit thinner, which can be great if you prefer smaller portions. For the cleanest removal, especially in a metal pan, I highly recommend lining the pan with parchment paper, leaving an overhang on two sides.
Optimal Serving Temperature: These no-bake cheesecake bars are best enjoyed when allowed to soften slightly. Remove them from the freezer about 10-15 minutes before serving. This brief resting period allows the filling to become perfectly creamy and less icy, enhancing the overall texture and flavor experience.
Smart Storage Solutions: To maintain their freshness and delicious taste, store these key lime pie no-bake cheesecake bites in an airtight container in the refrigerator for up to 5 days. For longer storage, they can be frozen for up to 3 months. When ready to enjoy from the freezer, simply allow them to thaw for 10-15 minutes at room temperature before serving.
Garnish for Extra Flair: Elevate the presentation of your key lime pie bars with a simple garnish. A sprinkle of fresh lime zest, a thin slice of fresh lime, or even a dusting of shredded coconut can add visual appeal and an extra burst of flavor. For a touch of elegance, a small dollop of vegan whipped cream on top of each bar before serving is also delightful.
Troubleshooting Your Filling: If your filling isn’t blending smoothly after 2 minutes, don’t despair! This usually means your cashews weren’t soft enough, or your blender/food processor needs a little more time. Keep blending, scraping down the sides, and if necessary, add an extra tablespoon of coconut cream or lime juice to help it along. Patience is key to a perfectly smooth, lump-free filling.
Frequently Asked Questions About Dairy-Free Key Lime Pie Bars
Absolutely! These delicious bars are fantastic for meal prepping or making ahead. You can freeze these bars in an airtight container for up to 3 months. When you’re ready to enjoy them, simply remove them from the freezer and let them sit at room temperature for 10-15 minutes before serving. This allows them to soften to that perfect creamy consistency, just like fresh from the fridge.
Yes, definitely! This recipe yields an incredibly versatile and delicious no-bake vegan and gluten-free pie crust. Made with almond flour, pecans, and macadamia nuts, it offers a sturdy yet tender base that’s perfect for a variety of no-bake desserts. Feel free to use it as a foundation for other cheesecake recipes, fruit tarts, or any sweet treat that calls for a simple, flavorful crust. Its robust flavor and easy preparation make it a go-to choice!
The term “healthy” can be subjective, but these dairy-free key lime pie bars are certainly a much better-for-you option compared to many traditional desserts. They prioritize real, whole, and natural ingredients, eschewing refined sugars and unhealthy fats often found in store-bought alternatives. While they are calorie-dense due to the nuts and coconut cream, they offer valuable nutrients and healthy fats. More importantly, the sugar content is significantly lower than standard recipes, making them a more balanced choice. To manage calorie intake, you can easily cut the bars into 12 or 16 smaller pieces instead of 9, allowing for portion control without sacrificing flavor.
Discover More Gluten-Free Pies & Bars
If you loved these key lime pie bars, you’ll surely enjoy exploring more of my delicious and healthy gluten-free dessert creations. Each recipe is designed to be both satisfying and mindful of dietary needs.
- Paleo Vegan Strawberry Cheesecake Bars
- Healthy Lemon Bars
- No Bake Pumpkin Cheesecake Bars
- Blueberry Crumb Bars
- Paleo Taco Pie
- Keto Shepherd’s Pie
If you try this delightful recipe and find yourself loving it, please consider leaving a 5-star rating and a review below—it truly means the world! And for more healthy and delicious recipes, don’t forget to follow me on Instagram, Facebook, and Pinterest!
Dairy-Free Key Lime Pie Bars (No-Bake)
By: Mary Smith
Prep Time: 10 mins | Total Time: 2 hrs 10 mins | Yield: 9 (3-inch) bars
These dairy-free key lime pie bars are a delicious springtime recipe! They have all of the flavors of traditional key lime pie cheesecake without all the gluten or dairy! Complete with a vegan gluten free pie crust, these no bake cheesecake bites are the perfect treat!
Print Recipe
Equipment
- Food processor
- 8×8 inch baking pan
Ingredients
Vegan Gluten Free Pie Crust
- 1.5 cups raw pecans
- ½ cup macadamia nuts (can sub another ½ cup pecans)
- ⅓ cup coconut oil or ghee, in solid form
- 6 pitted dates
- ⅓ cup almond flour
- ⅓ cup shredded unsweetened coconut
- ¼ tsp sea salt
- ½ tsp cinnamon
Filling
- 2 cups raw unsalted cashews (ideally soaked in hot water for at least 30 minutes)
- 1 cup coconut cream (or the thick part of a can of full-fat coconut milk)
- ⅓ cup maple syrup (can sub honey if not strictly vegan)
- Zest from 3 key limes
- Juice from 3 key limes
- ½ tsp vanilla extract
Instructions
- Make the Crust: Combine all crust ingredients in a food processor and pulse until a slightly chunky, sticky mixture forms. Press this mixture down evenly into the bottom of an 8×8 inch pan (lined with parchment paper for easy removal, if desired). Place the pan into the freezer while you prepare the filling.
- Make the Filling: Wash and dry the food processor bowl. If soaked, drain the cashews thoroughly. Add the drained cashews and all remaining filling ingredients (coconut cream, maple syrup, lime zest, lime juice, vanilla extract) to the food processor. Blend on high speed for 1.5-2 minutes until the mixture is very creamy and completely smooth, with no lumps remaining.
- Finish the Bars: Pour the creamy filling over the chilled crust and use a spatula to spread it out evenly. Return the pan to the freezer for at least 2 hours, or until the filling is firm and set. Once hardened, remove from the freezer, lift out (if using parchment), and slice into 9 (3×3 inch) bars. Enjoy!
Notes
- Soak Cashews: For the creamiest filling, soak cashews in hot water for at least 30 minutes, or overnight in cold water. If time is short, blend for 2 minutes or until lump-free.
- Bar Size: This recipe yields 9 larger bars, but you can cut them into 12 or 16 smaller bars for varied serving sizes.
- Pan Size: An 8×8 inch pan works best. Lining with parchment paper aids in easy removal. A 9×9 inch pan can be used, but bars will be thinner.
- Serving: For optimal texture, remove bars from the freezer 10-15 minutes before serving to allow them to soften slightly.
- Storage: Store in an airtight container in the fridge for up to 5 days, or freeze for up to 3 months.
Nutrition
Serving: 1 bar | Calories: 565kcal | Carbohydrates: 27g | Protein: 10g | Fat: 50g | Saturated Fat: 19g | Polyunsaturated Fat: 6g | Monounsaturated Fat: 20g | Cholesterol: 17mg | Sodium: 72mg | Potassium: 448mg | Fiber: 5g | Sugar: 13g | Vitamin A: 10IU | Vitamin C: 1mg | Calcium: 57mg | Iron: 4mg
All nutrition facts are an estimate and automatically calculated. While I fact check them using My Fitness Pal, please note that they may not always be 100% accurate and depend on ingredients used. Weigh your total and divide by the number of servings for the most accurate grams per serving size.
Did you make this?
Rate & comment below, and tag me on Instagram @maryswholelife