
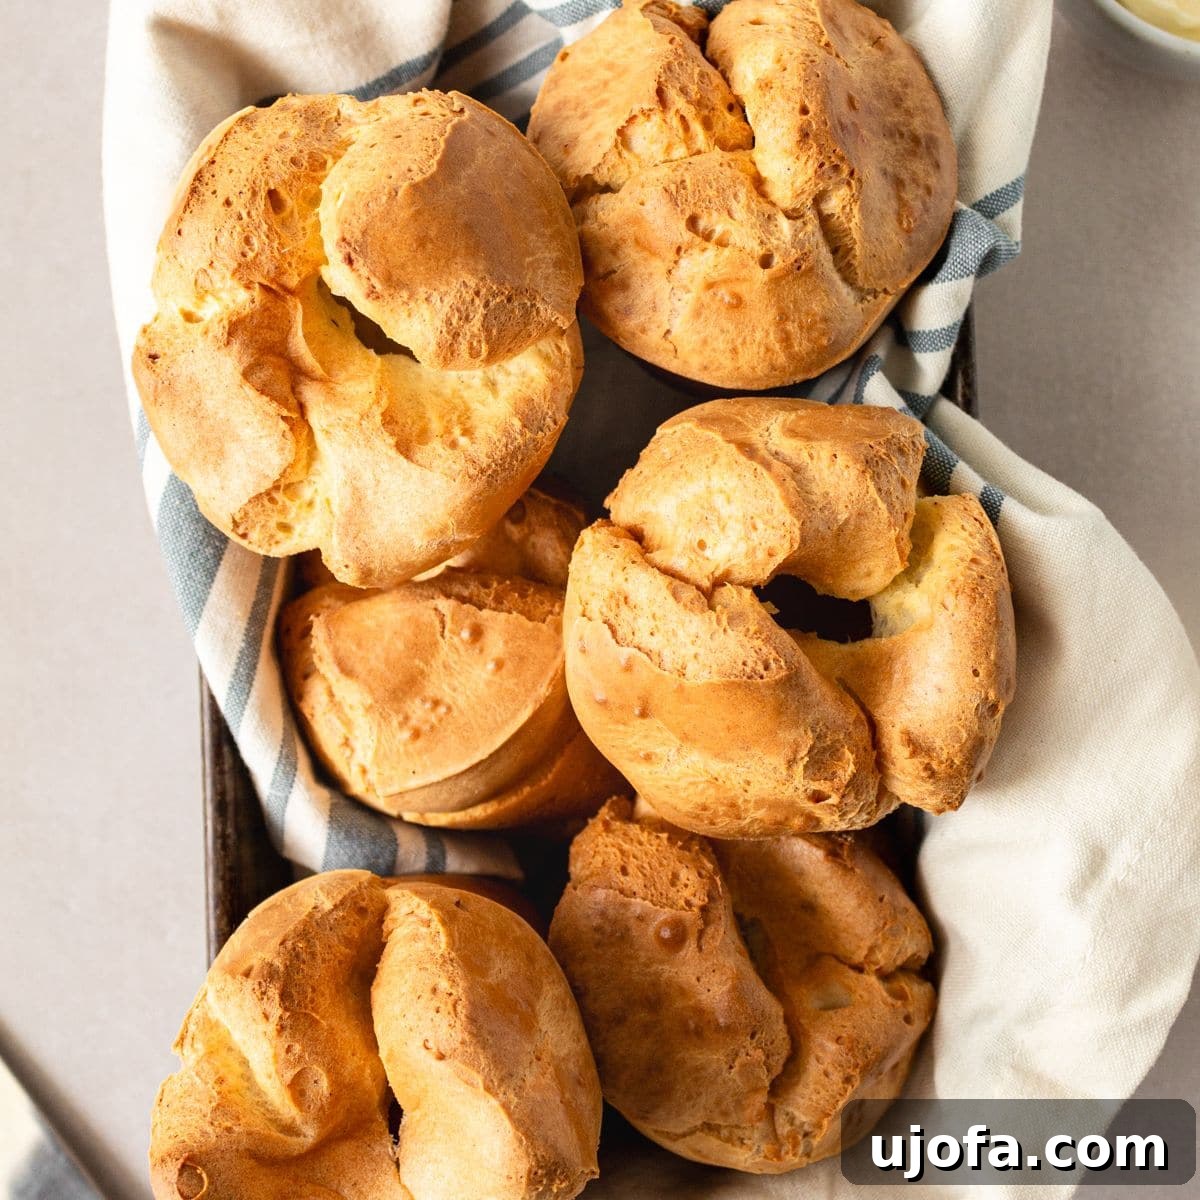
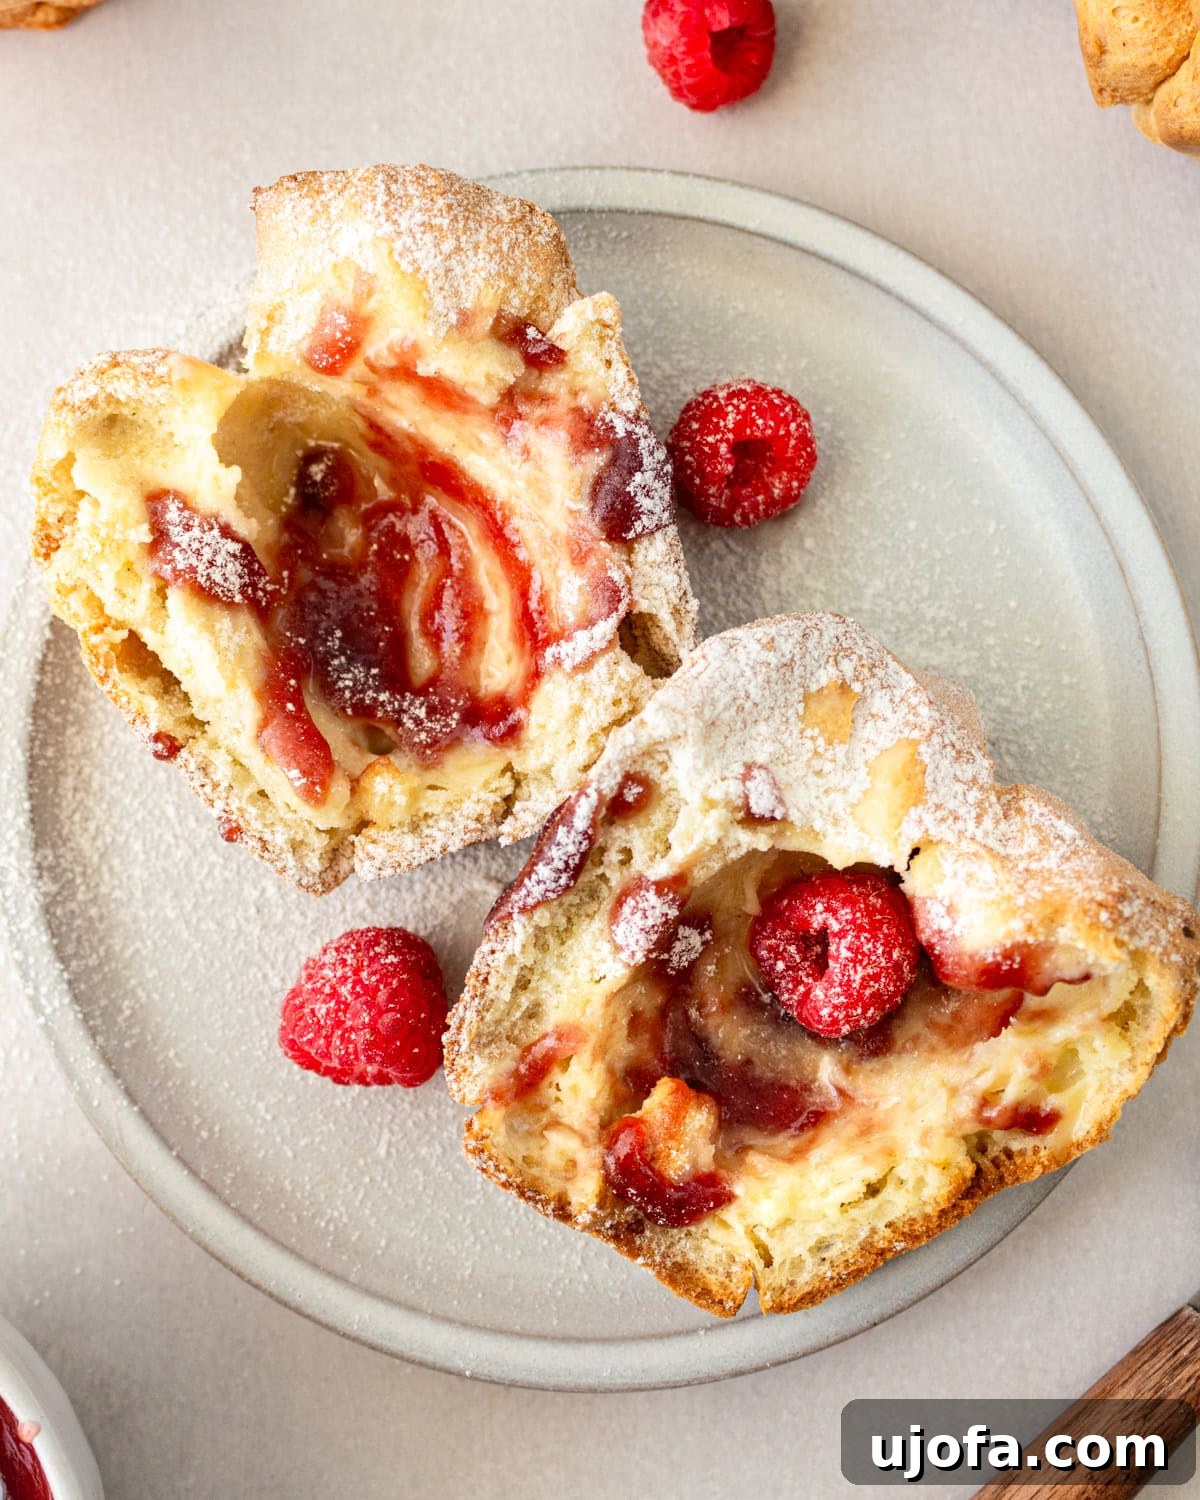
Craving a delightful, airy treat that’s also gluten-free? Look no further than these incredible gluten-free popovers! Perfect for any meal, these crisp, golden-brown delights with a buttery, eggy, custardy center are incredibly versatile. Serve them warm with a dollop of butter and your favorite jam for a delightful breakfast or brunch. They also make an outstanding savory side dish, soaking up the rich flavors of a hearty stew or complementing a Sunday roast. You’ll be amazed at how easily these come together with just 6 simple ingredients and less than an hour of your time, much of which is hands-off baking. Trust us, once you try this recipe, it will become your go-to for foolproof, light, and perfectly puffed gluten-free popovers every single time!
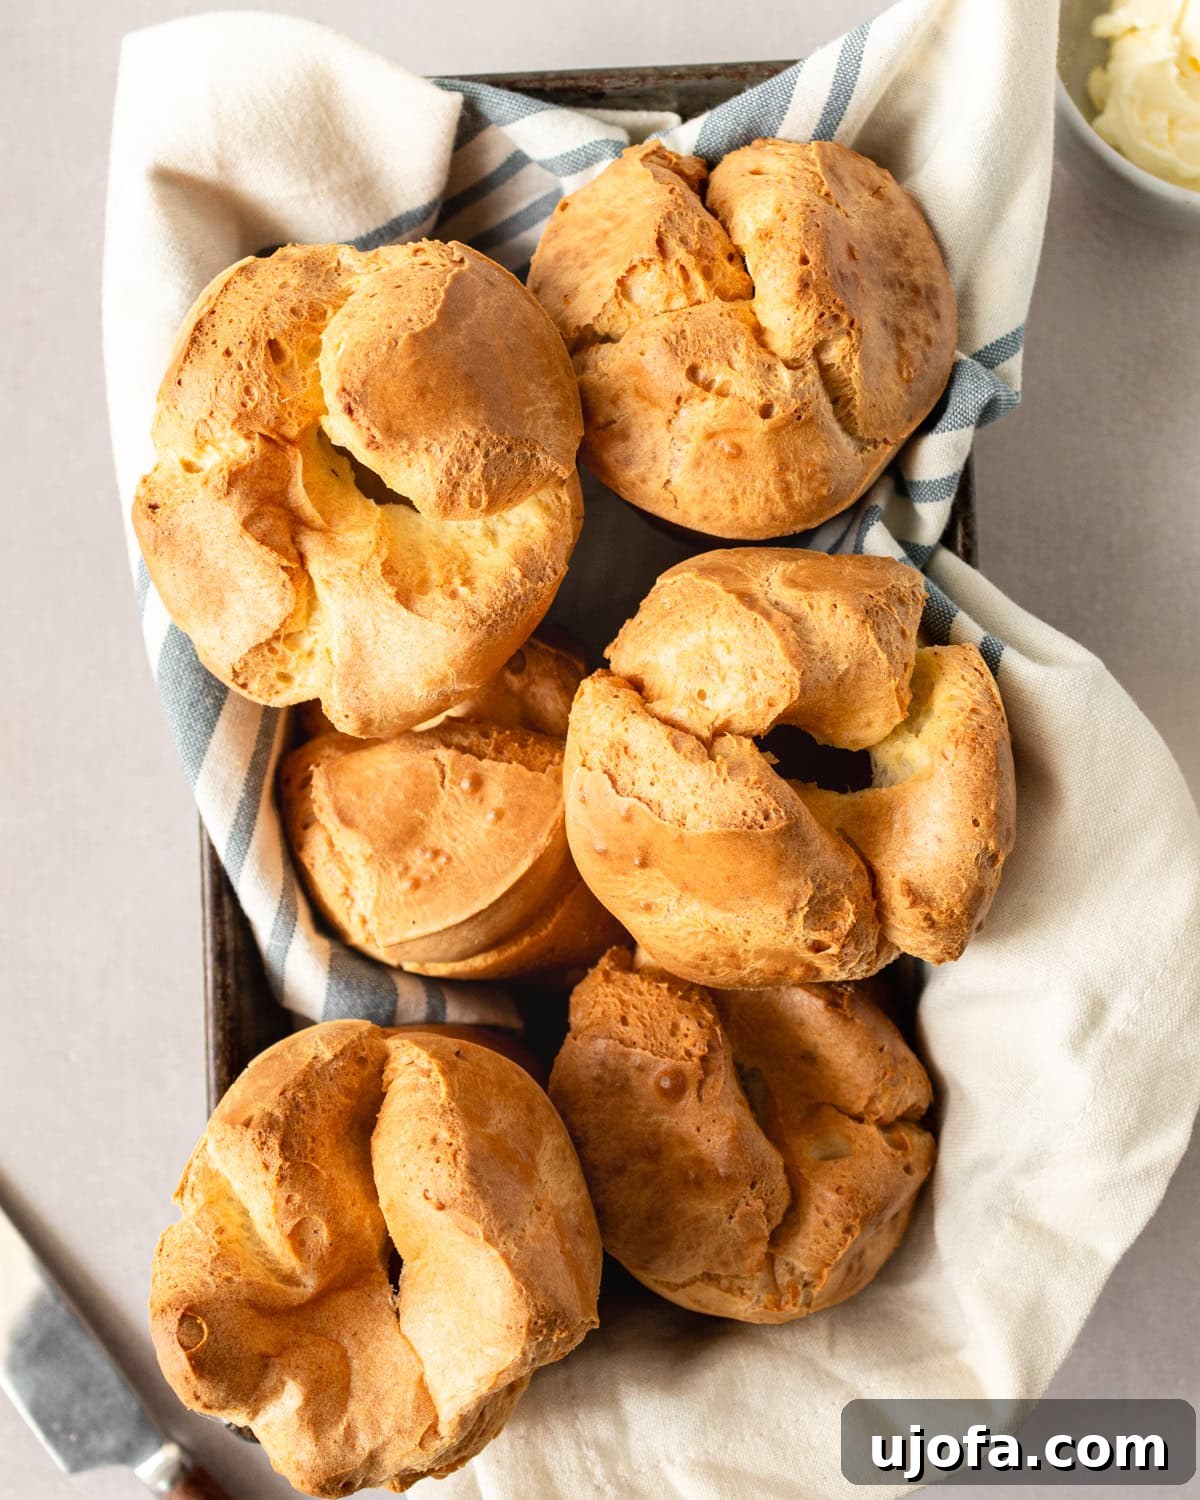
The Ultimate Gluten-Free Popovers Recipe
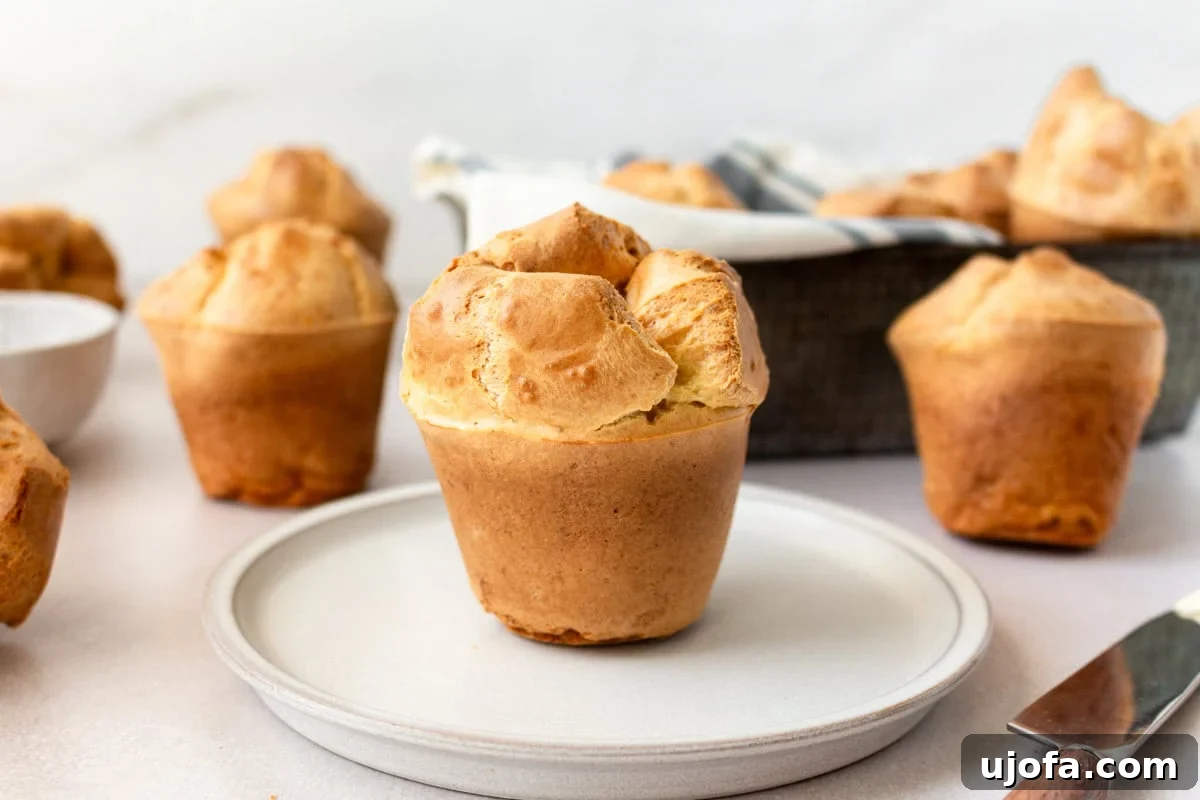
Popovers are a beloved classic, known for their dramatic rise and hollow, airy interior. Our gluten-free version captures all the magic of traditional popovers, delivering an equally impressive texture and rich flavor without any gluten. At their core, popovers are a simple batter made from flour, milk, and eggs, much like a gluten-free Dutch baby pancake. They also bear a strong resemblance to gluten-free Yorkshire puddings, but with a key difference: popovers are traditionally baked in a dedicated popover pan with butter, creating their distinctive tall, cylindrical shape, whereas Yorkshire puddings are often cooked in meat drippings or oil in a muffin tin. This recipe uses melted butter for that classic rich popover taste.
I often make my gluten-free popovers with almond milk, proving that dairy-free alternatives work wonderfully, though any type of milk (cow’s milk or other dairy-free options) will yield fantastic results. Just expect a slightly less golden hue if you opt for non-dairy milk. The real secret to achieving those perfectly crisp exteriors and soft, custardy centers in these gluten-free popovers lies in the oven temperature. We start with a high temperature to create a burst of steam for maximum rise, then reduce it to ensure they bake through and set without collapsing. This method guarantees success, giving you consistently beautiful, light, and fluffy gluten-free popovers.
Why Choose Gluten-Free Popovers?
For those living with gluten sensitivities, celiac disease, or simply choosing a gluten-free lifestyle, finding delicious and satisfying alternatives to beloved baked goods can sometimes be a challenge. Gluten-free popovers offer a fantastic solution, allowing everyone to enjoy this classic treat. Unlike many gluten-free breads or pastries that can be dense or crumbly, these popovers are naturally light and airy, thanks to the steam-leavening process. They provide that comforting, warm, fresh-from-the-oven experience without any of the gluten-related concerns.
Their neutral, slightly buttery flavor profile means they pair beautifully with almost anything. Whether you’re hosting a brunch and need a stunning gluten-free option, serving a special family dinner, or simply want a quick and easy breakfast, these popovers fit the bill. They’re a delightful way to introduce gluten-free baking to friends and family, often surprising even the most skeptical palates with their incredible texture and taste. Plus, making them from scratch gives you full control over the ingredients, ensuring a wholesome and delicious outcome.
Essential Ingredients for Perfect Gluten-Free Popovers
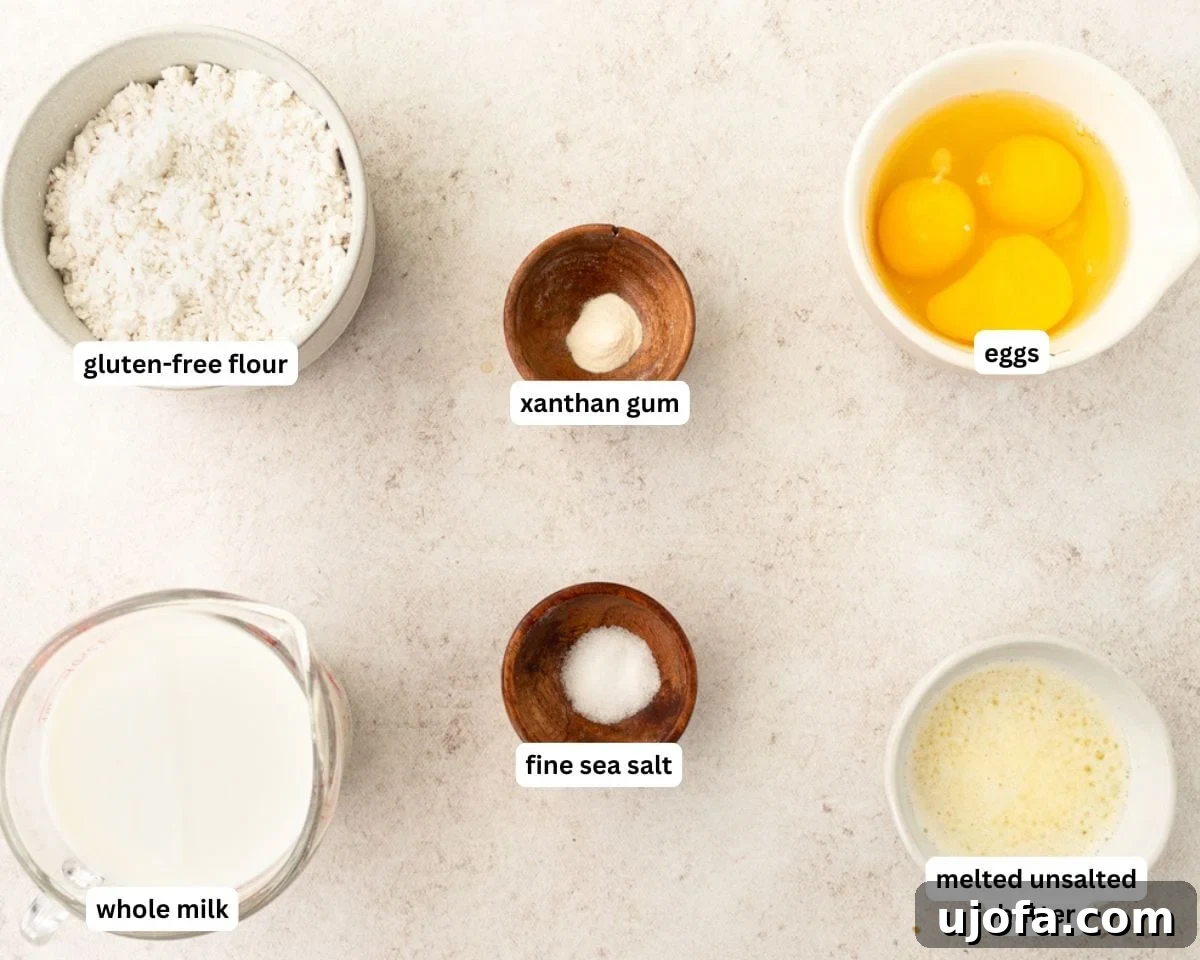
Achieving the perfect gluten-free popover requires just a handful of simple, readily available ingredients. The key is to use them at the right temperature and in the correct proportions. Here’s a closer look at what you’ll need and why each component is crucial:
- Eggs: Eggs are the primary leavening agent in popovers, helping them to rise dramatically by trapping steam. They also contribute to the rich, custardy texture and overall structure. For optimal results, ensure your eggs are at room temperature before mixing. This allows them to combine more smoothly with other ingredients and helps create a more consistent batter.
- Whole Milk: Milk provides the necessary moisture and fat for the popover batter. When heated rapidly in the oven, the liquid in the milk turns into steam, which is what causes the popovers to “pop” and puff up without the need for yeast or baking powder. In my extensive testing, whole milk consistently produced the best texture and a beautiful golden-brown crust. However, if you’re dairy-free, unsweetened almond milk or other alternative milks work well, though the final color might be slightly less golden. Regardless of your choice, make sure the milk is also at room temperature to ensure even mixing and better steam production.
- Gluten-Free Flour: The foundation of our gluten-free popovers. It’s crucial to use a high-quality 1:1 all-purpose gluten-free flour blend that already contains xanthan gum. Many commercial blends are formulated to mimic the properties of wheat flour, providing structure and texture. If your chosen blend does not include xanthan gum, you’ll need to add it separately as detailed below.
- Unsalted Butter: Butter adds incredible flavor and helps create that coveted crisp exterior and tender, rich interior. You’ll need some for the batter and extra for generously greasing your popover pan. It’s essential to melt the butter for the batter and then allow it to cool slightly before incorporating it. Adding hot butter can prematurely cook the eggs, leading to a less ideal texture.
- Fine Sea Salt: A pinch of fine sea salt is vital for enhancing the overall flavor of the popovers, balancing the richness of the eggs and butter, and preventing them from tasting bland.
- Xanthan Gum: This is a crucial ingredient in gluten-free baking. Since gluten is absent, xanthan gum acts as a binder and thickener, providing elasticity and structure to the batter. It helps to prevent crumbling and ensures that your popovers hold their shape as they rise. If your gluten-free flour blend already contains xanthan gum, you might only need a small additional amount to achieve the perfect popover consistency. Always check your flour blend’s ingredient list.
Step-by-Step Guide to Baking Gluten-Free Popovers
Follow these detailed steps to create flawless gluten-free popovers from scratch:
Instructions
-
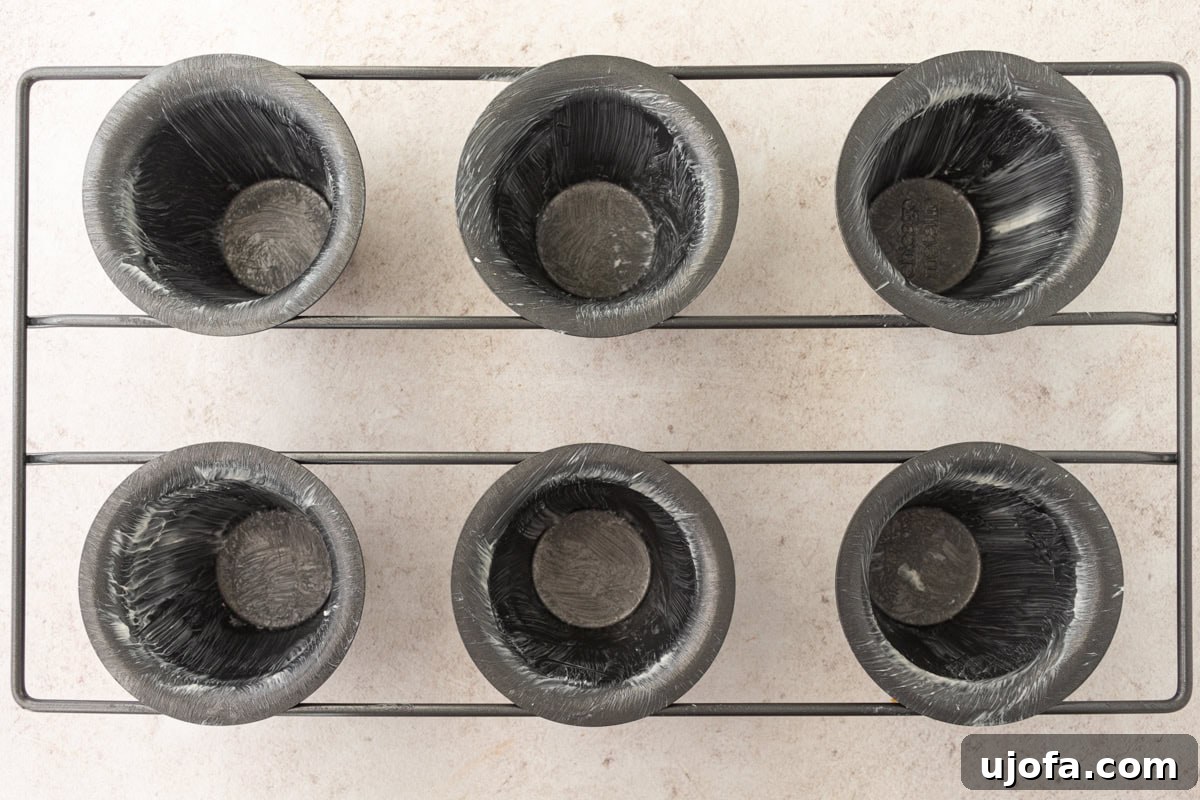
Prepare Your Pan and Preheat Oven: Generously grease a 6-cavity standard popover pan (or a muffin tin if using) with unsalted butter. Ensure every nook and cranny is coated to prevent sticking and promote a crispy crust. Preheat your oven to a high temperature of 425°F (218°C).

-
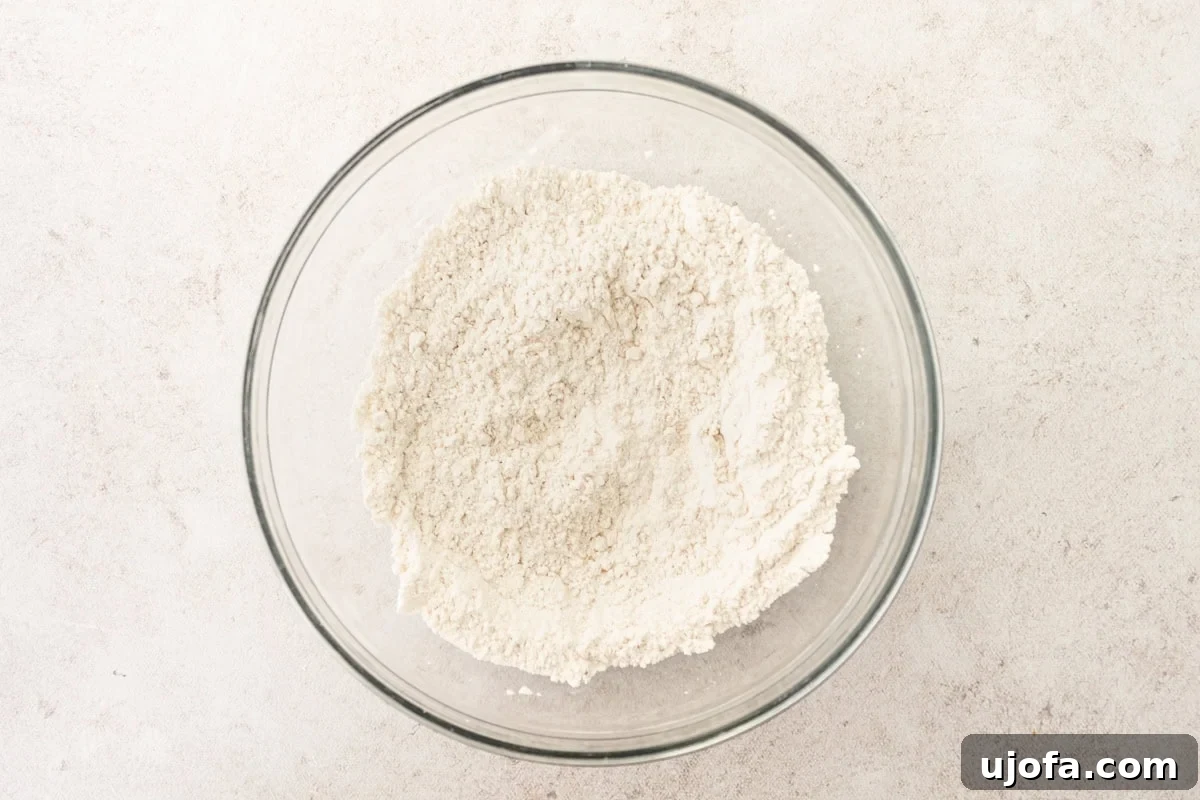
Combine Dry Ingredients: In a small mixing bowl, whisk together 1 cup of your gluten-free all-purpose flour blend, ¾ teaspoon of fine sea salt, and ¼ teaspoon of xanthan gum (if your blend doesn’t already contain enough or you’re adding extra for more structure). Whisk thoroughly to ensure all dry ingredients are evenly distributed and free of lumps.
-
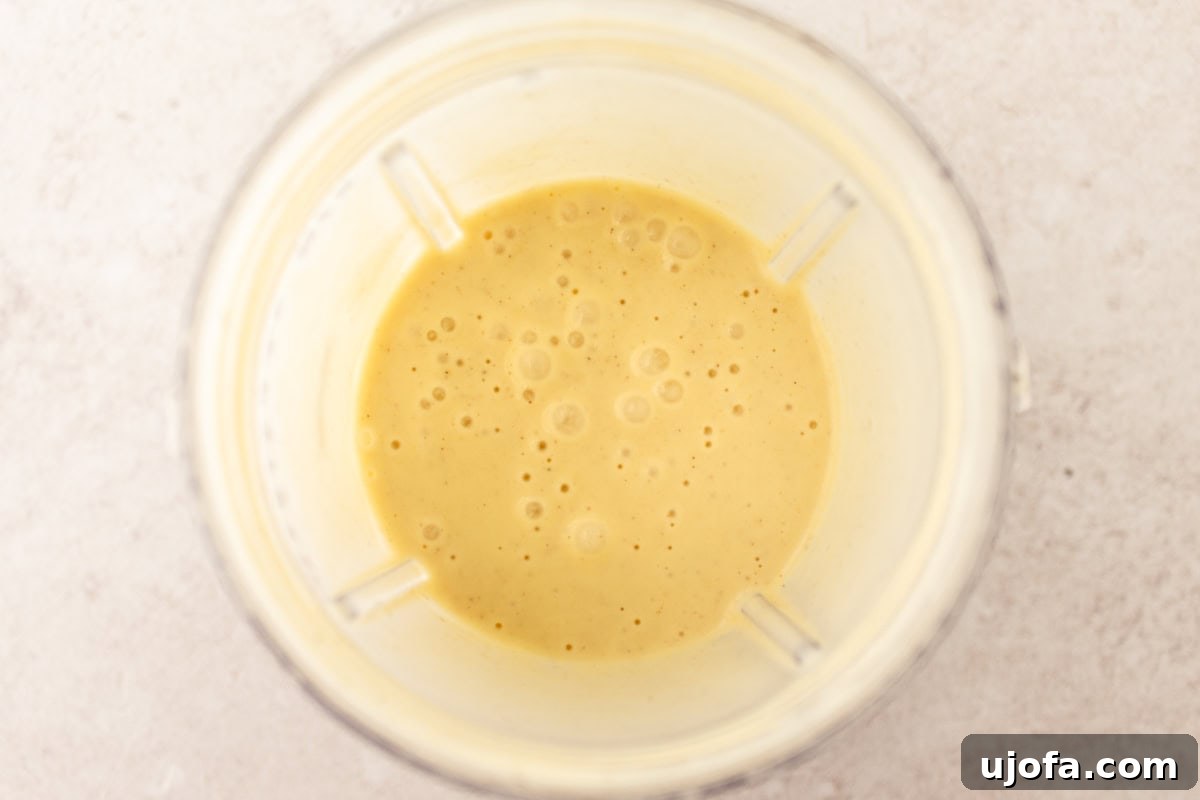
Prepare Wet Ingredients and Mix Batter: In a blender, combine 3 large room-temperature eggs, 1 cup of room-temperature whole milk (or alternative milk), and 3 tablespoons of melted and cooled unsalted butter. Blend these wet ingredients for about 10 seconds until well combined. Then, add the whisked dry flour mixture to the blender. Blend for an additional 10-15 seconds, or until the batter is smooth and no lumps of flour remain. A blender is fantastic for achieving a perfectly smooth gluten-free batter quickly!
-
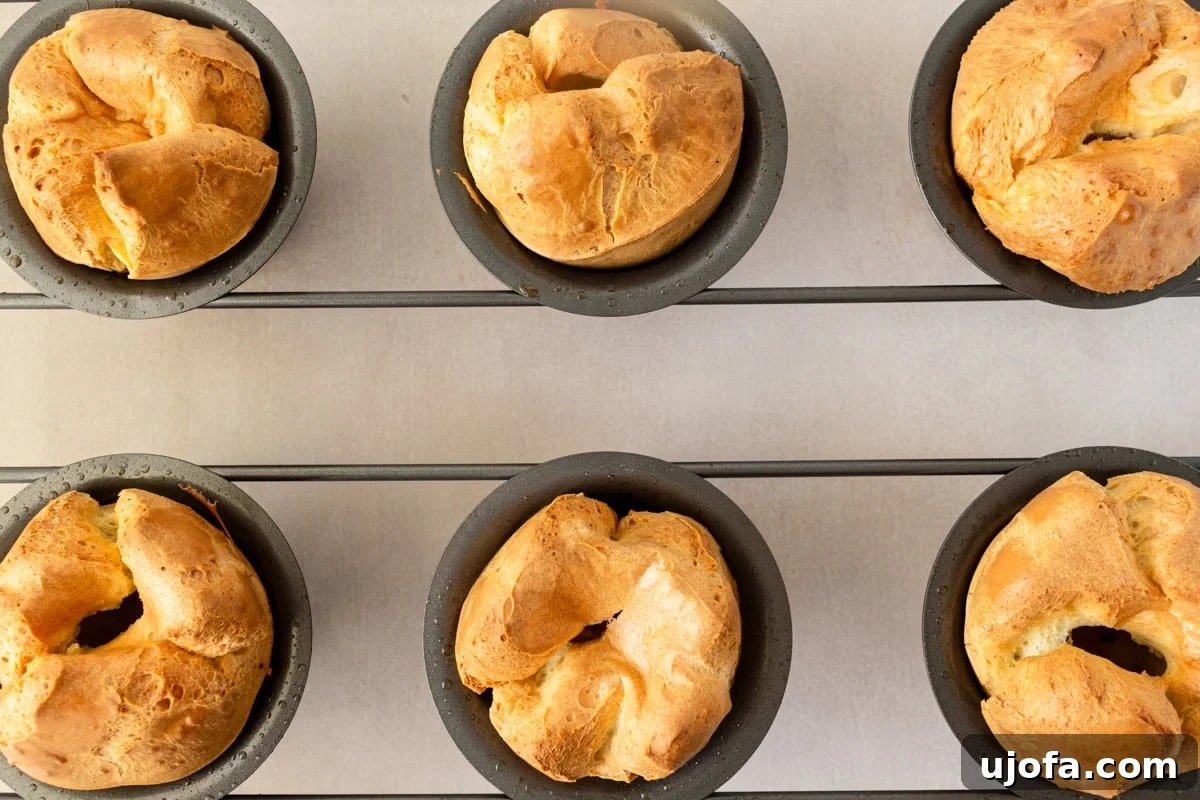
Fill and Bake: Carefully divide the prepared batter evenly among the greased popover pan cavities, filling each approximately ⅔ full. This leaves ample room for them to puff up magnificently without overflowing. Transfer the pan to the preheated 425°F (218°C) oven and bake for 25 minutes. Crucially, do not open the oven door during this initial baking phase. After 25 minutes, reduce the oven temperature to 350°F (175°C) and continue baking for an additional 15 minutes. Again, resist the urge to open the oven door.
-
Release Steam and Serve: Once baked, remove the popover pan from the oven. Immediately, use a small knife or a skewer to poke a tiny hole in the top of each popover. This essential step releases the built-up steam from the hollow interior, preventing them from becoming soggy and helping to maintain their crispness. Carefully remove the popovers from the pan and serve them hot for the best experience.
Expert Tips for Gluten-Free Popover Success
Achieving consistently perfect gluten-free popovers is easy when you know a few key tricks. Here are my best tips and suggestions to ensure your popovers rise beautifully every time:
- No Need to Preheat the Pan (for this recipe): While some popover recipes recommend preheating the empty pan in the oven, it’s not necessary for this specific gluten-free recipe. The high initial oven temperature is sufficient to create the steam needed for a great rise. This saves you a step and a bit of caution when handling a hot pan.
- Use a Blender for a Smooth Batter: For the quickest and easiest way to achieve a lump-free batter, I highly recommend using a blender. Gluten-free flours can sometimes be prone to clumping when mixed with liquids, but a blender makes quick work of incorporating everything smoothly. If you don’t have a blender, an electric mixer or even a whisk used vigorously by hand will work, just be mindful not to overmix, which can lead to tough popovers.
- Accurate Flour Measurement (Spoon & Level Method): Precision is important in gluten-free baking. Always use the “spoon & level” method when measuring your gluten-free flour. Instead of scooping flour directly with your measuring cup (which compacts it and results in too much flour), spoon the flour into your measuring cup until it overflows, then level it off with the flat side of a knife. This ensures you’re using the correct amount of flour for the perfect texture.
- Fill Cavities Two-Thirds Full: When pouring the batter into your popover or muffin tin cavities, aim to fill each about two-thirds of the way. This leaves plenty of room for the popovers to expand and puff up dramatically without spilling over the edges, creating their characteristic tall shape.
- Release Steam Immediately After Baking: As soon as your popovers come out of the oven, use a small, sharp knife or a skewer to poke a little hole in the top of each one. This allows any trapped steam inside the hollow center to escape. Failing to do this can result in soggy popovers that lose their crispness.
- Remove from Pan Promptly: To further prevent sogginess and maintain a crisp exterior, remove the popovers from the pan immediately after poking them. Leaving them in the hot pan for too long can cause them to steam and become soft.
- Thoroughly Grease Your Pan: This might seem obvious, but proper greasing is paramount, especially for gluten-free popovers which can be more prone to sticking. Use plenty of unsalted butter and a basting brush to ensure every part of each cavity is coated. This prevents sticking and contributes significantly to developing that coveted crispy, golden crust.
Equipment: Popover Pan vs. Muffin Tin
While a dedicated popover pan is designed to give your popovers their signature tall, slender shape and impressive rise, it’s absolutely not a requirement to enjoy these delicious treats. If you don’t own a popover pan, don’t worry – you can easily use a regular muffin tin!
Using a Popover Pan: A popover pan typically has deeper, narrower cups that are spaced further apart than a muffin tin. This design encourages the batter to climb high rather than spread out, resulting in those dramatically tall, airy popovers. They usually come in metal, often non-stick or cast iron, which conducts heat well for a crisp finish.
Using a Muffin Tin: A standard 12-cup muffin tin will work perfectly for making gluten-free popovers, though they will turn out shorter and more muffin-shaped. The key principles remain the same: ensure your muffin tin is very well greased (butter is best!) and fill each cavity about ⅔ of the way full. The result will still be a wonderfully crisp, buttery, and custardy treat, just with a different aesthetic. Some bakers even prefer the muffin tin shape for ease of serving or a slightly different crust-to-interior ratio. So, feel free to use what you have on hand and enjoy your homemade gluten-free popovers!
Troubleshooting: Why Didn’t My Gluten-Free Popovers Rise?
Popovers, whether gluten-free or not, rely almost entirely on steam for their characteristic impressive rise and hollow center. Since this recipe doesn’t use yeast or baking powder, understanding the factors that affect steam production and retention is key to success. If your gluten-free popovers didn’t puff up as expected, here are the most common reasons and how to fix them:
- Insufficient Oven Temperature: The initial high temperature (425°F/218°C) is critical. It creates a rapid burst of steam from the liquid in the batter, which forces the popovers to expand quickly. If your oven wasn’t fully preheated to this temperature, or if it fluctuates, the steam generation will be inadequate. Ensure your oven is accurately calibrated and preheat it thoroughly for at least 15-20 minutes before baking.
- Cold Ingredients: This is a common culprit. Both your milk and eggs absolutely must be at room temperature before you start making the batter. Similarly, your melted butter should be cooled, not hot. Room-temperature ingredients mix more evenly and, more importantly, heat up much faster in the oven, leading to a more vigorous production of steam. Cold ingredients will absorb too much heat initially, hindering the crucial early rise.
- Opening the Oven Door: Resist the temptation to peek! Opening the oven door, especially during the first 25 minutes of high-temperature baking, causes a drastic drop in temperature and releases the vital steam that the popovers need to rise. This can cause them to deflate prematurely and prevent them from achieving their full height. Trust the process and keep the oven door closed.
- Overmixing the Batter: While you want a smooth batter, overmixing can develop too much elasticity in the flour (even gluten-free blends) and incorporate too much air, which can negatively impact the rise and texture. Mix just until combined and no lumps remain.
- Improperly Greased Pan: If your pan isn’t thoroughly greased, the batter might stick to the sides, preventing it from climbing up the pan and achieving a good rise.
- Old Flour: While gluten-free flour doesn’t have gluten to lose, older flour can sometimes be less effective in creating the desired structure. Ensure your flour is fresh.
Creative Serving Suggestions for Gluten-Free Popovers
One of the most delightful aspects of gluten-free popovers is their incredible versatility. Their subtly rich, custardy interior and crisp exterior make them suitable for both sweet and savory applications. They share a similar charm to gluten-free French toast in their adaptability. Whether you’re looking for a unique breakfast item or a delightful alternative to gluten-free dinner rolls, these popovers are sure to impress. Here are some serving suggestions I adore:
- Sweet Breakfast & Brunch:
- Classic with butter, your favorite fruit jam (like raspberry or strawberry), and a light dusting of powdered sugar. This is always a kid-pleaser!
- Drizzled with warm maple syrup and a sprinkle of cinnamon for a cozy treat.
- Served with fresh berries and a dollop of whipped cream or crème fraîche.
- A light spread of chocolate-hazelnut spread and sliced bananas.
- Savory Sides & Accompaniments:
- Alongside a comforting bowl of gluten-free beef stew and creamy mashed potatoes, perfect for soaking up the rich gravy.
- Covered generously in a savory gluten-free gravy as a comforting side dish.
- As an accompaniment to roasted chicken or turkey, offering a lighter alternative to traditional bread.
- With a savory spread like hummus or a cheese dip.
- Filled with scrambled eggs and a slice of avocado for a unique breakfast sandwich.
Storage and Reheating Instructions
While gluten-free popovers are undeniably best enjoyed fresh from the oven, their deliciousness can be extended with proper storage and reheating. Here’s how to keep them delightful:
- To Store in the Refrigerator: Allow any leftover popovers to cool completely to room temperature. Transfer them to an airtight container and store them in the refrigerator for up to 3-4 days. This helps maintain their freshness and prevents them from drying out.
- To Freeze for Longer Storage: If you’ve made a large batch or want to prepare ahead, popovers freeze exceptionally well. Once completely cooled, place them in a single layer on a baking sheet and flash freeze them until solid (about 1-2 hours). Then, transfer the frozen popovers to a freezer-safe zip-top bag or airtight container. They can be stored in the freezer for up to 2 months. When ready to enjoy, let them thaw in the refrigerator overnight before reheating.
- To Reheat: Reheating is key to bringing back their crispy texture. For refrigerated popovers, preheat your oven to 350°F (175°C). Place the popovers directly on a baking sheet or in their popover pan and warm them for about 10 minutes, or until heated through and crisp again. If you’re concerned about them browning further, you can loosely cover them with aluminum foil during reheating. For frozen popovers (after thawing), follow the same reheating instructions. The goal is to revive that golden, crisp crust and tender interior.
Frequently Asked Questions About Gluten-Free Popovers
Can I make the batter ahead of time?
For the best rise and texture, it’s generally recommended to bake popovers immediately after preparing the batter. The resting time for the batter isn’t as critical as for some other recipes, but the fresher the batter, the more active the ingredients will be in creating steam, which is essential for that dramatic pop.
What if my gluten-free flour blend doesn’t contain xanthan gum?
If your chosen gluten-free all-purpose flour blend explicitly states it does not contain xanthan gum, you’ll need to add it separately. For this recipe, I recommend adding ½ teaspoon of xanthan gum to the dry ingredients along with the ¼ teaspoon already specified, bringing the total to ¾ teaspoon. Xanthan gum is crucial for providing the structure and elasticity that gluten would normally offer.
Can I use a different type of fat for greasing the pan?
While butter adds wonderful flavor and a beautiful crust, you can certainly use other fats. Shortening or a neutral-flavored oil (like avocado or grapeseed oil) can also be used to grease the pan. Just ensure whatever you use is applied generously to prevent sticking.
Are these popovers dairy-free if I use almond milk?
If you opt for unsweetened almond milk (or another dairy-free milk alternative), you will also need to replace the unsalted butter with a dairy-free butter substitute to make the recipe fully dairy-free. Ensure all other ingredients, like your gluten-free flour blend, are also free of dairy.
More Delicious Gluten-Free Side Dish Recipes to Try!
If you loved these gluten-free popovers, you’ll definitely want to explore more of our fantastic gluten-free side dish recipes. Expand your culinary repertoire with these crowd-pleasers:
- Fluffy Gluten-Free Buttermilk Biscuits
- Versatile Gluten-Free Flatbread
- Homemade Gluten-Free Pita Bread
- Irresistible Gluten-Free Garlic Bread
Ingredients
- 1 cup gluten-free all-purpose flour, use a 1:1 flour blend
- ¾ teaspoon fine sea salt
- ¼ teaspoon xanthan gum
- 3 large eggs, room temperature
- 1 cup whole milk, room temperature
- 3 tablespoons unsalted butter (plus extra for greasing the pan), melted and cooled
Notes
- You can use an alternative milk, like almond milk, if desired.
- Use the spoon & level method to measure your gluten-free flour. Spoon the flour into your measuring cups and level it off with a knife.
- To Store: Refrigerate in an airtight container for up to 3-4 days.
- To Freeze: Store in a freezer-safe container for up to 2 months. Let thaw in the refrigerator overnight before reheating.
- To Reheat: Warm in a 350F oven for 10 minutes. Cover with foil if you don’t want them to brown further.
- Mama says, “Check all of your labels.”
Nutrition Information
Calories: 177 kcal
Carbohydrates: 17 g
Protein: 7 g
Fat: 10 g
Saturated Fat: 5 g
Polyunsaturated Fat: 1 g
Monounsaturated Fat: 3 g
Trans Fat: 0.2 g
Cholesterol: 113 mg
Sodium: 344 mg
Potassium: 97 mg
Fiber: 2 g
Sugar: 3 g
Vitamin A: 376 IU
Calcium: 79 mg
Iron: 1 mg
Nutrition information is automatically calculated, so should only be used as an approximation.