
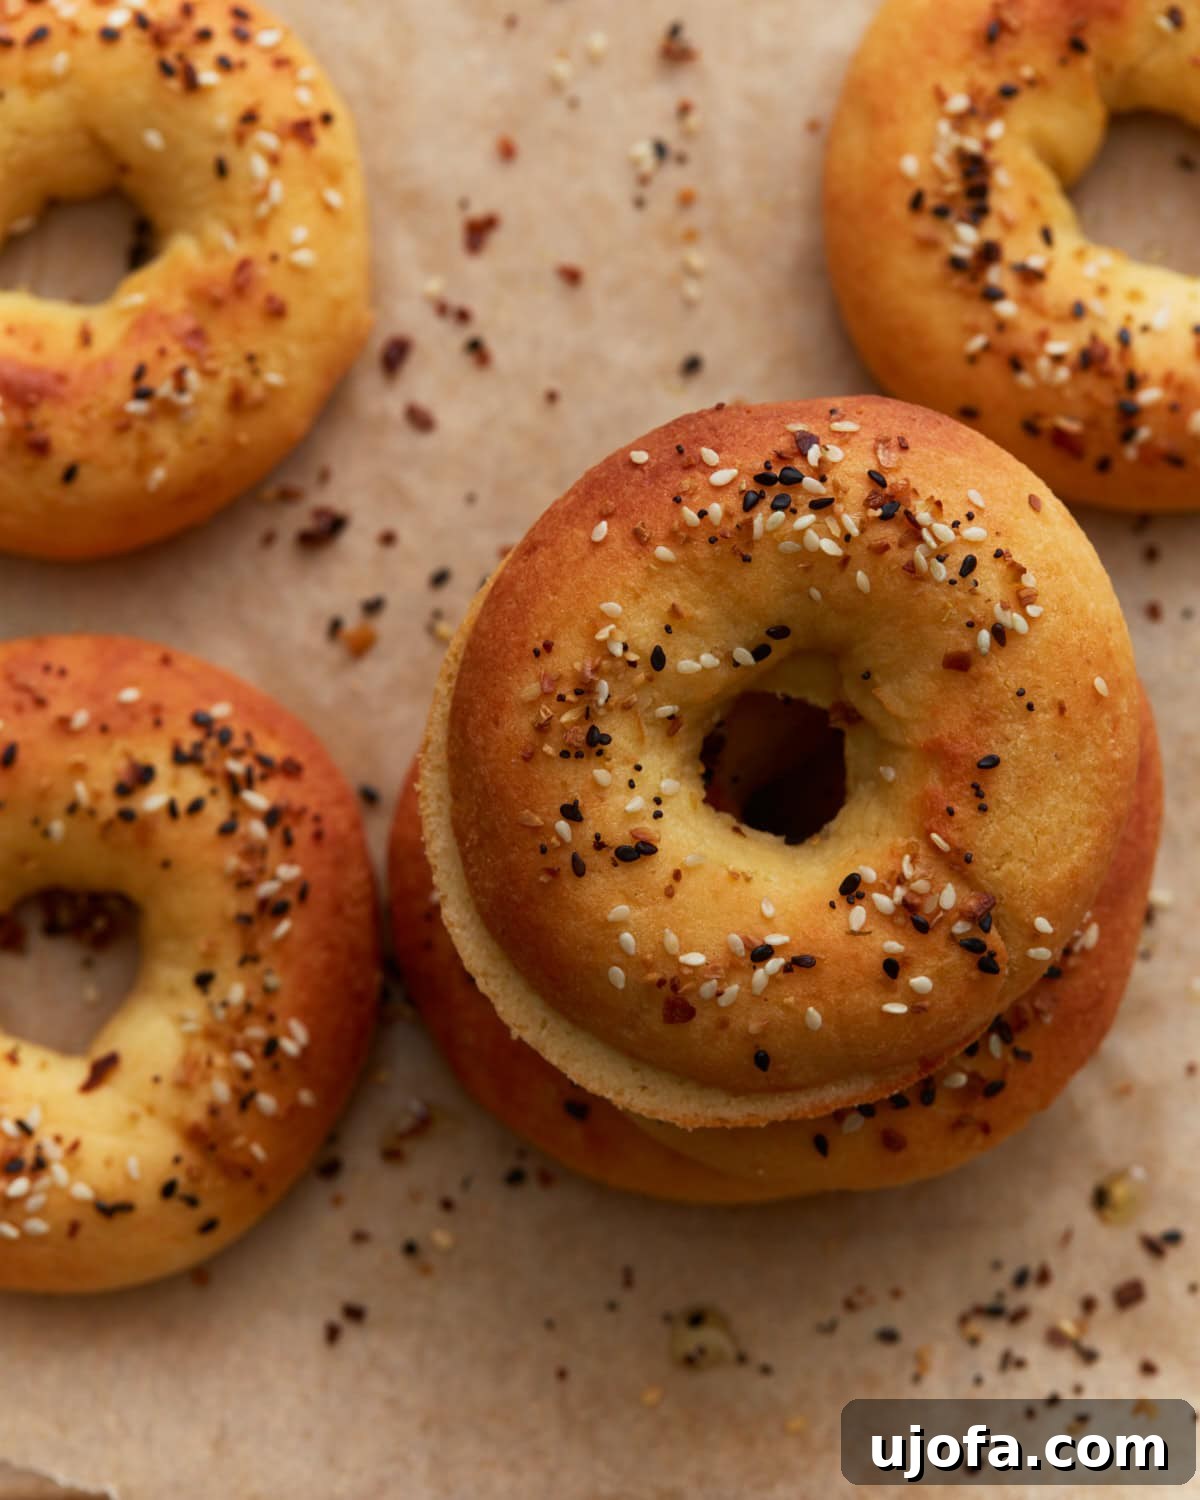
Welcome to the ultimate guide for creating delicious, soft, and perfectly chewy **Keto Bagels** right in your own kitchen! Forget the notion that low-carb baking is complicated or flavorless. This innovative recipe delivers an authentic bagel experience without the traditional high-carb ingredients, complex yeast work, or time-consuming boiling steps. Crafted with a clever cheese-based dough featuring finely ground almond flour and rich cream cheese, these bagels are a game-changer for anyone following a ketogenic or gluten-free diet. They offer a simple, straightforward path to achieving that coveted bread-like texture and golden finish, making them an ideal choice for quick, satisfying breakfasts or delightful homemade sandwiches.
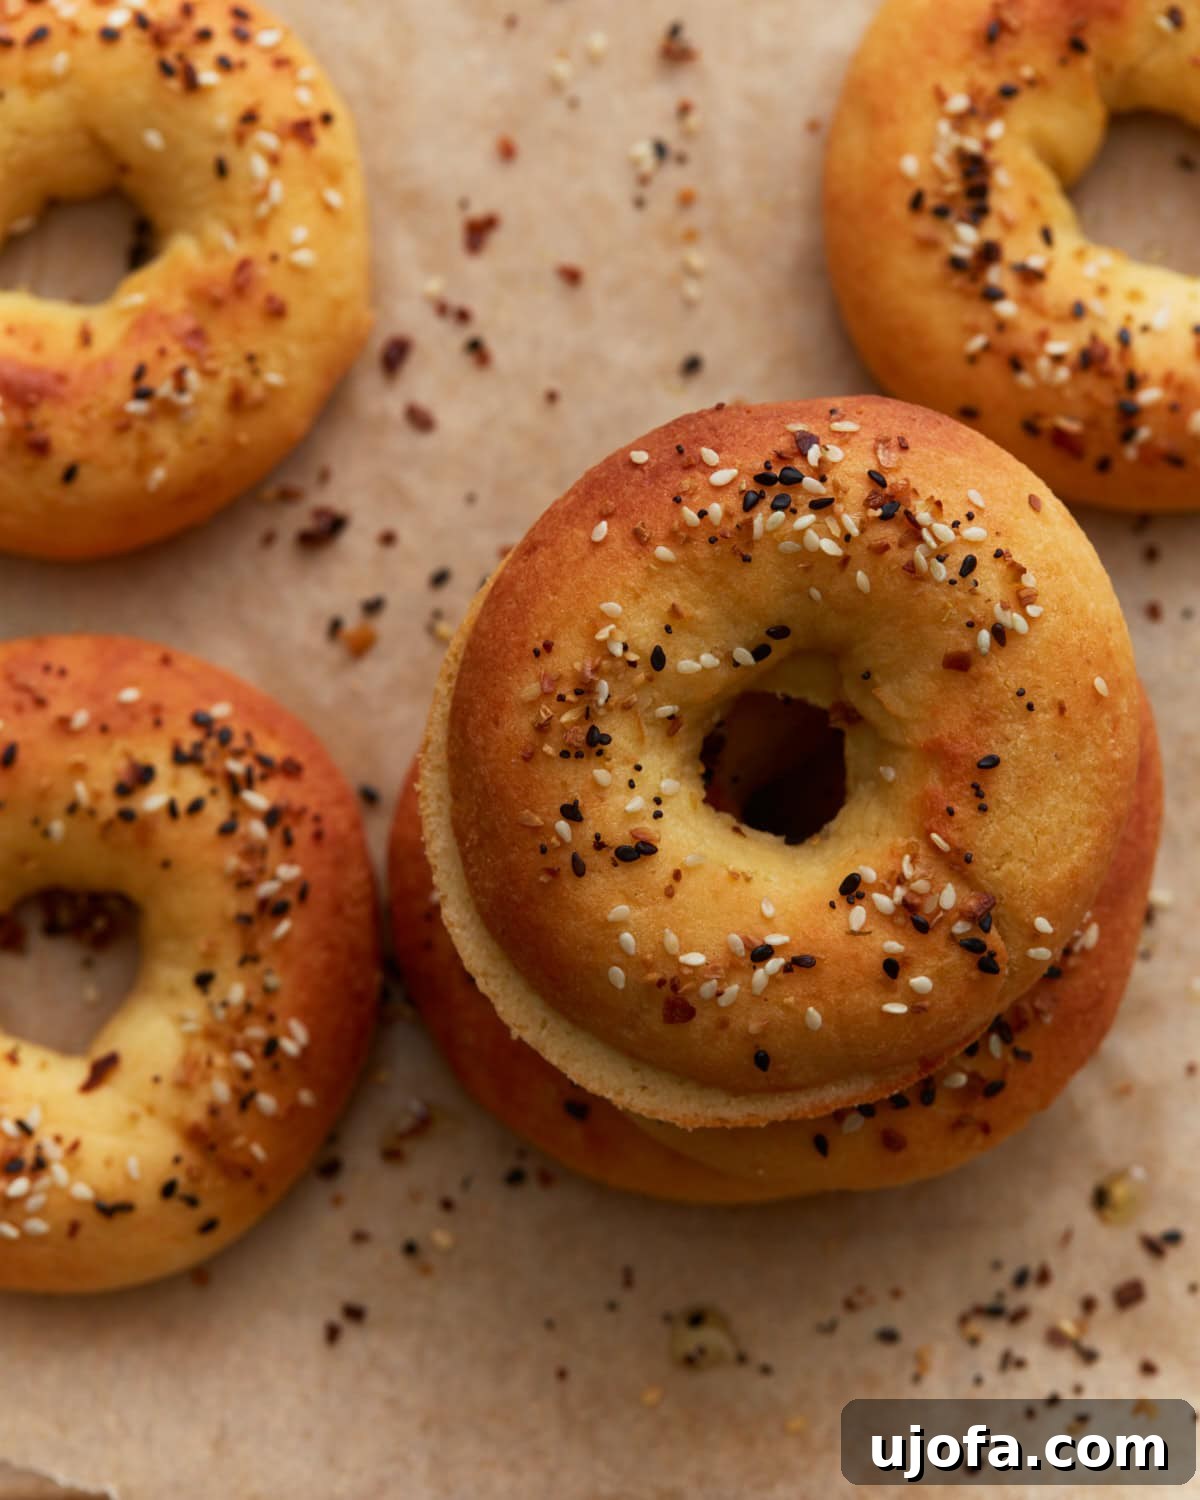
While I thoroughly enjoy crafting traditional gluten-free bagels, this specific recipe has become my go-to when I’m seeking a quicker, more health-conscious alternative. The beauty of these **low-carb bagels** lies in their simplicity and consistency. The dough is remarkably easy to handle, shaping them is a breeze, and the results are consistently perfect, yielding golden, tender bagels every single time. I often prepare a batch at the beginning of the week, ensuring I have a convenient and delicious option for breakfast, slathered with cream cheese, or as a sturdy base for my favorite sandwiches later in the day. If you embark on this culinary adventure and try these amazing **keto-friendly bagels**, please share your experience in the comments below! Let me know your favorite toppings or if you have any questions along the way.
Why You’ll Love These Keto Bagels
- Incredibly Easy: This recipe streamlines the bagel-making process, skipping the traditional yeast proofing, boiling, and complex steps often associated with homemade bagels. It’s a true “fathead dough” wonder!
- Perfect Texture: Despite being low-carb and gluten-free, these bagels boast a wonderfully soft, chewy, and doughy texture that will surprise and delight you. They genuinely mimic the feel of traditional bagels.
- Versatile & Customizable: Whether you prefer a savory “everything bagel” seasoning, a hint of sesame, poppy seeds, or even a sweet cinnamon-sugar topping, these bagels are a blank canvas for your culinary creativity.
- Diet-Friendly: Ideal for ketogenic, low-carb, and gluten-free lifestyles, they allow you to enjoy a classic comfort food without compromising your dietary goals.
- Quick Preparation: With just 15 minutes of prep and 15 minutes of bake time, you can have fresh, warm bagels ready to enjoy in just half an hour.
- Meal Prep Friendly: Make a batch at the start of your week and enjoy fresh bagels for days, making busy mornings much smoother.
Essential Tips for Gluten-Free & Keto Baking Success
Achieving the perfect texture and consistency with gluten-free and low-carb baking, especially with recipes like these keto bagels, often comes down to a few key techniques. Here are some invaluable tips to ensure your bagels turn out perfectly every time:
- Pay Close Attention to Dough Texture: The dough for these bagels should strike a delicate balance. It needs to feel slightly sticky to the touch, but crucially, it must also be easy to handle and pliable. If your dough appears overly wet, feels greasy, or struggles to hold its shape during the molding process, it’s a sign that it might need a little extra structure. In such cases, gradually incorporate additional finely ground almond flour, adding just one tablespoon at a time. Mix thoroughly after each addition until the dough achieves a cohesive, tacky, yet manageable consistency. Over-wet dough can lead to flat, spread-out bagels, while overly dry dough can be crumbly and difficult to shape.
- Always Use Finely Ground Almond Flour: The type of almond flour you select plays a pivotal role in the final texture of your keto bagels. It is imperative to use finely ground almond flour, often labeled as “blanched almond flour.” This variety is made from almonds that have had their skins removed and are then ground to a very fine, consistent powder. In contrast, almond meal is typically coarser, made from unblanched almonds, and can result in a grainy, dense, and less appealing bagel texture. Coarser almond meal also tends to absorb liquids differently, making the dough more prone to spreading excessively during baking, leading to misshapen bagels.
- Cool Completely Before Slicing: Patience is a virtue when it comes to these bagels! It’s absolutely crucial to allow the bagels to cool completely on a wire rack before attempting to slice into them. The cooling process isn’t just about reaching a comfortable temperature for eating; it’s an essential step for the bagels to continue firming up and setting their internal structure. Slicing them too soon, while they are still warm, can result in a gummy texture, a crumbly interior, and an overall less satisfying experience. Waiting ensures clean slices and perfectly structured bagels.
- Do Not Skip the Food Processor: While it might be tempting to mix by hand, using a food processor is highly recommended and truly makes a difference in this recipe. The powerful blades of a food processor ensure that the eggs and the warm, melted cheese mixture are thoroughly and evenly incorporated into the almond flour, baking powder, and salt. This vigorous and uniform mixing is key to developing a smooth, consistent dough. A well-mixed dough translates directly into a more consistent, bread-like texture in your finished bagels, avoiding pockets of unmixed ingredients and creating a superior end product.
Keto Bagels
Share by Email
Print Recipe
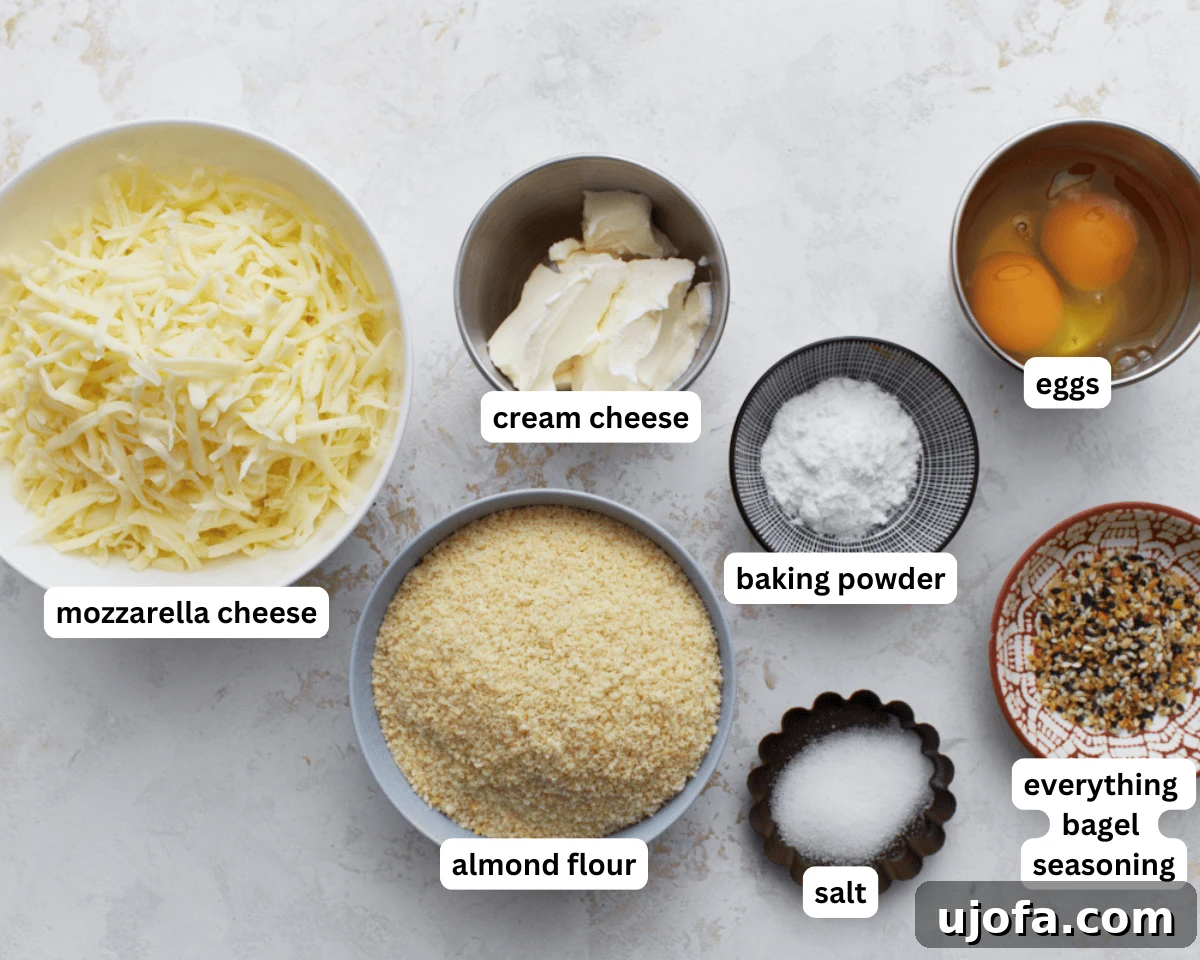
Ingredients
- 2½ cups shredded mozzarella cheese (170g)
- 2 oz. cream cheese (56g)
- 1½ cups almond flour (150g)
- 2 tsp baking powder
- ¼ tsp salt
- 2 large eggs
- 1 tbsp everything bagel seasoning (sub for sesame, poppy seed, or cinnamon sugar)
Instructions
- Preheat your oven to 400°F (200°C). Prepare a large baking sheet by lining it with parchment paper to prevent sticking. This ensures easy removal and a perfectly golden bottom for your bagels.
- In a microwave-safe bowl, combine the shredded mozzarella cheese and cream cheese. Microwave on high for 1 minute. Remove, stir well with a spoon to help the cheeses melt evenly, then return to the microwave for an additional 30 seconds. Continue microwaving in 15-second intervals if needed, stirring after each, until the cheese mixture is completely melted, smooth, and wonderfully stretchy with no visible lumps.
- In the bowl of a food processor, add the finely ground almond flour, baking powder, and salt. Pulse the ingredients a few times until they are thoroughly combined and the mixture appears light and fluffy. This step helps to evenly distribute the leavening agent throughout the dry ingredients.
- Crack the two large eggs into the food processor with the dry ingredients. Process until the mixture transforms into a thick, cohesive, and slightly sticky consistency, ensuring there are no remaining dry pockets of flour at the bottom of the bowl. Scrape down the sides if necessary to ensure everything is fully incorporated.
- Carefully add the warm, melted cheese mixture from step 2 to the food processor with the almond flour and egg mixture. Process again until a uniform dough forms. The finished dough should be cohesive and hold together when pressed, exhibiting a slight stickiness, but it should not be overly wet or greasy. This is the hallmark “fathead dough” texture.
- Divide the freshly made dough into 6 equal portions. For best results and uniform bagel size, you can use a kitchen scale to ensure each portion weighs approximately the same.
- Take each portion of dough and roll it between your palms or on a lightly floured (with almond flour) surface into a rope approximately 6 inches (15 cm) long. Aim for a consistent thickness throughout the rope.
- Gently bring the ends of each dough rope together, pinching them firmly to seal and form a classic bagel shape with a hole in the center. If the dough begins to stick to your hands during shaping, lightly oil your palms with a neutral cooking oil to make it more manageable.
- Arrange the shaped bagels evenly on your prepared parchment-lined baking sheet. Lightly spray the tops of each bagel with cooking spray or gently brush them with a thin layer of olive oil or melted butter. Then, generously sprinkle each bagel with approximately 1 tablespoon of everything bagel seasoning (or your chosen topping like sesame seeds, poppy seeds, or a cinnamon-sugar blend), pressing lightly to help the seasoning adhere.
- Transfer the baking sheet to your preheated oven and bake for 12-15 minutes. The bagels are ready when they achieve a beautiful golden-brown color on top and feel firm and set to the touch.
- Once baked, remove the bagels from the oven and carefully transfer them to a wire rack. It is essential to let them cool for at least 30 minutes before slicing. As they cool, the bagels will continue to firm up internally, developing that perfect chewy texture and ensuring clean, easy slicing.
Notes
- If the dough becomes too sticky while shaping, simply lightly oil your hands with a neutral cooking oil or cooking spray. This will prevent sticking and make the process much easier.
- For a firmer, denser bagel texture, you can opt to make smaller bagels. Smaller bagels tend to bake more evenly throughout, resulting in a slightly denser crumb that some may prefer. Experiment with size to find your ideal texture!
- Customization is Key: Don’t limit yourself to “everything bagel” seasoning. Consider poppy seeds, sesame seeds, dehydrated onion flakes, or even a sweet cinnamon-sugar mixture for a dessert-style bagel. Brush with egg wash before adding sweet toppings for better adherence and a shinier finish.
Nutrition
Nutrition information is automatically calculated, so should only be used as an approximation.
Additional Info
How to Make Keto Bagels Step by Step
Creating these delightful keto bagels is an incredibly straightforward process, perfect for bakers of all skill levels. Follow these detailed steps to achieve perfect, golden-brown bagels every time:
Step 1: Gather Your Ingredients and Prep the Oven. Before you begin mixing, ensure all your ingredients are measured out and ready. This mise en place will make the baking process much smoother. Preheat your oven to a consistent 400°F (200°C). Line a standard baking sheet with high-quality parchment paper. This crucial step prevents your bagels from sticking and aids in even baking and easy cleanup.
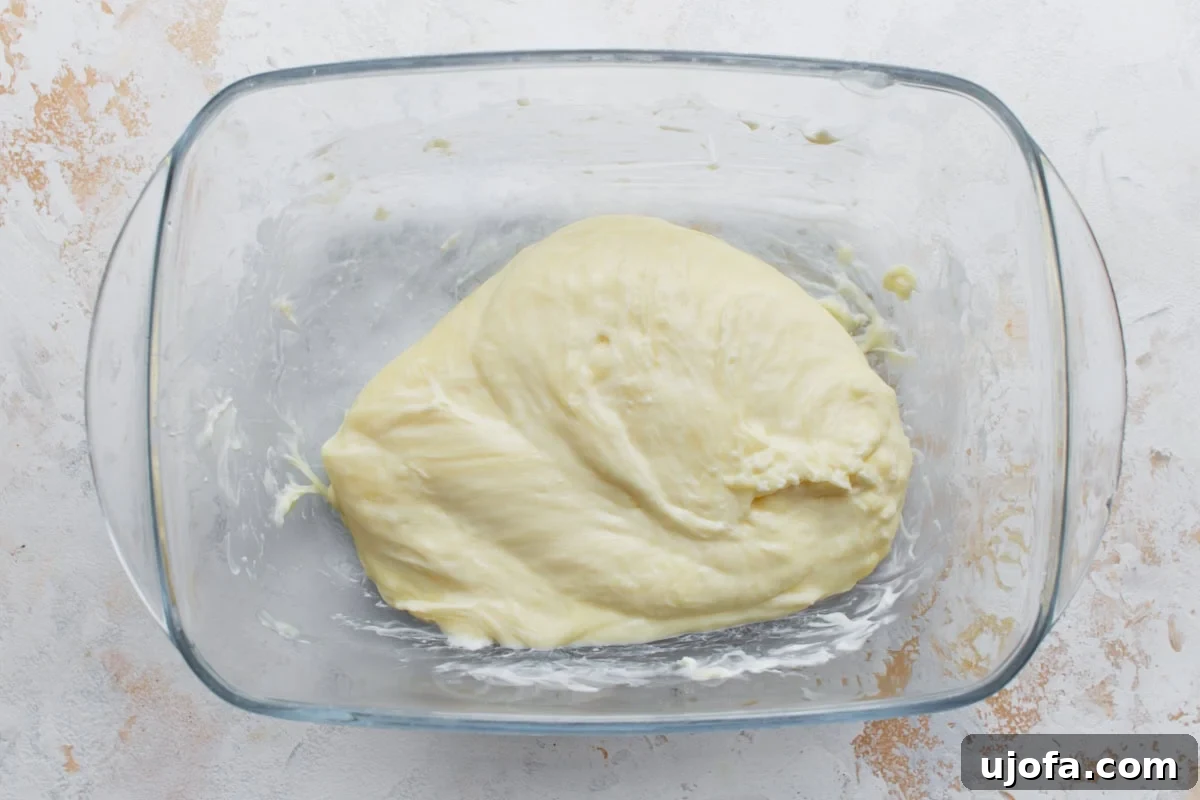
Step 2: Melt the Cheeses. In a microwave-safe bowl, combine the shredded mozzarella cheese and cream cheese. Place the bowl in the microwave and heat for 1 minute. Remove the bowl and stir the cheeses thoroughly. Return to the microwave for another 30 seconds. Continue heating in short 15-second bursts, stirring vigorously after each, until the cheeses are completely melted, creating a smooth, glossy, and beautifully stretchy mixture with no lumps. This melted cheese forms the base of your flexible, keto-friendly dough.
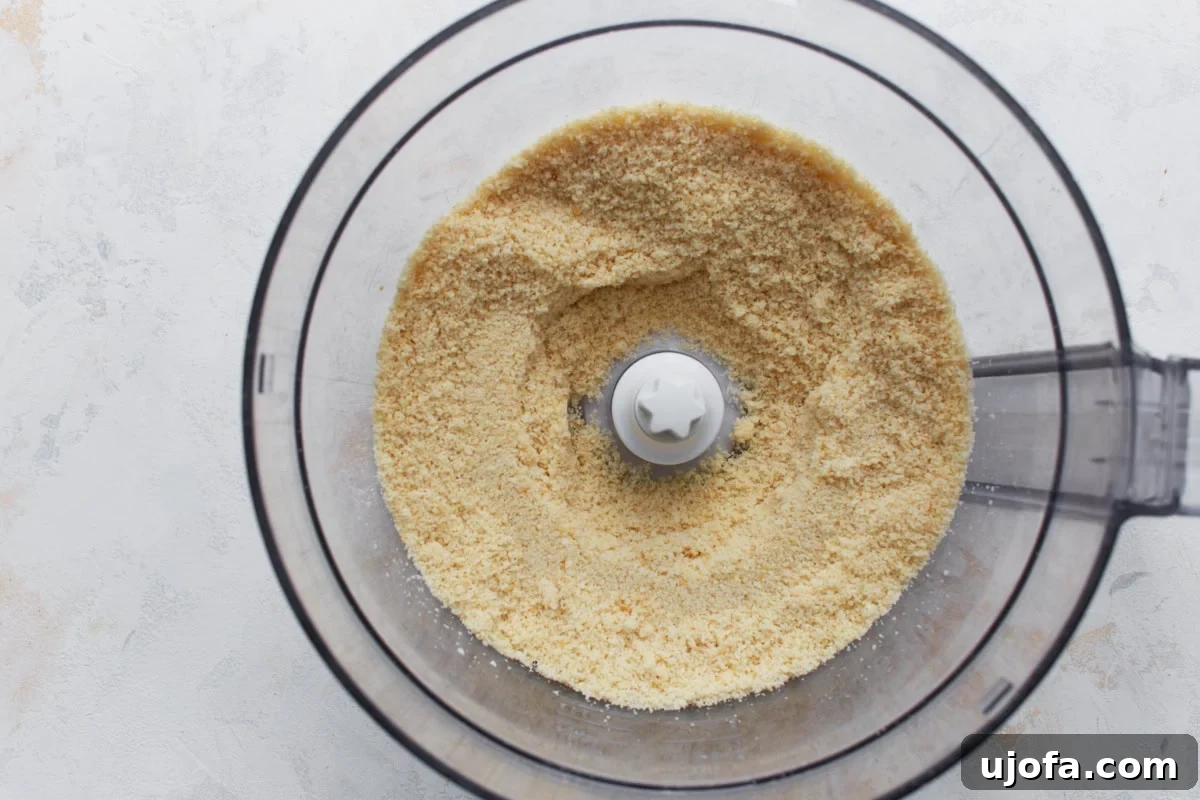
Step 3: Combine Dry Ingredients. Transfer the almond flour, baking powder, and salt to the bowl of a food processor. Pulse the processor a few times until these dry ingredients are thoroughly mixed and appear light and airy. This ensures that the leavening agent (baking powder) is evenly distributed throughout the flour, contributing to a consistent rise in your bagels.
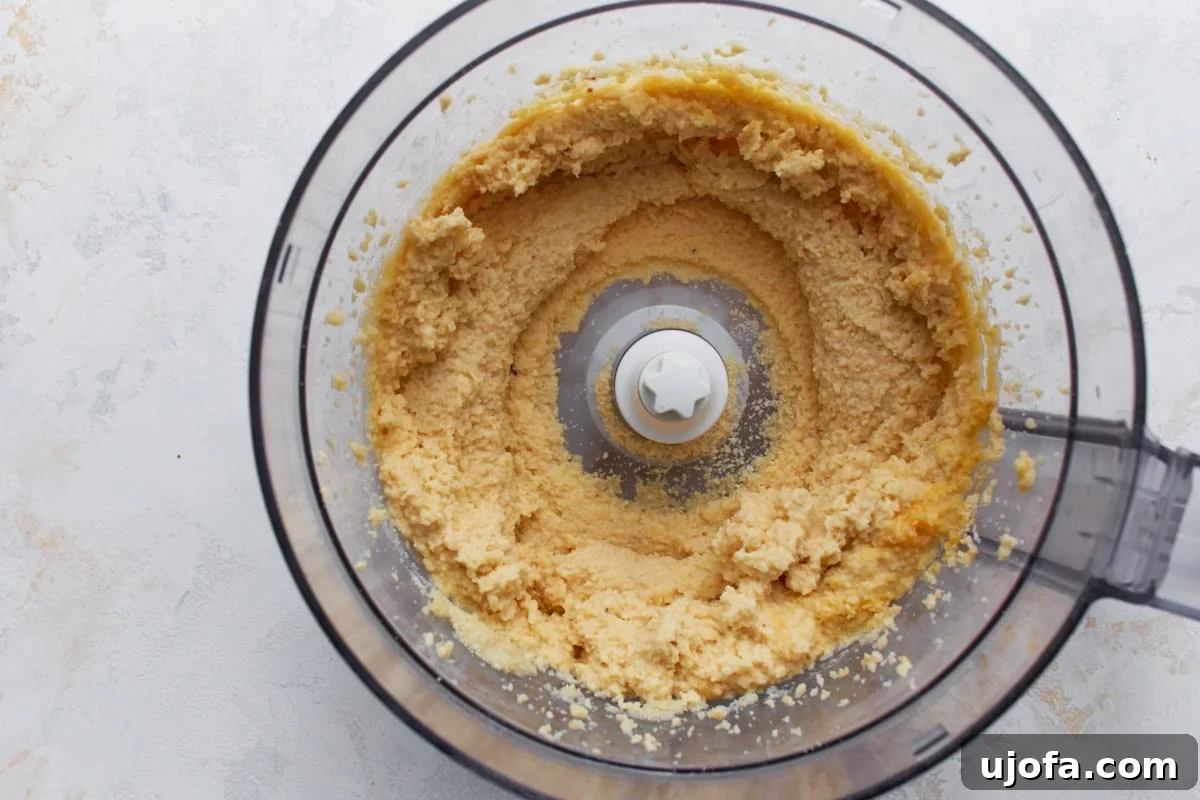
Step 4: Incorporate the Eggs. Crack the two large eggs directly into the food processor containing the almond flour mixture. Process the ingredients until they are thoroughly combined. The mixture should transform into a thick, slightly sticky consistency. Scrape down the sides of the food processor bowl with a spatula to ensure no dry pockets of flour remain, guaranteeing a uniform dough.
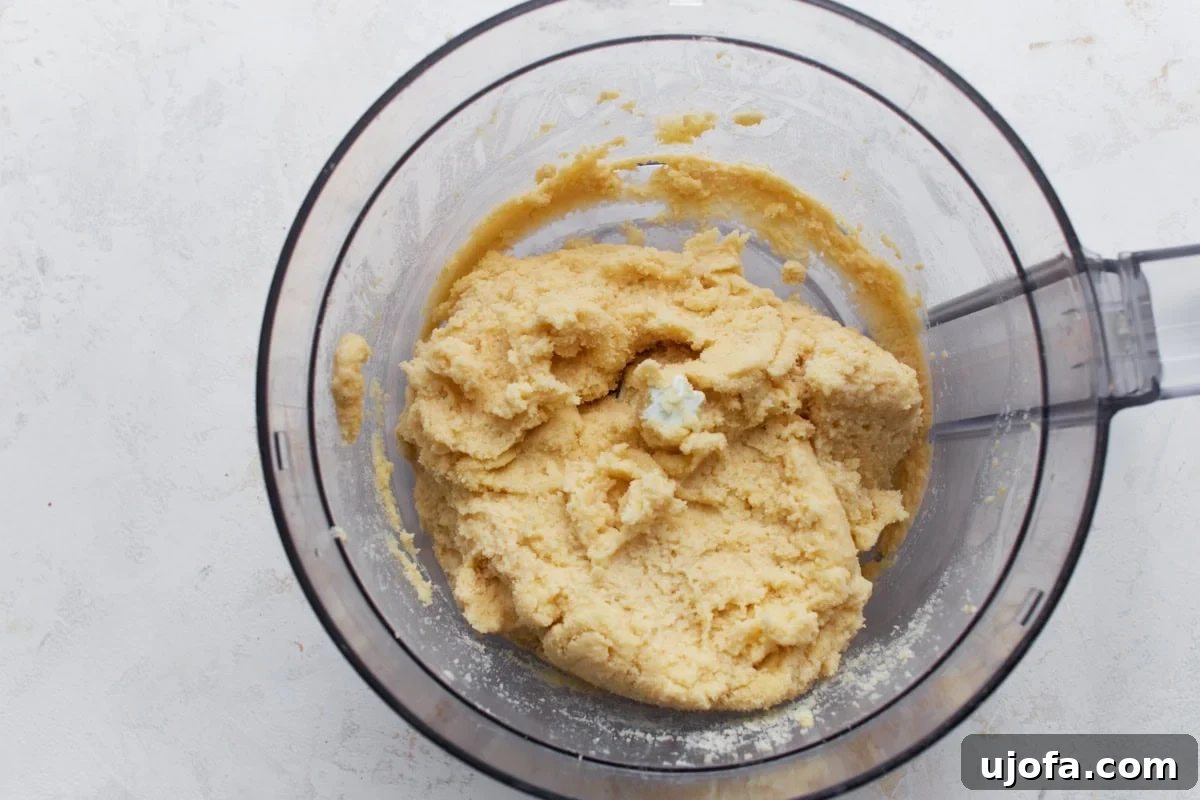
Step 5: Form the Bagel Dough. Add the warm, perfectly melted cheese mixture from Step 2 into the food processor. Process everything together until a cohesive, smooth dough forms. The final dough should be slightly sticky to the touch but firm enough to hold its shape when handled. It should not appear overly wet, greasy, or crumbly. This “fathead dough” is wonderfully pliable and ready for shaping.
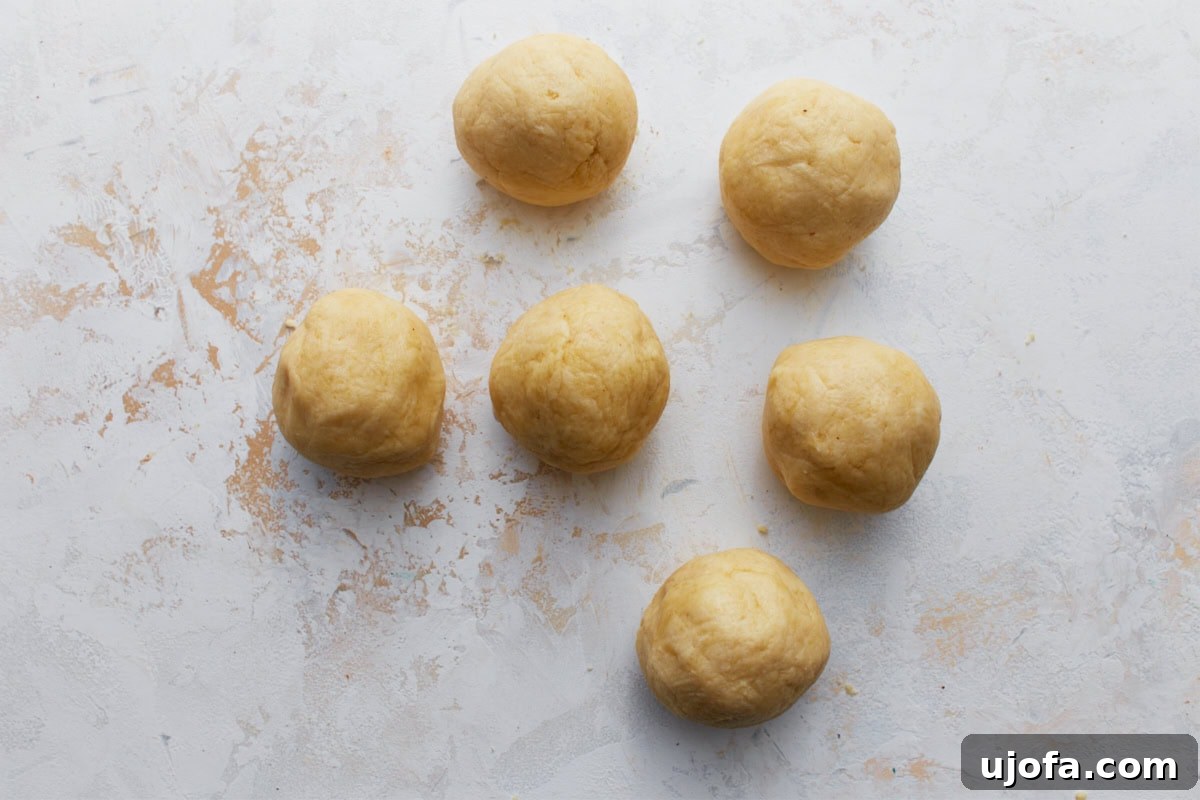
Step 6: Divide the Dough. Carefully remove the dough from the food processor. For best results and consistent bagel size, divide the entire dough into 6 equal portions. You can eyeball this or use a kitchen scale for precision, aiming for roughly 90-95 grams per portion.

Step 7: Roll into Ropes. Take each individual portion of dough. Roll it between your palms or on a clean, lightly oiled (or almond-floured) surface to form a rope approximately 6 inches (15 cm) in length. Ensure the rope has a relatively uniform thickness from end to end for even baking.
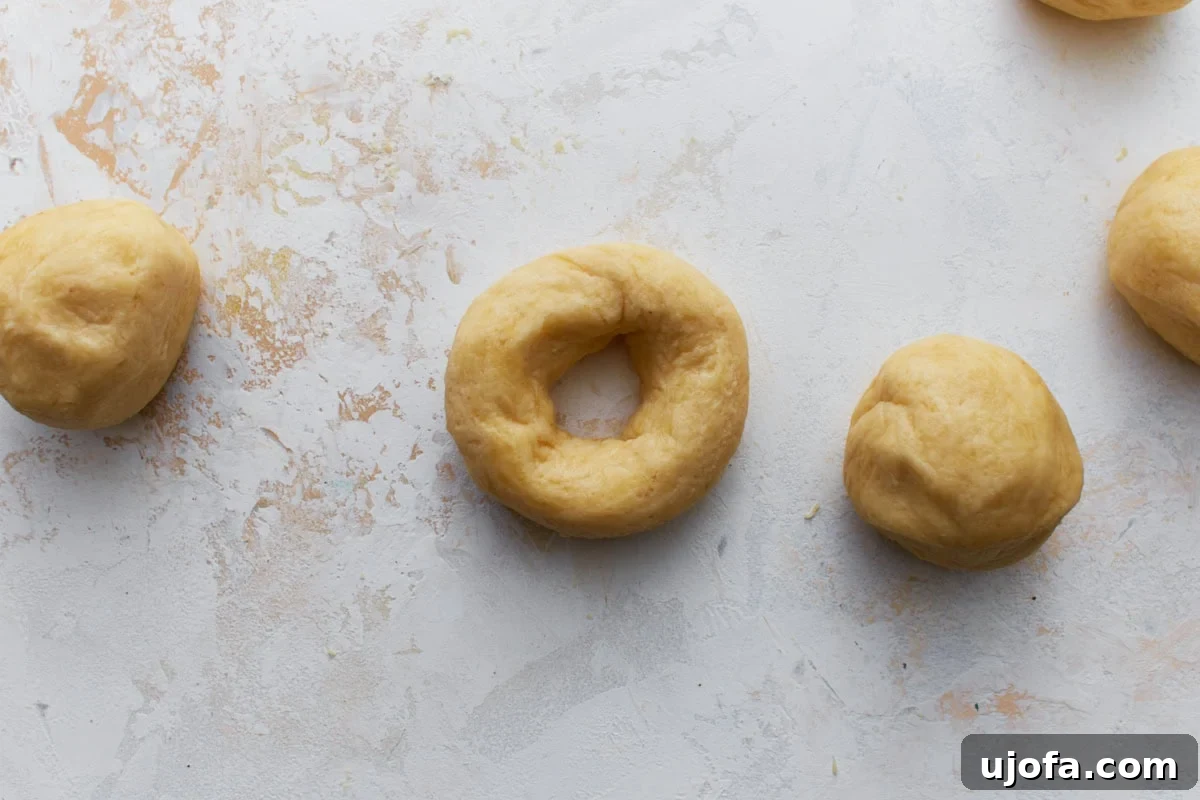
Step 8: Shape into Bagels. Once you have your dough ropes, gently connect the two ends of each rope, pinching them together firmly to form a traditional bagel shape with a distinct hole in the center. If you find the dough is sticking to your hands, lightly oil your palms with a little cooking spray or olive oil. This will significantly ease the shaping process and prevent frustration.
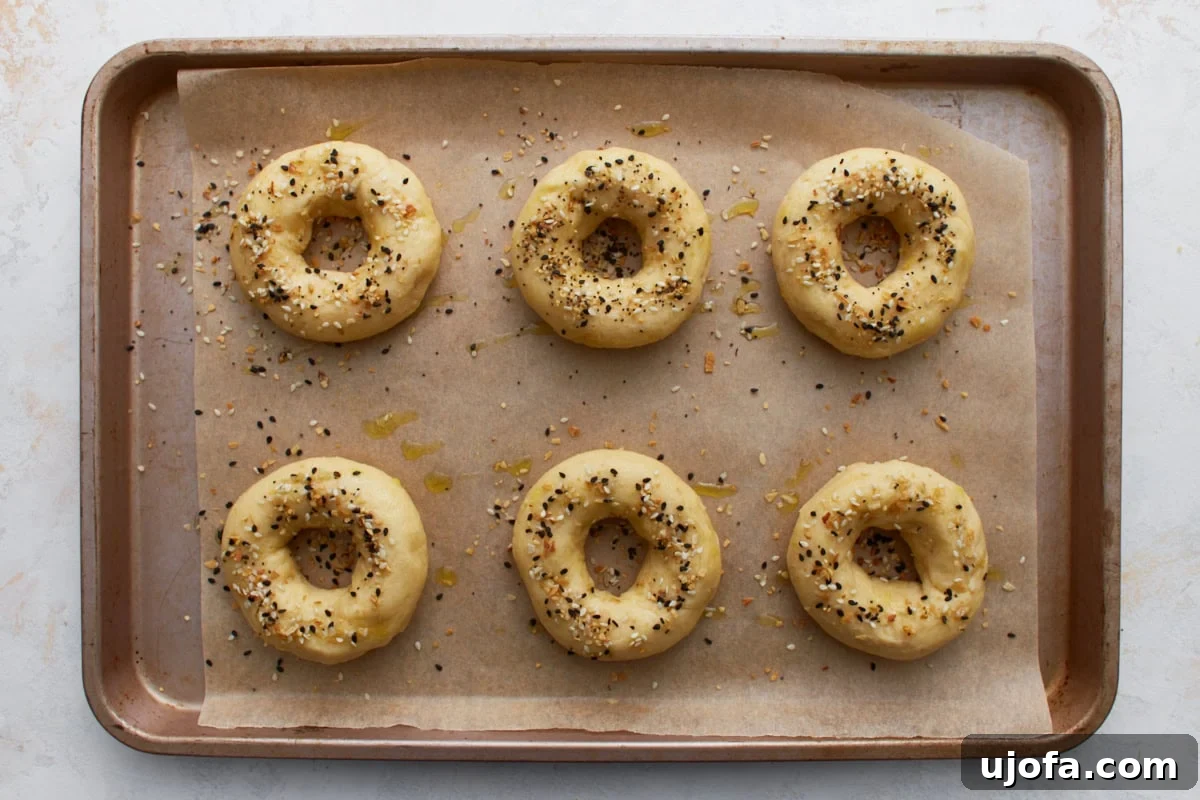
Step 9: Season the Bagels. Place the newly shaped bagels onto the prepared parchment-lined baking sheet, leaving some space between each for even air circulation. Lightly spray the tops of each bagel with cooking spray or gently brush with a thin layer of olive oil. This helps the seasoning adhere. Generously sprinkle each bagel with about 1 tablespoon of “everything bagel” seasoning (or your preferred topping), pressing lightly so it sticks to the dough. This adds a fantastic burst of flavor and a lovely texture.
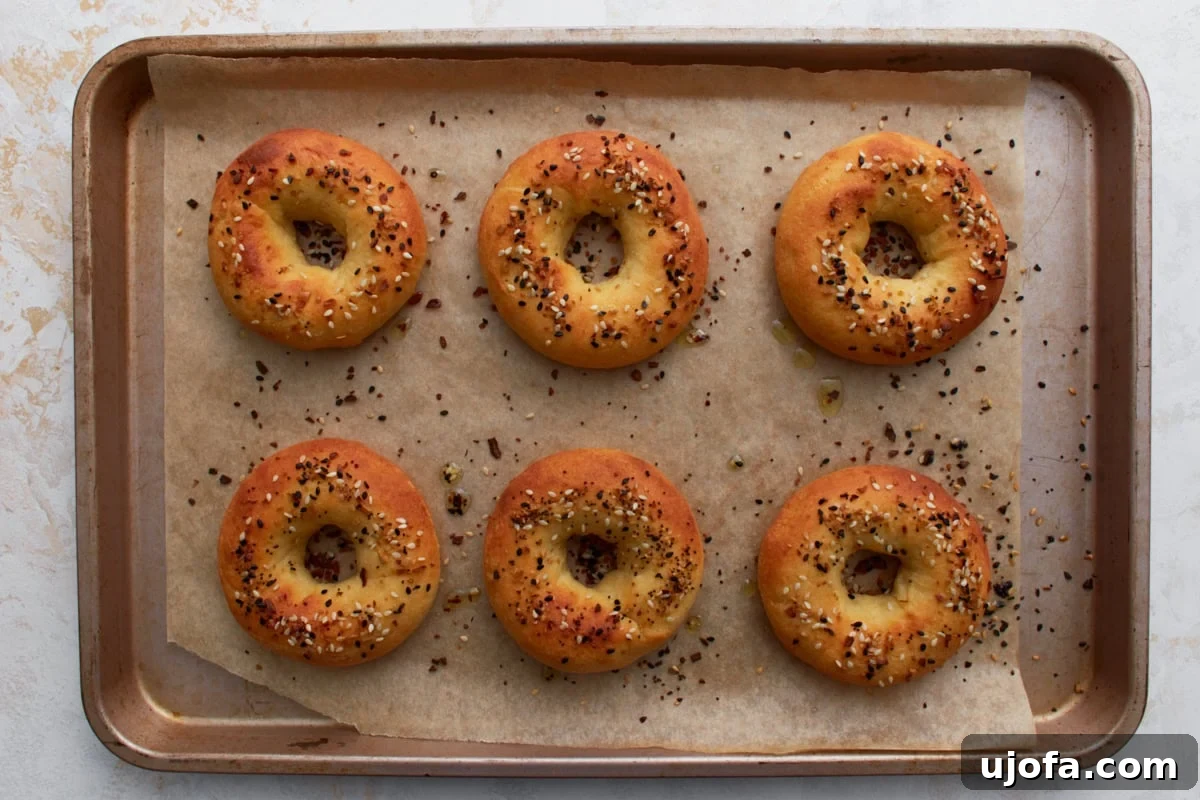
Step 10: Bake the Bagels. Carefully place the baking sheet into your preheated oven. Bake for approximately 12-15 minutes. Keep an eye on them; the bagels are perfectly baked when they develop a beautiful light golden-brown color on their tops and feel firm and springy to the touch. The goal is a thoroughly cooked interior with a pleasing exterior.
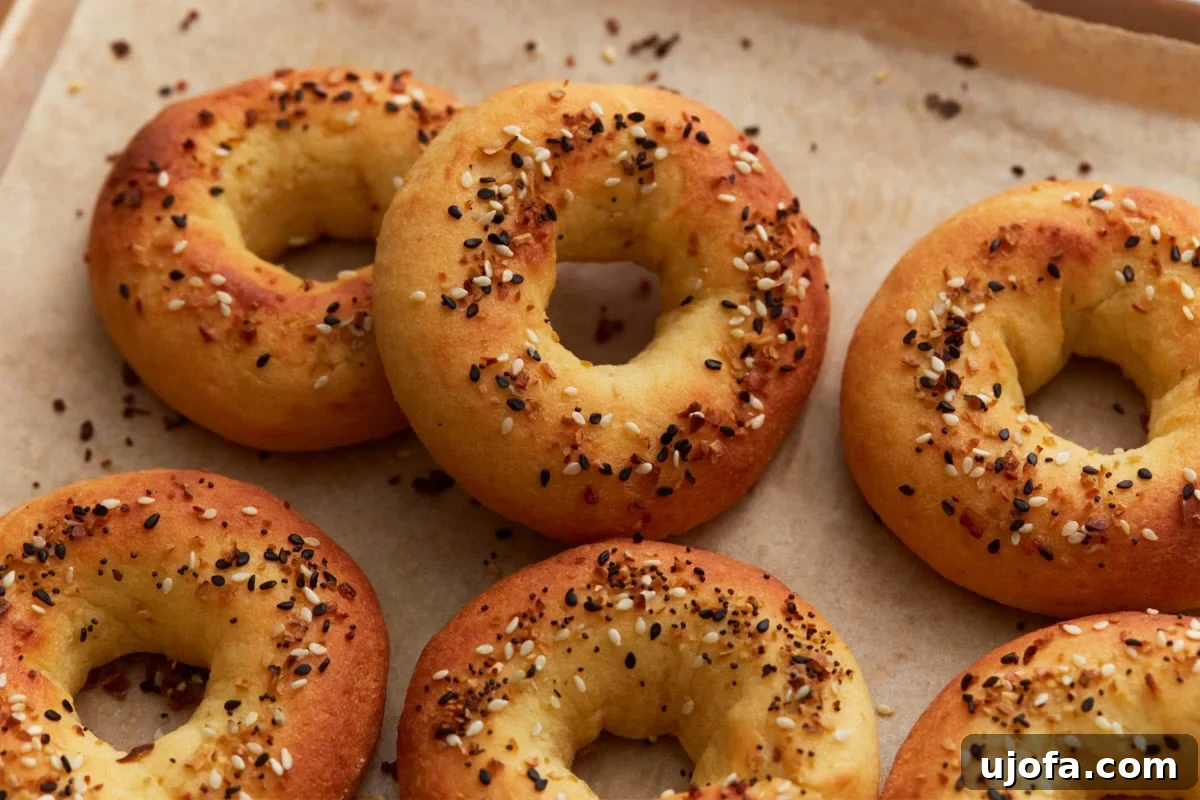
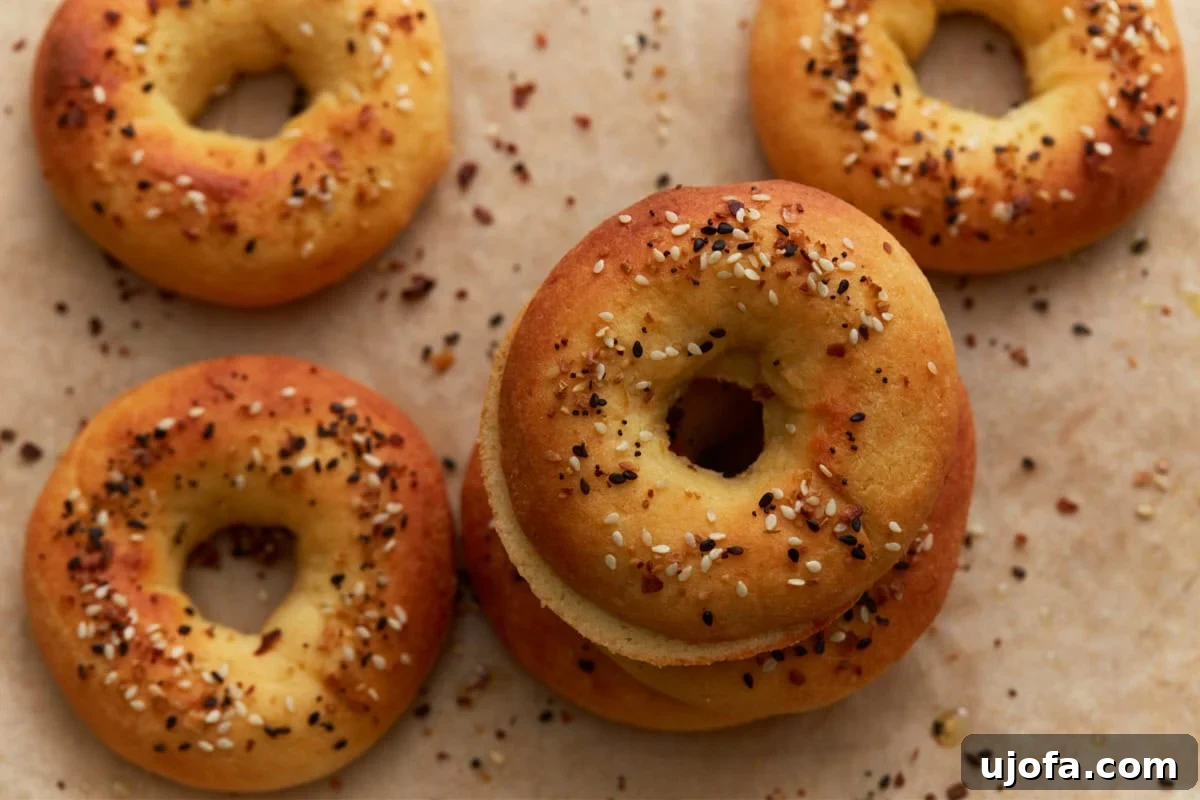
Step 11: Cool and Slice. Once baked, remove the bagels from the oven and immediately transfer them to a wire cooling rack. This is a critical step! Allow the bagels to cool completely for at least 30 minutes before attempting to slice them. During this cooling period, the internal structure of the bagels continues to set and firm up, which is essential for achieving that ideal chewy texture and ensuring clean, non-gummy slices. Patience here will be rewarded with the best possible bagel experience.
Troubleshooting Common Keto Bagel Issues
Even with simple recipes, sometimes things don’t go exactly as planned. Here are some solutions to common issues you might encounter while making your keto bagels:
- Bagels are Too Flat/Spread Out: This usually means your dough was too wet or too warm. Ensure you’re using finely ground almond flour, measure accurately, and consider adding an extra tablespoon of almond flour if the dough feels excessively sticky or greasy after processing. Also, make sure your mozzarella and cream cheese aren’t *too* hot when added to the food processor, as this can make the dough difficult to handle.
- Bagels are Crumbly/Dry: If your dough is too dry, it will be hard to roll and shape, and the final bagels might be crumbly. This could be due to too much almond flour or not enough moisture. Double-check your measurements. If your dough feels too dry, you can try adding half an egg white (whisked) or a teaspoon of water, a tiny bit at a time, and processing until it reaches a manageable consistency.
- Bagels Don’t Hold Shape While Baking: This is often linked to the dough being too wet or not properly mixed. Refer back to the “Dough Texture” tip above. Also, ensure you’ve pinched the ends of the dough ropes together very firmly when forming the bagel shape.
- Cheesy Texture is Too Prominent: While these are cheese-based bagels, they shouldn’t taste overwhelmingly cheesy. Ensure the cheese mixture is completely melted and smooth before combining with the dry ingredients and eggs. Proper mixing in the food processor helps emulsify the fat and create a more bread-like texture.
- Uneven Browning: Ovens can have hot spots. If your bagels are browning unevenly, try rotating the baking sheet halfway through the baking time. Also, ensure they are placed on parchment paper, which helps with even heat distribution and prevents sticking.
Delightful Serving Suggestions for Your Keto Bagels
These versatile keto bagels are incredibly adaptable and can be enjoyed in countless ways, making them a fantastic addition to any meal. Here are some of my favorite ways to serve them:
- Classic Breakfast Delight: My absolute favorite way to enjoy these bagels is sliced, lightly toasted, and generously spread with classic full-fat cream cheese or a dollop of rich butter. It’s simple, satisfying, and perfect for a quick morning meal.
- Hearty Keto Breakfast Sandwiches: Elevate your breakfast by using these bagels as the base for a savory sandwich. Layer them with scrambled or fried eggs, crispy bacon or sausage, a slice of cheddar cheese, and fresh avocado slices for a truly filling and protein-packed start to your day.
- Elegant Smoked Salmon Pairings: For a more sophisticated brunch or lunch, spread a generous amount of cream cheese, then top with thin slices of smoked salmon, a sprinkle of fresh dill, and a few capers. Add some finely sliced red onion for an extra zing.
- Brunch Spreads: Planning a brunch? These bagels are a perfect accompaniment. Serve them alongside a savory crustless zucchini quiche for a balanced and flavorful spread. To add a sweet counterpoint to the table, I often include fluffy almond flour waffles or light almond flour pancakes.
- Mini Pizza Bases: For a quick and fun lunch or snack, slice the bagels in half, top with sugar-free marinara sauce, mozzarella cheese, and your favorite low-carb toppings (pepperoni, mushrooms, olives), then bake until the cheese is bubbly and golden.
- Avocado Toast Twist: Skip the traditional bread and make keto avocado toast! Toast your bagel halves, smash ripe avocado on top, season with everything bagel seasoning, chili flakes, and a squeeze of lime.
Storage Instructions for Optimal Freshness
Proper storage is key to extending the life and maintaining the delicious texture of your homemade keto bagels. Follow these guidelines to keep them fresh and ready to enjoy:
- Room Temperature (Short-Term): Once your keto bagels have cooled completely to room temperature, they can be stored in an airtight container for up to 2 days. This is ideal if you plan to enjoy them within a couple of days. Placing a paper towel at the bottom of the container can help absorb any excess moisture and prevent them from becoming soggy.
- Refrigerator (Medium-Term): For longer storage, transfer the cooled bagels to an airtight container and store them in the refrigerator for up to 5 days. Chilling them helps to maintain their freshness and prevents spoilage. Always ensure the container is truly airtight to protect them from drying out or absorbing refrigerator odors.
- Freezer (Long-Term): If you want to enjoy these delicious bagels for weeks to come, freezing is an excellent option. For best results, I recommend slicing the bagels in half before freezing. This makes them much easier to toast directly from the freezer. Wrap each sliced bagel half tightly in plastic wrap or aluminum foil, then place them all in a freezer-safe bag or container. They will keep well in the freezer for up to 3 months. Label with the date for easy tracking.
- Reheating Instructions:
- From the Fridge: Toast refrigerated bagels directly in a toaster or toaster oven until heated through and lightly crisp.
- From the Freezer: You can toast frozen bagels directly from the freezer in a toaster or toaster oven. They might require a slightly longer toasting time. Alternatively, you can warm them in a preheated oven at 350°F (175°C) for about 5-10 minutes, or until they are heated through and the exterior is lightly crisp.
More Low-Carb & Gluten-Free Bread Recipes to Explore
If you loved these keto bagels, you’ll be thrilled to discover more delicious and easy-to-make low-carb and gluten-free bread alternatives that can transform your meals. Expand your keto baking repertoire with these fantastic recipes:
- Almond Flour Biscuits: Fluffy, tender biscuits perfect for breakfast or alongside a savory meal, completely gluten-free and low-carb.
- Keto Cornbread: Enjoy the comforting taste of cornbread without the carbs. This recipe offers a moist, flavorful twist on a classic.
- Almond Flour Bread: A versatile, everyday bread that’s ideal for sandwiches, toast, or simply enjoyed on its own. It’s a staple for any low-carb kitchen.
- Almond Flour Banana Bread: A delightfully moist and flavorful banana bread that’s low in carbs, perfect for a sweet treat or a satisfying snack.
- Almond Flour Tortillas: Soft and pliable tortillas that are perfect for tacos, wraps, or quesadillas, offering a fantastic gluten-free and keto option.