
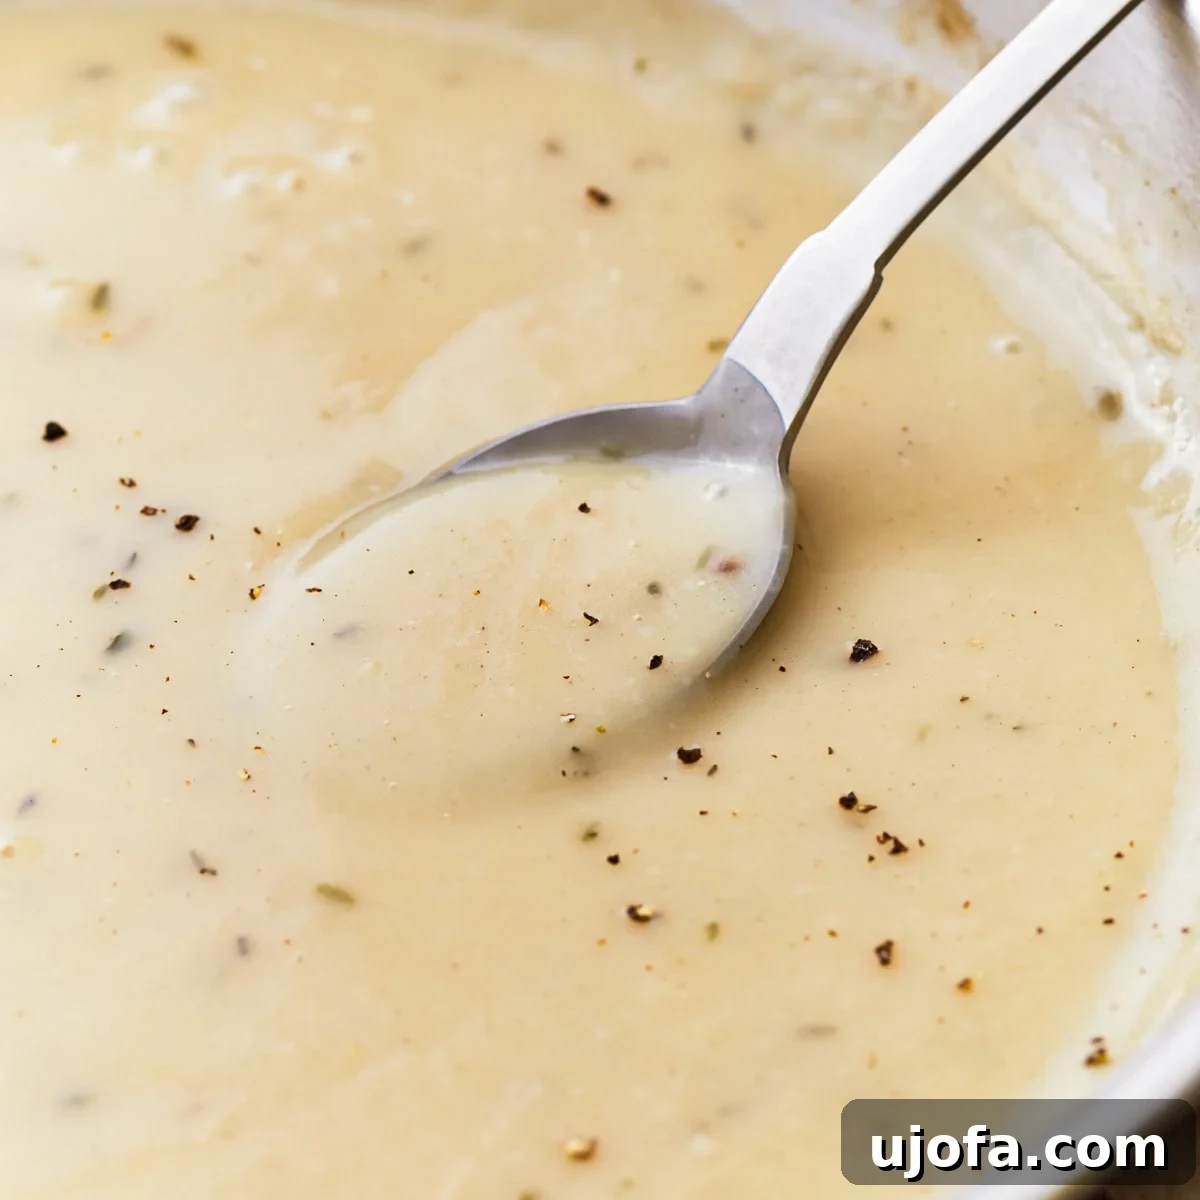
Welcome to the ultimate guide for crafting the most delectable, effortless gluten-free gravy you’ll ever encounter! Say goodbye to bland, lumpy sauces and hello to a rich, savory accompaniment that transforms any meal into a gourmet experience. Our incredibly easy gluten-free gravy recipe requires only three simple ingredients and takes a mere 5 minutes to prepare from start to finish. This versatile recipe empowers you to customize the flavor with your preferred type of broth, and there’s absolutely no pressure to use pan drippings if you’re short on time or don’t have them available (though we’ve included clear instructions for harnessing that extra burst of flavor, too!).
Whether you’re planning a grand Thanksgiving feast, a festive holiday meal, or simply want to elevate a weeknight dinner, this gravy is an absolute game-changer. Plus, we’ve made sure to include straightforward options for those needing a dairy-free or vegetarian version, ensuring everyone at your table can indulge in its creamy, satisfying goodness. Trust us when we say, this isn’t just easy; it’s genuinely the most delicious gluten-free gravy you’ll ever taste, and it’s bound to become a staple in your culinary repertoire.
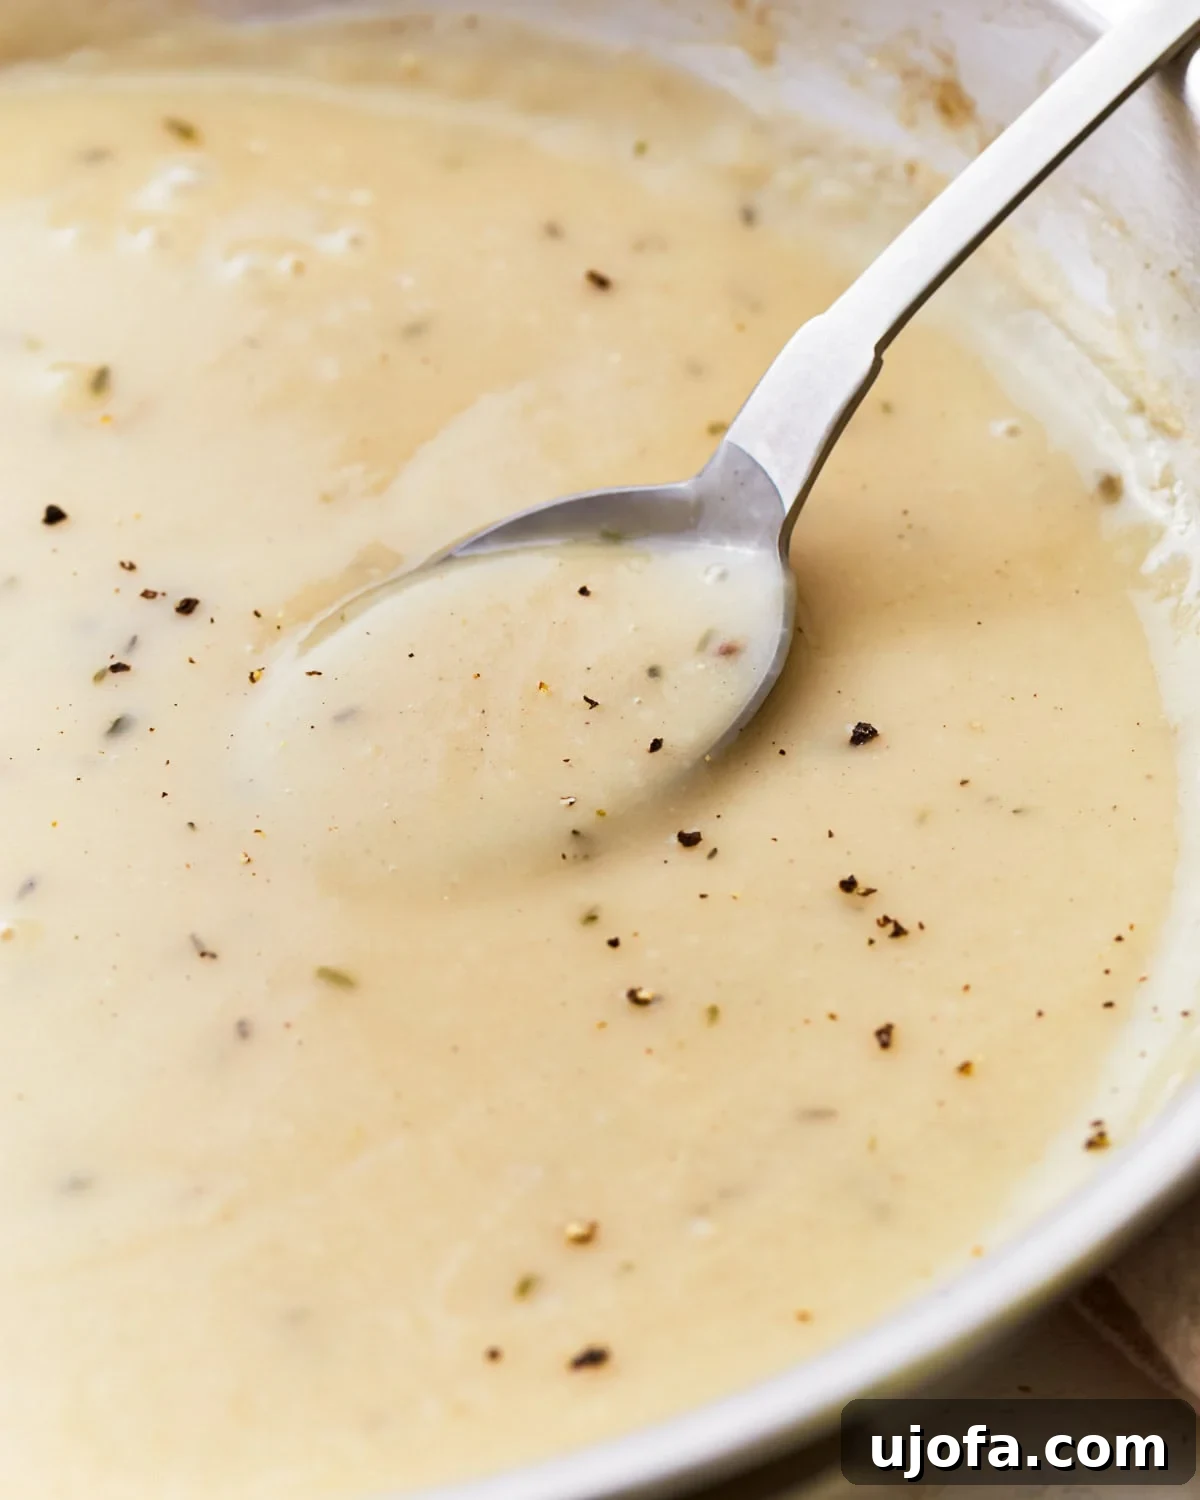
The Ultimate Easy Gluten-Free Gravy Recipe
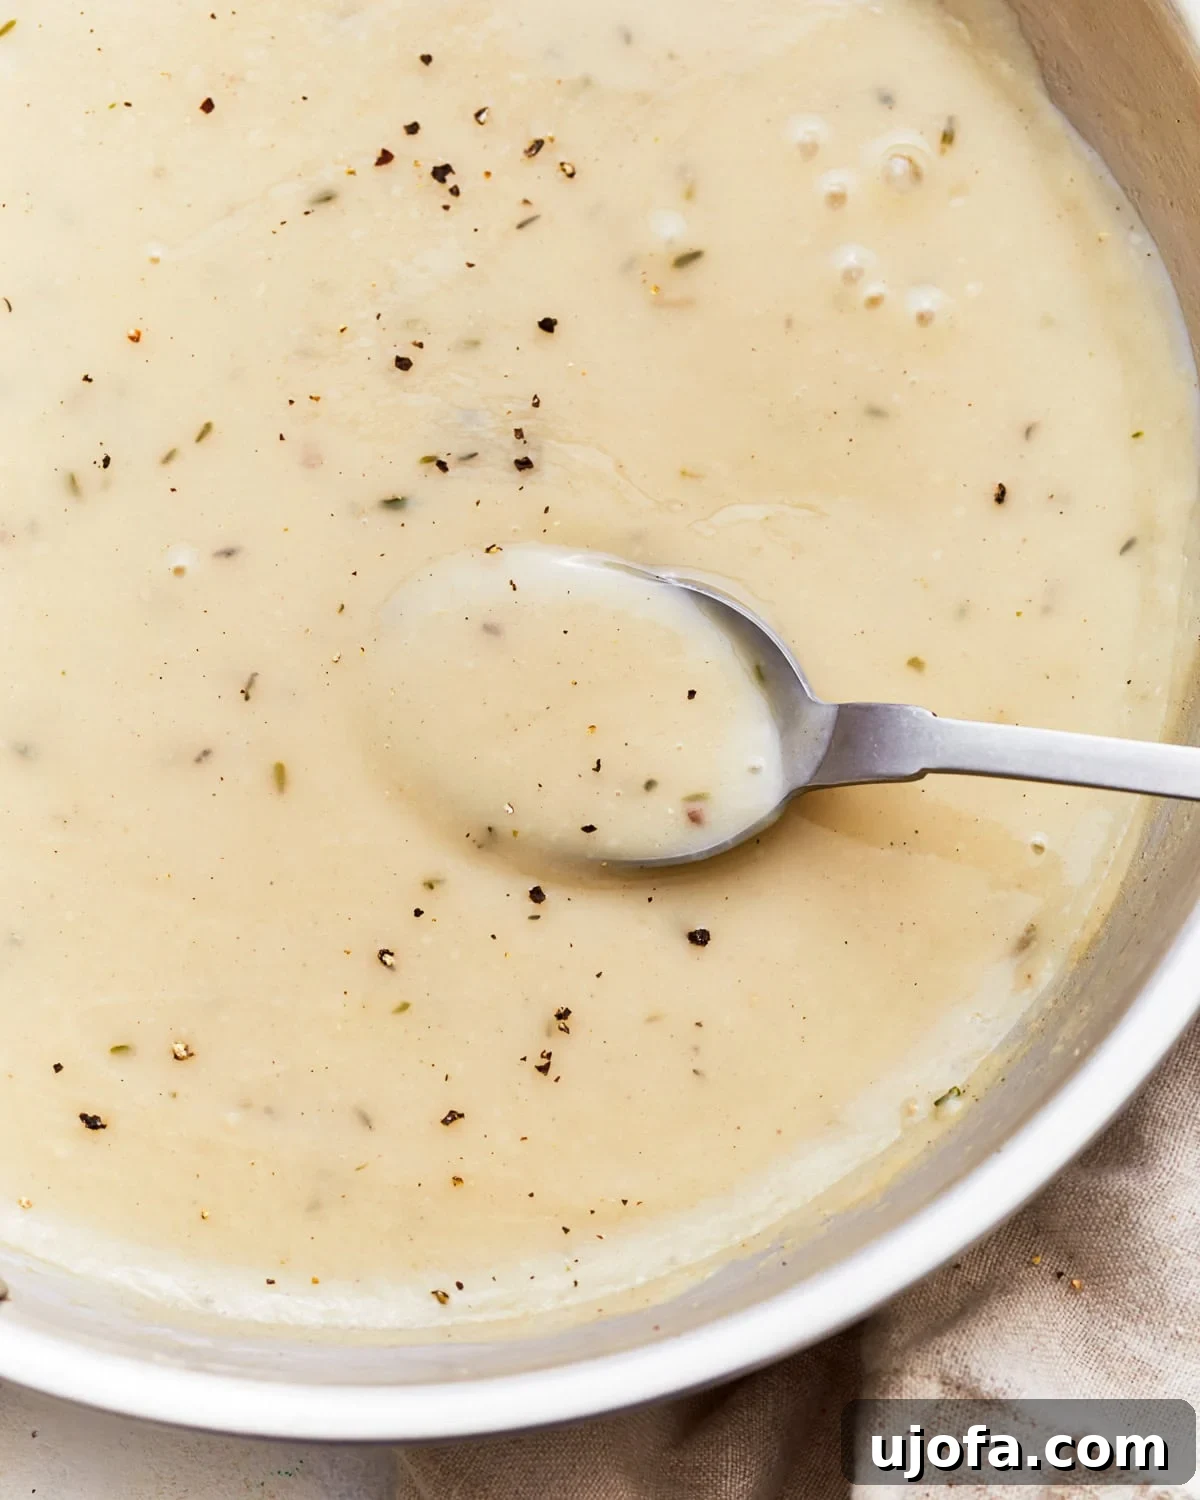
Anyone who has navigated a busy holiday kitchen knows the whirlwind of activity that ensues. Between juggling multiple dishes, managing oven space, and keeping loved ones entertained, finding quick and reliable recipes that don’t compromise on taste is invaluable. That’s precisely why this homemade gluten-free gravy is a holiday lifesaver. It comes together effortlessly with common pantry staples and can be conveniently prepared ahead of time, freeing you up on the big day. Much like traditional gravy made with wheat-based flour, our recipe begins with a simple yet effective gluten-free roux. This essential base is then whisked with your choice of flavorful broth, allowing for incredible versatility. Expertly seasoned with a pinch of salt, a dash of freshly ground black pepper, and an optional touch of dried thyme, this luxurious sauce is bursting with savory flavor, ready to be lavishly poured over your succulent Thanksgiving turkey, creamy mashed potatoes, or any dish that craves a comforting drizzle.
Essential Ingredients for Your Gluten-Free Gravy
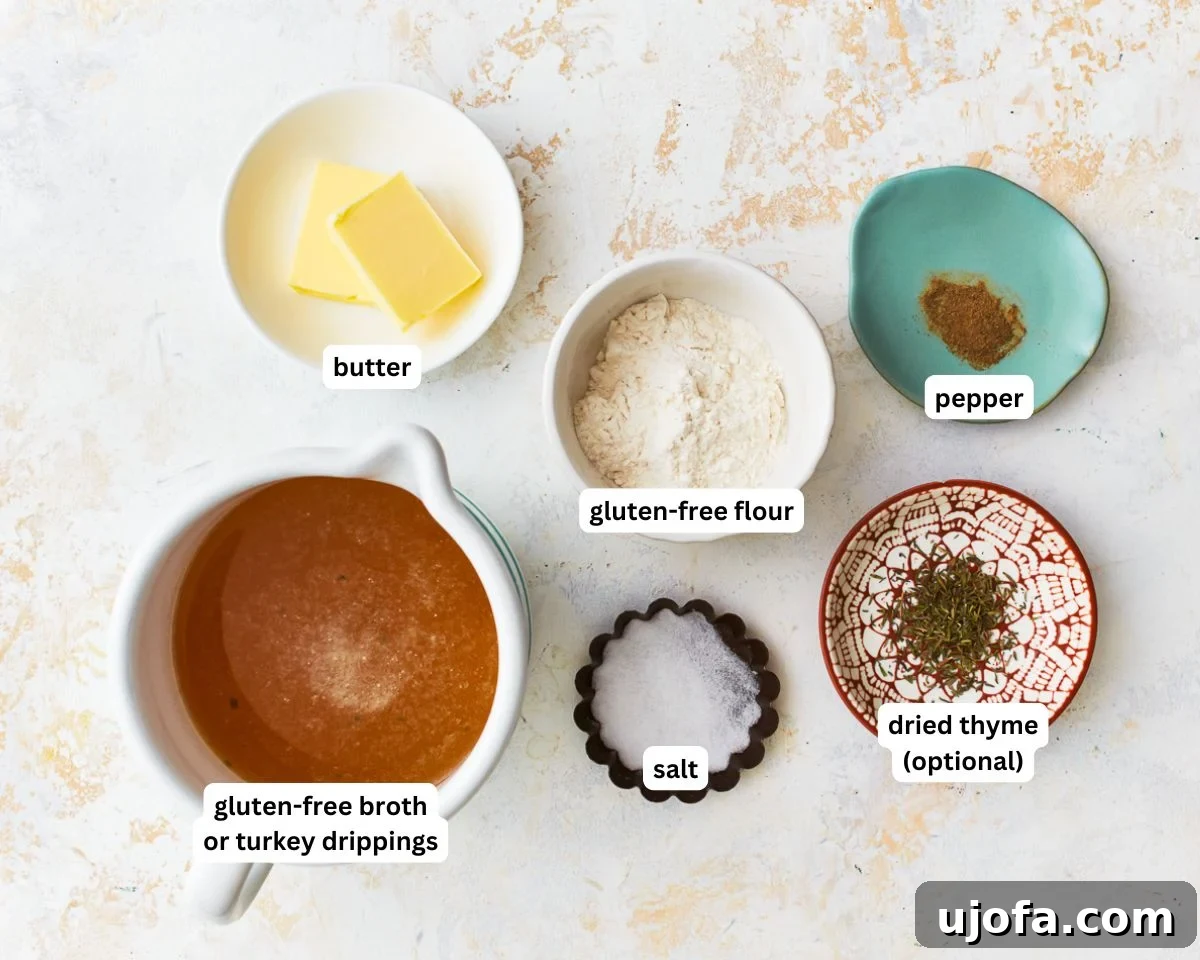
Creating this magnificent gluten-free gravy requires only a handful of fundamental ingredients, each playing a crucial role in developing its rich texture and depth of flavor. We focus on simplicity without sacrificing quality, ensuring that even novice cooks can achieve a restaurant-worthy result.
- Butter: The foundation of our rich and creamy roux. Butter combines with the gluten-free flour to create a smooth, golden base that thickens the gravy beautifully. For those seeking a dairy-free option, Smart Balance butter or your favorite plant-based butter alternative works wonderfully, ensuring the same luxurious texture and flavor.
- Gluten-Free Flour: You’ll be surprised at how little flour is needed to achieve perfect consistency – just ¼ cup for this entire recipe! A good quality all-purpose gluten-free flour blend is ideal. Different gluten-free flours have varying absorbency levels, so always ensure you’re using a blend designed for baking and thickening. If you prefer, or if you don’t have gluten-free flour on hand, a cornstarch slurry is an excellent alternative. We’ve provided detailed instructions on how to prepare and incorporate it in our tips section below.
- Gluten-Free Broth: This is where the magic of customization happens! The broth forms the heart of your gravy’s flavor profile. You can opt for a high-quality store-bought gluten-free broth, or easily whip up your own using gluten-free bouillon cubes or granules. For the best control over seasoning, especially if using store-bought options, choose low-sodium varieties. This allows you to adjust the saltiness to your exact preference later. We’ve had fantastic success with chicken, turkey, and beef broth, each imparting its unique savory notes. For a truly exceptional and deeply flavored gravy, especially during holiday meals, turkey drippings are an incredible alternative. We’ve included a dedicated section below on how to prepare and use these precious pan drippings. For a truly inclusive meal, simply swap in vegetable broth for a delicious vegetarian option that no one will miss out on.
- Salt and Pepper: These fundamental seasonings are added to taste, allowing you to perfect the balance of flavors. Start with a small amount and adjust as needed, remembering it’s always easier to add more than to remove excess salt.
- Dried Thyme: While optional, dried thyme is one of our absolute favorite savory seasonings to incorporate into this gravy. Its earthy, slightly minty notes beautifully complement poultry and other meats, adding an aromatic depth that elevates the entire dish. Feel free to experiment with other herbs like sage or rosemary if they better suit your meal.
Expert Tips and Suggestions for a Perfect Gluten-Free Gravy
Achieving a velvety smooth, lump-free, and perfectly seasoned gravy is easier than you think. These expert tips and suggestions will ensure your gluten-free gravy is nothing short of perfection every single time.
- Cornstarch Slurry for a Flawless Finish: If you prefer not to use gluten-free flour, or simply want an alternative thickening method, a cornstarch slurry is an excellent choice. To make it, whisk together 3 tablespoons of cornstarch with 2 tablespoons of cold water in a small bowl until the mixture is completely smooth and free of lumps. This slurry can then be added to your hot gravy, just as you would the flour-based roux, to achieve your desired thickness. Remember to add it gradually while whisking constantly.
- Customizing Your Gravy’s Flavor Profile: While salt, pepper, and thyme are our go-to seasonings, the beauty of homemade gravy lies in its adaptability. Feel free to incorporate any savory seasonings you enjoy to tailor the flavor to your meal. Popular additions include dried sage for a classic Thanksgiving taste, onion powder for an umami kick, or garlic powder for a pungent depth. My family particularly adores this sauce with the subtle, aromatic touch of dried thyme.
- The Golden Rule: Always Taste Before Seasoning: This cannot be stressed enough! Different broths, whether store-bought or homemade using bouillon cubes or granules, can vary significantly in their salt content. To avoid an overly salty gravy, always taste your gravy before adding any extra salt. Start with a minimal amount, stir it in, taste again, and gradually add more until the seasoning is just right. This iterative approach guarantees a perfectly balanced flavor.
- Preventing Lumps: The Whisking Technique: The key to a silky-smooth gravy is continuous whisking, especially when you’re incorporating the broth into your roux. Adding the liquid slowly and whisking vigorously helps to evenly distribute the flour (or slurry) and prevents any clumps from forming. If, despite your best efforts, you do end up with a few stubborn lumps, don’t despair! There are quick fixes. You can easily strain the gravy through a fine mesh strainer to remove them, or for an even quicker solution, use an immersion blender directly in the pot to smooth out the gravy until it’s perfectly velvety.
- Temperature Matters: When adding your broth to the roux, ensure it’s at room temperature or slightly warmed. Adding very cold broth to a hot roux can sometimes cause the mixture to seize up or become lumpy.
- Simmer for Depth: After adding the broth, allow the gravy to simmer gently for a minute or two. This not only helps it to thicken but also allows the flavors to meld and deepen, resulting in a more complex and satisfying taste.
How to Enhance Flavor with Pan Drippings
If you’ve roasted a whole turkey, chicken, or any other meat, the flavorful liquid left in the bottom of the pan is a culinary treasure. These pan drippings are packed with rich, savory goodness and make an exceptional substitute for, or addition to, store-bought broth in this gravy recipe. Utilizing them is a fantastic way to add an unparalleled depth of flavor and truly elevate your homemade gravy. Here’s how to properly prepare and incorporate them:
- Cooling is Key: Allow your pan drippings to cool significantly, ideally to room temperature, before you begin processing them. This step is crucial because it allows the fat to separate and solidify, making it much easier to remove.
- Skim and Strain: Once cooled, a layer of fat will have risen to the top of the drippings. Carefully skim off this excess fat. You can discard it, or save a small amount to use in your roux for an even richer flavor, replacing some of the butter. After skimming, pour the remaining liquid through a fine mesh strainer. This will remove any unwanted gristle, small bone fragments, or roasted bits, ensuring your gravy is wonderfully smooth.
- Taste and Adjust Intensity: Pan drippings can be incredibly concentrated in flavor, sometimes almost too intense on their own. Taste your strained drippings. If the flavor is too strong or too salty, don’t hesitate to add a little water or low-sodium gluten-free broth to dilute it to your preference. You want a robust, savory base, not an overpowering one.
- Incorporate into Your Gravy: Now that your pan drippings are prepared, use them as a direct substitute for the gluten-free broth in this recipe. Proceed with the instructions as written, creating your roux and then gradually whisking in the drippings. As always, taste the gravy as it simmers and adjust the seasoning (salt, pepper, and any herbs) as needed to achieve your perfect balance.
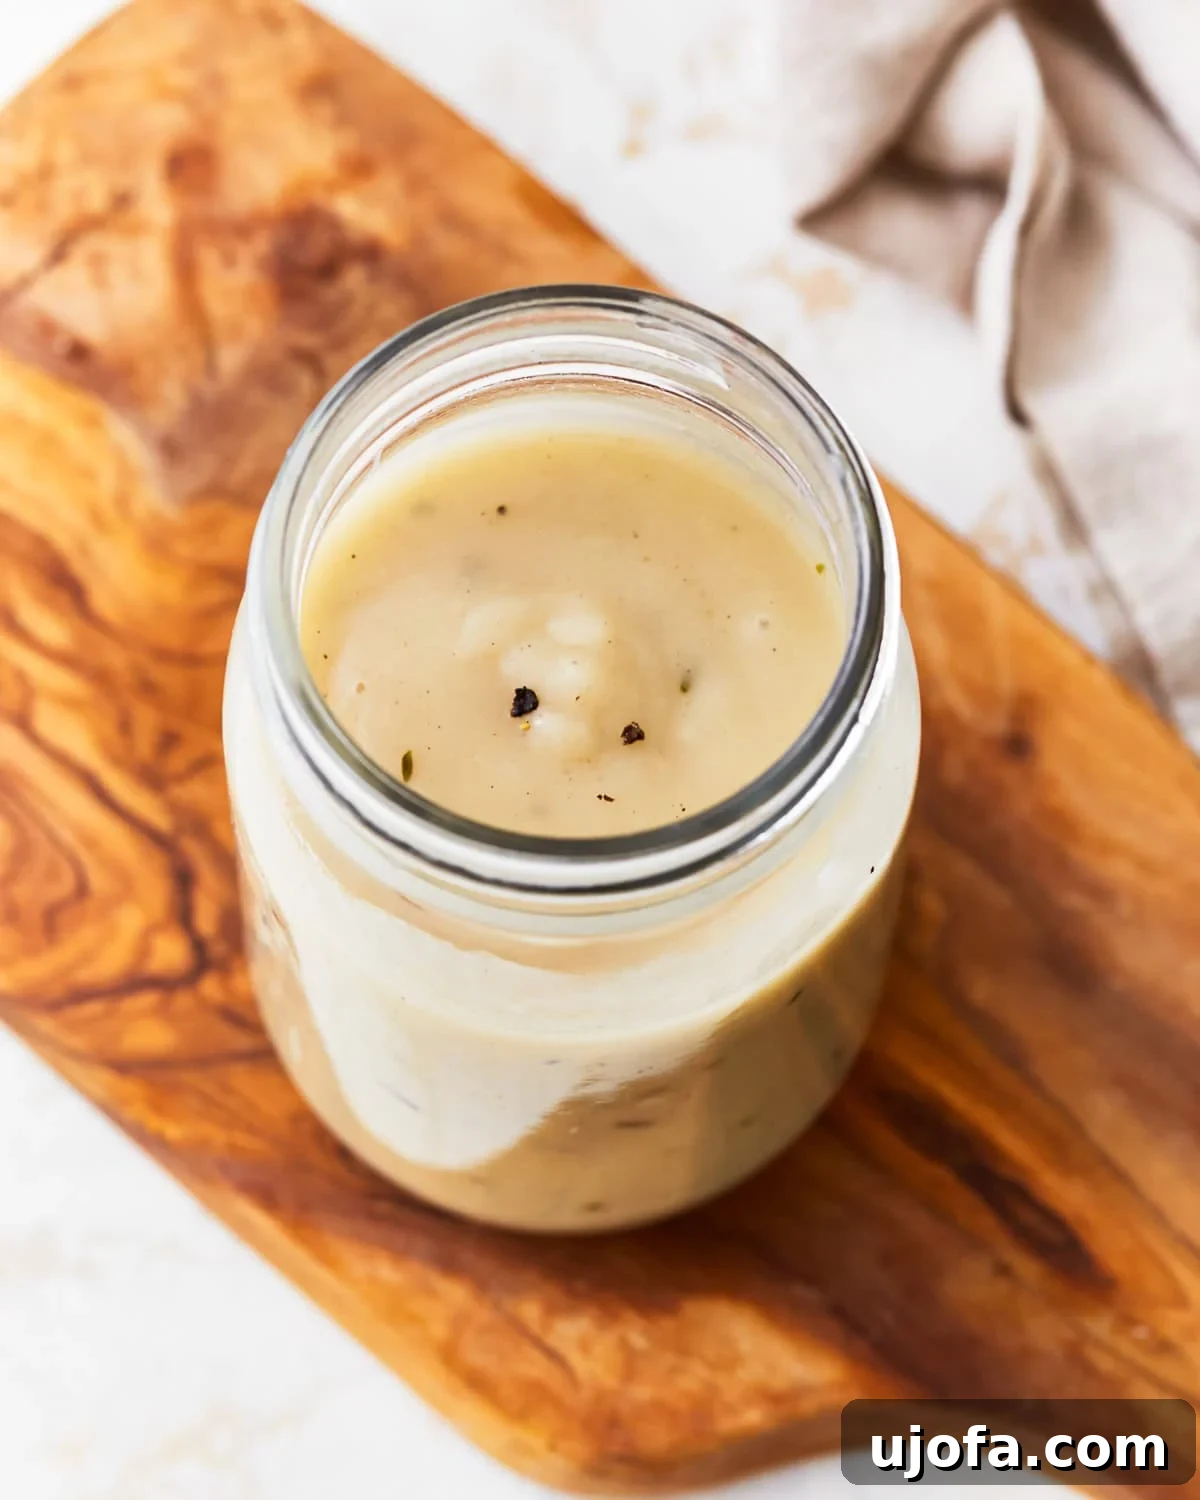
How Do You Thicken Gravy Without Gluten? Mastering the Technique
Thickening gravy without traditional wheat flour is simple once you understand the properties of gluten-free alternatives. Different gluten-free flours possess varying absorbency levels and thickening capabilities. It’s a common misconception that if your gravy isn’t thick enough, you should simply dump in more flour directly into the hot liquid. Please resist this urge! Adding dry gluten-free flour directly into hot gravy is a surefire way to create stubborn lumps and can ruin the otherwise smooth texture. The dry flour will cook unevenly and refuse to incorporate smoothly.
Instead, the secret to achieving a perfectly smooth, lump-free gluten-free gravy lies in creating a “slurry” or a “roux” first. When using gluten-free flour, you will create a roux by whisking the flour with melted fat (like butter) over heat until it forms a paste. This cooks the starch granules, preventing lumps when liquid is added. If your gravy still needs a bit more thickening after the initial roux, or if you’re working with a pre-made gravy base and need to adjust consistency, the best method is to make a small *slurry*. To do this, mix additional gluten-free flour (or cornstarch, which is another excellent gluten-free thickening agent) with a small amount of *cold* water or *cold* broth until it forms a completely smooth, thin paste. Once smooth, slowly drizzle this slurry into your simmering gravy while whisking constantly and vigorously. The cold liquid in the slurry prevents the starch from clumping when it hits the hot gravy, allowing it to dissolve and thicken smoothly. Continue to whisk and simmer for a minute or two until your gravy reaches your desired consistency. This controlled method ensures a beautiful, silky gravy every single time.
Versatile Serving Suggestions for Your Gluten-Free Gravy
The rich, savory flavor of this easy gluten-free gravy makes it an incredibly versatile accompaniment for a wide array of main courses and side dishes. It’s the perfect finishing touch that adds a layer of comfort and deliciousness to almost any meal. While it’s undoubtedly a star during the holidays, don’t limit its use to just festive occasions!
Naturally, this gravy shines as a quintessential component of any gluten-free Thanksgiving spread. Imagine it generously drizzled over a beautifully roasted turkey, complementing fluffy gluten-free mashed potatoes, and enriching a hearty gluten-free bread stuffing (for an authentic touch, use turkey broth when making your gravy for these pairings). The combination is pure culinary bliss.
Beyond the holidays, this gravy effortlessly elevates everyday meals. For a comforting midweek dinner, my family absolutely adores it drizzled over a savory gluten-free shepherd’s pie, or simply spooned over steamed vegetables like green beans or broccoli, transforming them into something truly special. The rich sauce adds moisture and flavor, making even the simplest sides more appealing.
Consider serving it alongside perfectly cooked rice or quinoa for a satisfying meal. It’s also fantastic with pan-seared chicken breasts, juicy pork chops, or tender beef roast. For a unique twist, try it with gluten-free popovers, allowing the delicate pastry to soak up all that delightful flavor. This gravy is also a wonderful addition to gluten-free meatloaf, creating a comforting and familiar taste. The possibilities are truly endless, making this recipe a valuable addition to your kitchen repertoire year-round.
Storage and Reheating Instructions for Gluten-Free Gravy
One of the many benefits of this simple gluten-free gravy recipe is its excellent make-ahead potential and storage capabilities. You can prepare this delicious gravy up to 3-4 days in advance, making it an ideal candidate for meal prepping, especially before busy holidays like Thanksgiving. I always make my gravy a day or two before the big feast, which allows me to focus on other demanding dishes on the actual day.
To Store: Once your gravy has cooled completely, transfer it to an airtight container. It can then be safely stored in the refrigerator for up to 3-4 days. Proper storage is key to maintaining its freshness and flavor.
To Reheat: When you’re ready to serve, reheat the gravy gently on the stovetop over low to medium heat, or in the microwave. If using the stovetop, stir frequently to ensure even heating and prevent scorching. In the microwave, heat in short intervals, stirring well between each to ensure it heats through evenly. As gluten-free gravies sit, especially when refrigerated, they tend to thicken further. Don’t be alarmed if your gravy seems too thick upon reheating. Simply add a small amount of water or extra gluten-free broth, a tablespoon at a time, whisking it in until the gravy reaches your desired consistency. Continue to heat until it’s piping hot and smooth.
To Freeze: This recipe also freezes beautifully, offering an even longer storage solution. Allow the gravy to cool completely before portioning it into freezer-safe containers or heavy-duty freezer bags. Be sure to leave a little headspace if using containers, as liquids expand slightly when frozen. It can be stored in the freezer for up to 4-6 months without significant loss of quality. To use, thaw the frozen gravy overnight in the refrigerator. Once thawed, reheat it using the instructions above, adding water or broth as needed to achieve the perfect consistency.
More Gluten-Free Thanksgiving Side Dish Recipes to Try!
Complete your holiday feast with these fantastic gluten-free side dish recipes that pair perfectly with your homemade gravy:
- Gluten-Free Dinner Rolls
- Gluten-Free Sweet Corn Bread
- Gluten-Free Corn Casserole
- Gluten-Free Green Bean Casserole
Gluten-Free Gravy Recipe
This gluten-free gravy recipe takes just 5 minutes to make with three simple ingredients. It’s rich, delicious, and perfect for the holidays!
By: Audrey Roberts
Servings: 8 servings
Prep time: 2 mins
Cook time: 3 mins
Ingredients
- 2 tablespoons butter (for dairy-free, use Smart Balance butter or other plant-based alternative)
- ¼ cup all-purpose gluten-free flour (or 3 tablespoons of cornstarch for a slurry, see notes below for making a slurry)
- 2 cups gluten-free broth (can be store-bought, made from gluten-free bouillon, or turkey drippings – see notes)
- Salt and pepper to taste
- ½ teaspoon dried thyme (optional)
Instructions
- Add the butter to a small saucepan over medium heat.
- Once the butter is melted, add the gluten-free flour (or cornstarch slurry if using) to the pan and stir until combined to make a roux. Whisk continuously for 2-3 minutes, until the butter turns golden brown and the gluten-free flour is fully dissolved and clump-free. This ensures a smooth base for your gravy.
- Gradually add the gluten-free broth to the roux (butter and flour mixture), stirring constantly with a whisk to prevent lumps. Bring the mixture to a gentle boil, continuing to whisk until it starts to thicken.
- Boil gently for 1 minute to allow the gravy to reach its full thickening potential and for flavors to meld. Season generously with salt, pepper (to taste), and the optional ½ teaspoon of dried thyme. Taste and adjust seasonings as desired.
- Serve warm and enjoy your perfectly smooth and flavorful gluten-free gravy!
Notes
- To Use Turkey Drippings: First, cool the drippings to room temperature. Skim off any excess fat from the surface and strain the remaining liquid through a fine mesh strainer to remove any gristle or solids. Taste the drippings before adding them to the other ingredients. If the flavor is too intense or too salty, add water or low-sodium broth to dilute it to your liking.
- To Make a Cornstarch Slurry: In a small bowl, whisk together 2 tablespoons of cold water and 3 tablespoons of cornstarch until completely smooth and lump-free. Use this slurry in place of the gluten-free flour when instructed, adding it gradually to your melted butter or hot gravy while whisking.
- To Store: Keep any leftover gravy in an airtight container in the refrigerator for up to 3-4 days.
- To Reheat: Reheat refrigerated gravy gently on the stovetop over low heat or in the microwave, stirring frequently. You may need to add a splash of water or broth to thin it back to your desired consistency as it tends to thicken when cold.
- To Freeze: Portion cooled gravy into freezer-safe containers or bags and freeze for up to 4-6 months. Thaw overnight in the refrigerator before reheating.
- Mama says, “Always check all of your labels to ensure they are certified gluten-free, especially for broths and flour!”
Nutrition
Serving: 1 serving | Calories: 41 kcal | Carbohydrates: 3g | Protein: 0.4g | Fat: 3g | Saturated Fat: 2g | Polyunsaturated Fat: 0.1g | Monounsaturated Fat: 1g | Trans Fat: 0.1g | Cholesterol: 8mg | Sodium: 258mg | Potassium: 1mg | Fiber: 0.4g | Sugar: 1g | Vitamin A: 213IU | Calcium: 3mg | Iron: 0.1mg
Nutrition information is automatically calculated and should only be used as an approximation. Variations can occur based on specific ingredients and preparation methods.
Additional Info
Course: Main Course, Side Dish
Cuisine: American
How to Make Gluten-Free Gravy: Step-by-Step Visual Guide
Follow these simple steps with accompanying visuals to ensure your gluten-free gravy comes out perfect every time. This visual guide complements the recipe card, breaking down each stage for clarity.
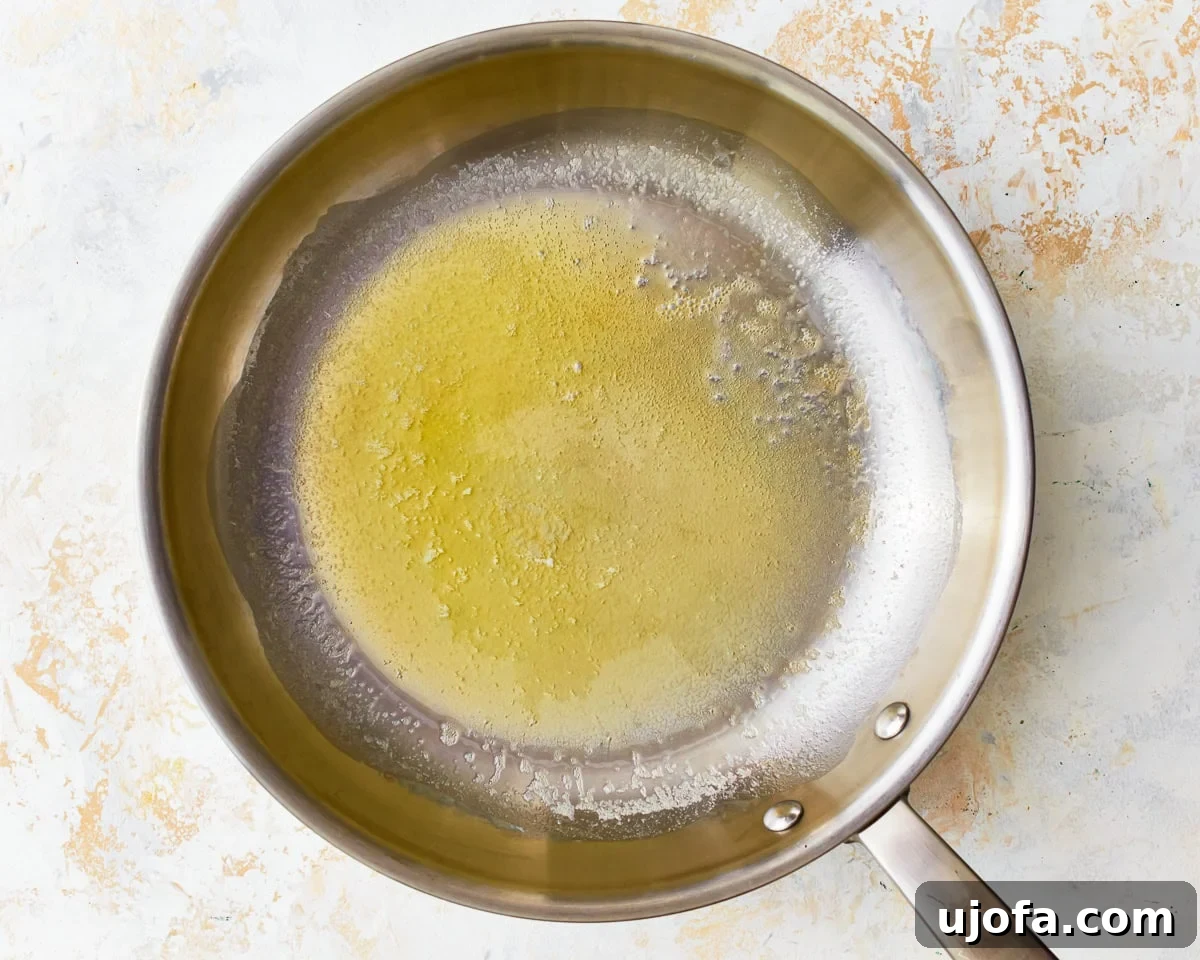
Step 1: Melt the Butter. Add 2 tablespoons of butter (or your chosen dairy-free alternative) to a small saucepan. Place it over medium heat and allow the butter to fully melt until it’s smooth and glistening. This will be the base of your roux.
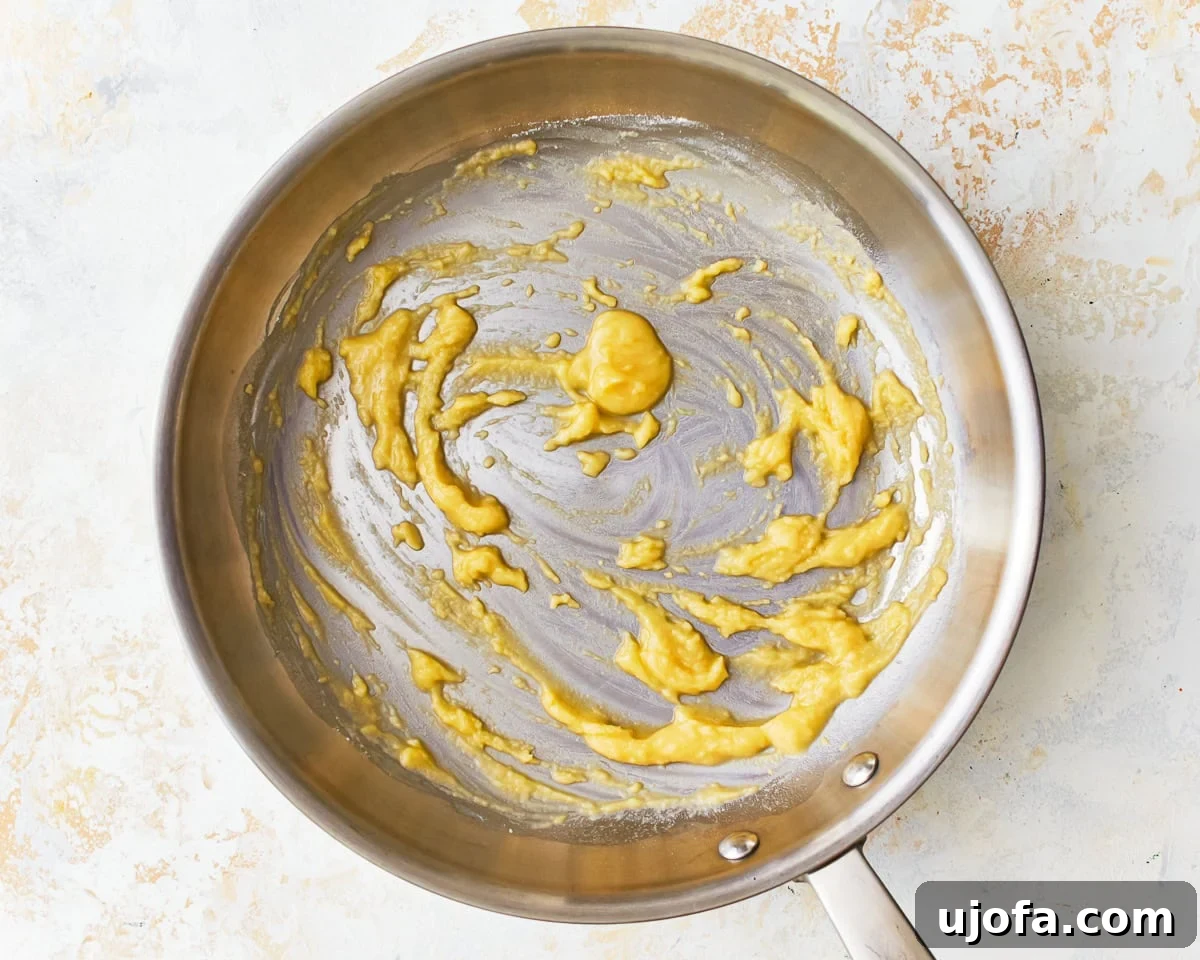
Step 2: Create the Roux. Once the butter is melted and slightly bubbling, add ¼ cup of gluten-free flour (or your prepared cornstarch slurry, as detailed in the notes). Stir continuously with a whisk until the flour is thoroughly combined with the butter, forming a smooth paste, or “roux.” Continue whisking for 2-3 minutes. This cooking time is essential to cook out the raw flour taste and allow the roux to turn a light golden brown, ensuring a rich flavor and eliminating any clumpy texture.
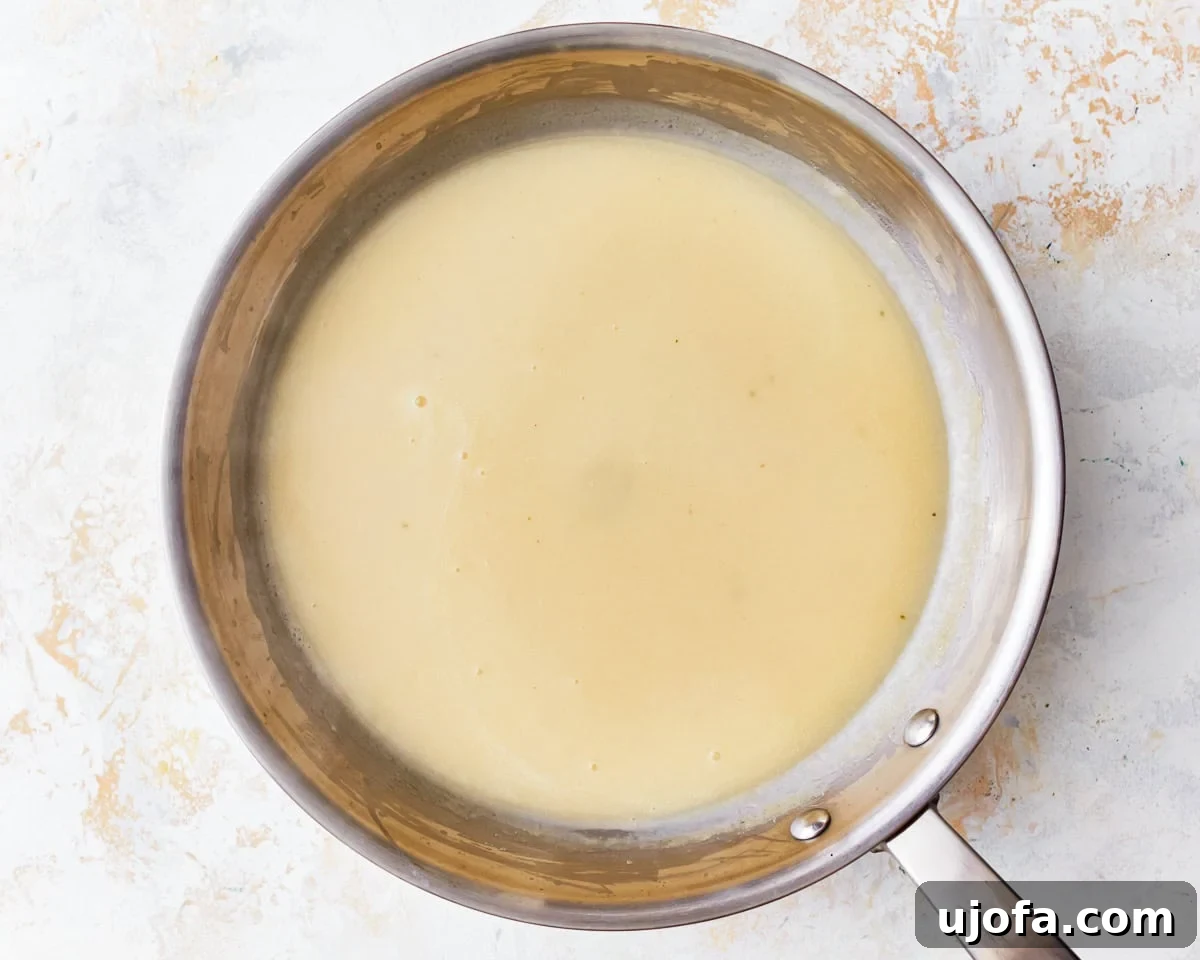
Step 3: Add the Broth. Slowly pour 2 cups of your chosen gluten-free broth into the roux in the saucepan. As you pour, whisk constantly and vigorously to prevent any lumps from forming. Continue to whisk as you bring the mixture to a gentle boil. The gravy will begin to thicken as it heats.
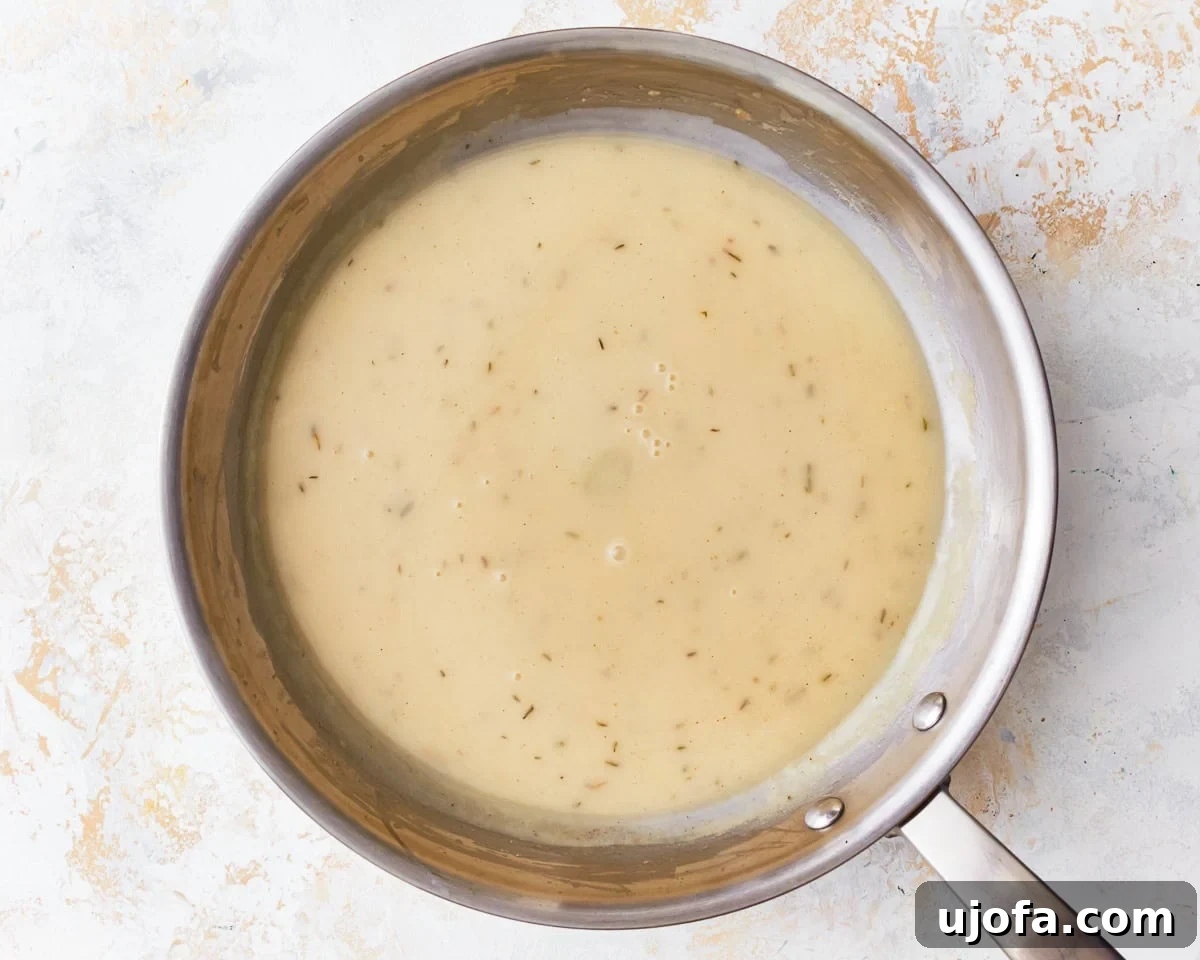
Step 4: Simmer and Season. Allow the gravy to boil gently for 1 minute, continuing to whisk until it reaches your desired consistency. This brief simmer helps fully activate the thickening agents and marry the flavors. Now is the time to season your delicious homemade gravy with salt and pepper to taste. If you enjoy the aromatic notes, stir in ½ teaspoon of dried thyme. Taste and adjust any seasonings as needed. Serve your warm, rich, and perfectly smooth gluten-free gravy immediately and savor every spoonful!
Frequently Asked Questions About Gluten-Free Gravy
Here are answers to some common questions about making and enjoying gluten-free gravy:
Q: What makes gravy gluten-free?
A: Traditional gravy often uses wheat flour as a thickening agent, which contains gluten. Gluten-free gravy is made by substituting wheat flour with a gluten-free alternative, such as an all-purpose gluten-free flour blend, cornstarch, or arrowroot powder. These ingredients provide the same thickening power without the gluten.
Q: Can I use any gluten-free flour for gravy?
A: While many gluten-free flours can be used, an all-purpose gluten-free flour blend (often containing a mix of rice flour, potato starch, tapioca starch, etc.) generally yields the best results for a roux-based gravy, as it behaves similarly to wheat flour in terms of texture and browning. Single-ingredient flours like almond or coconut flour are typically not recommended for gravy due to their different thickening properties and flavor profiles. If you’re unsure about your flour blend, cornstarch or arrowroot powder slurries are reliable alternatives.
Q: How do I make this gravy dairy-free?
A: Making this gravy dairy-free is simple! Just substitute the butter with a high-quality plant-based butter alternative. Brands like Smart Balance or Earth Balance work exceptionally well and provide the same richness and texture. Ensure your chosen broth is also dairy-free, which most commercial broths are, but it’s always good to double-check labels.
Q: How do I make this gravy vegetarian or vegan?
A: For a vegetarian gravy, replace meat-based broths (chicken, turkey, beef) with a good quality vegetable broth. For a vegan gravy, use vegetable broth AND a plant-based butter alternative (as described for dairy-free). This ensures the gravy is free from all animal products while remaining incredibly flavorful.
Q: My gravy is too thin/too thick. How can I fix it?
A: If your gravy is too thin, create a small cornstarch slurry by whisking 1 tablespoon of cornstarch with 2 tablespoons of cold water. Slowly whisk this slurry into your simmering gravy until it reaches your desired thickness. Allow it to simmer for another minute to fully thicken. If your gravy is too thick, simply whisk in additional gluten-free broth (or water) a tablespoon at a time, until it thins to your preferred consistency. Heat through completely before serving.
Q: Can I make this gravy ahead of time?
A: Absolutely! This gluten-free gravy is an excellent make-ahead option, perfect for holiday meal prep. You can prepare it up to 3-4 days in advance and store it in an airtight container in the refrigerator. When ready to serve, gently reheat it on the stovetop or in the microwave, adding a splash of water or broth if it has thickened too much in the fridge.