
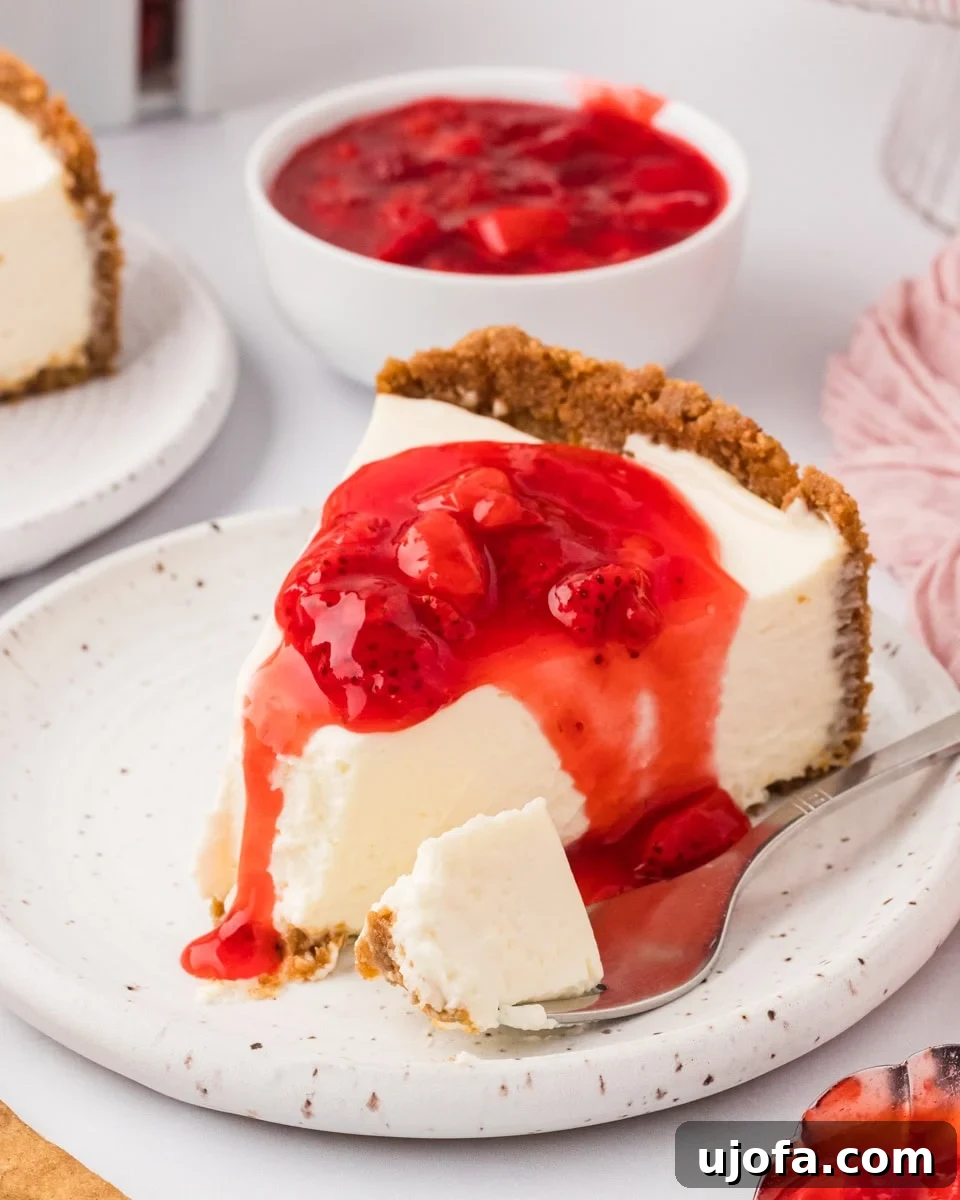
Luscious Gluten-Free No-Bake Cheesecake: Your Perfect Summer Dessert
As the summer sun blazes and the days stretch long, the thought of turning on a hot oven often sends shivers down the spine – and not the good kind! This is precisely why a no-bake dessert becomes an indispensable hero in warmer months. Today, we’re diving into the world of an utterly divine creation: a **Gluten-Free No-Bake Cheesecake**. It’s the ultimate antidote to sweltering heat, offering a sublime blend of creamy richness and a delightful tangy kick, all without ever needing to touch the oven dial. Effortless, incredibly indulgent, and a guaranteed crowd-pleaser, this cheesecake recipe is poised to become your go-to for every summer gathering, potluck, and celebratory occasion.
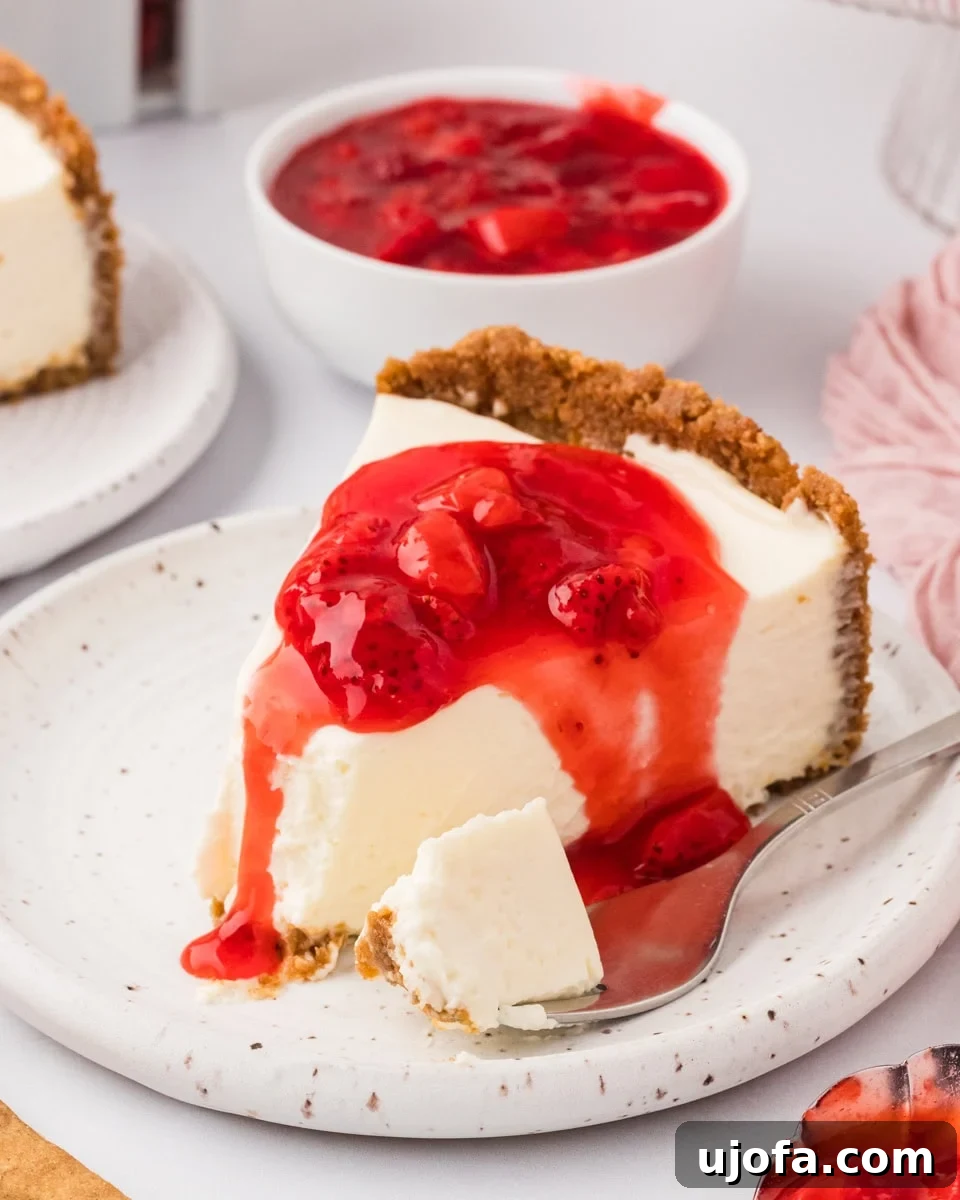
My personal love affair with cheesecake runs deep, and the journey became even more joyous once I perfected my homemade gluten-free graham crackers. They form the flawless, sturdy foundation for many of my dessert crusts, including this very special no-bake version. While my traditional baked gluten-free cheesecake is a classic for a reason, this no-bake recipe takes convenience and ease to a whole new level. The absence of baking means more time enjoying the sunshine and less time toiling away in a hot kitchen – an ideal scenario for those scorching summer afternoons when cooling down is the top priority. The filling itself is a masterpiece of texture and taste: velvety smooth, exquisitely rich, and boasting just the right hint of tartness from fresh lemon to tantalize your palate and cut through the sweetness. It comes together remarkably quickly with a handful of common, simple ingredients and achieves its wonderfully light, airy consistency from freshly whipped cream, which is gently folded in at the final stage. The sheer beauty of it? Simply mix the components, allow it to chill patiently, and then prepare to savor a truly classic cheesecake experience, made wonderfully easy and, of course, completely gluten-free.
The Ultimate Gluten-Free No-Bake Cheesecake Recipe
Gluten-Free No-Bake Cheesecake
Email Recipe
Print Recipe
This gluten-free no-bake cheesecake offers the perfect creamy, tangy experience without turning on the oven. It’s an easy, indulgent, and ideal summer dessert for any gathering. Step-by-step photos are available further down the page to guide you through the process.
Want to save this recipe?
Enter your email below to have this delicious recipe sent directly to your inbox! You’ll also receive our weekly newsletter with new gluten-free recipes.
(Please note: This is a static HTML representation. For full functionality of saving the recipe via email, please visit the original site.)
Equipment
- 1 9-inch Springform Pan (or a sturdy pie dish)
- Medium Mixing Bowl
- Large Mixing Bowl
- Hand Mixer (or Stand Mixer with whisk attachment)
- Rubber Spatula
- Measuring Cups and Spoons
Ingredients
For the Graham Cracker Crust
- 2 cups gluten-free graham cracker crumbs
- ¼ cup packed brown sugar
- ½ tsp ground cinnamon
- ¼ tsp fine sea salt
- ½ cup unsalted butter, melted
For the Cheesecake Filling
- 1 cup heavy whipping cream, very cold
- 24 oz. cream cheese (three 8-oz. blocks), softened to room temperature
- ¼ cup sour cream, room temperature
- 1 cup powdered sugar (approx. 150 grams)
- 1 tbsp fresh lemon juice
- 1 tsp pure vanilla extract
Instructions
- Prepare the Crust: In a medium mixing bowl, combine the gluten-free graham cracker crumbs, packed brown sugar, ground cinnamon, and fine sea salt. Mix these dry ingredients thoroughly. Pour in the melted unsalted butter and stir well until all the graham cracker crumbs are uniformly moistened and the mixture resembles wet sand.
- Press the Crust: Transfer the crumb mixture into a 9-inch springform pan. Use the flat bottom of a drinking glass or a sturdy measuring cup to firmly and evenly press the mixture into the bottom of the pan and slightly up the sides. This firm compression is crucial for a stable crust.
- Chill the Crust: Place the prepared crust into the freezer to chill for at least 15-20 minutes while you prepare the cheesecake filling. This helps the butter solidify, creating a firm base that won’t crumble when sliced.
- Whip the Cream: In a separate medium bowl, using a hand mixer (or a stand mixer with a whisk attachment), whip the very cold heavy cream on high speed until stiff peaks form. The cream should be thick and hold its shape when the beaters are lifted. Immediately transfer the whipped cream to the refrigerator to keep it cold and stable.
- Prepare the Filling Base: In a large mixing bowl, beat together the room temperature cream cheese, sour cream, and powdered sugar until the mixture is completely smooth, creamy, and free of any lumps. It’s essential that the cream cheese is soft to achieve this silky texture. Scrape down the sides of the bowl as needed to ensure even mixing.
- Add Flavorings: Incorporate the fresh lemon juice and pure vanilla extract into the cream cheese mixture. Continue mixing on low speed until these flavorings are thoroughly combined and evenly distributed throughout the filling, enhancing its brightness and depth.
- Fold in Whipped Cream: Retrieve the cold whipped cream from the refrigerator. Using a rubber spatula, gently fold the whipped cream into the cream cheese mixture. Use a light hand and fold just until the whipped cream is fully incorporated and the filling appears smooth and airy. Be careful not to overmix, as this can deflate the whipped cream and reduce the cheesecake’s desired light texture.
- Assemble and Chill: Remove the chilled crust from the freezer. Carefully pour the prepared cheesecake filling over the crust in the springform pan. Use your spatula to gently spread and smooth out the top surface of the cheesecake, creating an appealing, even finish. Cover the springform pan loosely with plastic wrap and refrigerate for a minimum of 4 hours, or preferably overnight, to allow the cheesecake to set completely and firm up properly.
- Serve and Enjoy: Once fully set, carefully unlatch and remove the sides of the springform pan. Serve your luscious gluten-free no-bake cheesecake plain, or enhance it with your favorite toppings like fresh berries, a dollop of extra whipped cream, or a vibrant fruit sauce. Enjoy this delightful summer treat!
Notes for Perfection
- For the cleanest and most pristine slices, it is highly recommended to chill your cheesecake overnight (8-12 hours). This allows for maximum setting.
- Achieve perfectly neat cuts by warming your knife under hot running water and drying it thoroughly between each slice. This creates a smooth cut without dragging the filling.
- Ensure your cream cheese is at true room temperature. This is crucial for a smooth, lump-free filling. Cold cream cheese will result in a clumpy texture.
- Do not skip or shorten the chilling time! It’s absolutely essential for the cheesecake to firm up and hold its shape, making it sliceable and enjoyable.
- Use fresh lemon juice for the best flavor. Its vibrant acidity brightens the cheesecake filling significantly.
Nutrition Facts
Nutrition information is automatically calculated and should only be used as an approximation. Actual values may vary based on specific ingredients and preparation methods.
Calories: 492 kcal
Carbohydrates: 41 g
Protein: 4 g
Fat: 36 g
Saturated Fat: 21 g
Polyunsaturated Fat: 1 g
Monounsaturated Fat: 9 g
Trans Fat: 0.5 g
Cholesterol: 97 mg
Sodium: 314 mg
Potassium: 128 mg
Fiber: 1 g
Sugar: 28 g
Vitamin A: 1218 IU
Vitamin C: 1 mg
Calcium: 82 mg
Iron: 1 mg
Additional Info
Course: Dessert
Cuisine: American
Tried this recipe?
Share your delicious creations on Instagram! We love seeing your culinary triumphs. Mention @mamaknowsglutenfree or tag #mamaknowsglutenfree so we can admire your beautiful cheesecake!
How to Craft Your Gluten-Free No-Bake Cheesecake: A Step-by-Step Visual Guide
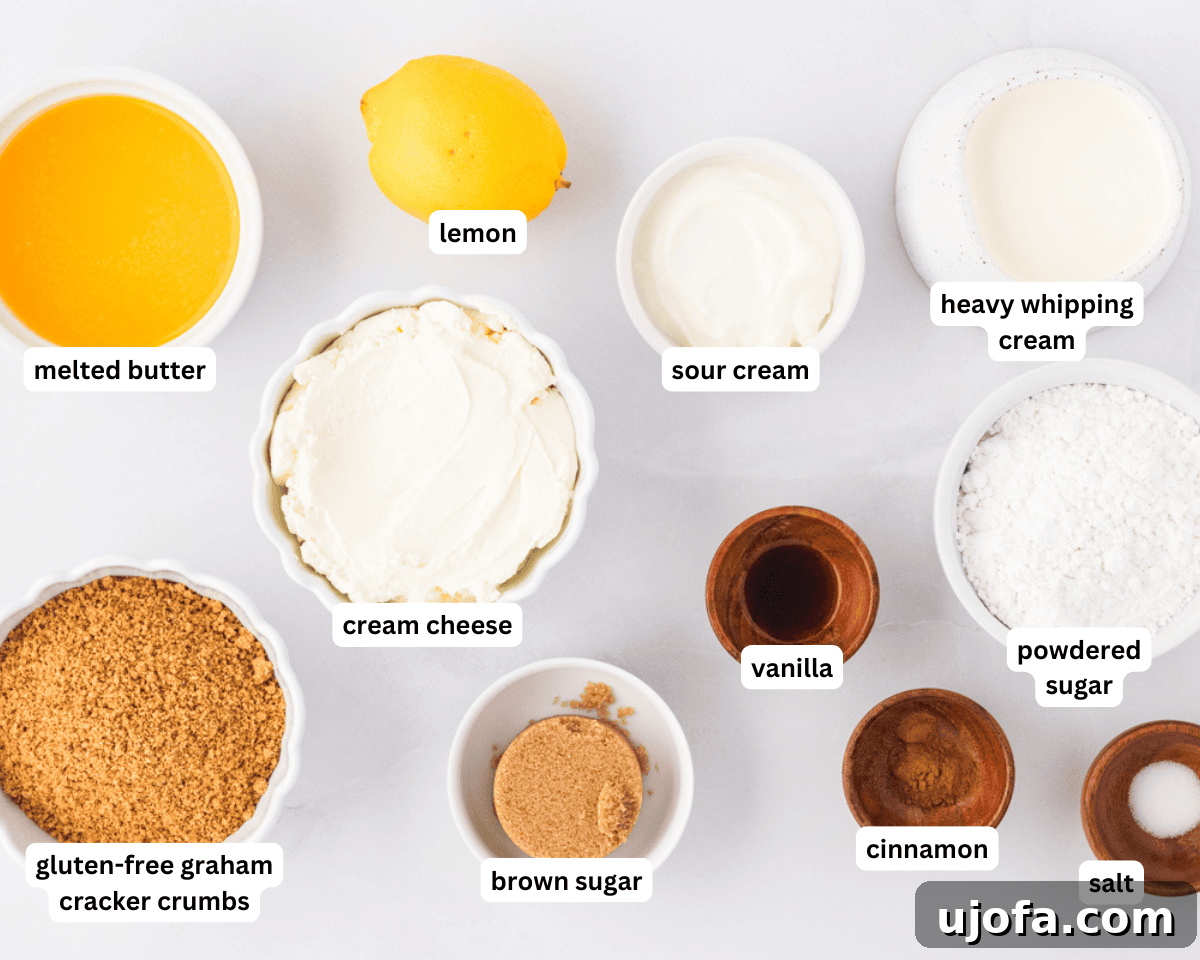
Before you begin your culinary adventure, ensure all your ingredients are measured and readily accessible. Pay particular attention to the temperatures: room temperature cream cheese and cold heavy cream are absolutely essential for achieving the perfect consistency and texture in your no-bake cheesecake. Laying everything out makes the process much more enjoyable and efficient.
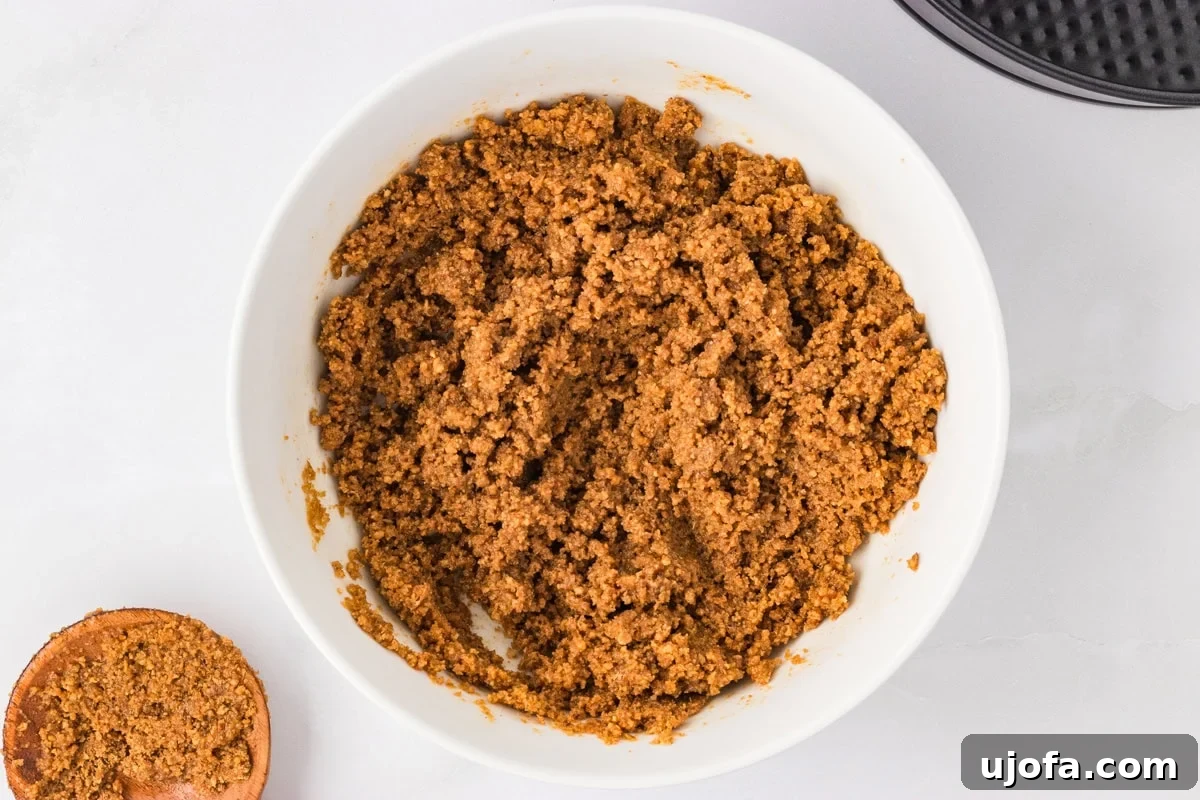
Creating the Irresistible Crust: In a medium-sized mixing bowl, combine the two cups of finely ground gluten-free graham cracker crumbs with ¼ cup of packed brown sugar, ½ teaspoon of aromatic ground cinnamon, and ¼ teaspoon of fine sea salt. These dry ingredients not only bind together but also create the perfect subtly spiced flavor profile for your crust. Next, pour in ½ cup of melted unsalted butter. Mix thoroughly using a spoon or spatula until every single crumb is evenly moistened and coated with the butter. The mixture should resemble wet sand and hold together when pressed.
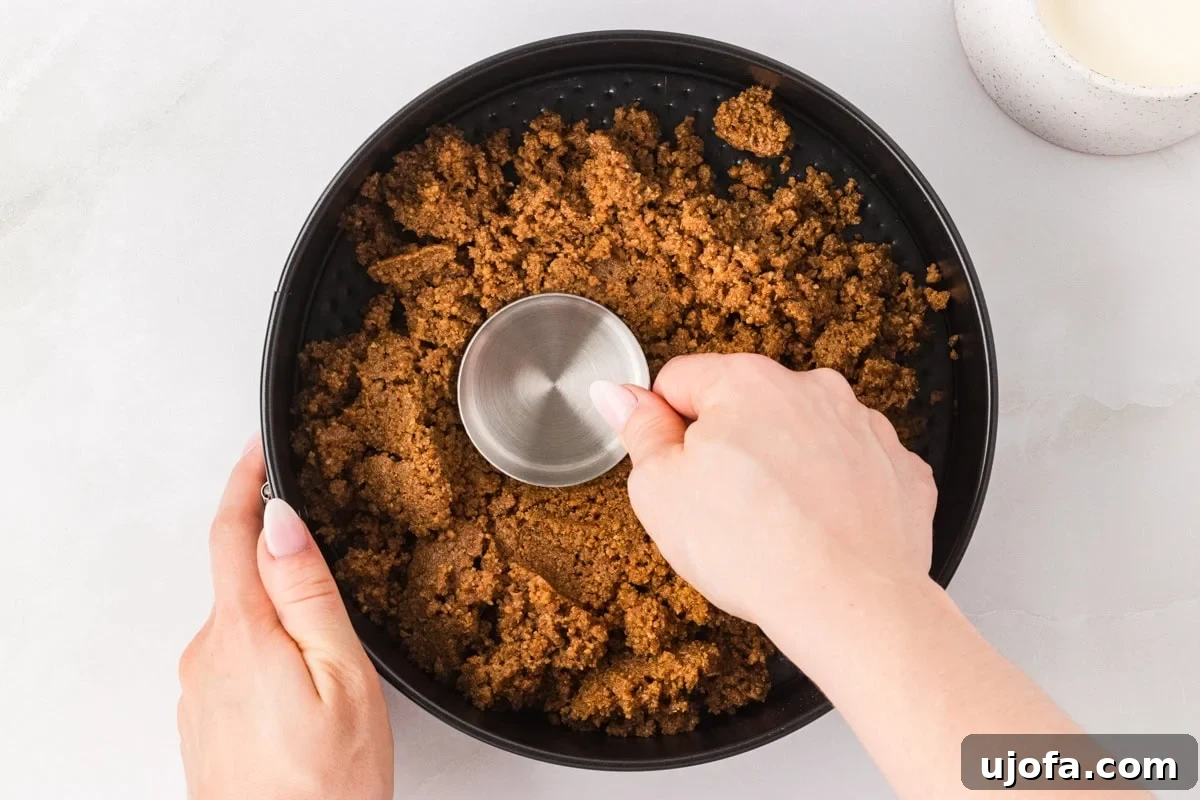
Forming the Foundation: Transfer the prepared buttery crumb mixture into a 9-inch springform pan. This type of pan is ideal for cheesecakes as its removable sides allow for easy and elegant presentation. Take the flat bottom of a drinking glass or a sturdy measuring cup and use firm, even pressure to press the crumb mixture not only into the bottom of the pan but also slightly up the sides. A well-compacted and even crust is absolutely key to preventing crumbling when you slice your finished cheesecake.
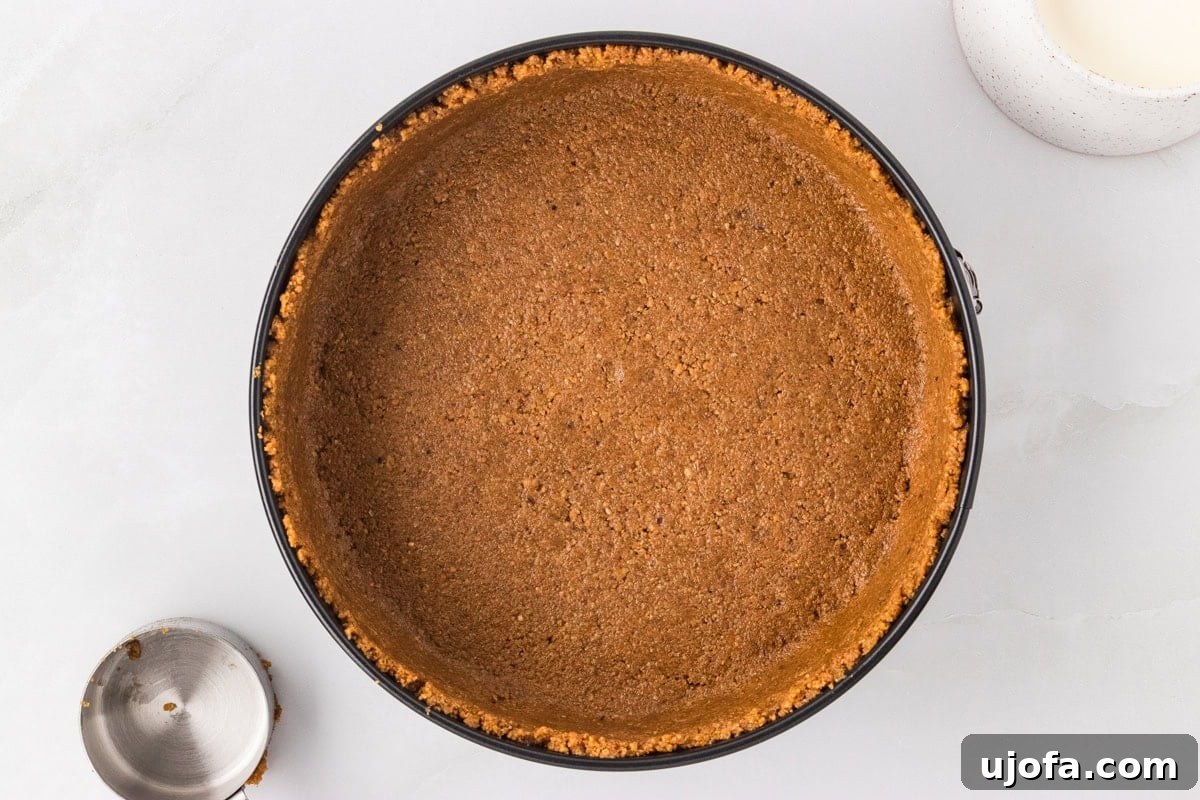
Chilling for Stability: Once your crust is perfectly pressed into the pan, place the springform pan directly into the freezer. Allowing the crust to chill and firm up for at least 15-20 minutes while you prepare the filling is a crucial step. This helps bind the crumbs together and solidifies the melted butter, preventing a soggy base and ensuring your cheesecake holds its structure beautifully when removed from the pan.
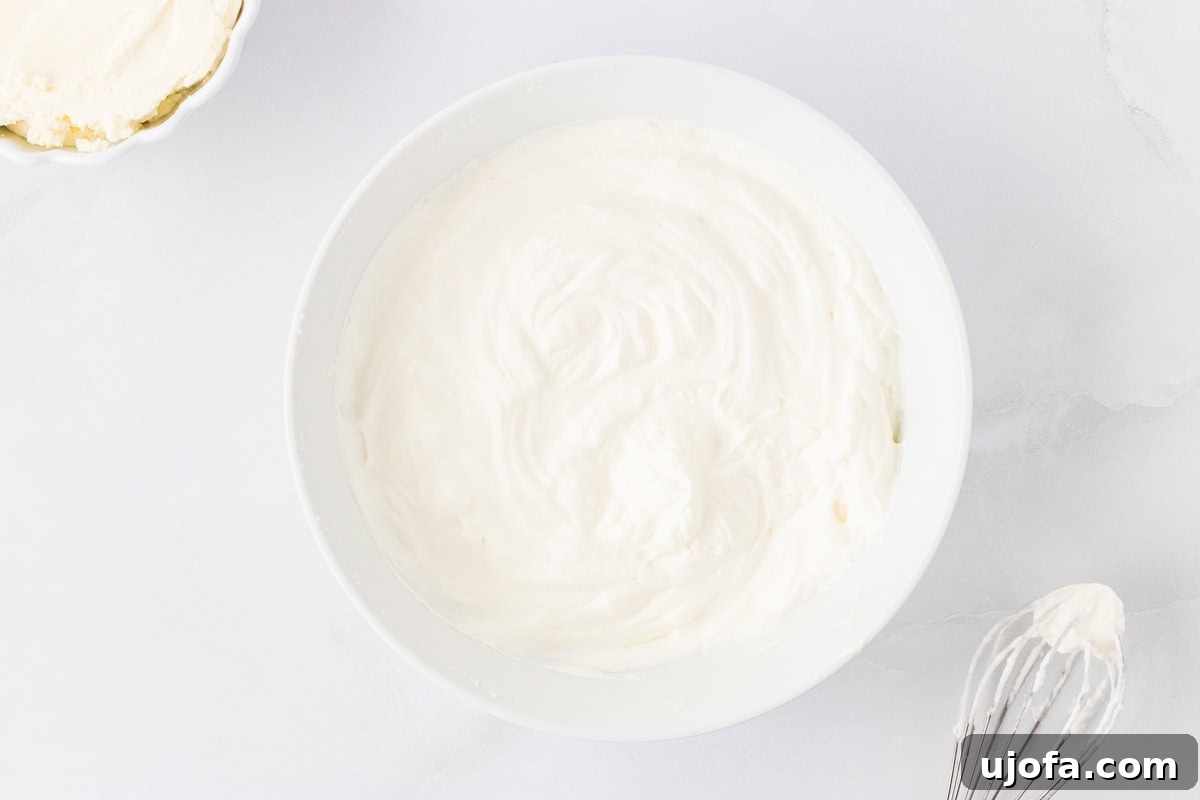
Whipping the Cream to Perfection: In a separate medium-sized mixing bowl, pour 1 cup of very cold heavy whipping cream. Using a hand mixer (or a stand mixer fitted with the whisk attachment), whip the cream on high speed until it forms stiff peaks. This means the cream will stand up firmly and hold its shape without drooping when the beaters are lifted. Immediately transfer the whipped cream to the refrigerator to keep it cold and stable until it’s ready to be folded into the cheesecake filling.
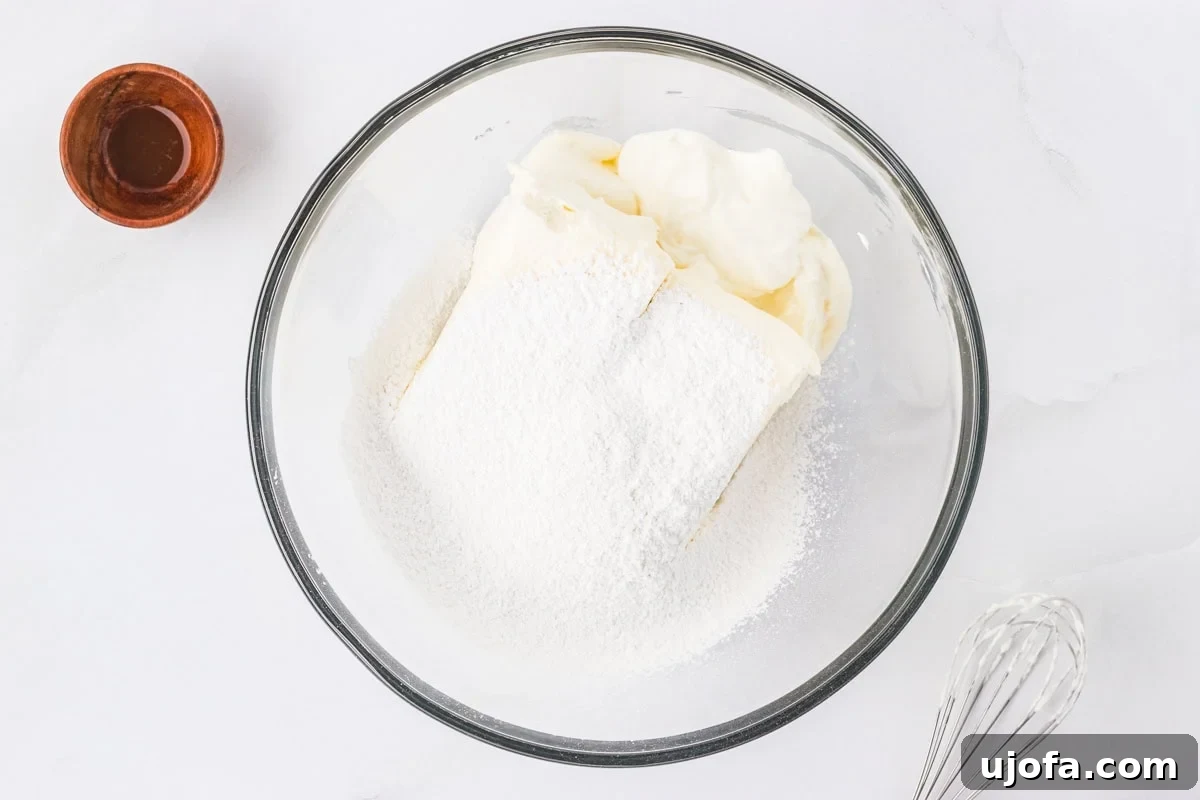
Crafting the Creamy Filling: In a large mixing bowl, combine 24 ounces of cream cheese (which is typically three standard 8-ounce blocks). It cannot be stressed enough: ensure your cream cheese is at true room temperature to prevent lumps and achieve a silky-smooth consistency in your final filling. Add ¼ cup of sour cream (also at room temperature for best results) and 1 cup (150 grams) of powdered sugar. Using your hand mixer, beat these ingredients together until the mixture is perfectly smooth, creamy, and wonderfully homogeneous. Take your time to scrape down the sides and bottom of the bowl frequently to ensure everything is thoroughly incorporated and no lumps remain.
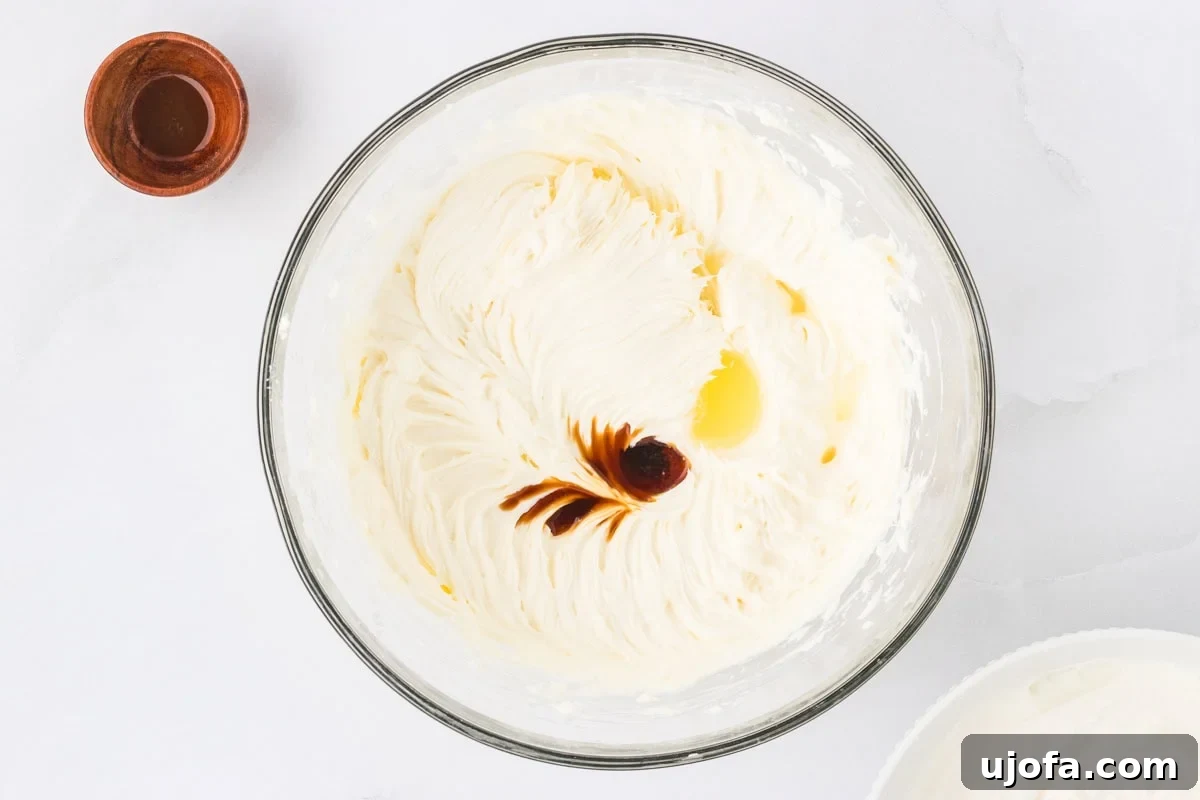
Infusing Flavor: Now, it’s time to add the flavor enhancers that give this cheesecake its signature tang and comforting warmth. Add 1 tablespoon of fresh lemon juice – its acidity is crucial for balancing the sweetness and richness of the cream cheese, providing that classic cheesecake zing. Also add 1 teaspoon of pure vanilla extract for that quintessential dessert aroma and depth of flavor. Mix these into the cream cheese base until they are fully combined, ensuring the flavors are evenly distributed throughout the filling mixture.
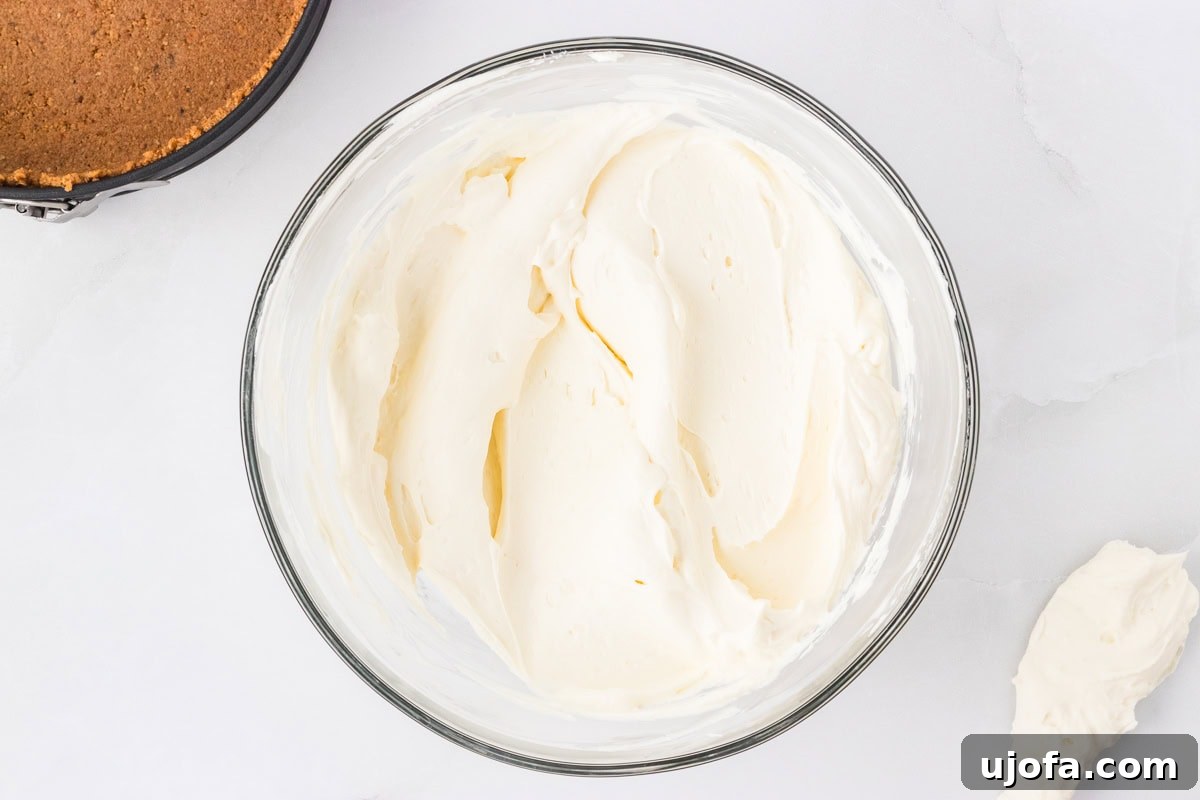
The Delicate Fold: This step is paramount to achieving the light, airy texture that makes a no-bake cheesecake so delightful. Retrieve the cold whipped cream from the refrigerator. Using a rubber spatula, gently fold the whipped cream into the cream cheese mixture. The goal here is to incorporate the whipped cream without deflating it, so use a light hand and fold just until no streaks of white cream remain and the mixture is uniformly smooth and fluffy. Avoid the temptation to overmix, as this will result in a denser cheesecake.
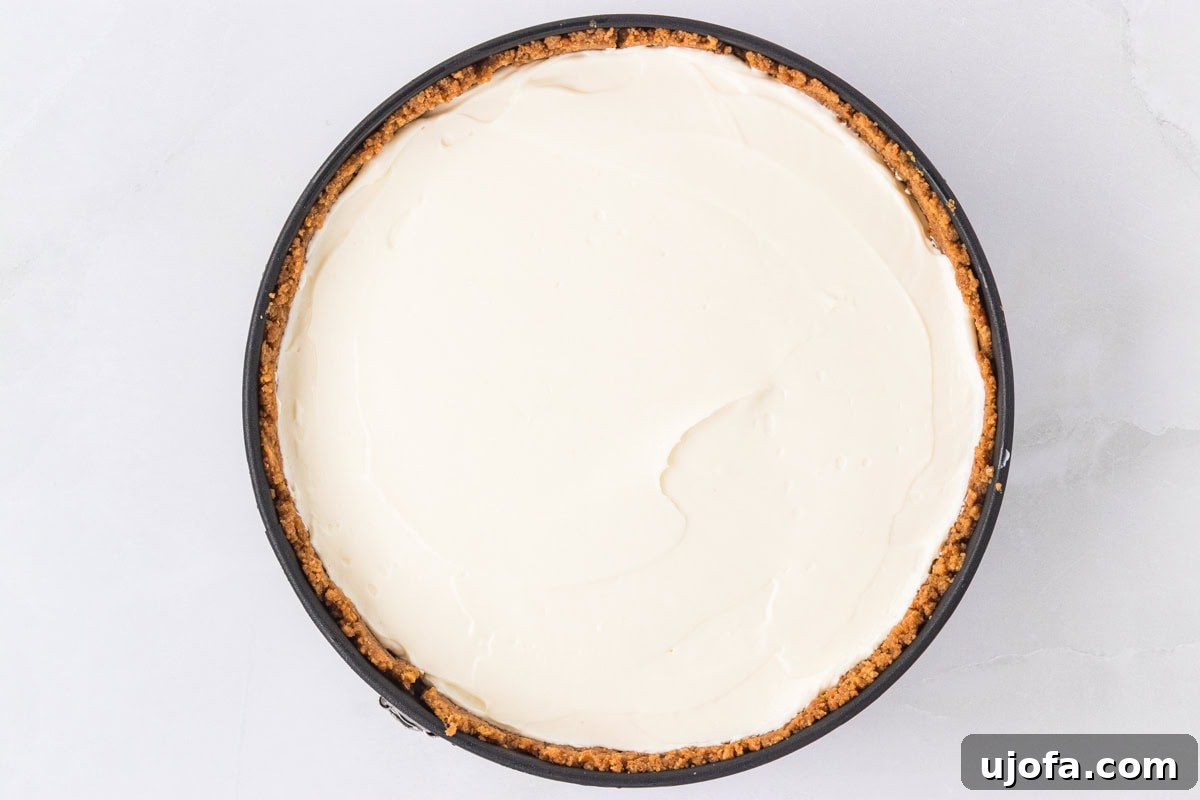
Assembling Your Masterpiece: Take your chilled graham cracker crust out of the freezer. Carefully pour the entire cheesecake filling into the crust-lined springform pan. Use your spatula to gently spread and smooth out the top surface of the cheesecake, creating a pristine and even finish. The smoother the top, the more professional and appealing your final presentation will look, especially when topped with berries or sauces.
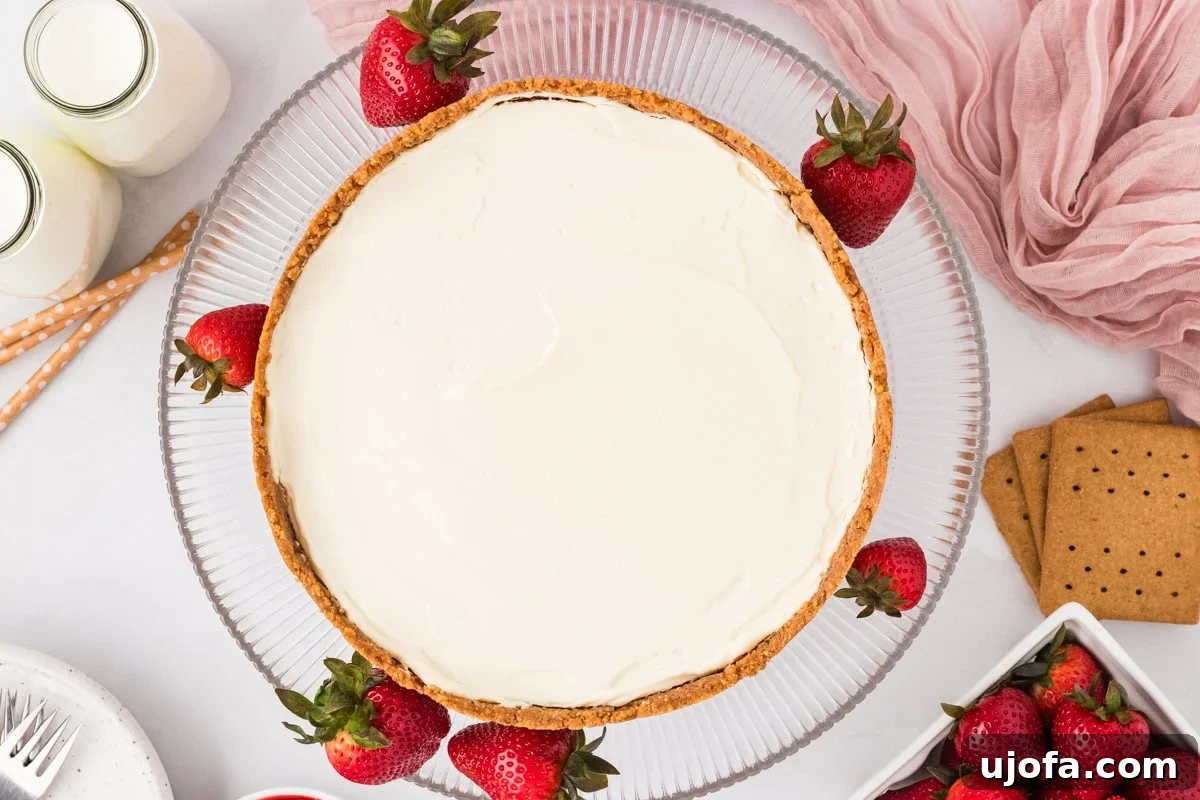
The Patient Chill and Glorious Serve: This is arguably the most crucial step for any no-bake cheesecake. Cover the springform pan loosely with plastic wrap to protect the surface and transfer it to the refrigerator. Allow the cheesecake to chill for a minimum of 4 hours to let it fully set and firm up. For the absolute best results and the cleanest, most picture-perfect slices, chilling it overnight (8-12 hours) is highly recommended. Once perfectly set, carefully unlatch and remove the sides of the springform pan. Your beautiful gluten-free no-bake cheesecake is now ready to be served! Adorn it with your favorite toppings and prepare for rave reviews.
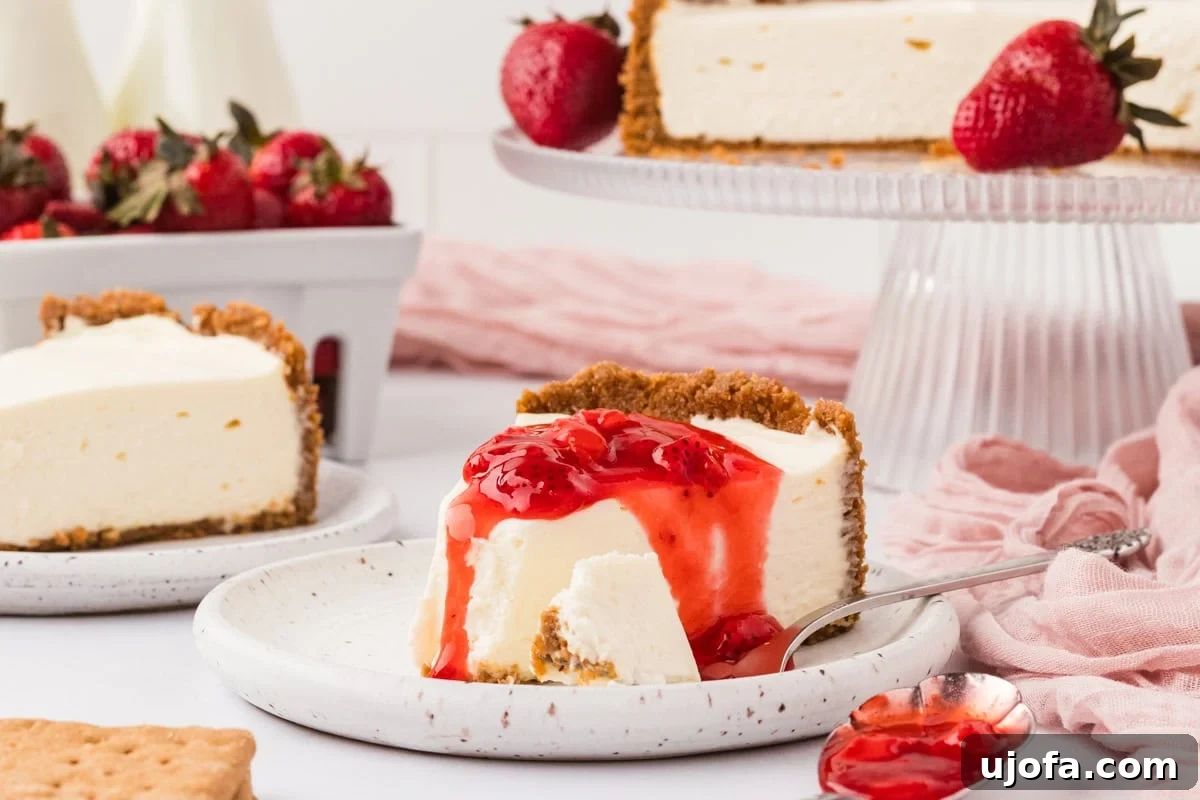
Creative Serving Suggestions for Your No-Bake Masterpiece
While this gluten-free no-bake cheesecake is utterly delicious and satisfying on its own, its versatility truly shines when paired with thoughtful and complementary accompaniments. I am particularly fond of serving a generous slice with a vibrant homemade raspberry coulis or simply a medley of fresh, seasonal berries like strawberries, blueberries, or raspberries. The delightful tartness of the fruit provides a perfect counterpoint to the rich, creamy sweetness of the cheesecake filling, creating a harmonious balance of flavors that keeps you coming back for more. For an extra touch of decadence and visual appeal, consider adding a dollop of freshly whipped cream, a luxurious drizzle of rich chocolate ganache, or a sticky, sweet caramel sauce. Don’t hesitate to get creative with your toppings! Think about adding a sprinkle of finely chopped candied nuts for texture, some toasted coconut flakes for a tropical twist, a dusting of lemon zest for added brightness, or even a different fruit compote like a warm blueberry or cherry topping. This dessert is wonderfully adaptable, making it simple enough for an impromptu weeknight treat yet elegant and special enough to grace the table at any festive celebration, sophisticated dinner party, or casual backyard barbecue.
Essential Tips for No-Bake Cheesecake Success
Achieving the perfect no-bake cheesecake is incredibly straightforward, but paying close attention to a few key tips can elevate your dessert from good to absolutely phenomenal. Follow these guidelines for a flawless and delicious result every single time:
- Room Temperature Cream Cheese is Non-Negotiable: This is perhaps the most critical tip for any cheesecake, baked or no-bake. Ensure your cream cheese is fully softened to room temperature. Cold cream cheese will inevitably lead to stubborn lumps in your filling, resulting in a less-than-silky and uneven texture. I strongly recommend taking your cream cheese blocks out of the refrigerator at least 2-3 hours before you plan to start mixing, or even longer if your kitchen is cool. This allows it to soften uniformly, making it incredibly easy to beat into a perfectly smooth, creamy consistency.
- Whip the Heavy Cream to Stiff Peaks: The light, airy texture of your no-bake cheesecake largely depends on well-whipped cream. You must whip the heavy cream until it forms stiff peaks, not just soft peaks. Stiff peaks mean that when you lift the beaters, the cream stands up straight and holds its shape firmly without drooping. If the cream is under-whipped, your cheesecake may not set properly and will lack that desirable airy lightness. A good test is to gently tilt the bowl; if the whipped cream stays put and doesn’t slide, it’s ready!
- Compact the Crust Firmly: A loose, crumbly crust that falls apart when you cut into it is a common pitfall with no-bake desserts. To avoid this, press the graham cracker mixture very firmly and evenly into the bottom and sides of your springform pan. Use the bottom of a flat-bottomed glass or a sturdy measuring cup to exert consistent pressure. A well-compacted crust provides a sturdy, delicious foundation that won’t fall apart when you slice and serve your beautiful cheesecake.
- Don’t Skimp on Chill Time: Patience truly is a virtue when it comes to no-bake cheesecakes. The minimum chilling time of 4 hours is absolutely necessary for the filling to fully set and achieve its firm, sliceable texture. However, for the absolute best results and the cleanest, most picture-perfect slices that hold their shape impeccably, I strongly advise chilling your cheesecake overnight (8-12 hours). This extended chill allows all the ingredients to meld together and the structure to solidify perfectly.
- Use Fresh Lemon Juice for Brightness: While bottled lemon juice can be convenient, fresh lemon juice provides a brighter, more vibrant tang that truly enhances the cheesecake’s flavor profile and balances the richness of the cream cheese. It makes a noticeable difference in the overall fresh taste.
- Keep Ingredients Cold (Except Cream Cheese & Sour Cream): Ensure your heavy whipping cream is very cold before whipping. Similarly, the crust should be chilled in the freezer before adding the filling. This helps everything set properly.
Storage and Freezing Instructions for Lasting Freshness
Proper storage is essential to keep your gluten-free no-bake cheesecake fresh, delicious, and enjoyable for as long as possible. Here’s how to do it right, whether you’re saving leftovers or planning ahead:
Refrigerator Storage: After indulging in your initial slices, cover any remaining portions of the cheesecake tightly with plastic wrap. For best results, place the plastic wrap directly over the surface of the cheesecake to prevent it from absorbing any unwanted refrigerator odors or drying out. Alternatively, if you’ve already cut it into individual slices, transfer them to an airtight container. Stored this way, your cheesecake will remain wonderfully fresh and delectably creamy in the refrigerator for up to 5 days. For the optimal flavor and texture, it’s always recommended to consume it within this timeframe, as its freshness is at its peak.
Freezing for Longer Enjoyment: If you’re looking to extend the life of your cheesecake beyond a few days, it freezes exceptionally well, allowing you to enjoy a slice whenever a craving strikes. You can freeze the entire cheesecake or individual slices. To freeze a whole cheesecake, first ensure it’s fully set and thoroughly chilled. Then, wrap it tightly first in at least two layers of plastic wrap, followed by a layer of heavy-duty aluminum foil, making it completely airtight. This double-layer wrapping provides maximum protection against freezer burn. For individual slices, wrap each slice securely in plastic wrap, and then place them in a freezer-safe container or a heavy-duty freezer bag. The cheesecake can be frozen for up to 1 month without significant loss of quality. When you’re ready to enjoy it, simply transfer the frozen cheesecake (whether whole or individual slices) to the refrigerator and allow it to thaw slowly overnight. This gradual thawing process is key to maintaining its creamy, smooth texture. Serve once fully thawed and enjoy as if it were freshly made!
Frequently Asked Questions (FAQs) About No-Bake Cheesecake
Here are some common questions and helpful answers about making this delightful gluten-free no-bake cheesecake:
- Can I use a different type of crust? Absolutely! While a gluten-free graham cracker crust is a beloved classic, you can certainly experiment with other gluten-free cookie crumbs. Consider using vanilla wafers, shortbread, or even gluten-free chocolate cookies for a different flavor profile. Just ensure the crumb-to-butter ratio is similar to achieve a firm, stable base.
- What if my cheesecake filling isn’t smooth? This almost always happens if your cream cheese wasn’t at true room temperature when you started mixing. Ensure it’s fully softened before beating. If you find small lumps forming, continue beating for a few more minutes, stopping frequently to scrape down the sides and bottom of the bowl with your spatula. A bit more mixing time will often resolve this.
- Can I make this dairy-free? With the increasing availability of high-quality dairy-free cream cheese and heavy whipping cream alternatives, you likely can! Look for reputable brands of plant-based cream cheese and use either a full-fat coconut cream (chilled overnight, then only scoop the thick part off the top) or a specialized dairy-free whipping cream. Keep in mind that results may vary slightly in texture and taste compared to the dairy version.
- How far in advance can I make this? This cheesecake is an excellent make-ahead dessert, making it perfect for entertaining or meal prep. You can prepare it up to 2-3 days in advance and keep it stored in the refrigerator. In fact, an overnight chill often allows the flavors to meld beautifully and the texture to improve further, making it an even more delightful treat.
- What are the best toppings for this cheesecake? The possibilities are truly endless! Beyond the classic fresh berries and fruit coulis mentioned, consider elegant chocolate shavings, crunchy toasted nuts (like pecans or walnuts), a rich caramel sauce, a sprinkle of flaky sea salt (especially with caramel or chocolate), bright lemon zest, or even a light dusting of cocoa powder for a sophisticated touch.
- Do I need a springform pan? While a springform pan is highly recommended for its ease of use and elegant presentation, you can technically make this cheesecake in a regular 9-inch pie dish. If using a standard pie dish, you won’t be able to remove the cheesecake in one piece but can scoop out individual servings. Ensure the crust is well-pressed to prevent crumbling.
Discover More Irresistible Gluten-Free Cheesecake Recipes
If you’ve fallen in love with this no-bake wonder, you’ll be thrilled to explore other fantastic gluten-free cheesecake creations from our kitchen. Each recipe brings its unique charm and flavor profile, ensuring there’s a perfect cheesecake for every occasion and craving:
- Gluten-Free Mini Cheesecakes: Perfect for individual servings, parties, or portion control, these bite-sized delights are just as creamy, rich, and satisfying as their larger counterparts, and incredibly adorable!
- Crustless Cheesecake: For those who adore the creamy, velvety filling and prefer to skip the crust entirely, this recipe offers a pure, unadulterated cheesecake experience, focusing solely on the luxurious interior.
- Classic Gluten-Free Cheesecake: Our traditional baked version, a rich, dense, and perfectly smooth cheesecake that’s a timeless favorite and a true showstopper for any celebration.
- Gluten-Free Red Velvet No-Bake Cheesecake: A stunning, vibrant dessert that combines the distinctive cocoa and tangy flavor of red velvet with the refreshing ease of a no-bake cheesecake. It’s a feast for both the eyes and the palate.
Whether you’re new to gluten-free baking (or rather, no-baking!) or a seasoned pro, these recipes are designed to be delicious, approachable, and consistently deliver fantastic results. We hope you enjoy exploring these delightful options!
Final Thoughts on Your No-Bake Delight
Creating this gluten-free no-bake cheesecake is more than just making a dessert; it’s about crafting a moment of pure, effortless joy. It embodies everything you could possibly want in a summer treat: refreshing, incredibly creamy, bursting with balanced flavor, and wonderfully easy to prepare without the stress of an oven. Say goodbye to oven-induced kitchen heat and hello to a perfectly chilled, delightful dessert that’s ideal for any occasion – from a casual family dinner to an elegant backyard party. We truly encourage you to try this recipe, gather your loved ones, and discover the sheer magic and convenience of no-bake desserts for yourself. Enjoy every single creamy, tangy bite!