
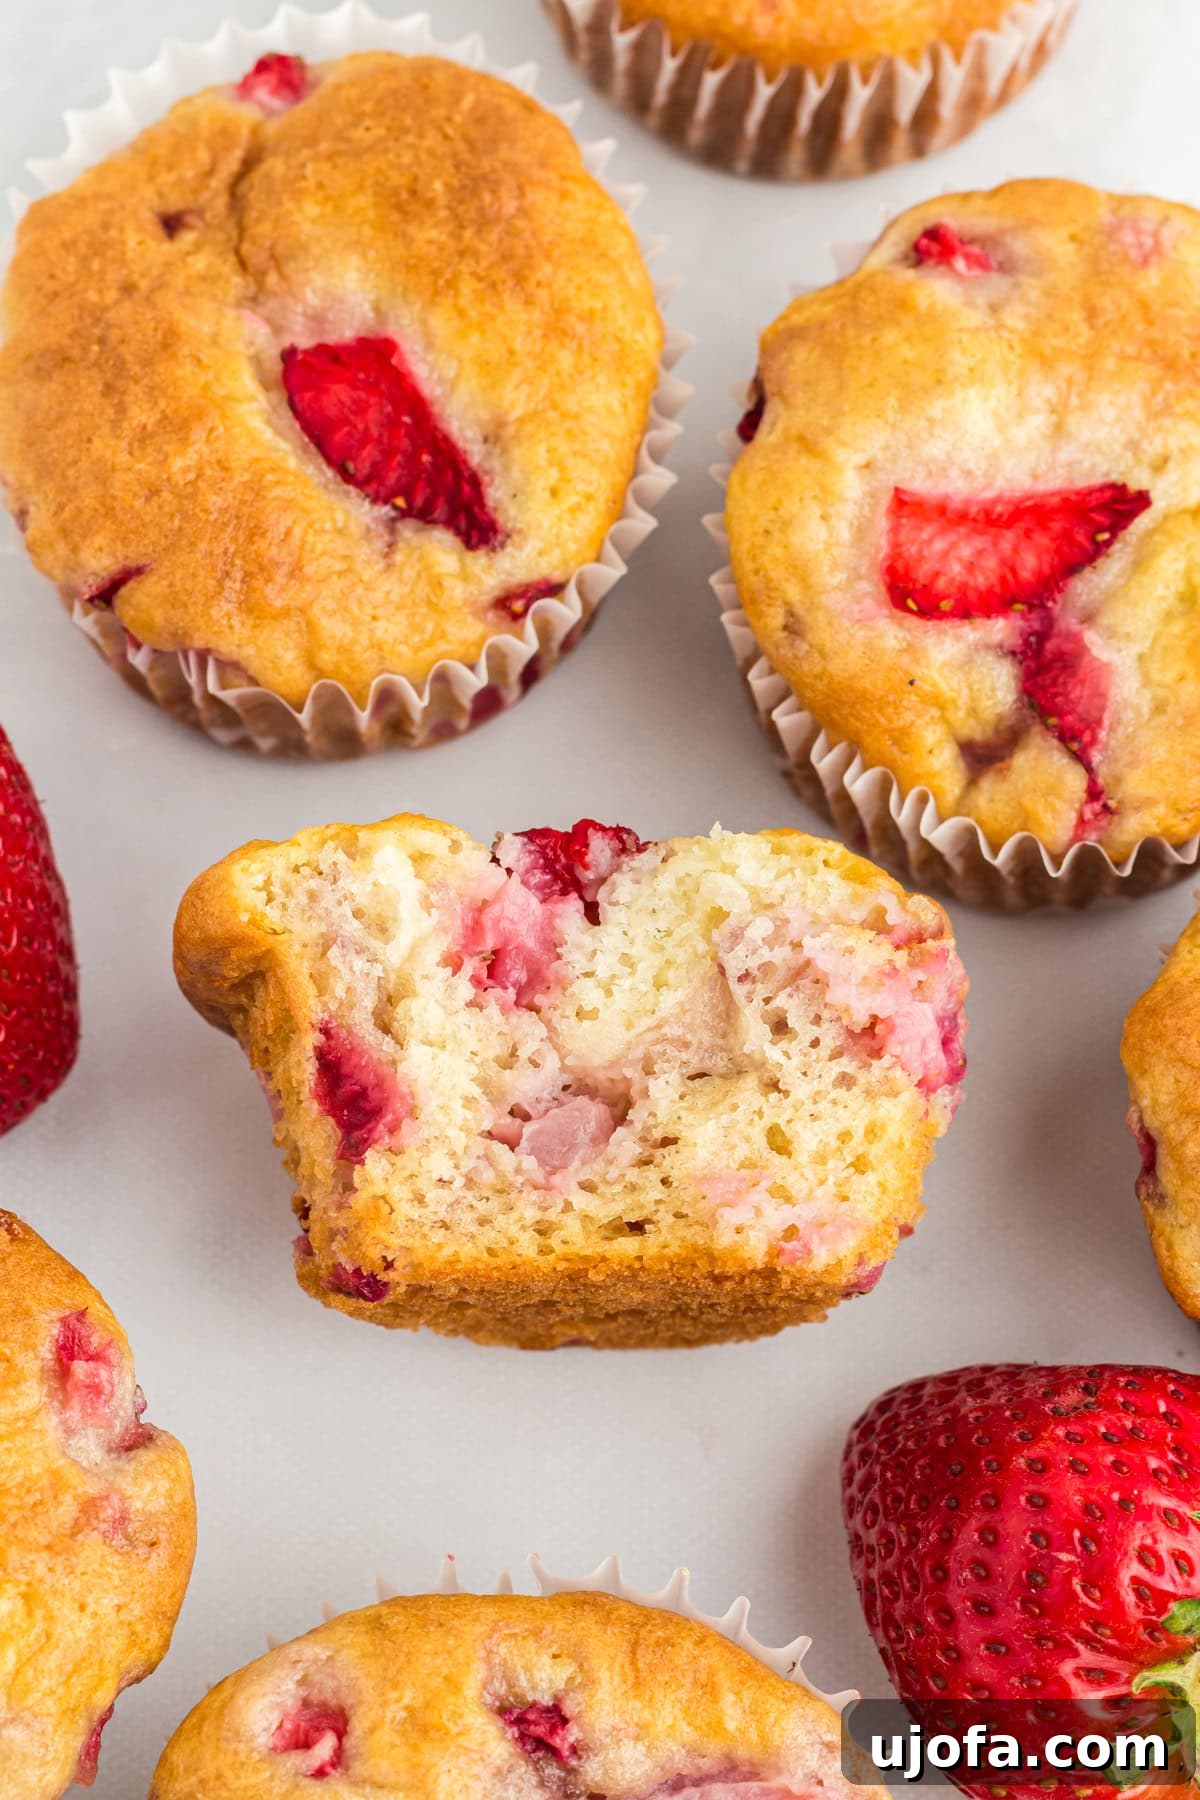
As soon as strawberry season arrives, my kitchen transforms into a haven for baking, and these gluten-free strawberry muffins are always at the top of my list. They are an absolute delight: incredibly fluffy, wonderfully moist, and bursting with the vibrant sweetness of fresh berries in every single bite. There’s truly nothing quite like the experience of biting into a warm, fresh berry muffin to kickstart your day, especially when you know it’s a wholesome, gluten-free treat. These muffins aren’t just delicious; they’re also incredibly convenient. Having a batch of these beauties cooling on the counter means quick, grab-and-go breakfasts or snacks for those hectic mornings or busy afternoons. What’s even better? This recipe is surprisingly simple to whip up, taking only about 30 minutes from start to finish. It’s a small effort for a huge reward!
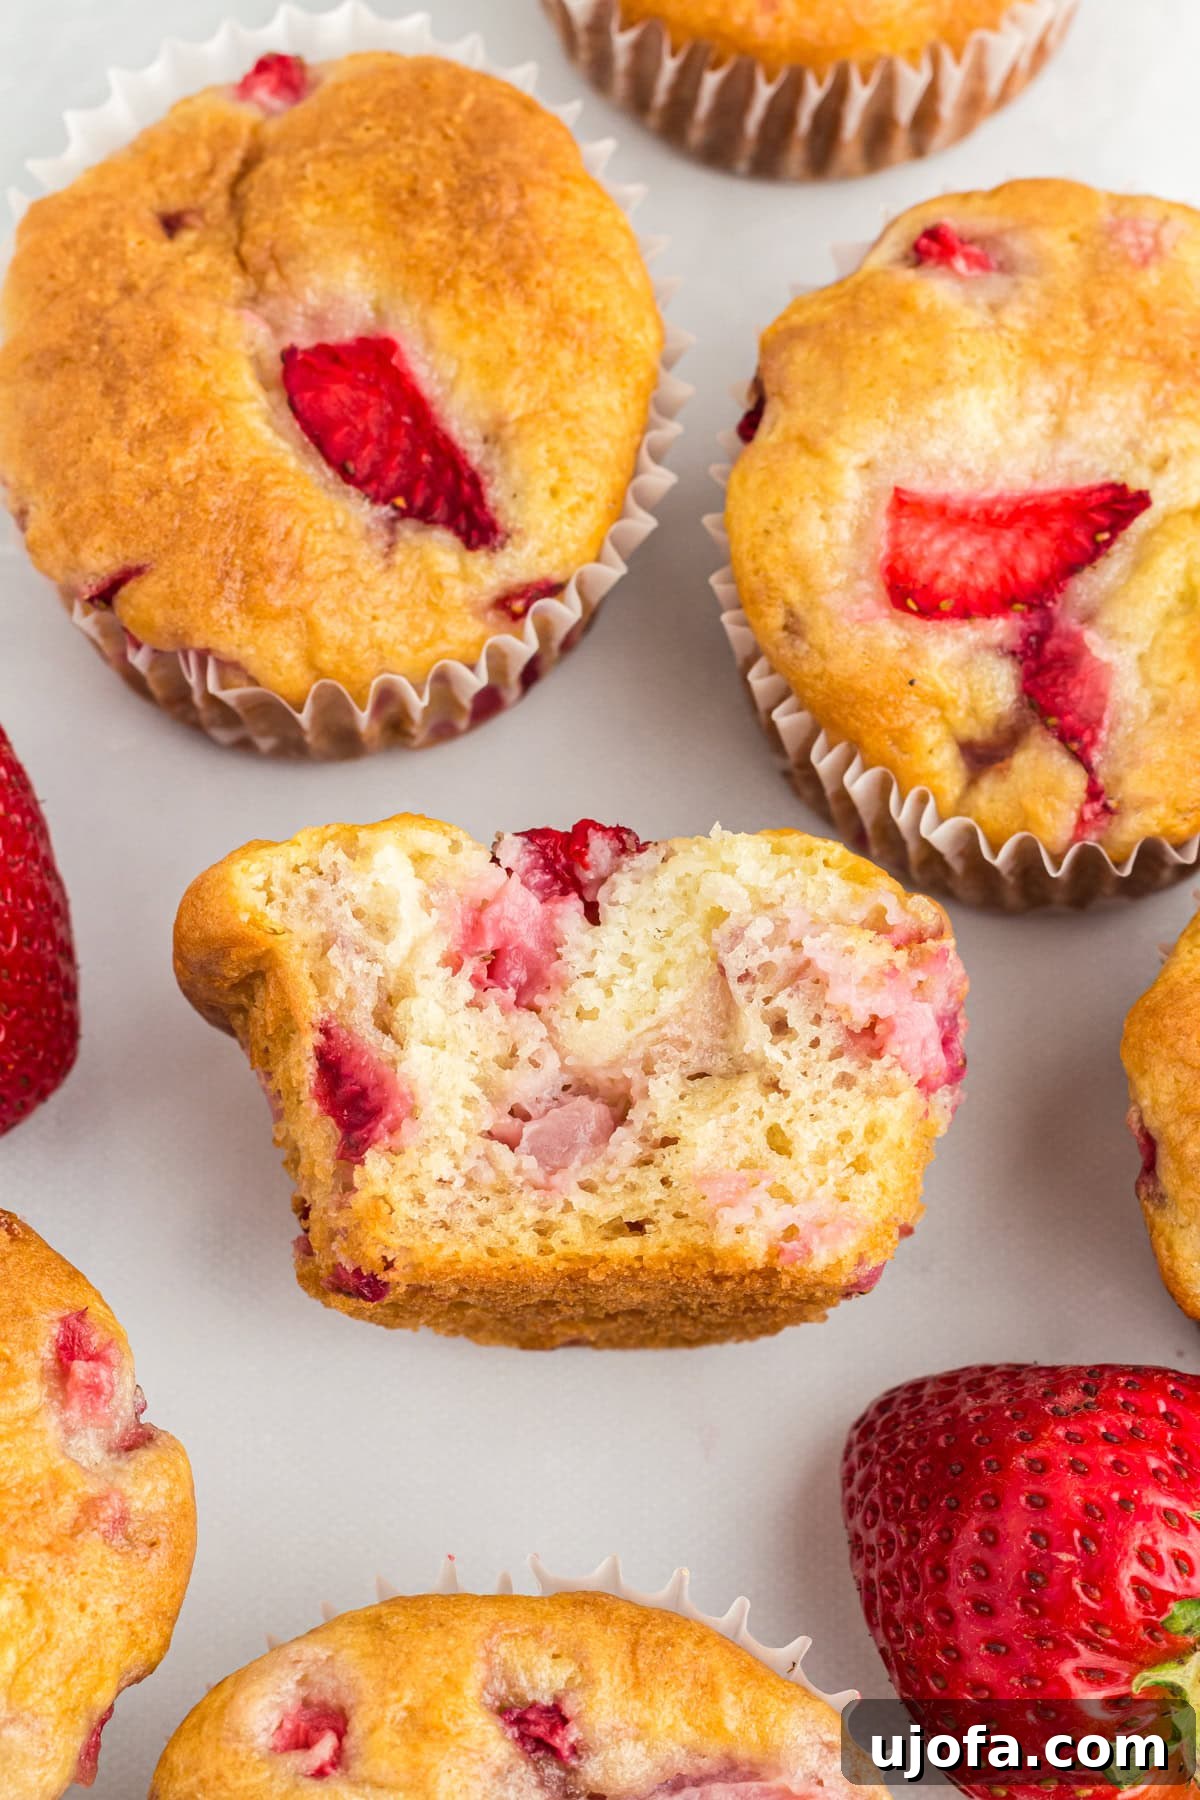
There’s an undeniable magic in baking with seasonal produce, capturing the peak of flavor and freshness in every recipe. Just as I eagerly anticipate making gluten-free blueberry muffins when blueberries are at their best, strawberries hold a special place in my heart as a true favorite. Naturally, incorporating these ruby-red gems into a batch of muffins is always a brilliant idea. Beyond the star ingredient, I’ve discovered a little secret for achieving perfectly risen and incredibly tender gluten-free muffins: letting the batter rest. After mixing all the ingredients and before baking, I always allow my gluten-free muffin batter to rest for approximately 15 minutes. This seemingly small step grants the gluten-free flour ample time to fully absorb the moisture from the wet ingredients. The result? Muffins that rise beautifully, boasting a softer, more delicate crumb that truly sets them apart. It’s a game-changer that makes a world of difference in the final texture and enjoyment of your homemade muffins.
Unlocking the Secrets to Perfect Gluten-Free Strawberry Muffins
Through countless baking experiments, I’ve gathered invaluable insights that elevate these gluten-free strawberry muffins from good to truly exceptional. Mastering these techniques will help you achieve consistently light, airy, and flavorful results every single time.
- Embrace Room Temperature Ingredients: This is a fundamental rule in baking, especially for muffins. Cold ingredients like eggs, milk, and butter don’t emulsify as effectively with the other components. When all ingredients are at room temperature, they blend more smoothly and evenly, leading to a homogenous batter. This creates a lighter, more tender crumb and ensures your muffins rise properly and have a consistently delicate texture.
- The Power of a High-Quality Gluten-Free All-Purpose Flour Blend: The type of gluten-free flour you use is paramount. I highly recommend opting for a reputable, high-quality gluten-free all-purpose flour blend such as Cup4Cup or King Arthur Gluten-Free Measure-for-Measure Flour. These blends are specifically formulated with a mix of different gluten-free flours and starches to mimic the structure and texture of traditional wheat flour. Using single flours like almond flour or coconut flour alone will not provide the necessary structure, often resulting in muffins that are dense, crumbly, or simply don’t hold together well.
- Precision in Flour Measurement Prevents Dry Muffins: One of the most common culprits behind dry gluten-free baked goods is inaccurately measured flour. Too much flour can quickly lead to a dense, heavy, and unappetizing muffin. For the utmost accuracy, investing in a food scale is highly recommended, as weighing flour is more precise than volumetric measurements. If you’re using measuring cups, adopt the “spoon and level” method: gently spoon the flour into your measuring cup until it’s overflowing, then use the back of a knife or a straight edge to level it off without packing it down. Never scoop directly from the bag, as this compacts the flour and adds significantly more than intended.
- Resist the Urge to Overmix the Batter: Overmixing is the enemy of tender muffins, particularly in gluten-free baking. Once you’ve combined the wet and dry ingredients, mix just until they are barely incorporated and no pockets of dry flour remain. Excessive mixing develops gluten in wheat flour (though not an issue with gluten-free, it still impacts texture by overworking starches and creating a tougher result) and can deflate the air incorporated during mixing, leading to dense, chewy muffins that lack that desirable airy rise.
- The Essential Batter Rest: This step is critical for gluten-free muffins. After filling your muffin cups, let the batter rest at room temperature for about 15 minutes before placing them in the oven. This resting period allows the gluten-free flour, which absorbs liquid slower than wheat flour, to fully hydrate. Proper hydration improves the overall texture, creates a softer and moister crumb, and contributes to those beautiful, taller muffin tops.
- The Fresher, The Better: Strawberry Preparation: For the best results, always use fresh, ripe strawberries. Frozen berries tend to release a significant amount of excess moisture as they thaw and bake, which can easily make your muffins soggy and compromise their texture. When preparing your fresh strawberries, chop them into small, evenly sized pieces. This ensures even distribution and prevents large chunks from sinking. After chopping, it’s a good practice to gently pat them dry with a paper towel to remove any surface moisture, further preventing a watery batter.
- A Light Flour Toss for Even Berry Distribution: To prevent your delicious strawberries from sinking to the bottom of the muffin cups during baking, give them a light toss in a small amount of gluten-free flour (about a tablespoon) before gently folding them into the batter. This light coating helps to suspend the berries evenly throughout each muffin, ensuring every bite is packed with fruity goodness.
- Proper Muffin Cup Filling for Lofty Tops: For muffins with impressive, domed tops, fill each muffin cup approximately ¾ full. Underfilling can lead to flatter, less appealing muffins, while overfilling might cause the batter to overflow during baking, resulting in unevenly baked or messy muffins.
- Ensure Your Leavening Agents Are Fresh: Baking powder and baking soda are the magic behind your muffins’ rise and airy texture. However, they lose their potency over time. If your muffins aren’t rising as expected, your leavening agents might be expired. To test baking powder, add a teaspoon to half a cup of hot water; it should fizz vigorously. For baking soda, add a quarter teaspoon to two tablespoons of vinegar; it should also bubble strongly. For optimal results, replace these ingredients every 6 months.
- Timing is Everything: Avoid Overbaking: Gluten-free muffins, like many gluten-free baked goods, can dry out very quickly if overbaked. Keep a close eye on them towards the end of the baking time. The tops should be a beautiful, light golden brown, and a toothpick inserted into the center of a muffin should come out clean or with only a few moist crumbs attached, indicating they are perfectly cooked through without being dry.
- Patience During Cooling: It’s tempting to dive into warm muffins immediately, but patience is key with gluten-free varieties. Allow the muffins to cool in the pan for about 5 to 10 minutes before carefully transferring them to a wire rack to cool completely. This crucial cooling time allows the delicate gluten-free structure to set properly, preventing them from crumbling when handled and ensuring their texture fully develops.
Gluten-Free Strawberry Muffins
Print Recipe

Equipment
- 1 muffin tin (12-cup)
Ingredients
- 1 cup (140g) all-purpose gluten-free flour (I recommend Cup4Cup or King Arthur Measure-for-Measure)*
- 1 tsp (4g) baking powder
- ½ tsp xanthan gum (only if your flour blend doesn’t already include it)
- ½ tsp baking soda
- ¼ tsp salt
- ⅔ cup (130g) granulated sugar
- ⅓ cup (80g) full-fat sour cream, at room temperature (for dairy-free, use dairy-free yogurt)
- ¼ cup (56g) unsalted butter, melted but not hot (for dairy-free, use coconut oil or vegan butter)
- 2 large eggs, at room temperature
- 1 tsp (5ml) vanilla extract
- ¾ cup (115g) fresh strawberries, finely chopped**
Instructions
- In a medium bowl, thoroughly whisk together the gluten-free flour blend, baking powder, xanthan gum (if your flour blend doesn’t contain it), baking soda, and salt. Set this dry mixture aside.
- In a large mixing bowl, combine the granulated sugar, room-temperature sour cream, melted (but not hot) butter, room-temperature large eggs, and vanilla extract. Whisk vigorously until all ingredients are fully combined and the mixture is smooth.
- Pour the prepared dry ingredients into the large bowl with the wet ingredients. Stir gently using a spatula or wooden spoon just until the ingredients are combined and no pockets of dry flour are visible. Be careful not to overmix the batter.
- Once the batter is just mixed, gently fold in the finely chopped fresh strawberries. Distribute them evenly throughout the batter.
- Line a 12-cup muffin tin with paper liners. Scoop the muffin batter evenly into each paper liner, filling each cup approximately ¾ full. This ensures optimal rising and perfectly sized muffins.
- Allow the muffin batter in the prepared tin to rest at room temperature for 15 minutes before baking. This crucial step permits the gluten-free flour to adequately absorb the liquid, contributing to a wonderfully moist and tender crumb.
- While the batter rests, preheat your oven to 350°F (180°C).
- Bake the muffins for 22 to 24 minutes, or until the tops are lightly golden brown and a toothpick inserted into the center of a muffin comes out clean, indicating no wet batter remains.
- Once baked, remove the muffin tin from the oven and let the muffins cool in the pan for 5-10 minutes. Then, transfer them to a wire rack to cool completely. For an extra touch of charm, you can garnish each muffin with a very thin fresh strawberry slice on top (optional, but highly recommended for presentation!).
Notes
**It is crucial to use only fresh strawberries for this recipe. Frozen berries contain too much moisture, which will release during baking and make your muffins soggy. If your strawberries have just been washed, gently blot them dry with a paper towel before chopping to remove any excess surface water.
Nutrition
Serving: 1 muffin | Calories: 138 kcal | Carbohydrates: 20g | Protein: 2g | Fat: 6g | Saturated Fat: 3g | Polyunsaturated Fat: 0.4g | Monounsaturated Fat: 2g | Trans Fat: 0.2g | Cholesterol: 41mg | Sodium: 146mg | Potassium: 34mg | Fiber: 1g | Sugar: 12g | Vitamin A: 199IU | Vitamin C: 5mg | Calcium: 40mg | Iron: 1mg
Nutrition information is automatically calculated and should be used as an approximation only. Factors such as ingredient brands, measurement variations, and preparation methods can affect the nutritional values.
Additional Info
How to Make Gluten-Free Strawberry Muffins Step by Step
Creating these delightful gluten-free strawberry muffins is a straightforward process. Follow these visual steps to achieve perfect results every time:
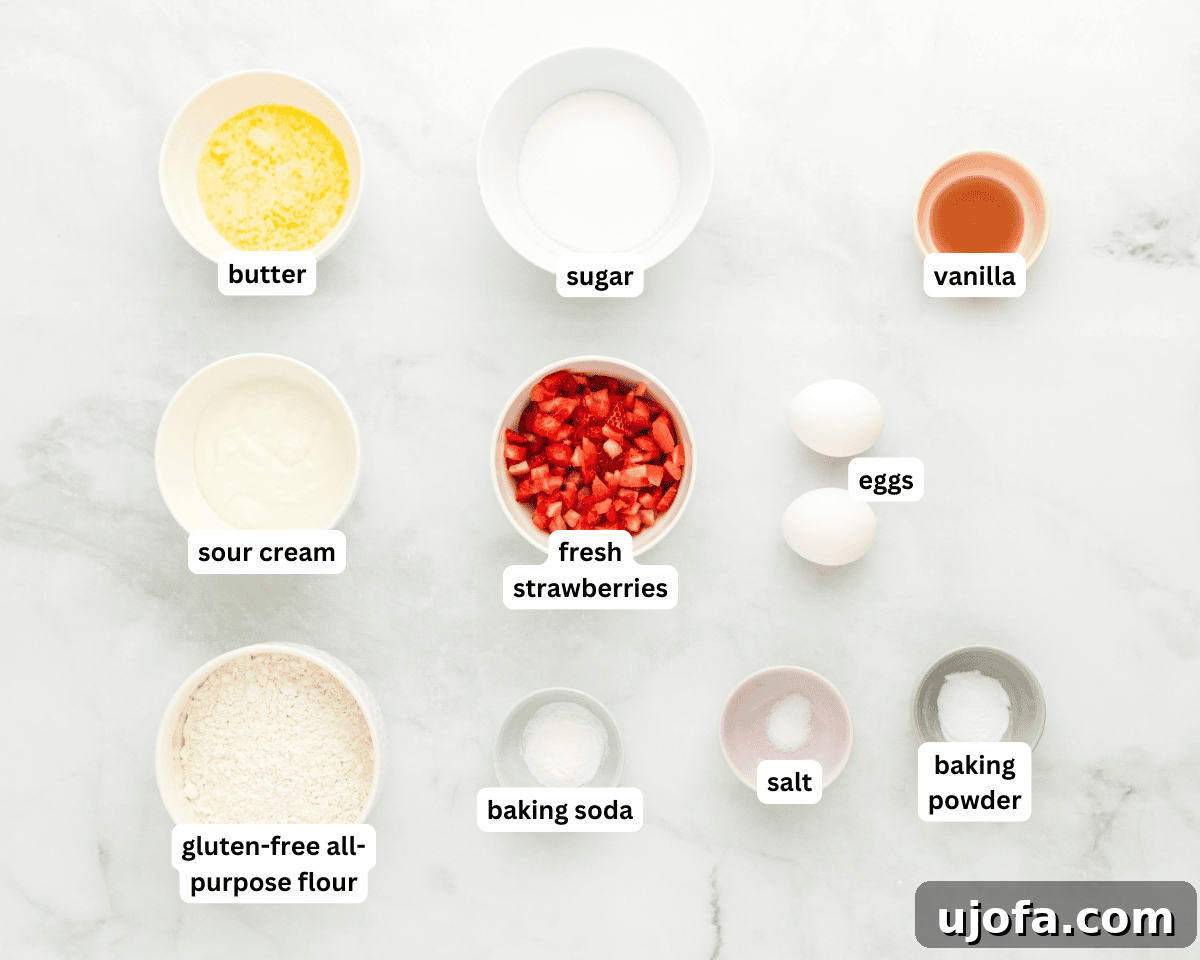
Step 1: Gather Your Ingredients. Begin by gathering all the necessary ingredients and measuring them accurately. Ensure your eggs, sour cream, and butter are at room temperature for optimal mixing. This initial preparation makes the baking process smooth and enjoyable.
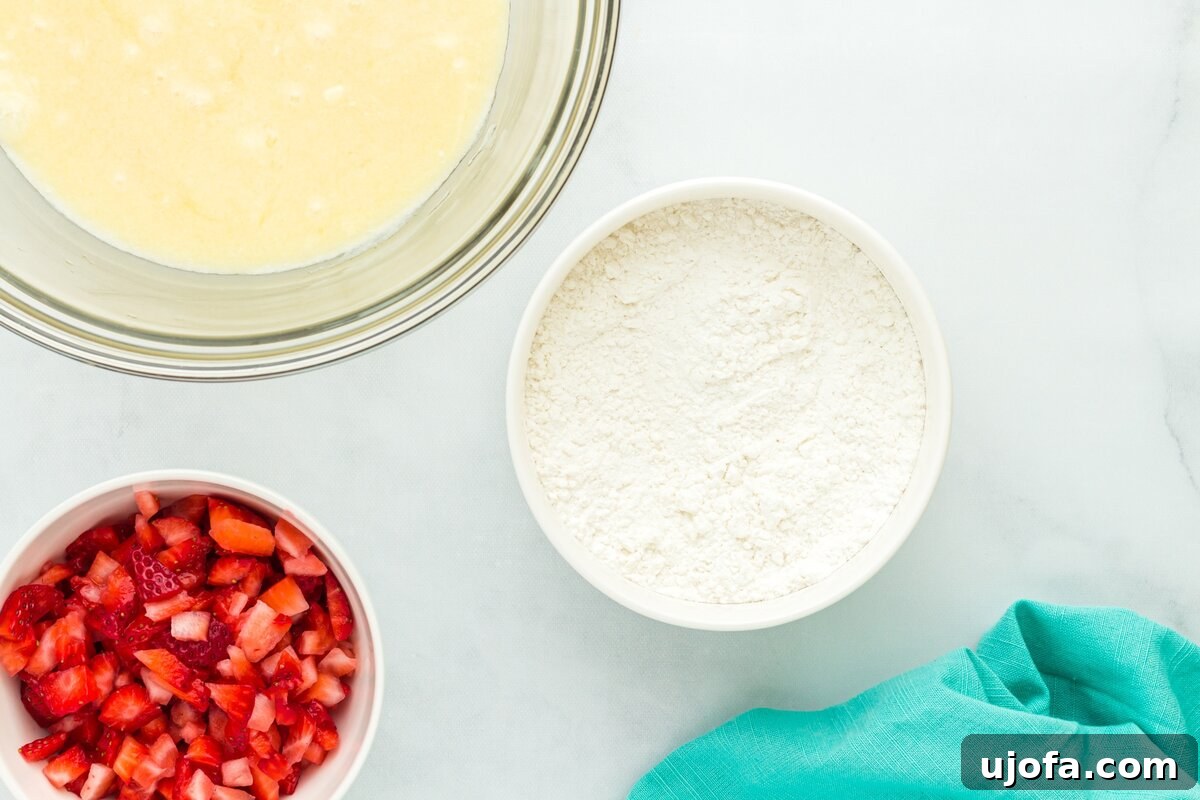
Step 2: Mix the Dry Ingredients. In a small bowl, whisk together the gluten-free all-purpose flour, baking powder, xanthan gum (if your flour blend doesn’t already contain it), baking soda, and salt. Whisk until well combined to ensure the leavening agents are evenly distributed. Set this bowl aside for a moment.
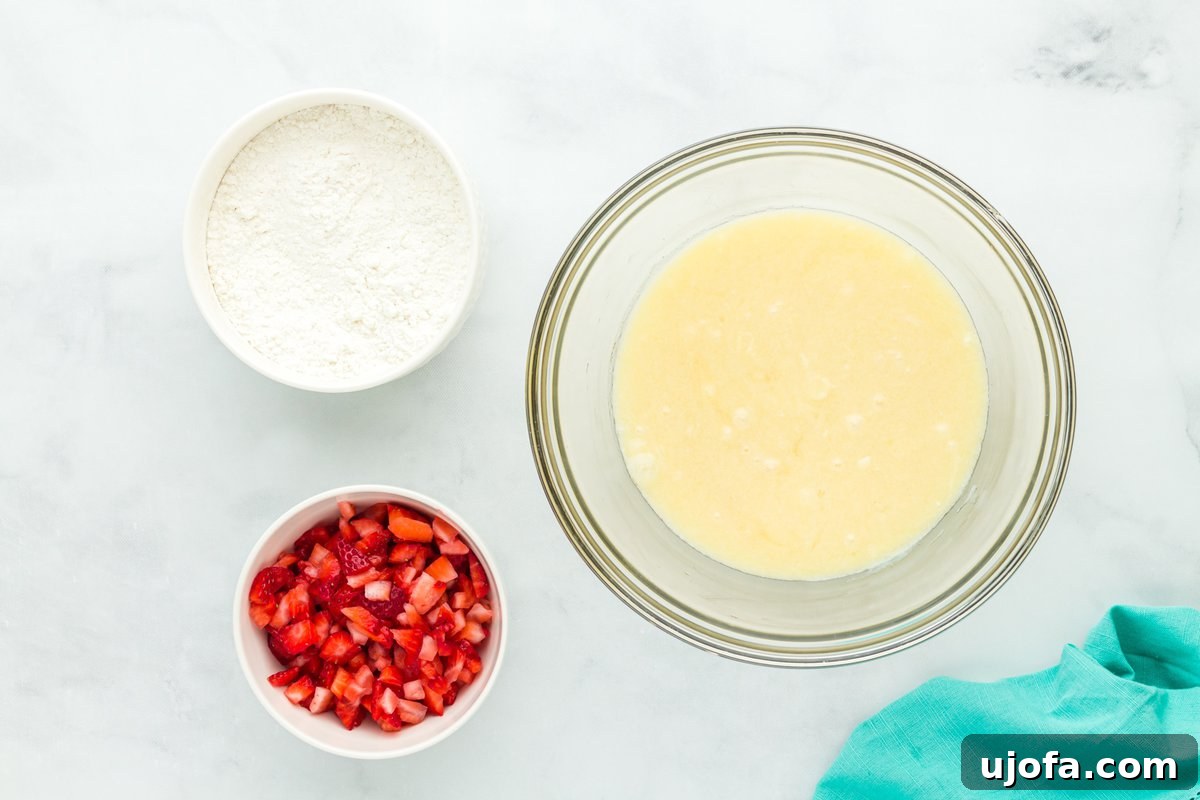
Step 3: Combine the Wet Ingredients. In a separate, larger bowl, whisk together the granulated sugar, room-temperature full-fat sour cream, melted unsalted butter (ensure it’s cooled and not hot), room-temperature large eggs, and vanilla extract. Whisk thoroughly until the mixture is smooth, creamy, and fully combined. This forms the flavorful liquid base for your muffins.
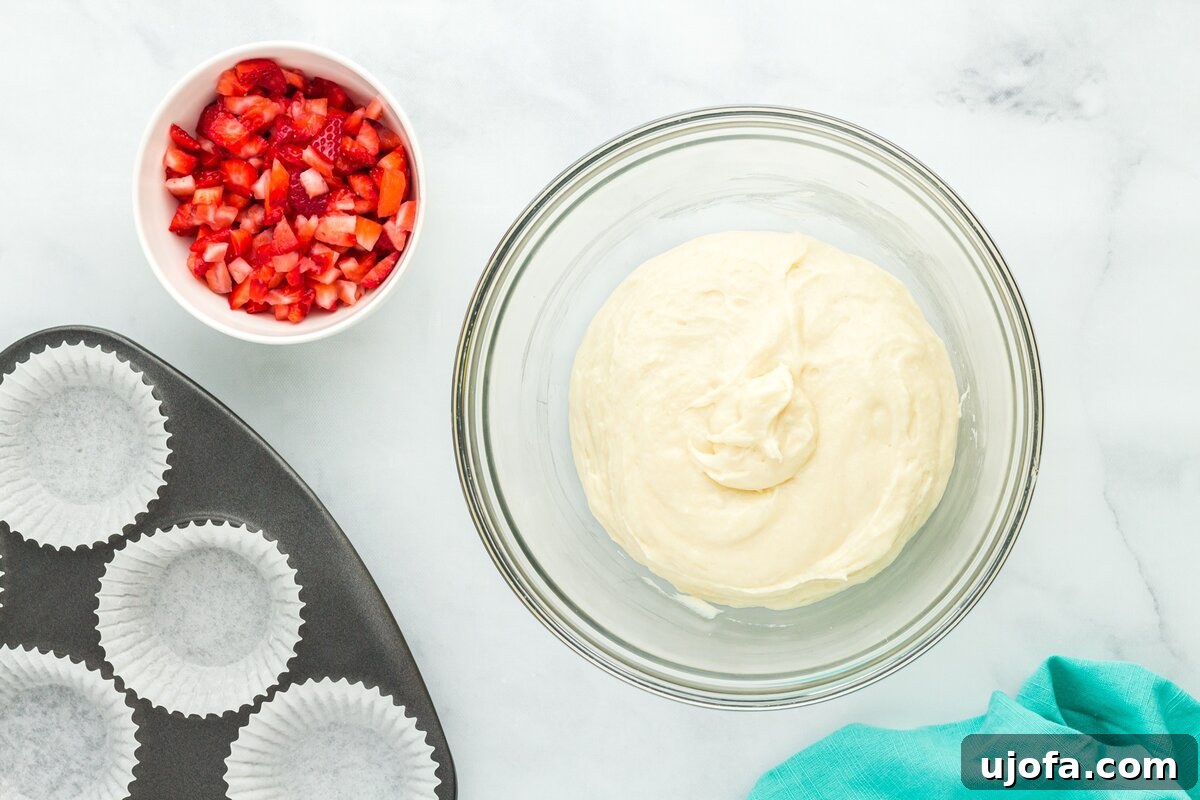
Step 4: Gently Mix Wet and Dry. Pour the dry ingredient mixture into the bowl containing the wet ingredients. With a spatula or wooden spoon, gently stir the batter just until the dry and wet ingredients are combined. It’s crucial to mix only until no dry flour pockets remain, taking care not to overmix, as this can lead to tougher muffins.
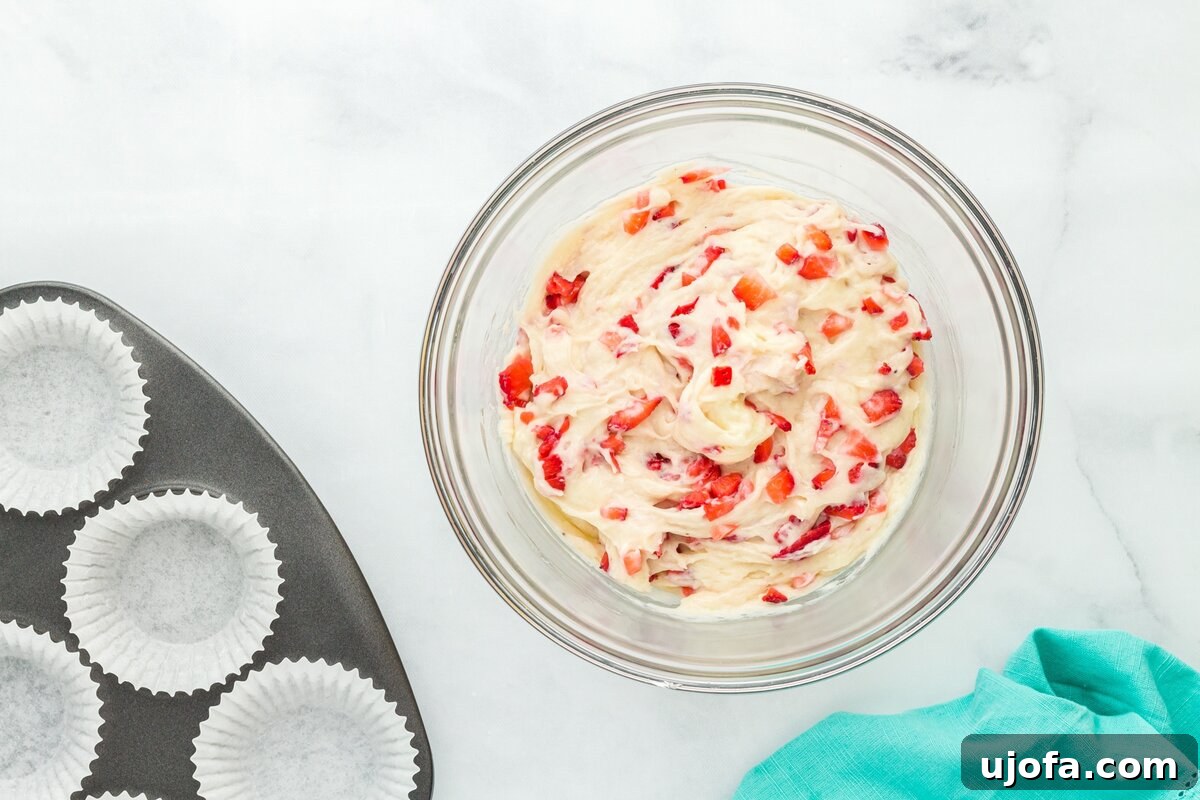
Step 5: Fold in the Strawberries. Once the batter is mixed, gently fold in the finely chopped fresh strawberries. Incorporate them carefully to distribute them evenly without crushing the delicate berries. This ensures every muffin bite has a delightful burst of strawberry flavor.
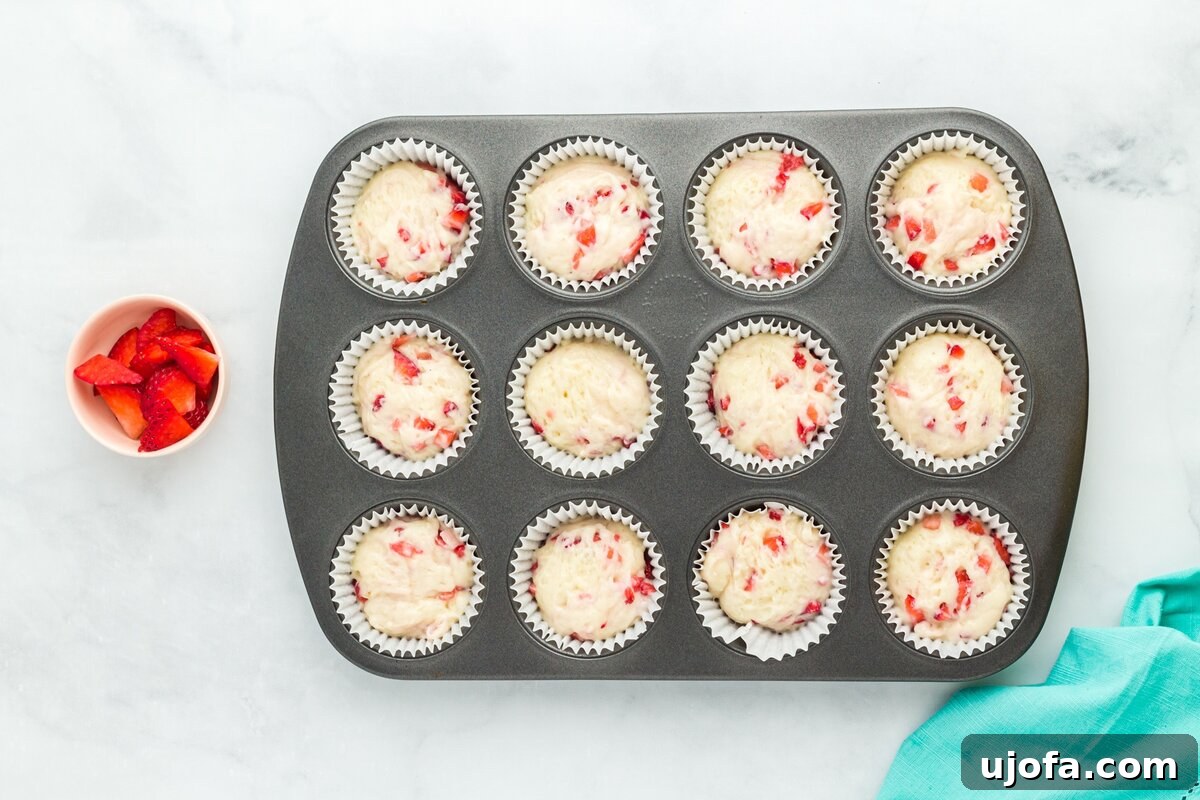
Step 6: Fill the Muffin Tin. Line a 12-cup muffin tin with paper liners. Using an ice cream scoop or spoon, evenly divide the muffin batter among the prepared cups. Fill each liner about ¾ of the way full. This allows the muffins ample space to rise and develop their signature domed tops.
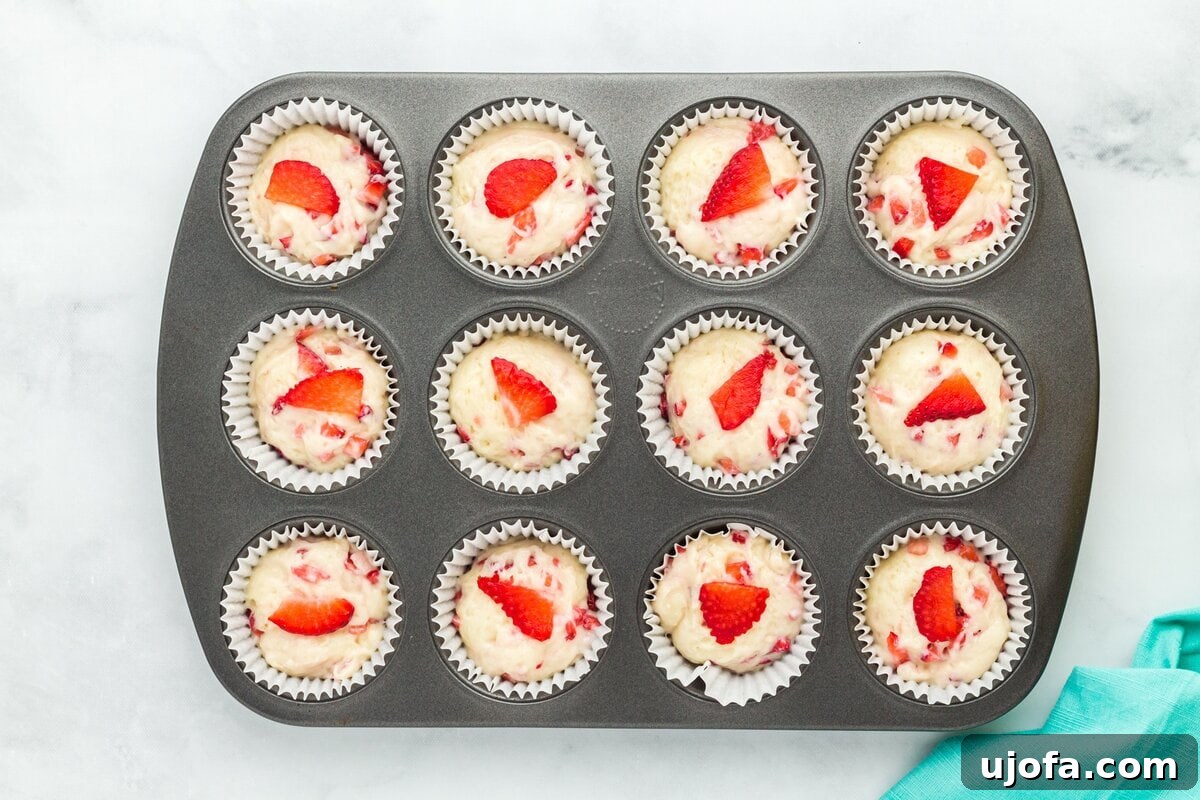
Step 7: Rest the Batter. This is a crucial step for gluten-free muffins. Let the filled muffin tin rest at room temperature for a full 15 minutes before placing it in the oven. This resting period allows the gluten-free flours to properly hydrate, which is essential for achieving a softer, more moist, and perfectly risen muffin texture.
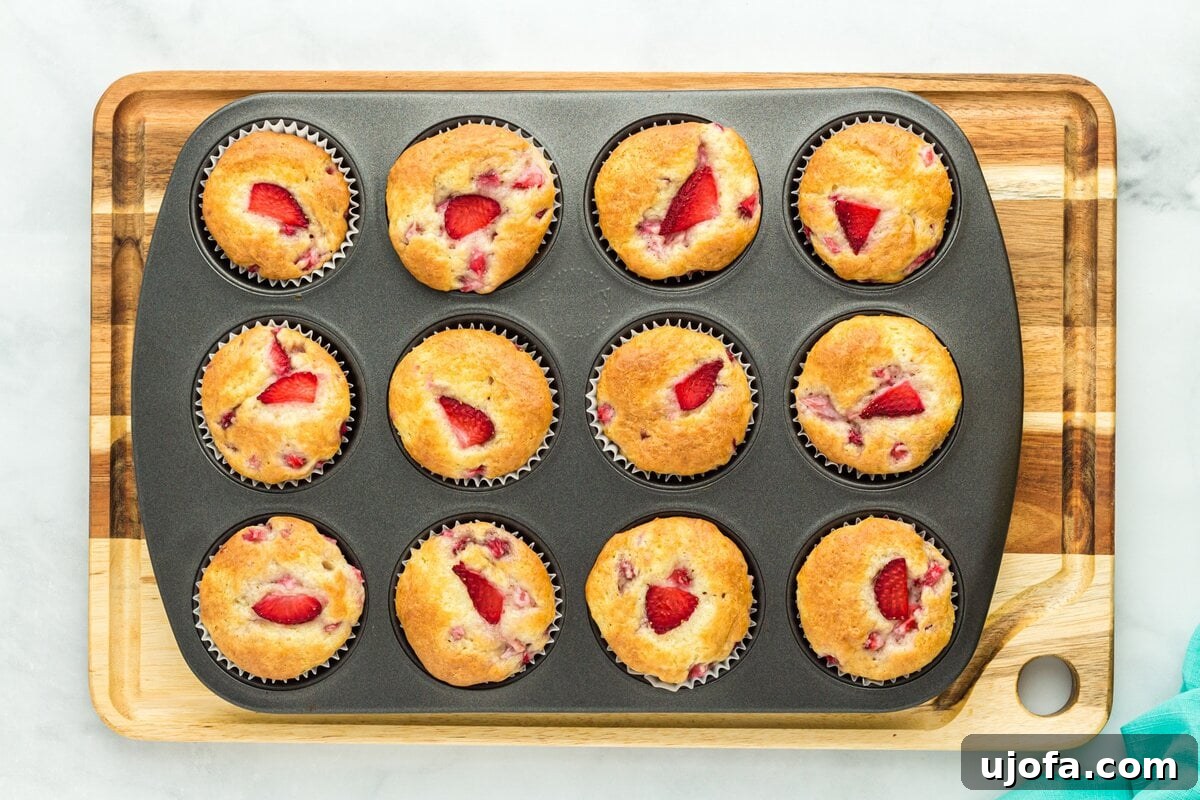
Step 8: Bake the Muffins. While the batter rests, preheat your oven to 350°F (180°C). Once the resting time is complete, place the muffin tin in the preheated oven and bake for 22 to 24 minutes. Look for lightly golden tops, and test for doneness by inserting a toothpick into the center of a muffin; it should come out clean or with only a few moist crumbs attached.
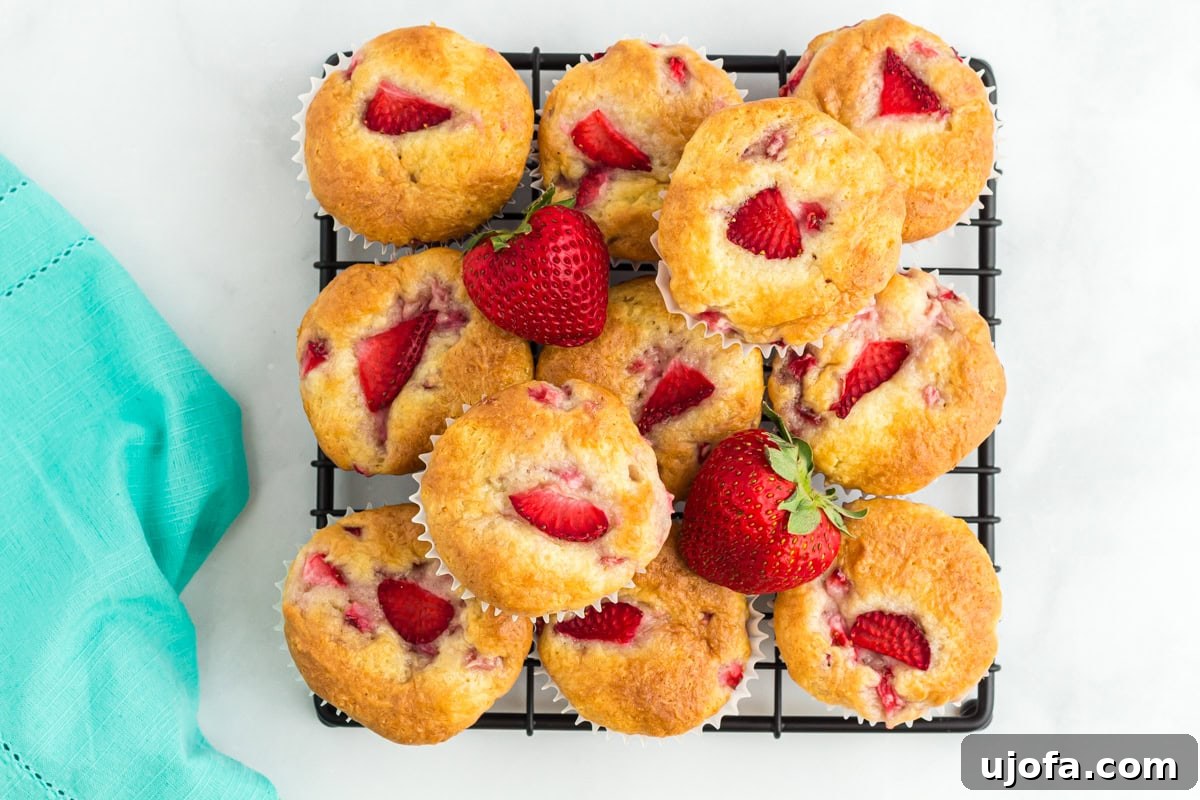
Step 9: Cool and Serve. After baking, remove the muffin tin from the oven. Let the muffins cool in the tin for 5 to 10 minutes to allow them to set. Then, carefully transfer them to a wire rack to cool completely. For an extra touch of elegance, you can top each muffin with a very thin slice of fresh strawberry before serving. Enjoy your homemade, perfectly baked gluten-free strawberry muffins!
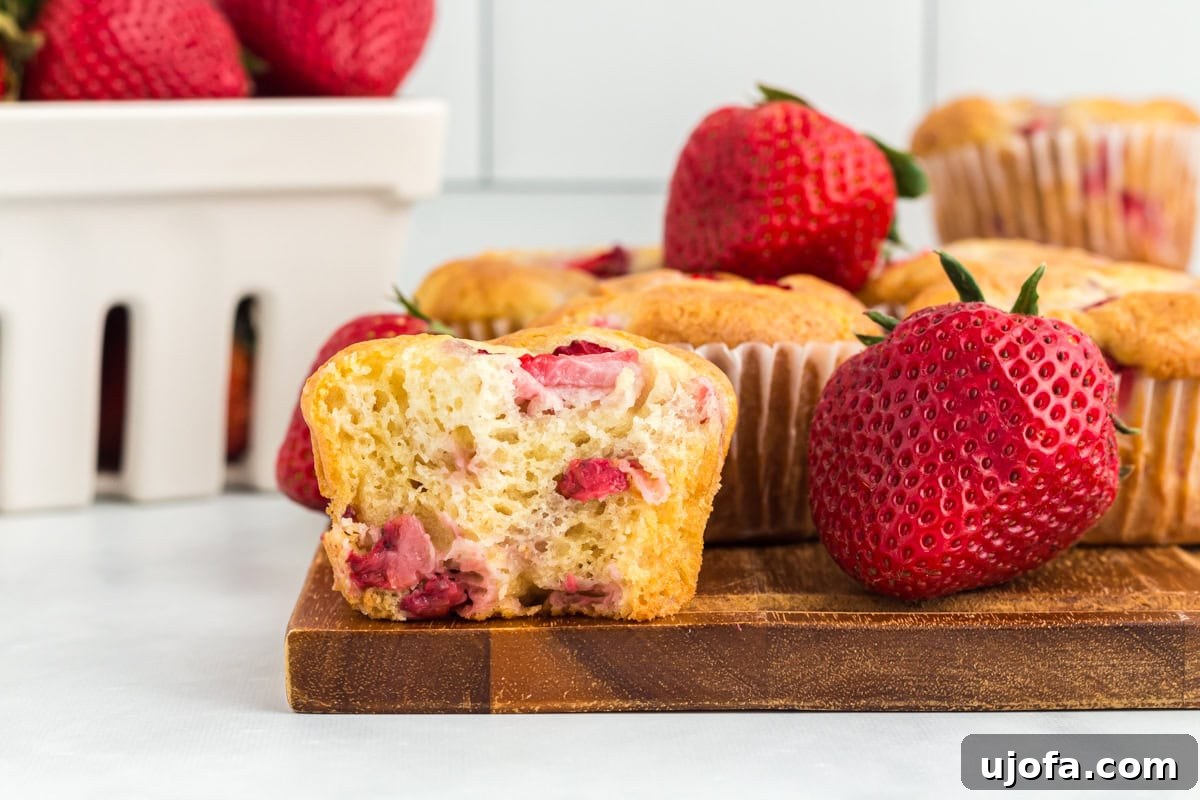
Delightful Serving Suggestions for Your Strawberry Muffins
These gluten-free strawberry muffins are incredibly versatile and can be enjoyed in numerous ways. I often bake them to savor as a bright and cheerful breakfast during the spring and summer months, perfectly paired with a steaming cup of coffee or a refreshing herbal tea. Beyond breakfast, they make an excellent addition to lunchboxes, complementing a satisfying gluten-free “uncrustable” sandwich or a crunchy gluten-free granola bar for a balanced midday meal. For an indulgent afternoon pick-me-up or a simple dessert, try serving them warm with a dollop of freshly whipped cream or a generous smear of homemade strawberry jam. A sprinkle of powdered sugar just before serving adds a lovely visual touch and a hint of extra sweetness.
Maximizing Freshness: Storage Tips
To keep your gluten-free strawberry muffins fresh and delicious for as long as possible, proper storage is key.
- Room Temperature: Once the muffins have cooled completely to room temperature, store them in an airtight container. They will remain wonderfully fresh and moist on your countertop for up to 3 days.
- Refrigeration: If you’d like to extend their shelf life slightly, transfer the cooled muffins to an airtight container and store them in the refrigerator for up to 5 days. Reheat briefly in the microwave for a fresh-baked feel.
- Freezing for Long-Term Enjoyment: These muffins freeze beautifully! To freeze, first ensure they are completely cool. Wrap each muffin individually in plastic wrap, then place the wrapped muffins in a freezer-safe bag or an airtight container. They can be stored in the freezer for up to 2 months.
- Thawing and Reheating: When you’re ready to enjoy a frozen muffin, you can thaw it at room temperature for an hour or two. For a quick and warm treat, reheat the thawed muffin in the microwave for 10-15 seconds, or in a toaster oven for a few minutes, until soft and warm throughout. This brings back that delightful, fresh-baked texture.
Variations and Add-Ins for Your Strawberry Muffins
While these strawberry muffins are perfect as they are, don’t hesitate to get creative with additional flavors and textures. Here are a few ideas to customize your next batch:
- Lemon Zest: Add 1-2 teaspoons of fresh lemon zest to the wet ingredients for a bright, citrusy complement to the strawberries.
- Chocolate Chips: Stir in ½ cup of white or dark chocolate chips with the strawberries for a decadent twist.
- Nutty Crunch: Fold in ¼ cup of chopped walnuts or pecans for added texture and a rich, nutty flavor.
- Strawberry Swirl: Instead of mixing all the strawberries into the batter, reserve a few and gently swirl a tablespoon of strawberry jam into the tops of the muffins before baking for a pretty visual and extra burst of fruit flavor.
- Dairy-Free Option: As noted in the recipe, you can easily make these dairy-free by swapping the sour cream for dairy-free plain yogurt and the butter for coconut oil or a quality vegan butter alternative.
Frequently Asked Questions About Gluten-Free Strawberry Muffins
Can I use frozen strawberries?
No, it is highly recommended to use fresh strawberries for this recipe. Frozen strawberries release too much moisture as they thaw and bake, which can make your muffins soggy and heavy. If you only have frozen, you might try thawing them completely, draining thoroughly, and then patting them very dry, but results may vary.
What if my gluten-free flour blend doesn’t contain xanthan gum?
If your chosen gluten-free all-purpose flour blend does not list xanthan gum in its ingredients, it’s important to add the ½ teaspoon specified in the recipe. Xanthan gum acts as a binder and provides structure that gluten-free flours lack, preventing your muffins from becoming crumbly.
Can I make these muffins dairy-free?
Yes, absolutely! To make these muffins dairy-free, simply substitute the full-fat sour cream with an equal amount of full-fat plain dairy-free yogurt (such as coconut or almond-based yogurt). For the unsalted butter, use an equal amount of melted coconut oil or a good quality vegan butter alternative.
How do I know if my baking powder and baking soda are fresh?
To test baking powder, drop a teaspoon into half a cup of hot water. If it fizzes vigorously, it’s still good. To test baking soda, mix a quarter teaspoon with two tablespoons of vinegar; it should bubble strongly. If there’s no reaction, it’s time to replace them.
My muffins turned out dense. What went wrong?
Several factors can lead to dense muffins. Common causes include overmixing the batter (which can overwork starches), not letting the batter rest for 15 minutes (which prevents proper hydration of gluten-free flours), or using cold ingredients. Ensure your ingredients are at room temperature and mix just until combined.
More Gluten-Free Muffin Recipes You’ll Love
If you’re a fan of these delightful strawberry muffins, you’ll be thrilled to explore more of my favorite gluten-free muffin recipes. Each one is crafted to be easy, delicious, and a perfect addition to your gluten-free baking repertoire:
- Almond Flour Blueberry Muffins: These muffins are my go-to for a protein-packed and naturally gluten-free breakfast. They’re incredibly satisfying and perfect for busy mornings when you need a wholesome start.
- Banana Oatmeal Muffins: Never waste ripe bananas again with this fantastic recipe! These muffins are a delicious and easy way to use up those overripe bananas, creating a moist, comforting treat that’s ideal for any time of day.
- Gluten-Free Zucchini Muffins: When I’m craving a sweet yet wholesome homemade treat that comes together effortlessly, these gluten-free zucchini muffins are always my top choice. They’re surprisingly moist and a great way to sneak in some vegetables!