
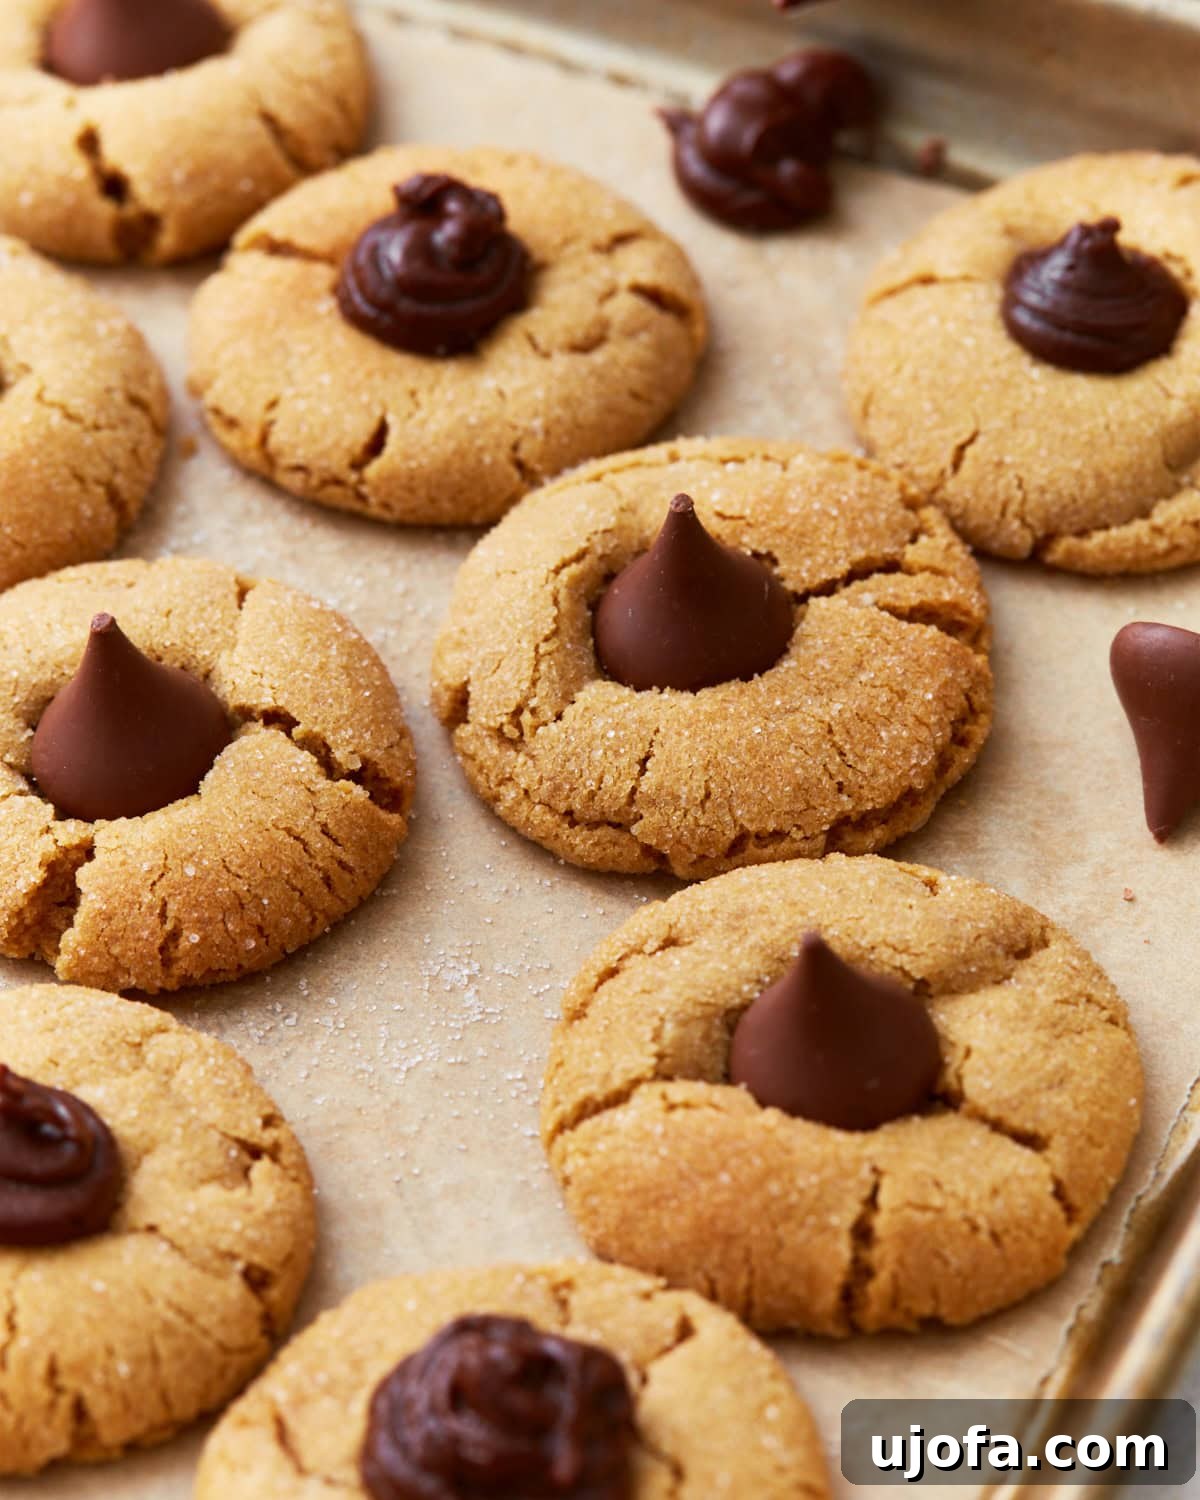
Welcome to the ultimate guide for crafting the perfect Gluten-Free Peanut Butter Blossoms! These delightful cookies aren’t just a holiday treat; they’re a timeless classic that brings joy to any occasion. Imagine a soft, chewy peanut butter cookie, perfectly golden with delicate crackled edges, crowned with a melt-in-your-mouth Hershey’s Kiss. It’s the quintessential combination of rich peanut butter and smooth chocolate, a flavor pairing beloved by all. Whether you’re navigating gluten sensitivities or simply seeking an incredibly delicious cookie recipe, these gluten-free peanut butter blossoms are guaranteed to become a cherished favorite on your cookie tray.
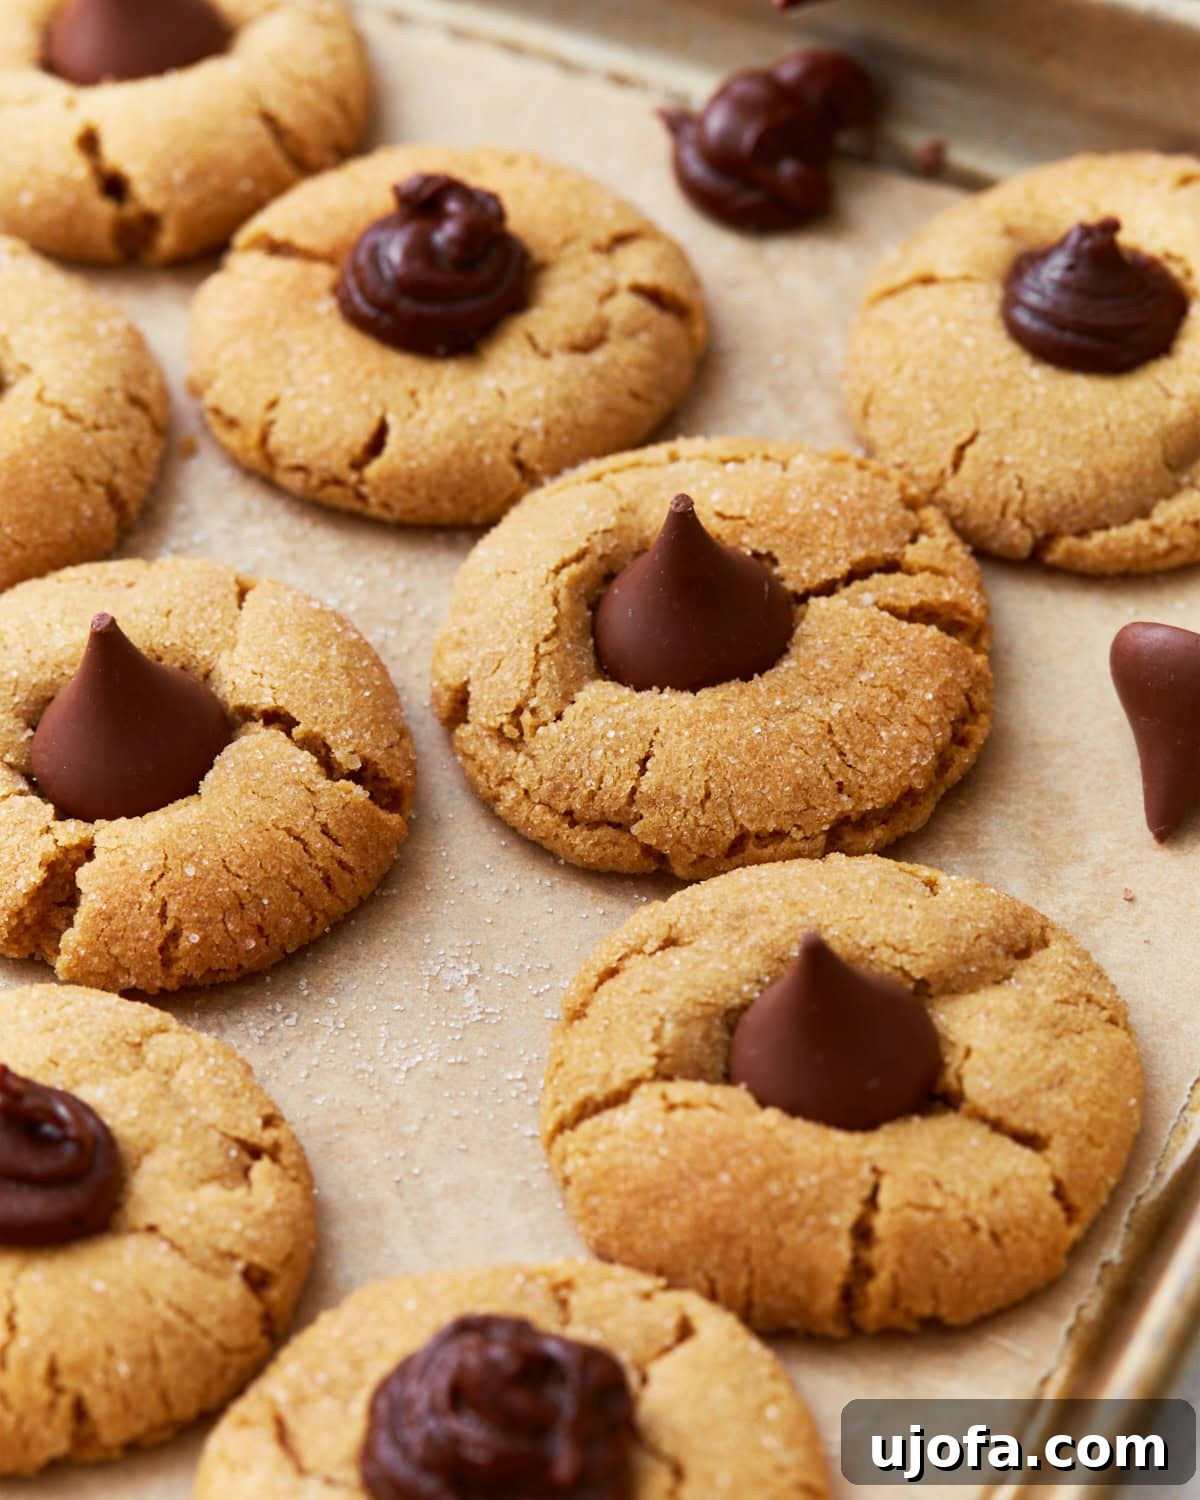
The Irresistible Gluten-Free Peanut Butter Blossoms Recipe
For me, this peanut butter blossoms recipe is a heartfelt tribute to cherished childhood memories. Growing up, these iconic cookies were a staple at every family holiday gathering, a symbol of warmth and celebration. Adapting my tried-and-true gluten-free peanut butter cookies recipe was a breeze; all it took was adding that signature Hershey’s Kiss to the center, transforming them into the beloved blossoms we all adore. These classics are celebrated for their wonderfully soft and chewy texture, complemented by a delightful sugar crust that adds just the right amount of crispness to every bite.
Is there any flavor combination more universally adored than chocolate and peanut butter? It’s a match made in culinary heaven, and these cookies are living proof. The rich, salty notes of peanut butter perfectly balance the sweet, creamy chocolate, creating an experience that’s truly hard to resist. Beyond their incredible taste, these cookies are remarkably easy to prepare, making them a fantastic choice for busy bakers. They consistently earn rave reviews and are always a crowd-pleaser, disappearing quickly from any platter. Prepare to fall in love with these delightful gluten-free treats!
What Makes These Blossoms Gluten-Free?
Creating delicious gluten-free versions of classic recipes is my passion, and these peanut butter blossoms are a shining example. The primary ingredient that makes them safe and enjoyable for those with gluten sensitivities is the use of a high-quality gluten-free all-purpose flour blend. Unlike traditional wheat flour, gluten-free blends combine various flours (like rice flour, potato starch, tapioca starch) to mimic the texture and baking properties of wheat. It’s crucial to choose a reputable brand for consistent results.
Additionally, ensuring all other ingredients are naturally gluten-free or certified gluten-free is vital. This includes checking labels on items like peanut butter, baking powder, baking soda, and especially the chocolate Kisses, as some varieties or brands may contain hidden gluten ingredients. By meticulously selecting ingredients and following the recipe carefully, you can achieve a cookie that is indistinguishable from its gluten-containing counterpart in taste and texture, allowing everyone to indulge without worry.
Essential Gluten-Free Baking Tips for Success
Gluten-free baking doesn’t have to be daunting. With a few key tips, you can achieve perfect results every time. Here’s what I’ve learned from countless hours in the kitchen:
- The Right Flour Blend Makes a Difference: Not all gluten-free flours are created equal. I highly recommend using a reputable gluten-free all-purpose flour blend that is designed for baking, such as Pillsbury gluten-free flour. If your chosen blend does not contain xanthan gum, you’ll need to add it separately as instructed in the recipe. Xanthan gum acts as a binder, replacing the elasticity that gluten provides, and is crucial for preventing crumbly cookies.
- Mastering the Cookie Scoop: For consistently sized and perfectly round cookies, a cookie scoop is a game-changer. I use a 1 ½ tablespoon scoop, which ensures that each cookie bakes evenly and looks professionally made. This also helps with consistent baking times, so you don’t end up with some underbaked and some overbaked.
- The Magic of Chilling the Dough: Don’t skip the refrigeration step! Chilling the dough for at least 30 minutes is critical. It helps the fats solidify, preventing the cookies from spreading too much in the oven. It also allows the gluten-free flours to hydrate, resulting in a more uniform texture and richer flavor. Cold dough is also much easier to handle and roll.
- Handling Crumbly Dough: Gluten-free dough can sometimes be a bit finicky. If your dough appears too crumbly or dry after mixing, don’t fret! Simply stir in an extra tablespoon or two of almond milk or even an additional egg (at room temperature) until it reaches a soft, play-dough-like consistency that is easy to roll.
- Baking Sheet Innovation: For perfectly lined-up cookies and easy cleanup, I swear by Reynolds Kitchens Cookie Baking Sheets. They come with a smart grid that makes spacing out your cookies incredibly simple, ensuring even airflow and baking. You can often find them at your local Walmart or grocery store. Alternatively, any good quality parchment paper will work wonders for non-stick baking and easy removal.
- Don’t Overbake: Gluten-free cookies can go from perfectly baked to dry and hard very quickly. Keep a close eye on your cookies during the last few minutes of baking. They should be lightly golden brown around the edges, but still soft in the center when removed from the oven. They will continue to set as they cool.
Gluten-Free Peanut Butter Blossoms

These gluten-free peanut butter blossoms are the star of my holiday cookie trays. A chewy, soft peanut butter cookie topped with a Hershey’s Kiss that gives you a classic peanut butter and chocolate pairing in every bite.
Ingredients
- 1/2 cup gluten-free peanut butter (creamy preferred)
- 1/2 cup granulated sugar
- 1/2 cup brown sugar, packed
- 1/2 cup unsalted butter, softened (for dairy-free, use Smart Balance or your preferred dairy-free butter alternative)
- 1 teaspoon molasses
- 1 egg, room temperature
- 1 1/4 cups gluten-free all-purpose flour, I like Pillsbury gluten-free flour. Not all gluten-free flours are created equal, so results may vary.
- 1/4 teaspoon xanthan gum, (leave out if your flour blend already contains it)
- 3/4 teaspoon baking soda
- 1/2 teaspoon gluten-free baking powder
- 1/4 cup granulated sugar for rolling
- 36 Hershey Kisses (always check labels for gluten-free certification, as not all flavors are guaranteed GF; for dairy-free, use the chocolate peanut butter filling below)
Dairy-Free Chocolate Peanut Butter Filling (Optional)
- 3/4 cup gluten-free peanut butter
- 1 tablespoon pure vanilla extract
- 4 tablespoons gluten-free cocoa powder
- 3/4 cups powdered sugar
- 5 tablespoons dairy-free milk, I used almond milk
Instructions
- Cream Wet Ingredients: In a large mixing bowl, combine the ½ cup granulated sugar, ½ cup brown sugar, softened butter, and ½ cup gluten-free peanut butter. Using a hand mixer or stand mixer, beat the mixture until it is light, fluffy, and fully creamy. This step is crucial for achieving the perfect cookie texture.
- Add Egg and Molasses: Incorporate the room temperature egg and molasses into the creamy mixture. Continue mixing until these ingredients are thoroughly combined, ensuring a smooth and cohesive batter.
- Combine Dry Ingredients: In a separate medium-sized bowl, whisk together the 1 ¼ cups gluten-free all-purpose flour, ¼ teaspoon xanthan gum (if your flour blend doesn’t include it), ¾ teaspoon baking soda, and ½ teaspoon gluten-free baking powder. Stir well to ensure all dry ingredients are evenly distributed.
- Combine Wet and Dry: Gradually add the dry flour mixture into the wet batter, mixing on low speed until just combined. Be careful not to overmix. The resulting cookie dough should be soft, pliable, and resemble playdough. If it’s too crumbly, add a tablespoon or two of almond milk until it reaches the desired consistency.
- Chill the Dough: Cover the bowl containing the cookie dough with plastic wrap and refrigerate for a minimum of 30 minutes. This chilling period is essential for preventing the cookies from spreading excessively during baking and helps to develop a richer flavor.
- Prepare for Baking: While the dough is chilling, preheat your oven to 375°F (190°C). Pour the ¼ cup of granulated sugar into a small, shallow bowl for rolling the cookie dough balls. Line a baking sheet with parchment paper or use Reynolds Kitchens Cookie Baking Sheets for best results.
- Scoop and Roll: Remove the chilled cookie dough from the refrigerator. Using a 1 ½ tablespoon cookie scoop, portion out the dough. Roll each scoop into a smooth, uniform ball between your palms. This ensures even baking and a beautiful appearance.
- Sugar Coat: Roll each cookie dough ball generously in the bowl of granulated sugar, ensuring it’s completely coated. This sugar coating contributes to the classic crackled texture and delightful sweetness of the blossoms.
- Arrange and Bake: Place the sugar-coated cookie dough balls onto the prepared baking sheet, leaving about 2 inches between each cookie to allow for spreading. Bake for 10-12 minutes, or until the edges are lightly golden brown. Remember that oven temperatures can vary, so keep a close watch on your cookies to avoid overbaking.
- Add Chocolate Kisses: As soon as you remove the cookies from the oven, immediately press a Hershey’s Kiss gently into the center of each warm cookie. The residual heat from the cookies will slightly melt the chocolate, creating that iconic blossom top. If using the dairy-free chocolate peanut butter filling, use the back of a teaspoon to make a slight indent in the center of each warm cookie instead of adding a Kiss.
- Cool Completely: Allow the cookies to cool completely on the baking sheet or a wire rack. This is crucial for the Hershey’s Kisses to set and prevent them from flattening or melting further. Patience is key here!
- Store: Once completely cooled, store your gluten-free peanut butter blossoms in an airtight container at room temperature. Enjoy these delightful treats!
Dairy-Free Chocolate Peanut Butter Filling Instructions
- Combine Peanut Butter & Flavors: In a medium bowl, mix together the ¾ cup gluten-free peanut butter, 4 tablespoons gluten-free cocoa powder, and 1 tablespoon pure vanilla extract until fully combined and smooth.
- Add Powdered Sugar: Gradually add the ¾ cup powdered sugar to the mixture, stirring until thoroughly incorporated. The filling will begin to thicken and firm up at this stage.
- Achieve Smooth Consistency: Stir in the 5 tablespoons of dairy-free milk until the filling becomes wonderfully smooth and creamy.
- Fill the Cookies: Once your baked cookies have cooled and you’ve made the indentations (as per step 9 of the main instructions), spoon the dairy-free chocolate peanut butter filling into the centers. For a neater, more professional look, you can pipe the filling using a pastry bag with a round tip (as I often do).
Notes
- I also love using Reynolds Kitchens Cookie Baking Sheets for their smart grid feature, which makes aligning cookies on the baking sheet incredibly easy and ensures even spacing. I typically purchase them at Walmart.
Nutrition
Calories: 104kcal
Carbohydrates: 12g
Protein: 1g
Fat: 5g
Saturated Fat: 2g
Cholesterol: 12mg
Sodium: 46mg
Potassium: 37mg
Sugar: 8g
Vitamin A: 85IU
Calcium: 20mg
Iron: 0.3mg
Nutrition information is automatically calculated and should be used only as an approximation.
Additional Info
How to Make Gluten-Free Peanut Butter Blossoms: A Visual Guide
Let’s walk through the process with detailed steps and accompanying visuals to ensure your gluten-free peanut butter blossoms turn out perfectly every time.
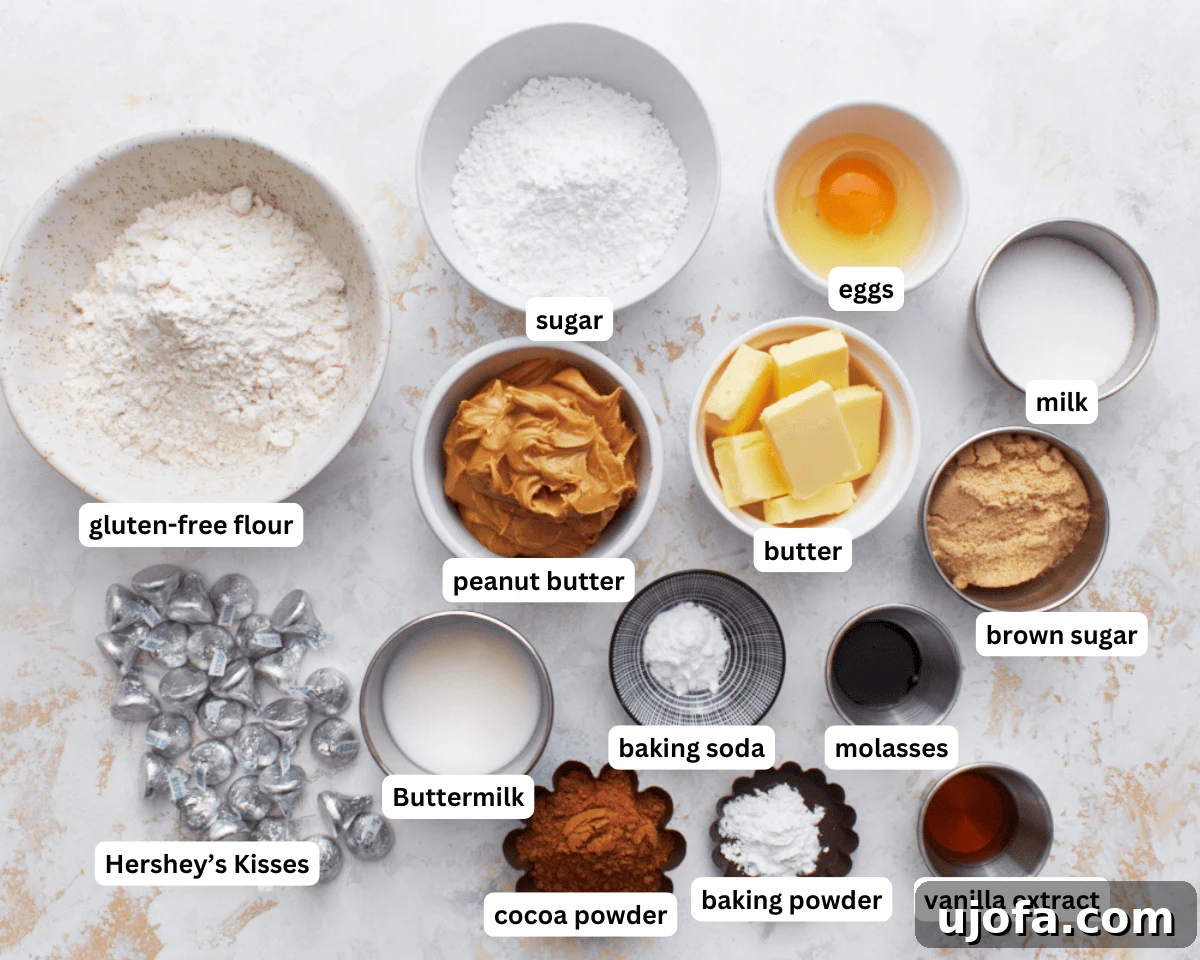
Step 1: Gather Your Ingredients. Begin by laying out all your ingredients on the counter. This ‘mise en place’ approach ensures you have everything you need, from gluten-free peanut butter to Hershey’s Kisses, making the baking process smooth and efficient.
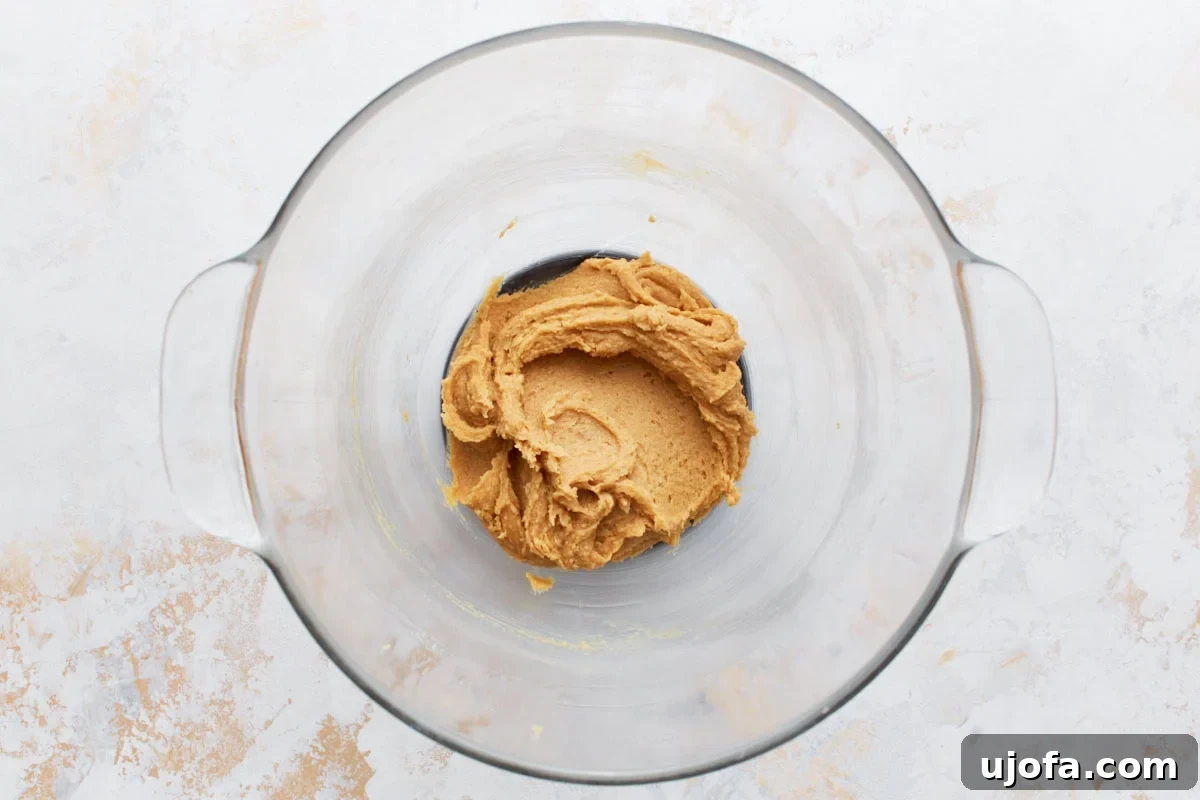
Step 2: Cream Wet Ingredients. In a large mixing bowl, combine the granulated sugar, brown sugar, softened unsalted butter, and creamy gluten-free peanut butter. Using an electric mixer, beat these ingredients together until the mixture is light, fluffy, and beautifully creamy. This thorough creaming creates air pockets that contribute to the cookies’ soft texture. Next, beat in the room temperature egg and a teaspoon of molasses until everything is fully combined and smooth. Molasses adds a depth of flavor and helps with the chewy texture.
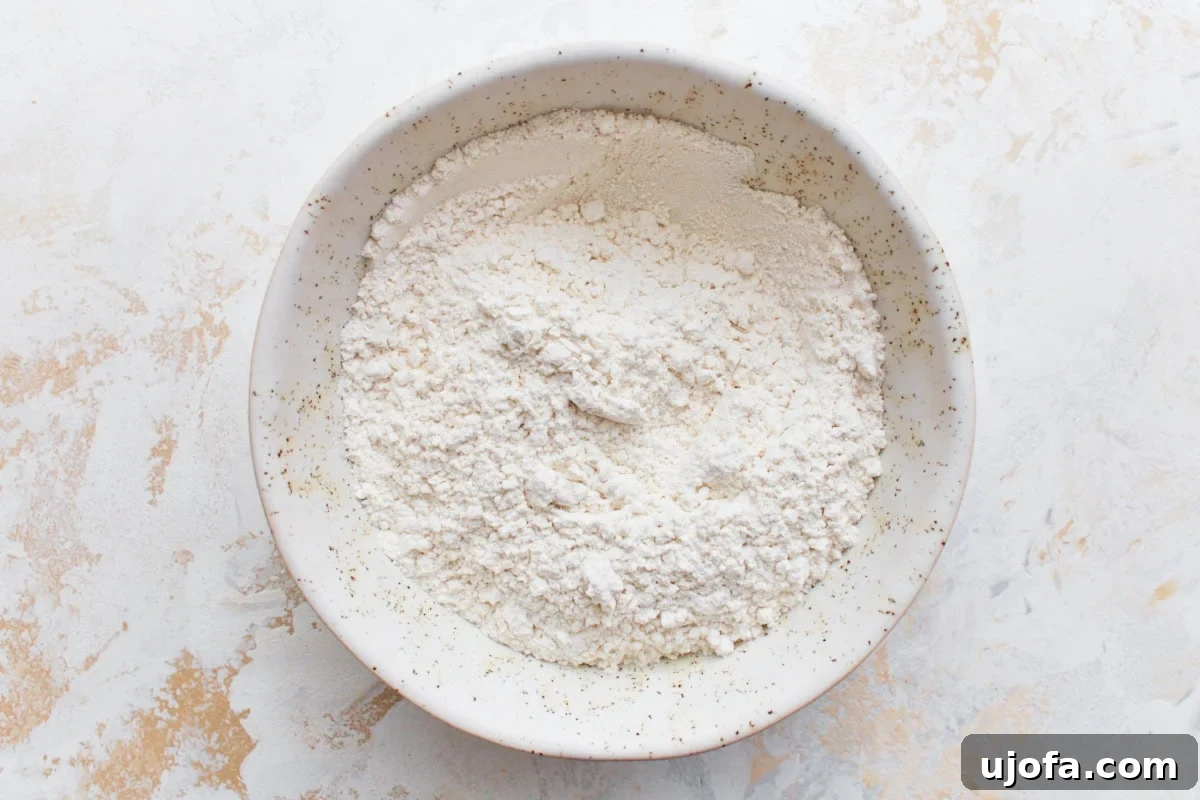
Step 3: Whisk Dry Ingredients. In a separate medium bowl, whisk together the gluten-free all-purpose flour, xanthan gum (if your flour blend doesn’t already contain it), baking soda, and baking powder. Thoroughly blending these dry ingredients prevents pockets of leavening agents in your final cookies, ensuring an even rise.
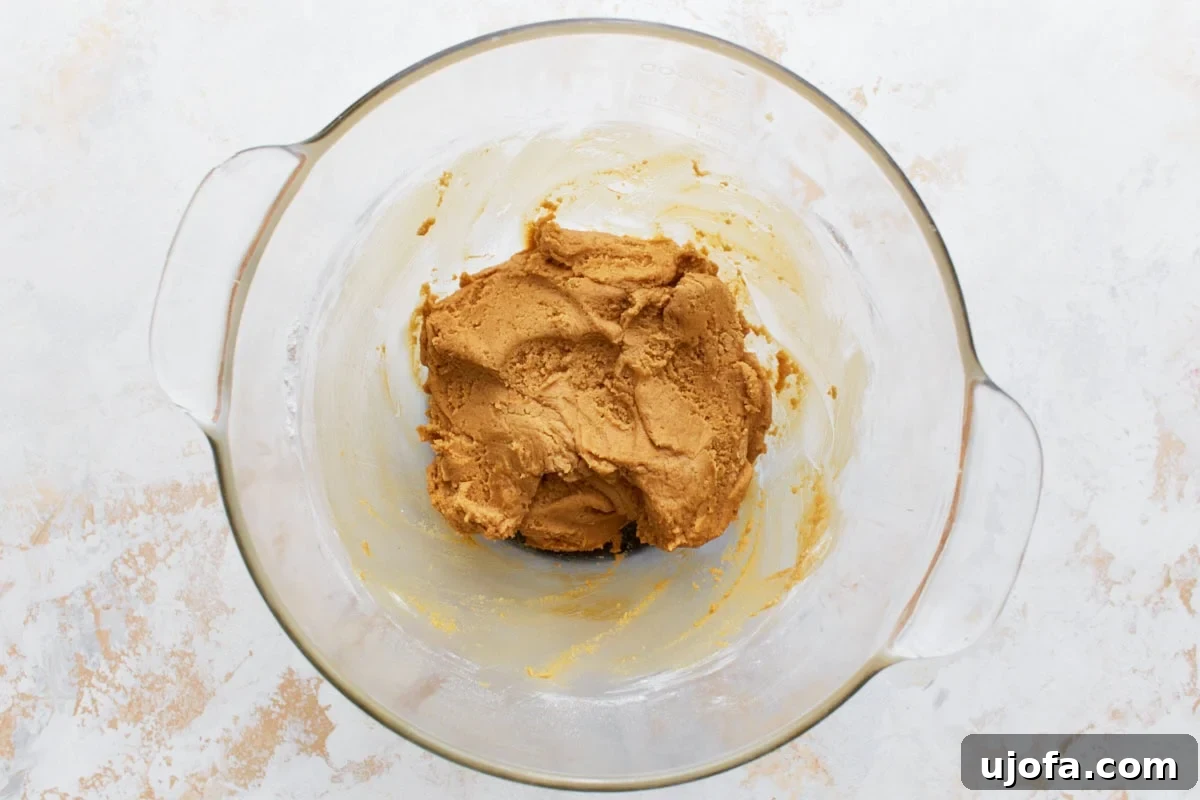
Step 4: Combine Wet and Dry Mixtures. Gradually add the whisked dry flour mixture into the creamy wet batter. Mix on a low speed until all the flour is just incorporated and no dry streaks remain. Be careful not to overmix, as this can lead to tougher cookies. The dough should come together as a soft, pliable consistency, much like playdough. If it feels too dry, add a tiny bit of dairy-free milk or water, one teaspoon at a time.
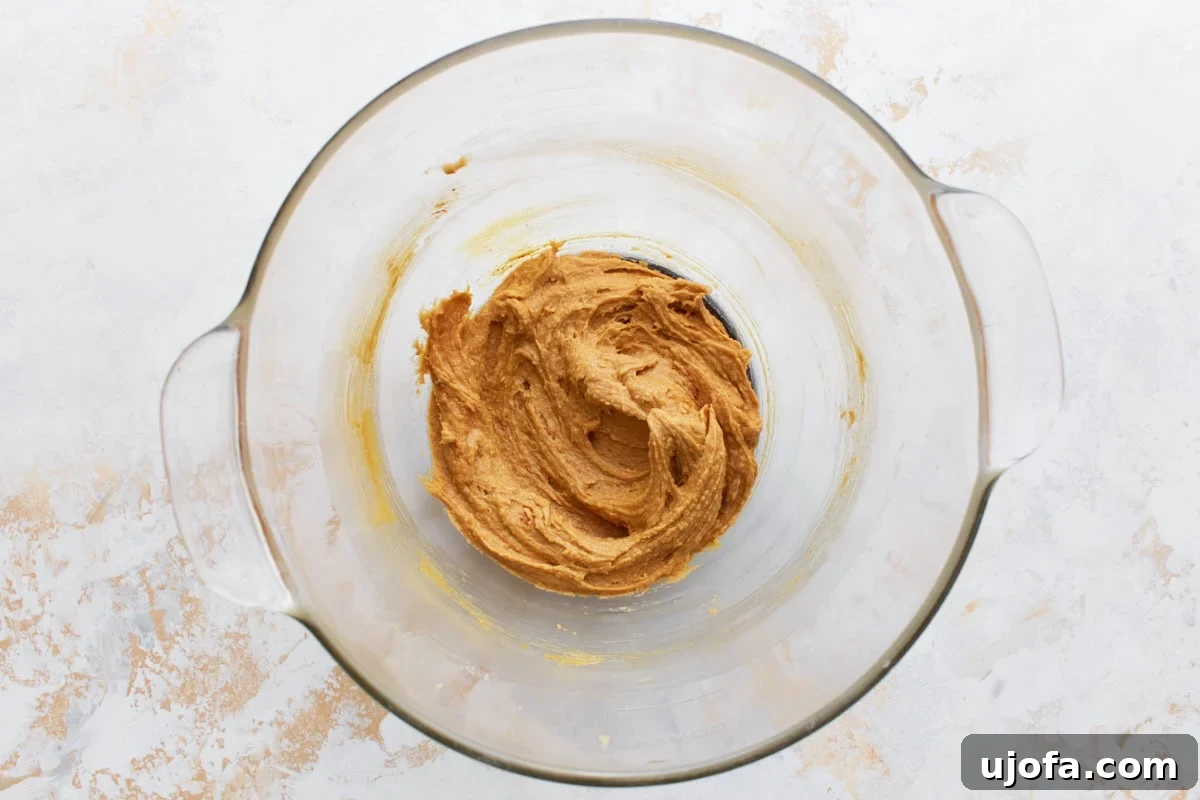
Step 5: Chill the Dough. Cover the bowl containing your beautifully mixed cookie dough with plastic wrap and place it in the refrigerator for 30 minutes. This chilling step is non-negotiable for gluten-free cookies; it allows the flours to fully hydrate, prevents excessive spreading during baking, and makes the dough much easier to handle and roll into perfect balls.
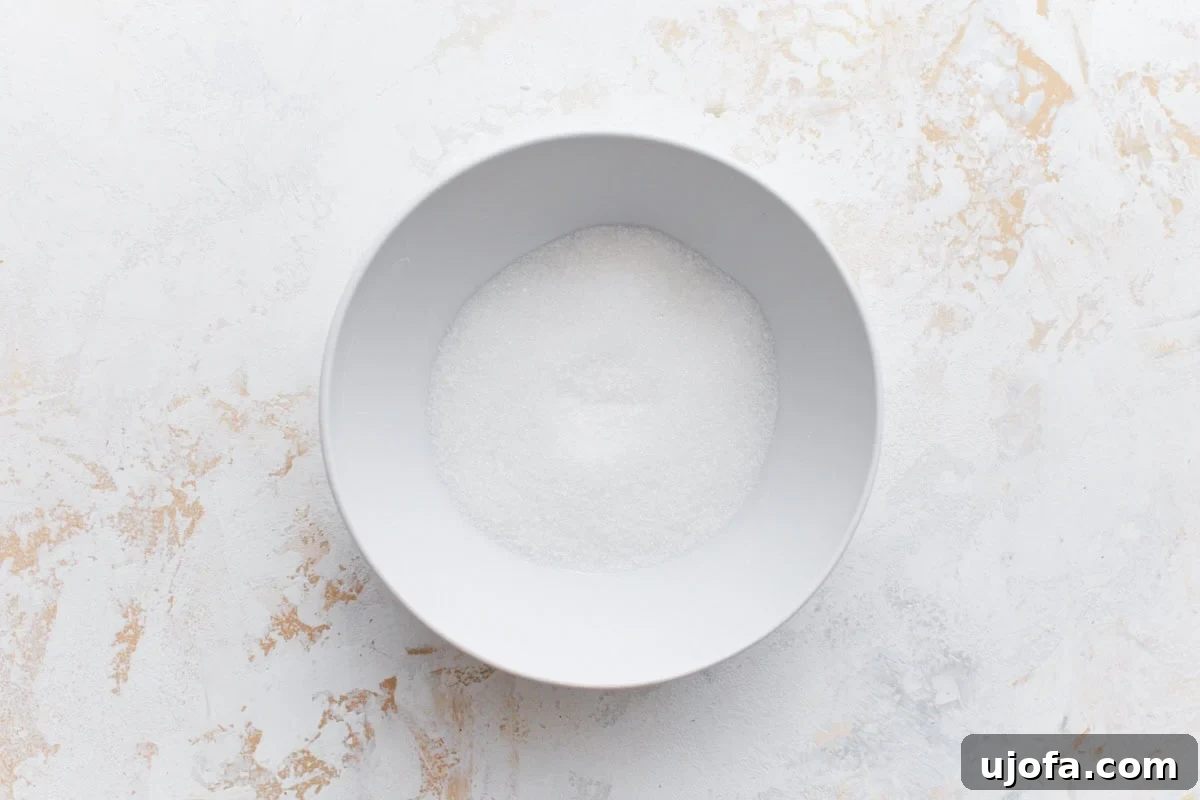
Step 6: Preheat and Prepare for Rolling. While the dough is chilling, preheat your oven to 375°F (190°C). Pour ¼ cup of granulated sugar into a small, shallow bowl. This will be used for rolling the cookie dough balls, adding that irresistible sugary crust.
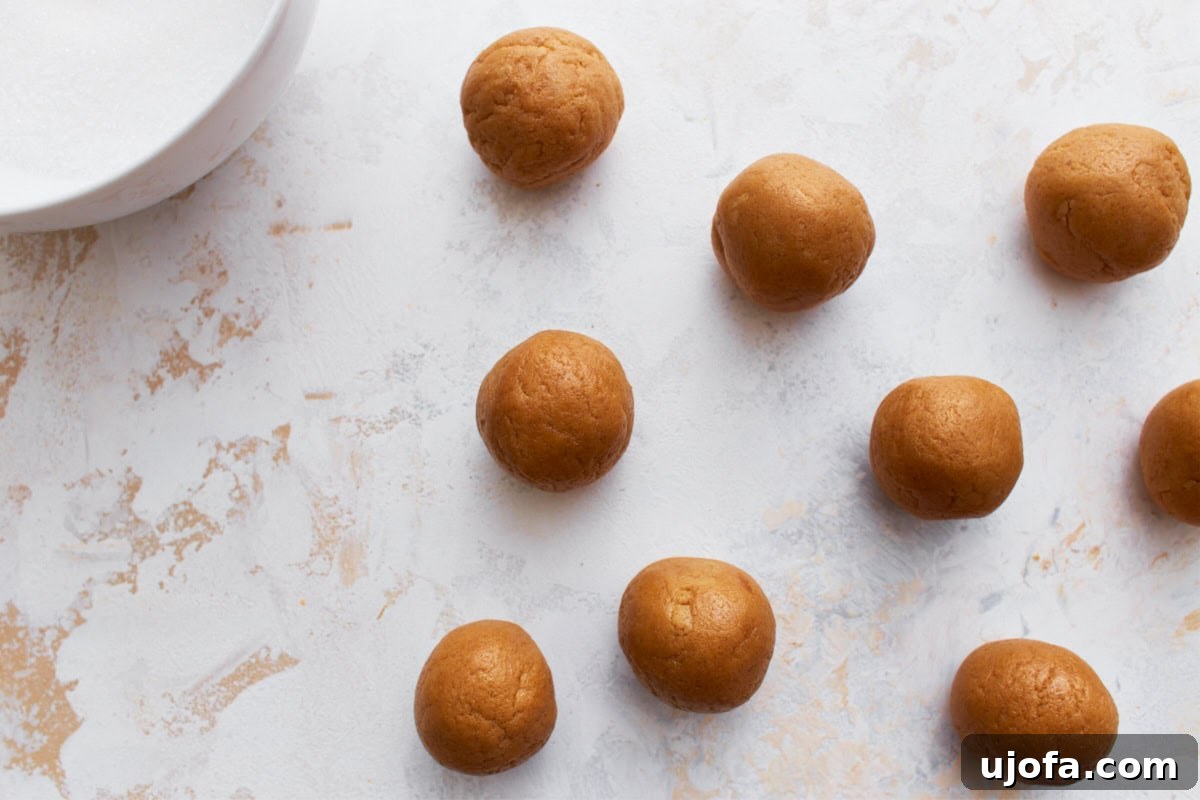
Step 7: Scoop and Shape. Once the dough is sufficiently chilled, take it out of the refrigerator. Using a 1 ½ tablespoon cookie scoop, portion out the dough. Then, roll each portion into a smooth, even ball between the palms of your hands. Uniform balls ensure consistent baking.
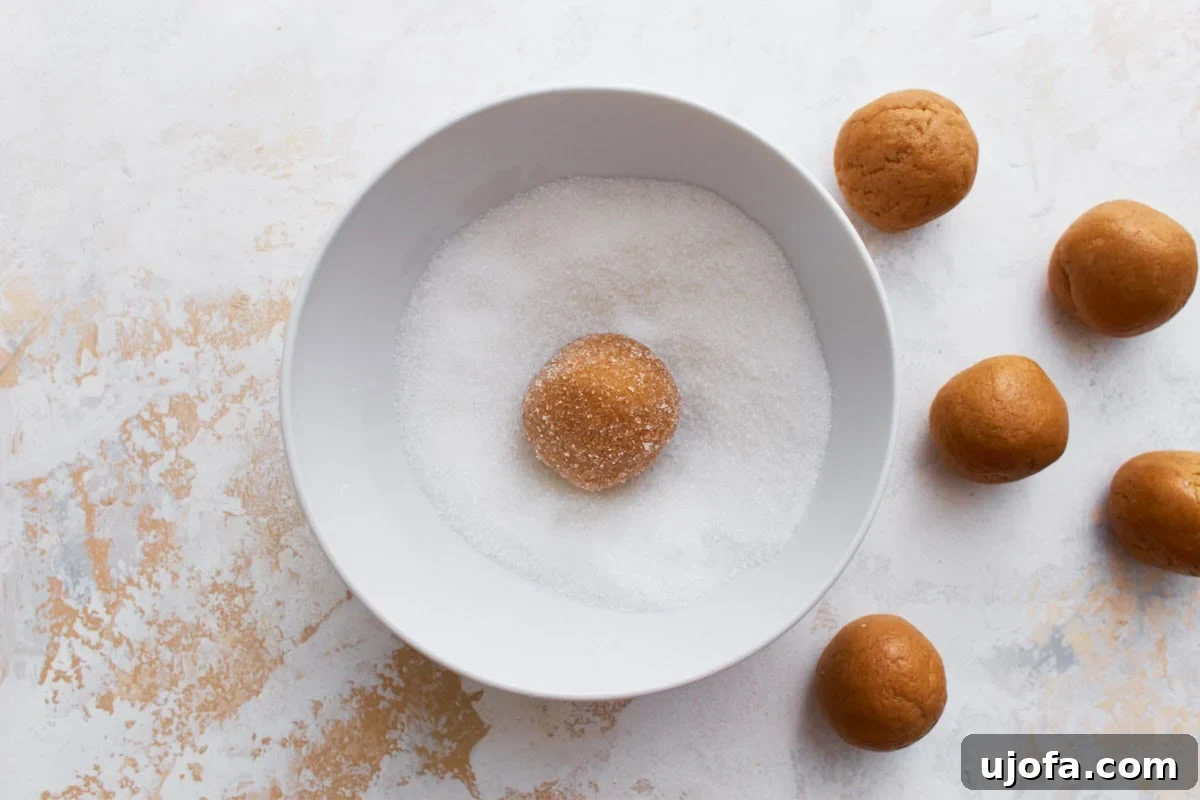
Step 8: Sugar Coat Each Ball. Gently roll each perfectly formed dough ball in the bowl of granulated sugar, ensuring it’s completely coated. This step not only adds sweetness but also creates the beautiful crackled texture characteristic of peanut butter blossoms.
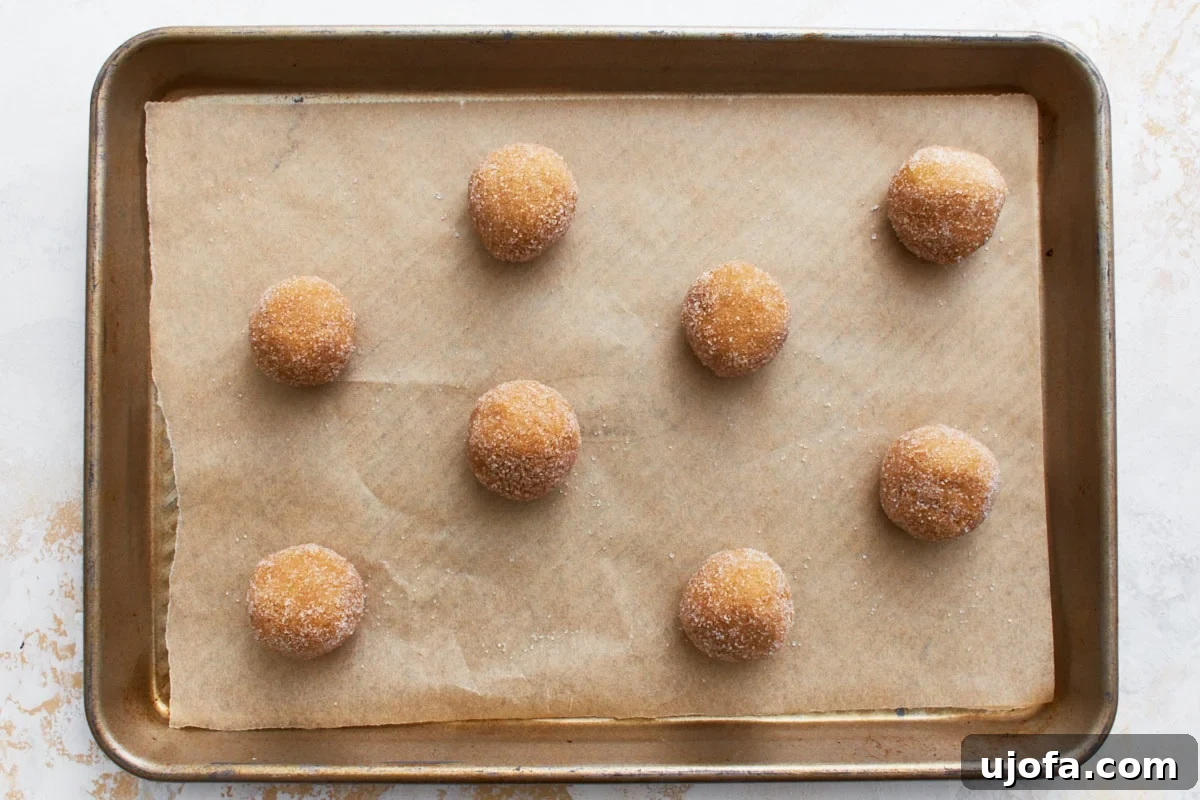
Step 9: Arrange on Baking Sheet. Carefully place the sugar-coated dough balls onto a parchment-lined baking sheet, leaving about 2 inches of space between each cookie. This allows them enough room to spread slightly without merging into one another during baking.
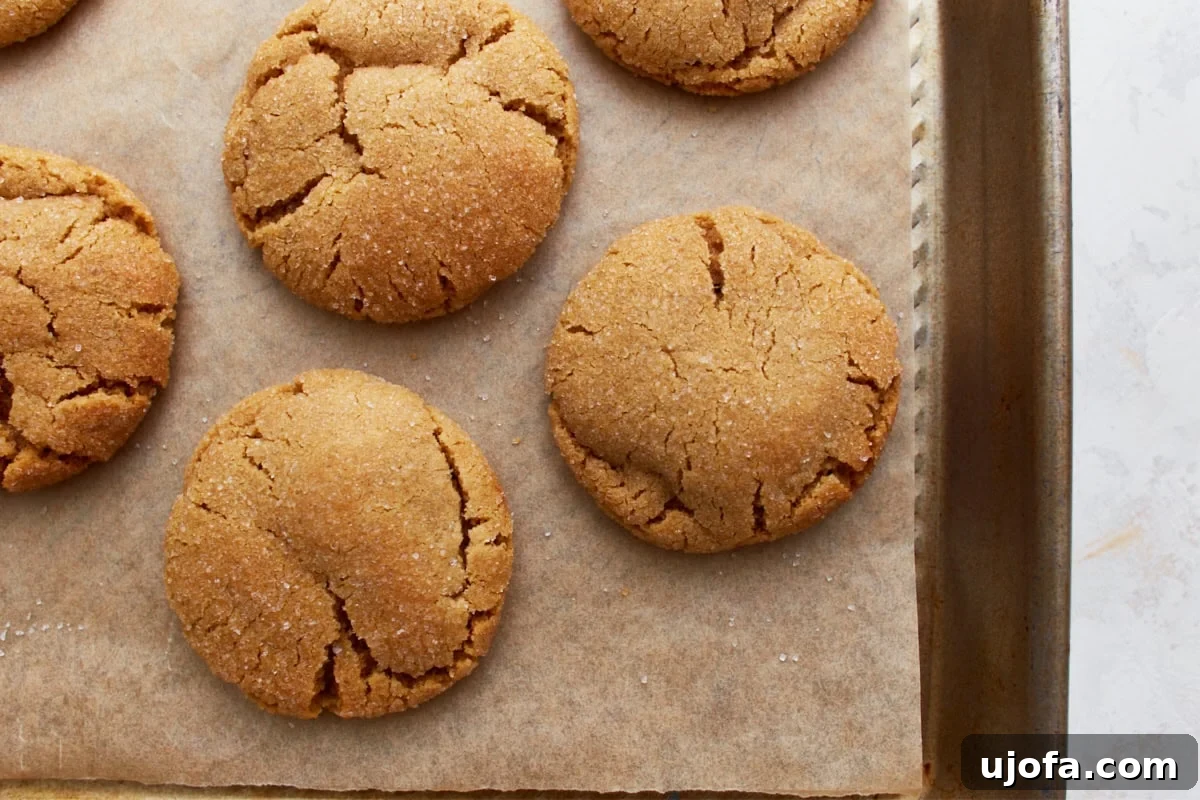
Step 10: Bake to Golden Perfection. Place the baking sheet into the preheated oven and bake for 10-12 minutes. The cookies are ready when their edges are lightly golden brown, but the centers still appear slightly soft. Remember that gluten-free cookies can dry out quickly, so avoid overbaking.
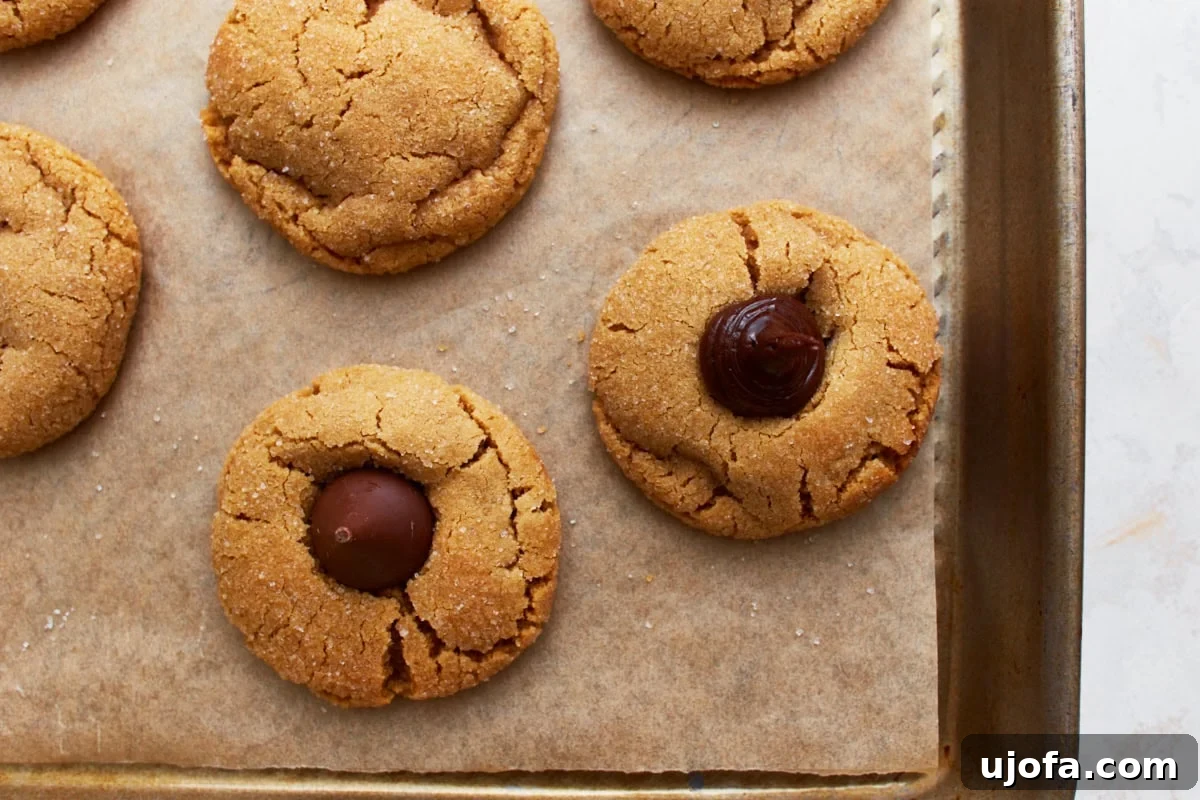
Step 11: Add Your Chocolate Topping. Immediately upon removing the hot cookies from the oven, gently press a Hershey’s Kiss into the center of each cookie. The warmth of the cookie will slightly melt the chocolate, creating a beautiful, soft crown. If you’re opting for the dairy-free chocolate peanut butter filling, use the back of a small spoon to create a gentle indentation in the center of each warm cookie.
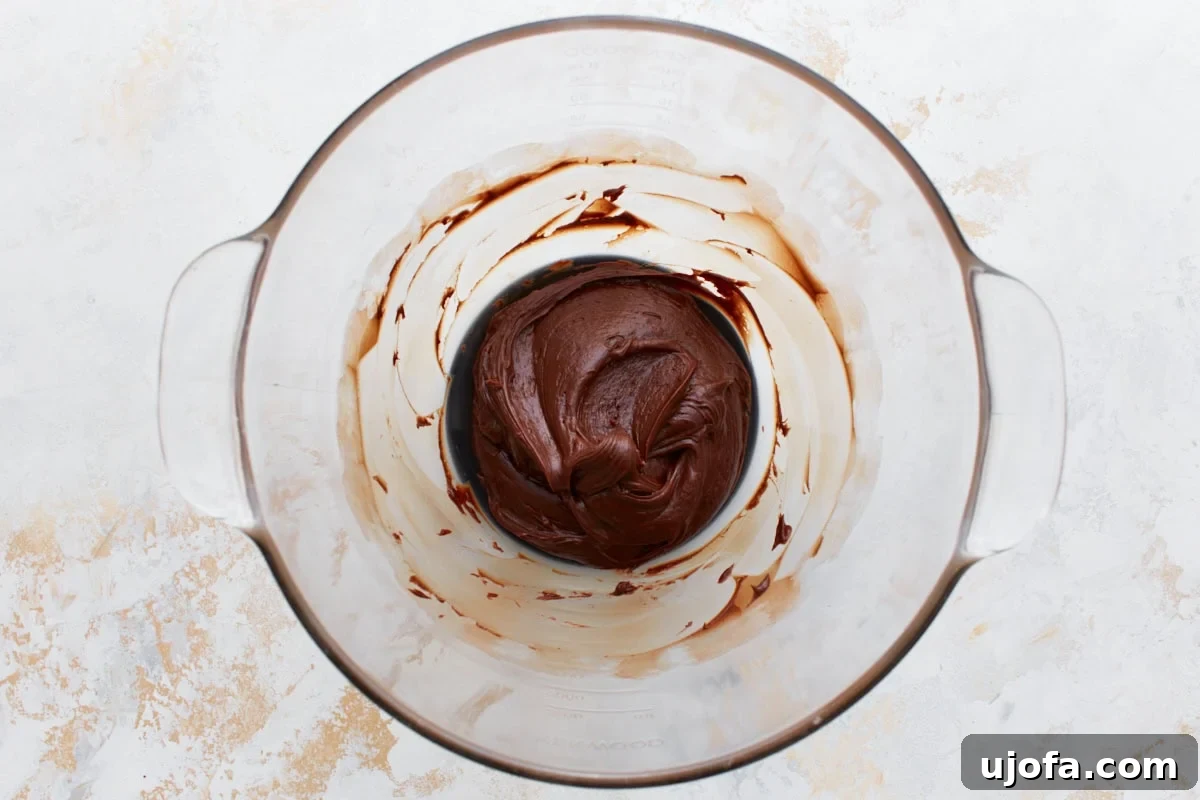
Step 12: Prepare the Dairy-Free Chocolate Peanut Butter Filling (if applicable). In a mixing bowl, combine ¾ cup gluten-free peanut butter, 4 tablespoons gluten-free cocoa powder, and 1 tablespoon pure vanilla extract. Mix until thoroughly combined. Then, gradually add ¾ cup powdered sugar, mixing until the filling starts to firm up. Finally, incorporate 5 tablespoons of your preferred dairy-free milk (such as almond milk) and continue mixing until the filling is wonderfully smooth and creamy. You can then spoon this delicious filling into the centers of your cooled cookies or pipe it for a more elegant finish.
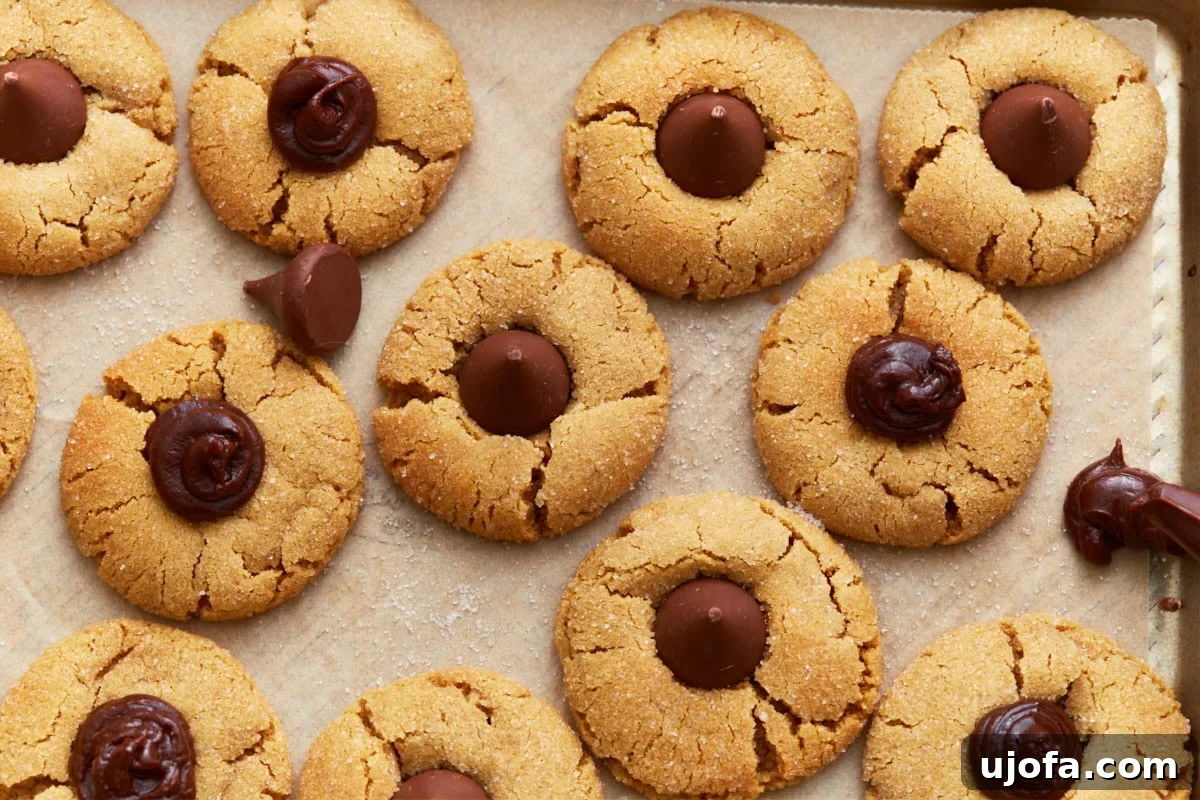
Step 13: Cool and Serve. Allow the cookies to cool completely on the baking sheet before transferring them. This final cooling stage allows the chocolate (whether a Kiss or the dairy-free filling) to set properly, ensuring your beautiful blossoms hold their shape. Once cooled, they are ready to be devoured!
Serving Suggestions for Your Gluten-Free Peanut Butter Blossoms
These gluten-free peanut butter blossoms are incredibly versatile and always a delightful addition to any spread. While they truly shine on holiday cookie trays, bringing a festive cheer and a familiar comfort, their appeal extends far beyond special seasons. Serve them alongside a glass of cold milk for a classic snack, or pair them with a warm cup of coffee or tea for a cozy treat. They’re also perfect for potlucks, bake sales, or simply as an everyday indulgence. Consider arranging them on a decorative platter for an impressive display, or package them in small boxes as thoughtful homemade gifts. Their irresistible combination of flavors makes them the first cookies people reach for, no matter the occasion.
Storage Instructions for Optimal Freshness
To keep your gluten-free peanut butter blossoms tasting their best, proper storage is key:
- Room Temperature: Store cookies in an airtight container at room temperature for up to 2-3 days. Make sure they are completely cooled before storing to prevent condensation, which can make them soggy.
- Refrigerator: For extended freshness, especially if your kitchen is warm, you can store them in an airtight container in the refrigerator for up to 1 week. Bring them back to room temperature before serving for the best texture and flavor.
- Freezing: These cookies freeze beautifully! Place cooled cookies in a single layer on a baking sheet and freeze until solid (about 1-2 hours). Once frozen, transfer them to a freezer-safe airtight container or bag, separating layers with parchment paper to prevent sticking. They can be frozen for up to 1 month. Thaw them at room temperature for a few hours before enjoying. You can also freeze the raw cookie dough balls (without the sugar coating) for up to 3 months, then thaw slightly, roll in sugar, and bake as directed.
Frequently Asked Questions (FAQs)
Here are some common questions and helpful answers to ensure your gluten-free peanut butter blossoms are a complete success:
- Can I use natural peanut butter? For best results and a more consistent texture, I recommend using creamy, processed peanut butter (like Jif or Skippy) rather than natural, oil-separated peanut butter. Natural peanut butter can alter the dough’s consistency, making it too oily or crumbly.
- Are all Hershey’s Kisses gluten-free? While many Hershey’s Kisses are gluten-free, it’s crucial to always check the packaging for specific allergen information and gluten-free certification. Ingredient lists can change, and some seasonal or flavored varieties might contain gluten. When in doubt, opt for the dairy-free chocolate peanut butter filling option.
- Why did my cookies spread too much? Several factors can cause cookies to spread: 1) The dough wasn’t chilled long enough. 2) Your butter was too soft. 3) Your oven temperature might be off (an oven thermometer can help!). 4) Using too much leavening (baking soda/powder). Ensure all measurements are accurate and don’t skip the chilling step.
- Can I make the dough ahead of time? Absolutely! You can prepare the dough up to 2-3 days in advance. Store it tightly covered in the refrigerator. When ready to bake, let it sit at room temperature for about 15-20 minutes to soften slightly, then scoop, roll, and bake as directed.
- What if I don’t have molasses? Molasses adds a lovely chewiness and depth of flavor. If you don’t have it, you can omit it, but the cookies might be slightly less chewy. Alternatively, you can use an equal amount of maple syrup, though this will slightly change the flavor profile.
- Can I make these dairy-free without the special filling? Yes, if you’re making them dairy-free, ensure your butter substitute is dairy-free (like Smart Balance baking sticks) and that your chocolate Kisses are also dairy-free. There are many dairy-free chocolate chips or chunks available that you can press into the center instead of a traditional Hershey’s Kiss, or use the dairy-free chocolate peanut butter filling as specified.
Explore More Gluten-Free Christmas Cookie Favorites
If you’re looking to expand your holiday cookie repertoire with more delicious gluten-free options, be sure to check out these other festive recipes:
- Gluten-Free Gingerbread Cookies
- Gluten-Free Shortbread Cookies
- Gluten-Free Chocolate Crinkle Cookies
- Gluten-Free Sugar Cookies
- Gluten-Free Snowball Cookies
Happy baking, and enjoy these wonderful gluten-free treats!