
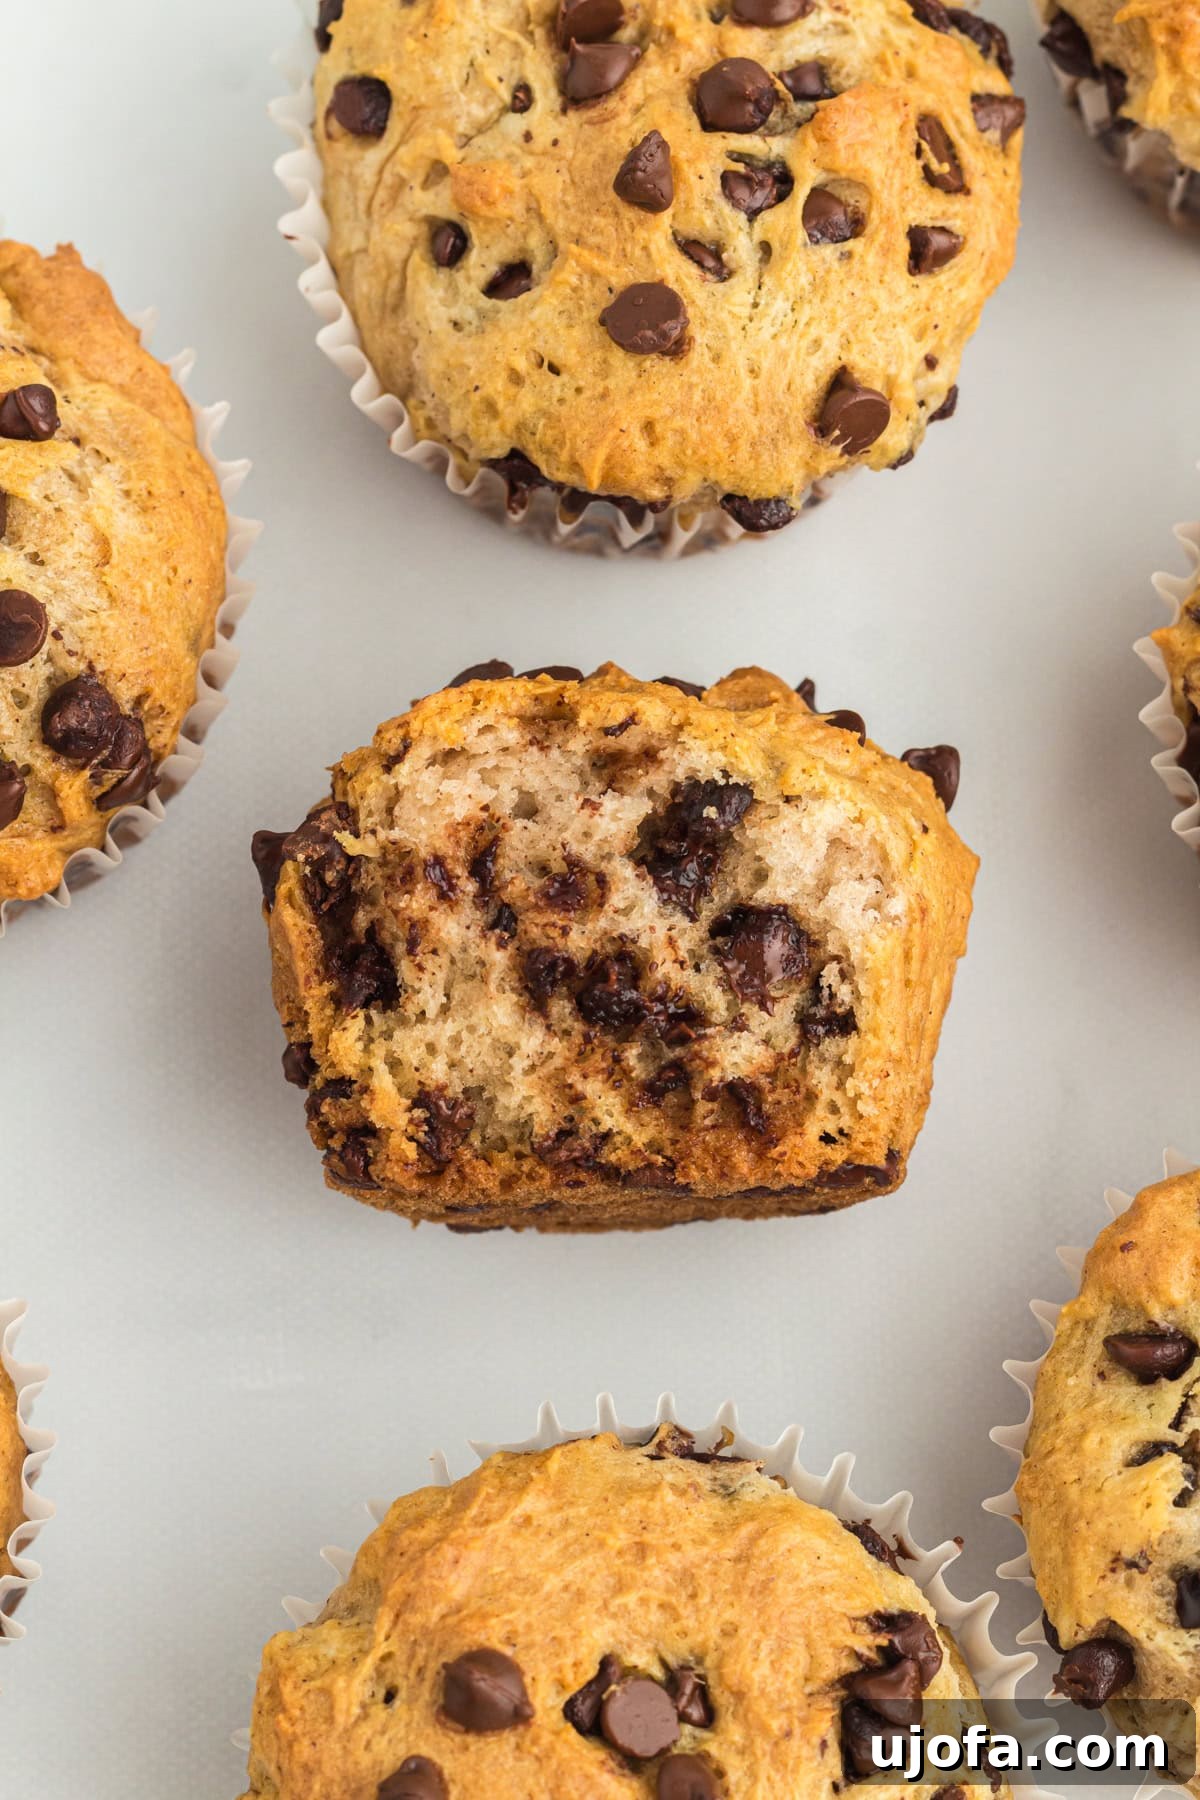
The Ultimate Easy Gluten-Free Chocolate Chip Muffins: Light, Fluffy & Perfectly Moist
Are you searching for an incredibly easy and utterly delicious gluten-free muffin recipe that consistently delivers light, fluffy, and perfectly moist results? Look no further! These gluten-free chocolate chip muffins have become a staple in my kitchen, renowned for their simplicity and irresistible taste. In just about 10 minutes, you can have the batter mixed and ready for the oven, transforming basic ingredients into a batch of warm, golden muffins packed with melty chocolate chips. Whether you’re whipping up a batch for quick weekday breakfasts, adding a sweet treat to lunchboxes, or simply satisfying a sudden craving, this recipe is a true game-changer that never disappoints.
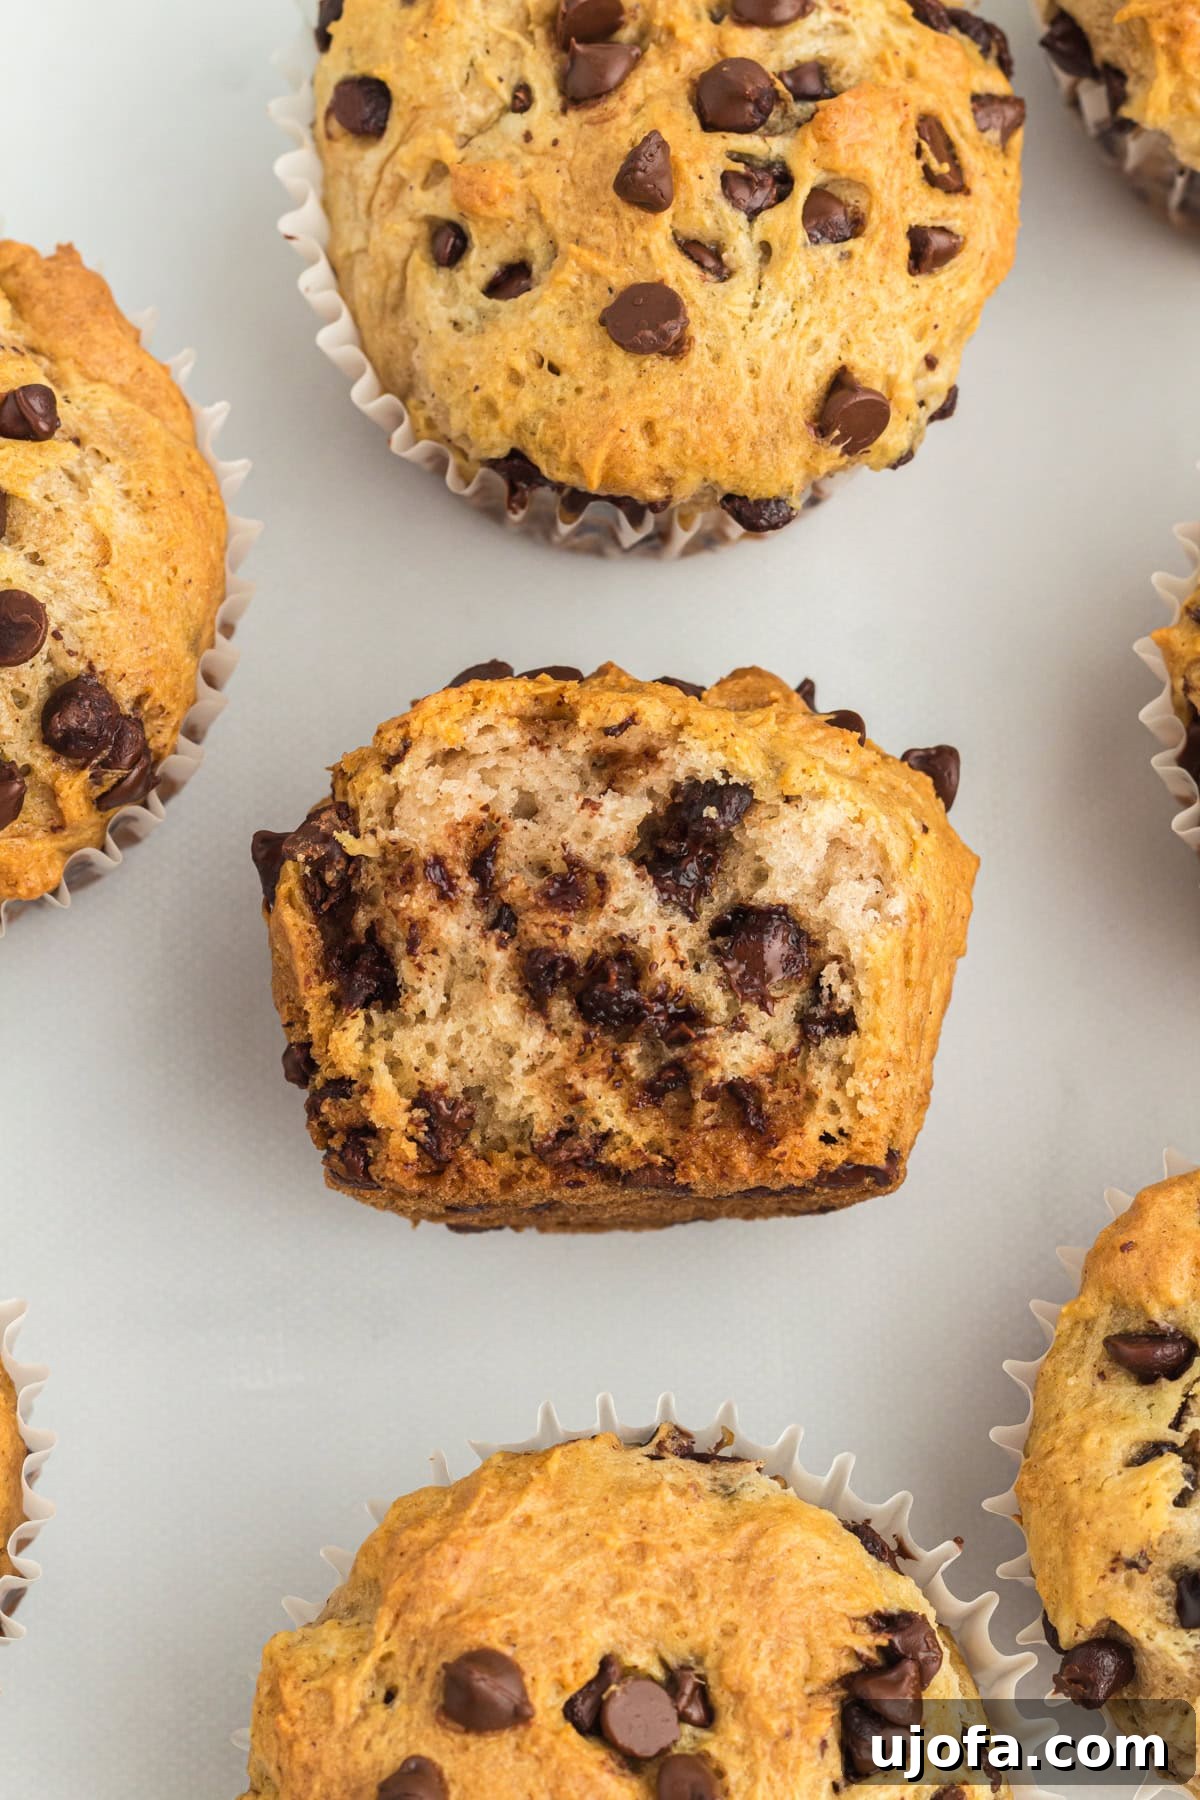
Many gluten-free baked goods can be notoriously dry or dense, but this recipe stands out. It’s designed specifically to create easy gluten-free muffins that are wonderfully moist and tender, defying common gluten-free baking challenges. The secret to their incredible texture lies in a special ingredient: full-fat sour cream. This addition provides just the right amount of richness and tanginess, ensuring a soft, delicate crumb without making the muffins heavy. Combined with everyday pantry staples like your favorite gluten-free flour blend, oil, and of course, plenty of chocolate chips, you’re only a few steps away from baking perfection.
Why You’ll Fall in Love with This Gluten-Free Muffin Recipe
Beyond being simply delicious, these gluten-free chocolate chip muffins offer a host of reasons to become your new go-to recipe:
- Effortless Preparation: This recipe is designed for busy schedules. With minimal mixing and a quick oven time, you can enjoy freshly baked muffins in under 30 minutes.
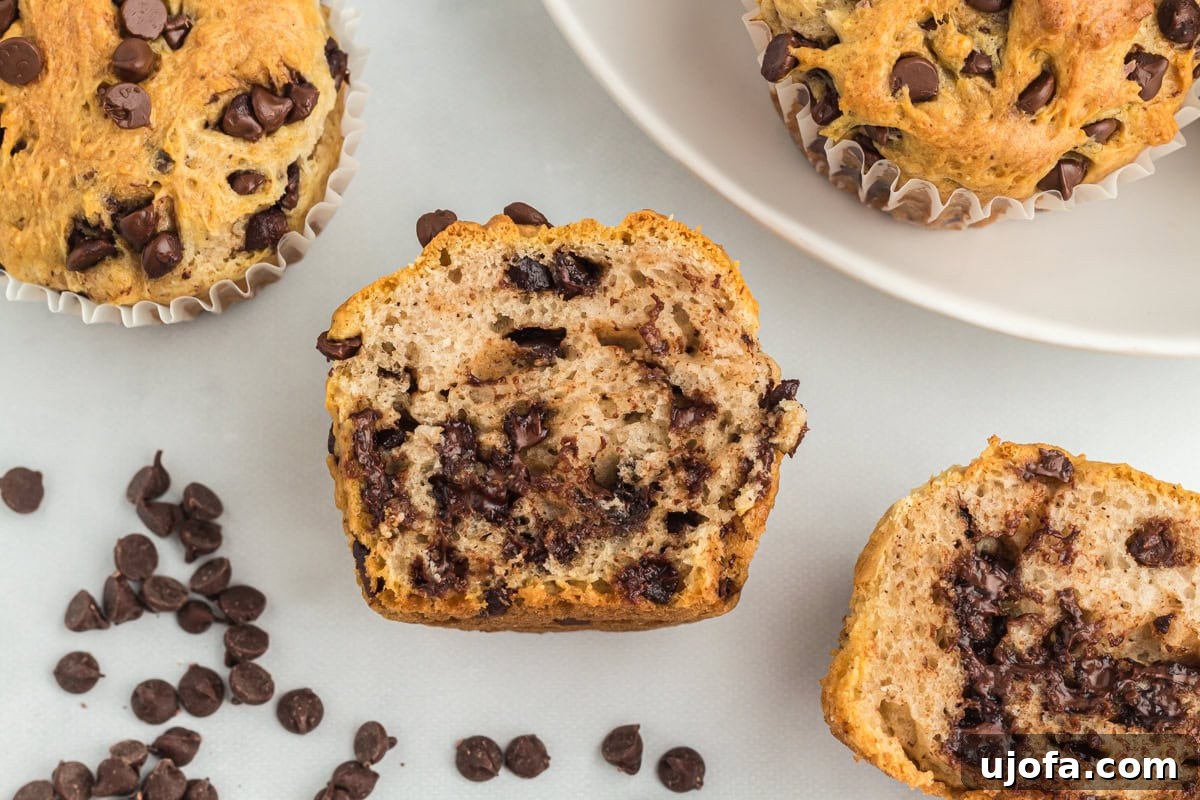
- Unbeatable Texture: Forget dry, crumbly gluten-free muffins. Thanks to key ingredients and precise techniques, these muffins boast an incredibly light, fluffy, and tender crumb that rivals any traditional bakery muffin.
- Melty Chocolate Goodness: Each bite is loaded with pockets of warm, gooey chocolate chips, making them a delightful treat for chocolate lovers of all ages.
- Pantry-Friendly Ingredients: You won’t need any exotic or hard-to-find ingredients. This recipe relies on common gluten-free baking staples you likely already have on hand.
- Versatile for Any Occasion: Perfect for a quick breakfast, a satisfying snack, a lunchbox surprise, or a comforting dessert. They’re equally at home on a casual morning or a festive brunch spread.
- Reliably Delicious: After extensive testing, this recipe is foolproof. Follow the simple steps and tips, and you’re guaranteed a fantastic batch of muffins every time.
Expert Tips for Baking Perfect Gluten-Free Chocolate Chip Muffins
Achieving bakery-quality gluten-free muffins is easier than you think, especially with a few expert insights. During my recipe testing, I discovered several key techniques that elevate these chocolate chip muffins from good to truly exceptional. These simple tips will ensure your muffins are consistently soft, moist, and perfectly risen:
- Prioritize a Rest Period for the Batter: This is a non-negotiable step in gluten-free baking. Allowing the batter to rest for at least 15 minutes before baking makes a significant difference. Gluten-free flours need time to fully hydrate and absorb the liquids, which helps prevent a dry, gritty texture and promotes a softer, more tender crumb. Skipping this step can lead to denser, less appealing muffins.
- Harmonize Fats with Butter and Oil: For the ultimate flavor and moisture profile, a combination of both butter and oil is essential. Butter infuses the muffins with a rich, classic flavor that’s deeply comforting. Meanwhile, vegetable oil contributes to a remarkably soft and moist texture that lasts longer, preventing the muffins from drying out quickly. Using only butter resulted in muffins that firmed up faster, while the butter-oil blend maintained optimal moisture over time.
- Embrace Precision: Measure Flour by Weight: Gluten-free flour blends are highly sensitive to accurate measurement. Even a slight excess can lead to dense, heavy, and dry muffins. Using a kitchen scale to measure your flour by weight (grams) ensures unparalleled accuracy and guarantees consistently soft, beautifully risen muffins. This is one of the most impactful changes you can make in your gluten-free baking.
- Master the Art of Baking Time: Overbaking is the enemy of moist muffins, especially in gluten-free recipes. Muffins can quickly transition from perfectly tender to dry and crumbly if left in the oven too long. Keep a close eye on them; the tops should appear lightly golden, and a toothpick inserted into the center should come out clean or with only a few moist crumbs attached, but never wet batter. Start checking at the lower end of the recommended baking time.
- Ensure Room Temperature Ingredients: For a smooth, homogenous batter and optimal emulsification, always use room temperature eggs and sour cream. Cold ingredients can cause the melted butter to seize up and solidify, leading to an unevenly mixed batter and potential pockets of unmixed ingredients, resulting in denser muffins. Planning ahead for this step yields a noticeable improvement in texture.
- Mix Just Until Combined: Resist the urge to overmix your muffin batter. Once the wet and dry ingredients are combined, stir only until no pockets of dry flour remain. The batter should be thick and relatively smooth, but excessive stirring can develop what little “structure” gluten-free flours can form, making your muffins tough and preventing them from rising properly to their full, fluffy potential.
- Verify Freshness of Leavening Agents: Baking powder and baking soda are crucial for the lift and airy texture of your muffins. If they are old or expired, their leavening power diminishes significantly, leading to flat, dense results. To ensure optimal rise, replace your baking powder and baking soda every 6 months. A quick freshness test: baking soda bubbles vigorously in vinegar; baking powder bubbles in hot water.
- Keep the Oven Door Closed: Opening the oven door frequently or too early during baking allows heat to escape, which can interrupt the delicate rising process. This sudden drop in temperature often causes muffins to sink in the center, resulting in a less appealing shape. Wait until at least two-thirds of the baking time has passed before briefly checking for doneness.
Gluten-Free Chocolate Chip Muffins
By: Cheryl Johnson | Servings: 12 muffins
Prep: 5 mins | Cook: 20 mins | Total: 25 mins
These gluten-free chocolate chip muffins are one of my favorite quick bakes because they’re just so simple. I can have the batter mixed and in the oven in about 10 minutes, and the result is always light, fluffy, and packed with melty chocolate chips.

Equipment
- 1 muffin tin
- Paper liners
- Mixing bowls (small and large)
- Whisk or spatula
- Measuring cups and spoons
Ingredients
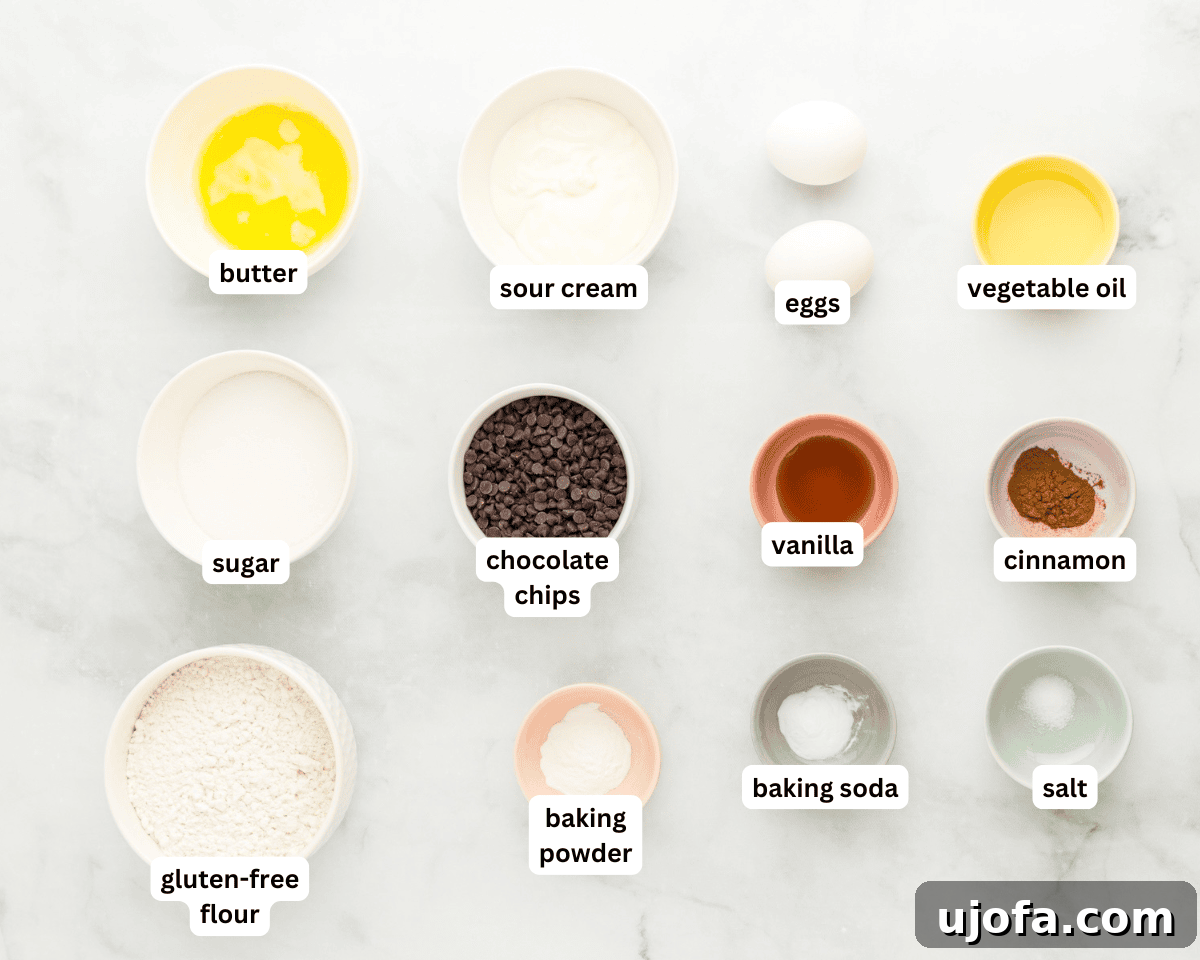
- 1¼ cups (175g) all-purpose gluten-free flour (I recommend a blend like Cup4Cup for best results)
- 1 tsp (4g) baking powder
- ½ tsp (1½g) xanthan gum (only if your flour blend doesn’t already include it)
- ½ tsp (3g) baking soda
- ½ tsp (1½g) ground cinnamon (optional, but adds a lovely warmth)
- ¼ tsp (1½g) salt
- ½ cup (100g) granulated sugar
- ⅓ cup (80ml) full-fat sour cream, at room temperature*
- 2 large eggs, at room temperature
- 3 tbsp (42g) unsalted butter, melted but not hot
- 2 tbsp (30ml) vegetable oil
- 1 tsp (5ml) vanilla extract
- 1 cup (170g) mini semi-sweet chocolate chips (or regular size, if preferred)
Instructions
-
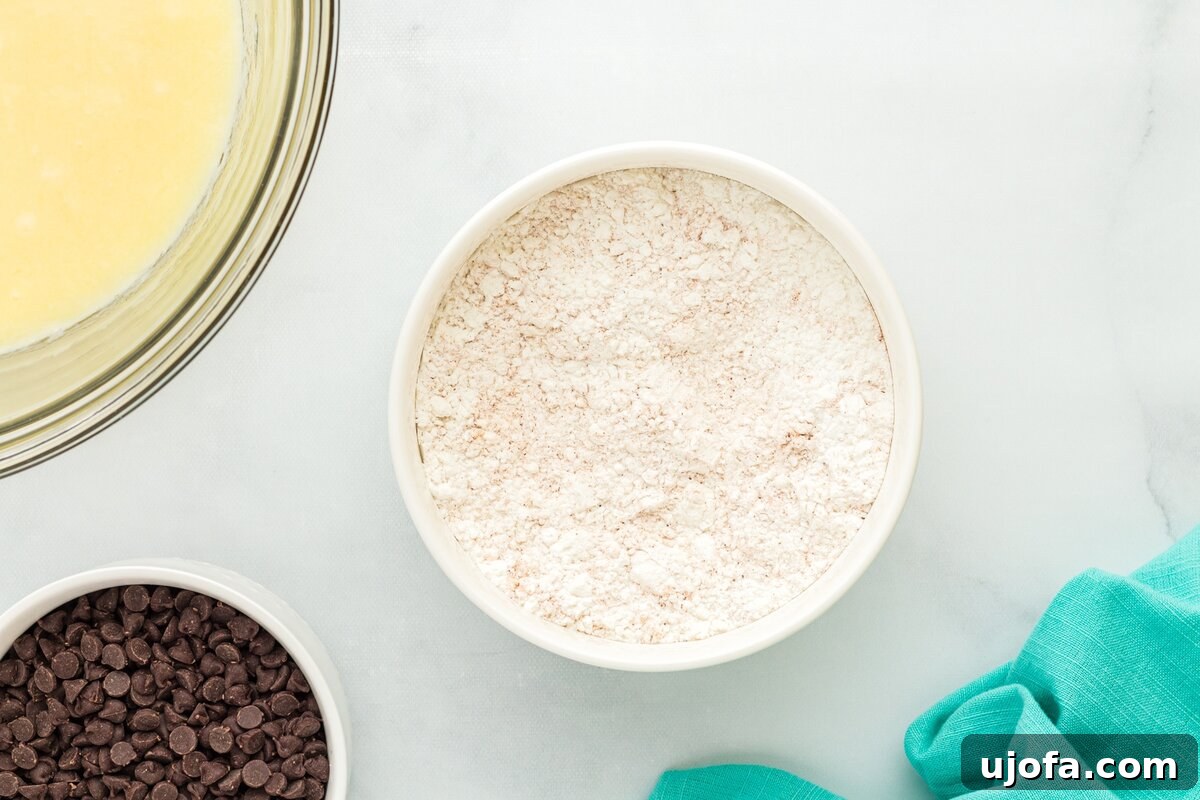
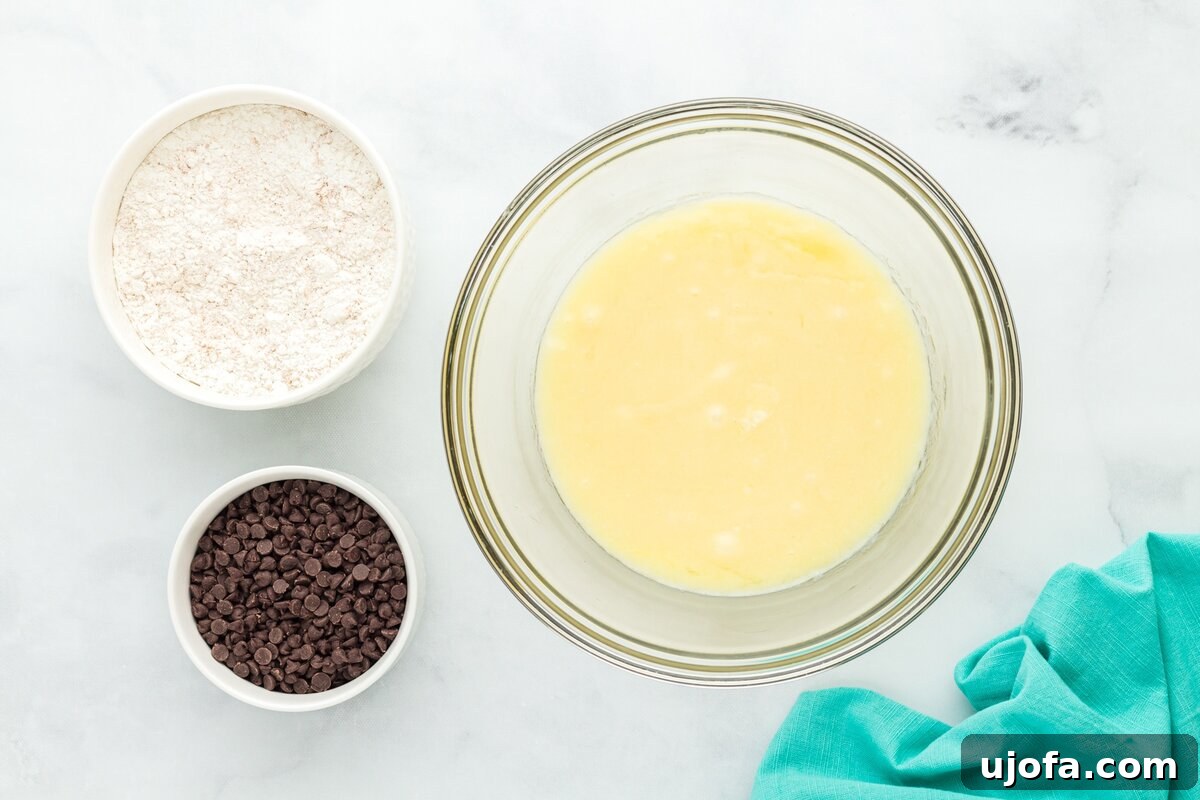
Prepare Dry Ingredients: In a small mixing bowl, combine the gluten-free flour, baking powder, xanthan gum (if your chosen flour blend doesn’t already contain it), baking soda, ground cinnamon (if using), and salt. Whisk these dry ingredients together thoroughly to ensure they are well distributed. Set this bowl aside for later.
-
Mix Wet Ingredients: In a larger mixing bowl, whisk together the granulated sugar, room temperature full-fat sour cream, room temperature large eggs, melted (but not hot) unsalted butter, vegetable oil, and vanilla extract. Whisk vigorously until all these wet ingredients are fully combined and smooth.
-
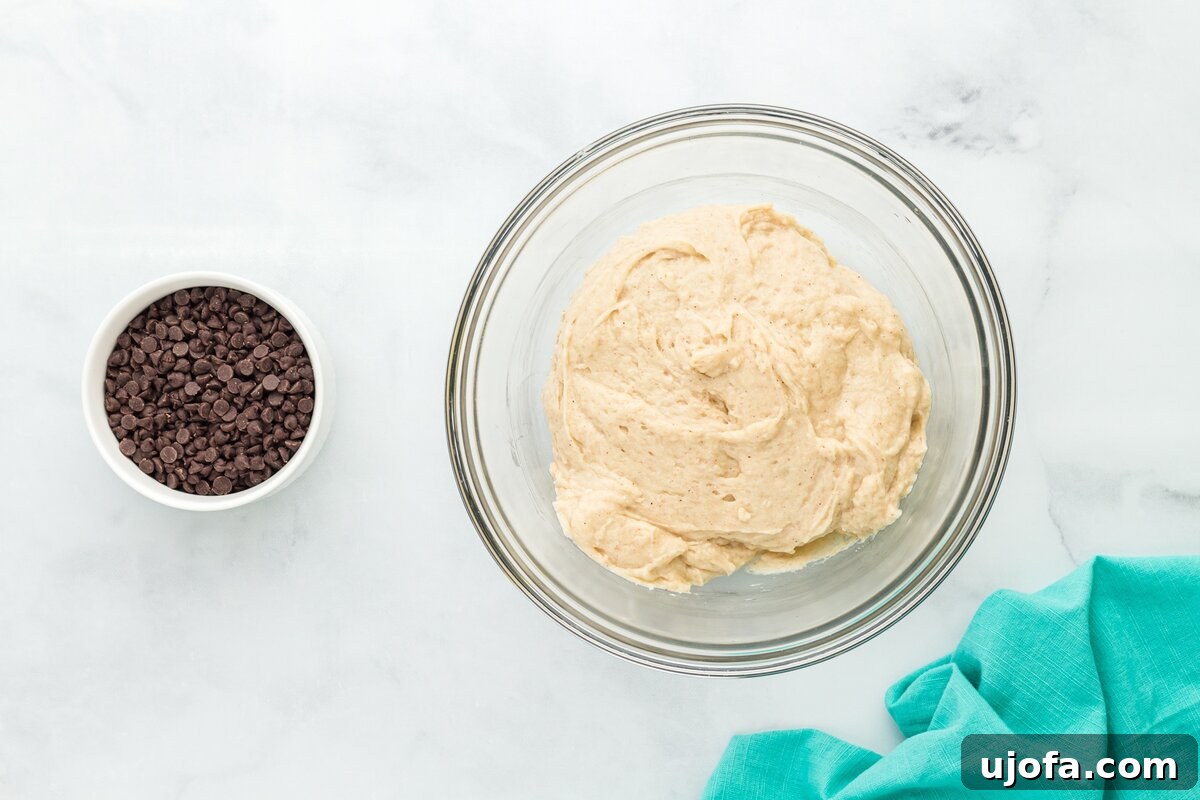
Combine Wet and Dry: Gradually add the whisked dry ingredients into the bowl with the wet ingredients. Using a spatula or whisk, stir gently until the ingredients are just combined and no pockets of dry flour remain. It’s crucial not to overmix the batter at this stage, as overmixing can lead to tougher muffins.
-
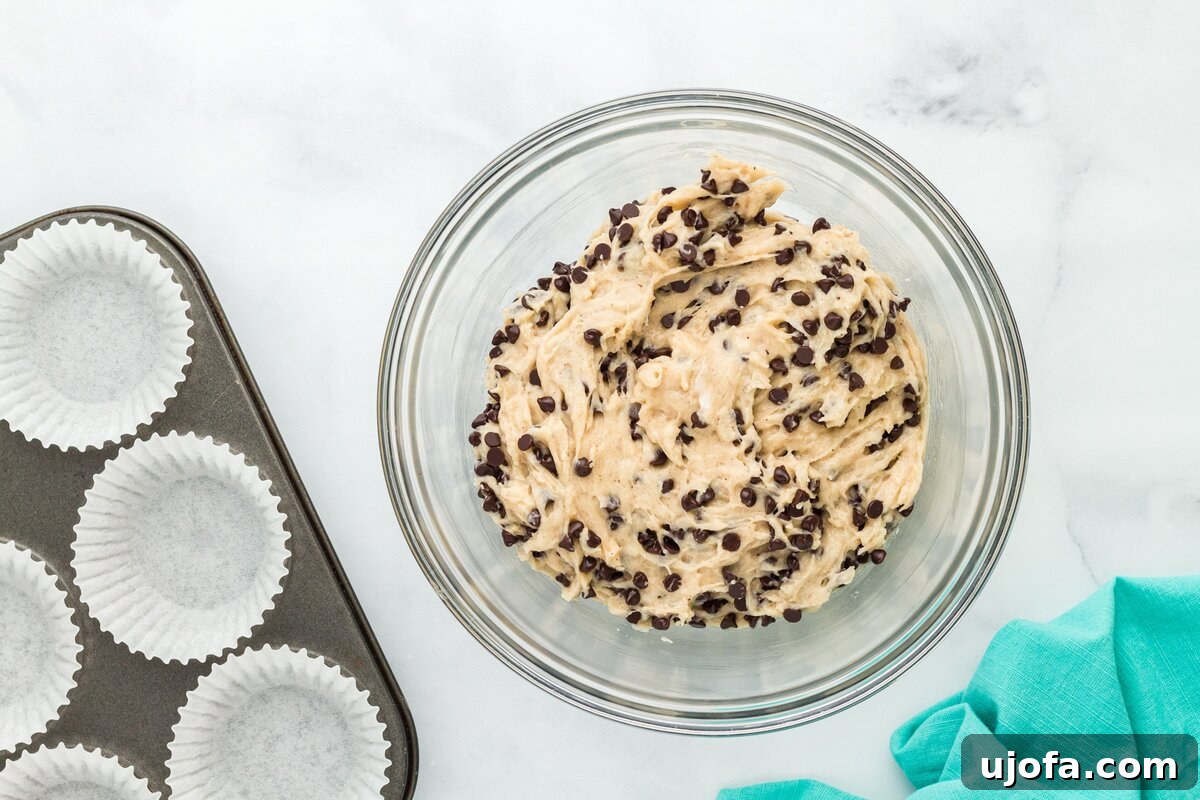
Fold in Chocolate Chips: Gently fold the mini semi-sweet chocolate chips into the muffin batter until they are evenly distributed throughout.
-
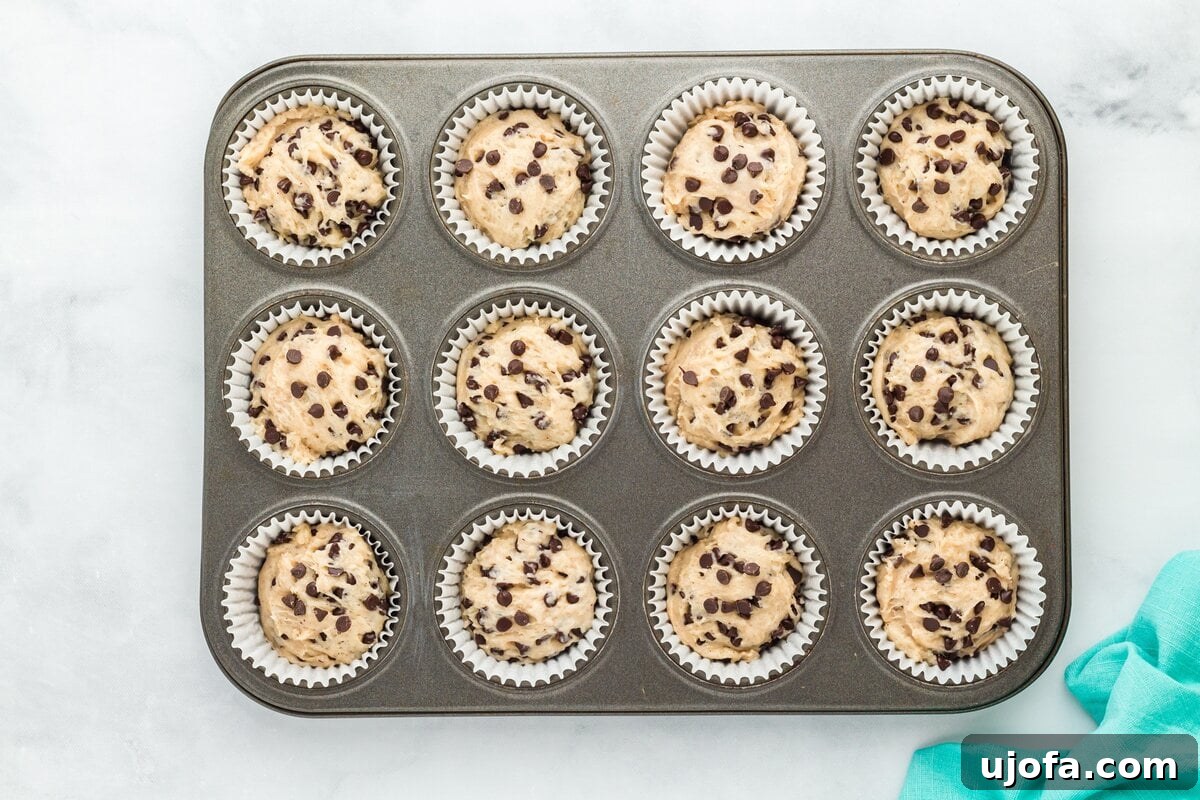
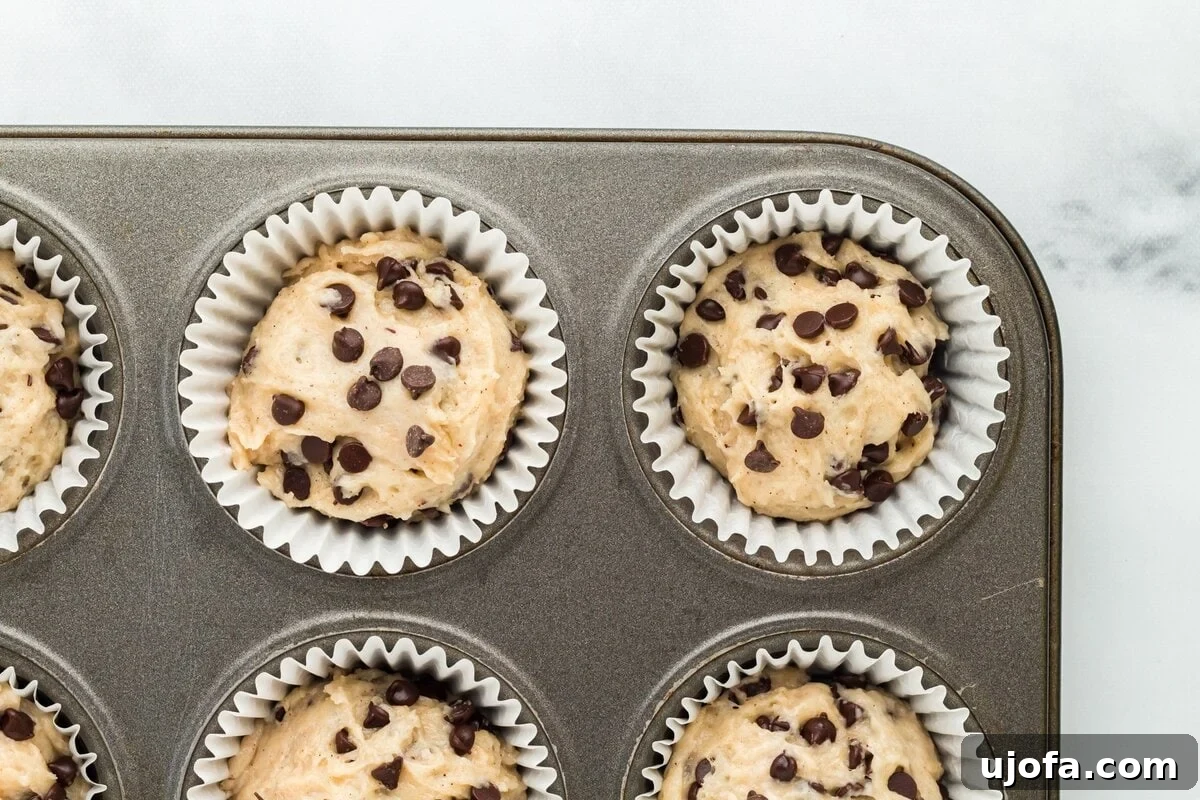
Fill Muffin Tray: Line a standard 12-cup muffin tin with paper liners. Evenly scoop the prepared muffin batter into each of the 12 paper liners, filling each cup approximately ¾ full.
-
Rest the Batter (Crucial Step): Allow the filled muffin tray to rest at room temperature for 15 minutes before placing it in the oven. This resting period gives the gluten-free flour blend adequate time to fully absorb the liquid ingredients, which is vital for achieving a moist, tender texture and preventing a gummy crumb. While the batter rests, preheat your oven to 350°F (177°C).
-
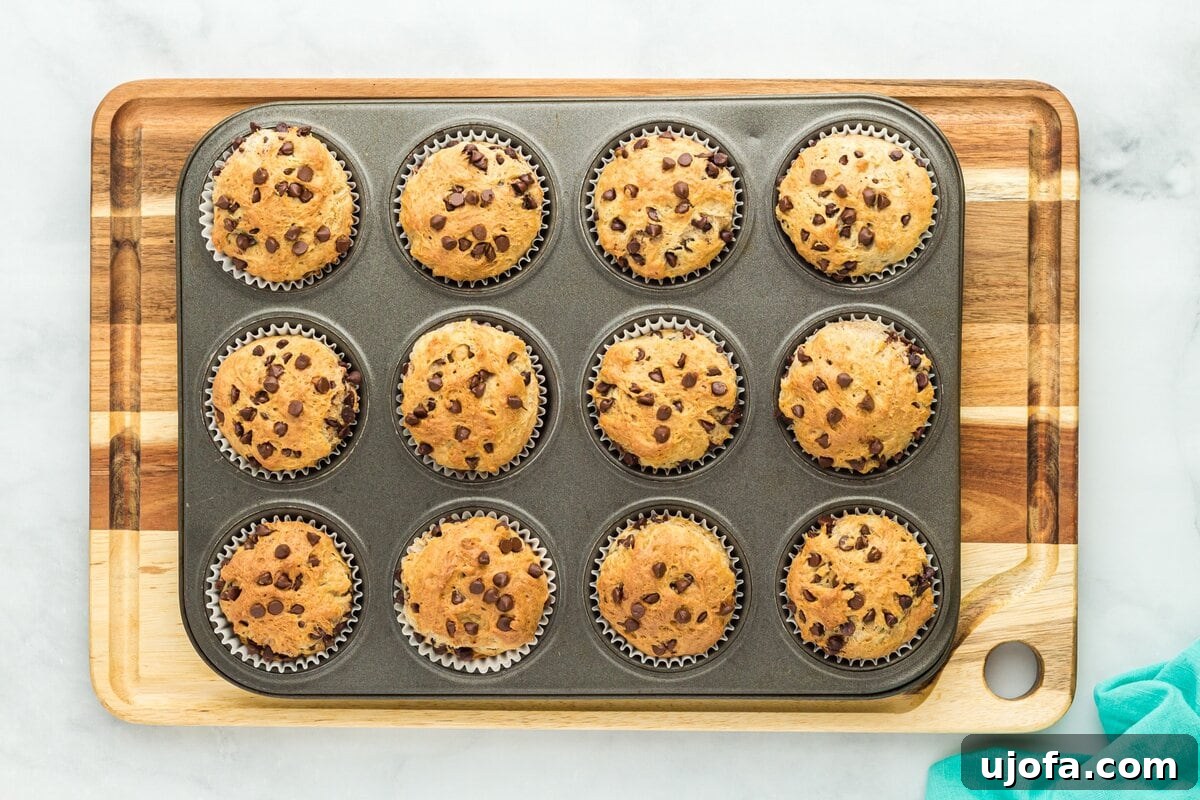
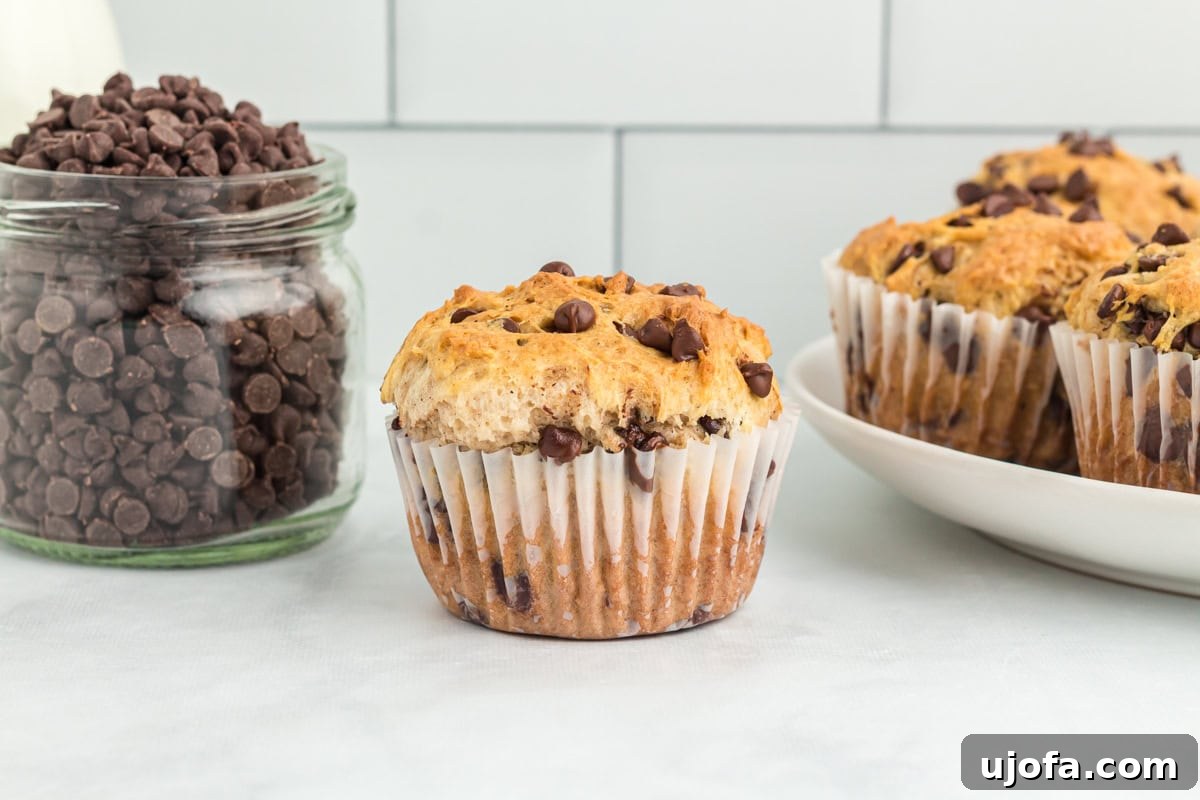
Bake: Once the oven is preheated and the batter has rested, bake the muffins for 20 to 22 minutes. The muffins are done when their tops are lightly golden brown and a toothpick inserted into the center of a muffin comes out clean or with only a few moist crumbs attached, indicating no wet batter remains. Be careful not to overbake, as this can dry out gluten-free muffins quickly.
-
Cool: Allow the baked muffins to cool slightly in the muffin tray for about 5-10 minutes. This helps them set and makes them easier to handle. After this initial cooling, carefully remove the muffins from the tray and transfer them to a wire rack to cool completely.
Notes
*The Magic of Full-Fat Sour Cream: For the absolute best texture, always opt for full-fat sour cream. Its richness and thick consistency provide unparalleled moisture and contribute to that coveted bakery-style crumb that regular milk simply cannot replicate. During testing, muffins made with milk alone were noticeably drier and less tender. The fat content in sour cream is key to keeping these muffins exceptionally soft and moist for days.
Xanthan Gum: If your chosen gluten-free flour blend already contains xanthan gum (most good blends do), you can omit the additional ½ tsp. Always check the ingredient list of your flour. Xanthan gum acts as a binder in gluten-free baking, mimicking the elasticity of gluten.
Customizing Your Muffins: Feel free to experiment with different types of chocolate chips (dark, milk, white) or add other mix-ins like chopped nuts, dried fruit, or a sprinkle of coarse sugar on top before baking for extra crunch and sweetness.
Nutrition
Nutrition information is automatically calculated and should be used as an approximation. Per serving (1 muffin):
- Serving: 1 muffin
- Calories: 258 kcal
- Carbohydrates: 28 g
- Protein: 4 g
- Fat: 15 g
- Saturated Fat: 7 g
- Polyunsaturated Fat: 2 g
- Monounsaturated Fat: 4 g
- Trans Fat: 0.1 g
- Cholesterol: 40 mg
- Sodium: 148 mg
- Potassium: 132 mg
- Fiber: 3 g
- Sugar: 16 g
- Vitamin A: 177 IU
- Vitamin C: 0.1 mg
- Calcium: 53 mg
- Iron: 2 mg
Additional Info
Course: Breakfast, Snack, Dessert
Cuisine: American
Diet: Gluten-Free
How to Make Gluten-Free Chocolate Chip Muffins Step-by-Step with Pictures
Visual learners, rejoice! Here’s a detailed, step-by-step guide with accompanying images to walk you through every stage of creating these perfect gluten-free chocolate chip muffins. Follow along to ensure flawless results every time.
Serving Suggestions for Your Gluten-Free Chocolate Chip Muffins
These glorious gluten-free chocolate chip muffins are incredibly versatile and can be enjoyed in countless ways. While they are absolutely divine on their own, especially when still warm from the oven, here are a few serving suggestions to elevate your experience:
- Classic Comfort: Serve them warm with a smear of softened butter, your favorite nut butter, or a dollop of cream cheese. The butter melts into the warm crumb, creating an even more luxurious bite.
- Breakfast Power-Up: Pair a muffin with your morning coffee or tea for a delightful start to the day. They also complement a heartier breakfast spread, alongside a savory gluten-free breakfast casserole, a bowl of fresh seasonal fruit, and perhaps a slice of gluten-free cinnamon coffee cake for a truly decadent brunch.
- Perfect Snack: Pack them in lunchboxes for a sweet surprise or enjoy one as an energizing afternoon snack to beat the mid-day slump. They’re a much healthier and satisfying alternative to store-bought options.
- Simple Dessert: When a craving for something sweet hits, these muffins make an excellent, no-fuss dessert. For an extra touch, serve them with a scoop of vanilla ice cream or a drizzle of chocolate sauce.
- Elevated Treat: Consider sprinkling some flaky sea salt over the tops of the warm muffins just after baking to enhance the chocolate flavor, or dust them lightly with powdered sugar once cooled for an elegant finish.
Whether it’s a leisurely weekend morning, a special holiday brunch, or just a quick grab-and-go option during a busy week, these moist and flavorful muffins are always a crowd-pleaser and disappear quickly!
Storage Instructions for Maximum Freshness
Proper storage is essential to keep your gluten-free chocolate chip muffins tasting fresh and delicious for as long as possible. Here’s how to store them:
- Room Temperature: Once the muffins have completely cooled (this is important to prevent sogginess), store them in an airtight container at room temperature for up to 3 days. Placing a paper towel in the bottom of the container can help absorb any excess moisture and keep them from becoming sticky.
- Refrigeration: For extended freshness, transfer the cooled muffins to an airtight container and refrigerate them for up to a week. While refrigeration can sometimes slightly alter the texture of gluten-free baked goods, these muffins remain wonderfully moist.
- Freezing for Long-Term: These muffins freeze exceptionally well, making them perfect for meal prep or having a quick treat on hand. Place the completely cooled muffins in a single layer in a freezer-safe bag or an airtight container, ensuring they are well-sealed to prevent freezer burn. They can be frozen for up to 2 months.
- Thawing and Reheating: To enjoy a frozen muffin, simply take it out of the freezer and let it thaw at room temperature for an hour or two. For a warm, freshly baked experience, you can also warm a thawed or room-temperature muffin in the microwave for about 15-30 seconds, or in a preheated oven (300°F/150°C) for 5-10 minutes, until just heated through.
More Easy Gluten-Free Muffin Recipes to Try
If you’ve loved these chocolate chip muffins, you’re in for a treat! Our collection of gluten-free muffin recipes is crafted to bring you delightful flavors and perfect textures, all while keeping gluten-free baking simple and accessible. Expand your baking repertoire with these other fan favorites:
- Easy Gluten-Free Blueberry Muffins: These muffins are our perfected recreation of soft, bakery-style blueberry muffins, featuring a tender crumb, bursts of juicy berries, and a shimmering sugar topping, all ready in a mere 30 minutes.
- Banana Oatmeal Muffins: An absolute favorite for using up ripe bananas, these naturally sweetened muffins are packed with wholesome oats and a comforting banana flavor. They’re so good, they never last long in our household!
- Gluten-Free Pumpkin Muffins: A quintessential fall treat, these pumpkin muffins are made with real pumpkin purée and a blend of warm spices. The no-fuss method guarantees moist, perfectly spiced, and incredibly fluffy muffins that embody the cozy spirit of autumn.
Happy baking, and enjoy these wonderful gluten-free delights!