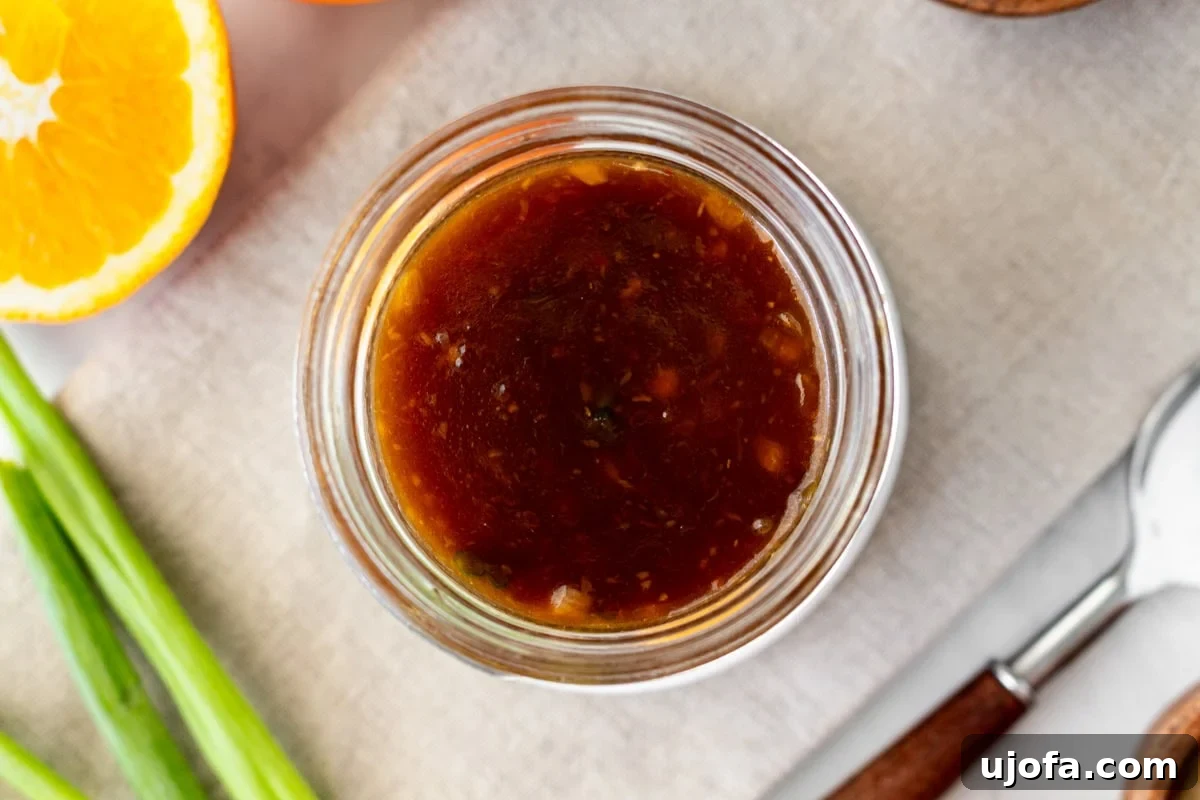
The Ultimate Homemade Orange Reduction Sauce (Panda Express Copycat)
Discover the secret to recreating that irresistible, sticky-sweet, and perfectly tangy orange sauce from your favorite fast-casual spot, Panda Express, right in your own kitchen! This homemade orange reduction sauce is a true culinary gem, designed to capture the quintessential balance of flavors – a delightful sweetness, a vibrant tang, a subtle hint of heat, and that essential savory umami depth. Unlike many overly sweet store-bought alternatives, our recipe incorporates fresh garlic, aromatic ginger, and bright orange zest, elevating the sauce with layers of complex, fresh flavors. The result is a truly extraordinary, glossy citrus sauce that bursts with authentic taste and remarkable versatility, making it far superior to any pre-made option.
Why This Homemade Orange Reduction Sauce is a Must-Try
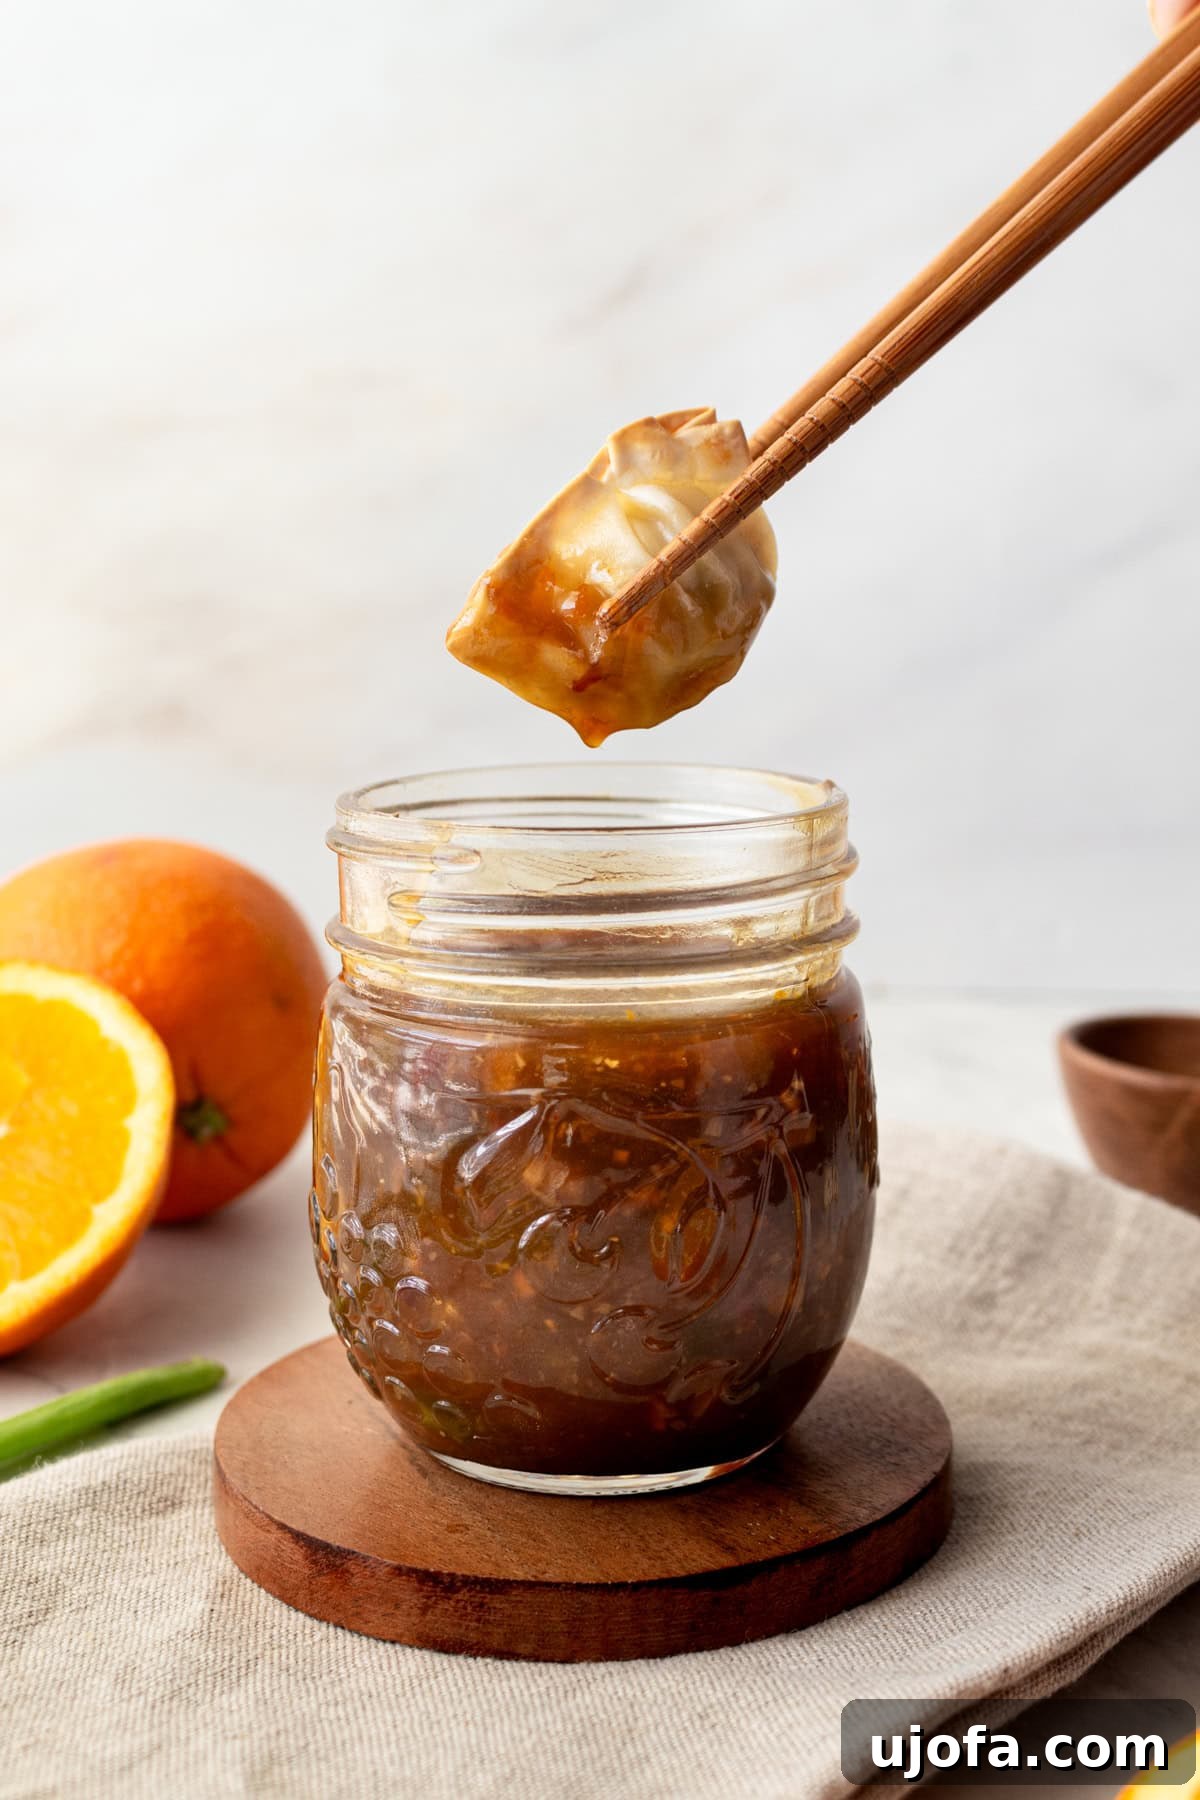
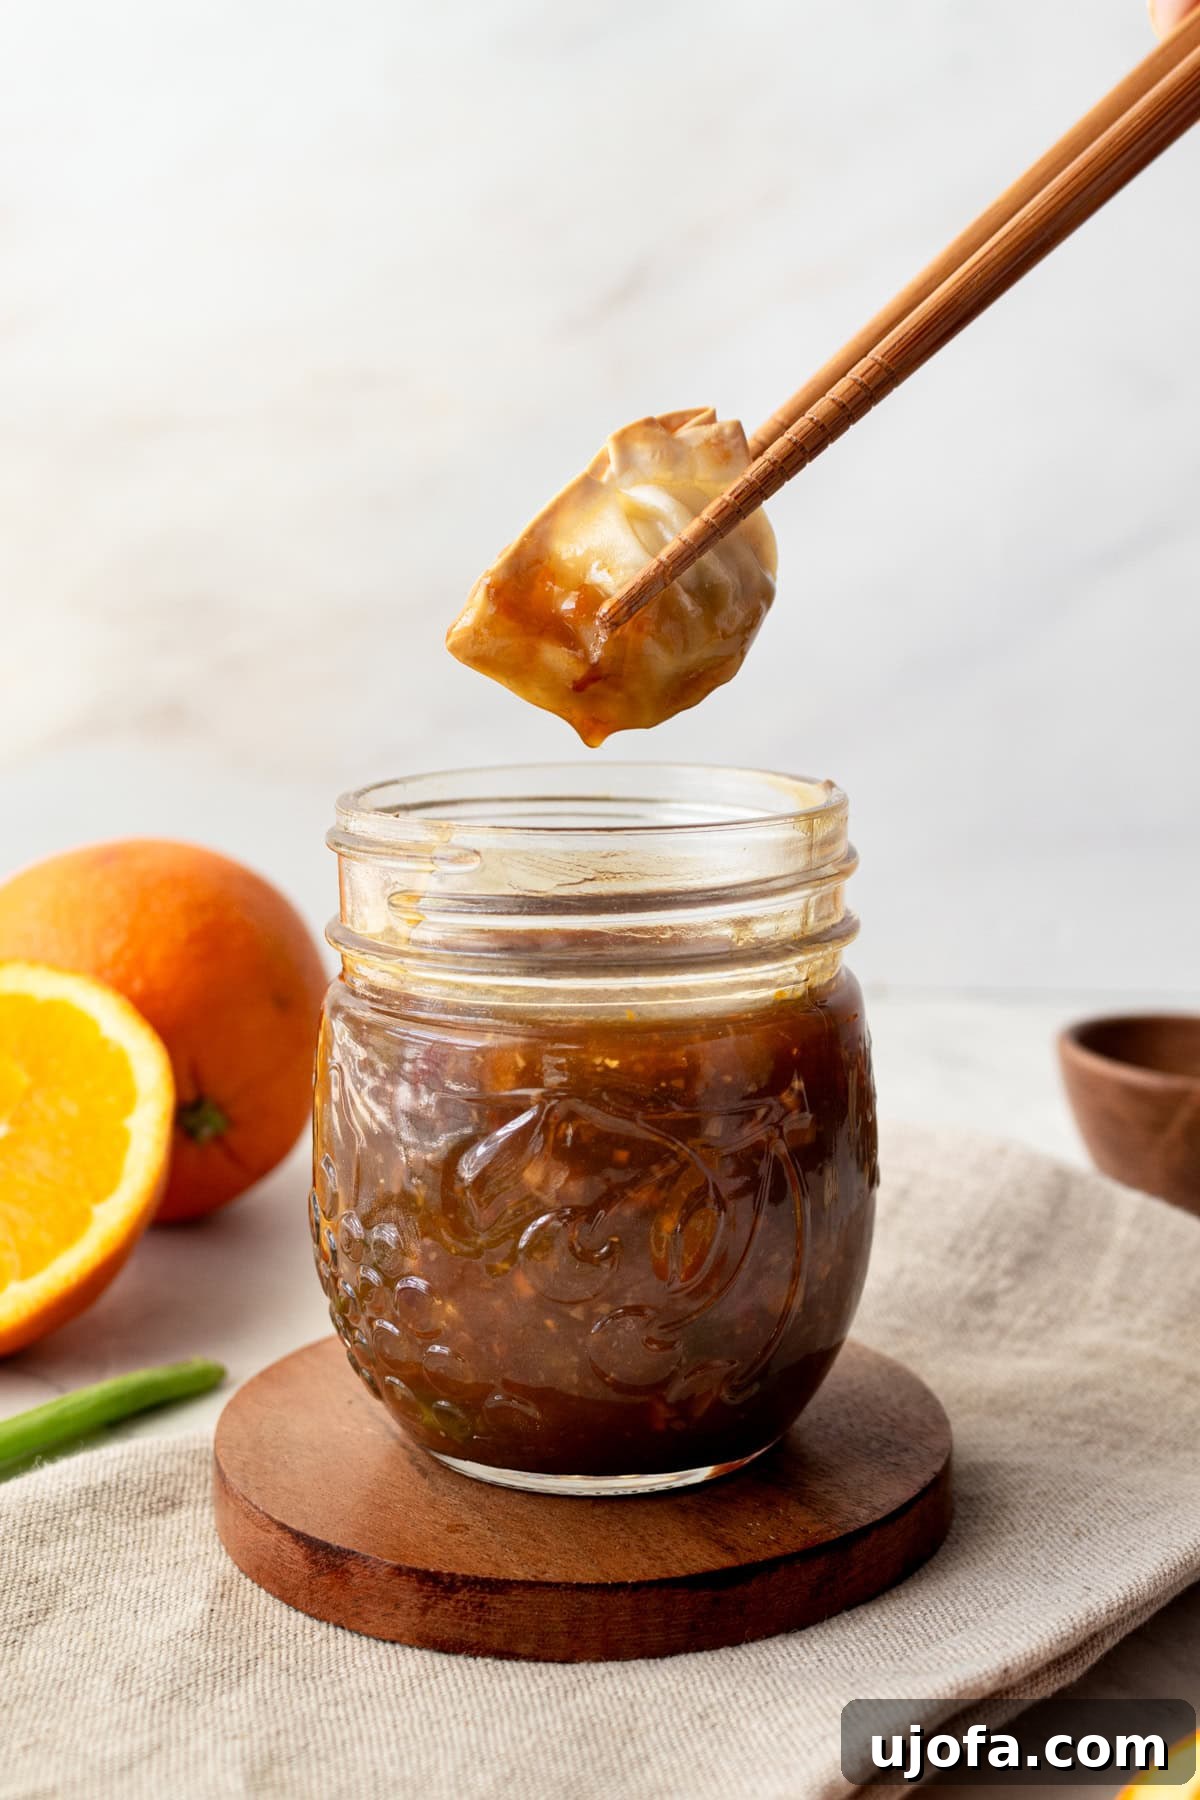
For many, orange chicken holds a special place as a beloved takeout classic. In our household, it’s consistently one of the most requested meals. However, embracing a gluten-free lifestyle often means reimagining these favorites at home. This is precisely why we perfected this tangy orange sauce recipe. It’s not just an exceptional standalone sauce for gluten-free orange chicken; it’s an incredibly adaptable condiment that transforms a wide array of dishes. Imagine it coating succulent pieces of chicken or tofu in a vibrant stir-fry, or serving as an irresistible dipping sauce for crispy wontons, spring rolls, or even homemade gluten-free tempura. My children, in particular, are utterly captivated by its flavor, often insisting on it as their preferred dip for gluten-free chicken nuggets. Its widespread appeal and ease of customization make it a truly versatile favorite that finds frequent use in our kitchen.
What truly sets this Asian-inspired citrus sauce apart is the meticulous attention to fresh, high-quality ingredients. The use of freshly squeezed orange juice and finely grated orange zest infuses the sauce with an unparalleled bright, zesty flavor that’s simply unmatched by concentrated juices. This fresh citrus base is then harmoniously paired with gluten-free soy sauce (or tamari for an even stricter gluten-free option) and mirin, a Japanese rice wine, creating a complex flavor profile that balances sweetness, acidity, and umami. Crafting this sauce from scratch offers the invaluable advantage of complete control over its taste. You can easily adjust the sweetness to your preference, amplify the tanginess with a touch more rice vinegar or a squeeze of lemon, or even dial up the heat for those who enjoy a spicier kick. This level of customization ensures that every batch is perfectly tailored to your palate, making homemade truly superior.
The Secret Ingredients Unveiled
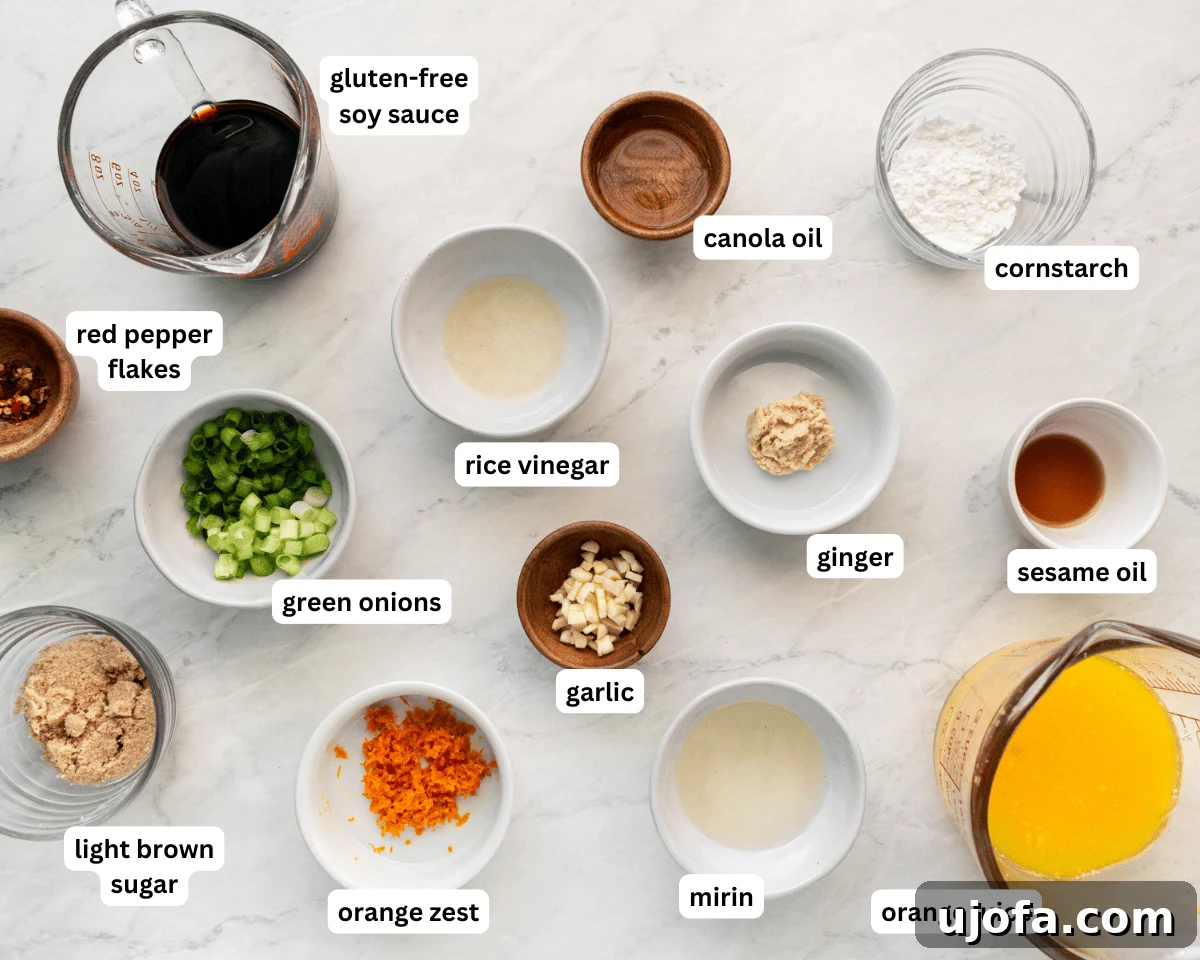
Creating an outstanding orange reduction sauce begins with a carefully selected array of ingredients, each playing a crucial role in achieving that signature sweet, tangy, and savory profile. Here’s a detailed look at what you’ll need and why each component is essential:
- Gluten-Free Soy Sauce: This is the backbone of the sauce, delivering that essential umami and savory depth. For those following a gluten-free diet, it’s crucial to select a certified gluten-free soy sauce. Tamari is an excellent, naturally gluten-free alternative, offering a very similar flavor profile. Coconut aminos can also be used for a soy-free option, though it has a slightly different, sweeter taste.
- Fresh Orange Juice: The star of the show! For the most vibrant and authentic orange flavor, I highly recommend freshly squeezing oranges at home. The difference in taste compared to pre-packaged juices is remarkable, providing a brighter, more natural citrus note. If fresh squeezing isn’t an option, look for the highest quality, closest-to-fresh orange juice available at your local store.
- Orange Zest: Don’t skip this! The zest of an orange contains potent aromatic oils that impart a deep, tangy, and incredibly fresh citrus aroma and flavor to the sauce, intensifying the overall orange experience without adding excessive liquid.
- Light Brown Sugar: This provides the necessary sweetness to balance the zesty orange, savory soy sauce, and sharp rice vinegar. Light brown sugar also adds a subtle caramel note and a richer, more nuanced sweetness compared to white sugar. Honey can be used as a natural alternative, lending a floral sweetness.
- Rice Vinegar: A critical ingredient for that characteristic tangy acidity. Rice vinegar cuts through the sweetness of the orange juice and sugar, adding a bright, piquant dimension that prevents the sauce from becoming cloyingly sweet. It’s a staple in Asian cuisine for its mild, clean tang.
- Mirin: This sweet Japanese rice wine is indispensable for authentic Asian sauces. Mirin not only contributes a delicate sweetness but also adds a unique umami depth and a beautiful gloss to the finished sauce. Always ensure you choose a gluten-free mirin if needed.
- Sesame Oil: A small amount of toasted sesame oil goes a long way. It introduces a rich, nutty aroma and depth of flavor that is quintessential to many Asian dishes. Add it at the end of cooking to preserve its delicate flavor.
- Neutral Cooking Oil (e.g., Canola Oil or Avocado Oil): Used for sautéing the aromatics. Canola oil is a great neutral choice, but avocado oil is another excellent option due to its high smoke point and mild flavor, ensuring it doesn’t overpower the other ingredients.
- Green Onion: Finely chopped green onions (scallions) add a fresh, pungent, and slightly sweet onion flavor to the sauce. They are also perfect for garnish, adding a touch of color and a fresh bite.
- Fresh Ginger: Grated fresh ginger provides a warm, earthy, and slightly pungent spice that complements the sweet and tangy notes beautifully. It adds an invigorating freshness that powdered ginger cannot replicate.
- Garlic Cloves: A fundamental aromatic in countless cuisines, fresh garlic delivers a robust, savory flavor that is essential for building the sauce’s depth.
- Red Pepper Flakes: For those who appreciate a touch of heat, crushed red pepper flakes introduce a pleasant warmth that contrasts wonderfully with the sauce’s sweet and sour profile. Adjust the quantity to suit your spice preference.
- Cornstarch: This acts as the thickening agent, creating that desirable sticky, glossy texture characteristic of a perfect reduction sauce. It’s mixed with warm water to form a “slurry” before being added to prevent lumps.
- Water: Used to create the cornstarch slurry, ensuring smooth incorporation into the sauce.
Expert Tips and Customization Suggestions
- Tailoring the Flavor Profile: The beauty of homemade sauce lies in its adaptability.
- For a sweeter sauce: Gradually add a bit more light brown sugar or a drizzle of honey. Taste after each addition until it reaches your desired sweetness.
- For more tanginess: Increase the amount of rice vinegar, or add a small splash of fresh lemon juice for an extra citrus kick.
- For added heat: If you love spicy food, don’t hesitate to increase the red pepper flakes. You could also add a dash of sriracha or a pinch of cayenne pepper for a different kind of heat.
Always taste as you go! Don’t be afraid to tweak the balance until it’s perfectly suited to your palate.
- Gluten-Free Assurance: When preparing this sauce for gluten-sensitive individuals, vigilance is key. Always double-check the labels of all your ingredients. Generic or conventional soy sauce typically contains wheat. Opt for certified gluten-free soy sauce, tamari, or coconut aminos. While rice vinegar and sesame oil are generally gluten-free, cross-contamination can occur in some brands, so choose reputable brands or those explicitly labeled gluten-free.
- Zesting and Grating Made Easy: If you don’t own a specialized zester, fear not! The smallest holes on a standard cheese grater work perfectly for zesting oranges and finely grating fresh ginger. Just be careful to only grate the bright orange part of the peel, avoiding the bitter white pith.
- Achieving the Perfect Consistency: The cornstarch slurry is your friend for thickening. Ensure the water is at room temperature before mixing with cornstarch to prevent lumps. Add it slowly to the simmering sauce, whisking continuously. The sauce will thicken rapidly once the cornstarch activates. If it becomes too thick, you can thin it out with a tablespoon or two of water or orange juice. If it’s not thick enough, prepare a small extra slurry (1 tsp cornstarch with 1 tbsp water) and add it gradually.
- Fresh vs. Dried Aromatics: While this recipe calls for fresh ginger and garlic for optimal flavor, if you’re short on time, you can use ginger paste and minced garlic from a jar. Just be aware that the fresh versions provide a brighter, more pungent flavor.
Versatile Serving Suggestions
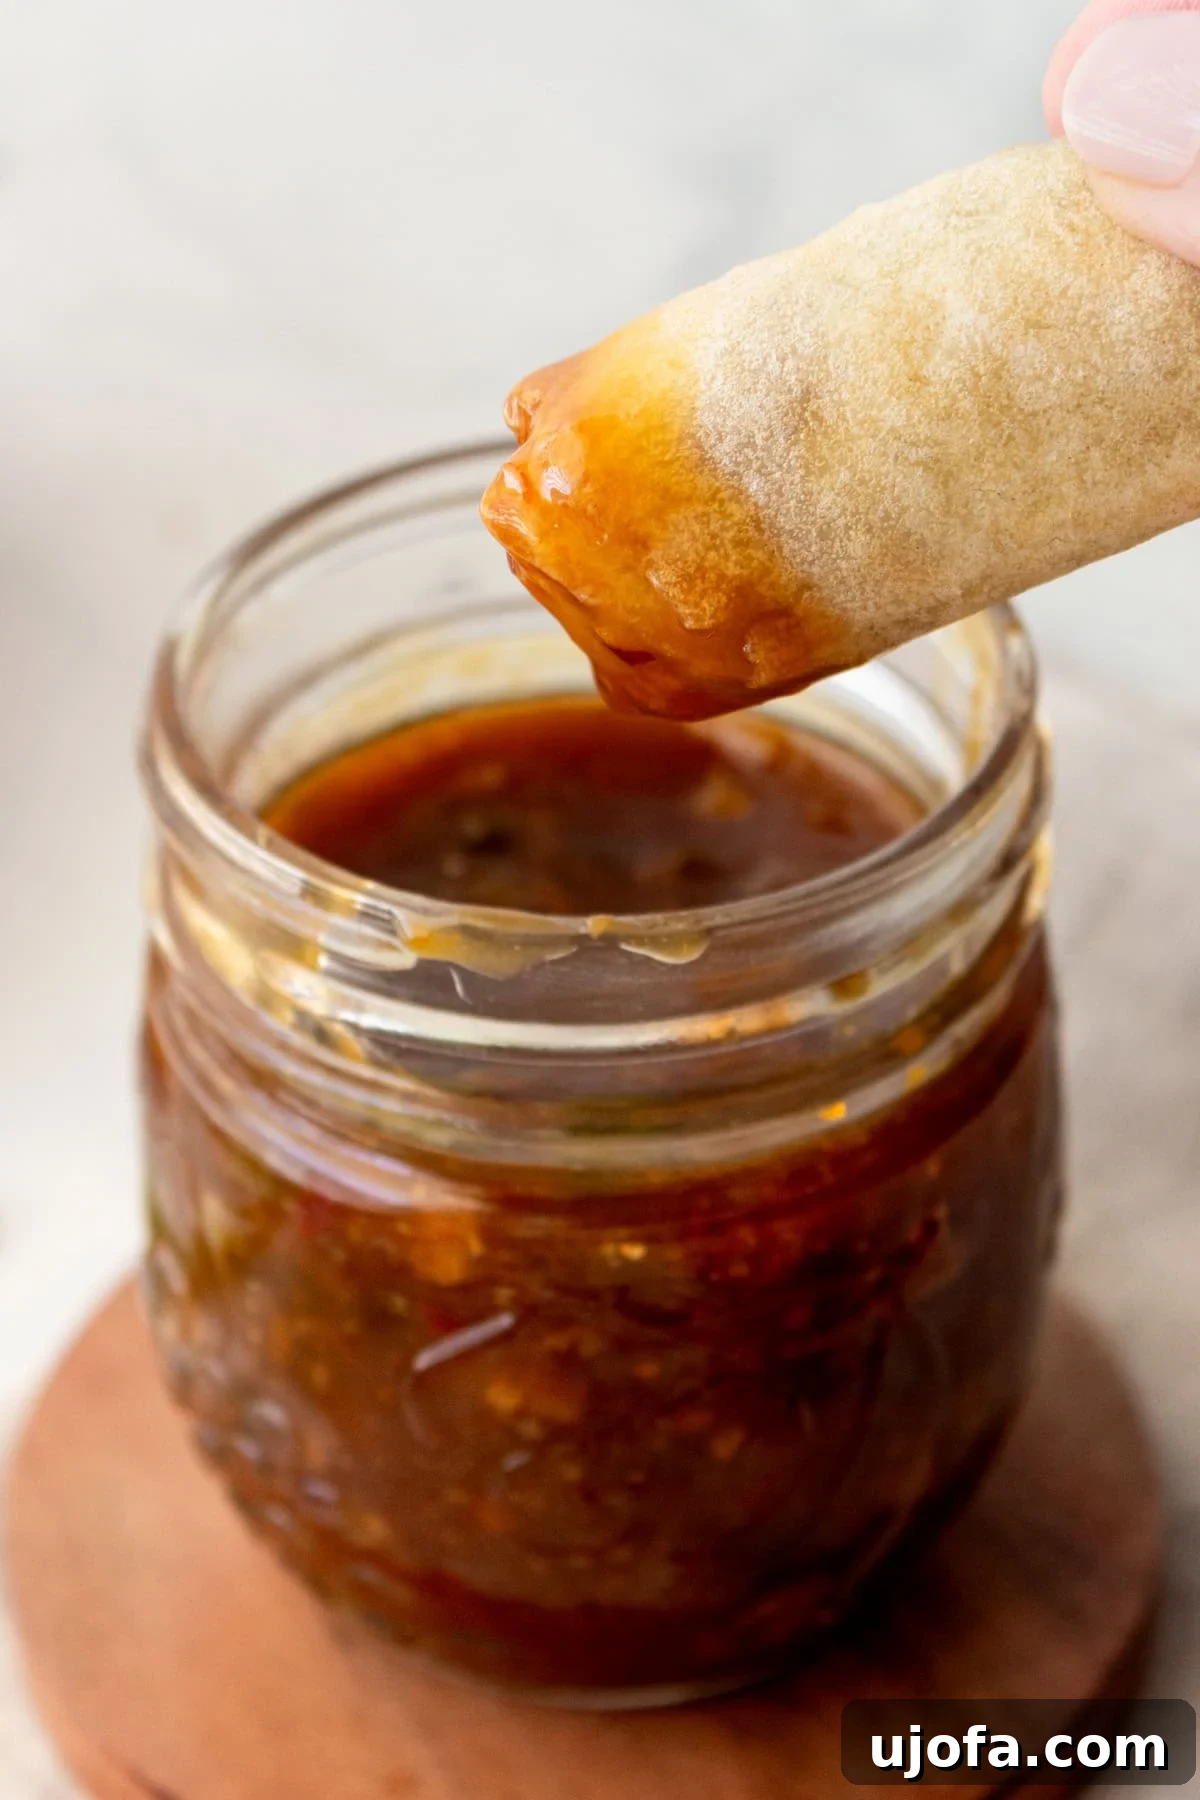
The beauty of this homemade orange reduction sauce lies in its incredible versatility. While it’s famously delicious with gluten-free orange chicken, its vibrant flavor profile makes it a fantastic addition to almost any Asian-inspired dish. Here are some of our favorite ways to enjoy it:
- Classic Orange Chicken: The quintessential pairing! Toss crispy fried or baked chicken pieces in this warm, sticky sauce for a takeout experience at home.
- Stir-Fries: Elevate your stir-fries by using this as a rich, flavorful sauce. It pairs wonderfully with chicken, beef, shrimp, or a medley of vegetables served over gluten-free egg noodles or rice.
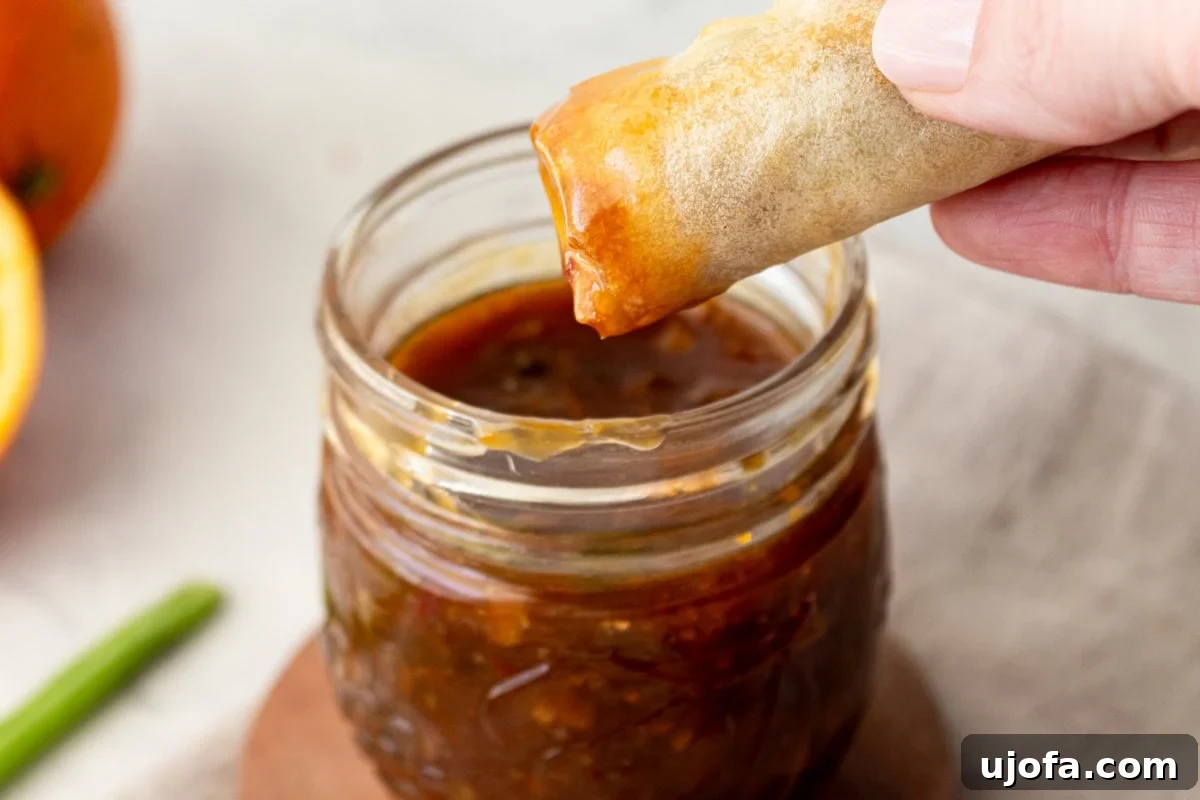
- Dipping Sauce: It’s an excellent dipping sauce for appetizers like spring rolls, egg rolls, potstickers, wontons, or even raw vegetable sticks.
- Glaze for Meats: Brush it onto grilled salmon, baked chicken thighs, or pork tenderloin during the last few minutes of cooking for a beautiful glaze.
- Marinade: Use it as a marinade for chicken, shrimp, or tofu before grilling or baking to infuse them with incredible orange flavor.
- Crispy Wings: Toss your crispy baked or fried chicken wings in this sauce for a zesty, sweet, and spicy coating that’s sure to be a crowd-pleaser.
- Nugget & Fry Dip: As mentioned, kids absolutely adore this sauce as a dip for chicken nuggets, sweet potato fries, or even regular french fries.
- Rice Bowls: Drizzle it over simple rice bowls with your favorite protein and steamed vegetables for a quick and flavorful meal.
Storage Instructions and Shelf Life
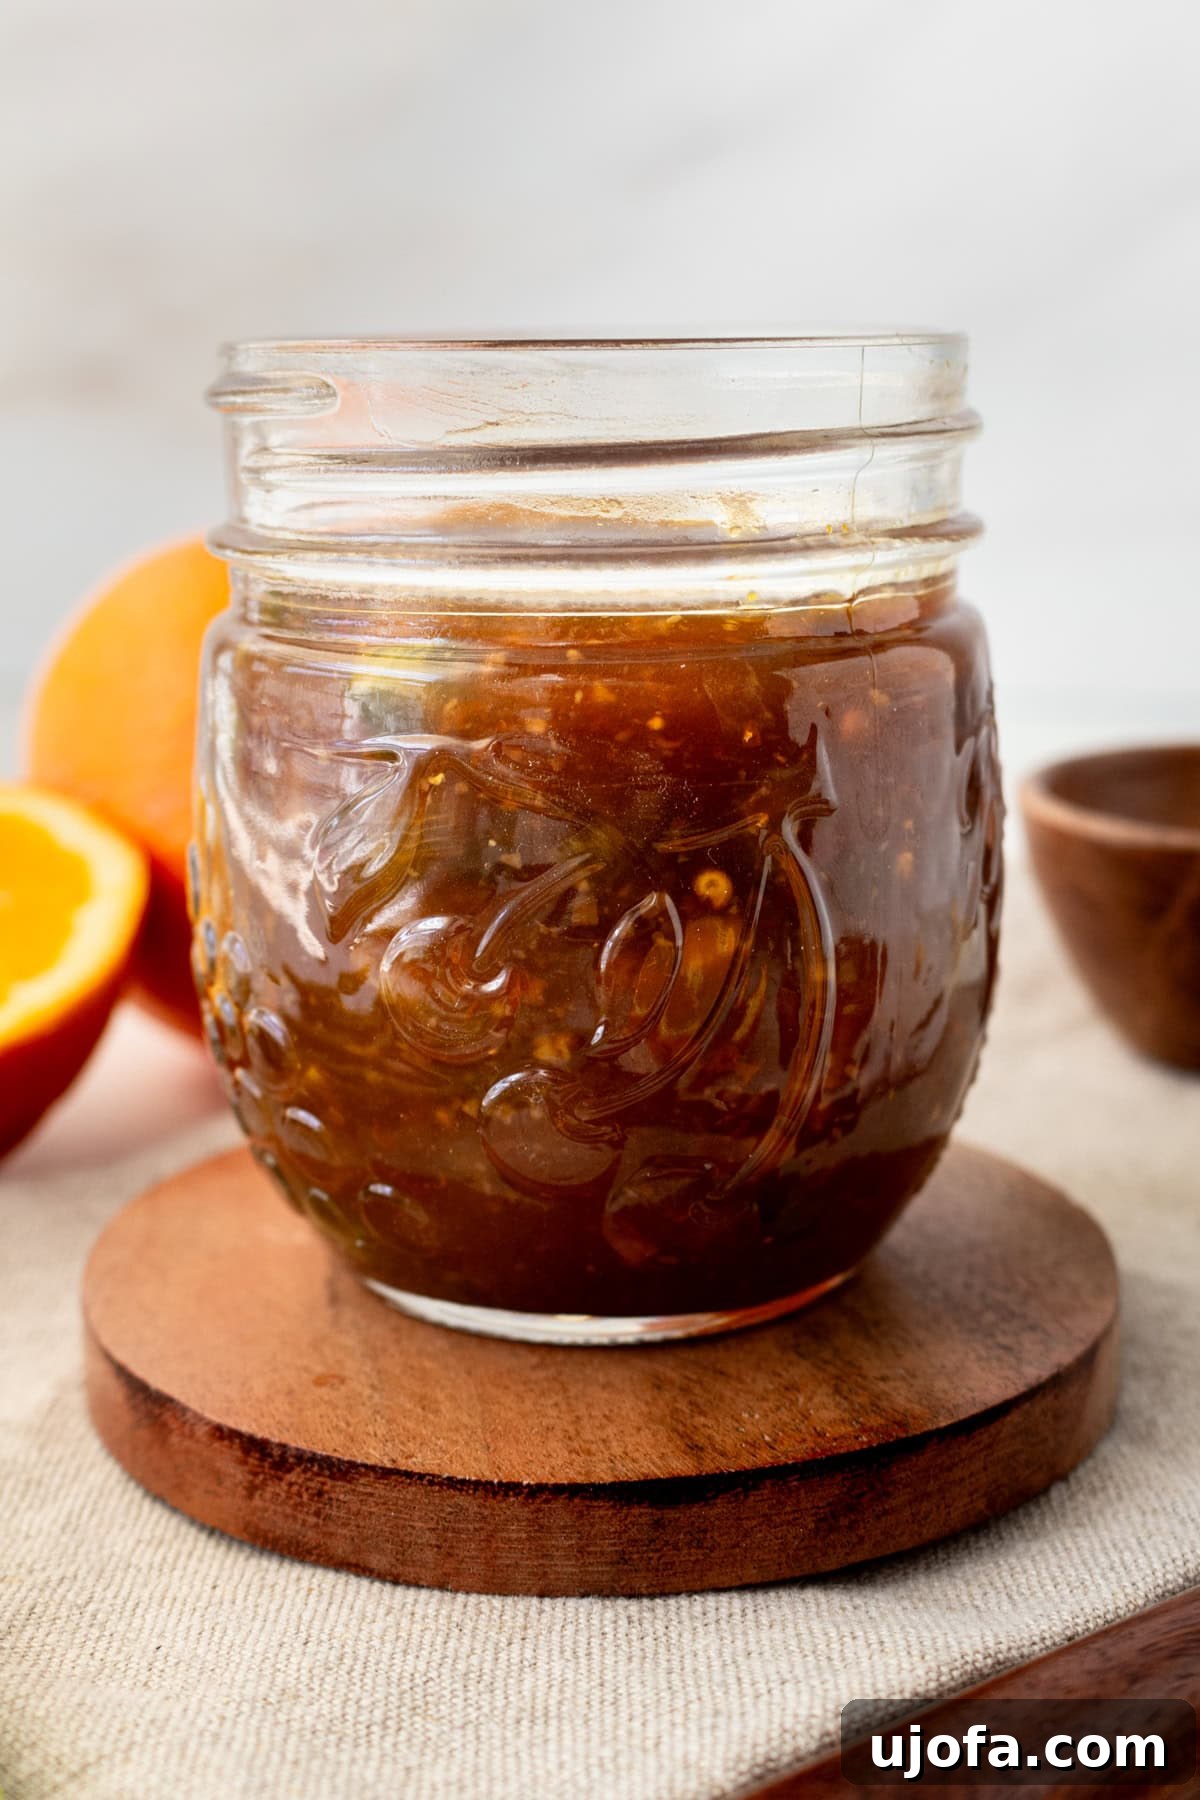
Proper storage is essential to maintain the freshness and flavor of your homemade orange reduction sauce. Once you’ve finished cooking, allow the citrus sauce to cool completely to room temperature. This is crucial before transferring it to storage, as putting hot sauce directly into an airtight container can create condensation, which can reduce its shelf life. Once cooled, spoon the sauce into a clean glass jar with a tight-fitting lid or any other airtight container. Stored in the refrigerator, this vibrant sauce will remain fresh and delicious for up to 1 week. For longer storage, you can freeze it in an airtight container or ice cube trays for up to 2-3 months. Thaw in the refrigerator overnight before reheating gently on the stovetop or in the microwave, adding a tiny splash of water if it’s too thick.
Explore More Delicious Sauces and Condiments
If you’ve enjoyed mastering this orange reduction sauce, you’ll love exploring other homemade sauce recipes. Crafting your own condiments allows for full control over ingredients and flavors, ensuring they perfectly complement your dietary needs and taste preferences. Expand your culinary repertoire with these fantastic gluten-free sauce options:
- Homemade Strawberry Reduction Sauce
- Authentic Gluten-Free Teriyaki Sauce
- Zesty Gluten-Free BBQ Sauce
- Creamy Dairy-Free Alfredo Sauce
- Rich Gluten-Free Gravy
Homemade Orange Reduction Sauce Recipe
By: Ashley Barbey
Yields: 6 servings
Prep time: 20 minutes
Cook time: 20 minutes
Total time: 40 minutes
This homemade orange reduction sauce perfectly mimics Panda Express’ orange chicken sauce, balancing sweet, tangy, and umami flavors with a touch of heat and fresh notes of garlic, ginger, and orange zest. It’s an ideal gluten-free option for a wide range of dishes.
Ingredients
- 1/3 cup gluten-free soy sauce (or Tamari/coconut aminos)
- 2/3 cup freshly squeezed orange juice
- 3 tbsp light brown sugar
- Zest of one large orange
- ½ tbsp rice vinegar
- 1 ½ tbsp gluten-free mirin
- 1 tsp sesame oil
- 2 tsp canola oil (or other neutral cooking oil like avocado oil)
- 2 stalks green onion, finely chopped (reserve 1 tbsp greens for garnish)
- 1 tbsp fresh ginger, grated (or ginger paste)
- 2 cloves garlic, finely chopped
- ½ tsp crushed red pepper flakes (adjust to taste)
- 1/3 cup water, room temperature
- 1 tbsp cornstarch
Instructions
- In a medium bowl, whisk together the gluten-free soy sauce, fresh orange juice, light brown sugar, orange zest, rice vinegar, mirin, and sesame oil until all ingredients are thoroughly combined and the sugar is dissolved. Set aside.
- Heat the canola oil in a large saucepan or skillet over medium-low heat until it shimmers. Add the finely chopped green onion, grated fresh ginger, minced garlic, and crushed red pepper flakes. Sauté for 2-3 minutes, stirring constantly, until the aromatics are fragrant, softened, and lightly browned. Be careful not to burn the garlic.
- Pour the prepared orange juice and soy sauce mixture into the saucepan with the sautéed aromatics. Stir well to combine all ingredients.
- Increase the heat to medium and bring the mixture to a gentle simmer. Reduce the heat back to medium-low and cook, whisking occasionally, for about 8-10 minutes. During this time, the sauce will naturally reduce and begin to thicken slightly as the flavors meld.
- While the sauce is reducing, prepare the cornstarch slurry. In a small separate bowl, whisk together the 1/3 cup room temperature water and 1 tablespoon of cornstarch until completely smooth and no lumps remain. This slurry is crucial for achieving the desired thick, glossy texture. Using room temperature water helps prevent the cornstarch from clumping when added to the hot sauce.
- Slowly drizzle the cornstarch slurry into the simmering sauce in the saucepan, whisking vigorously and constantly to ensure even distribution and prevent any clumping. Continue to whisk until the sauce comes to a gentle bubble and visibly thickens to your desired consistency. It should be glossy and able to coat the back of a spoon.
- Remove the sauce from the heat immediately. Taste and adjust seasonings if necessary – you might want a bit more sweetness, tanginess, or heat.
- Serve warm with your favorite dishes, or allow it to cool completely before transferring to an airtight container for storage. Garnish with the reserved chopped green onion greens, if desired.
Notes
- Customizing Flavor: For a sweeter sauce, add a touch more brown sugar or honey. For increased tang, a splash of lemon juice or extra rice vinegar works wonders. Adjust red pepper flakes for desired heat.
- Gluten-Free Checks: Always confirm that your soy sauce, mirin, and other ingredients are certified gluten-free to avoid cross-contamination.
- No Zester? No Problem: A cheese grater’s smallest holes can effectively zest oranges and grate ginger.
- Storage: Once completely cooled, store the sauce in an airtight container in the refrigerator for up to one week. For longer storage, freeze for up to 2-3 months.
Nutrition Information (Approximate per serving)
Nutrition information is automatically calculated, so should only be used as an approximation.
- Serving: 1 serving
- Calories: 76 kcal
- Carbohydrates: 13 g
- Protein: 2 g
- Fat: 2 g
- Saturated Fat: 0.2 g
- Polyunsaturated Fat: 1 g
- Monounsaturated Fat: 1 g
- Trans Fat: 0.01 g
- Sodium: 759 mg
- Potassium: 114 mg
- Fiber: 0.4 g
- Sugar: 9 g
- Vitamin A: 144 IU
- Vitamin C: 15 mg
- Calcium: 17 mg
- Iron: 1 mg
Additional Info
- Course: Sauces
- Cuisine: Asian
How to Make Orange Reduction Sauce – Step-by-Step Visual Guide
Follow these detailed steps to create your perfect batch of homemade orange reduction sauce. Each step is designed to guide you through the process, ensuring a smooth and flavorful outcome.
Step 1: Combine Wet Ingredients
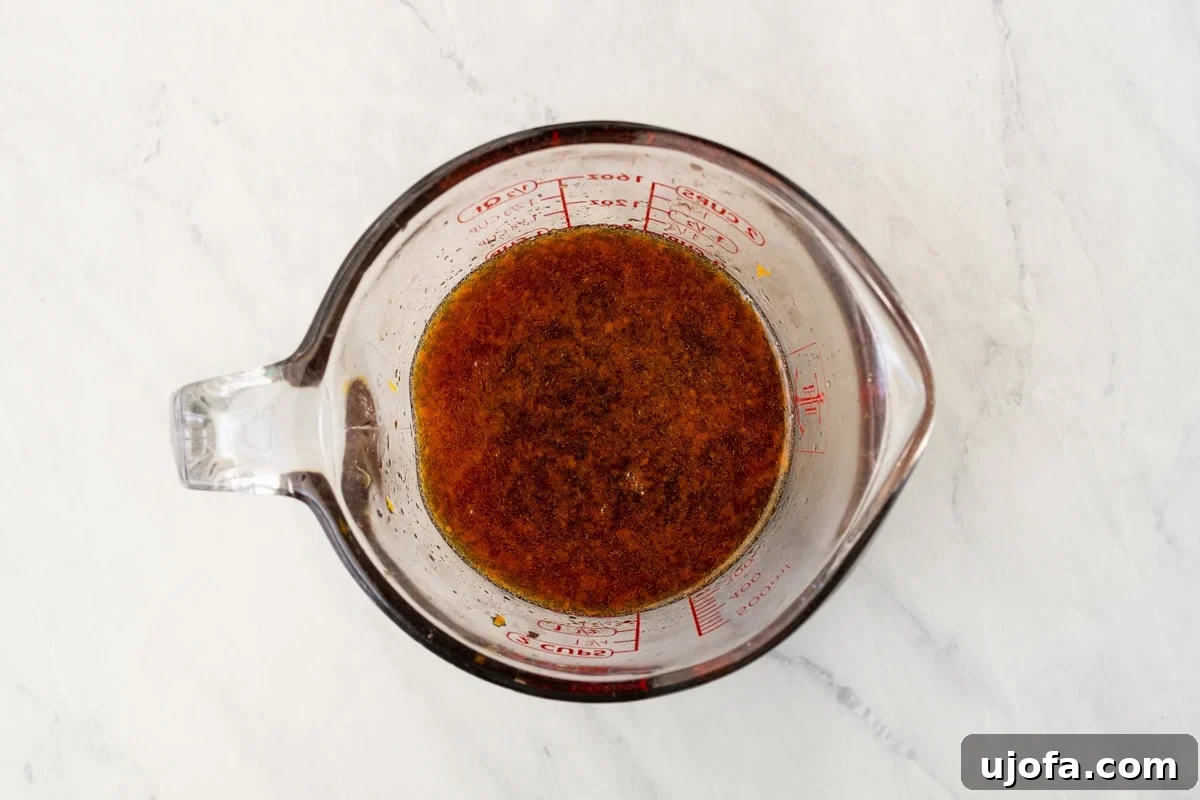
In a medium-sized mixing bowl, meticulously whisk together the ⅓ cup gluten-free soy sauce, ⅔ cup freshly squeezed orange juice, 3 tablespoons of light brown sugar, the vibrant zest of 1 large orange, ½ tablespoon of rice vinegar, 1 ½ tablespoons of gluten-free mirin, and 1 teaspoon of rich sesame oil. Continue whisking until the brown sugar is fully dissolved and all ingredients are thoroughly combined, creating a homogeneous liquid base for your sauce. This ensures a balanced flavor profile from the start.
Step 2: Sauté Aromatics
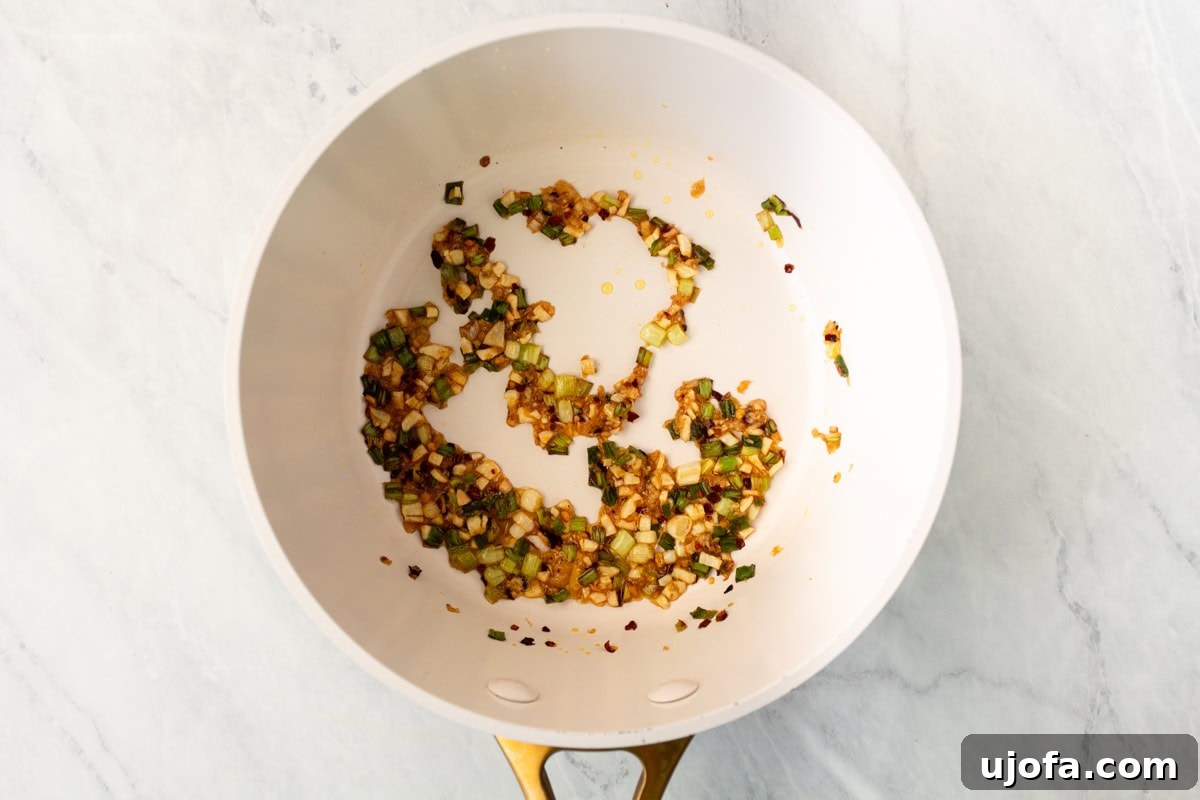
Retrieve a large, sturdy saucepan or skillet and heat 2 teaspoons of neutral cooking oil (such as canola or avocado oil) over medium-low heat. Once the oil is shimmering and hot, add the finely chopped 2 stalks of green onion, 1 tablespoon of freshly grated ginger, 2 minced garlic cloves, and ½ teaspoon of crushed red pepper flakes (adjust to your preferred level of heat). Sauté these aromatics for 2 to 3 minutes, stirring constantly. You’re aiming for them to become fragrant, softened, and lightly browned, releasing their full flavor without burning. This step builds the aromatic foundation of your sauce.
Step 3: Combine and Reduce
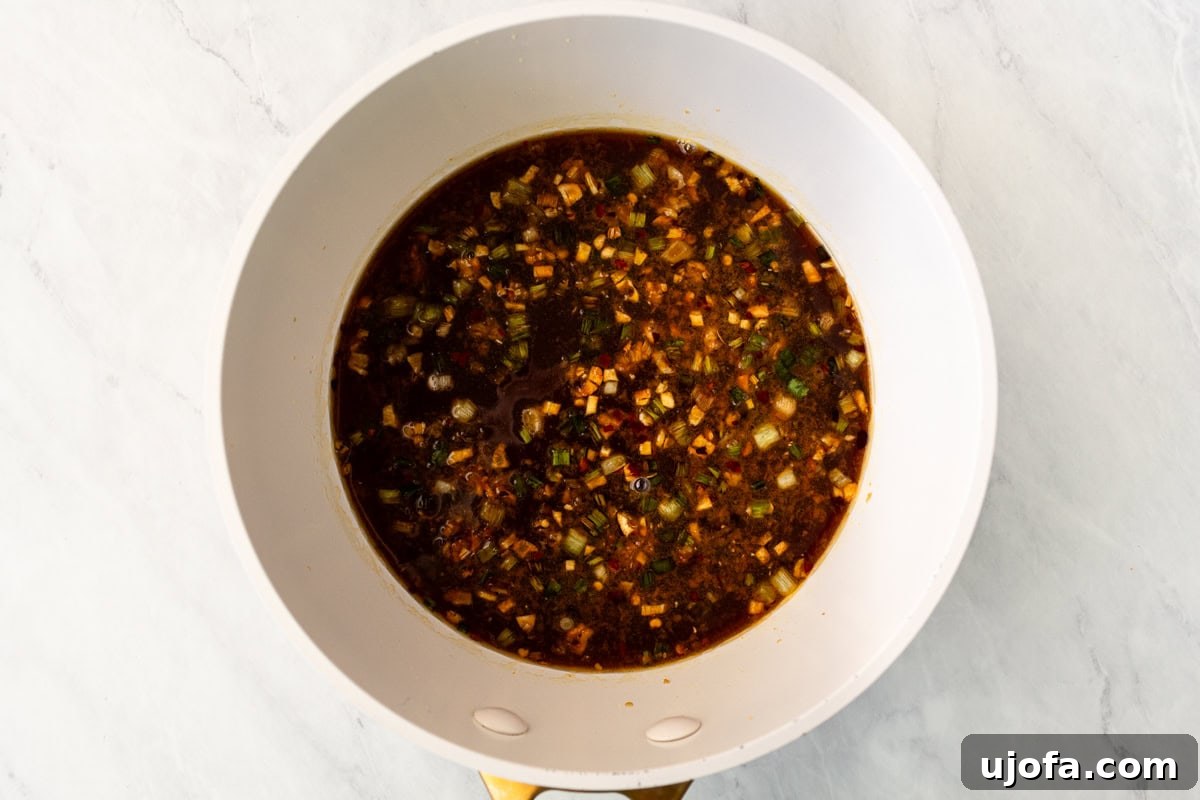
Carefully pour the previously prepared orange and soy sauce mixture from your bowl into the saucepan with the fragrant, sautéed aromatics. Give it a good whisk to ensure everything is thoroughly combined. Increase the heat to medium and bring the entire mixture to a gentle simmer. Once simmering, reduce the heat back to medium-low and let it cook, stirring occasionally with your whisk, for approximately 8-10 minutes. During this reduction process, excess liquid will evaporate, concentrating the flavors and allowing the sauce to thicken naturally and become slightly syrupy.
Step 4: Prepare the Cornstarch Slurry
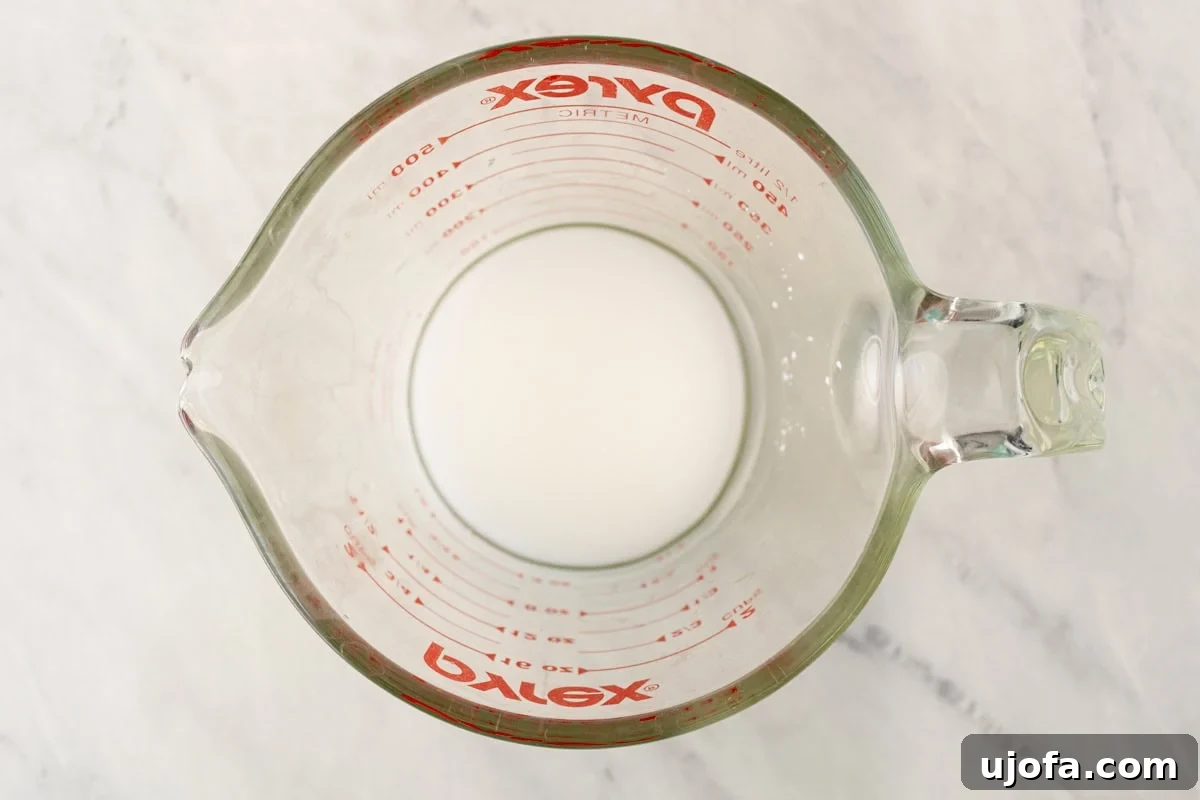
While your sauce is reducing, prepare your thickening agent. In a separate small bowl, combine ⅓ cup of room temperature water with 1 tablespoon of cornstarch. Whisk these two ingredients together thoroughly until the cornstarch is completely dissolved and the mixture is smooth, with no lumps visible. This cornstarch slurry is crucial for achieving the desired sticky, glossy consistency without any grainy texture in the final sauce. Using room temperature water helps prevent the cornstarch from clumping when added to the hot sauce.
Step 5: Thicken the Sauce
With your sauce gently simmering and your cornstarch slurry ready, slowly drizzle the slurry into the saucepan. As you add it, continue to whisk vigorously and constantly. This continuous whisking is vital to prevent the cornstarch from clumping and to ensure it incorporates smoothly, thickening the sauce evenly. Keep whisking until the sauce begins to bubble gently and reaches your desired sticky, glossy, and thick consistency. It should be able to coat the back of a spoon without running off immediately. The sauce will thicken quite rapidly once the cornstarch activates, so pay close attention.
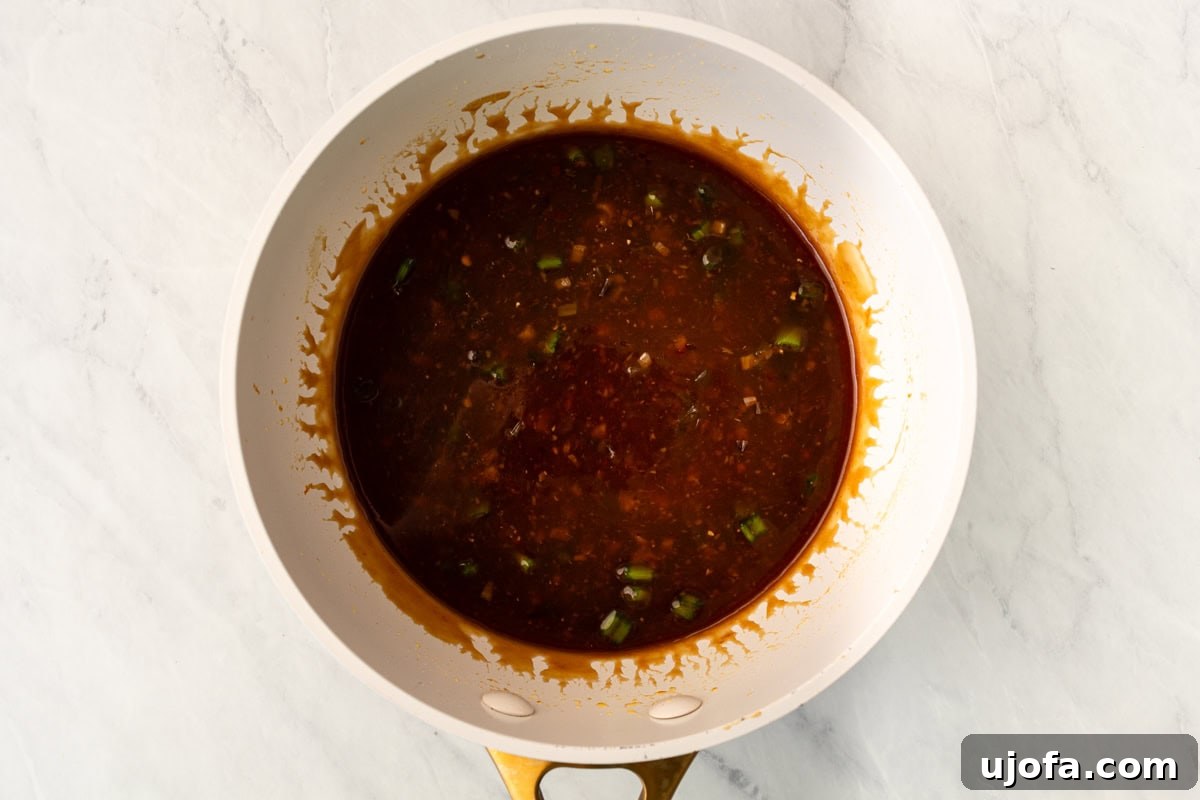
Step 6: Serve or Store
Once your orange reduction sauce has reached the ideal thickness, remove it from the heat immediately. Give it one final taste test and make any last-minute adjustments to sweetness, tanginess, or spice if desired. It’s now ready to be served warm over your favorite dishes, such as orange chicken, stir-fries, or as a delightful dipping sauce. Alternatively, allow the sauce to cool completely to room temperature before carefully transferring it to a clean glass jar or an airtight container for future use. Garnish with a sprinkle of reserved chopped green onion greens just before serving for an added touch of freshness and color.