
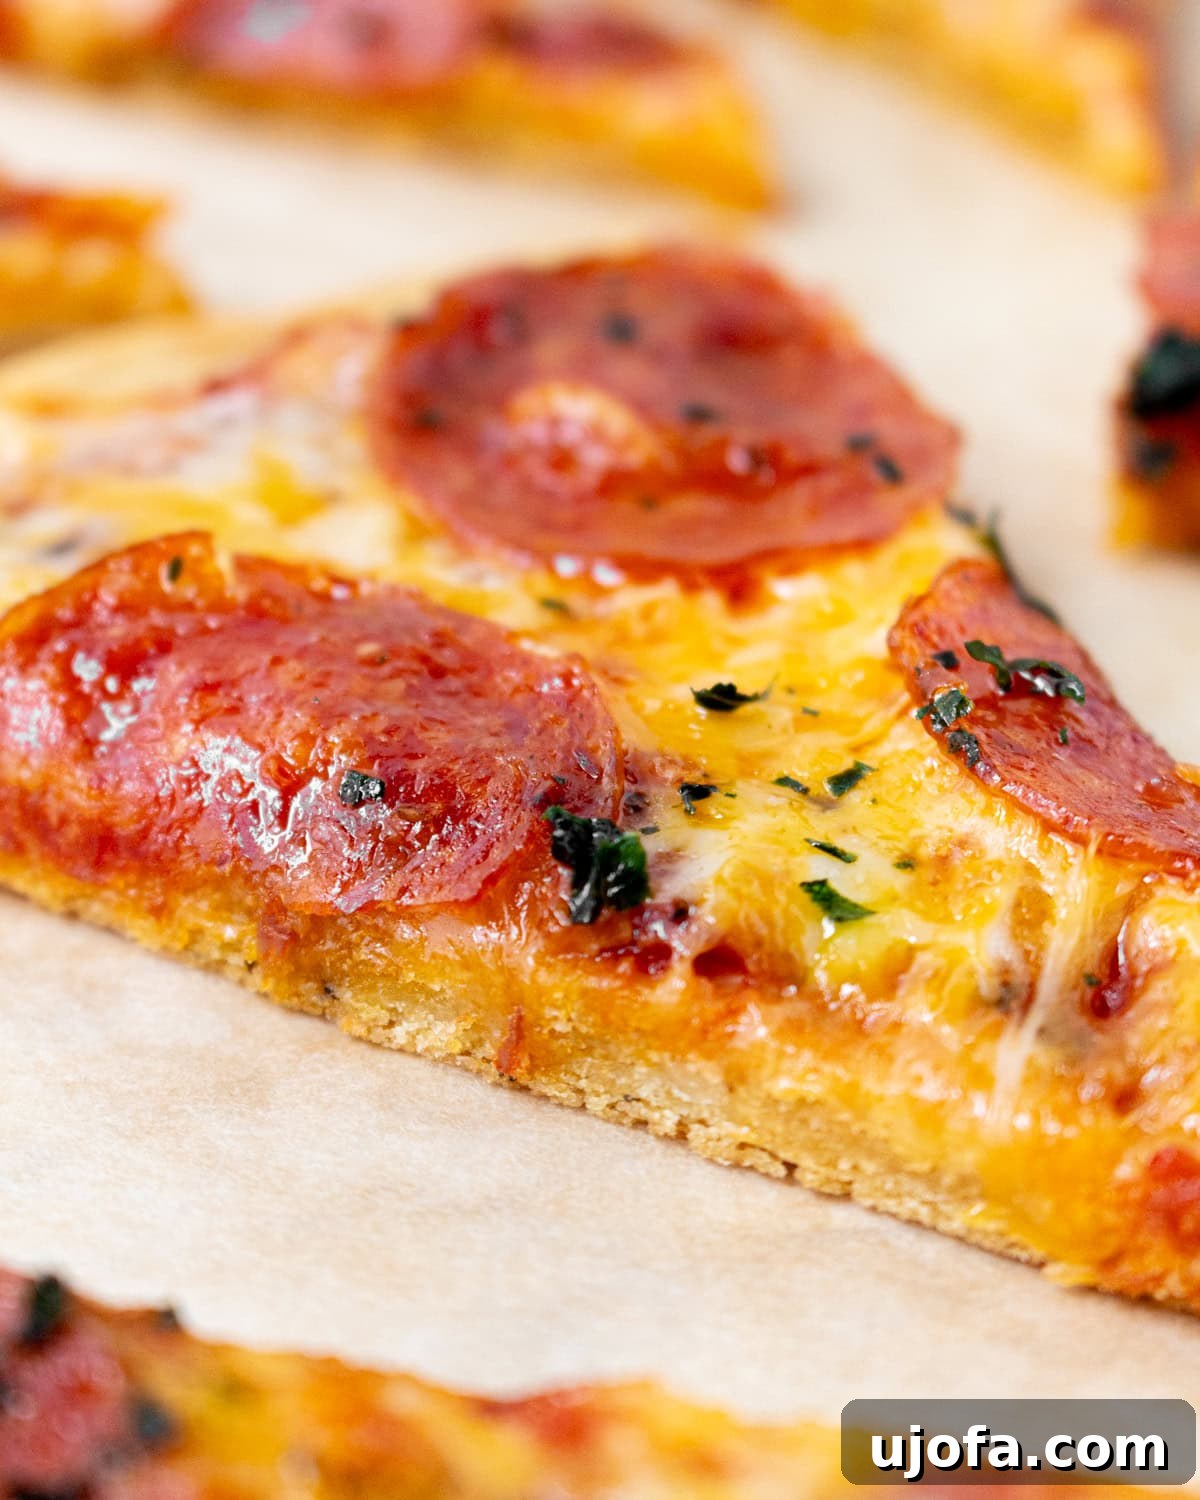
Welcome to the ultimate guide for crafting a truly exceptional pizza experience right in your own kitchen! Discover the magic of a **high-protein chickpea pizza crust**, a revolutionary gluten-free option that’s incredibly easy to make with just 4 simple ingredients. Baked to perfection in a hot cast-iron pan, this crust delivers an unparalleled crispy bite and a golden finish that will have you rethinking traditional pizza night. Forget long waiting times for yeast to rise; this recipe comes together significantly faster, offering a delicious, healthy alternative that doesn’t compromise on flavor or texture. With minimal prep time and common pantry staples, you’re just minutes away from enjoying a homemade pizza topped exactly how you like it.
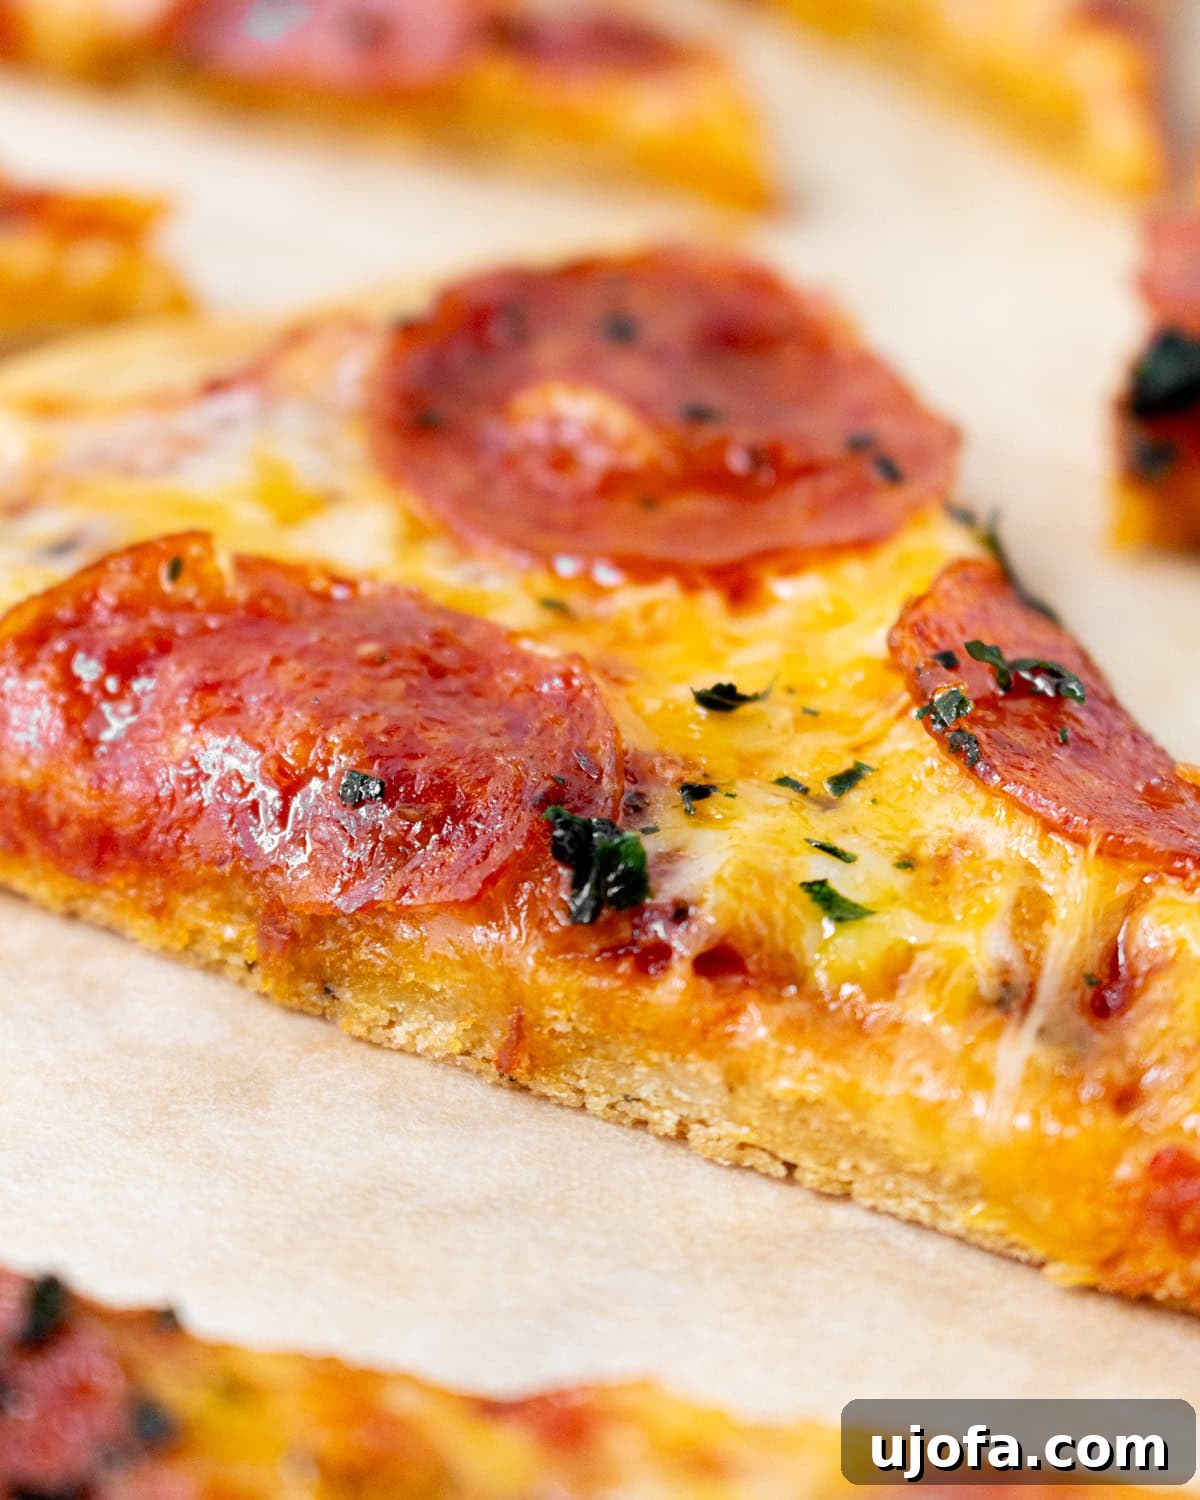
Chickpea flour, also known as garbanzo bean flour or besan, is a true superstar in gluten-free baking, particularly for flatbreads and pizzas. Its unique properties allow for a sturdy crust with a delightful crunch, making it an ideal base for a wide array of toppings. This chickpea pizza crust recipe draws inspiration from my popular socca flatbread, but it has been carefully optimized to create a slightly thicker, more robust crust capable of supporting all your favorite pizza additions without becoming soggy. The goal here is simplicity and minimal mess, ensuring an easy and enjoyable pizza night. The core ingredients – chickpea flour, salt, warm water, and olive oil – with an optional touch of Italian seasoning, are whisked together and baked directly in a preheated cast-iron pan. This technique is key to achieving that even set and beautiful golden-brown finish. Once the initial bake is complete, simply load it up with your preferred sauce, cheese, meats, or veggies, and return it to the oven for a final bake. In approximately 30 minutes, you’ll have a fully baked, delicious, and naturally gluten-free pizza ready to savor.
Why Choose This Chickpea Pizza Crust?
Beyond being naturally gluten-free, this chickpea pizza crust offers a host of benefits that make it a fantastic choice for any home cook:
- High in Protein and Fiber: Chickpea flour is naturally rich in protein and dietary fiber, making this pizza crust a more satisfying and nutritious option compared to traditional white flour crusts. It helps you feel fuller for longer and supports digestive health.
- Naturally Vegan-Friendly: With just a few basic plant-based ingredients, this crust is inherently vegan, making it suitable for a wide range of dietary preferences.
- Incredibly Simple Ingredients: You won’t find a long list of obscure ingredients here. Just chickpea flour, water, olive oil, and salt are all you need for the base, plus optional seasonings.
- Quick & Easy Prep: Ditch the waiting game for yeast to activate. This batter comes together in about 5-10 minutes, saving you valuable time in the kitchen.
- Crispy Texture: The cast-iron method ensures a remarkably crispy edge and a firm, satisfying base that holds up beautifully to toppings.
- Versatile Base: Its mild, nutty flavor profile complements a vast array of pizza toppings, from classic marinara and mozzarella to more adventurous combinations.
Essential Tips for a Perfect Gluten-Free Chickpea Pizza Crust
Achieving the ideal crispy, golden chickpea pizza crust is straightforward when you follow a few key guidelines:
- Always Use a Fully Preheated Cast-Iron Pan: This is arguably the most crucial step for success. Cast iron skillets are excellent at retaining heat, which means the moment your batter hits the pan, it begins to cook and crisp up immediately. This rapid cooking ensures those coveted crispy, golden-brown edges and significantly helps prevent the crust from sticking. Starting with a cold pan will almost inevitably lead to a pale, soft, and potentially gummy crust that won’t achieve the desired texture. Make sure your oven and pan are at temperature for at least 15-20 minutes before adding the batter.
- Keep Toppings Light and Balanced: While this chickpea crust is designed to be sturdy, it’s still best to exercise caution with overly heavy or moisture-rich toppings. Excessive sauce, watery vegetables (like fresh tomatoes, zucchini, or mushrooms), or even fresh mozzarella can weigh down the center of the crust, making it dense and potentially gummy. To prevent this, consider pre-cooking and patting dry vegetables such as peppers, zucchini, spinach, or mushrooms to remove excess moisture. A thin, even layer of sauce and well-drained toppings will yield the best results for a perfectly cooked pizza.
- Allow the Batter to Rest for a Few Minutes: Chickpea flour, like many gluten-free flours, benefits greatly from a short resting period after mixing. This allows the flour particles to fully hydrate, absorbing the warm water and resulting in a smoother, less gritty batter. Properly hydrated flour improves the overall texture of the crust, helping it bake up more evenly and preventing it from becoming dense or crumbly. A 5-10 minute rest is usually sufficient.
- Expect a Thinner, Crispier Crust: It’s important to set expectations correctly for this style of pizza. This recipe creates a crust that is more akin to a crisp flatbread or a thin-crust pizza rather than a thick, fluffy, yeast-leavened dough. Its firm bite and delightful crispiness make it perfect for easy slicing and enjoying with your favorite toppings, offering a unique and satisfying alternative to traditional pizza.
Chickpea Pizza Crust
By: Ashley Barbey
- Servings:
- 2 servings
- Prep Time:
- 10 mins
- Cook Time:
- 30 mins
- Total Time:
- 40 mins
Share by Email
Print Recipe
A high-protein chickpea pizza crust made with just 4 ingredients, baked right in a hot cast-iron pan for the perfect crispy bite. This gluten-free pizza crust turns golden and crispy, and it comes together much faster than a traditional yeast-based crust.
Equipment
- 1 10″ cast-iron skillet
Ingredients
- 2 tbsp olive oil, divided
- 1¼ cups chickpea flour
- ½ tsp salt
- ½ tsp Italian seasoning, optional
- 1 cup water, warm
- pizza toppings of choice
Instructions
- Preheat the oven to 425°F. Place a 10” cast iron pan into the oven to preheat as well.
- In a medium bowl, whisk together the chickpea flour, salt, and Italian seasoning.
- Slowly whisk in 1 cup of warm water until fully combined. Set aside to thicken slightly (about 5-10 minutes).
- Carefully remove the hot, preheated cast-iron pan from the oven. Brush 1 tbsp of the olive oil generously over the bottom and sides of the pan.
- Whisk the remaining 1 tbsp olive oil into the crust batter until smooth and well incorporated.
- Pour the batter into the hot pan. Use a spatula or the back of a spoon to spread it into an even layer, ensuring it reaches the edges.
- Bake for 15-17 minutes, or until the edges are beautifully golden brown and the center is set and firm to the touch.
- Carefully remove the crust from the oven. Top with your desired pizza toppings, ensuring they are spread evenly. Return it to the oven and bake for an additional 15 minutes, or until the toppings are cooked through and the cheese (if using) is melted and bubbly.
Notes
- If you don’t have a cast-iron skillet: You can use an oven-safe stainless steel pan or a rimmed baking sheet. For best results and easy removal, I suggest lining the hot pan or sheet with parchment paper and brushing with olive oil before pouring in the batter. This will help mimic the non-stick quality and crisping effect of a cast-iron pan.
Nutrition
- Serving:
- 1 serving
- Calories:
- 415 kcal
- Carbohydrates:
- 44 g
- Protein:
- 17 g
- Fat:
- 19 g
- Saturated Fat:
- 2 g
- Polyunsaturated Fat:
- 4 g
- Monounsaturated Fat:
- 11 g
- Sodium:
- 636 mg
- Potassium:
- 641 mg
- Fiber:
- 8 g
- Sugar:
- 8 g
- Vitamin A:
- 39 IU
- Vitamin C:
- 0.01 mg
- Calcium:
- 46 mg
- Iron:
- 4 mg
Nutrition information is automatically calculated and should be used as an approximation only.
Additional Info
- Course:
- Dinner, Lunch
- Cuisine:
- American
Tried this recipe? Mention @mamaknowsglutenfree or tag #mamaknowsglutenfree!
How to Make Chickpea Pizza Crust Step by Step
Follow these detailed steps to create your perfect crispy chickpea pizza crust:
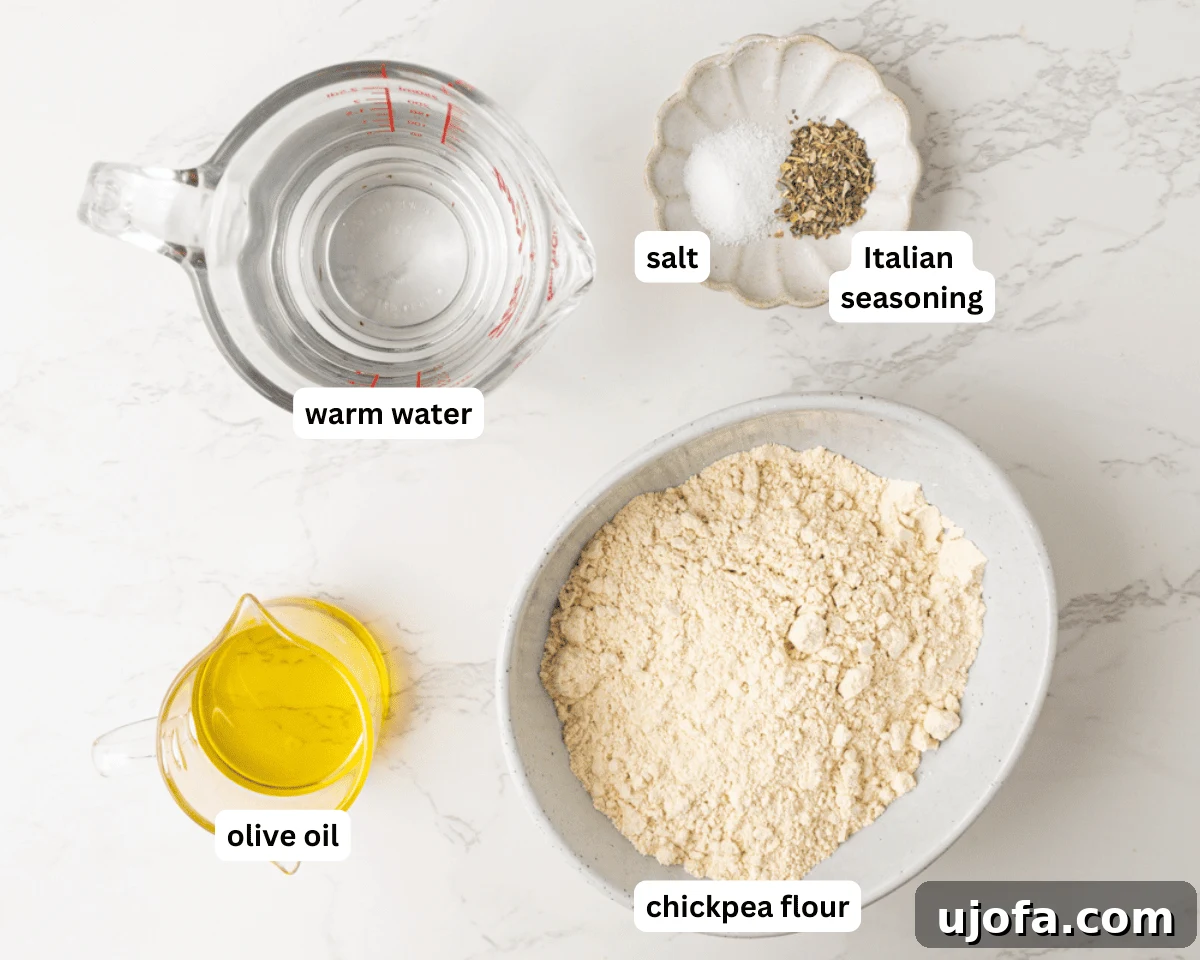
Step 1: Gather Ingredients & Preheat Oven. Begin by gathering all your required ingredients on your countertop. This ensures a smooth and efficient cooking process. Next, preheat your oven to a robust 425°F (220°C). Crucially, place your 10-inch cast-iron pan directly into the oven to preheat alongside it. A piping hot pan is essential for achieving that desirable crispy crust.
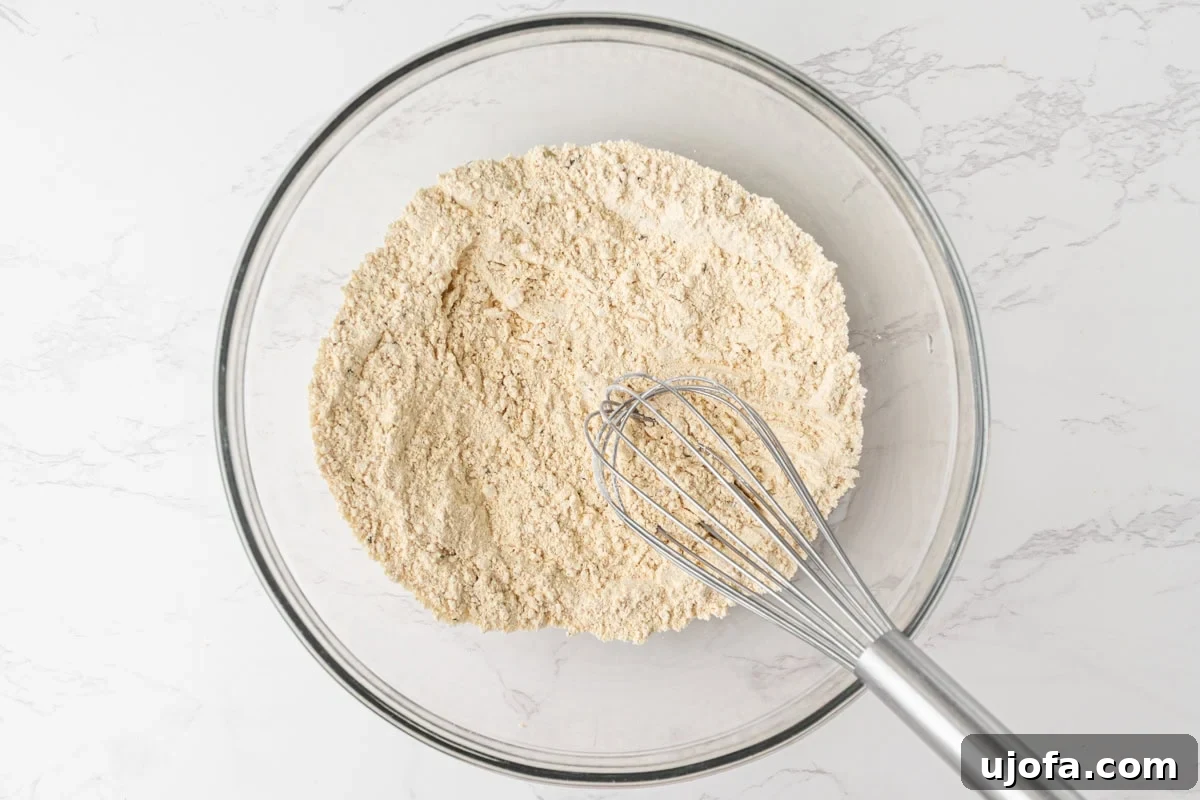
Step 2: Mix the Dry Ingredients. In a medium-sized mixing bowl, combine 1¼ cups of chickpea flour, ½ teaspoon of salt, and, if you’re using it for added flavor, ½ teaspoon of Italian seasoning. Whisk these dry ingredients thoroughly to ensure they are evenly distributed.
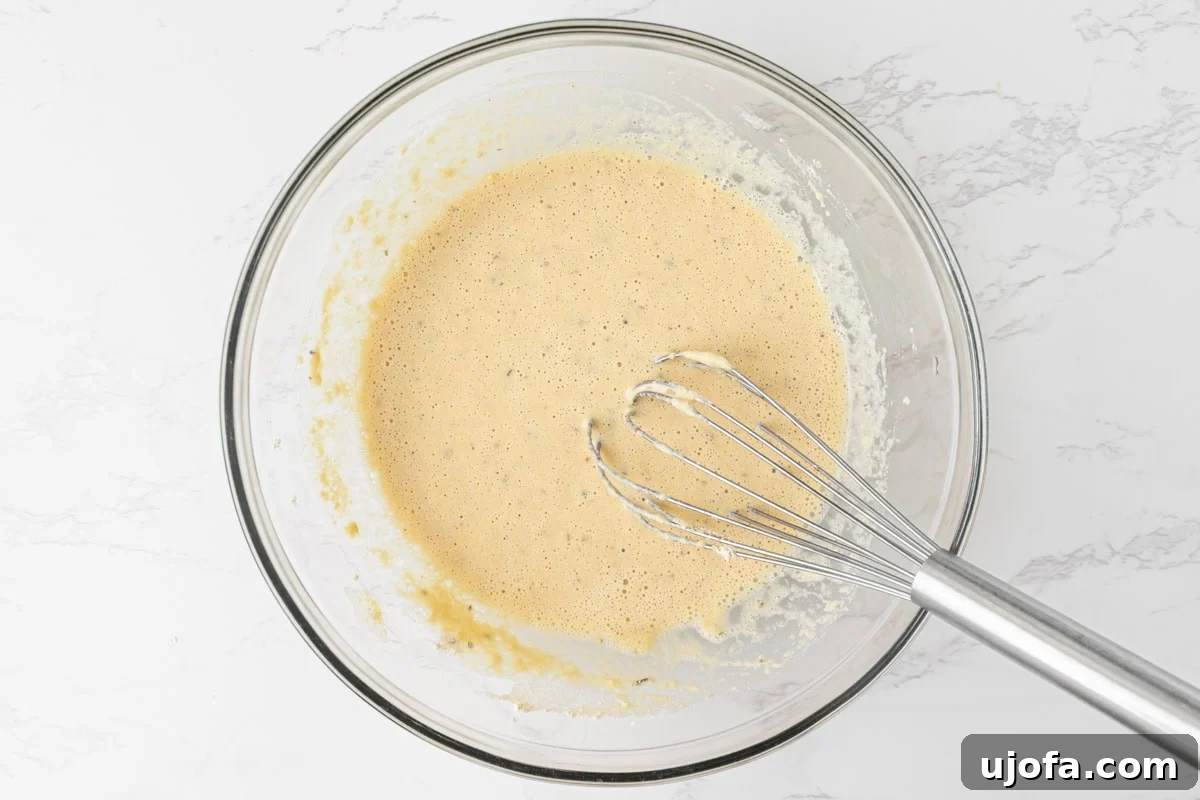
Step 3: Add Warm Water & Rest the Batter. Gradually pour in 1 cup of warm water while continuously whisking the mixture. Continue whisking until you achieve a smooth, lump-free batter. Once combined, set the bowl aside and let the batter rest for approximately 5-10 minutes. This resting period allows the chickpea flour to fully hydrate, resulting in a better texture for your crust.
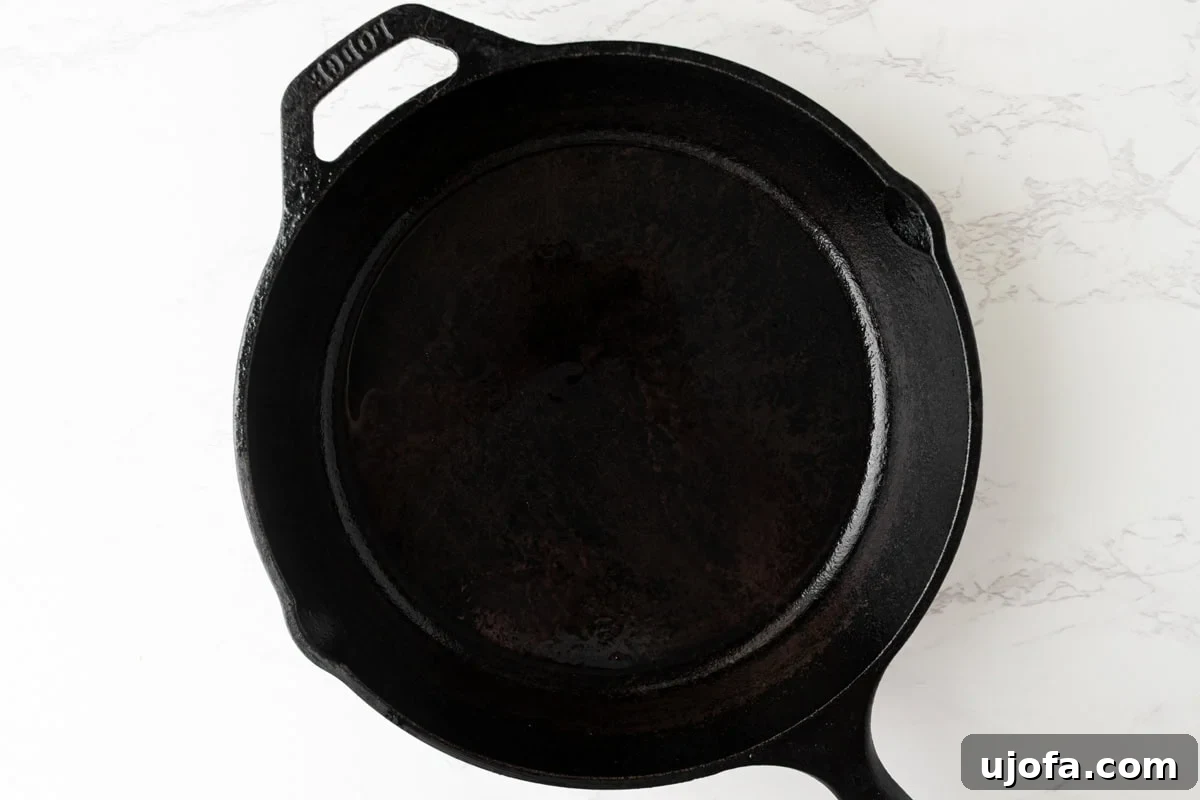
Step 4: Brush the Skillet with Oil. With extreme caution, remove the now very hot cast-iron pan from the oven. Using a heat-resistant brush, liberally brush 1 tablespoon of olive oil over the entire bottom and up the sides of the skillet. This creates a non-stick surface and contributes to the crispiness of the crust.
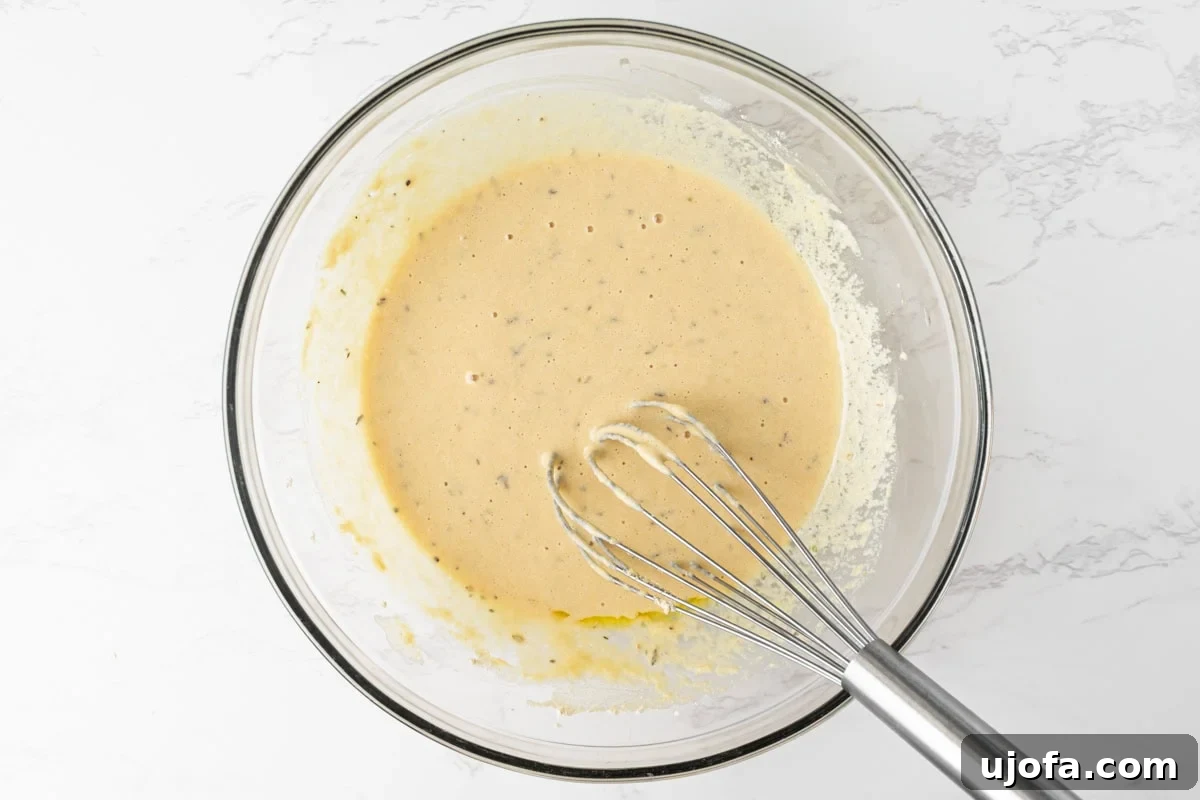
Step 5: Incorporate Remaining Olive Oil. Return to your batter and whisk in the remaining 1 tablespoon of olive oil. Mix it thoroughly until the oil is completely blended into the chickpea batter, giving it a smooth and slightly richer consistency.
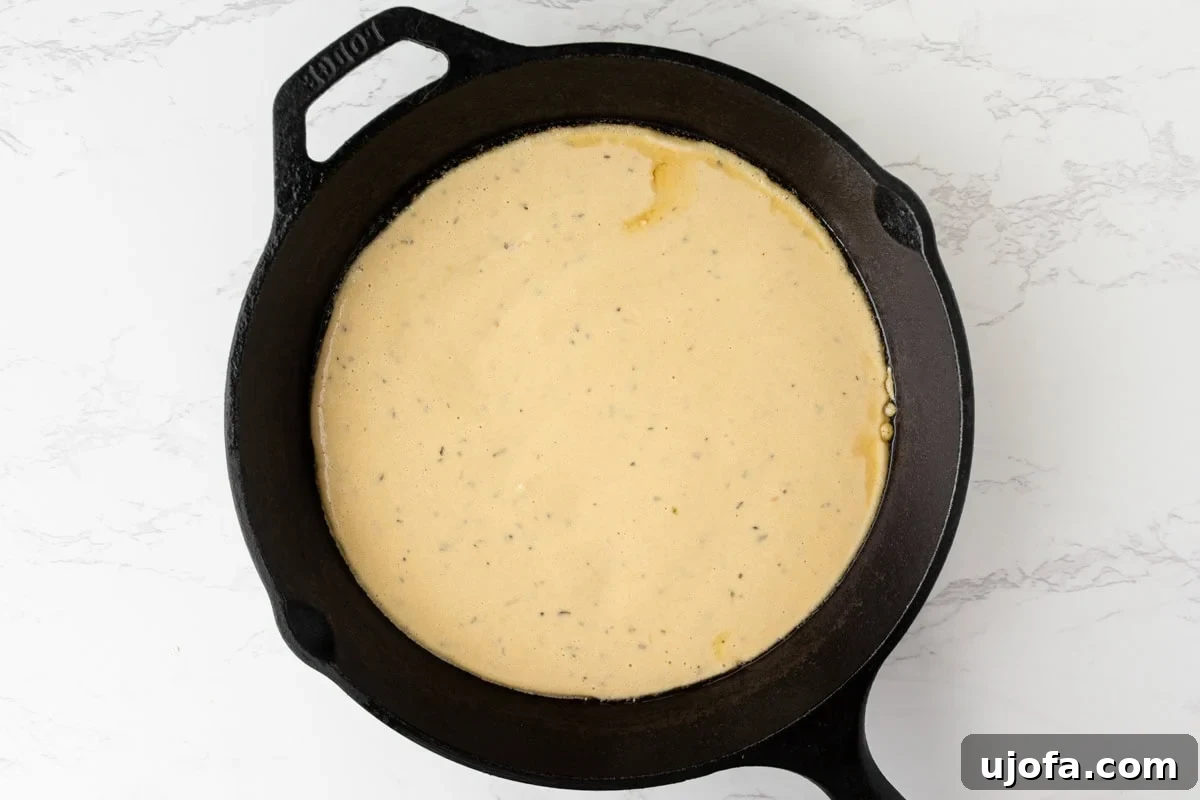
Step 6: Fill the Cast-Iron Skillet. Carefully pour the prepared batter directly into the hot, oiled cast-iron skillet. Immediately use a spatula or the back of a spoon to spread the batter into an even, thin layer across the bottom of the pan, making sure it reaches the edges.
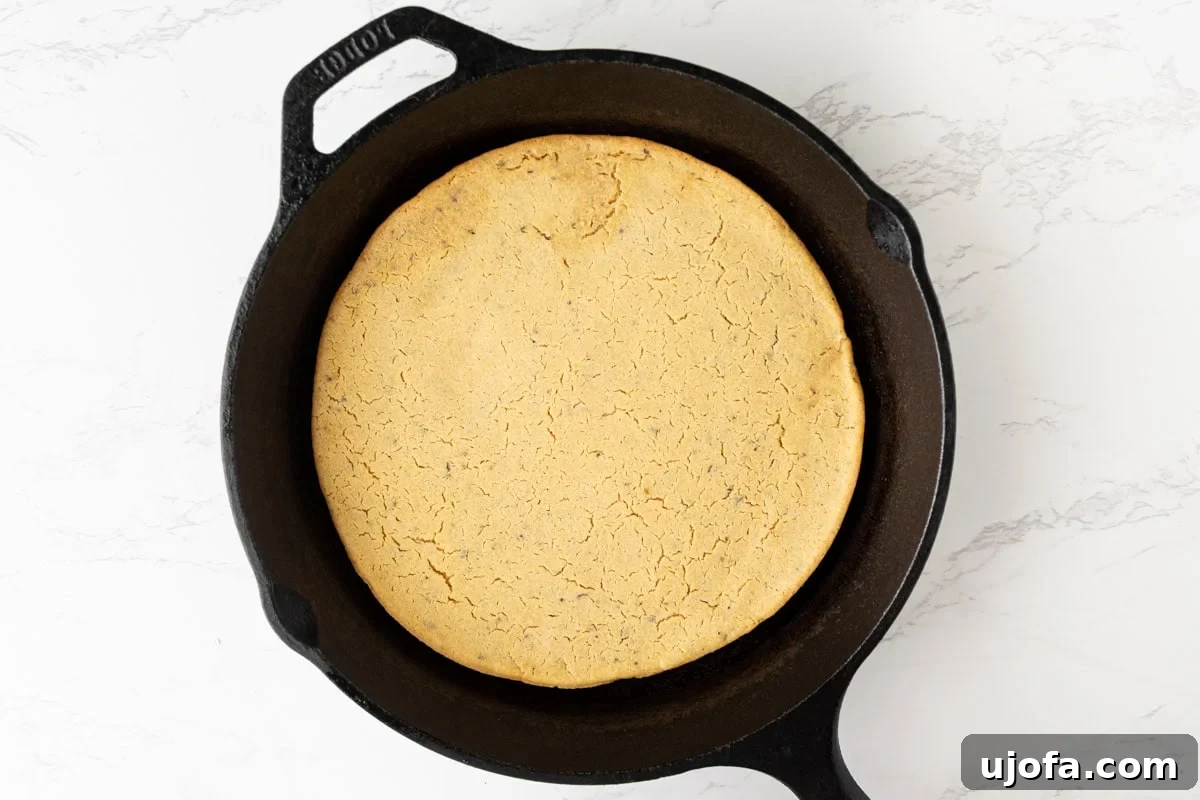
Step 7: Bake the Crust. Place the skillet back into the preheated oven. Bake the crust for 15-17 minutes. You’ll know it’s ready when the edges turn a beautiful golden brown and the center of the crust appears set and firm to the touch.
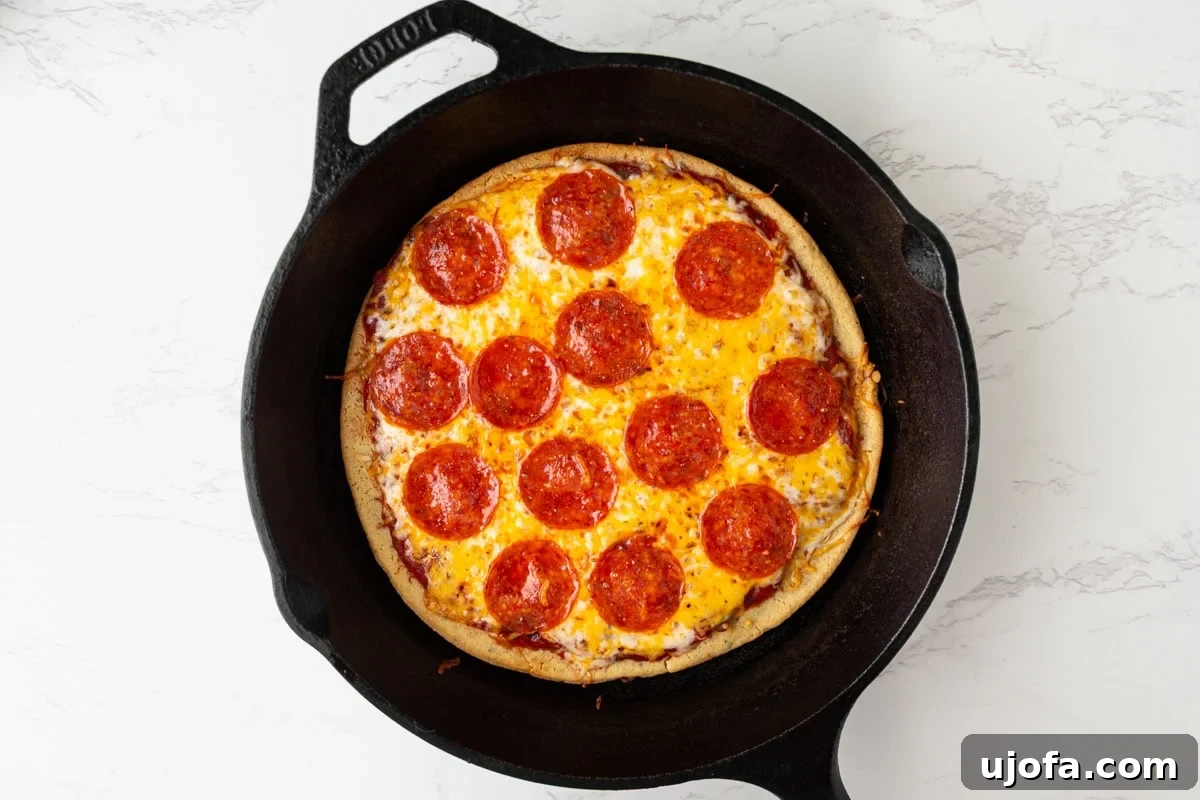
Step 8: Top and Finish Baking. Once the crust is partially baked, carefully remove the skillet from the oven. Now it’s time to add your favorite pizza toppings. Spread a thin layer of sauce, sprinkle with cheese, and add any other cooked meats or veggies you desire. Return the topped pizza to the oven for an additional 15 minutes, or until all your toppings are fully cooked, the cheese is wonderfully melted and bubbly, and the crust has reached its final crispness.
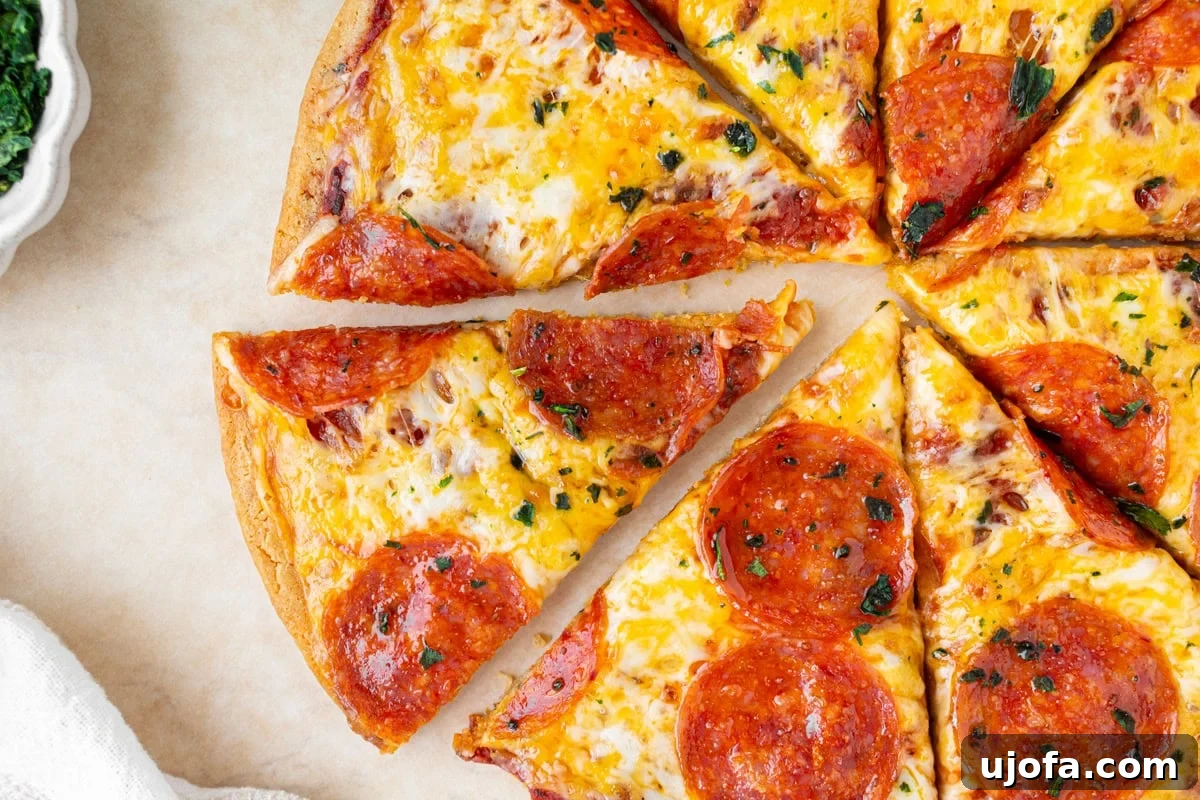
Step 9: Serve and Enjoy. With care, remove the finished pizza from the cast-iron skillet. It should slide out easily if the pan was properly oiled and preheated. Transfer it to a cutting board, slice into wedges, and serve immediately. Enjoy your homemade, high-protein, gluten-free chickpea pizza!
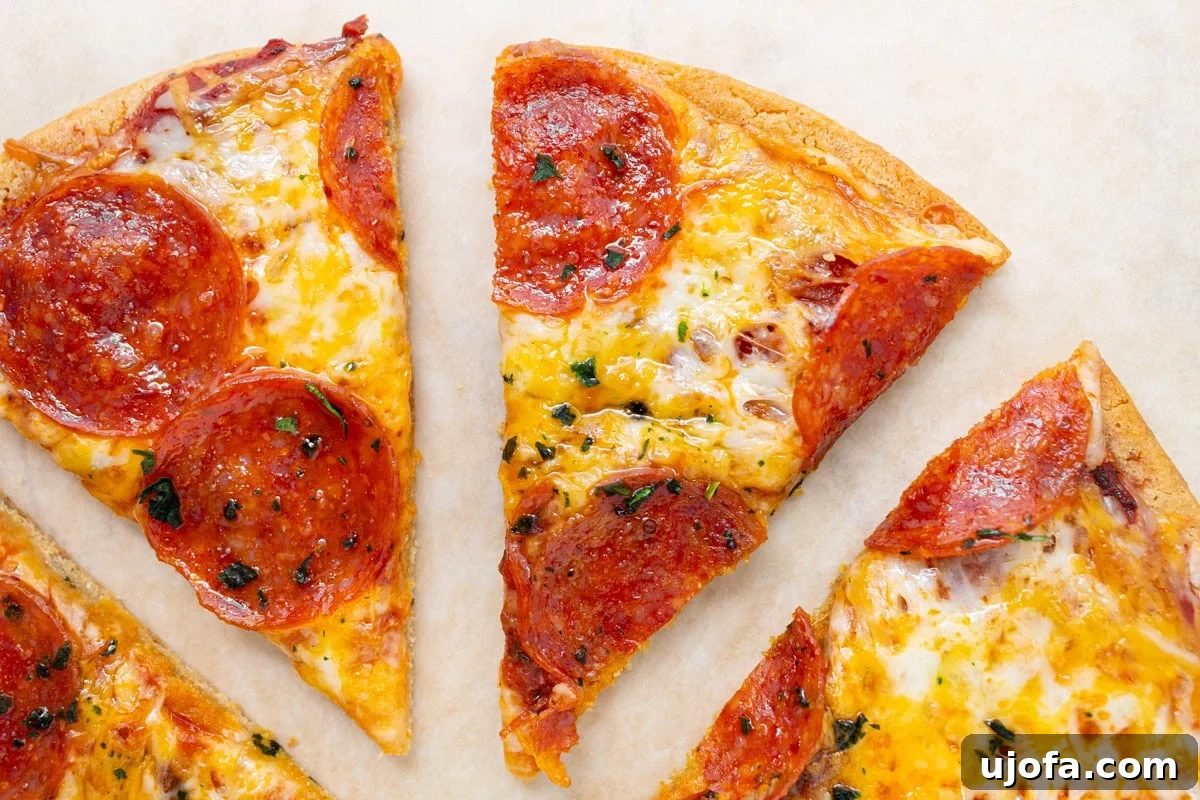
Creative Topping Ideas for Your Chickpea Pizza
The beauty of this chickpea pizza crust lies in its versatility. It provides a robust, flavorful canvas for countless topping combinations. Here are some ideas to spark your culinary creativity:
- Creamy White Pizza: Ditch the traditional red sauce and opt for a rich dairy-free alfredo sauce. Top it with a generous amount of sautéed mushrooms, fresh spinach, and tender roasted garlic for an indulgent and aromatic white pizza. A sprinkle of fresh parsley after baking adds a touch of color and freshness.
- Protein Powerhouse: For those looking to boost their protein intake, this crust pairs wonderfully with various cooked meats. Add crumbled cooked sausage, classic pepperoni slices, savory gluten-free meatballs, or tender shredded chicken. A mix of different proteins can create a hearty and satisfying meal.
- Veggie Extravaganza: Keep it light, fresh, and bursting with nutrients by loading up on vegetables. Try roasted zucchini, vibrant bell peppers (red, yellow, or green for color), and thinly sliced onions. Other great additions include cherry tomatoes (halved), artichoke hearts, or black olives. Remember to pre-cook and pat dry any high-moisture vegetables.
- Fresh Herb Finish: Enhance the flavor and aroma of your pizza by adding fresh herbs after it comes out of the oven. Bright fresh basil leaves, peppery arugula, or finely chopped oregano can elevate the taste profile significantly. The residual heat will gently wilt them, releasing their fragrant oils.
- Flavor Boosters: For an extra layer of flavor and a gourmet touch, consider drizzling your finished pizza with a few special ingredients. A touch of chili oil adds a gentle kick, hot honey offers a delightful sweet and spicy contrast, or a balsamic glaze can provide a tangy, sophisticated finish. These small additions can transform a simple pizza into something extraordinary.
Serving Suggestions for Every Occasion
This high-protein chickpea pizza crust is incredibly adaptable, making it perfect for a wide variety of meals and gatherings. I personally adore serving this pizza fresh out of the oven, particularly on casual pizza nights at home, often topped simply with marinara and melted cheese. It creates an instant cozy and comforting meal that everyone loves.
To create a well-rounded meal, it pairs wonderfully with a warm bowl of gluten-free potato soup, offering a comforting contrast of textures and flavors. Alternatively, a crisp, simple green salad with a light vinaigrette makes for a refreshing side, balancing the richness of the pizza without much extra effort. When I’m hosting friends or family, I often slice the pizza into smaller, bite-sized pieces and serve it as an irresistible appetizer. It makes a fantastic accompaniment to other crowd-pleasing finger foods like savory gluten-free pigs in a blanket or flavorful gluten-free chicken wings. Whenever I serve it this way, it always disappears fast, a testament to its widespread appeal!
Whether you’re planning an easy weeknight dinner for the family, hosting a lively game day get-together, celebrating a special family gathering, or simply enjoying a laid-back weekend with friends, this chickpea pizza is one of those recipes that truly shines. Its effortless preparation and delicious outcome make it a reliable choice for any occasion.
Storage and Reheating Instructions
Proper storage and reheating are key to enjoying your chickpea pizza crust leftovers while maintaining its delicious texture.
- Storing Leftovers: Store any leftover chickpea pizza slices in an airtight container in the refrigerator for up to 3 days. Ensure they are completely cooled before transferring them to the container to prevent condensation and sogginess.
- Reheating for Best Texture: To restore the crust’s original crispiness, avoid the microwave! Reheat individual slices in a skillet over medium heat for a few minutes per side until warmed through and crisped again. Alternatively, place slices on a baking sheet and reheat in a 400°F (200°C) oven for about 5-10 minutes, or until the cheese is bubbly and the crust is firm.
- Making the Crust Ahead: If you want to get a head start, you can bake the chickpea crust fully without any toppings. Once baked, let it cool completely to room temperature. Wrap it tightly in plastic wrap, then an additional layer of aluminum foil, and refrigerate for up to 2 days. For longer storage, you can freeze the wrapped crust for up to 1 month. When ready to use, thaw in the refrigerator (if frozen), then proceed with adding toppings and baking as per the recipe instructions for the second bake cycle.
Explore More Gluten-Free Pizza Crusts
If you love experimenting with different gluten-free pizza options, be sure to check out these other fantastic recipes:
- Vegan Pizza
- Crustless Pizza
- Gluten-Free Pizza Dough
- Almond Flour Pizza Crust
- Gluten-Free Pizza Rolls