

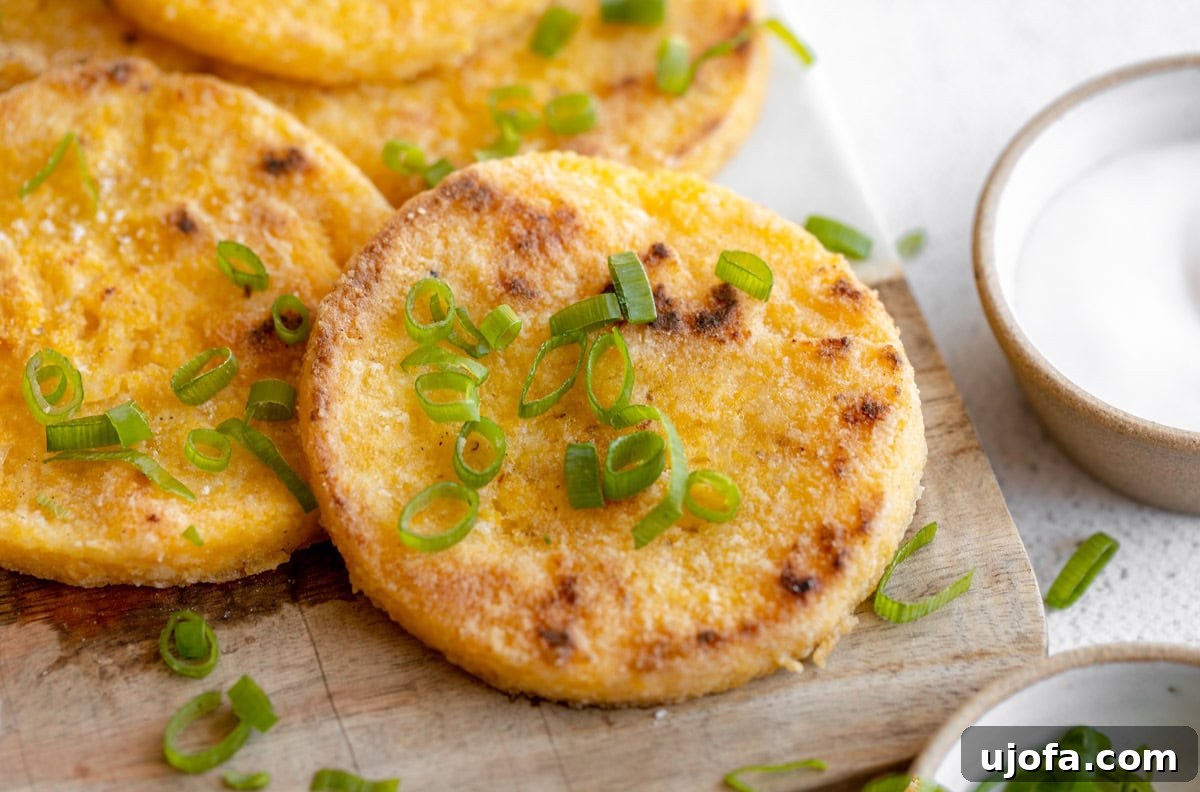
Welcome to a culinary journey that celebrates simplicity, flavor, and dietary inclusivity! My exceptionally easy recipe for grit cakes transforms humble corn grits into irresistibly crispy, deeply savory patties that complement virtually any meal. These golden-brown delights are not only incredibly versatile but also naturally gluten-free, dairy-free, and egg-free, making them a perfect choice for a wide array of dietary needs. Imagine sinking your teeth into a perfectly pan-fried grit cake, golden on the outside and tender on the inside – a truly comforting experience that evokes the warmth of Southern hospitality.
Whether you’re serving them alongside a hearty breakfast spread, as a unique appetizer, or as a comforting side dish for lunch or dinner, these grit cakes are guaranteed to be a hit. My own kids adore them, and I’m confident that your family and friends will cherish them just as much. This recipe proves that incredible flavor and satisfying textures don’t require a long list of ingredients or complicated steps. Let’s dive into creating these delightful, wholesome, and wonderfully adaptable grit cakes!

The Ultimate Guide to Crispy Gluten-Free Grit Cakes
Grit cakes, a beloved staple of Southern cuisine, offer a delightful textural contrast and a subtly sweet corn flavor that makes them an ideal companion to a myriad of dishes. This particular recipe takes the classic Southern grits experience and elevates it into a convenient, pan-fried cake form. Using stone-ground corn grits ensures a richer texture and deeper flavor profile compared to their more processed counterparts. For those managing a gluten-free diet, like myself, these savory cakes are a dream come true, providing a fulfilling and naturally compliant option.
The inclusion of a touch of gluten-free all-purpose flour is key to achieving that perfect binding and a wonderfully crisp exterior when pan-fried. This simple addition helps these easy cakes hold their shape beautifully, transforming them from a creamy porridge into firm, sliceable, and fry-able patties. They’re the quintessential accompaniment to any Southern-style meal, from shrimp and grits (reimagined!) to fried chicken or a simple plate of eggs and bacon. Follow my comprehensive recipe notes and step-by-step guidance to effortlessly create these delicious, golden-brown grit cakes right in your own kitchen.
Understanding Grits: A Southern Staple
Before we delve into making these fantastic cakes, let’s appreciate the star ingredient: grits. Grits are a traditional dish made from coarsely ground corn kernels, a culinary cornerstone in the American South. The types of corn typically used for grits are often less sweet and starchier than those found in cornmeal or polenta, contributing to their distinct flavor and texture.
The Different Types of Grits:
- Stone-Ground Grits: These are the most traditional and flavorful. Made from whole dried corn kernels that have been coarsely ground between two stones, they retain more of the corn’s natural nutrients, flavor, and texture. Stone-ground grits require longer cooking times but reward you with a robust, wholesome taste and a satisfyingly chewy consistency that is ideal for forming into cakes.
- Quick-Cooking Grits: These grits are processed to reduce cooking time. The corn kernels are typically degerminated (the germ is removed) and then broken into smaller pieces. While convenient, they offer a less complex flavor and a finer texture than stone-ground varieties. They can still be used for grit cakes, but adjust cooking times as noted in our tips.
- Instant Grits: The most processed form, these are pre-cooked, dried, and then ground. They cook almost instantly by adding hot water, but their texture and flavor are significantly diminished. For the best grit cakes, stick to stone-ground or quick-cooking.
- Hominy Grits: Sometimes, grits are made from hominy – corn kernels that have been treated with an alkali process (nixtamalization) to remove the hull and germ. This process enhances the corn’s nutritional value and creates a unique earthy flavor. While not as common for cakes as regular corn grits, they can be used for an interesting variation.
The history of grits dates back centuries to Native American culinary traditions, particularly among the Muskogee tribe, who ground corn using a stone mill. This tradition was adopted and adapted by early European settlers, and grits soon became a fundamental part of Southern food culture, evolving from a simple porridge to a versatile ingredient in various dishes, including the beloved grit cake.
Essential Ingredients for Perfect Grit Cakes
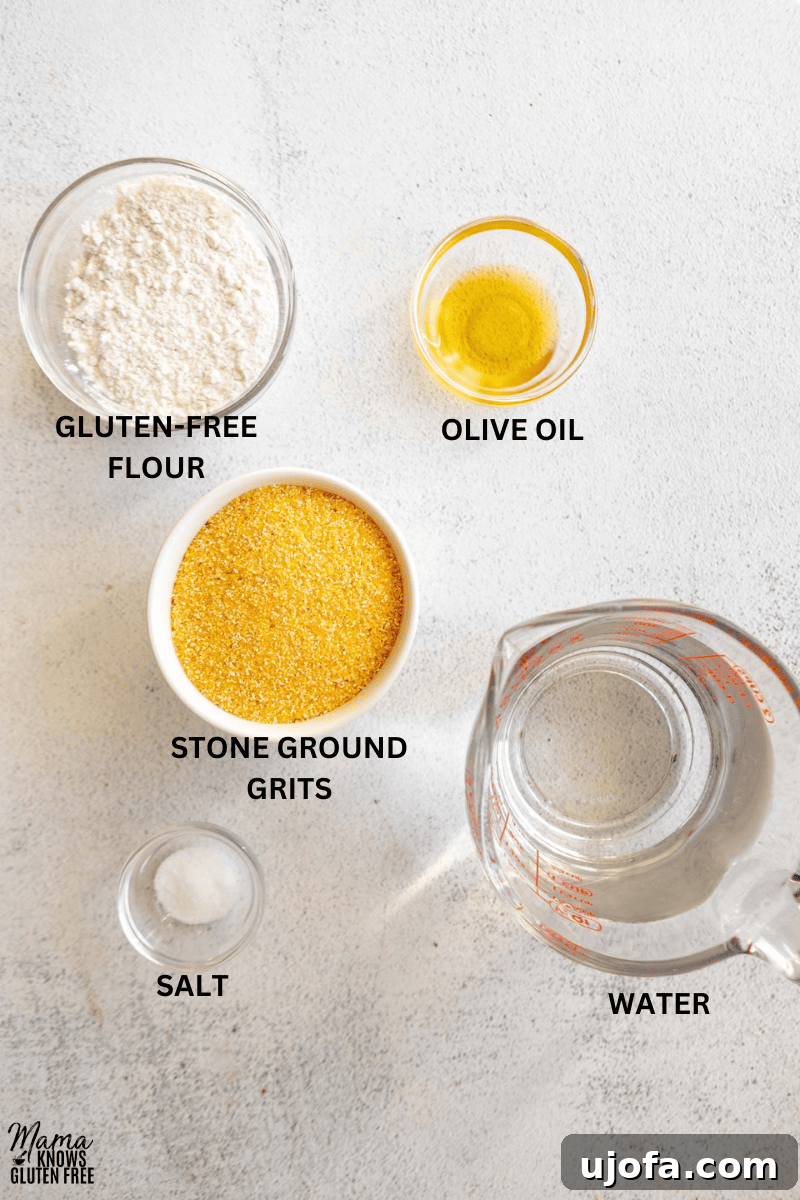
Our delicious grit cakes require just five core ingredients, each playing a crucial role in developing their exceptional taste and texture. High-quality ingredients are key, especially when the list is so short!
- Water: The foundation for cooking our grits. It provides the necessary moisture to soften the corn kernels and binds the ingredients together during the initial cooking phase. Using the correct water-to-grit ratio is essential for achieving the right consistency before chilling.
- Salt: A fundamental flavor enhancer that brings out the natural sweetness of the corn and balances the overall taste. Don’t skip it, as it transforms bland grits into something truly delicious.
- Stone Ground Grits: The star of the show. Made from whole corn kernels, these grits offer a superior texture and richer flavor. They contain more vitamins and minerals compared to heavily processed versions, providing a wholesome base for our cakes. Their coarser grind creates a more satisfying chew and helps the cakes hold together better.
- Gluten-Free All-Purpose Flour: This is our secret weapon for achieving that coveted crispy crust. After the grits are chilled and shaped, a light coating of gluten-free flour provides a barrier that crisps beautifully when pan-fried. I highly recommend using a reputable blend like Pillsbury Gluten-Free or Better Batter gluten-free flour for reliable results. These blends are formulated to perform well in various recipes, ensuring your grit cakes are perfectly coated without becoming gummy.
- Olive Oil: Essential for pan-frying our grit cakes to a golden, irresistible perfection. Olive oil imparts a lovely flavor and helps create that desirable crispy exterior, preventing the cakes from sticking to the pan. A good quality extra virgin olive oil can even add a subtle fruity note.
Mastering the Art of Grit Cakes: Tips, Variations, and Troubleshooting
Achieving perfect grit cakes is simple with a few key tips and considerations. Here’s how you can customize and perfect your batch:
- Cooking with Quick-Cooking Grits: While stone-ground grits are recommended for their superior texture and flavor, you can certainly use quick-cooking grits if that’s what you have on hand. The main difference will be the cooking time for the initial porridge. To use quick-cooking grits, bring the water to a boil, then reduce the heat to low and simmer for approximately 5-7 minutes, or until all the water has been absorbed and the grits are creamy and thick. Always refer to package instructions for the most accurate cooking times.
- For Added Cheesiness: To create an incredibly indulgent and flavorful version, add 1 cup of shredded sharp cheddar cheese (or your favorite cheese!) to the cooked grits immediately after removing them from the heat and before spreading them out on the pan. The residual heat will melt the cheese, incorporating a rich, savory depth into your grit cakes. My family absolutely adores this cheesy variation, especially for breakfast or as a hearty side.
- Shaping Without a Cookie Cutter: Don’t have a round cookie cutter? No problem! Once your chilled grits are firm, simply use a sharp knife to cut them into neat squares, rectangles, or even triangles. The shape doesn’t affect the taste, only the presentation. Ensure your knife is clean and lightly oiled to prevent sticking for smooth cuts.
- Temperature Control During Frying: It’s crucial not to go over medium heat when pan-frying your grit cakes. Frying them at too high a temperature can lead to quickly burned exteriors while the insides remain less warmed through. Medium heat ensures a beautifully golden-brown crust and a perfectly heated interior without scorching. Be patient; good things take a little time!
- Seasoning Variations: Feel free to experiment with seasonings! A pinch of black pepper, a dash of garlic powder, or even a hint of cayenne pepper can add extra layers of flavor to your grit cakes. For a fresh touch, finely chopped chives or green onions can be folded into the cooked grits before chilling.
- Troubleshooting Sticky Grits: If your grits are too sticky to handle after chilling, you might need to add a bit more gluten-free flour during the dredging step. A light dusting on your hands and cutting surface can also help.
- Ensuring Crispiness: For maximum crispiness, make sure your olive oil is adequately heated before adding the grit cakes, but not smoking. Also, avoid overcrowding the pan, as this can lower the oil temperature and lead to steaming rather than frying, resulting in less crispy cakes. Fry in batches if necessary.
How to Prepare Your Easy Grit Cakes: Step-by-Step Guide
Follow these detailed instructions to create perfectly crispy, savory grit cakes that will impress everyone at your table.
-
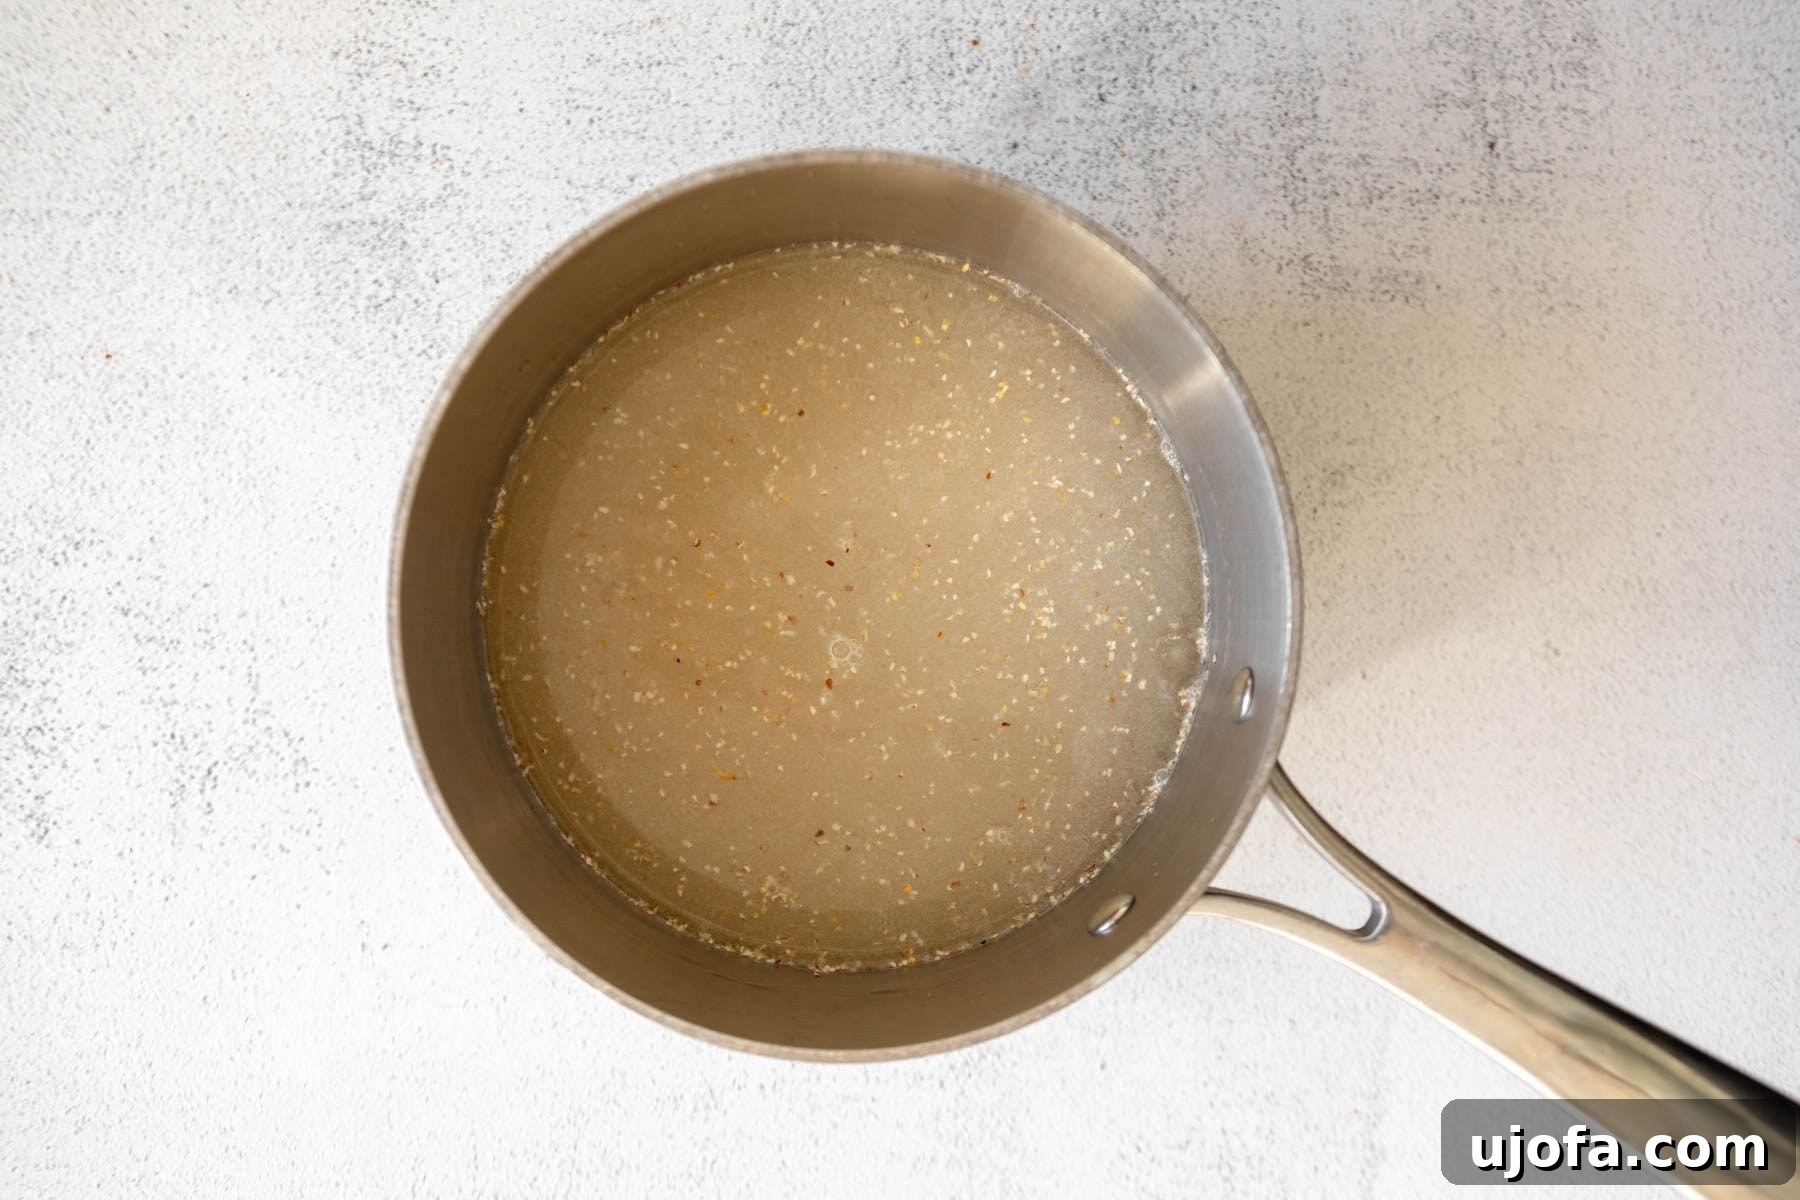
Cook the Grits: In a medium-sized pot, combine 4 cups of water, ½ teaspoon of salt, and 1 cup of stone-ground grits. Bring the mixture to a rolling boil over medium-high heat, stirring occasionally to prevent sticking. Once boiling, reduce the heat to low, cover the pot tightly, and let the grits simmer gently.

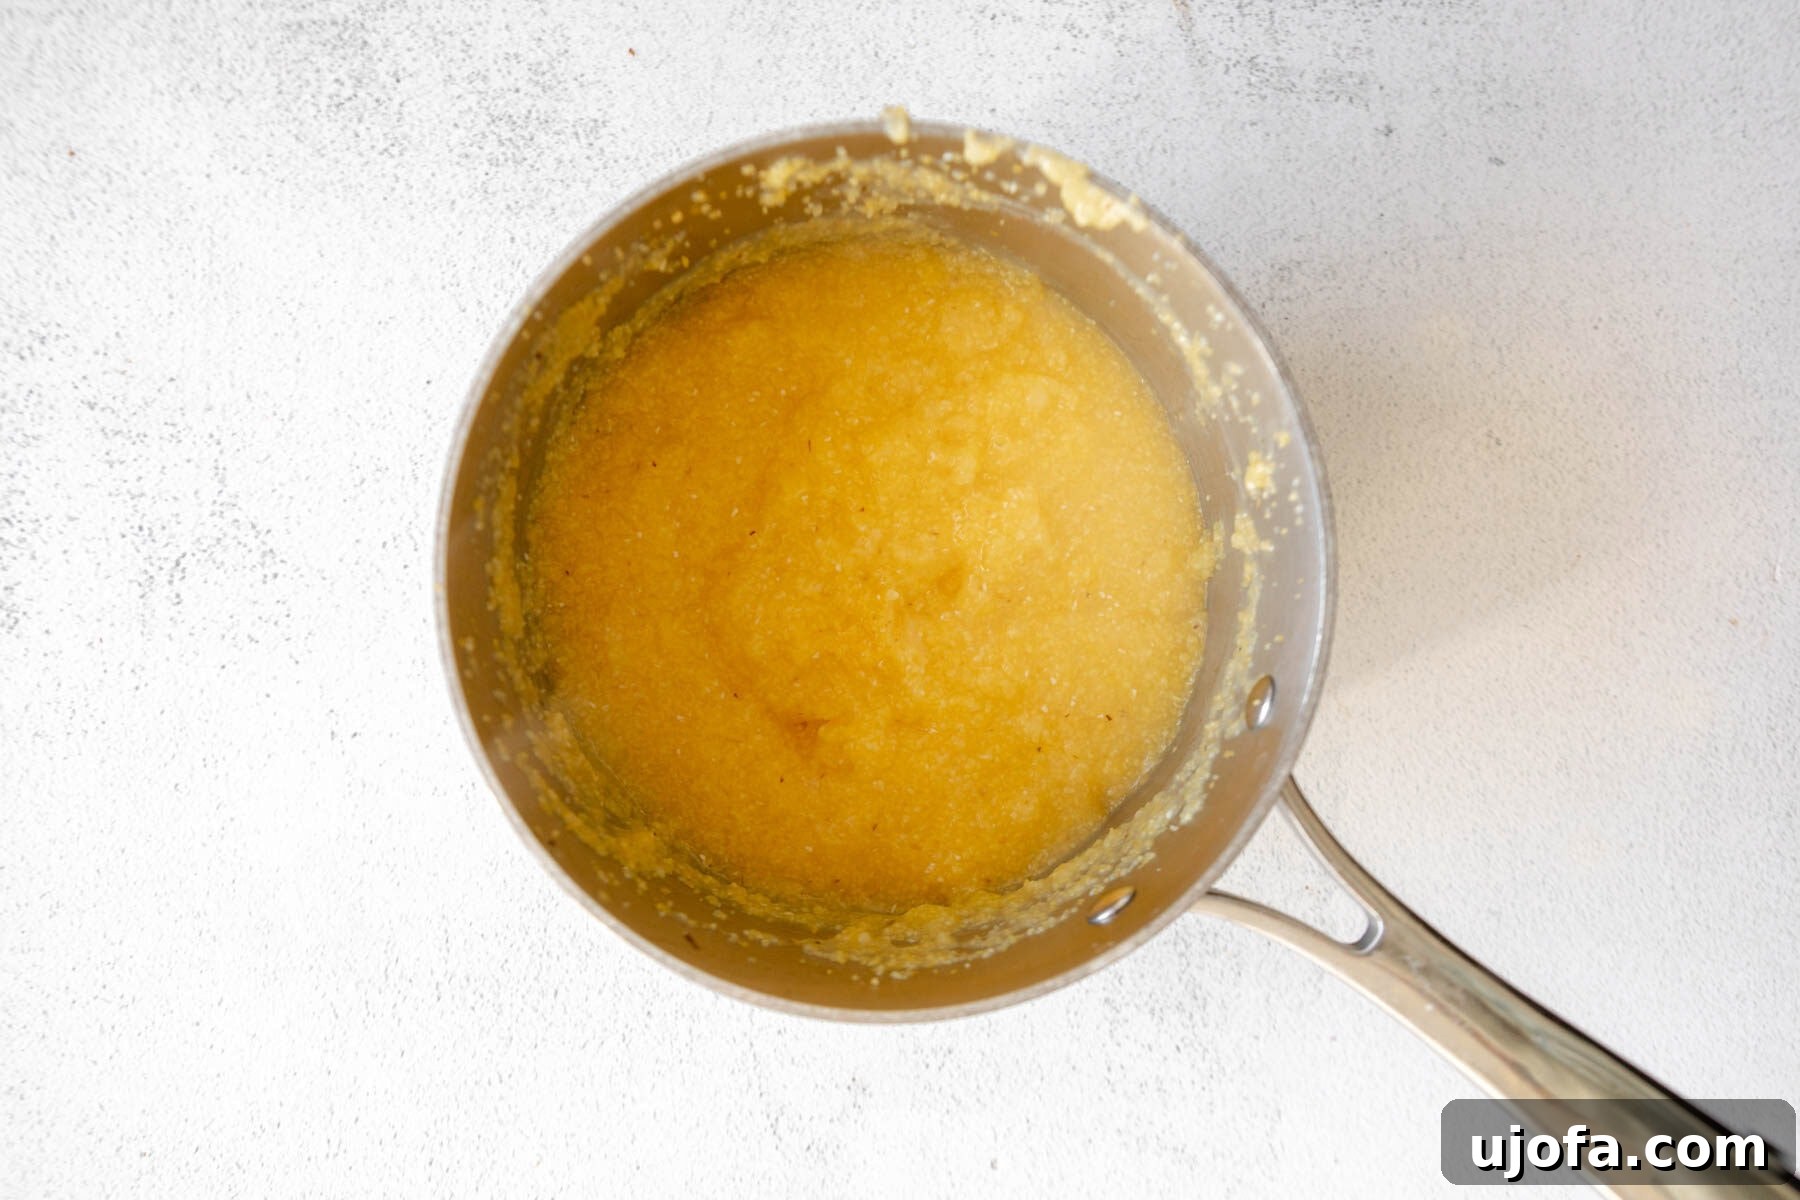
Continue to simmer for about 15-20 minutes, or until all the water has been completely absorbed and the grits have thickened into a creamy, pourable consistency. Stir occasionally during simmering to prevent lumps and ensure even cooking.
-
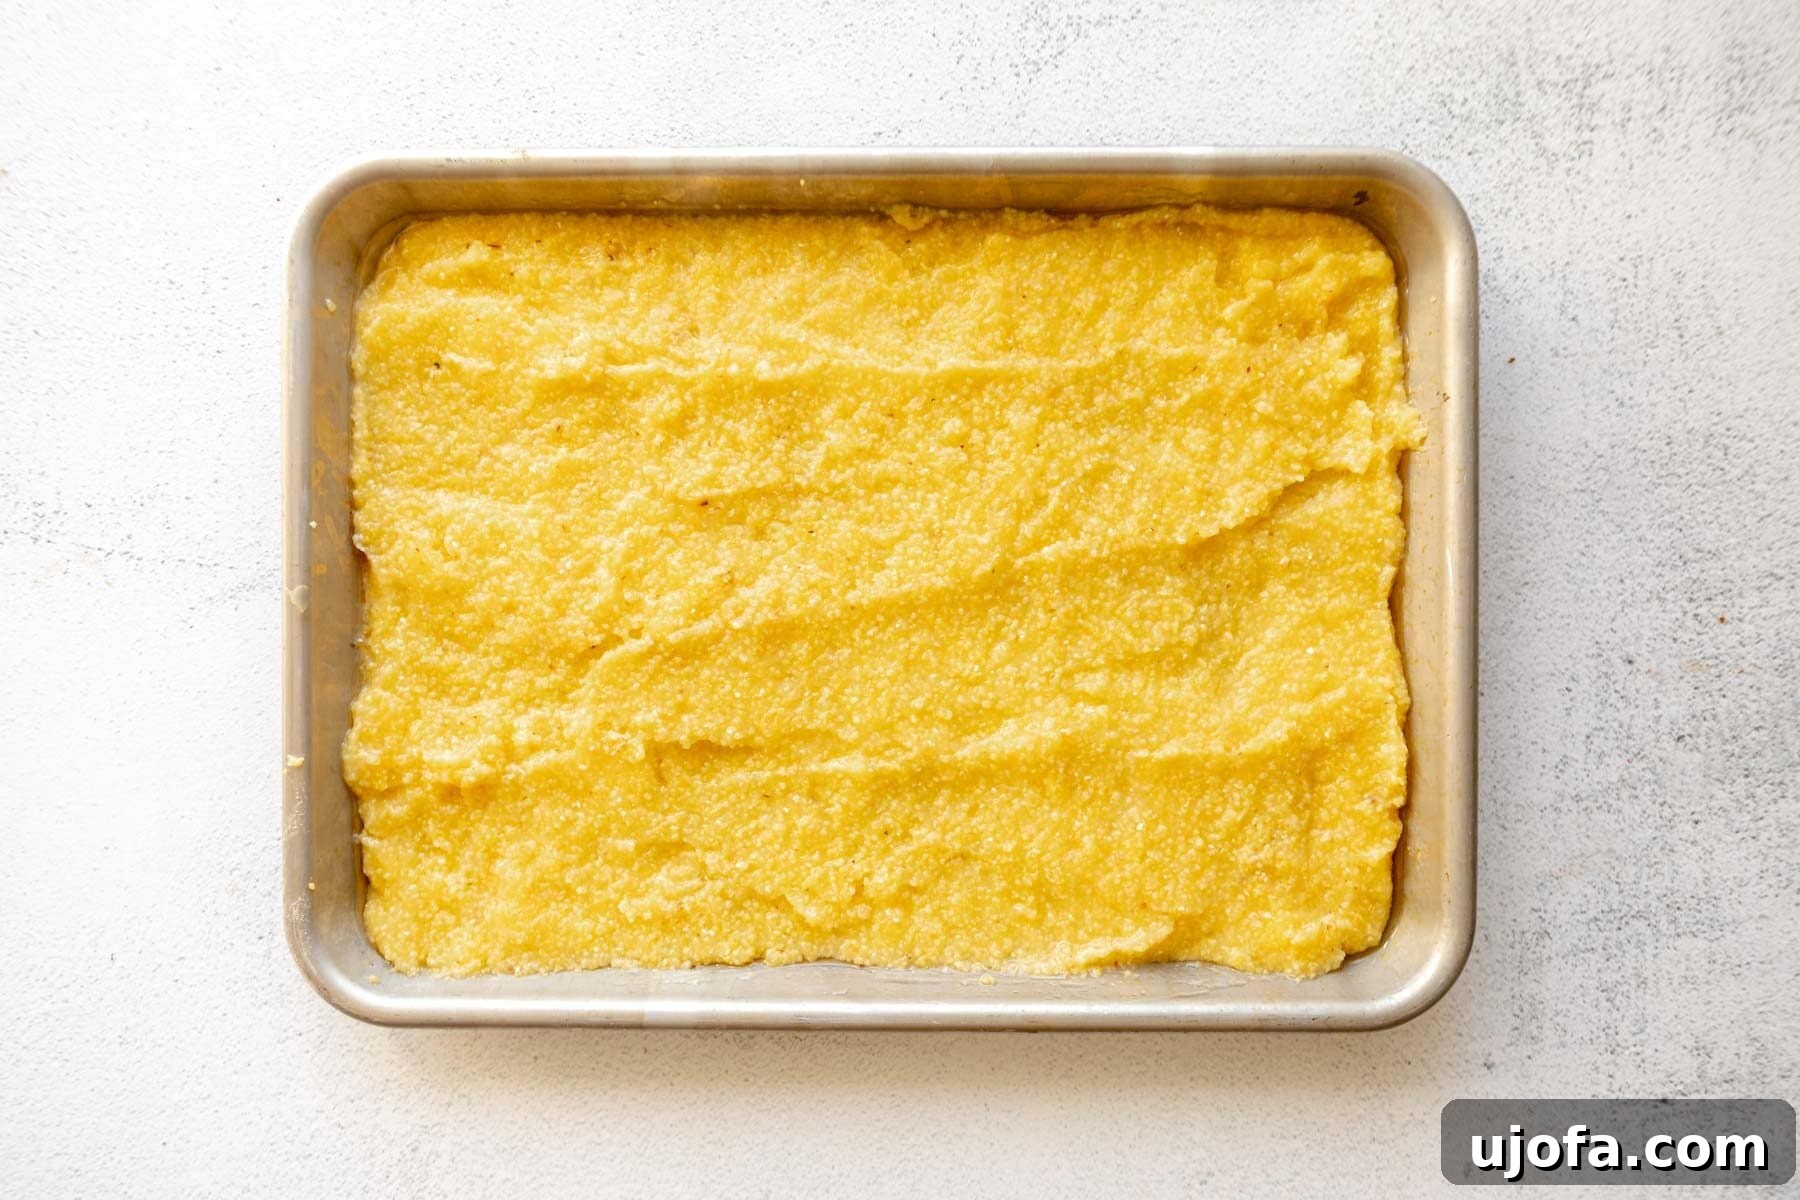
Chill the Grits: Lightly grease a 9×12-inch baking pan or baking sheet with a small amount of oil. Carefully pour the hot, cooked grits onto the prepared pan, spreading them out evenly to a uniform thickness, typically about ½ to ¾ inch thick. Use a spatula or the back of a spoon to smooth the top surface. Once spread, place the pan in the refrigerator and allow the grits to chill for at least 1 hour. This crucial step allows the grits to firm up completely, making them easy to cut and handle without falling apart.
-
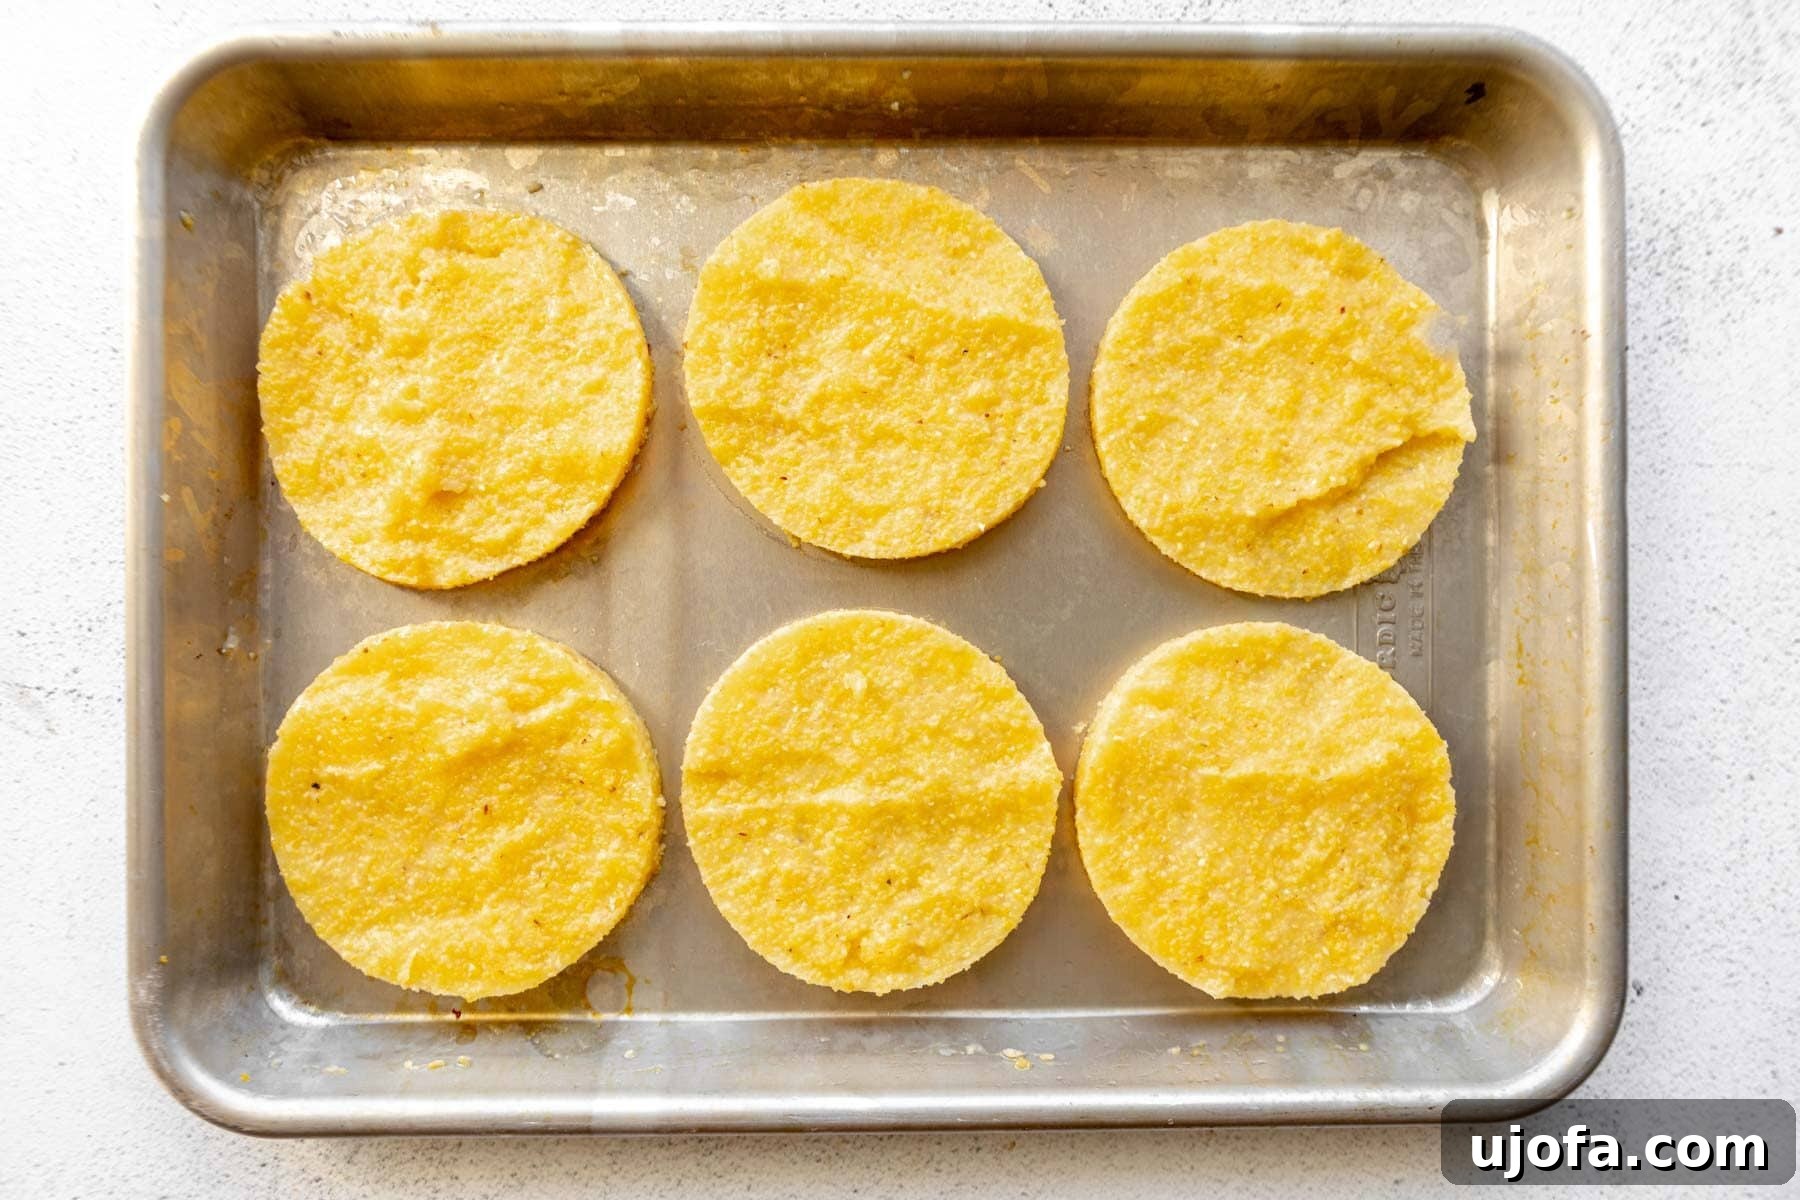
Cut the Cakes: Once the grits are thoroughly chilled and firm, remove the pan from the refrigerator. Use a round cookie cutter (or a sharp knife for squares) to cut the grits into individual cake shapes. Gently lift each shaped cake from the pan.
-
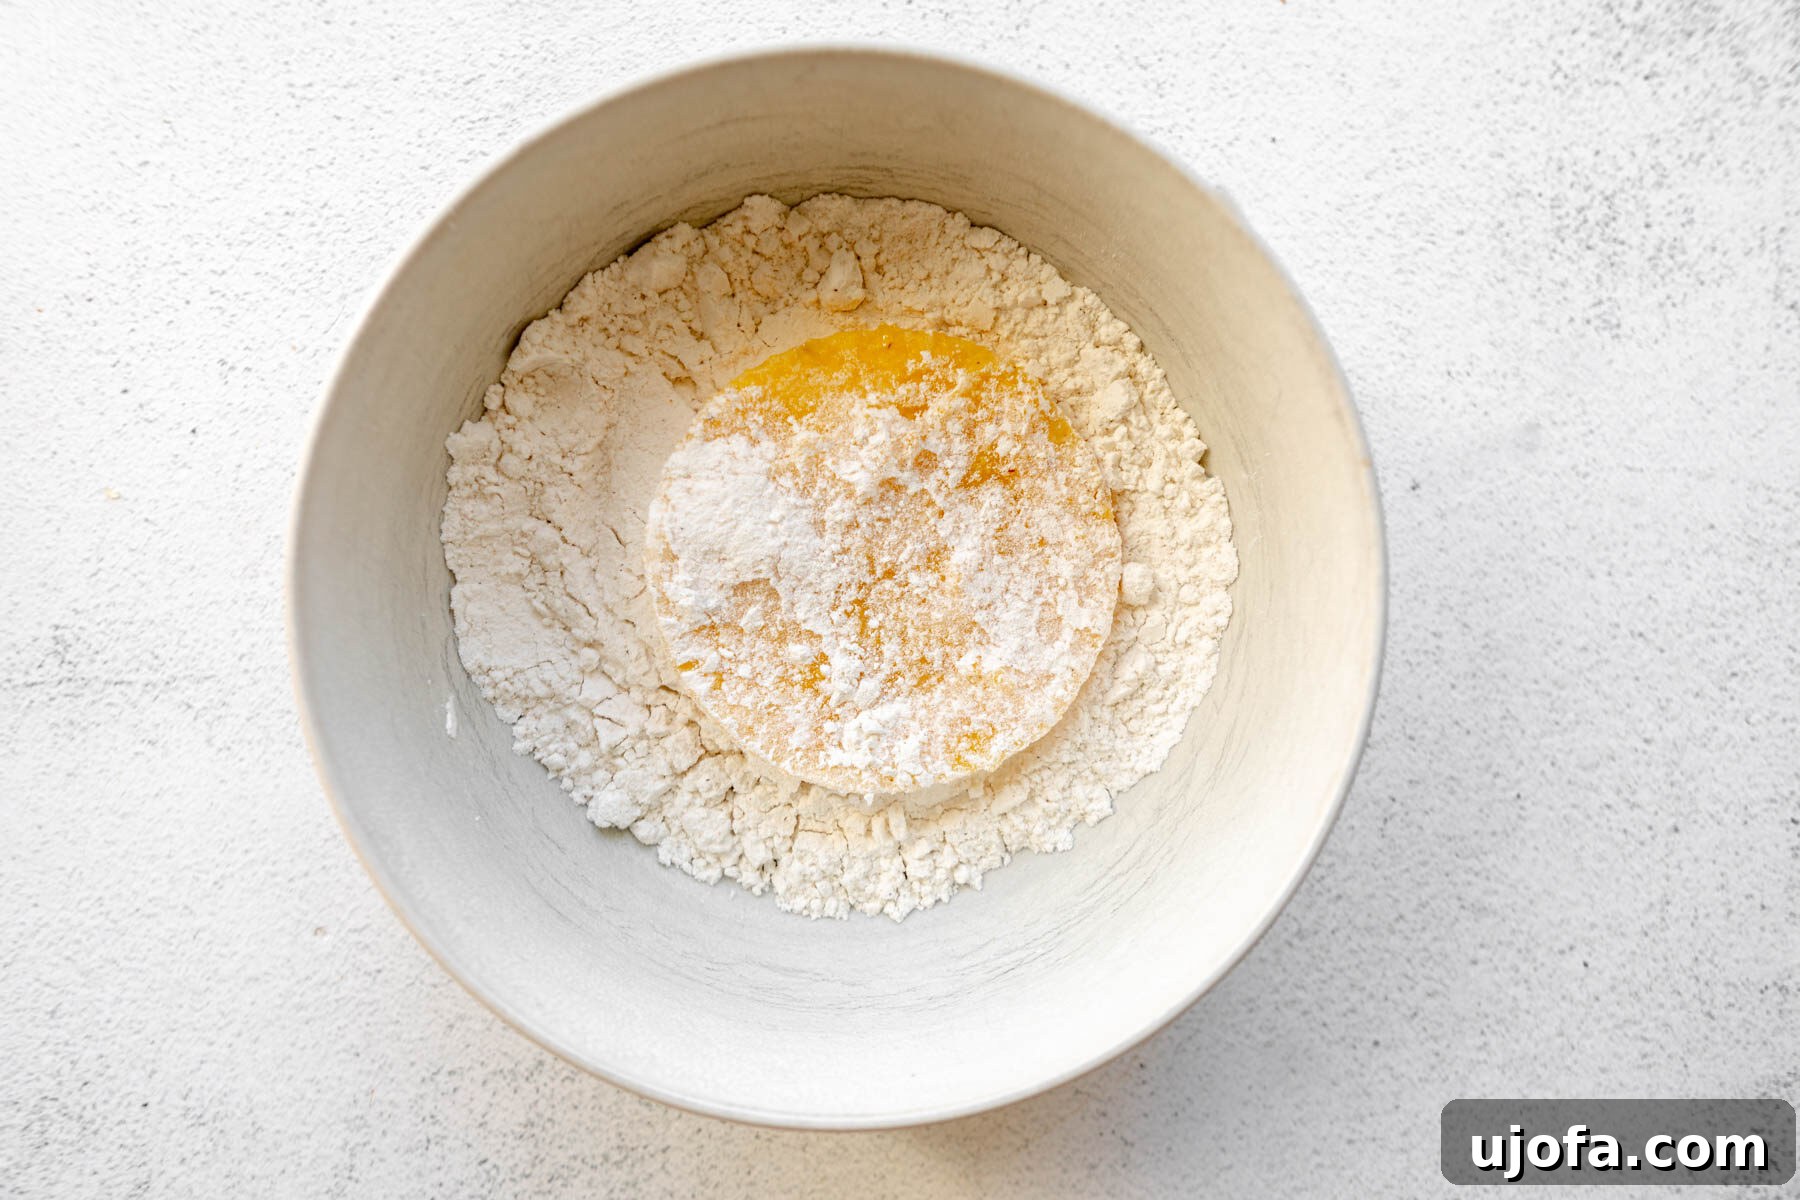
Flour and Coat: Pour ½ cup of gluten-free all-purpose flour into a shallow bowl. Take each grit cake and dip it into the flour, ensuring both sides are thoroughly coated. Gently pat off any excess flour. This coating is what will give your grit cakes their wonderfully crispy exterior.
-
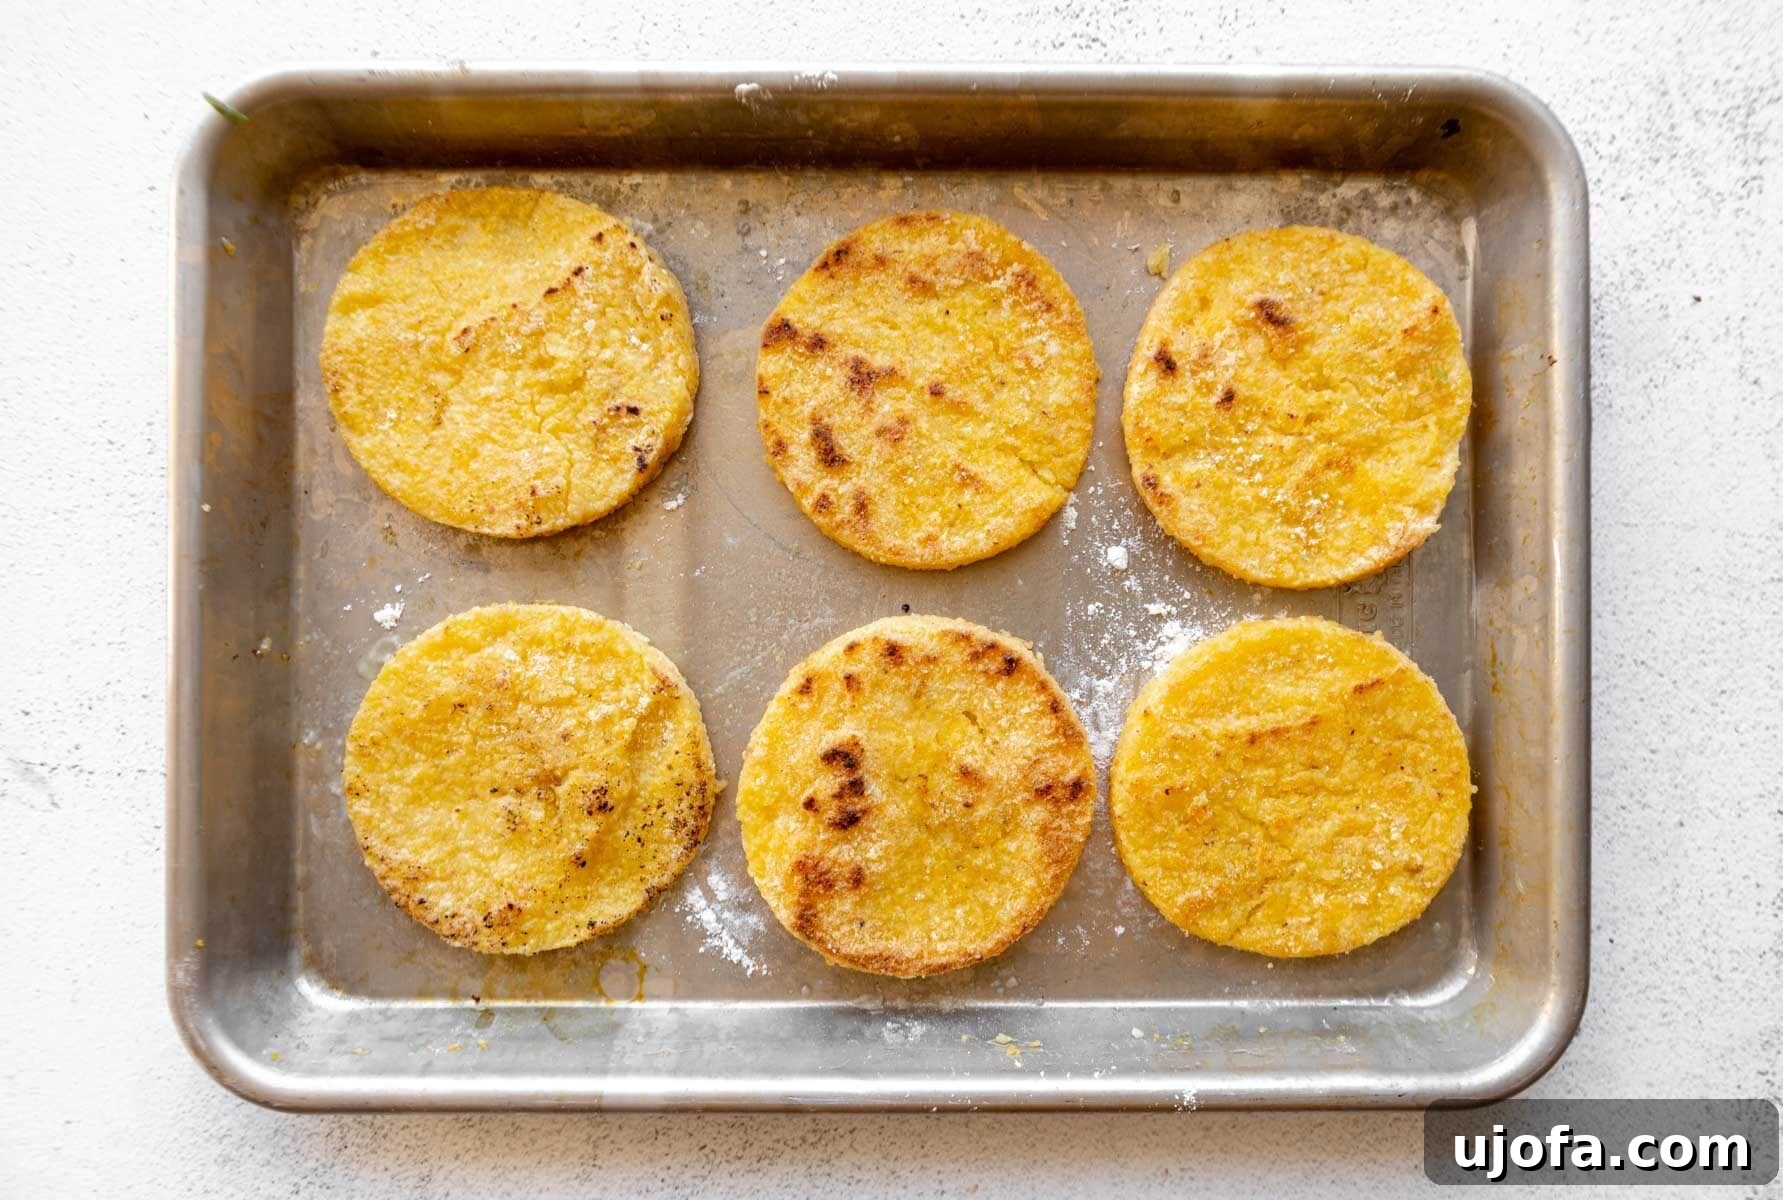
Pan-Fry to Perfection: Heat 2 tablespoons of olive oil in a large skillet or frying pan over medium heat. Once the oil is warm and shimmering (but not smoking), carefully place the coated grit cakes into the pan in a single layer, ensuring not to overcrowd them.
Fry each cake for approximately 1-2 minutes per side, or until they turn beautifully golden brown and develop a wonderfully crispy crust. Remove the fried grit cakes from the pan and place them on a plate lined with paper towels to absorb any excess oil. Serve immediately and enjoy!
Grit Cakes Recipe
These easy grit cakes utilize just 5 simple ingredients to transform classic grits into crispy, golden-brown perfection, perfect as a versatile side dish or breakfast item.
Servings: 4
Prep: 10 mins
Cook: 30 mins
Chill Time: 1 hr
Total: 1 hr 40 mins

Share by Email
Print Recipe
Ingredients
- 4 cups water
- ½ teaspoon salt
- 1 cup stone ground grits
- ½ cup gluten-free all-purpose flour
- 2 tablespoons olive oil, for frying
Instructions
- Combine the water, salt, and stone ground grits in a medium pot.
- Bring to a boil and then cover and simmer until the water is absorbed, about 15-20 minutes.
- Grease a 9×12-inch pan or baking sheet with oil and then pour the cooked grits on top.
- Smooth the top out, then set in the fridge to chill for 1 hour.
- Cut with a round cookie cutter.
- Dip each cake in a bowl with the gluten-free flour and flip to cover.
- Heat the oil in a pan and once warm, fry each cake on each side for about 1-2 minutes or until golden.
Notes
- To Store: Store in an air-tight container in the refrigerator for up to 5 days.
- To Freeze: Wrap each cake in plastic wrap and freeze for up to 3 months.
- Mama says, “Make sure to always check your labels!”
Nutrition
Serving: 1 grit cake
Calories: 257 kcal
Carbohydrates: 42 g
Protein: 5 g
Fat: 8 g
Saturated Fat: 1 g
Polyunsaturated Fat: 1 g
Monounsaturated Fat: 5 g
Sodium: 303 mg
Potassium: 54 mg
Fiber: 2 g
Sugar: 1 g
Vitamin A: 83 IU
Calcium: 18 mg
Iron: 1 mg
Nutrition information is automatically calculated and should only be used as an approximation.
Additional Info
Course: Side Dish
Cuisine: American
Tried this recipe?
Mention @mamaknowsglutenfree or tag #mamaknowsglutenfree!
Serving Suggestions: Elevate Your Grit Cakes
The beauty of these crispy grit cakes lies in their incredible versatility. While delicious on their own, they truly shine when paired with other dishes. Here are some ideas to make them a star at any meal:
- Breakfast Perfection: Serve grit cakes hot alongside classic breakfast fare. They’re excellent with scrambled or fried eggs, crispy bacon, savory sausage, or even a dollop of homemade jam for a sweet and savory contrast. For a truly Southern experience, pair them with a side of collard greens.
- Lunch & Dinner Side: These cakes make a fantastic alternative to traditional mashed potatoes or rice. They pair wonderfully with grilled meats, fried chicken, or baked fish. Imagine them complementing a robust chili or a hearty stew, soaking up all the delicious flavors.
- Shrimp and Grits Remixed: Instead of creamy grits, use these crispy grit cakes as the base for a modern twist on the iconic Southern dish, shrimp and grits. Top them with sautéed shrimp in a rich, spicy sauce for an unforgettable meal.
- Appetizer Elegance: Cut the chilled grits into smaller, bite-sized shapes before frying. Serve them as elegant appetizers topped with a dollop of pimento cheese, a sprinkle of fresh herbs, or a spoonful of savory jam for a party-friendly snack.
- Sauces and Toppings: Elevate your grit cakes with various sauces and toppings. A simple hot sauce adds a kick, while a drizzle of maple syrup can turn them into a sweet treat. Creamy gravy, a sprinkle of sharp cheddar (if not already cheesy), or a fresh tomato relish can also transform their flavor profile.

Leftover Love and Storage Solutions
One of the many benefits of this recipe is how well these grit cakes handle preparation in advance and storage. You can easily make a larger batch and enjoy them throughout the week or save them for a future meal.
- Making with Leftover Grits: Absolutely! This recipe is perfect for utilizing any leftover cooked grits you might have. Simply spread your cooled leftovers evenly on a baking pan and chill them thoroughly in the refrigerator until firm, just as you would with freshly cooked grits. You may find that you need to add a little extra gluten-free all-purpose flour when coating the cakes to achieve the ideal consistency and crispness, as leftover grits can sometimes be a bit softer.
- Baking Instead of Frying: For a lighter option, you can bake these grit cakes in the oven instead of pan-frying. Brush both sides of the shaped cakes generously with olive oil and bake them in a preheated oven at 375°F (190°C) for about 30 minutes, flipping them halfway through to ensure even browning and crispiness on both sides. I’ve successfully baked them many times, and the results are consistently delicious, offering a slightly different texture that is equally satisfying.
- Storage Instructions for Leftovers: Any leftover grit cakes will keep beautifully in an airtight container in the refrigerator for up to 5 days. Ensure they are completely cooled before storing to prevent condensation, which can make them soggy.
- Freezing for Future Enjoyment: For longer storage, grit cakes freeze exceptionally well. Once they are completely cooled, tightly wrap each individual cake in plastic wrap, then place them in a freezer-safe bag or container. They can be stored in the freezer for up to 3 months.
- Reheating Tips: To reheat, you can pan-fry them again in a little olive oil until heated through and crispy, or bake them in a preheated oven at 350°F (175°C) for 10-15 minutes, or until warmed through and crisp. From frozen, you can reheat them directly in the oven (increase baking time as needed) or thaw them in the refrigerator overnight before reheating.
Explore More Gluten-Free Corn Delights!
If you’ve enjoyed these delicious grit cakes, you’ll love exploring other fantastic gluten-free recipes featuring corn. Corn is a wonderfully versatile ingredient that forms the basis of many beloved dishes. Expand your gluten-free culinary repertoire with these other mouth-watering options:
- Gluten-Free Tortillas: Perfect for tacos, burritos, or wraps.
- Gluten-Free Sweet Cornbread: A classic comfort food, ideal with soups and stews.
- Gluten-Free Corn Casserole: A creamy, cheesy, and incredibly easy side dish.
- Gluten-Free Corn Dogs: A fun and nostalgic treat for all ages.
Enjoy these gluten-free corn-based recipes that bring flavor and joy to your table without compromise!