
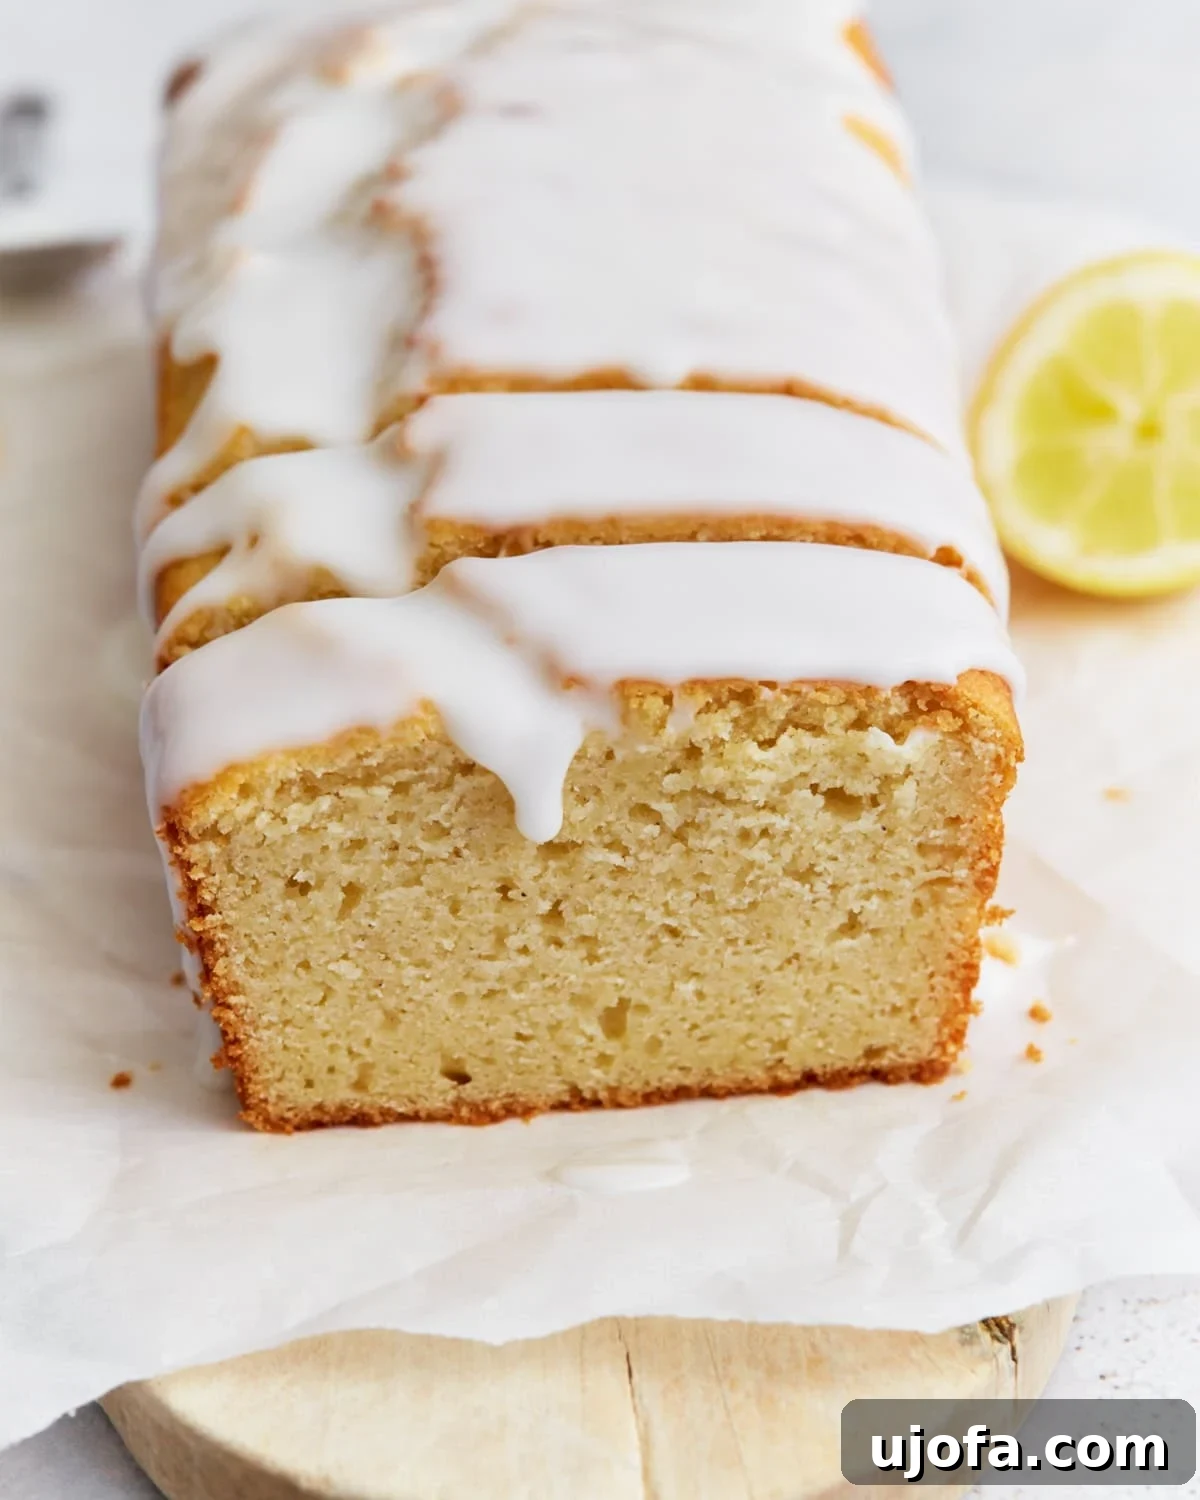
Welcome to your new favorite gluten-free indulgence: the irresistibly delicious Iced Lemon Loaf. For many, the vibrant, zesty flavor of lemon is synonymous with sunshine, joy, and pure culinary delight. This recipe captures all that bright, citrusy goodness in a moist, tender crumb, topped with a sweet-tart glaze that’s utterly captivating. It’s the kind of bakery-style treat you dream about, yet it’s surprisingly simple to create right in your own kitchen using everyday pantry staples. Whether you’re navigating a gluten-free lifestyle, baking for someone who is, or simply appreciate a phenomenal lemon dessert, this loaf promises to be a consistent crowd-pleaser and a beacon of sunshine on any day. Forget those expensive coffee shop versions – this homemade gluten-free iced lemon loaf delivers on taste, texture, and convenience, making it an essential addition to your baking repertoire.
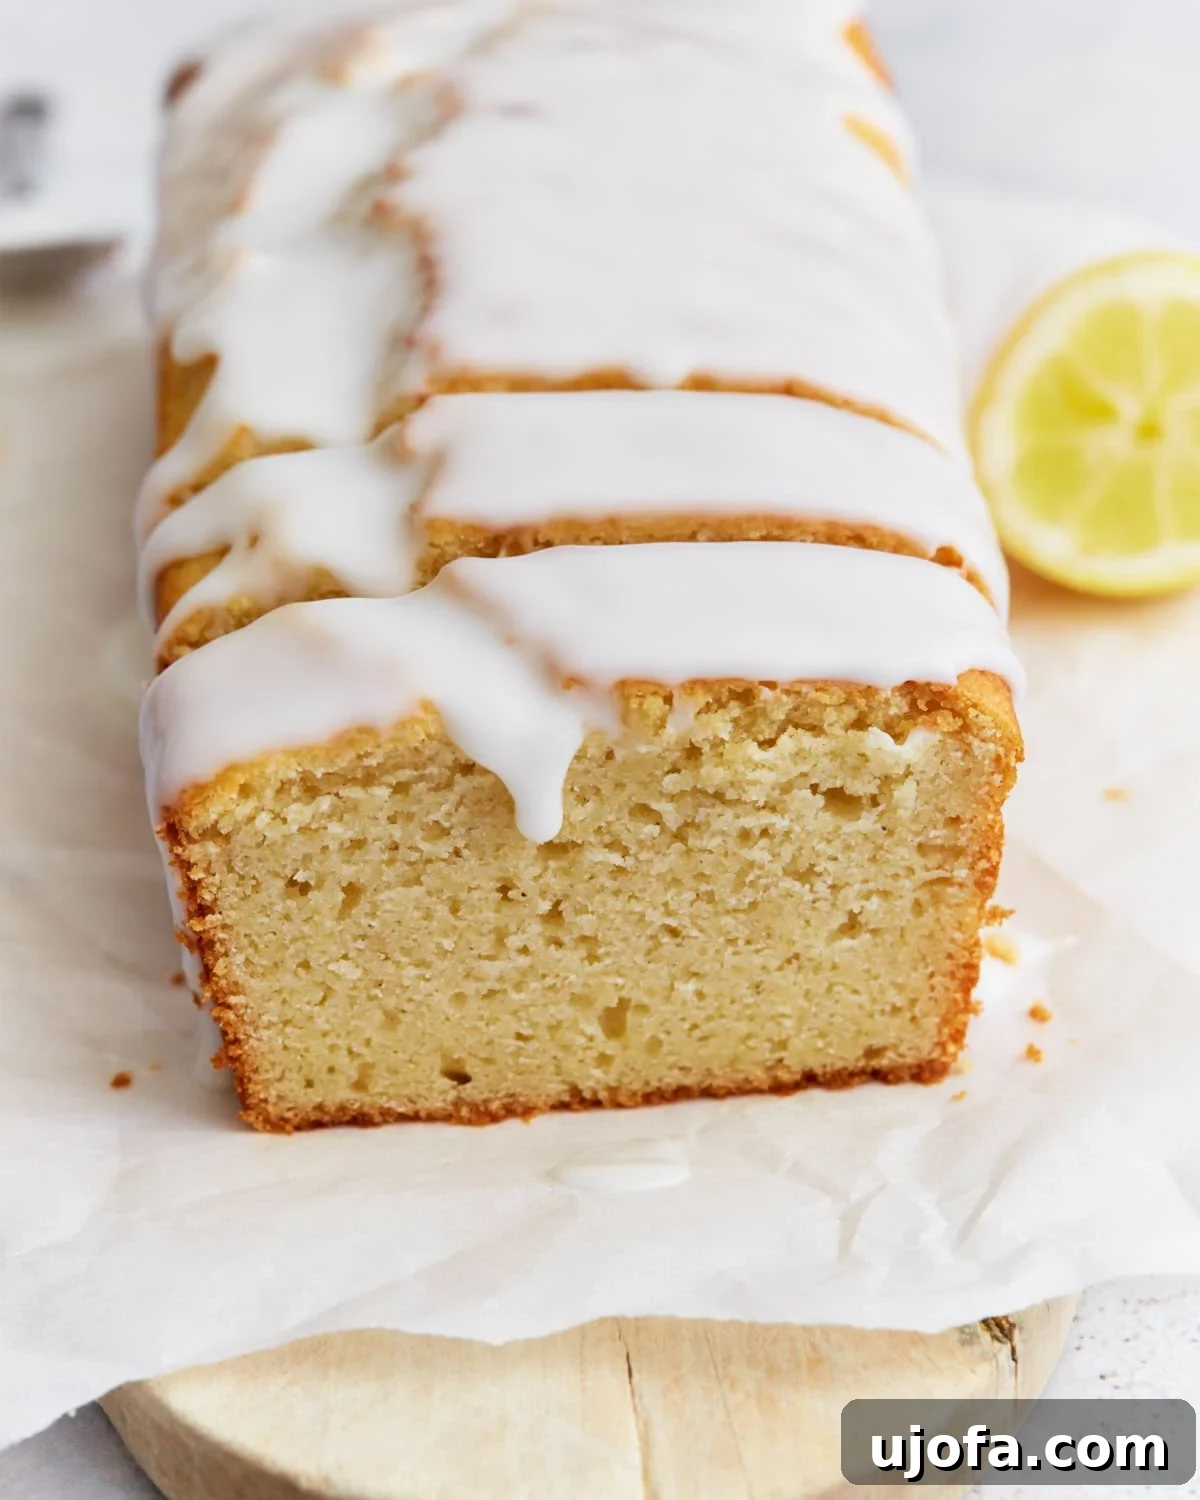
The Ultimate Easy Gluten-Free Iced Lemon Loaf Recipe
There’s something incredibly satisfying about a quick loaf—it offers all the comforting warmth and homemade charm of a cake, but with significantly less fuss. When the craving for something bright, refreshing, and exquisitely moist hits, citrus loaves are my go-to. While my gluten-free cranberry bread often steals the show for its hint of orange, this Gluten-Free Iced Lemon Loaf has a unique ability to capture hearts with its intense lemon flavor and dreamy texture. It’s not just a recipe; it’s an experience. Each slice boasts a soft, velvety crumb infused with real lemon juice and zest, crowned with a perfectly balanced tangy-sweet glaze. What makes this recipe truly stand out is its simplicity: it comes together in a single bowl, uses easily accessible ingredients, and consistently bakes up perfectly every single time. Whether you’re preparing a special spring brunch, crafting a thoughtful homemade gift, or simply seeking a slice of sunshine to brighten your morning coffee, this lemon loaf is guaranteed to impress and delight.
Baking gluten-free doesn’t mean compromising on flavor or texture. In fact, with the right ingredients and techniques, you can achieve results that rival or even surpass traditional baked goods. This particular lemon loaf recipe is a testament to that philosophy. It’s designed to deliver that quintessential bakery-quality experience—the tender crumb that melts in your mouth, the vibrant lemon notes that awaken your senses, and the luxurious glaze that provides the perfect sweet counterpoint. Get ready to embark on a baking adventure that proves gluten-free can be utterly delicious and wonderfully easy.
Gluten-Free Iced Lemon Loaf
By: Sabine Venier
Servings: 10 slices
Prep Time: 15 minutes
Cook Time: 45 minutes
Total Time: 1 hour
Experience the joy of a truly delicious gluten-free iced lemon loaf. With its soft, moist crumb and an irresistible tangy-sweet glaze, this bakery-style treat brings sunshine to every bite. It’s incredibly easy to make with common pantry ingredients and tastes just like your favorite coffee shop version.
Equipment
- 1 (8.5 x 4.5-inch) loaf pan or 9 x 5-inch loaf pan
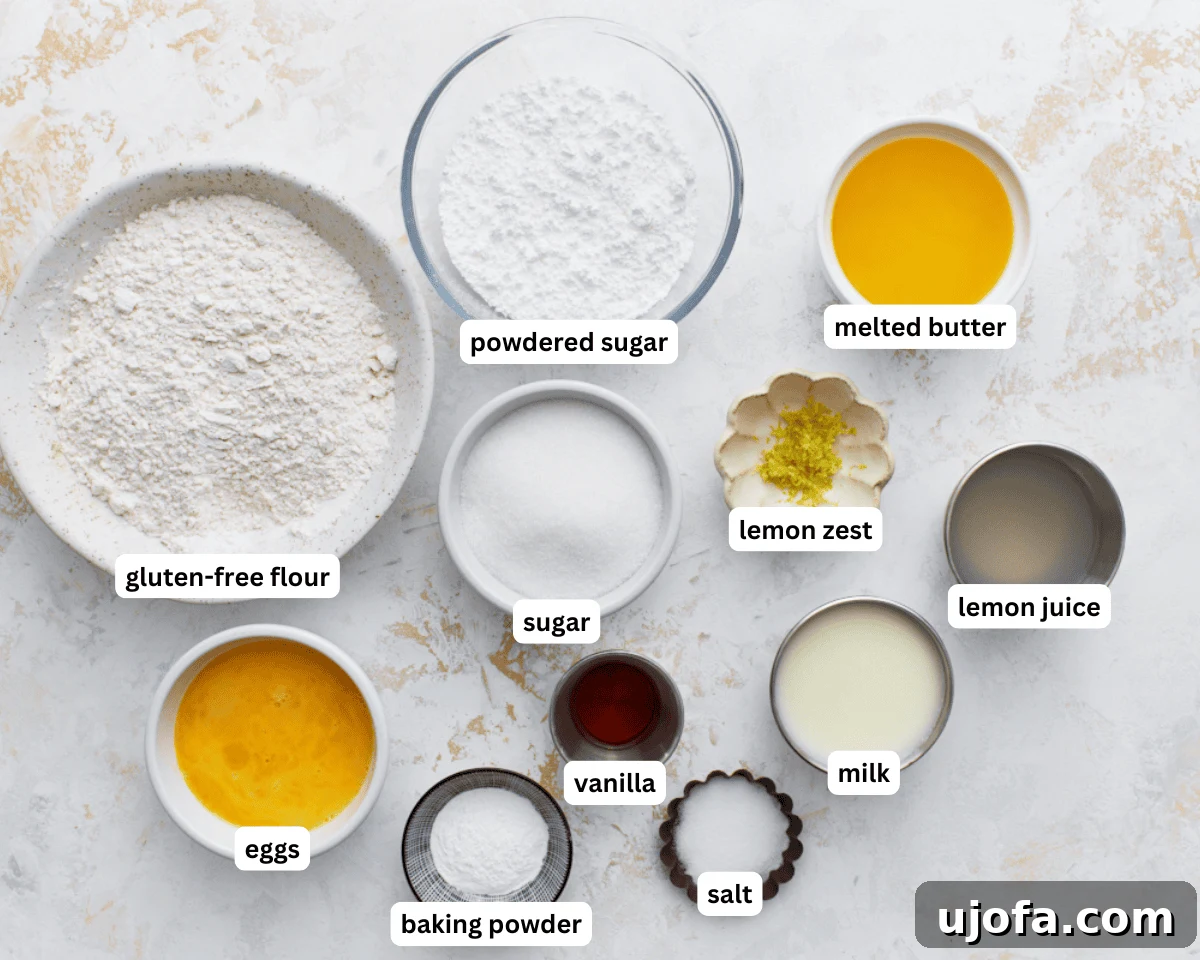
Ingredients
Lemon Loaf
- 1 cup sugar
- 3 large eggs, whisked
- 10 tbsp milk (for dairy-free, use unsweetened almond milk or coconut milk)
- 10 tbsp unsalted butter, melted (sub ghee or Smart Balance butter for a dairy-free option)
- ¼ cup lemon juice, freshly squeezed
- ½ tbsp lemon zest
- 1 tsp vanilla extract
- 1½ cups gluten-free all-purpose flour blend, with xanthan gum (Pillsbury gluten-free flour blend is recommended)
- 2 tsp baking powder
- ¼ tsp salt
Lemon Icing
- 1 cup powdered sugar, sifted
- 1-2 tbsp lemon juice, adjust for desired thickness
- ⅛ tsp salt
Instructions
- Preheat your oven to 350°F (175°C). Prepare your loaf pan by greasing it lightly and lining it with parchment paper, leaving an overhang on the long sides to easily lift the loaf out later.
- In a large mixing bowl, combine the sugar and whisked eggs. Whisk vigorously for about 1 minute until the mixture becomes light, pale yellow, and slightly frothy. This step is crucial for achieving a tender crumb.
- To the egg and sugar mixture, add the milk, melted unsalted butter, freshly squeezed lemon juice, lemon zest, and vanilla extract. Whisk all the wet ingredients together until the mixture is smooth and well-combined. Ensure there are no lumps of butter.
- Add the gluten-free all-purpose flour blend, baking powder, and salt to the wet ingredients. Gradually stir the dry ingredients into the wet mixture using a spatula or a whisk on low speed. Mix until just combined. Be careful not to overmix, as this can lead to a tough loaf. A few small lumps are perfectly fine.
- Pour the prepared batter evenly into your greased and parchment-lined loaf pan. Use a spatula to gently smooth the top of the batter.
- Bake for 45-50 minutes, or until a wooden toothpick inserted into the center of the loaf comes out clean or with only a few moist crumbs attached. The top should be golden brown and spring back when lightly pressed.
- Allow the baked loaf to cool in the pan for 10 minutes. This helps the loaf firm up and prevents it from breaking when removed. After 10 minutes, carefully lift the loaf out of the pan using the parchment paper overhang and transfer it to a wire rack to cool completely. The loaf must be fully cooled before applying the icing.
- While the loaf cools, prepare the lemon icing. In a small bowl, whisk together the sifted powdered sugar, 1 to 2 tablespoons of fresh lemon juice, and a pinch of salt. Start with 1 tablespoon of lemon juice and add more gradually, a half-teaspoon at a time, until you achieve your desired consistency—a smooth, pourable glaze that’s not too thin.
- Once the loaf is completely cool, drizzle the prepared lemon icing generously over the top. Allow the glaze to set for about 15-20 minutes before slicing.
- Slice the glazed lemon loaf into thick, even pieces. Serve immediately and enjoy the delightful flavors!
Notes
- Fresh lemon juice is paramount for the best flavor. Bottled lemon juice often tastes flat and can introduce an overly acidic note that detracts from the bright, natural citrus essence.
- To accurately test if the loaf is done, insert a wooden toothpick or skewer into the very center. It should come out clean, or with only a few moist crumbs clinging to it. Additionally, the top of the loaf should feel firm and spring back when gently touched.
- For a more intense lemon flavor in the loaf itself, you can add an extra ¼ teaspoon of lemon extract if desired, though fresh zest and juice provide ample flavor.
Nutrition
Serving: 1 serving | Calories: 315 kcal | Carbohydrates: 47g | Protein: 4g | Fat: 14g | Saturated Fat: 8g | Polyunsaturated Fat: 1g | Monounsaturated Fat: 4g | Trans Fat: 0.5g | Cholesterol: 81mg | Sodium: 199mg | Potassium: 54mg | Fiber: 2g | Sugar: 33g | Vitamin A: 446IU | Vitamin C: 3mg | Calcium: 89mg | Iron: 1mg
Nutrition information is automatically calculated, so should only be used as an approximation.
Additional Info
Course: Baking, Breakfast, Dessert
Cuisine: American
Why You’ll Adore This Gluten-Free Lemon Loaf
There are countless reasons why this Gluten-Free Iced Lemon Loaf will become a cherished recipe in your kitchen. First and foremost, it effortlessly delivers a taste and texture that defies its gluten-free nature. The crumb is incredibly soft and moist, a common concern for many gluten-free baked goods, thanks to the perfect balance of wet and dry ingredients and the acidity of the lemon. The bright, tangy notes from abundant fresh lemon juice and zest are perfectly complemented by the sweetness of the loaf and the luscious lemon glaze. It’s a symphony of flavors that invigorates the palate with every bite.
Beyond its exceptional taste, the ease of preparation is a major draw. This is a true “one-bowl wonder,” minimizing cleanup and simplifying the baking process, making it ideal for busy weekdays or relaxed weekend baking. You don’t need any fancy equipment or advanced baking skills to achieve professional-looking and tasting results. The ingredients are simple pantry staples, readily available at any grocery store, ensuring that a craving for this delightful treat can be satisfied at a moment’s notice.
Furthermore, this recipe is incredibly versatile. It’s naturally dairy-free friendly with simple substitutions, making it accessible to a wider range of dietary needs without sacrificing flavor. Whether you’re serving it for breakfast, as an afternoon snack, or a light dessert, it fits seamlessly into any occasion. Its sunny disposition makes it especially perfect for spring and summer gatherings, but its comforting qualities ensure it’s a welcome treat year-round. This loaf isn’t just a dessert; it’s a little slice of happiness, a testament to how delicious and straightforward gluten-free baking can truly be.
Ingredients Spotlight for the Perfect Lemon Loaf
Understanding the role of each ingredient is key to successful baking, especially when working with gluten-free flours. Here’s a closer look at what makes this lemon loaf so special:
- Gluten-Free All-Purpose Flour Blend with Xanthan Gum: The foundation of our loaf. Using a high-quality blend that already contains xanthan gum is crucial. Xanthan gum acts as a binder, mimicking the elasticity and structure that gluten provides, ensuring your loaf isn’t crumbly but perfectly tender and holds together beautifully. My personal favorite is Pillsbury gluten-free flour blend, but feel free to use your preferred blend. Consistency can vary between brands, so stick to one you trust.
- Fresh Lemon Juice and Zest: This is where the magic happens! Freshly squeezed lemon juice provides the vibrant tang, while the zest contains essential oils that deliver an intense, aromatic lemon flavor that bottled juice simply cannot replicate. Don’t skip the zest – it’s a powerhouse of flavor!
- Sugar: Provides sweetness, moisture, and helps create that tender crumb by interfering with gluten development (or in our case, mimicking that effect in GF flours).
- Large Eggs: Act as binders, provide structure, add moisture, and contribute to the rich color and texture of the loaf. Whisking them with sugar first helps incorporate air, leading to a lighter loaf.
- Milk (or Dairy-Free Alternative): Adds moisture and richness. Unsweetened almond milk or coconut milk (from a carton, not canned) are excellent dairy-free substitutes that won’t significantly alter the flavor profile.
- Unsalted Butter (or Dairy-Free Alternative): Adds richness, flavor, and contributes to the loaf’s moist texture. Melting it makes for easy incorporation into a one-bowl recipe. For dairy-free, ghee (if dairy-tolerable), or a plant-based butter like Smart Balance or Miyoko’s Kitchen, works wonderfully.
- Vanilla Extract: A touch of vanilla complements the lemon, adding depth and warmth to the overall flavor without overpowering it.
- Baking Powder: The leavening agent that gives the loaf its lift and airy texture. Ensure your baking powder is fresh for optimal results.
- Salt: A pinch of salt balances the sweetness and enhances all the other flavors, particularly the bright lemon notes.
By using these ingredients thoughtfully, we create a gluten-free lemon loaf that is not just edible, but truly exceptional.
How to Make Gluten-Free Iced Lemon Loaf Step by Step
Creating this delightful gluten-free iced lemon loaf is a straightforward process, designed for maximum enjoyment and minimal fuss. Follow these step-by-step instructions for a perfect bake every time.
Step 1: Gather Your Ingredients and Preheat the Oven: Before you begin, make sure all your ingredients are measured out and ready. This “mise en place” approach makes baking much smoother. Preheat your oven to 350°F (175°C). Prepare your 8.5 x 4.5-inch or 9 x 5-inch loaf pan by greasing it and lining it with parchment paper, allowing the paper to overhang on the long sides. This overhang will serve as handles to easily lift the cooled loaf from the pan.
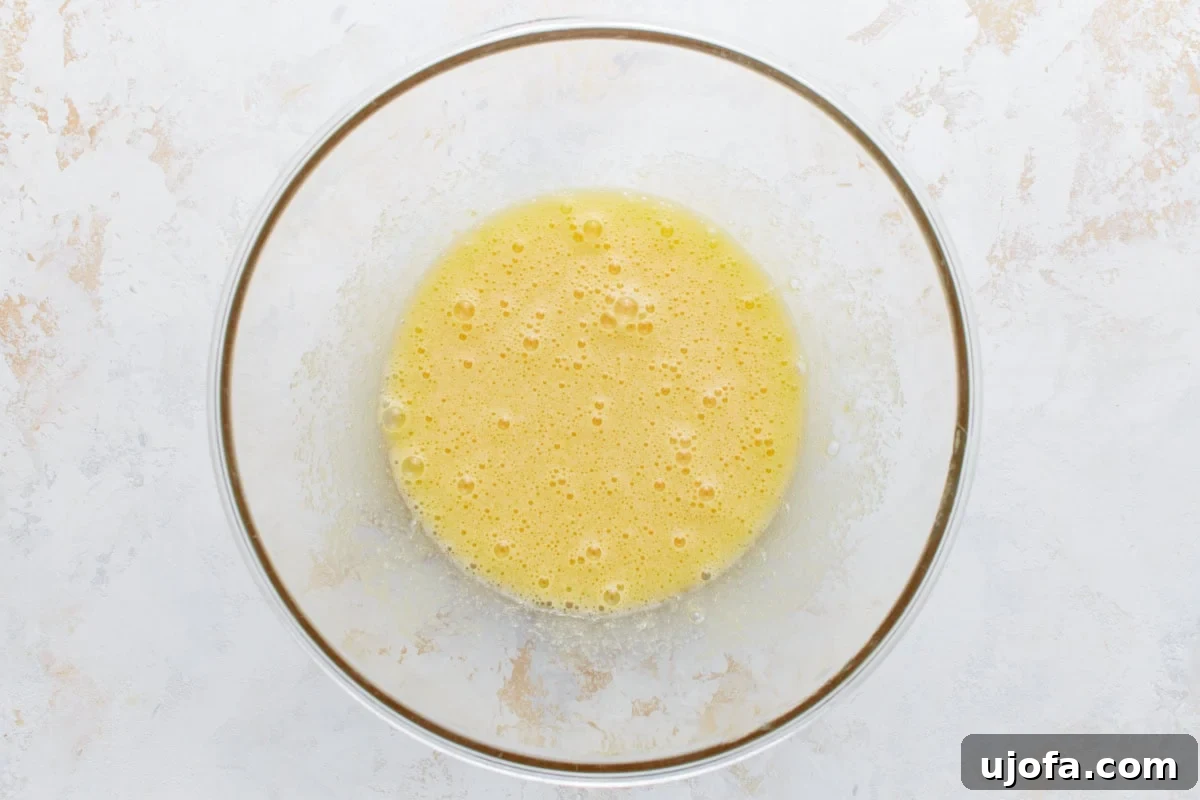
Step 2: Whisk Eggs and Sugar to Perfection: In a large mixing bowl, combine the 1 cup of sugar with the 3 whisked large eggs. Vigorously whisk the mixture for about 1 minute. You’ll notice it transform into a lighter, pale yellow color and become slightly frothy. This aeration is key to achieving a beautifully tender and light crumb in your finished loaf.
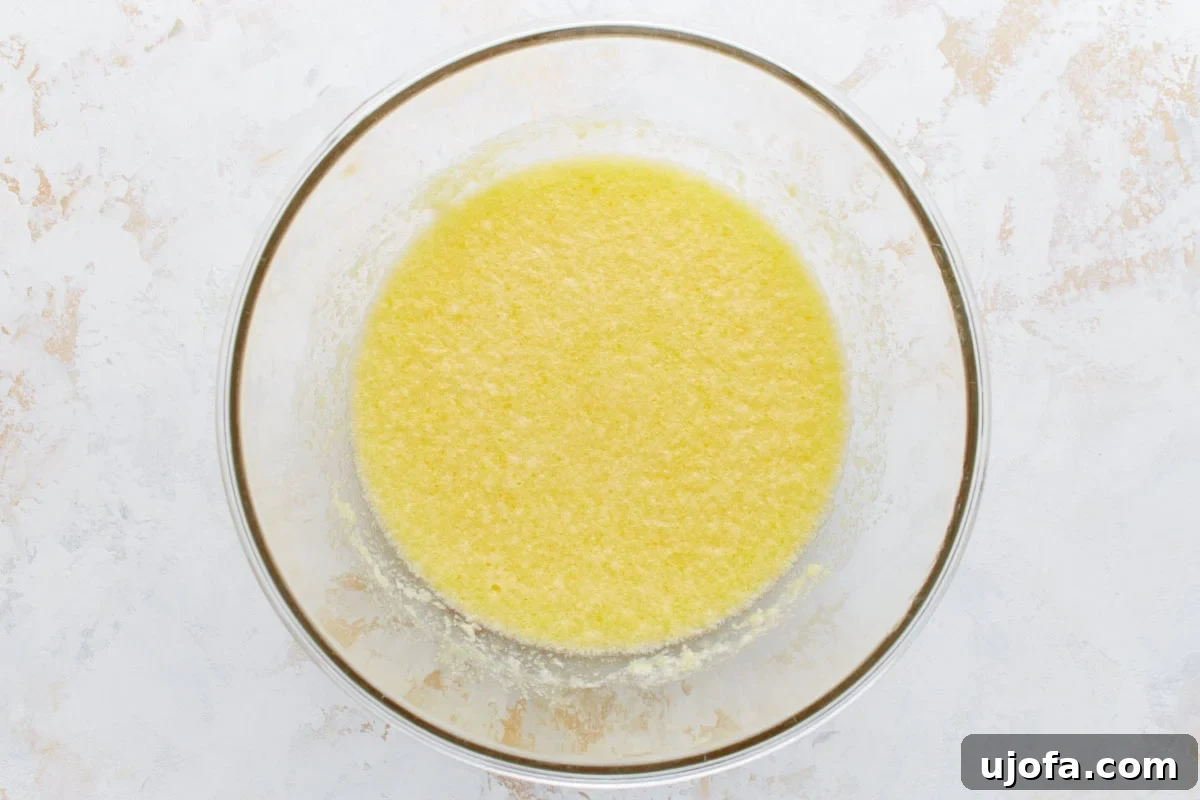
Step 3: Introduce the Wet Ingredients: To the egg and sugar mixture, carefully pour in 10 tablespoons of milk (or your chosen dairy-free alternative), 10 tablespoons of melted unsalted butter (or dairy-free butter substitute), ¼ cup of freshly squeezed lemon juice, ½ tablespoon of finely grated lemon zest, and 1 teaspoon of vanilla extract. Whisk all these wet ingredients together until they are fully incorporated and the mixture appears smooth and homogenous. This ensures all flavors are evenly distributed.
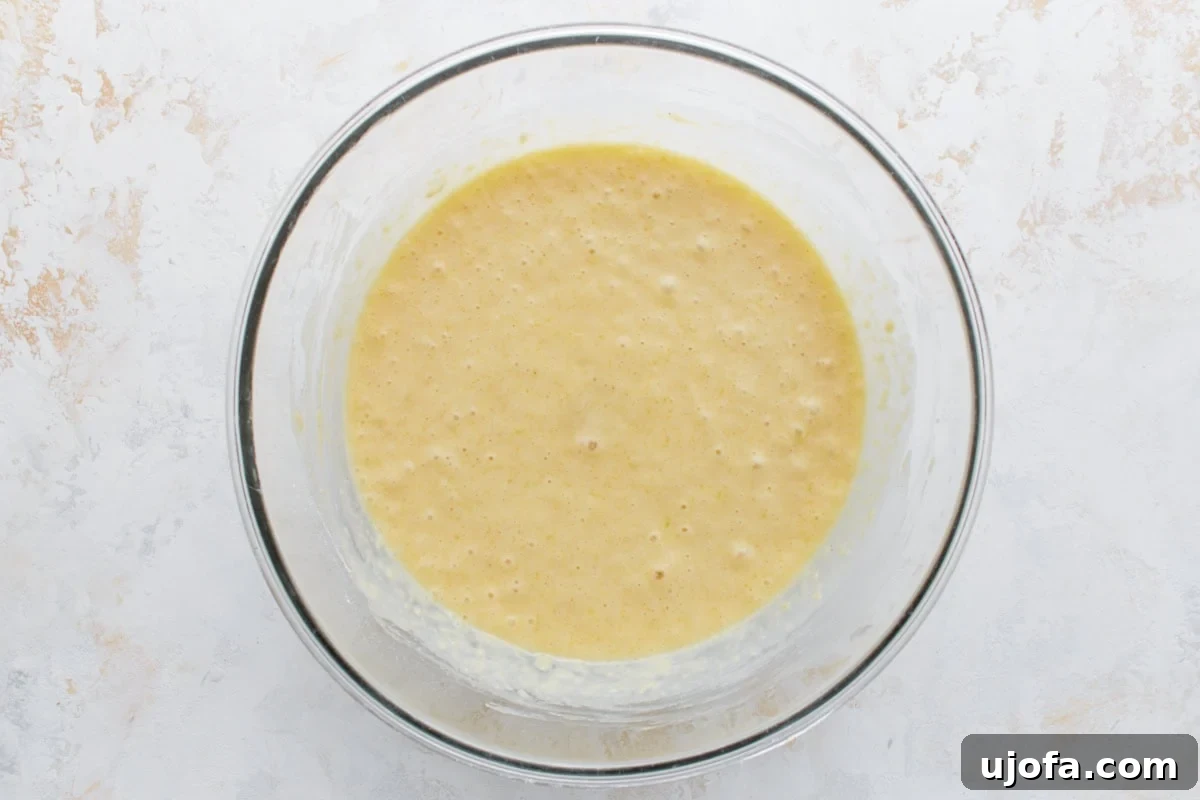
Step 4: Gently Stir in the Dry Ingredients: Now, add the 1½ cups of gluten-free all-purpose flour blend (which includes xanthan gum), 2 teaspoons of baking powder, and ¼ teaspoon of salt to your wet mixture. Using a spatula, gently stir the dry ingredients into the wet until they are just combined. The key here is to avoid overmixing, which can lead to a dense or tough loaf, even with gluten-free flours. A few small lumps in the batter are perfectly acceptable.
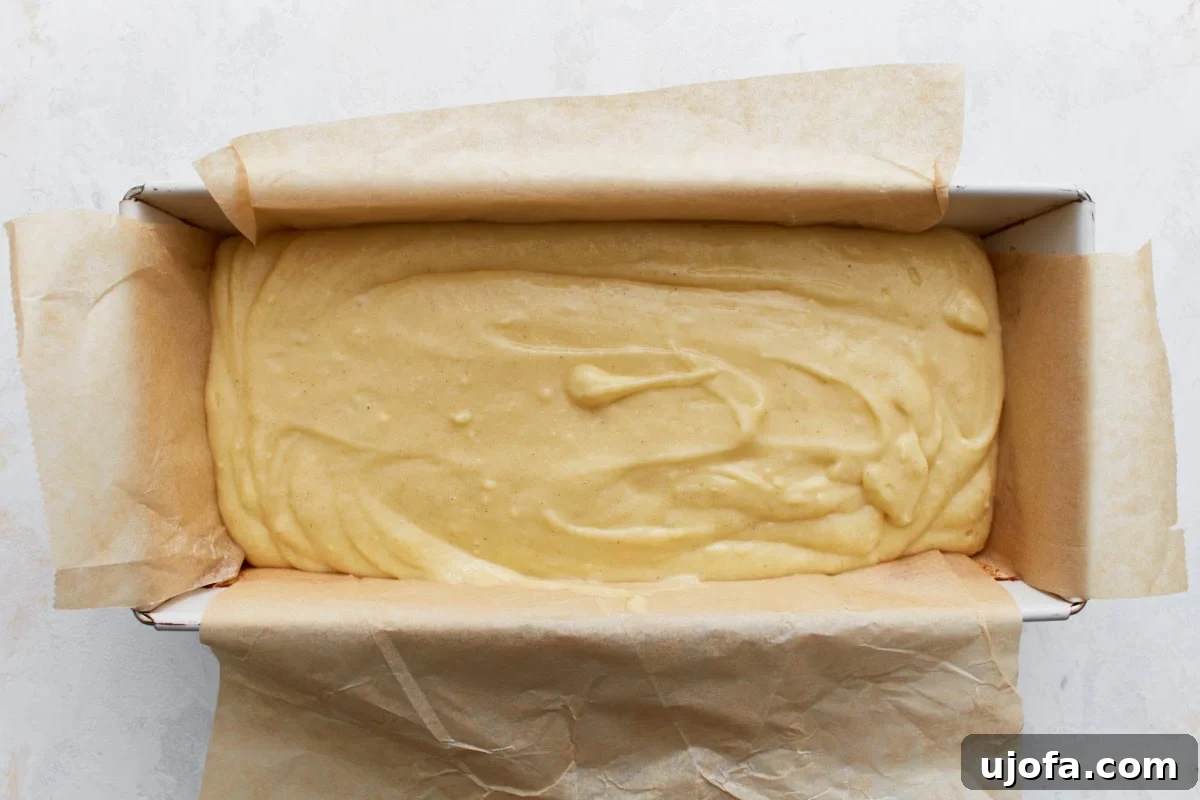
Step 5: Prepare for Baking: Carefully pour the finished batter into your prepared loaf pan, ensuring it’s evenly distributed. Use a spatula to gently smooth the top surface of the batter. This helps ensure an even bake and a neat appearance for your loaf.
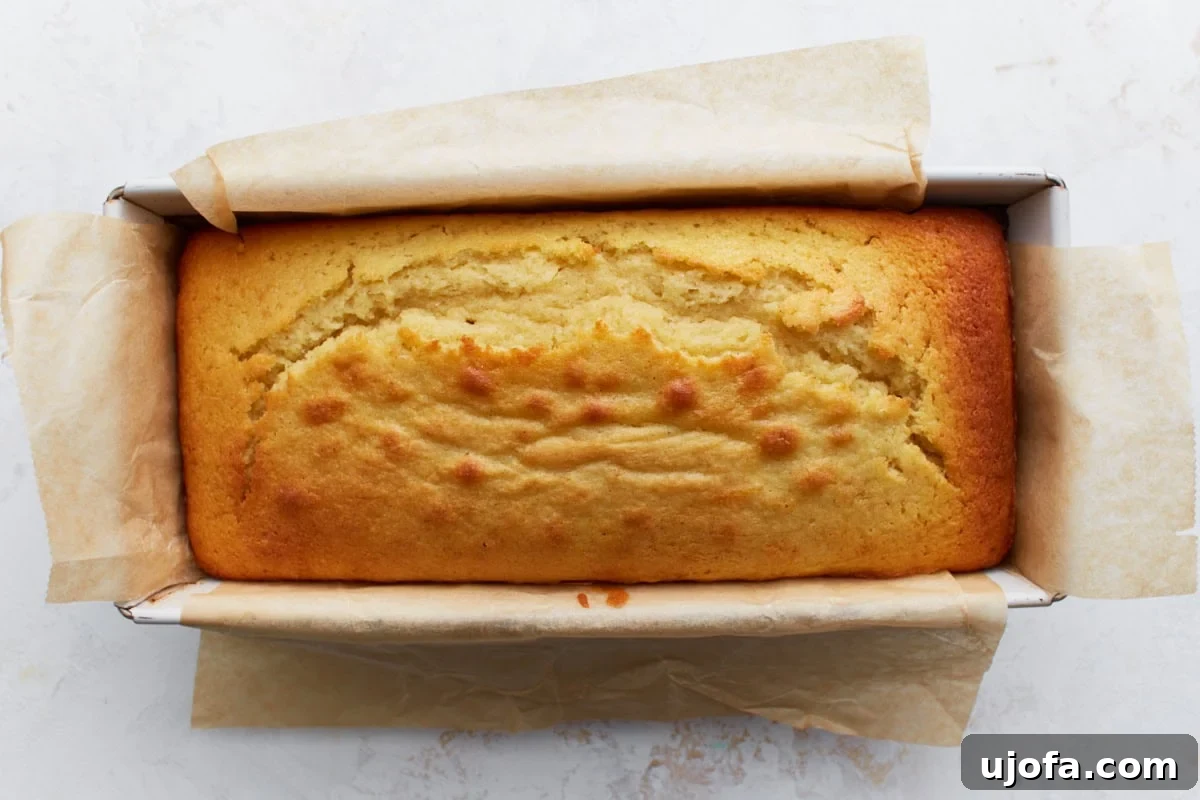
Step 6: Bake to Golden Perfection: Place the loaf pan in your preheated oven and bake for 45–50 minutes. The exact baking time may vary slightly depending on your oven. To test for doneness, insert a wooden toothpick into the center of the loaf; it should come out clean or with just a few moist crumbs attached. The top of the loaf should be beautifully golden brown and spring back when lightly touched.
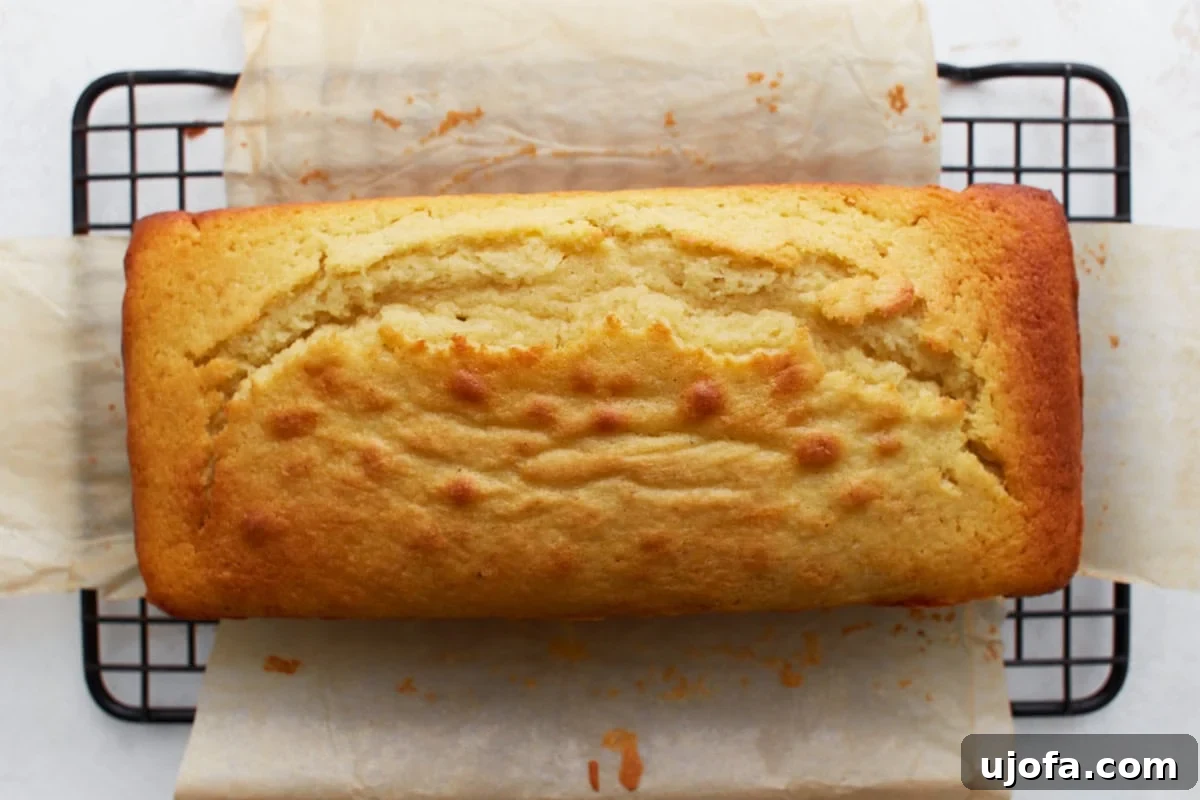
Step 7: Cool the Loaf Properly: Once baked, remove the loaf from the oven and let it cool in the pan for 10 minutes. This allows the loaf to set and firm up, preventing it from crumbling when handled. After 10 minutes, use the parchment paper overhang to carefully lift the loaf out of the pan and transfer it to a wire rack. Allow it to cool completely before applying the icing. Rushing this step can cause the icing to melt and run off.
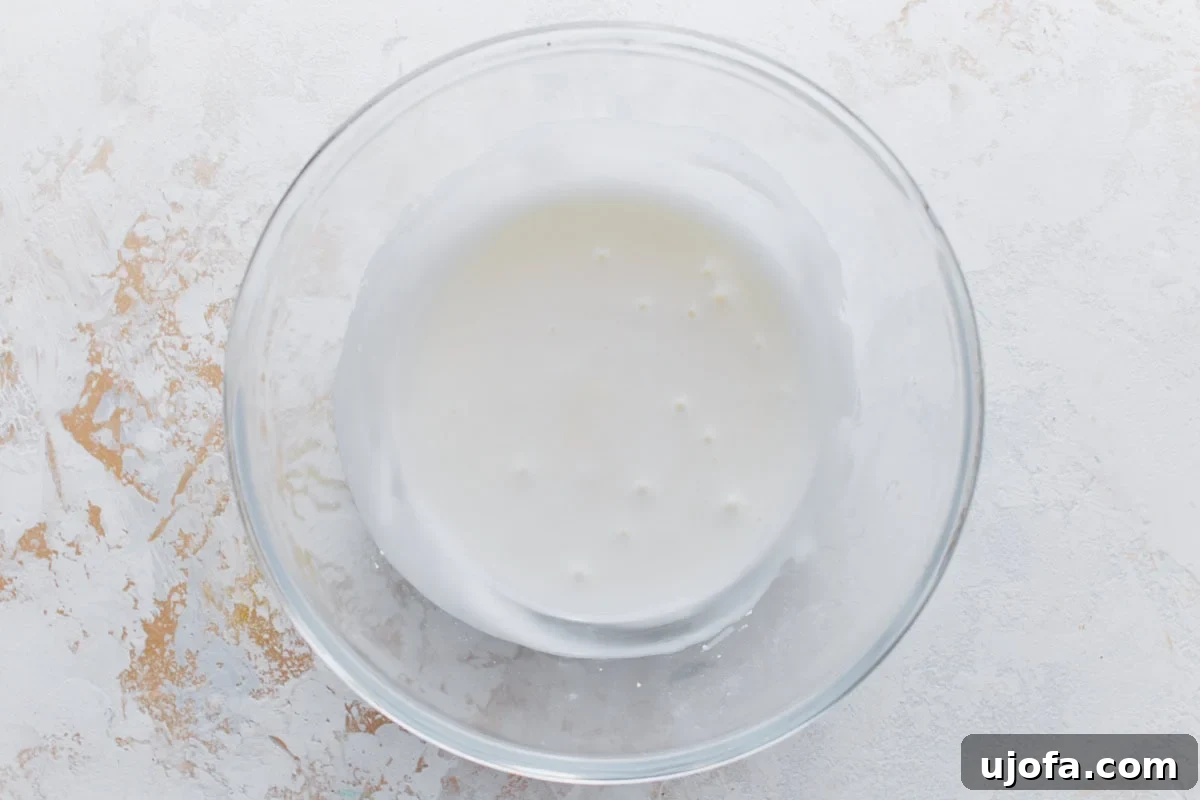
Step 8: Prepare the Zesty Lemon Icing: While your loaf is cooling, prepare the irresistible lemon icing. In a small mixing bowl, whisk together 1 cup of sifted powdered sugar, 1-2 tablespoons of fresh lemon juice, and a pinch of salt. Start with 1 tablespoon of lemon juice and add more in small increments (half a teaspoon at a time) until you achieve a smooth, pourable consistency that is not too thin. The goal is a glaze that coats the back of a spoon.

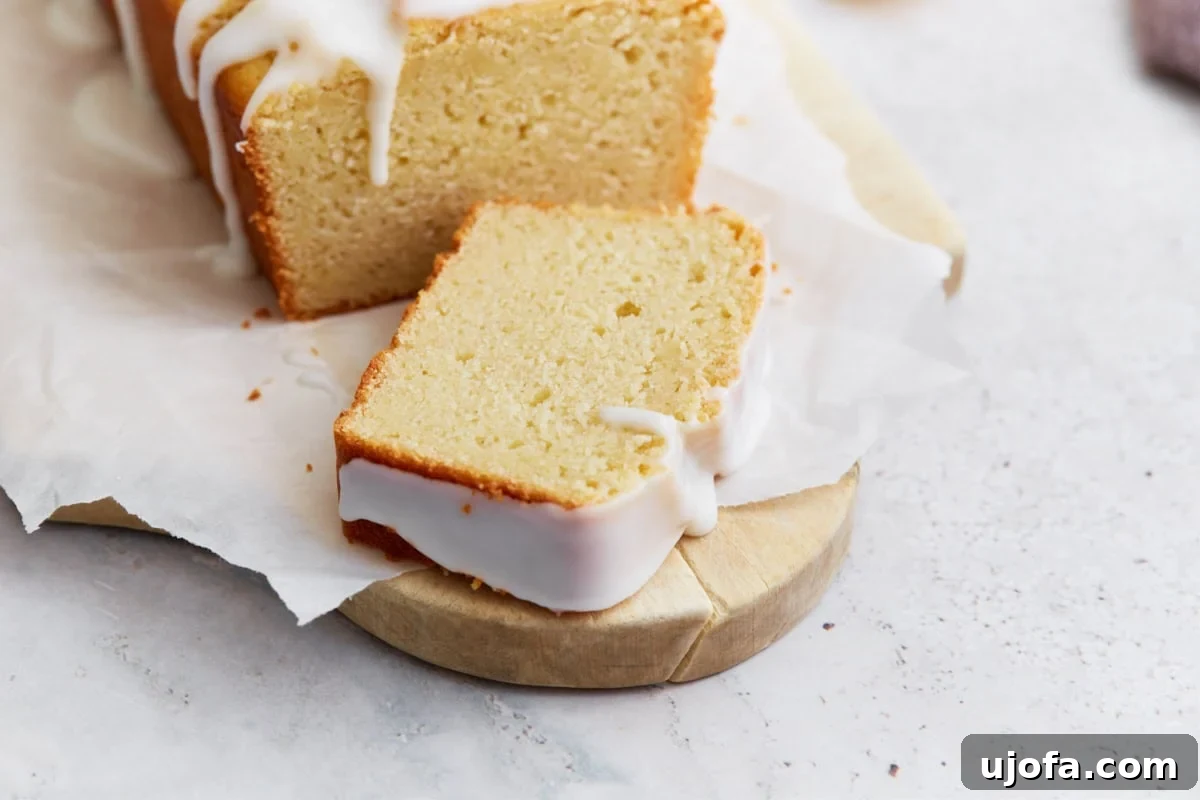
Step 9: Glaze and Allow to Set: Once the loaf is completely cool to the touch, generously drizzle the lemon icing over the top. You can spread it evenly with a spatula or let it drip artistically down the sides. Allow the glaze to set for about 15-20 minutes at room temperature before slicing. This setting time ensures the glaze hardens slightly, preventing stickiness.

Step 10: Slice, Serve, and Savor: With the glaze set, the loaf is ready to be enjoyed! Slice into individual portions and serve. Prepare for a burst of sunshine in every delicious, tender bite.
Baking Tips and Tricks for Gluten-Free Lemon Loaf
Achieving a perfect gluten-free lemon loaf is simple when you keep a few key tips in mind:
- Room Temperature Ingredients: Ensure your eggs and milk are at room temperature. This allows them to emulsify better with the melted butter, creating a smoother batter and a more consistent texture in your finished loaf.
- Don’t Overmix: With gluten-free flours, overmixing can still lead to a dense or gummy texture. Mix just until the dry ingredients are incorporated into the wet. A few small lumps are perfectly fine.
- Use Fresh Lemon: As mentioned, fresh lemon juice and zest are non-negotiable for the best flavor. Invest in good quality, unwaxed lemons.
- Accurate Flour Measurement: For gluten-free baking, measuring flour by weight (using a kitchen scale) is always preferred for accuracy. If measuring by volume, spoon the flour into your measuring cup and then level it off with a straight edge; never scoop directly from the bag.
- Parchment Paper is Your Friend: Lining the loaf pan with parchment paper not only prevents sticking but also makes it incredibly easy to lift the delicate loaf out of the pan once baked.
- Adjust Glaze Thickness: The amount of lemon juice needed for the icing can vary slightly depending on the humidity and the consistency of your powdered sugar. Start with the smaller amount and add more gradually until you reach your desired pourable, yet thick, consistency.
- Cool Completely Before Icing: This cannot be stressed enough! Applying icing to a warm loaf will cause it to melt and absorb into the cake, rather than forming a lovely glaze on top. Patience is key.
Serving Suggestions for Your Lemon Loaf
This gluten-free iced lemon loaf is incredibly versatile and pairs wonderfully with a variety of accompaniments, making it suitable for any time of day:
- Morning Delight: Enjoy a slice with a steaming cup of coffee, a fragrant herbal tea, or a refreshing glass of freshly squeezed orange juice for a bright start to your day.
- Brunch Spreads: Elevate your brunch table by including this loaf alongside other delicious gluten-free treats like gluten-free blueberry scones, gluten-free danish, or a fresh fruit salad. Its vibrant flavor provides a perfect counterpoint to richer dishes.
- Afternoon Pick-Me-Up: A slice of lemon loaf is the perfect companion for an afternoon tea or a quick snack to boost your energy and spirits.
- Elegant Dessert: For a simple yet elegant dessert, serve a slice with a dollop of fresh whipped cream, a scoop of vanilla bean ice cream, or a handful of fresh berries (raspberries or blueberries are particularly delightful).
- Thoughtful Gift: This beautifully glazed loaf makes an excellent homemade gift for friends, neighbors, or hostesses. Wrap it in cellophane with a pretty ribbon for a truly personal touch.
Storage Instructions
To ensure your gluten-free iced lemon loaf stays fresh and delicious for as long as possible, proper storage is essential:
- Room Temperature: If you plan to consume the loaf within 2 days, wrap it tightly in plastic wrap or aluminum foil and store it at room temperature. This helps maintain its moist texture.
- Refrigeration: For extended freshness, place the wrapped loaf in an airtight container and store it in the refrigerator for up to 5 days. Bringing it to room temperature for about 15-30 minutes before serving can enhance its texture and flavor.
- Freezing: This loaf freezes beautifully! You can freeze the entire loaf or individual slices. To do so, ensure the loaf is completely cooled. Wrap it first in plastic wrap, then in aluminum foil, and place it in a freezer-safe bag or container. It will keep well in the freezer for up to 2 months.
- Thawing Frozen Loaf: For best results, thaw the frozen loaf or slices overnight in the refrigerator, then bring to room temperature before serving. If you plan to freeze the loaf, consider adding the glaze after thawing for the freshest appearance and texture. If the glaze is already on, it will still thaw well, but might be slightly softer.
More Gluten-Free Lemon Dessert Favorites
If you’re as much of a lemon lover as I am, you’ll want to explore these other fantastic gluten-free lemon desserts:
- Gluten-Free Lemon Bars: A classic treat with a buttery shortbread crust and a bright, tangy lemon filling.
- Gluten-Free Lemon Cake: A show-stopping cake that’s perfect for celebrations, featuring layers of tender lemon sponge and a luscious frosting.
- Gluten-Free Lemon Cookies: Chewy, zesty cookies bursting with lemon flavor – an easy, delightful bite-sized treat.
Each of these recipes brings its own unique lemon twist, ensuring there’s a gluten-free lemon delight for every craving and occasion!