
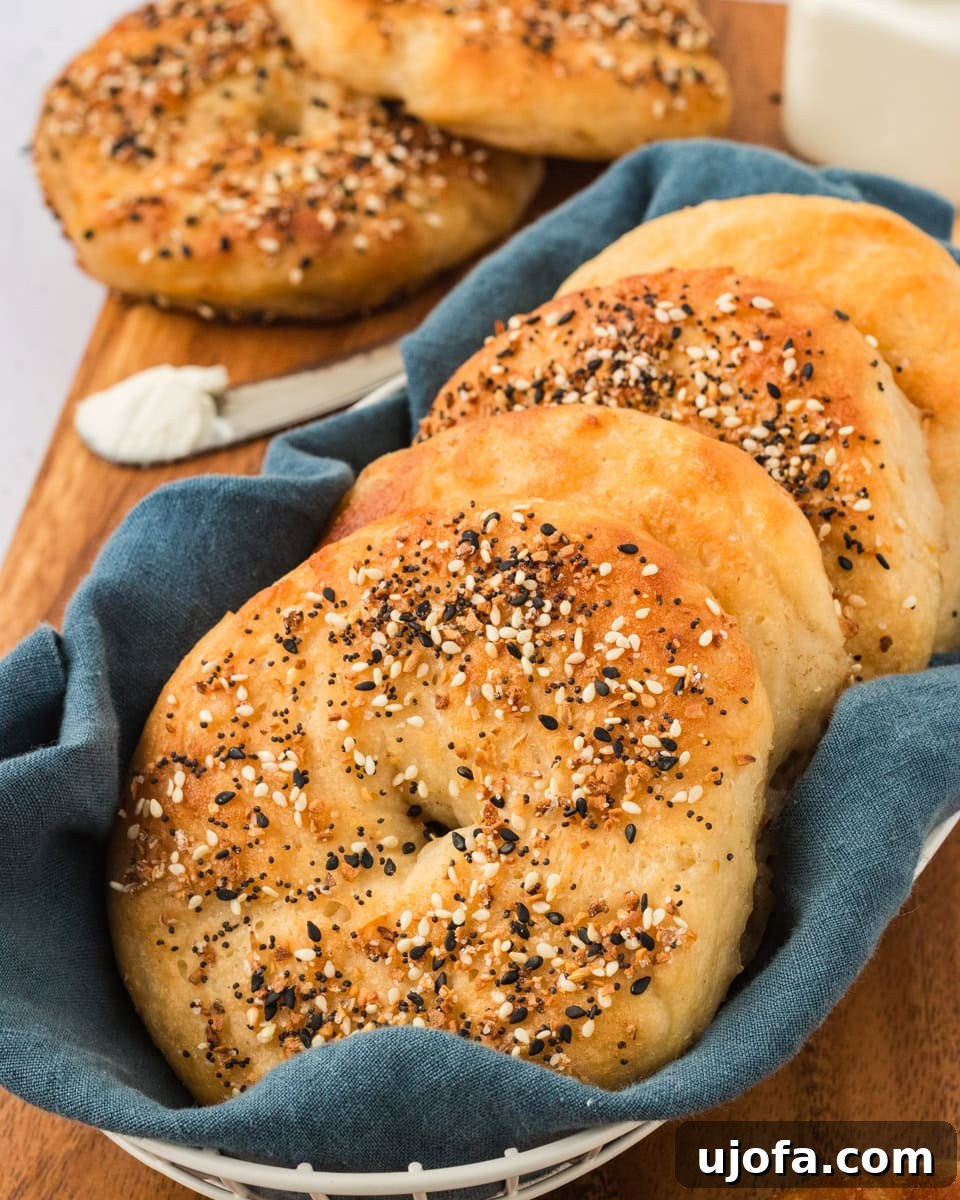
Craving that classic, chewy bagel experience but living gluten-free? You’re in luck! This comprehensive guide introduces you to the ultimate recipe for homemade gluten-free bagels that are so authentic, you’ll forget they’re gluten-free. My go-to recipe transforms simple ingredients like yeast and psyllium husk into delightfully soft, chewy, and golden-brown bagels, complete with the essential boiling step before baking for that signature texture. Say goodbye to dense, crumbly alternatives and hello to bakery-style bagels, right from your own kitchen. Whether you enjoy them plain, slathered with cream cheese, or as the foundation for a hearty sandwich, these bagels promise a satisfying bite every single time.
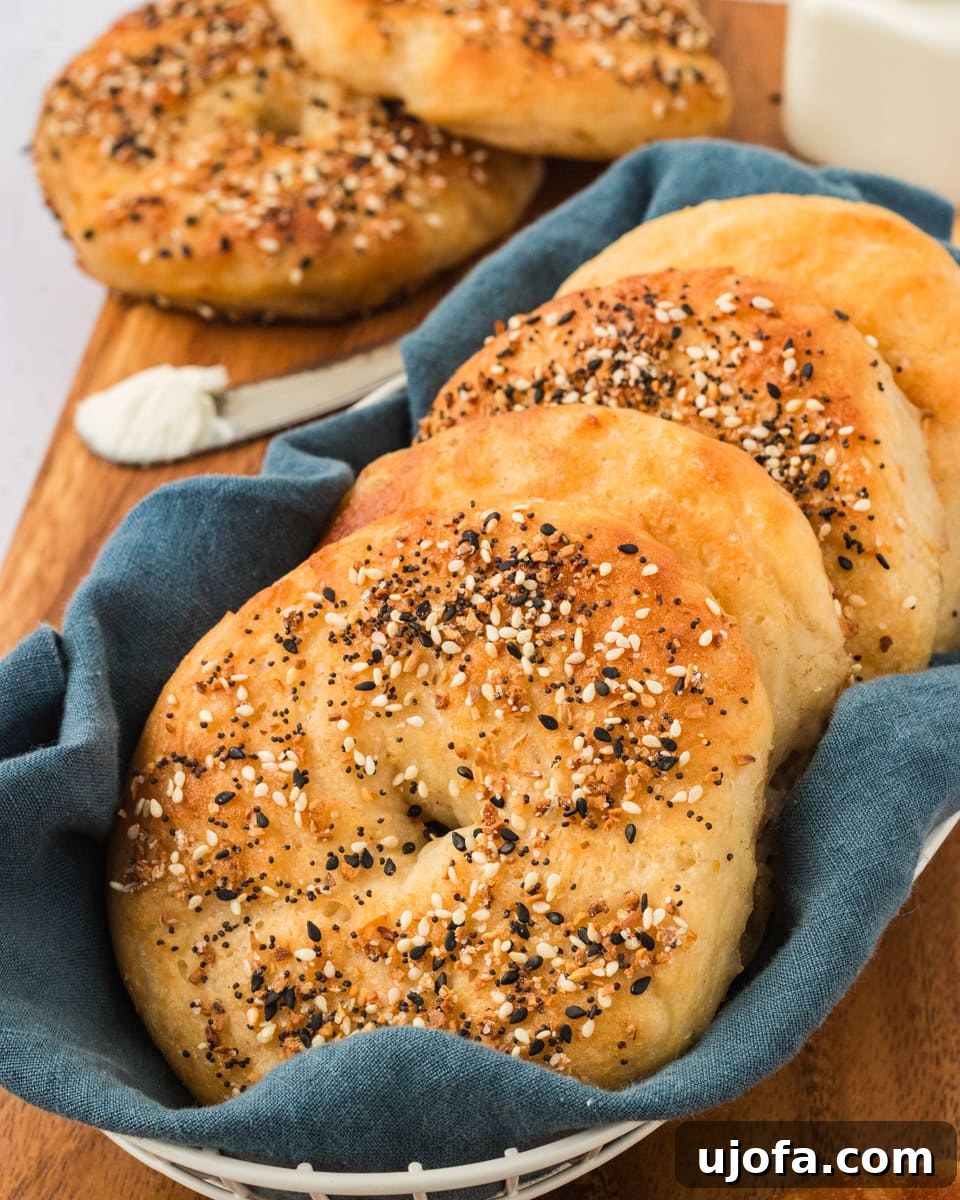
I agree with everyone who gives these bagels FIVE STARS. They are SO much better than store-bought, and they don’t have unnecessary additives that most GF products have.
– Michelle
Reclaiming Your Bagel Love: The Joy of Homemade Gluten-Free Bagels
The quest for a truly great bagel after going gluten-free can feel like an endless journey. Many store-bought options fall short, often lacking the characteristic chewiness, fluffy interior, and sturdy crust that define a perfect bagel. That’s precisely why I poured my heart into perfecting this recipe. I longed for that experience of a fresh-from-the-oven bagel, warm and inviting, ready to be split, toasted to perfection, or piled high with my favorite toppings. These homemade gluten-free bagels are designed to put that joy back on your table.
What makes these bagels stand out? It’s their incredible versatility and undeniable authentic taste. You can easily customize them with a myriad of toppings, from classic sesame seeds and poppy seeds to savory garlic cheese or a vibrant everything bagel seasoning. They also freeze beautifully, making them ideal for quick and easy breakfasts or snacks throughout the week. Plus, with simple ingredient swaps, you can effortlessly make them dairy-free or vegan, ensuring everyone can enjoy a bite. Whether you prefer them simply buttered, generously coated in cream cheese, or stacked high as a gourmet sandwich, these bagels deliver the comforting taste and texture you’ve been missing. Get ready to rediscover your love for bagels, without the gluten!
The Secret to Perfect Gluten-Free Bagels: Psyllium Husk & Boiling
Achieving that iconic chewy texture in gluten-free baking can be a challenge, as gluten is responsible for the elasticity and structure in traditional doughs. However, with this recipe, we harness two powerful techniques to create an unforgettably authentic bagel experience: psyllium husk powder and a pre-bake boil.
Psyllium Husk Powder: The Gluten Replacement
Psyllium husk powder is a game-changer in gluten-free baking. Derived from the seeds of the *Plantago ovata* plant, it acts as a binding agent, mimicking the role of gluten by absorbing a remarkable amount of water and forming a gel-like substance. This creates structure and elasticity in the dough, preventing it from becoming crumbly or dense. It’s the secret ingredient that gives these bagels their incredible chew and helps them hold their shape during both rising and boiling. Don’t skip it!
The Boiling Process: For That Signature Crust and Chew
Boiling bagels before baking is not just a tradition; it’s a crucial step for achieving their unique texture. When bagels are briefly submerged in boiling water (often with honey or malt syrup for added flavor and browning), a few magical things happen:
- Creates a Chewy Exterior: The heat from the boiling water gelatinizes the starches on the surface of the bagel, creating a thin, shiny, and chewy crust.
- Sets the Shape: Boiling helps to set the bagel’s shape, preventing it from spreading too much during baking.
- Promotes a Soft Interior: While the outside gets chewy, the quick boil also helps to lock moisture inside, contributing to a soft and fluffy interior once baked.
- Enhances Flavor and Color: Adding honey to the boiling water (as we do in this recipe) not only contributes to a subtle sweetness but also aids in creating that beautiful golden-brown color during baking.
Together, psyllium husk powder and the boiling step are the dynamic duo that allows these homemade gluten-free bagels to rival their gluten-containing counterparts in both texture and taste.
Essential Gluten-Free Baking Tips for Success
Baking with gluten-free flours requires a slightly different approach than traditional wheat flour. Follow these expert tips to ensure your gluten-free bagels turn out perfectly every time.
- Choose the Right Flour Blend: The type of gluten-free flour you use makes a significant difference, especially in yeast-based recipes. I consistently recommend Pillsbury Gluten-Free or Better Batter all-purpose flour blends. These blends are specifically formulated to handle yeast and provide the structure needed for a good rise and chewy texture. It’s crucial to **steer clear of “1-to-1” or “Measure for Measure” blends** like Bob’s Red Mill 1-to-1 and King Arthur Measure for Measure, as these typically contain ingredients like xanthan gum (which our recipe adds separately) and are often balanced for quick breads and cookies, not yeast doughs. Using the wrong blend can lead to dense, crumbly, or overly sticky results.
- Don’t Fear the Dough Hook: While a stand mixer with a dough hook attachment makes the process much easier, it’s not strictly necessary. You can absolutely mix everything by hand in a large sturdy bowl. Expect to spend a bit more time kneading—about 10-15 minutes—to develop the dough’s structure. It requires some muscle, but it’s completely achievable and rewarding!
- The Importance of Psyllium Husk Powder: As mentioned, psyllium husk powder is critical for the structure and chewiness of these bagels. Ensure you’re using *powder*, not whole husks, for consistent results. It helps bind the dough and prevents it from being too crumbly.
- Yeast Activation is Key: Always check your yeast! The warm water and sugar mixture should become frothy and bubbly within 5-10 minutes. If it doesn’t, your yeast might be old or the water temperature was off. Start over with fresh yeast and properly warmed water (100°F-110°F is ideal).
- Perfect Dough Consistency: Gluten-free yeast doughs are often stickier and softer than their wheat counterparts. Don’t be tempted to add too much extra flour, as this can lead to dry bagels. The dough should be sticky but still manageable. Oiling your hands and work surface can help significantly during shaping.
- Get Creative with Flavors: This gluten-free bagel dough is an excellent canvas for your culinary imagination! Beyond the classic everything bagel, consider adding mix-ins like shredded cheddar and garlic powder for savory cheese bagels, or cinnamon and raisins for a sweet treat. For toppings, experiment with sesame seeds, poppy seeds, dried onion flakes, or even coarse sea salt. The possibilities for customization are truly endless.
- Proper Proofing Environment: Gluten-free dough benefits from a warm, draft-free environment for rising. Your oven’s “bread proof” setting (around 100°F) is perfect. If you don’t have one, a warm spot in your kitchen or a slightly warmed oven (turned off after heating) will do. Just ensure it’s not too hot, as this can kill the yeast.
By keeping these tips in mind, you’ll be well on your way to baking delicious, chewy easy gluten-free bagels that everyone will love.
Homemade Gluten-Free Bagels
Pin Recipe
Email Recipe
Print Recipe
Don’t forget to check out the detailed step-by-step photos located just below the recipe card for visual guidance!
Ingredients
- ▢ 1 tablespoon granulated sugar
- ▢ 2¼ cups warm water, 100°F-110°F (38-43°C)
- ▢ 1 tablespoon instant/rapid rise yeast, I recommend Fleshman’s RapidRise Instant Yeast or Red Star Quick Rise Instant Yeast.
- ▢ 3½ cups gluten-free all-purpose flour with xanthan gum, I recommend Pillsbury gluten-free or Better Batter. It is important to use a brand of gluten-free flour that is recommended for yeast baking.
- ▢ 3 tablespoons psyllium husk powder
- ▢ 2 teaspoons baking powder
- ▢ 1½ teaspoons salt
- ▢ 1 tablespoon light brown sugar, packed
- ▢ 1 teaspoon apple cider vinegar
- ▢ ½ cup unsalted butter, melted and cooled, Dairy-free/Vegan use Smart Balance or Vegan butter
- ▢ ½ cup honey, Vegan option use pure maple syrup
- ▢ 1 large egg white, whisked, Vegan option omit this step
- ▢ 1 tablespoon water
Instructions
-
Prepare Oven and Bowl for Proofing: Begin by preheating your oven to a low temperature of 100°F (38°C). If your oven has a “bread proof” setting, now is the time to use it. Lightly spray an oven-safe bowl with a gluten-free non-stick cooking spray and set it aside. This prepared bowl will be used for the first rise of your bagel dough.
-
Activate the Yeast: In the bowl of a stand mixer (or a large mixing bowl if kneading by hand), combine the granulated sugar and warm water. Stir gently until the sugar completely dissolves. Next, sprinkle in the instant or rapid rise yeast. Give it another light stir to ensure the yeast is submerged. Cover the bowl with a clean kitchen towel and let it sit undisturbed for approximately 5 minutes. You’ll know the yeast is active and ready when the mixture becomes notably frothy and bubbly on the surface. This indicates your yeast is alive and ready to work its magic!
-
Mix the Dough: To the activated yeast mixture, add the gluten-free all-purpose flour (ensure it’s a yeast-friendly blend like Pillsbury or Better Batter), psyllium husk powder, baking powder, salt, and packed light brown sugar. If using a stand mixer, attach the dough hook and begin beating on low speed for 2 minutes. This initial mixing helps to combine the dry and wet ingredients without overworking the dough. The mixture will start to come together.
-
Incorporate Butter and Vinegar: Now, add the melted and cooled unsalted butter (or your chosen dairy-free/vegan alternative) and the apple cider vinegar to the dough. Increase the mixer speed to medium and continue beating for 5 minutes. During this time, the dough will transform, becoming sticky but stiff and developing a uniform consistency. The apple cider vinegar contributes to the bagel’s texture and flavor profile.
-
First Rise (Proofing): Carefully transfer the sticky dough from the mixing bowl into the greased oven-proof bowl you prepared earlier. Cover the bowl securely with plastic wrap, then drape a clean kitchen towel over it. Place the covered bowl in your preheated 100°F (38°C) oven. Allow the dough to rise for 20 minutes. This warm, consistent environment is ideal for gluten-free dough to achieve its best rise.
-
Shape the Bagels: While the dough rises, line a baking sheet with parchment paper, which will prevent sticking. Once the dough has completed its first rise, gently turn it out onto the parchment paper. Using a knife or dough scraper, divide the dough into 8 equal pieces. Take each piece and roll it into a smooth ball. Next, press your finger through the center of each ball to create a hole, then gently widen this hole to about 1 inch in diameter. This helps achieve the classic bagel shape and ensures even cooking. Cover the shaped bagels with a kitchen towel and let them rest on the counter for another 10 minutes to allow for a brief second rise.
-
Boil and Prepare for Baking: Preheat your oven to 425°F (218°C). In a large pot, add 2 quarts of water. Whisk in the honey (or pure maple syrup if making vegan gluten-free bagels). Bring this water to a rolling boil, then reduce the heat to medium-high to maintain a steady simmer. Gently drop the bagels into the boiling water, one at a time, being careful not to overcrowd the pot. Boil each bagel for 30 seconds on one side, then carefully flip it over with a slotted spoon or wire skimmer and boil for another 30 seconds. After boiling, use the slotted spoon to return each bagel to the parchment-lined baking sheet, ensuring it’s right side up with its flat bottom resting against the paper. Repeat this process until all bagels have been boiled. In a small bowl, whisk together the large egg white and 1 tablespoon of water to create an egg wash (omit for vegan bagels). Brush the tops and sides of the boiled bagels generously with this mixture. If desired, sprinkle your chosen seasoning (like everything bagel seasoning, sesame seeds, or poppy seeds) over the moist egg-washed surface.
-
Bake to Golden Perfection: Place the baking sheet with the prepared bagels on the middle rack of your preheated oven. Bake for 10 minutes. Then, carefully rotate the baking sheet 180 degrees for even browning. Continue baking for an additional 15 minutes, or until the bagel tops are beautifully golden brown and the internal temperature reaches 180°F (82°C) when measured with a food thermometer. Remember that oven temperatures can vary, so keep a close eye on your bagels during the final baking stage to prevent over or under-baking. Remove from the oven.
-
Cool and Enjoy: Allow the baked bagels to cool on the baking sheet for at least 20 minutes before handling or serving. This cooling period is crucial, as it allows the internal structure to set and prevents them from becoming gummy. Once cooled, slice, spread, and savor your delicious homemade gluten-free bagels!
Nutrition
Nutrition information is automatically calculated, so should only be used as an approximation.
Additional Info
How To Make Gluten-Free Bagels Step by Step
Follow these detailed steps, accompanied by photos, to bake the perfect batch of easy gluten-free bagels from scratch. Each step is designed to guide you through the process, ensuring a successful and delicious outcome.
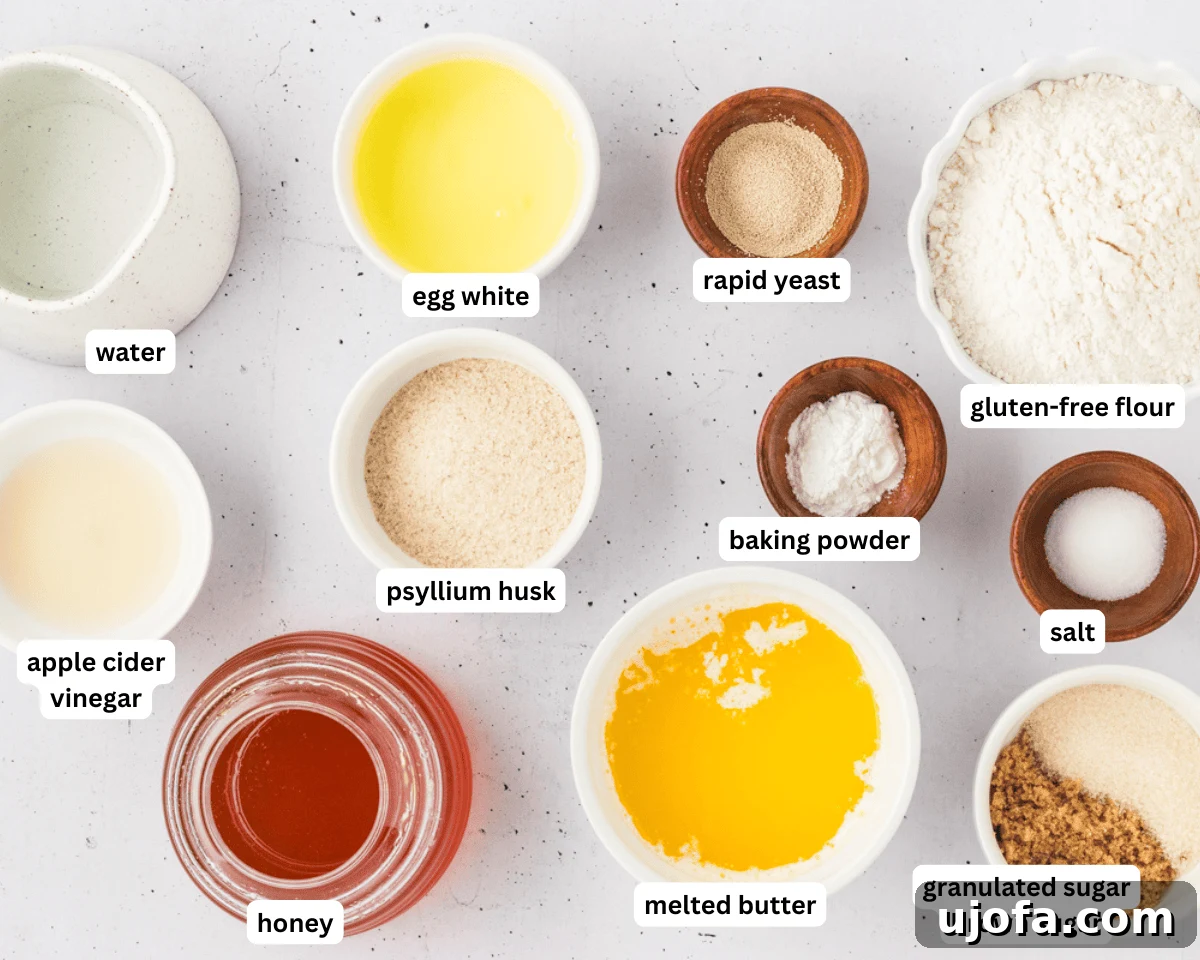
Step 1: Gather the Ingredients
Before you begin, gather all your ingredients and measure them accurately. Having everything prepped and ready will make the baking process smoother and more enjoyable. This ensures you won’t miss any crucial components for your homemade gluten-free bagels.
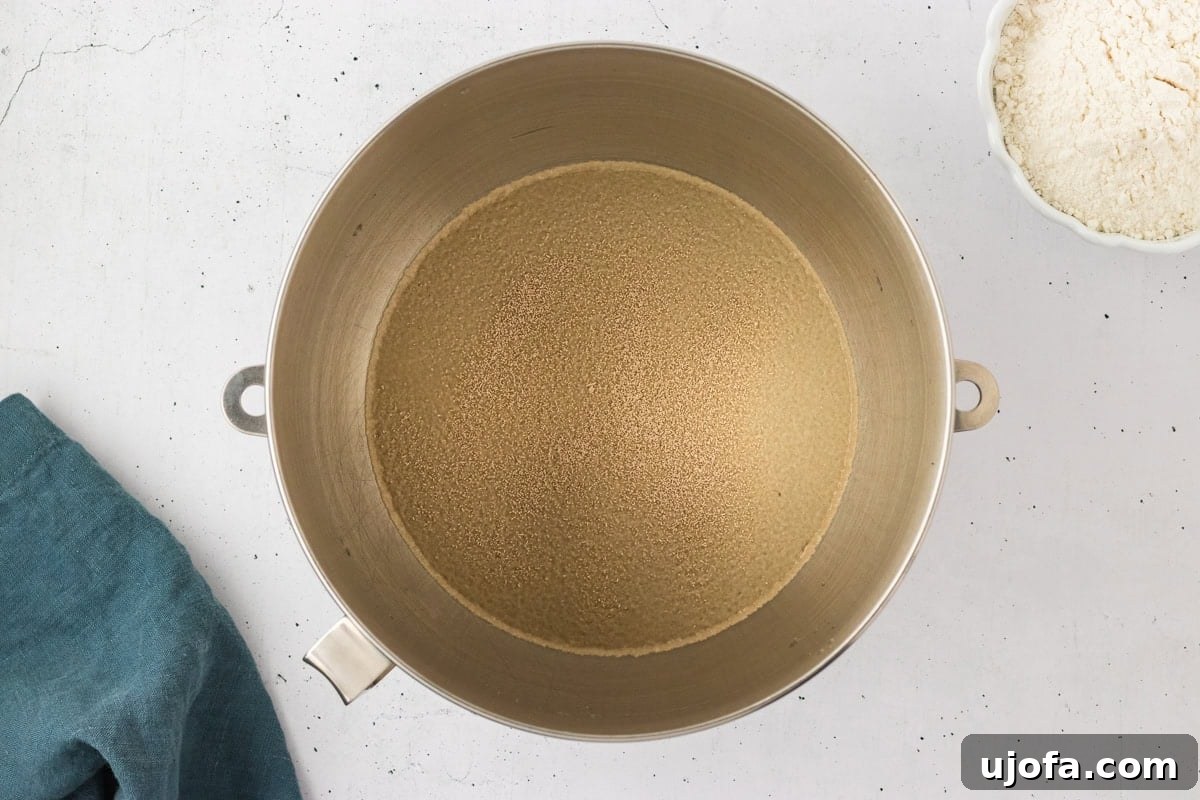
Step 2: Prepare the Oven and Bowl
Preheat your oven to 100°F (38°C). If your oven has a dedicated “bread proof” setting, use that. This low, consistent heat creates an ideal environment for your gluten-free dough to rise effectively. While the oven preheats, lightly spray an oven-safe bowl with a gluten-free non-stick cooking spray. This will prevent the dough from sticking during its first rise and make for easy transfer later.
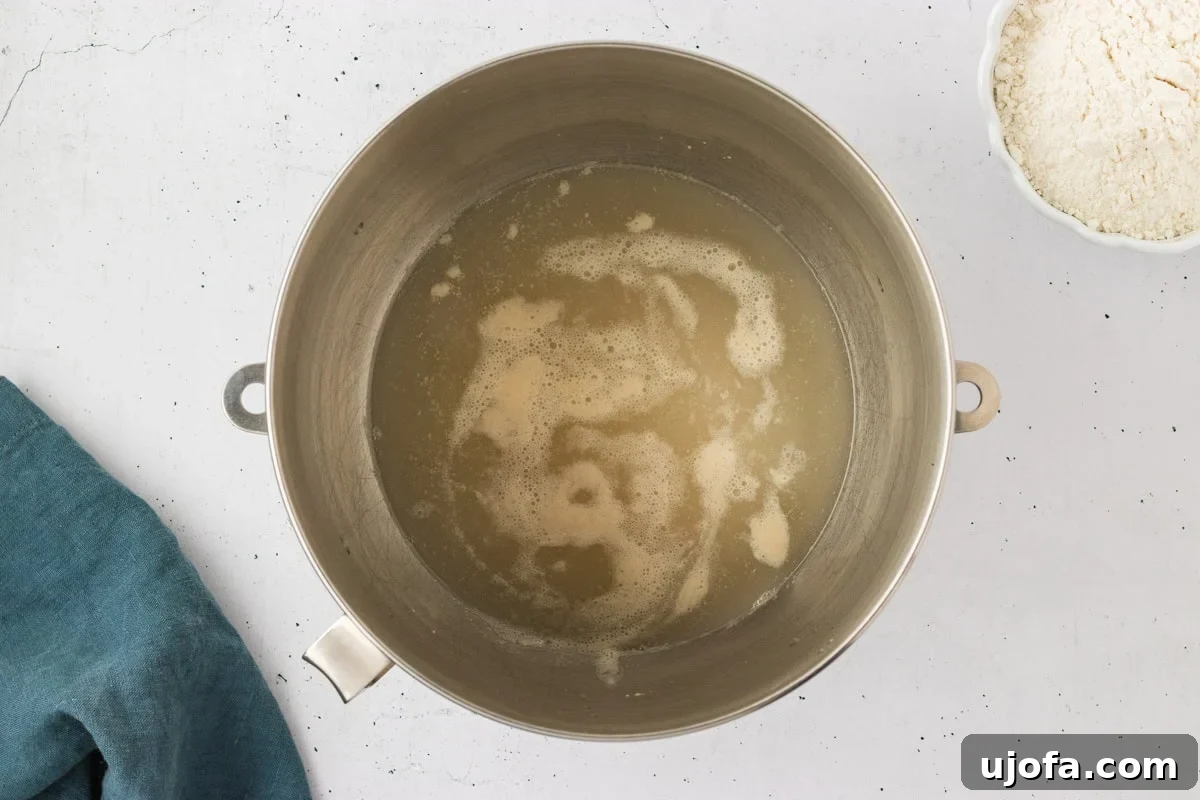
Step 3: Activate the Yeast
In the bowl of your stand mixer (or a large mixing bowl for hand mixing), combine 1 tablespoon of granulated sugar with 2¼ cups of warm water. The water temperature is critical here; it should be between 100°F–110°F (38-43°C) – too hot will kill the yeast, too cold won’t activate it. Stir until the sugar is fully dissolved. Then, sprinkle in 1 tablespoon of instant or rapid rise yeast. Stir gently to incorporate, then cover the bowl with a clean kitchen towel. Let it sit for 5 minutes. You’ll observe the mixture becoming frothy and bubbly, indicating that your yeast is active and ready to make your bagels light and airy.
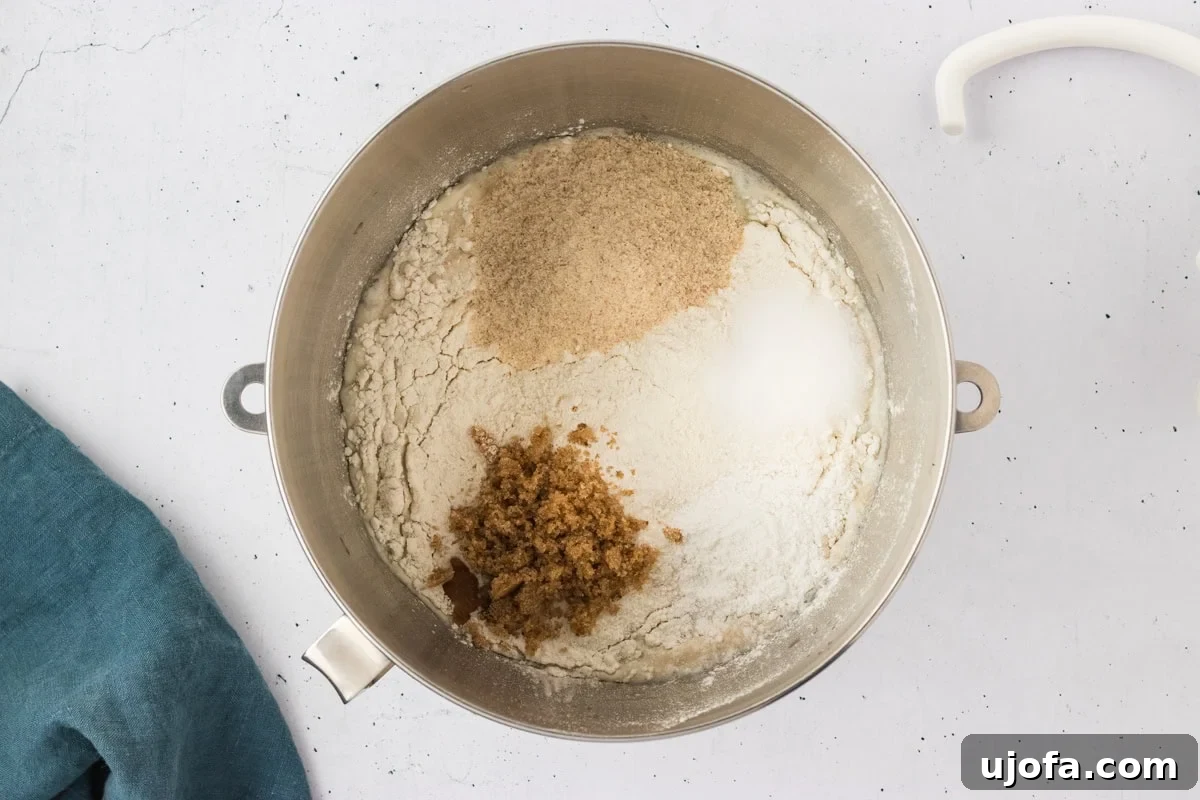
Step 4: Mix the Dry Ingredients into the Yeast Mixture
To the frothy yeast mixture, add 3½ cups of gluten-free all-purpose flour with xanthan gum (remembering to use a yeast-friendly blend like Pillsbury or Better Batter), 3 tablespoons of psyllium husk powder, 2 teaspoons of baking powder, 1½ teaspoons of salt, and 1 tablespoon of packed light brown sugar. Attach the dough hook to your stand mixer and beat the ingredients together on low speed for 2 minutes. This initial mixing step ensures all the dry components are well-distributed and begin to hydrate.
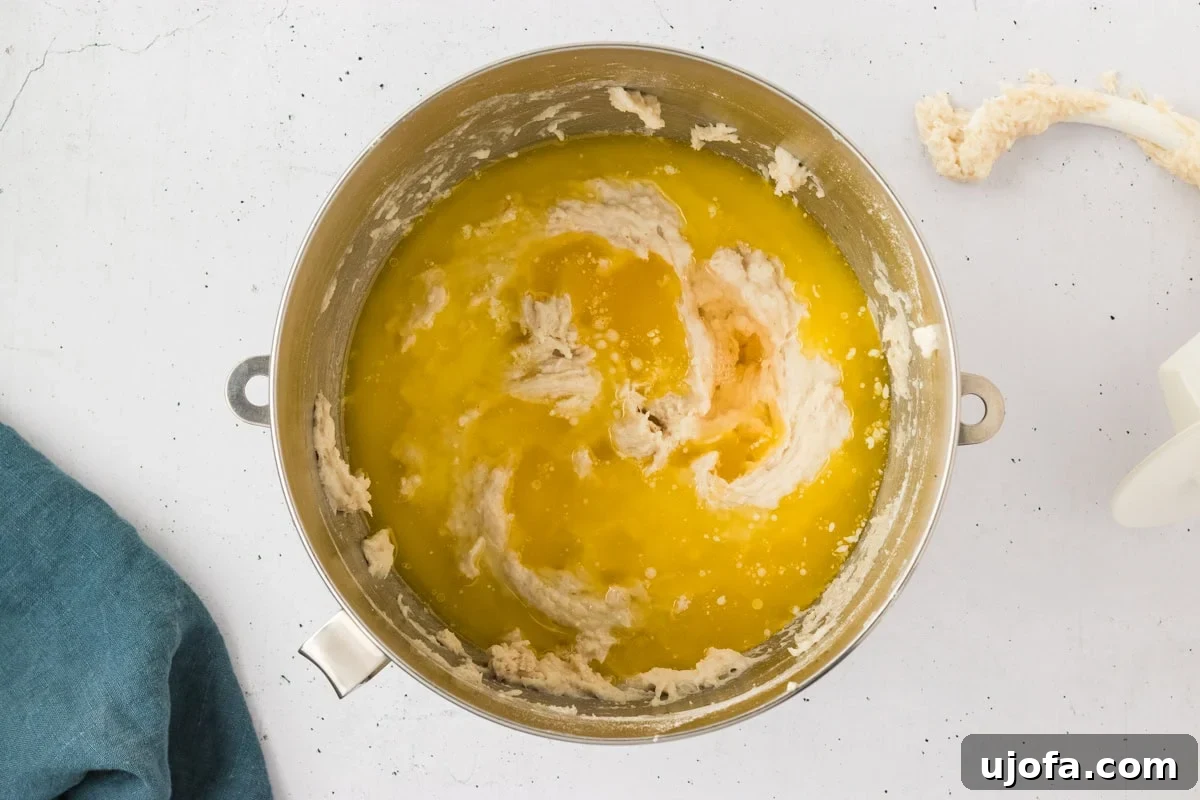
Step 5: Incorporate Butter and Apple Cider Vinegar
Next, add ½ cup of melted and cooled unsalted butter (or your preferred dairy-free/vegan butter alternative) and 1 teaspoon of apple cider vinegar to the dough. Increase the mixer speed to medium and continue beating for 5 minutes. During this stage, the dough will become sticky but stiff. The apple cider vinegar reacts with the baking powder, contributing to the bagels’ rise and unique texture, while the butter adds richness and moisture.
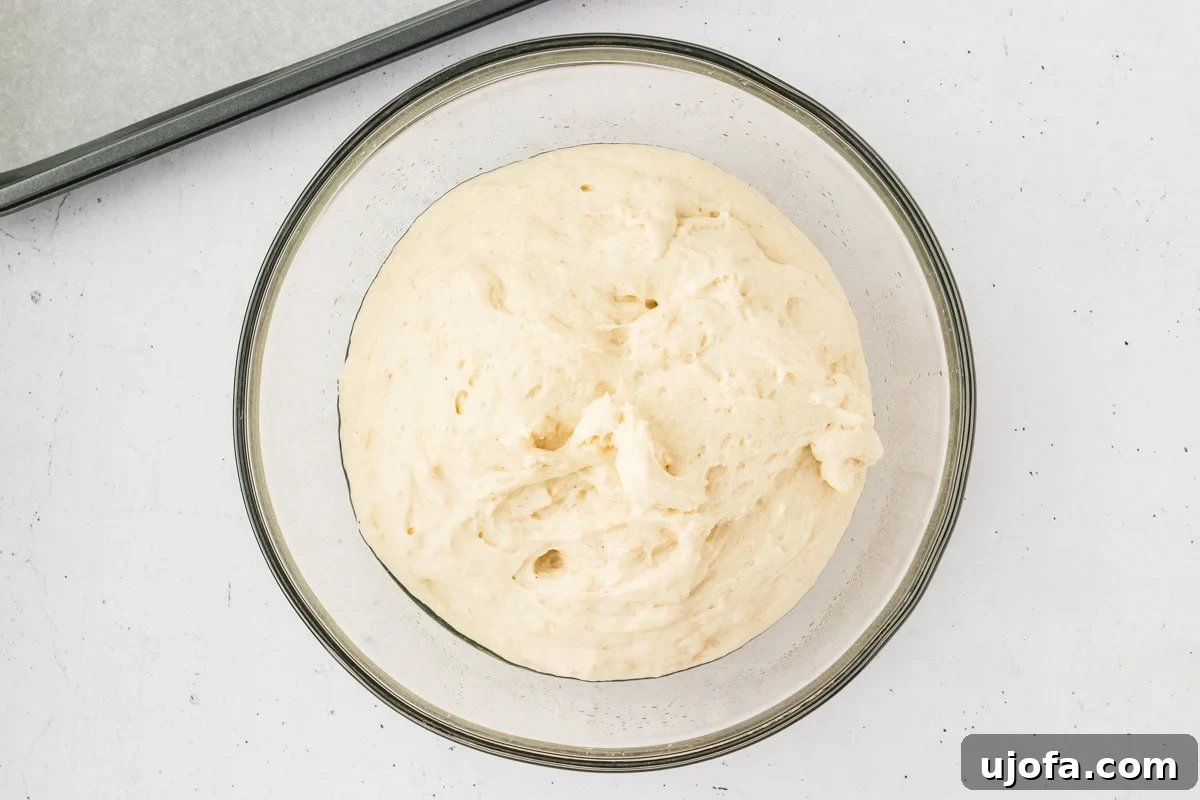
Step 6: First Rise (Proofing)
Transfer the sticky dough from the mixing bowl into the greased oven-safe bowl. Cover the bowl tightly with plastic wrap to trap moisture, then drape a clean kitchen towel over the plastic wrap for added warmth. Place the covered bowl in your 100°F (38°C) oven to rise for 20 minutes. This warm, humid environment is crucial for gluten-free yeast dough, allowing it to relax and expand, resulting in light and airy bagels.
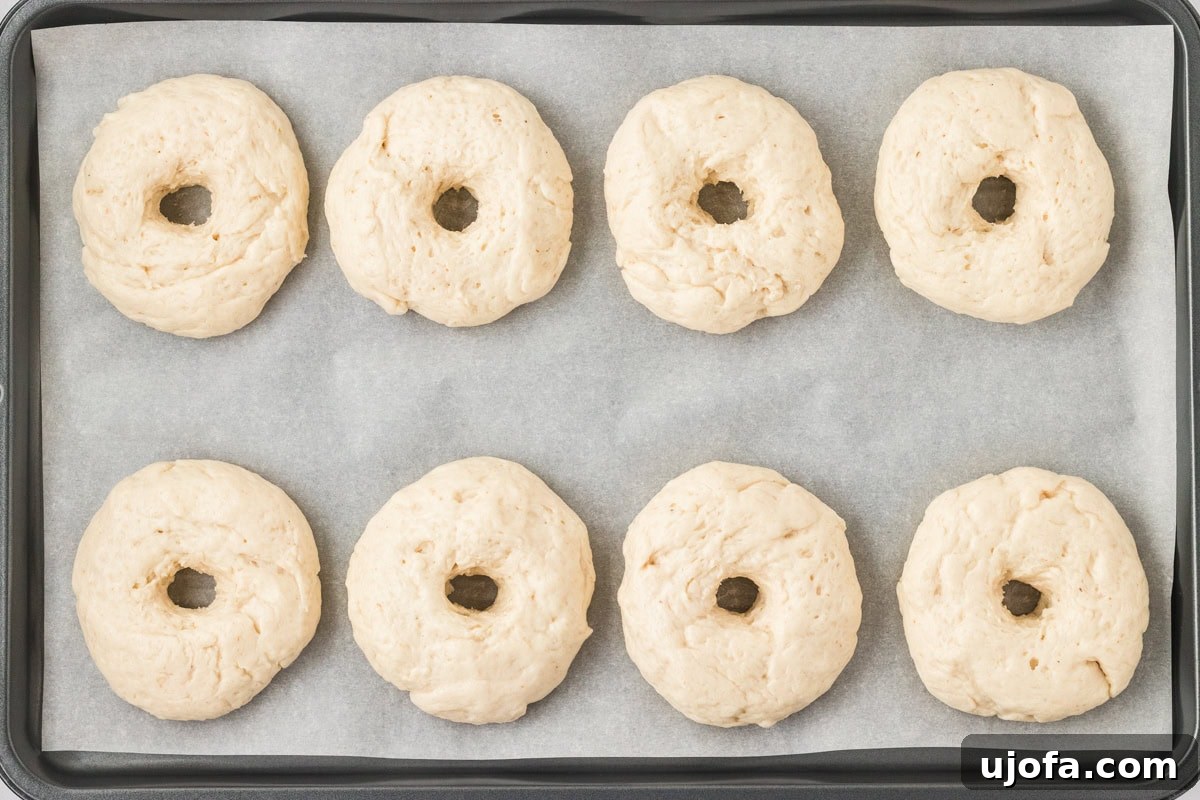
Step 7: Shape the Bagels
While the dough finishes its first rise, line a baking sheet with parchment paper, which will prevent sticking and make cleanup easier. Once the dough has risen, turn it out onto the prepared parchment paper. Divide the dough into 8 equal pieces. For best results, use a kitchen scale to ensure consistent size. Roll each piece into a smooth ball. Then, using your finger or the handle of a wooden spoon, poke a hole through the center of each ball. Gently widen the hole to about 1 inch in diameter, creating the classic bagel shape. Cover the shaped bagels with a clean kitchen towel and let them rest on the counter for 10 minutes. This short rest allows the dough to relax before boiling.
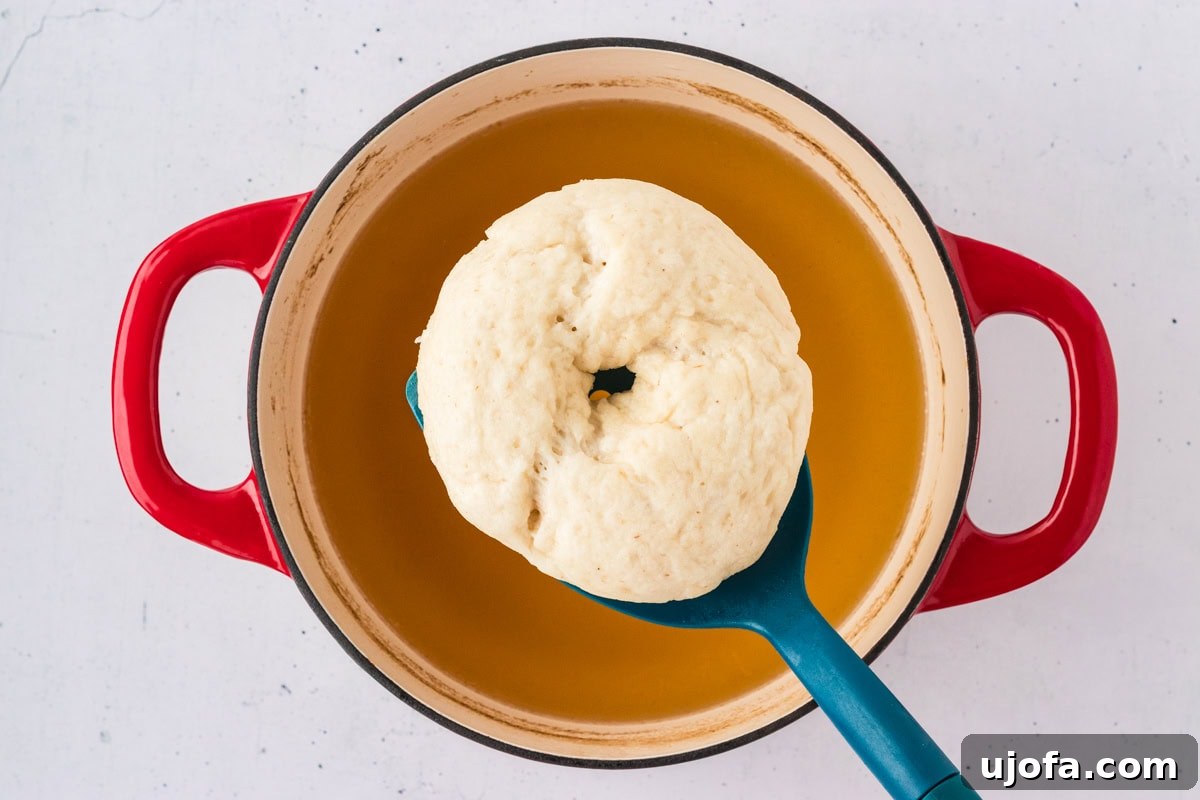
Step 8: Boil the Bagels
Now, preheat your oven to 425°F (218°C). In a large pot (a Dutch oven works wonderfully), add 2 quarts of water. Whisk in ½ cup of honey (or pure maple syrup for a vegan option). Bring the water to a full, rolling boil, then reduce the heat to medium-high to maintain a steady simmer. Carefully place the bagels into the boiling water, one at a time, ensuring you don’t overcrowd the pot; boil only 1-2 at a time if your pot is smaller. Boil each bagel for precisely 30 seconds on one side, then gently flip it over using a slotted spoon or wire skimmer, and boil for another 30 seconds. This crucial boiling step creates the signature chewy crust and helps set the bagel’s shape. After boiling, transfer each bagel back to the parchment-lined baking sheet, making sure it’s flat side down and right side up.
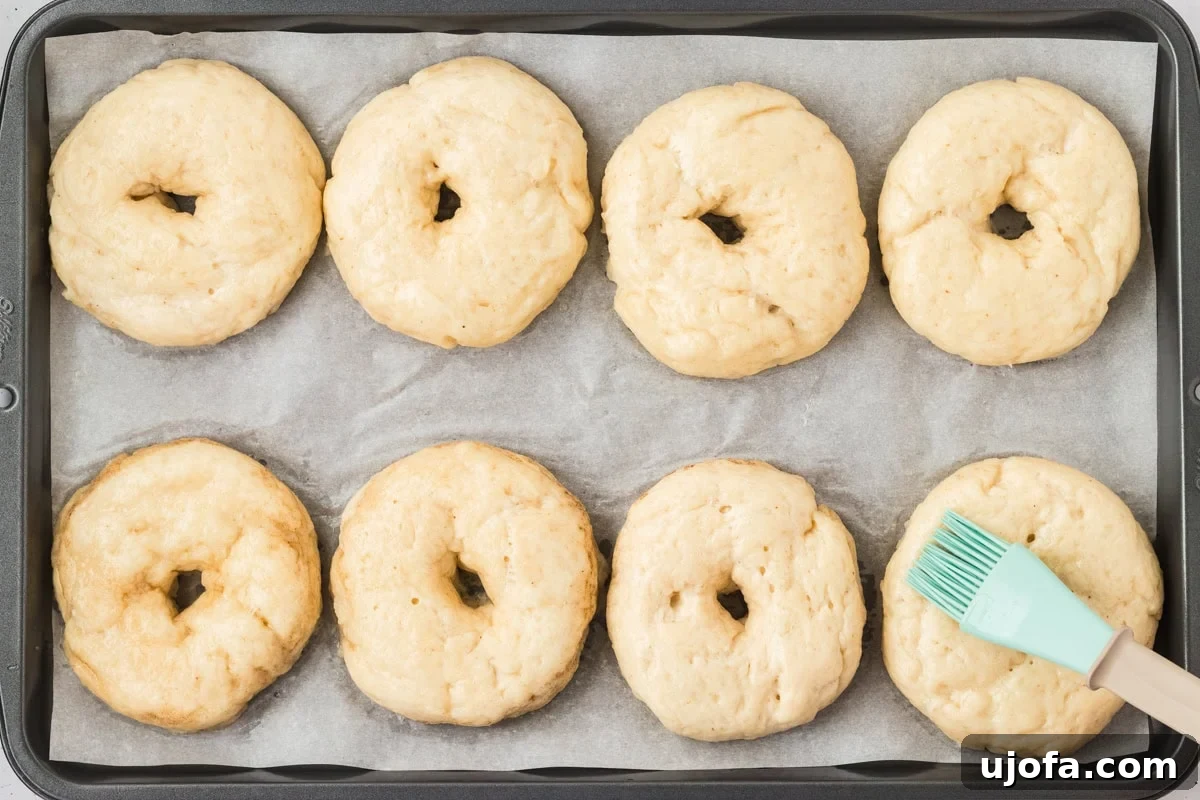
Step 9: Apply Egg Wash
In a small bowl, whisk together 1 large egg white and 1 tablespoon of water. This creates an egg wash that will give your bagels a beautiful golden sheen and help toppings adhere. If you’re making vegan bagels, you can omit this step or use a vegan milk wash (such as unsweetened almond milk) for a similar effect. Brush the tops and sides of each boiled bagel generously with the egg wash.
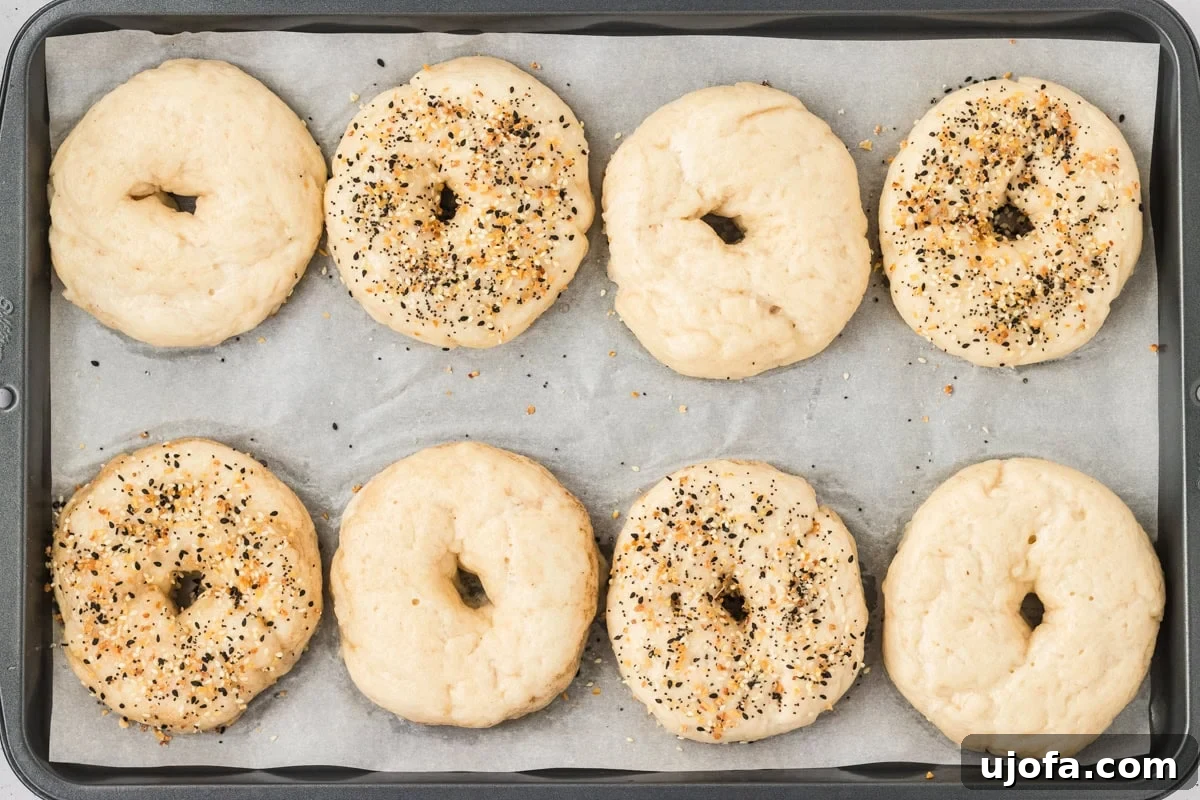
Step 10: Add Toppings
Now is the fun part! Immediately after applying the egg wash, sprinkle your desired toppings onto the bagels. Popular choices include everything bagel seasoning, sesame seeds, poppy seeds, minced dried garlic or onion, or even a cinnamon-sugar blend for a sweeter bagel. Press the toppings gently into the moist surface to ensure they stick during baking. This step is crucial for customizing your best gluten-free bagels.
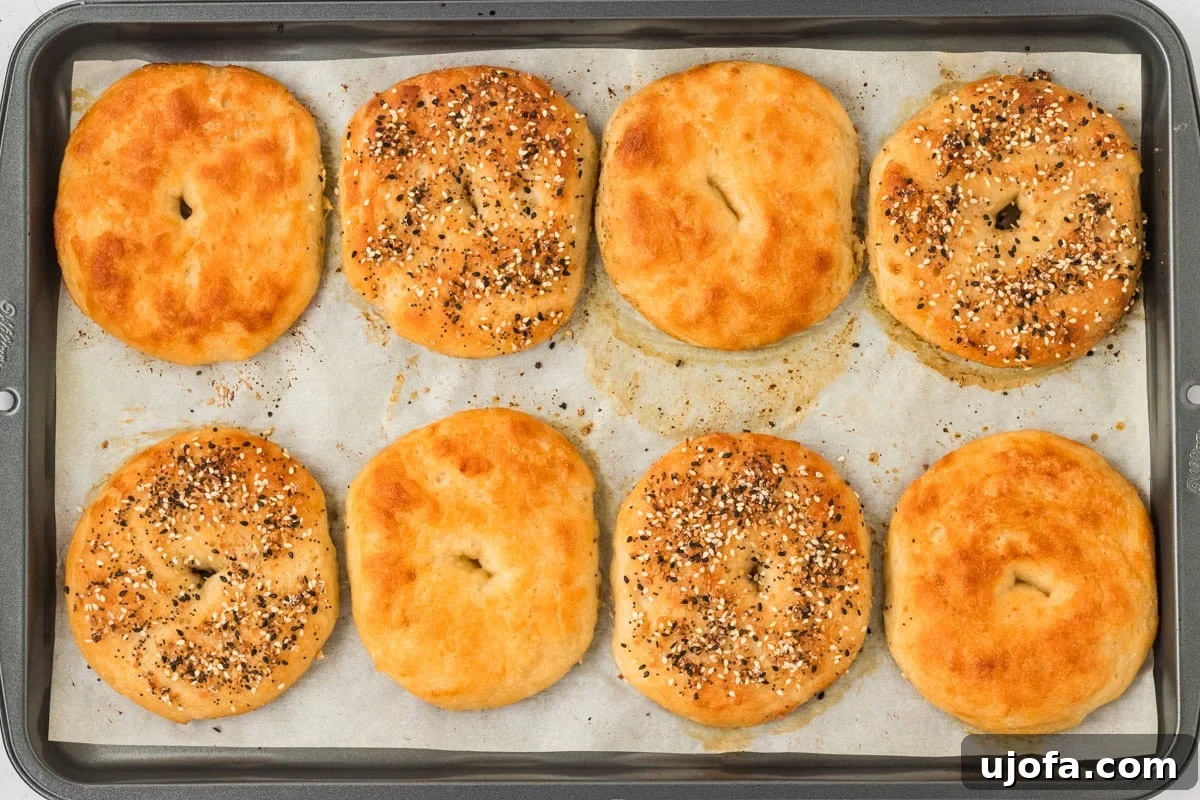
Step 11: Bake the Bagels
Place the baking sheet, with your beautifully topped bagels, onto the middle rack of your preheated 425°F (218°C) oven. Bake for 10 minutes. Then, carefully rotate the baking sheet 180 degrees to ensure even browning across all the bagels. Continue baking for an additional 15 minutes, or until the tops of the bagels are a rich golden-brown color and their internal temperature reaches 180°F (82°C). Keep in mind that all ovens vary, so monitor your bagels closely during the last phase of baking. Remove the baking sheet from the oven once baked to perfection.
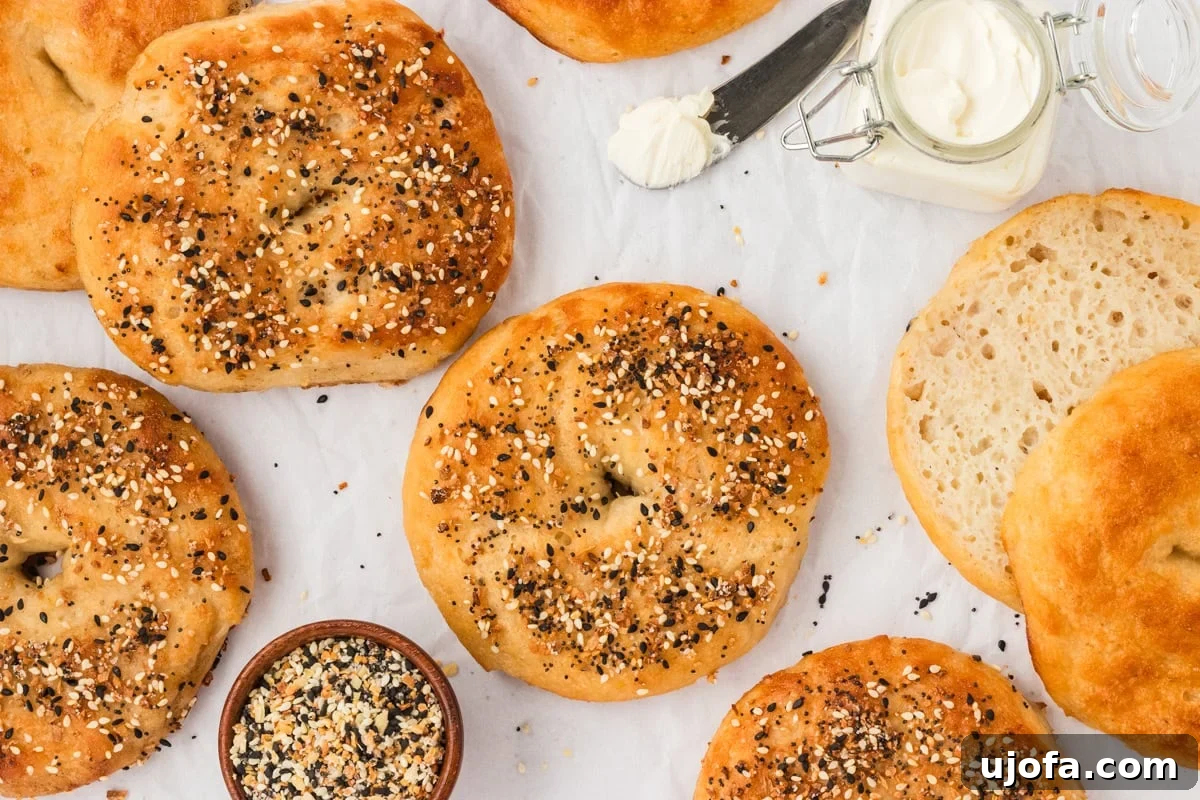
Step 12: Cool and Store
Once baked, immediately remove the bagels from the hot oven. Allow them to cool completely on the baking sheet for at least 20 minutes before attempting to slice or serve them. This cooling time is essential for the internal structure to fully set, ensuring your bagels have that desirable chewy texture and aren’t gummy inside. Once fully cooled, store any leftover bagels in an airtight container at room temperature for up to 3 days to maintain their freshness.
Making Dairy-Free & Vegan Gluten-Free Bagels
This recipe is incredibly adaptable for those with additional dietary needs, making it simple to create delicious dairy-free and vegan gluten-free bagels. Here’s how to make the easy swaps:
- For Dairy-Free Bagels: The only dairy ingredient in this recipe is unsalted butter. Simply substitute it with your favorite dairy-free butter alternative. Brands like Smart Balance or Miyoko’s Kitchen Cultured Vegan Butter work wonderfully, providing a similar fat content and flavor profile.
- For Vegan Bagels: To make this recipe completely vegan, you’ll need to make two simple substitutions:
- Butter: As with dairy-free bagels, use a high-quality vegan butter substitute.
- Honey: The recipe calls for honey in the boiling water. Replace this with an equal amount of pure maple syrup. Maple syrup provides the necessary sugars for browning and flavor development during boiling, without using an animal product.
- Egg Wash: The egg white wash gives the bagels a glossy finish and helps toppings stick. For a vegan alternative, you can omit the wash entirely (the bagels will still be delicious, just a little less shiny). Alternatively, use a brush with unsweetened plant-based milk (like almond or soy milk) or a mixture of maple syrup and water for a similar effect.
By making these straightforward adjustments, you can enjoy these fantastic homemade gluten-free bagels regardless of your dietary preferences!
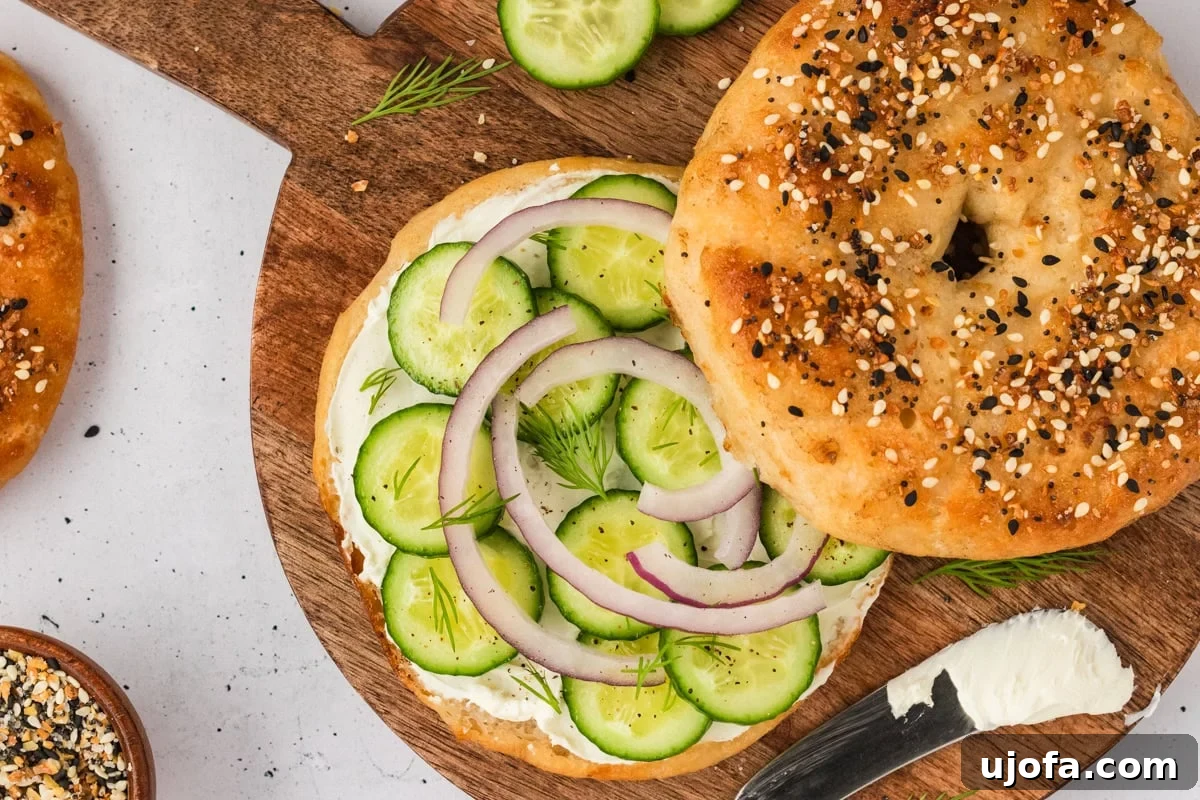
Delightful Serving Suggestions
These chewy gluten-free bagels are incredibly versatile, offering endless possibilities for breakfast, lunch, or even a satisfying snack. Here are some of my favorite ways to enjoy them:
- Classic Cream Cheese: My absolute favorite way to savor these bagels is fresh out of the oven, still warm, and generously slathered with your favorite cream cheese. A plain cream cheese allows the bagel’s flavor to shine, but don’t hesitate to experiment with chive, vegetable, or even a sweet strawberry cream cheese.
- Avocado Toast Bagel: For a nutritious and trendy option, toast your bagel until lightly crisp, then mash ripe avocado onto it. Sprinkle with flaky sea salt, red pepper flakes, and a squeeze of lime juice for extra zing.
- Breakfast Sandwich: Elevate your breakfast by turning a bagel into a hearty sandwich. Fill it with scrambled eggs, a slice of cheese (dairy-free if preferred), and a plant-based sausage patty or crispy bacon.
- Lunchtime Deli Sandwich: These sturdy bagels make an excellent base for a robust lunch sandwich. Layer with your favorite deli meats like turkey or ham, crisp lettuce, tomato slices, a hint of mustard or mayonnaise, and some sharp cheddar (or a vegan cheese alternative).
- Sweet & Simple: For a sweet treat, spread a toasted bagel with almond butter, peanut butter, or hazelnut spread, then top with sliced bananas, a drizzle of honey (or maple syrup), and a sprinkle of cinnamon.
- Smoked Salmon & Capers: For a sophisticated brunch, top a bagel with a smear of cream cheese, thinly sliced smoked salmon (lox), a sprinkle of capers, and a few sprigs of fresh dill.
- Garlic & Herb Spread: Mix softened cream cheese with minced garlic, fresh chives, and parsley for a savory spread that pairs perfectly with a plain or everything bagel.
Whether toasted until golden and crisp or enjoyed soft and warm, these best gluten-free bagels are sure to become a staple in your home.
Storage Instructions for Freshness
To keep your homemade gluten-free bagels fresh and delicious for as long as possible, proper storage is key. Here’s how I recommend storing them:
- Room Temperature: For immediate enjoyment, store any leftover bagels in an airtight container or a large zip-top bag at room temperature. They will retain their freshness and soft texture for up to 3 days.
- Freezing for Longer Storage: If you’ve baked a big batch or want to prepare them for future use, these bagels freeze exceptionally well. Once they have completely cooled after baking, wrap each bagel individually in plastic wrap, then place them together in a freezer-safe bag or airtight container. This helps prevent freezer burn and makes it easy to grab just one bagel at a time. They will keep beautifully in the freezer for up to 3 months.
- Thawing and Reheating: When you’re ready to enjoy a frozen bagel, simply remove it from the freezer and allow it to thaw at room temperature for an hour or two. For the best experience, once thawed, toast the bagel in a toaster or reheat it in a preheated oven (at 350°F / 175°C for about 5-7 minutes) until it’s perfectly soft, warm, and golden again. This brings back their fresh-baked taste and texture.
Frequently Asked Questions (FAQs) About Gluten-Free Bagels
Here are some common questions about baking gluten-free bagels, along with helpful answers to guide you.
- Can I use a different gluten-free flour blend?
For yeast-based recipes like bagels, the flour blend is crucial. As mentioned in the tips, I highly recommend Pillsbury Gluten-Free or Better Batter All-Purpose Gluten-Free Flour blends because they are formulated to work well with yeast. Other “1-to-1” or “Measure for Measure” blends might not yield the same chewy texture and could result in a denser or more crumbly bagel, as they are often balanced differently. If you experiment with other brands, look for blends specifically noted as suitable for yeast baking. - How do I know if my yeast is active?
Active yeast is essential for a good rise. After mixing the granulated sugar, warm water, and yeast, cover the bowl and let it sit for 5-10 minutes. If the mixture becomes frothy and bubbly on the surface, your yeast is active and ready to use. If there are no bubbles, your yeast may be old or the water temperature was incorrect. It’s best to discard it and start with fresh yeast and properly warmed water. - Why do I need to boil the bagels before baking?
Boiling the bagels before baking is a traditional and critical step for achieving their characteristic chewy crust and shiny exterior. The hot water gelatinizes the starches on the surface of the dough, which sets the shape and prevents them from over-rising in the oven. This process gives bagels their unique texture that sets them apart from other breads. - My dough is too sticky, what should I do?
Gluten-free yeast doughs are often stickier than traditional wheat doughs. Avoid the temptation to add excessive amounts of extra flour, as this can lead to dry bagels. Instead, lightly flour your hands or oil them with a little gluten-free cooking spray when handling and shaping the dough. You can also lightly flour your work surface, but sparingly. The dough should be sticky but still workable. - Can I make these bagels ahead of time?
Yes! You can prepare the dough the night before. After the first rise (Step 6), punch down the dough lightly, shape the bagels (Step 7), and then place them on a parchment-lined baking sheet. Cover tightly with plastic wrap and refrigerate overnight. The next morning, remove them from the fridge, let them come to room temperature for about 30 minutes while your water comes to a boil, then proceed with boiling, egg washing, topping, and baking (Steps 8-11). - What if I don’t have a stand mixer?
No problem! You can mix the dough by hand in a large sturdy bowl. You’ll need to knead the dough for a bit longer, around 10-15 minutes, to ensure all ingredients are well combined and the psyllium husk has fully hydrated and developed its binding properties. It will require some elbow grease, but it’s completely doable.
More Delicious Gluten-Free Breakfast Ideas
If you loved making these gluten-free bagels, you’re sure to enjoy these other delightful gluten-free breakfast recipes:
- Gluten-Free Baked Donuts: A sweet treat perfect for a weekend brunch.
- Easy Gluten-Free Pancakes: Fluffy and simple, a family favorite.
- Banana Oatmeal Muffins: Wholesome and satisfying, ideal for on-the-go.
- Gluten-Free Banana Pancakes: A fruity twist on classic pancakes.
- Gluten-Free Blueberry Scones: Buttery and delicate, great with your morning coffee.