
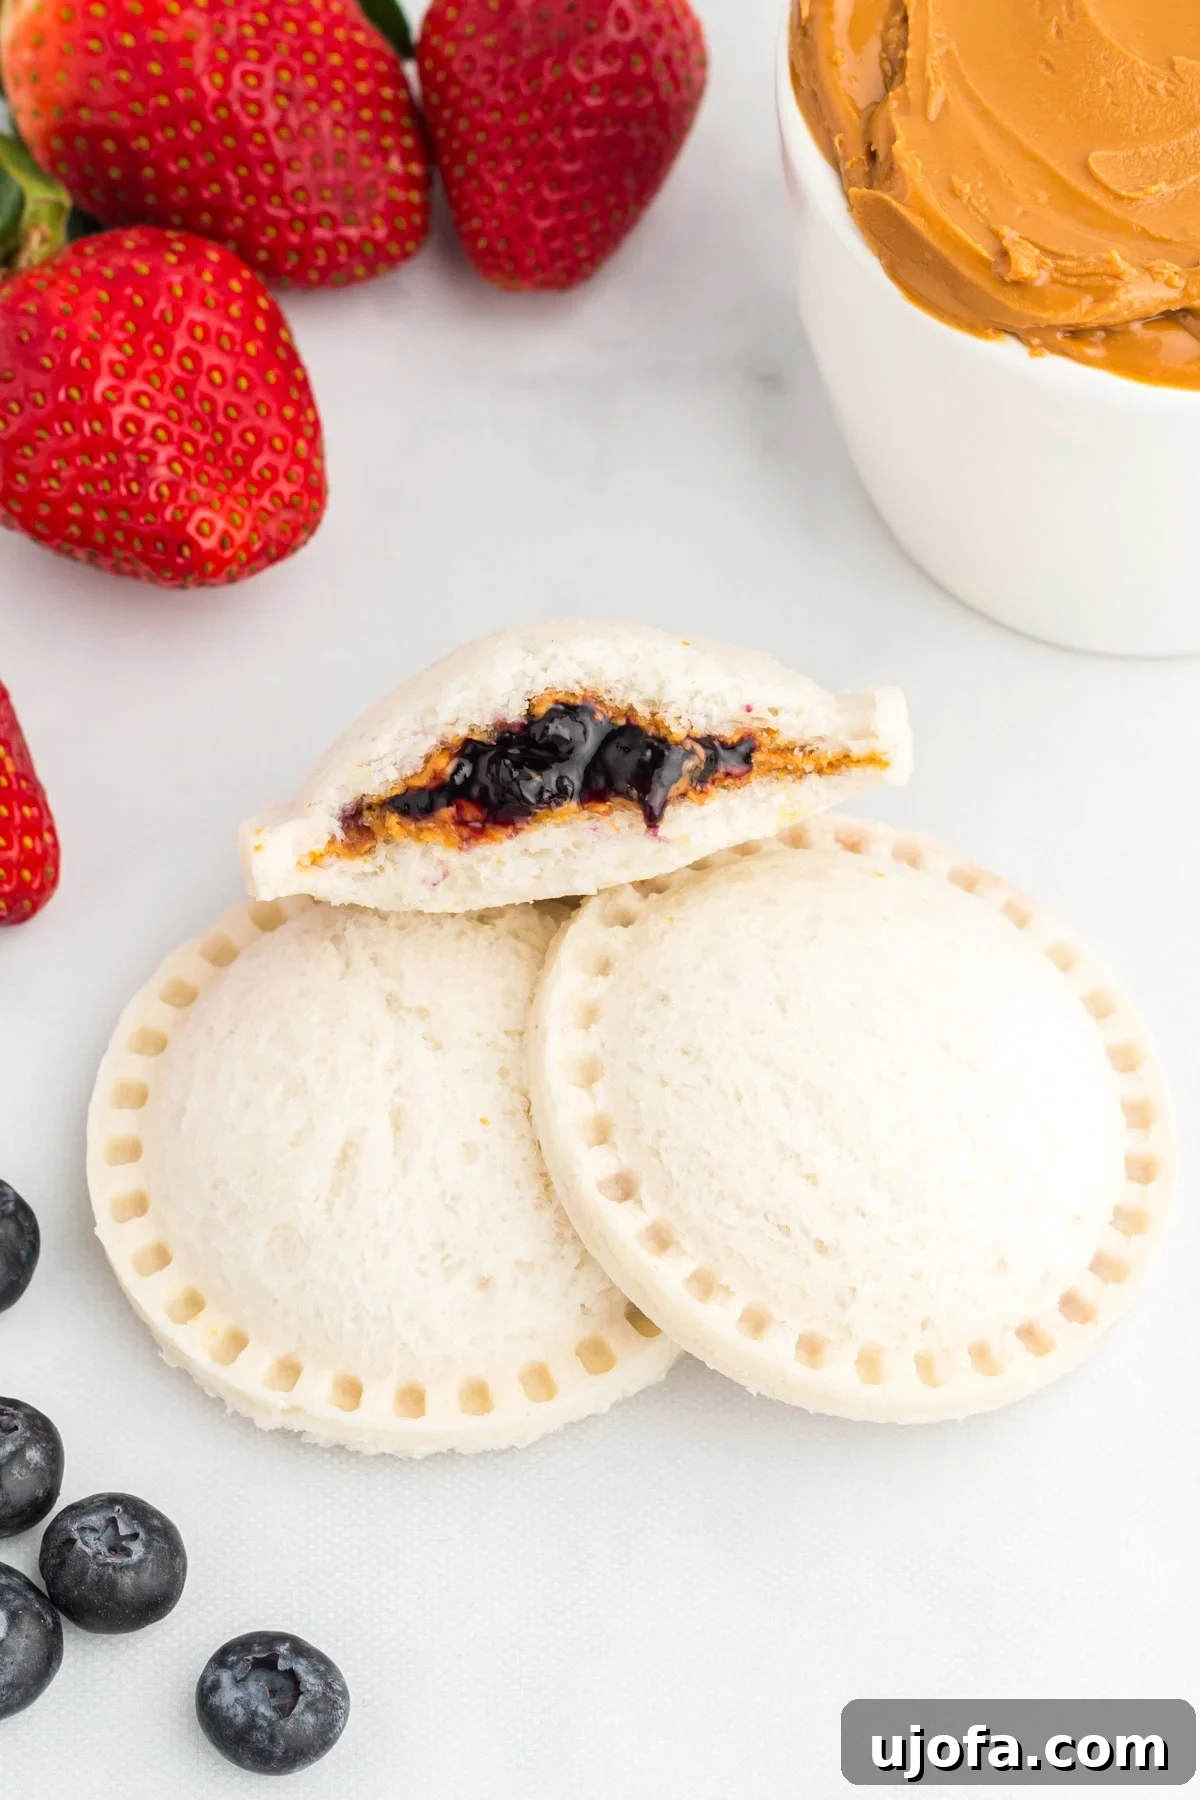
For many, the mention of Uncrustables instantly conjures memories of childhood lunches or a quick, satisfying snack. Before transitioning to a gluten-free lifestyle, these convenient sandwiches were a personal guilty pleasure. The challenge then became: how to recreate that delightful experience in a homemade, gluten-free format? This comprehensive guide outlines how to craft your very own gluten-free uncrustables – simple, highly customizable, and perfectly suited for freezing. Taking just about 15 minutes to assemble, these crustless wonders are an absolute game-changer for anyone seeking efficiency and deliciousness on busy days. Whether you’re meticulously planning meals for the week, preparing nutritious school lunches, or simply require an accessible, ready-to-grab snack from the freezer, these delightful sandwiches are the ideal solution.
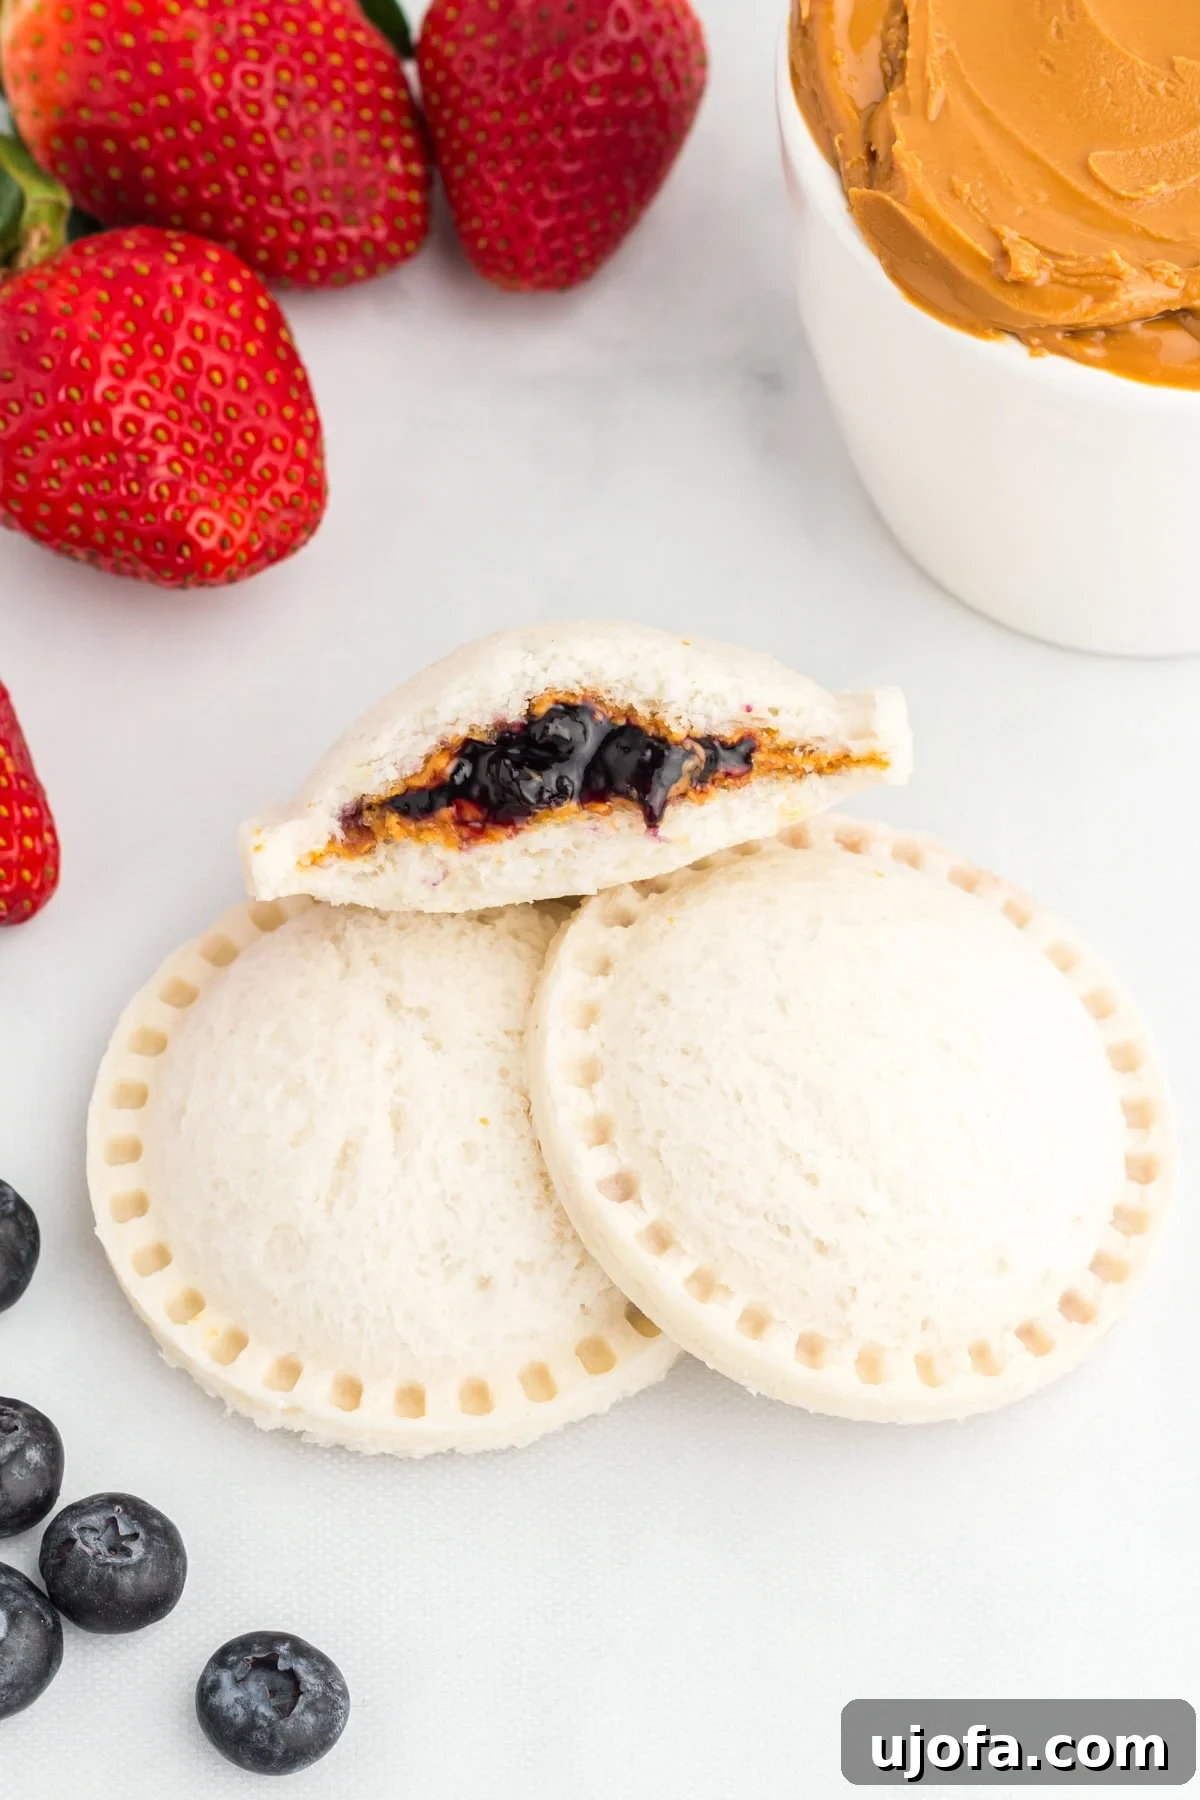
The Ultimate Quick and Freezer-Friendly Gluten-Free Snack
If your quest involves discovering effortlessly prepared, gluten-free snacks suitable for children’s lunchboxes – or even your own mid-day cravings – these homemade gluten-free uncrustables represent a revolutionary culinary hack. Beyond their delicious appeal, they offer significant advantages: they are incredibly budget-friendly, easily adaptable for various dietary preferences and allergies, and supremely simple to customize with your preferred fillings. I personally opt for my trusted homemade gluten-free bread paired with classic peanut butter and my favorite fruit jam. The genius of these sandwiches lies not only in their freezer-friendly nature, making them ideal for quick grab-and-go meals but also in their superior quality as a gluten-free alternative to often less satisfying store-bought options. They bring a touch of nostalgia and comfort, transformed into a healthy, accessible meal or snack for any time of day.
Why Make Your Own Gluten-Free Uncrustables?
Opting to make your own gluten-free uncrustables offers a multitude of benefits over purchasing pre-made versions, even if gluten-free options were readily available. First and foremost is the control over ingredients. You dictate the quality of your bread, the type of peanut butter (or other nut/seed butter), and the sugar content of your jam. This is especially crucial for those managing specific allergies or simply preferring to avoid artificial ingredients and excessive sugars often found in commercial products. Homemade means no questionable preservatives or hidden additives.
Secondly, cost-effectiveness is a major draw. Gluten-free products can often be significantly more expensive than their traditional counterparts. By making your uncrustables at home, you leverage bulk purchases of gluten-free bread (or even bake your own!) and fillings, drastically reducing the per-sandwich cost. This makes them a much more sustainable and economical choice for regular consumption, particularly for families.
Thirdly, the customization possibilities are endless. While classic peanut butter and jelly is a beloved combination, your homemade uncrustables aren’t limited. Imagine almond butter and banana slices, sunbutter and apple butter, or even a savory spread like hummus and finely diced cucumber. This adaptability ensures that everyone in the family can have a sandwich tailored to their exact preferences and dietary needs, preventing food boredom and encouraging healthy eating habits.
Finally, the sheer convenience factor cannot be overstated. A batch of homemade gluten-free uncrustables can be prepared in minutes and then stored in the freezer for weeks or even months. This means you always have a wholesome snack or quick meal ready to go, eliminating last-minute stress during busy mornings or unexpected hunger pangs. They’re perfect for school lunches, spontaneous picnics, road trips, or simply as a fuss-free snack at home.
Essential Tips for Perfecting Your Gluten-Free Uncrustables
Crafting the ideal gluten-free uncrustable requires a few specific considerations to ensure they are as delicious and well-sealed as their conventional counterparts. Here are some detailed gluten-free tips to guide you:
- Select a Soft, Fresh Gluten-Free Bread: This is arguably the most critical factor. Gluten-free breads vary significantly in texture and moisture content. Breads that are overly dry, stiff, or crumbly will inevitably crack and break apart when you attempt to press and seal the edges. A soft, fresh loaf – preferably one that feels slightly pliable – will make a world of difference. It allows for easy compression and creates that distinct, seamless Uncrustable feel without tearing. Consider using bread that has just been purchased or recently defrosted if you keep it frozen.
- Choose the Right-Sized Sandwich Press or Cutter: The size of your bread slices will dictate the ideal diameter for your sandwich press or cookie cutter. While a 3-inch press is commonly used, if your bread slices are larger, you might opt for a slightly bigger cutter to maximize your sandwich size. The key is to ensure there’s ample room around the filling to achieve a solid seal. If your bread is too small, you won’t have enough edge to press, and the filling might squeeze out. Aim for a size that leaves at least a half-inch margin around your filling once placed.
- Pre-soften Dry Bread (If Necessary): If, despite your best efforts, your gluten-free bread feels a bit on the dry side, a quick trick can save the day. Pop the slices into the microwave for a mere 2-3 seconds. This brief burst of heat can soften the bread just enough to make it more pliable and easier to work with. Be extremely cautious not to overdo it, as microwaving for too long will make the bread excessively soft and prone to falling apart when you try to spread the filling or press the edges. The goal is subtle softening, not cooking.
- Master the Art of Sealing: Whether you’re using a dedicated sandwich press sealer or a simple fork, proper sealing technique is essential for preventing leaks and achieving that classic uncrustable look. When using a fork (my preferred method when batch-making), don’t press too hard with the entire fork head. Instead, use just the very tips of the tines. Apply firm, even pressure around the entire perimeter of the sandwich. This technique creates a tight, crimped seal without squishing the entire sandwich too thin or forcing the filling out. Work your way around the circle, overlapping slightly with each press to ensure no gaps remain.
Homemade Gluten-Free Uncrustables
Cheryl Johnson
4 servings
15 mins
15 mins
Print Recipe
Step-by-step photos can be seen below the recipe card.
Ingredients
- 8 slices gluten-free bread
- 1/4 cup total of fillings, such as peanut butter, jam, Nutella, almond butter, or seed butter
Instructions
-
Using a 3-inch cookie cutter or a dedicated sandwich press, cut out circular shapes from two slices of gluten-free bread. Set aside the crusts for other uses (like breadcrumbs!).
-
On each of the two bread circles, spread a thin, even layer of peanut butter (or your chosen nut/seed butter). This essential step acts as a barrier, preventing the jam or other moist fillings from soaking into the bread and making it soggy. Be sure to leave a clear margin around the edges, as spreading too close can cause leakage during sealing.
-
Place a small, conservative amount of jam or other filling directly in the center of one of the prepared bread circles. It’s crucial not to overfill, as excess filling will inevitably spill out when the sandwich is pressed. For a 3-inch bread circle, aim for approximately 1 tablespoon of total filling for each uncrustable, distributed wisely.
-
Carefully place the second bread circle on top of the first, aligning them to create a sandwich with the filling securely in the middle. Utilize a sandwich press sealer or the tines of a fork to press down firmly and evenly around the entire perimeter of the sandwich. This action will create a tight, sealed edge, mimicking the classic uncrustable appearance and keeping the delicious filling contained.
-
Continue to repeat these steps with the remaining slices of gluten-free bread and your chosen fillings until all ingredients are used and your batch of uncrustables is complete.
-
For long-term storage, place individual uncrustables into separate sandwich bags or wrap them tightly. This prevents them from sticking together during freezing. Transfer them to the freezer, where they can be kept for up to 3 months, ready to be enjoyed at a moment’s notice.
Nutrition
Calories: 85kcal
Carbohydrates: 11g
Protein: 2g
Fat: 4g
Saturated Fat: 1g
Polyunsaturated Fat: 1g
Monounsaturated Fat: 2g
Sodium: 38mg
Potassium: 54mg
Fiber: 1g
Sugar: 6g
Vitamin C: 1mg
Calcium: 6mg
Iron: 0.2mg
Nutrition information is automatically calculated, so should only be used as an approximation.
Additional Info
Snack
American
Tried this recipe?
Mention @mamaknowsglutenfree or tag #mamaknowsglutenfree!
How to Make Homemade Gluten-Free Uncrustables: A Step-by-Step Visual Guide
Creating your own batch of gluten-free uncrustables is a straightforward process, especially when you follow these easy steps. Each stage is designed to ensure a perfectly sealed, delicious, and mess-free sandwich, ready for your freezer.
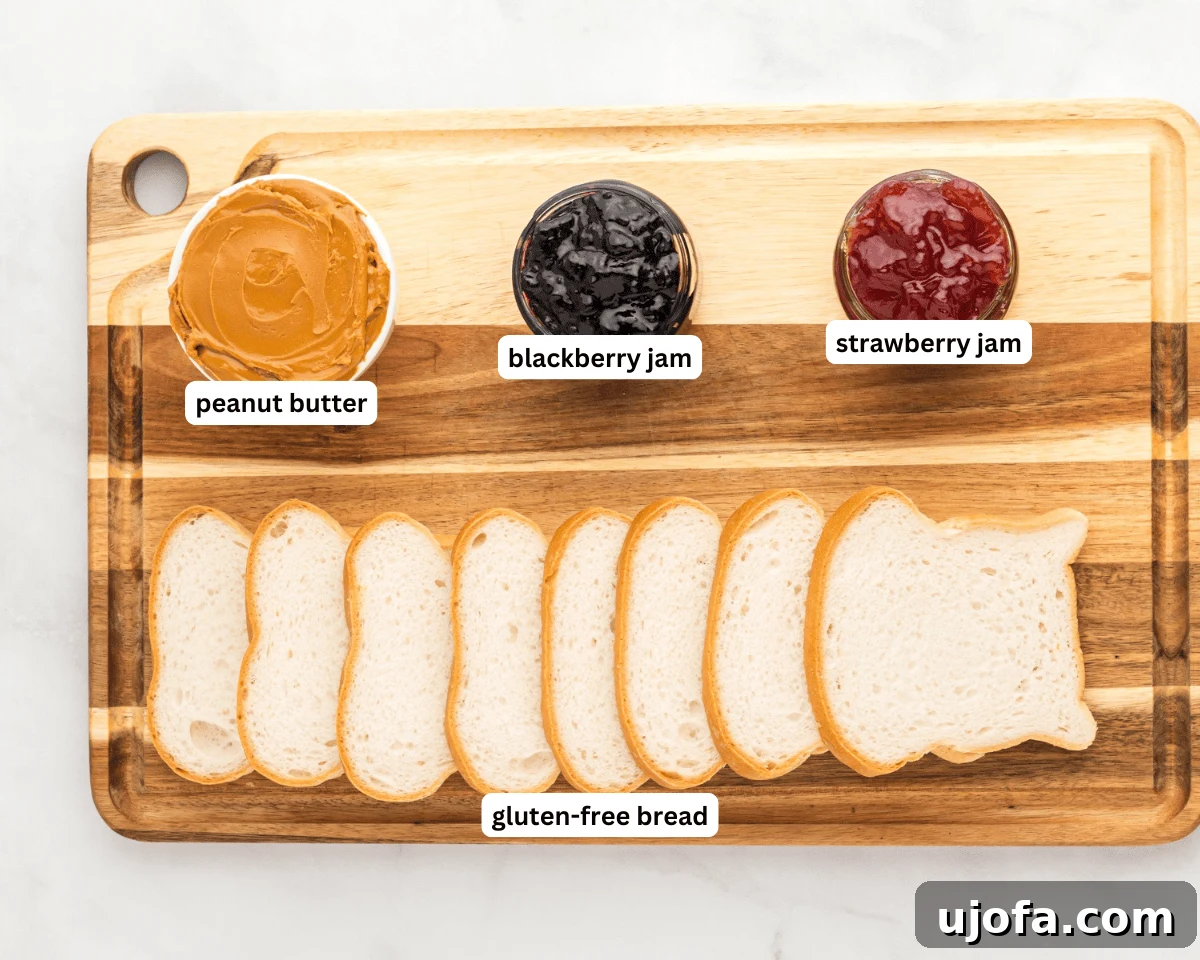
Step 1: Gather Your Ingredients and Tools. Begin by laying out all the necessary components: your chosen soft gluten-free bread, peanut butter, jam, and your cookie cutter or sandwich press. Having everything within reach streamlines the assembly process, making it even quicker.
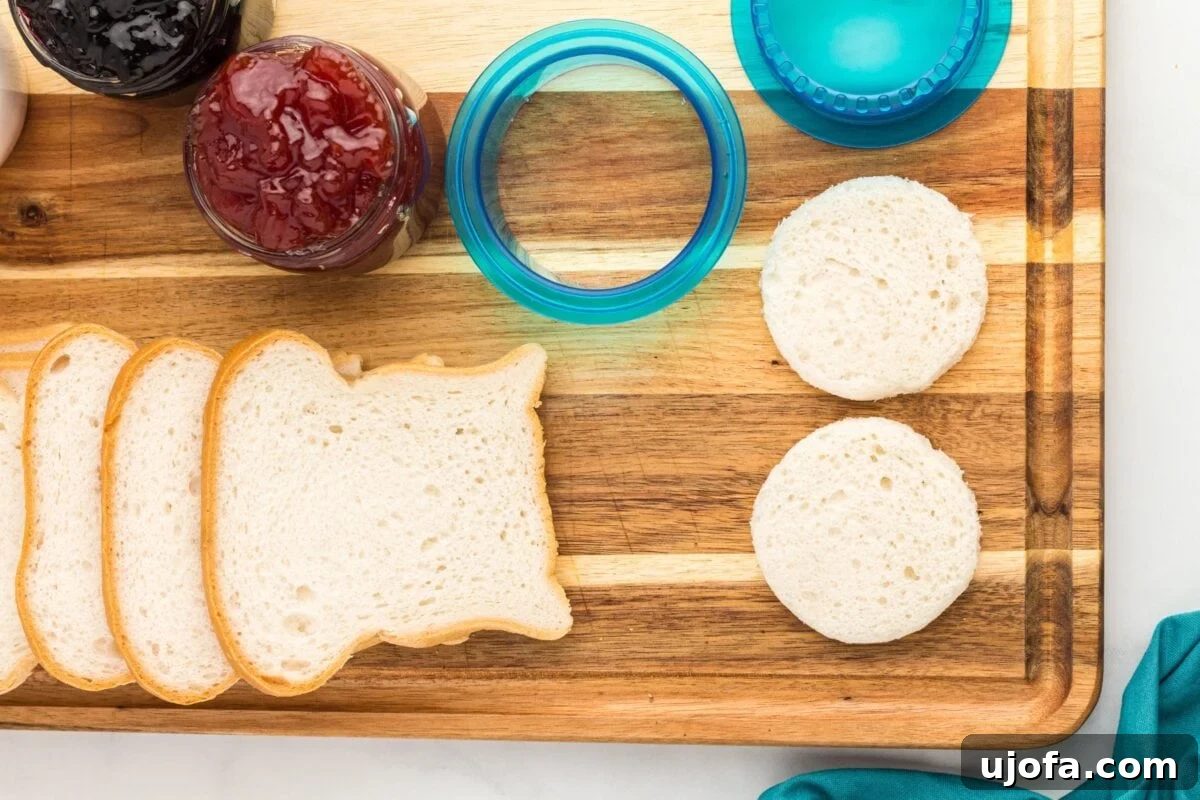
Step 2: Cut Out the Bread Circles. Take two slices of gluten-free bread. Position a 3-inch cookie cutter or the base of your sandwich press over each slice and firmly press down to cut out perfect circles. Carefully remove the crusts – you can save these for gluten-free breadcrumbs or discard them. Repeat this step until all 8 slices of bread have been transformed into circular foundations for your uncrustables.
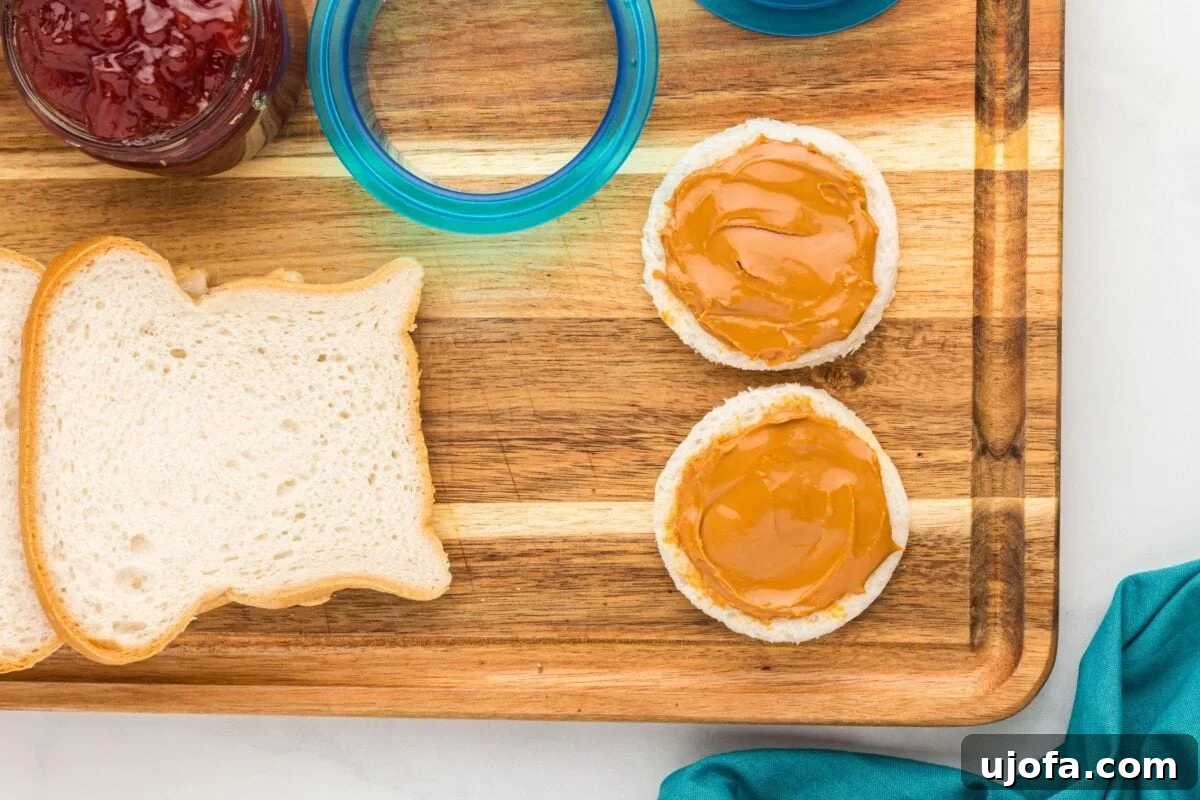
Step 3: Apply the Peanut Butter Barrier. On each of the two bread circles, spread a thin, even layer of peanut butter. This crucial layer serves as a protective barrier, preventing the jam (or any moist filling) from seeping into the bread and causing sogginess. Be diligent about keeping the peanut butter away from the very edges of the bread circles; this foresight will ensure a clean, strong seal in the next steps and prevent messy leaks.
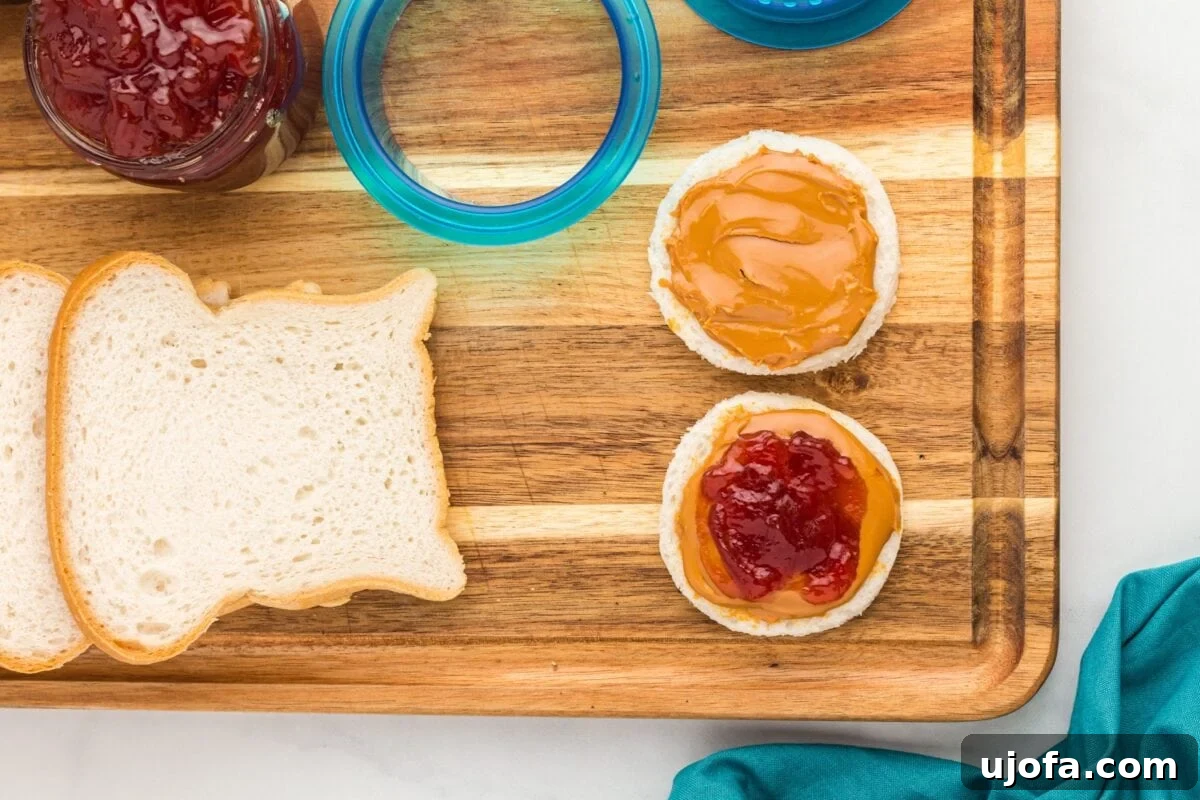
Step 4: Add Your Favorite Filling. With the peanut butter applied, carefully spoon about 1 tablespoon of your chosen filling – be it sweet strawberry jam, rich Nutella, or a healthy seed butter – into the exact center of one of the bread circles. Remember, moderation is key here: resist the urge to overfill. Too much filling will inevitably squeeze out from the edges when you seal the sandwich, leading to a sticky mess and a compromised seal. A 3-inch circle typically accommodates about 1 tablespoon of total filling perfectly.
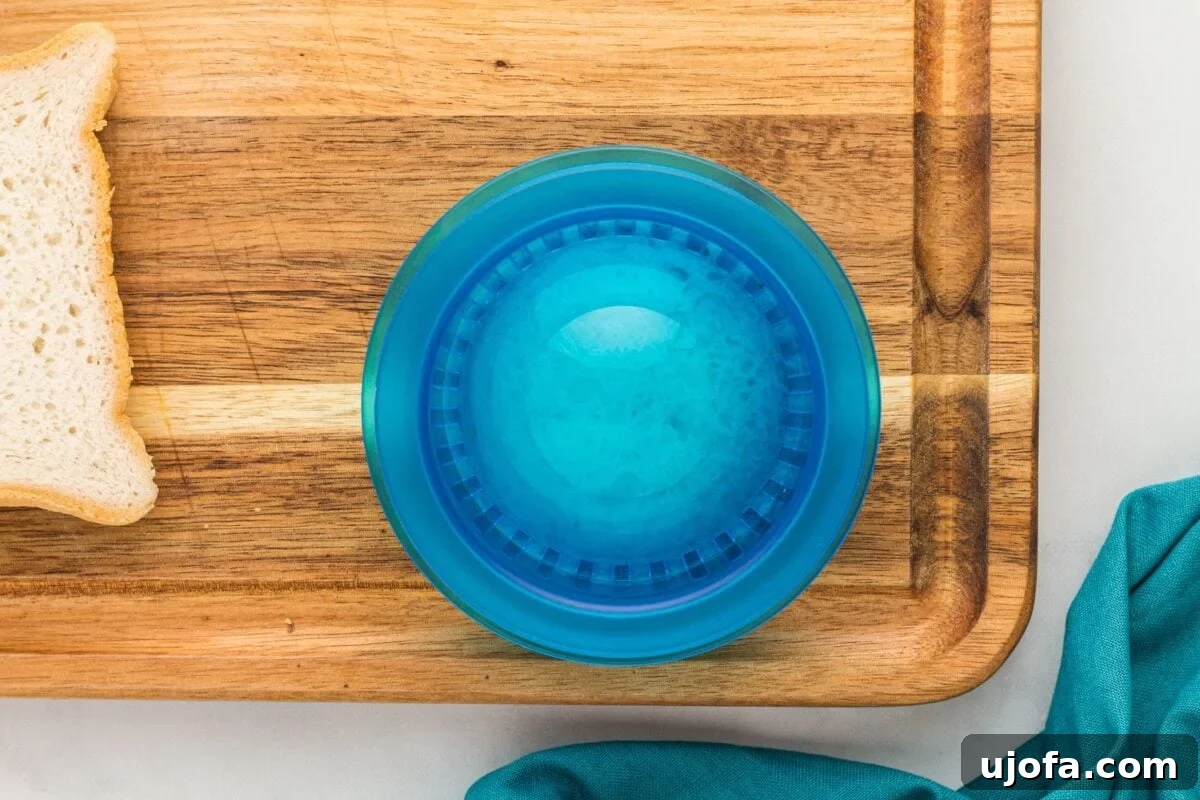
Step 5: Seal the Uncrustable. Now, gently place the second bread circle on top of the first, aligning them precisely so the peanut butter and filling are sandwiched securely in the middle. Take your sandwich press sealer or the back of a fork and press down firmly and evenly around the entire circumference of the bread. This action seals the two bread circles together, creating that signature crustless edge and locking in the delicious filling. Ensure a tight seal to prevent any leakage.
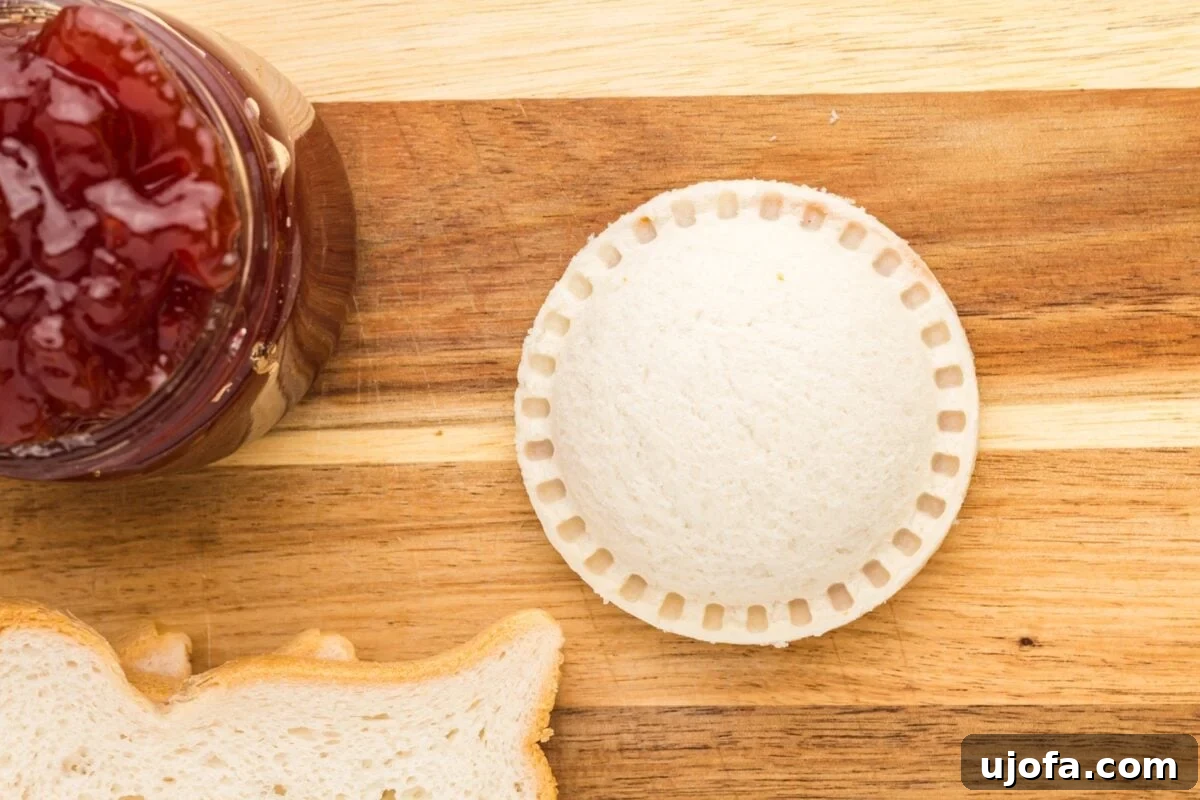
Step 6: Repeat for a Batch of Goodness. Continue the process, repeating steps 2 through 5 with the remaining gluten-free bread slices and fillings. This allows you to create a generous batch of homemade uncrustables in one efficient session, maximizing your meal prep efforts and ensuring you have plenty of grab-and-go snacks or lunch options on hand.
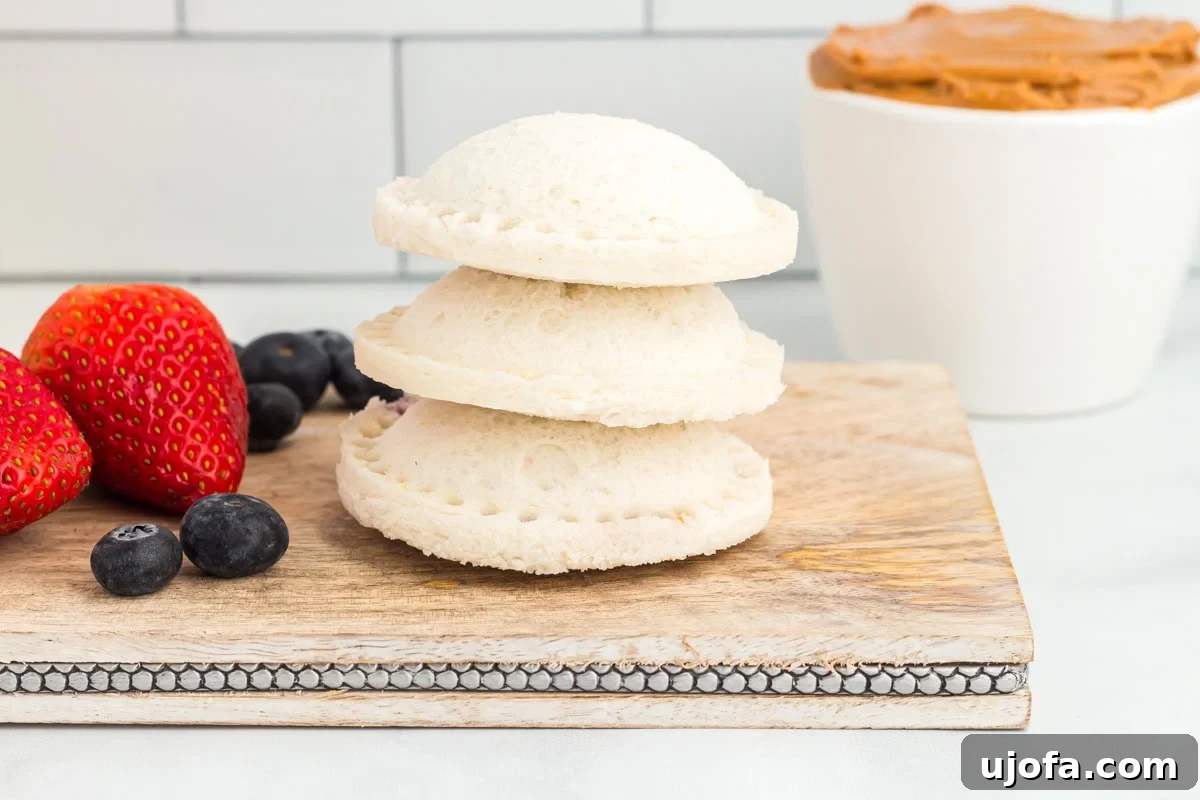
Step 7: Store, Thaw, and Enjoy! Once all your uncrustables are assembled and sealed, they are ready for storage. For freezing, arrange them in a single layer on a parchment-lined baking sheet and place them in the freezer for about 2 hours, until solid. This flash-freezing prevents them from sticking together. Afterward, transfer the frozen uncrustables into individual sandwich bags or a large freezer-safe container. When hunger strikes, simply take one out and allow it to thaw at room temperature or in the refrigerator for a delicious, ready-to-eat gluten-free treat!
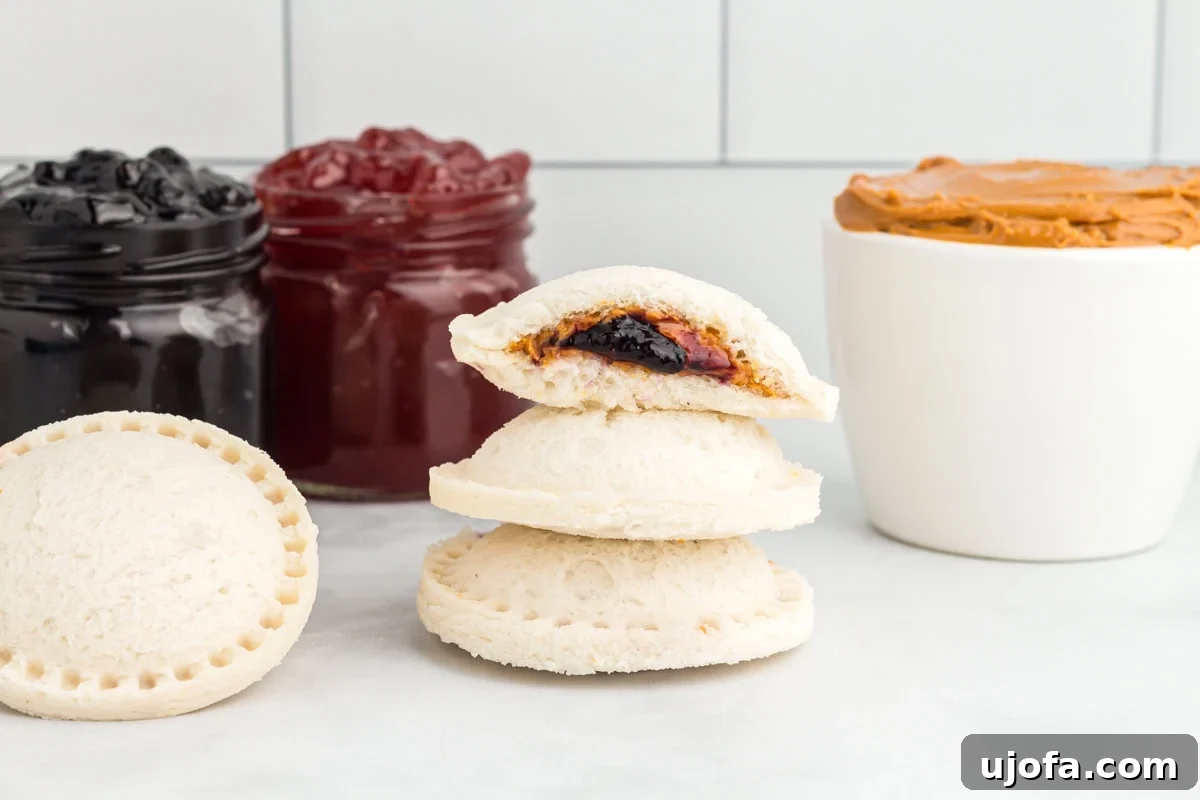
Creative Serving Suggestions for Your Gluten-Free Uncrustables
These versatile homemade gluten-free uncrustables transcend the simple school lunch. While they are indeed perfect for packing into school lunches – proving to be an unfailing hit with kids and adults alike – their utility extends much further. I make it a point to keep a consistent supply in my freezer, knowing they are my secret weapon for those demanding afternoons when a quick, satisfying snack is paramount. Their grab-and-go nature makes them excellent companions for outdoor activities. Toss a few into a cooler, and they become the ideal, mess-free sustenance for road trips, beach outings, hiking adventures, or tranquil picnics in the park.
But why stop at the classics? The beauty of making your own uncrustables lies in the freedom to experiment with an array of fillings, keeping your taste buds delighted and mealtime exciting. Instead of traditional peanut butter, consider switching to almond butter, cashew butter, or even a sunflower seed butter for a nut-free option. Chocolate-hazelnut spread (like Nutella, or a dairy-free alternative) offers a decadent twist, perfect for a treat. For a slightly more sophisticated flavor profile, combine cream cheese with your favorite jam for a creamy, tangy filling. You could also venture into savory territory with a thin layer of hummus and finely grated carrots or a slice of gluten-free deli meat and cheese for a more substantial bite. The possibilities are truly endless, limited only by your imagination and the contents of your pantry, ensuring these little sandwiches remain fresh, fun, and flavorful for every occasion.
Optimal Storage Instructions for Freezer-Friendly Gluten-Free Uncrustables
The true magic of homemade uncrustables lies in their freezer-friendly nature, making them an indispensable tool for efficient meal prep and convenient snacking. To ensure maximum freshness and prevent them from sticking together, proper storage is key.
The optimal way to store these delightful sandwiches is to keep them frozen until you’re ready to enjoy them. After assembling and sealing your uncrustables, arrange them in a single layer on a baking sheet lined with parchment paper. This critical “flash freezing” step ensures that each sandwich freezes individually without clumping together. Pop the baking sheet into the freezer for approximately 2 hours, or until the uncrustables are completely solid.
Once they are frozen solid, you can transfer them from the baking sheet into one large, airtight freezer-safe container or individual freezer bags. Storing them in individual bags is particularly helpful as it allows you to grab just one or two at a time without disturbing the others, and it further guarantees they won’t stick. Label your container or bags with the date to keep track of freshness.
These gluten-free uncrustables can be safely stored in the freezer for up to 3 months, offering a long-lasting supply of convenient snacks or lunch additions. When you’re ready to indulge, simply remove the desired number of uncrustables from the freezer. You can thaw them at room temperature for about 30-60 minutes, or place them in the refrigerator for a few hours or overnight. They are best enjoyed once fully thawed, offering the perfect soft bread and delicious filling experience.
Explore More Delicious Gluten-Free Snacks to Try
Beyond these incredible homemade gluten-free uncrustables, the world of gluten-free snacking is vast and full of delicious possibilities. If you’re looking to diversify your snack repertoire, here are some other fantastic gluten-free treats that are perfect for any time of day, whether for kids, adults, or entertaining guests:
- Gluten-Free Charcuterie Board: An elegant and customizable option perfect for gatherings, offering a variety of cheeses, meats, fruits, and crackers.
- Wholesome Banana Oatmeal Bars: A nutritious and filling snack, great for breakfast on the go or an energy boost.
- Homemade Gluten-Free “Ritz” Crackers: Recreate a classic favorite with a gluten-free twist, perfect for dipping or pairing with cheese.
- Copycat Gluten-Free “Cheez-Its”: Satisfy your cheesy cracker cravings with this homemade version that rivals the original.
- Pão de Queijo (Brazilian Cheese Bread): Deliciously chewy and cheesy, these naturally gluten-free bites are a unique and satisfying snack or side.