
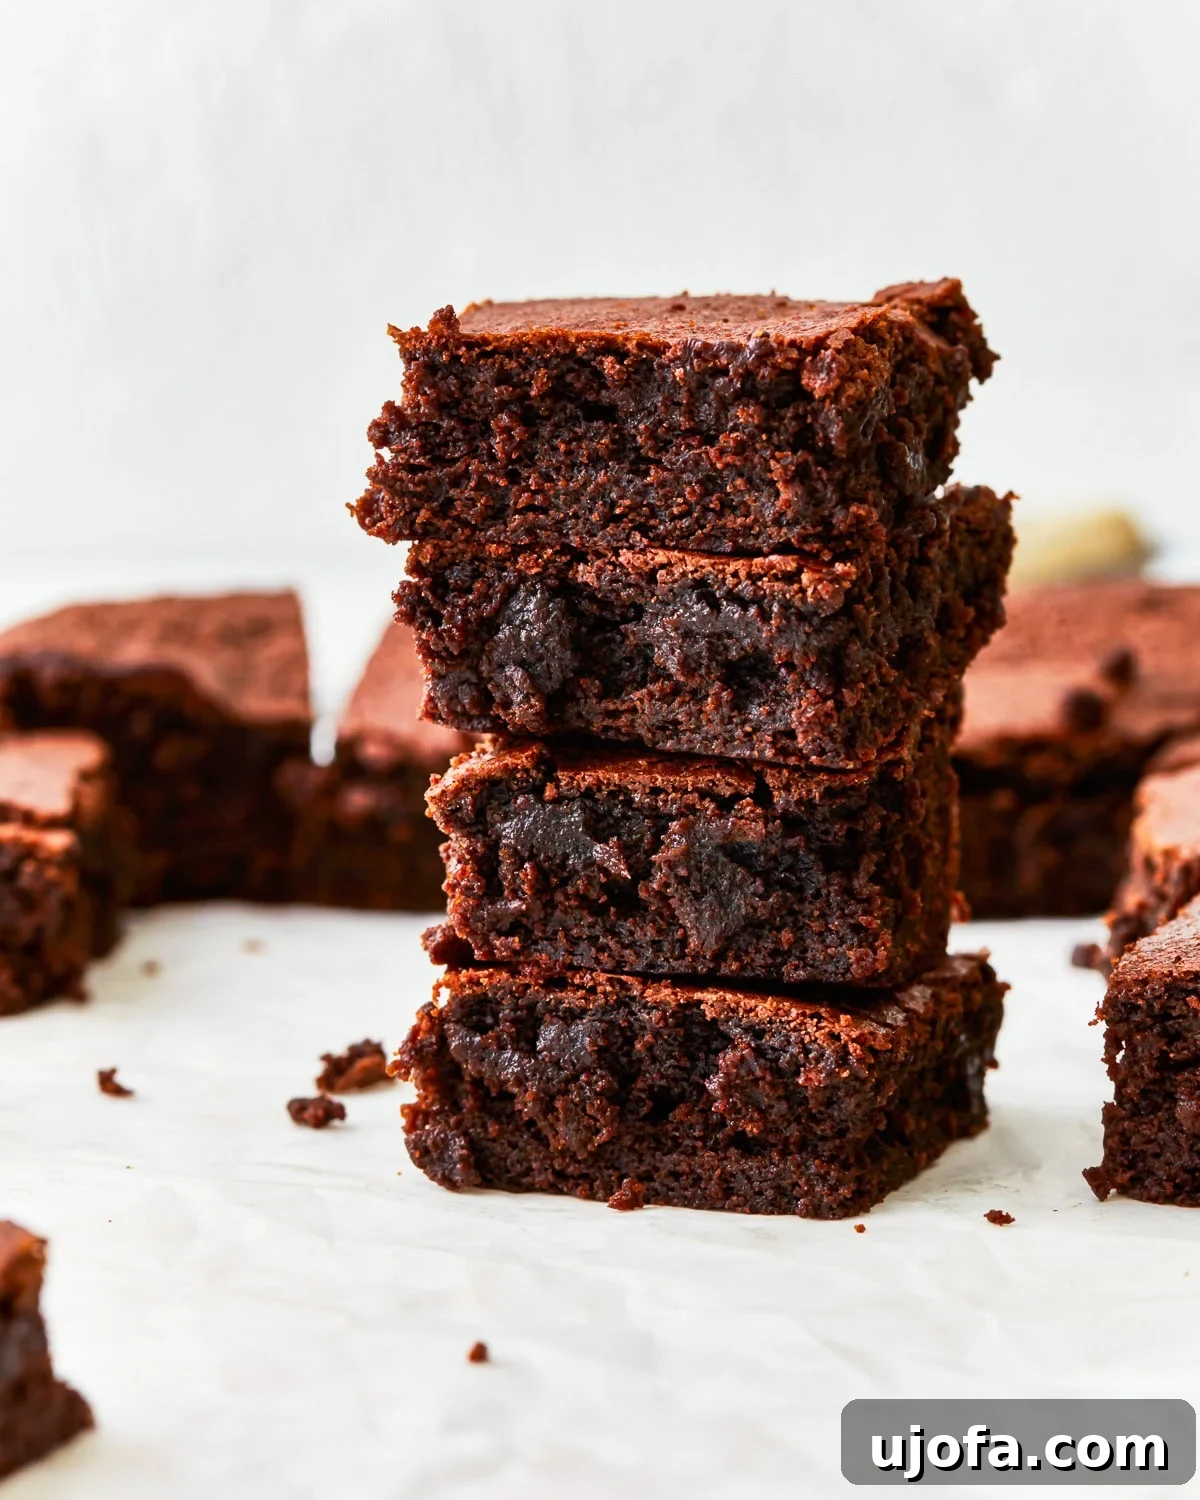
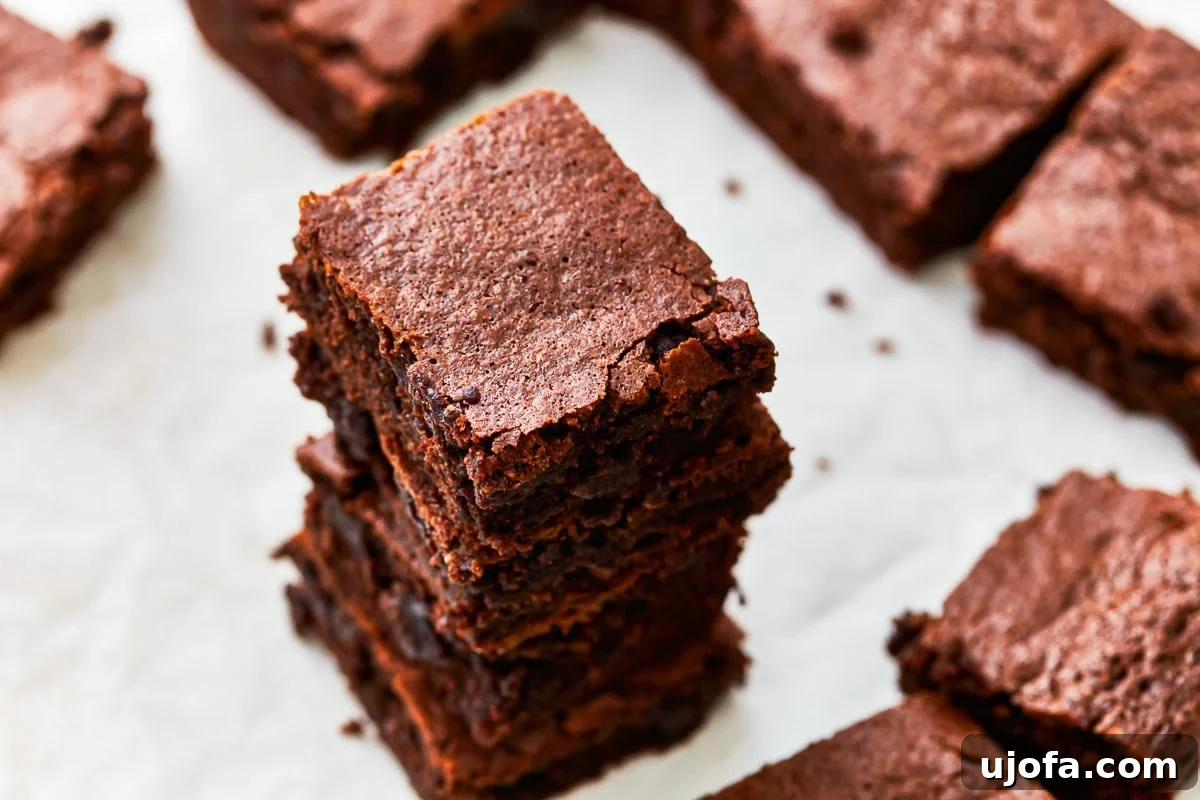
Welcome to a chocolate lover’s paradise! If you’ve been on a quest for the ultimate gluten-free brownie, your search ends here. Prepare to be whisked away to a realm of pure chocolate bliss with every decadent bite of these homemade gluten-free brownies. We’re talking about that perfect brownie experience: a delicate, flaky crust that gives way to a light, cake-like texture, yet with an irresistibly chewy, fudgy interior. And most importantly, these brownies deliver an intense, uncompromised chocolate flavor that truly sings. This isn’t just another recipe; it’s the easiest, most satisfying way to make rich, from-scratch gluten-free brownies that will make you forget all about store-bought mixes. Seriously, once you taste these, you’ll never look back!
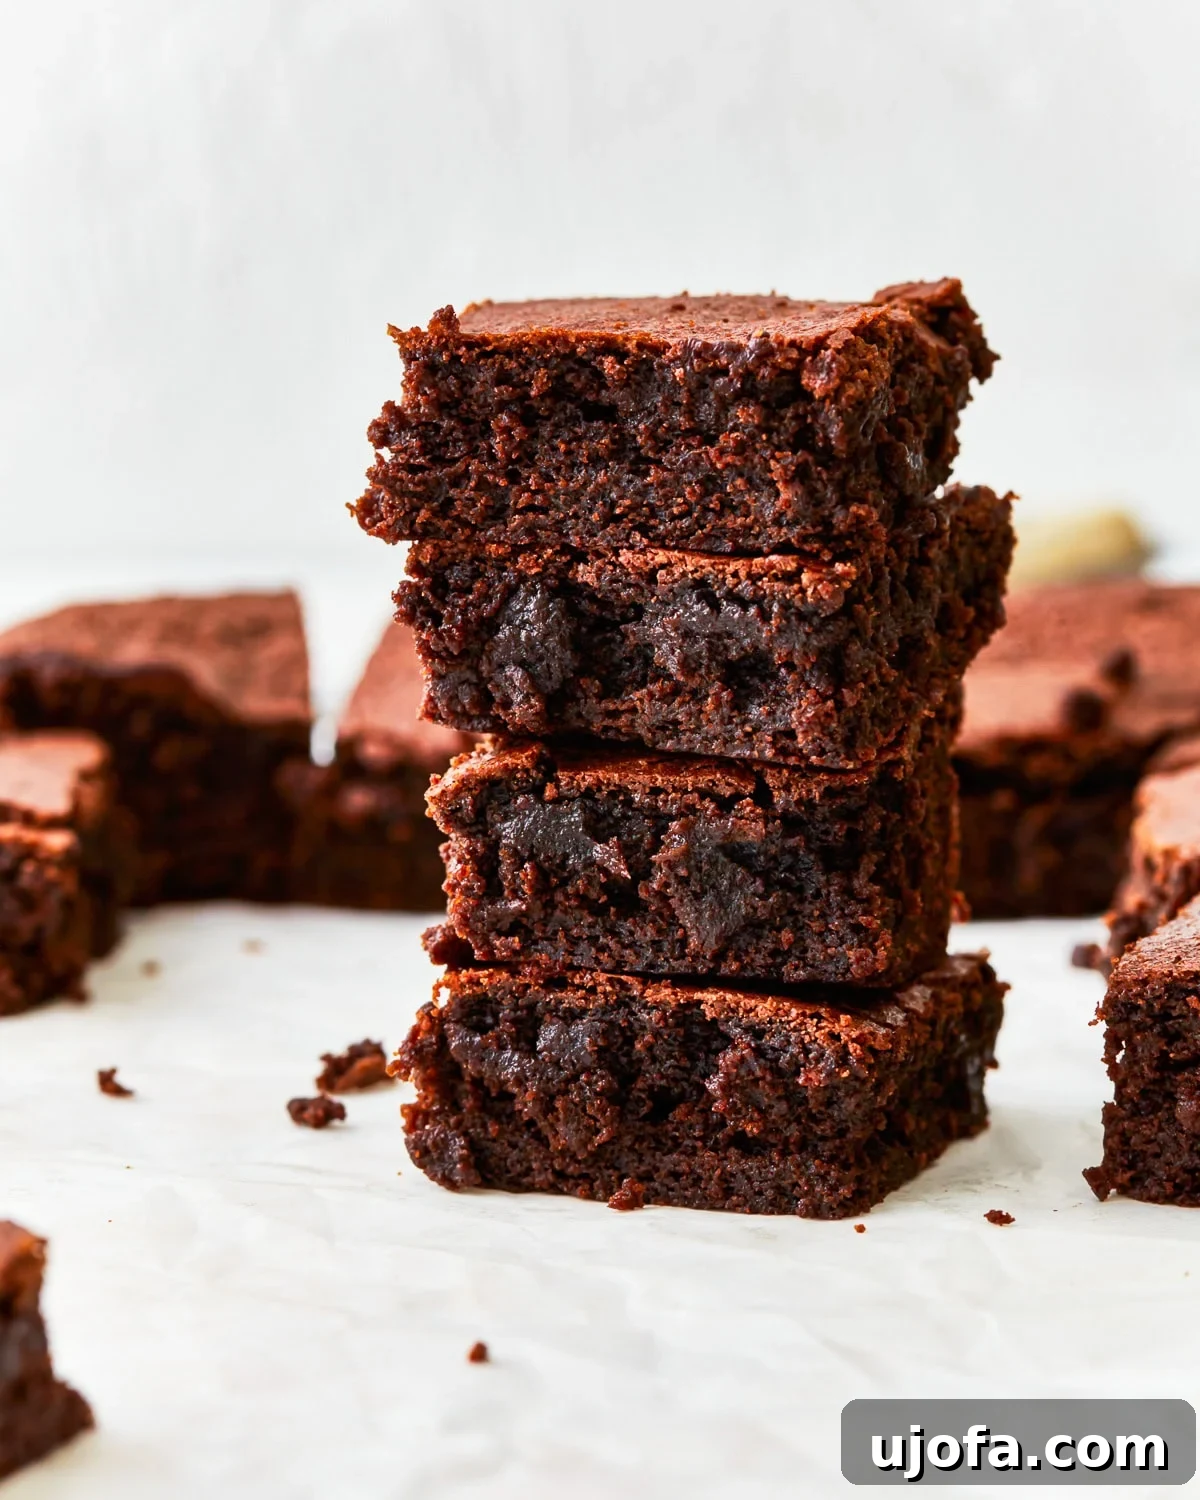
The Ultimate Gluten-Free Brownie Recipe: Rich, Fudgy, and Easy!
There’s an undeniable magic in a perfectly baked brownie. For any chocolate connoisseur, it represents the pinnacle of an easy-to-make dessert that can be ready to enjoy in just over 30 minutes. But not all brownies are created equal, especially when it comes to gluten-free options. Many gluten-free brownie mixes promise convenience but often fall short on flavor and texture, leaving you with dry or crumbly results. That’s why mastering a homemade gluten-free brownie recipe is a game-changer.
Forget those disappointing box mixes. Our homemade gluten-free brownies are everything you dream of: wonderfully fudgy, delightfully chewy, and incredibly soft. You’ll be amazed at how simple it is to achieve this level of decadent perfection right in your own kitchen. This recipe truly lives up to its “one-bowl wonder” title – requiring minimal cleanup and no fancy stand mixer. Just a bowl, a whisk, and a few key ingredients stand between you and the best gluten-free brownies you’ve ever tasted. Get ready to elevate your dessert game and treat yourself to a truly exceptional chocolate experience.
Key Ingredients for Perfect Gluten-Free Brownies
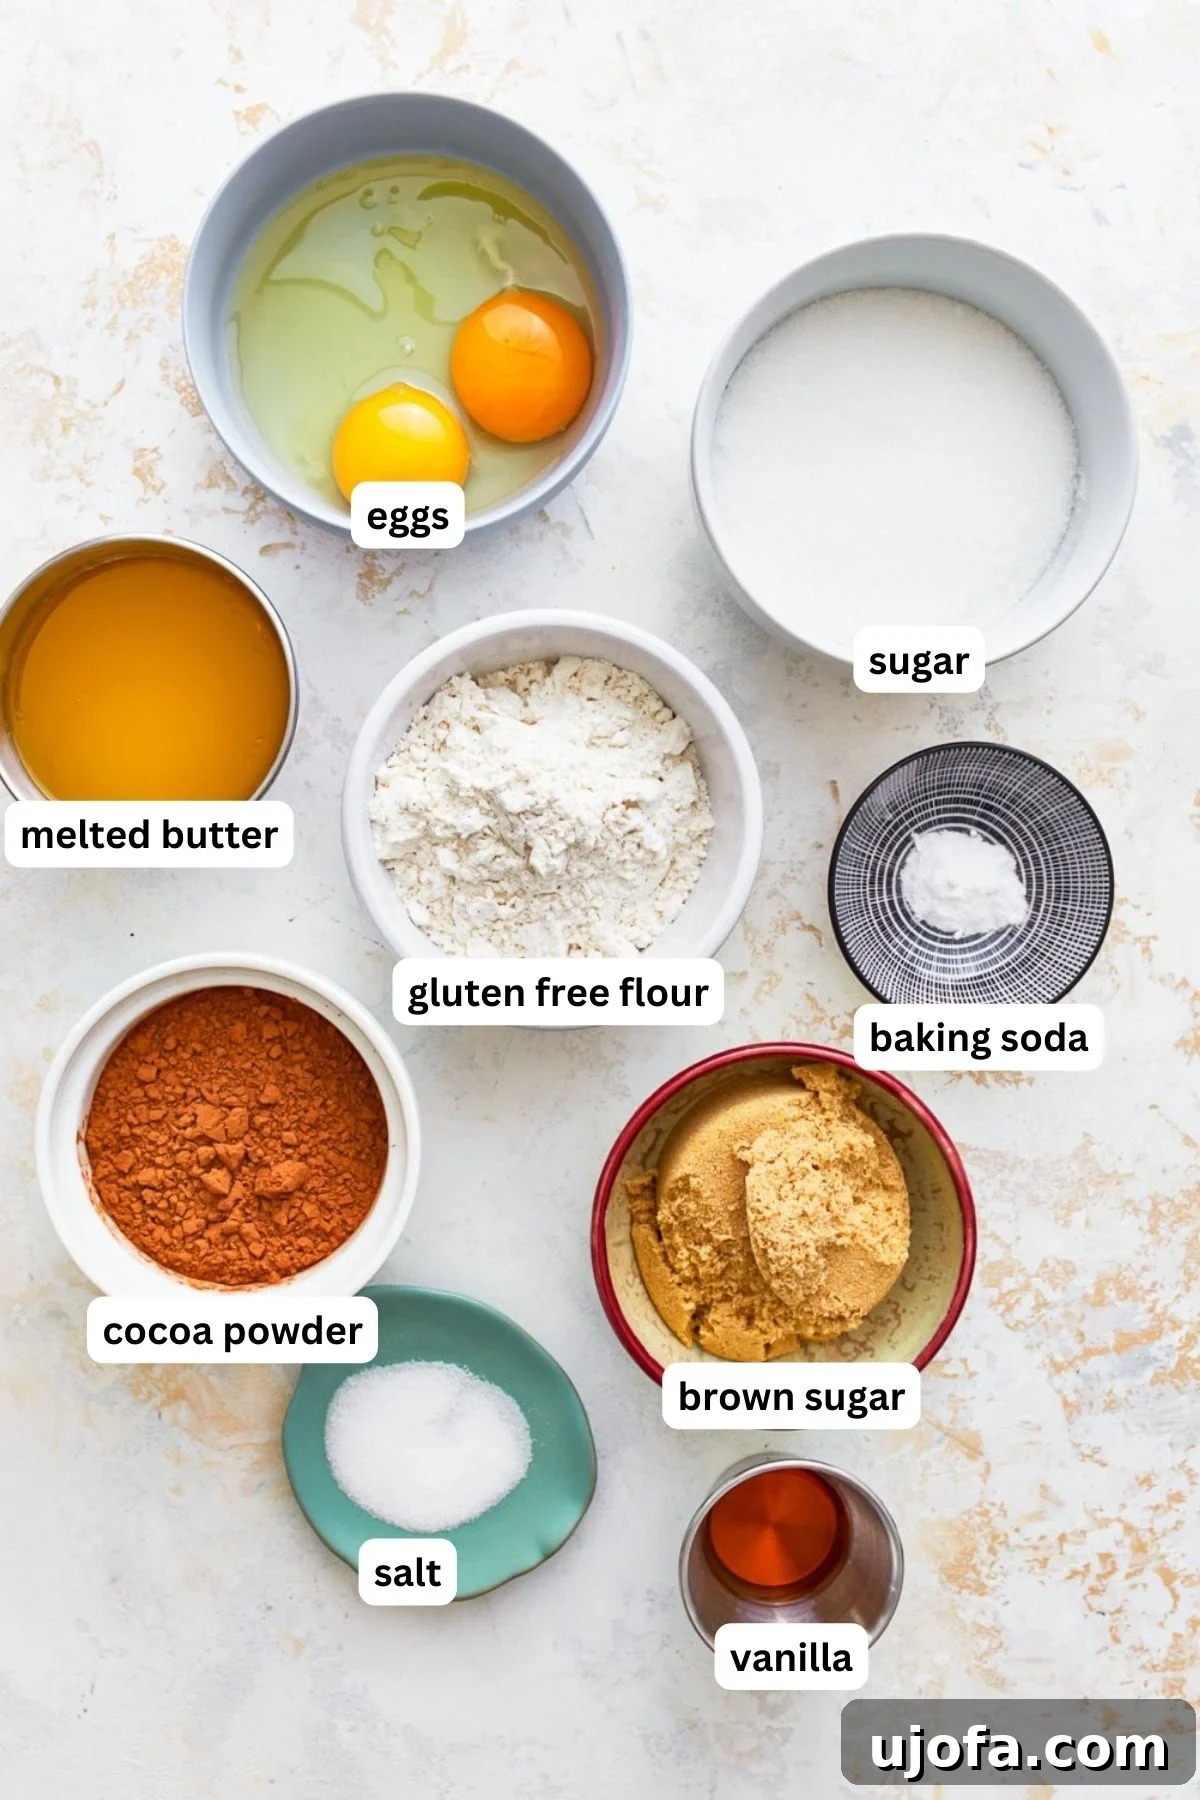
Crafting exceptional gluten-free brownies starts with understanding the role of each ingredient. Here’s a detailed look at what you’ll need and why it matters:
- Unsalted Butter: This is the foundation of rich, moist brownies. Using unsalted butter gives you control over the overall salt content of the recipe. Its fat content contributes significantly to the brownies’ tender crumb and decadent flavor. For those seeking a dairy-free alternative, Smart Balance butter substitute works beautifully, ensuring everyone can enjoy these treats without compromising on taste or texture.
- Sugar (Granulated White Sugar & Brown Sugar): The combination of two types of sugar is crucial for achieving the perfect brownie texture. Granulated white sugar helps create that signature thin, flaky crust on top of the brownies and contributes to their overall sweetness. Brown sugar, on the other hand, adds moisture, depth of flavor (with its subtle caramel notes), and that desirable chewy texture that we all love in a classic brownie.
- Eggs: Eggs are vital for both structure and fudginess. They act as a binder, holding the ingredients together and preventing the brownies from being too crumbly. The yolks contribute richness and fat, enhancing the fudgy texture, while the egg whites provide a bit of lift and structure, ensuring the brownies aren’t overly dense.
- Pure Vanilla Extract: A splash of pure vanilla extract is more than just a flavor enhancer; it’s a secret weapon that elevates the entire chocolate experience. Vanilla doesn’t just add its own sweet aroma; it intensifies and complements the rich cocoa flavor, making the chocolate taste even more prominent and complex.
- Gluten-Free All-Purpose Flour with Xanthan Gum: This is arguably the most critical ingredient for gluten-free baking. Not all gluten-free flours are created equal, and using a high-quality blend designed for baking is essential. We recommend a blend that already contains xanthan gum, such as Pillsbury gluten-free all-purpose flour. Xanthan gum acts as a substitute for gluten, providing elasticity and structure that would otherwise be missing in gluten-free flours. It prevents your brownies from becoming dry and crumbly, ensuring a cohesive and pleasing texture. Different brands may yield varying results, so sticking to a tried-and-true blend is key.
- Cocoa Powder: The heart of any brownie, cocoa powder delivers that deep, rich chocolate flavor. We prefer a good quality unsweetened cocoa powder. Whether you opt for natural cocoa (more acidic, brighter chocolate flavor) or Dutch-processed cocoa (milder, darker, less acidic), both will produce delicious results. Just ensure it’s fresh for the best flavor.
- Baking Soda: As a leavening agent, baking soda helps the brownies rise slightly, preventing them from being overly dense and heavy. It reacts with acidic ingredients (if present, like natural cocoa powder or brown sugar) to create carbon dioxide, resulting in a tender, lighter crumb.
- Salt: Often overlooked, salt plays a crucial role in balancing the sweetness of the brownies and, perhaps surprisingly, enhances the chocolate flavor. Just a small amount can deepen the cocoa notes, making the brownies taste even more intensely chocolatey and well-rounded.
Expert Tips for Baking Flawless Gluten-Free Brownies
Achieving brownie perfection, especially in gluten-free baking, often comes down to a few critical techniques. Heed these tips to ensure your brownies turn out perfectly fudgy and delicious every time:
- Understanding Xanthan Gum: This is paramount for gluten-free recipes. If your chosen gluten-free all-purpose flour blend already includes xanthan gum (which many do, like Pillsbury), absolutely do not add any extra. Adding too much xanthan gum can lead to a gummy, unpleasant texture, making your brownies dense and somewhat slimy instead of light and chewy. Always double-check your flour blend’s ingredient list.
- Accurate Flour Measurement – The “Spoon & Level” Method: Gluten-free flours can be particularly sensitive to how they are measured. The most accurate method is the “spoon & level” technique. Instead of scooping the measuring cup directly into the flour (which can pack it down and lead to too much flour), use a spoon to lightly scoop the flour into the measuring cup until it’s overflowing. Then, use the flat back of a knife or a straight edge to level off the top of the measuring cup. This ensures you get the precise amount of flour needed for the perfect texture, preventing dry or overly dense brownies.
- Don’t Overmix the Batter: Once you’ve added the dry ingredients to the wet, mix just until combined and smooth. Overmixing develops the starches in the gluten-free flour, which can lead to tough or rubbery brownies. A few lumps are perfectly fine and often result in a more tender product.
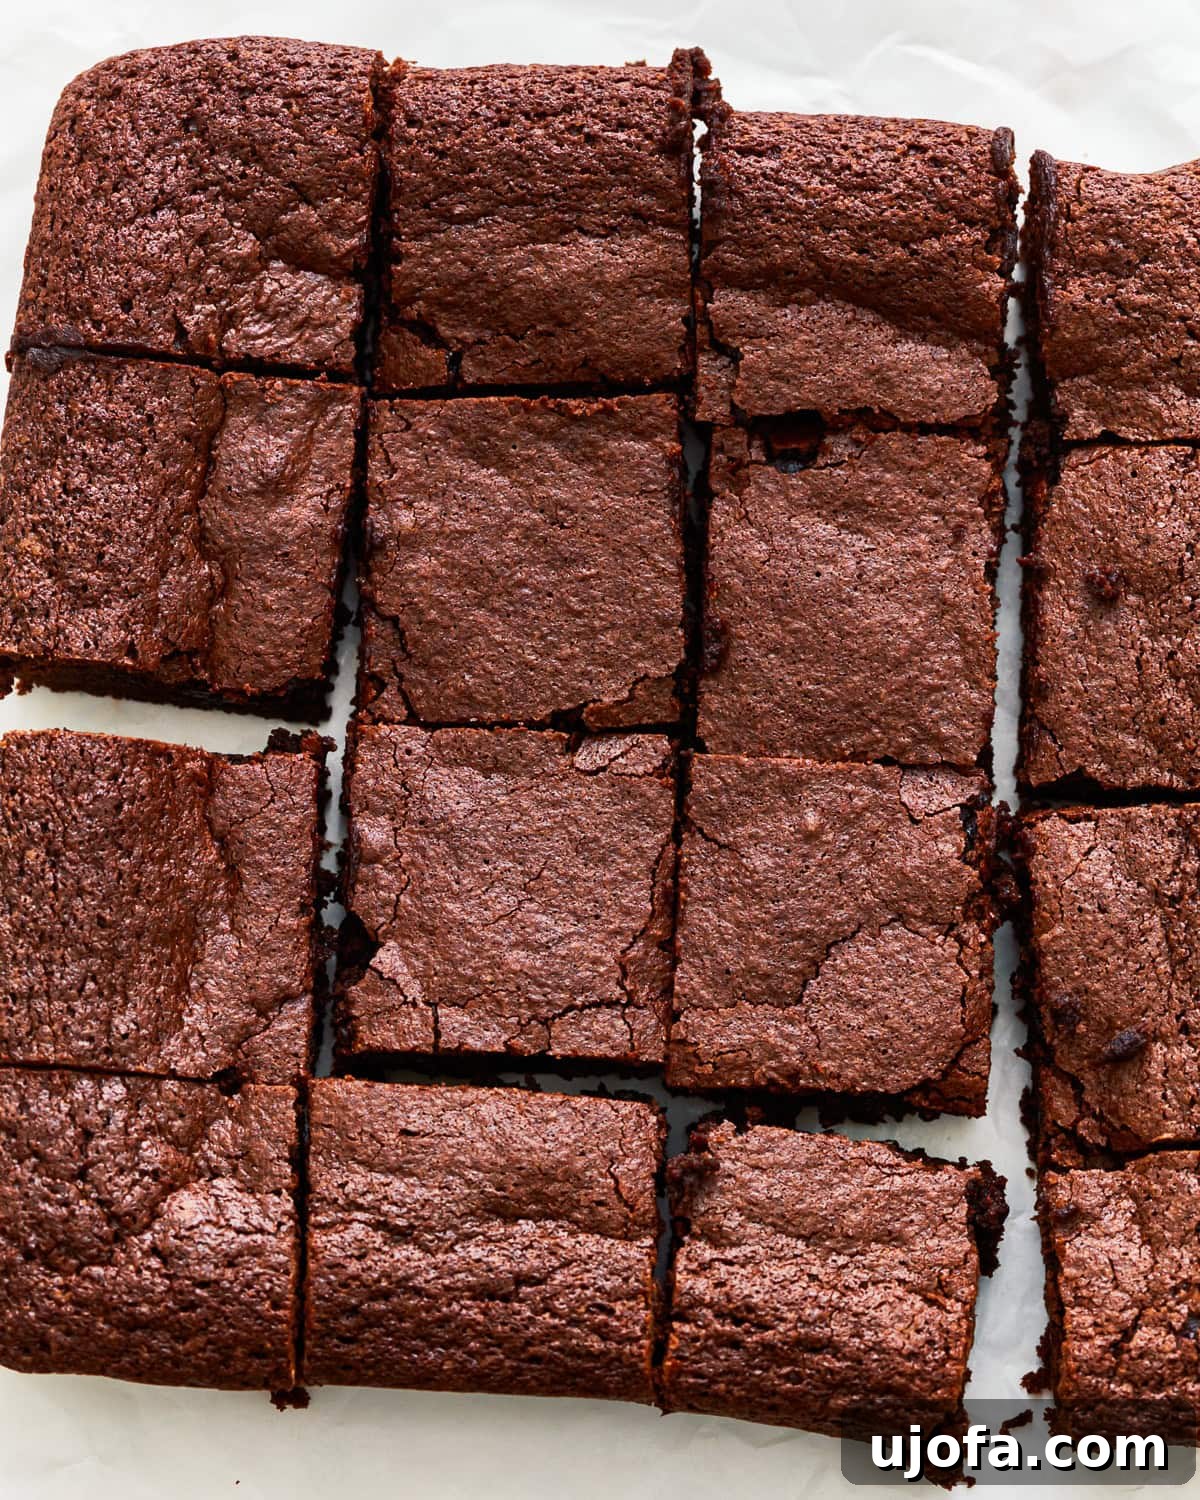
- Avoid Overbaking: This is perhaps the most common mistake when baking brownies, regardless of whether they are gluten-free. Overbaking leads to dry, cakey brownies rather than the desired fudgy texture. The brownies should look slightly underdone in the center when you pull them from the oven. A toothpick inserted into the center should come out with moist crumbs attached, not completely clean. The residual heat of the pan will continue to cook them as they cool (this is called carryover cooking).
- Cool Completely Before Cutting: Patience is key! Brownies continue to set as they cool. Cutting into warm brownies can result in a crumbly mess and a less defined shape. Allow them to cool completely in the pan on a wire rack for at least 1-2 hours, or even longer, for the cleanest cuts and the best fudgy texture.
- Room Temperature Ingredients: Ensure your eggs and dairy-free butter (if using) are at room temperature. This helps them emulsify better with the other ingredients, creating a smooth, uniform batter that bakes evenly and results in a superior texture.
Metal vs. Glass Pan: Which is Best for Brownies?
The type of baking pan you choose can significantly impact the final texture of your brownies. While both metal and glass pans can be used, I generally prefer to bake brownies in a glass pan for consistent, superior results.
Glass pans excel at providing more even heat distribution. They heat up more slowly than metal, but they retain heat very well, which leads to a more uniformly baked brownie from edge to center. This often results in a brownie that is fudgy throughout with a nice, tender crumb. Because glass doesn’t conduct heat as quickly, it reduces the risk of burnt edges while the center remains undercooked.
Metal pans, particularly those made from light-colored aluminum, heat up very quickly and can lead to a firmer, chewier brownie with potentially crispier edges. Darker metal pans can even absorb more heat, accelerating baking and increasing the risk of over-baking and dry edges. If you do opt for a metal pan, you’ll need to watch your brownies closely and may need to reduce the baking time by a few minutes to prevent them from drying out.
For a consistently rich, fudgy texture with beautifully even baking, a glass baking pan is usually the best choice for these gluten-free brownies.
Elevate Your Brownies: Creative Mix-In Ideas
Absolutely! One of the joys of baking homemade brownies is the freedom to customize them to your heart’s desire. This gluten-free brownie base is incredibly versatile and serves as a perfect canvas for a variety of delicious mix-ins that can add extra flavor, texture, and visual appeal. Here are some fantastic ideas to get your creativity flowing:
- Chocolate Chips: Classic for a reason! Add semi-sweet, milk, dark, or even white chocolate chips for pockets of melted goodness. For best results, fold them into the batter just before pouring into the pan. You can also sprinkle some on top during the last 10 minutes of baking to keep them from sinking.
- M&M’s or Other Candies: For a fun, colorful, and extra sweet touch, M&M’s or chopped-up candy bars are excellent choices. They add a delightful crunch and burst of flavor.
- Nutty Additions: Walnuts, pecans, almonds, or even peanuts can add a wonderful crunch and earthy flavor that pairs beautifully with chocolate. Toast them lightly before adding for an enhanced aroma.
- Peanut Butter Swirls: Melt a few tablespoons of peanut butter and drizzle it over the brownie batter in the pan. Use a knife or skewer to gently swirl it through for a marbled effect and a delicious peanut butter-chocolate combination.
- Caramel Drizzle or Bits: A generous swirl of caramel sauce or a handful of soft caramel bits can introduce a rich, buttery sweetness that complements the dark chocolate perfectly.
- Flaky Sea Salt: A sprinkle of flaky sea salt on top of the batter before baking can dramatically enhance the chocolate flavor and add a sophisticated touch, creating that popular sweet and salty contrast.
- Dried Fruits: For a more gourmet twist, consider adding dried cherries, cranberries, or even chopped figs. They bring a chewy texture and a tangy sweetness.
No matter your preference, adding mix-ins is a fantastic way to personalize your gluten-free brownies and make them truly special. Just be mindful not to overcrowd the batter, as this can affect the baking time and overall texture.
Storing Your Gluten-Free Brownies for Lasting Freshness
Once your irresistible gluten-free brownies have cooled completely (the hardest part!), proper storage is key to maintaining their optimal freshness and fudgy texture. Here’s how to keep them delicious for as long as possible:
- Room Temperature: For short-term storage, place leftover gluten-free brownies in an airtight container at room temperature. They will remain wonderfully fresh and fudgy for up to 3 days. Ensure the container is truly airtight to prevent them from drying out.
- Refrigerator: If you need to extend their shelf life slightly, store the brownies in an airtight container in the refrigerator for up to 1 week. Keep in mind that refrigerated brownies tend to firm up a bit, so you might want to let them come closer to room temperature before serving for the best texture.
- Freezing for Longer Storage: These brownies freeze beautifully, making them perfect for meal prep or saving for a future craving. Once they are completely cooled, wrap individual brownies or a whole slab tightly in plastic wrap, then again in aluminum foil. Place the well-wrapped brownies in a freezer-safe bag or container to protect them from freezer burn. They can be stored in the freezer for up to 3 months. When you’re ready to enjoy them, simply thaw the brownies at room temperature for a few hours, or overnight in the refrigerator, before serving.
No matter how you store them, always ensure your brownies are fully cooled before sealing them away to prevent condensation, which can make them soggy.
Expand Your Gluten-Free Baking Repertoire!
Loved these gluten-free brownies? Then you’ll definitely want to explore more delicious gluten-free baking recipes. Here are some other fantastic brownies and bar recipes to satisfy your sweet tooth:
- Almond Flour Brownies
- Flourless Brownies
- Gluten-Free Blondies
- Gluten-Free Lemon Bars
- Gluten-Free Granola Bars
Classic Gluten-Free Brownies
By: Audrey Roberts
Servings: 9 brownies
Prep Time: 10 mins
Cook Time: 30 mins
Total Time: 40 mins
If you are a chocolate lover, these homemade gluten-free brownies will transport you to chocolate heaven! They’re easy to make from scratch, offering a fudgy, chewy interior and a delicate flaky crust, with an intense chocolate flavor that’s simply irresistible.
Ingredients
- 1/2 cup unsalted butter, melted (for dairy-free, use Smart Balance Butter)
- 3/4 cup granulated sugar
- 1/2 cup brown sugar, packed
- 2 large eggs
- 1 tablespoon pure vanilla extract
- 3/4 cup all-purpose gluten-free flour with xanthan gum (Pillsbury gluten-free recommended)
- 1/2 cup cocoa powder
- 1/2 teaspoon baking soda
- 1/2 teaspoon salt
Instructions
- Preheat your oven to 350ºF (175ºC).
- Prepare an 8×8 inch (20×20 cm) square baking pan by spraying it with gluten-free non-stick cooking spray, or by lining it with parchment paper and then coating the bottom and sides with non-stick spray or butter.
- In a large mixing bowl, combine the melted unsalted butter, pure vanilla extract, granulated sugar, and brown sugar. Mix until these wet ingredients are fully combined and smooth.
- Add the two large eggs into the bowl, one at a time, mixing well after each addition until fully incorporated into the sugar and butter mixture.
- In a separate medium-sized bowl, whisk together the gluten-free flour, cocoa powder, baking soda, and salt until they are thoroughly combined.
- Gradually add the dry gluten-free flour mixture to the wet ingredients in the large bowl. Mix gently until the batter is just combined and smooth, being careful not to overmix.
- Pour the prepared brownie batter evenly into the 8×8 inch baking pan.
- Bake for 30-35 minutes. Brownies are done when a toothpick inserted into the center comes out with moist crumbs attached, but not completely clean. The edges of the brownies will start to pull away slightly from the sides of the pan. Remember that oven temperatures can vary, so keep an eye on your brownies.
- Once baked, remove the brownies from the oven and allow them to cool completely in the pan on a wire rack. This is crucial for achieving the perfect fudgy texture and clean cuts.
- Slice and enjoy your delicious homemade gluten-free brownies!
- Store any leftovers in an airtight container to maintain freshness.
Notes
- For gluten-free flour, I prefer Pillsbury gluten-free all-purpose flour. Please note that gluten-free flour blends vary significantly, and results may differ depending on the brand you choose.
- To accurately measure gluten-free flour, use the “spoon & level” method: spoon flour into the measuring cup and then level it off with the back of a knife. Avoid scooping directly with the measuring cup, as this can pack the flour too densely.
- For a dairy-free option, Smart Balance butter substitute works excellent in this recipe.
- To store: Keep gluten-free brownies in an airtight container at room temperature for up to 3 days, or refrigerate for up to 1 week.
- To freeze: Wrap completely cooled gluten-free brownies tightly in plastic wrap, then foil, and store in a freezer bag for up to 3 months. Thaw at room temperature before serving.
- Always check all ingredient labels to ensure they are certified gluten-free.
Nutrition
Serving: 1 brownie | Calories: 264 kcal | Carbohydrates: 38g | Protein: 3g | Fat: 12g | Saturated Fat: 7g | Cholesterol: 63mg | Sodium: 301mg | Potassium: 102mg | Fiber: 2g | Sugar: 29g | Vitamin A: 370IU | Calcium: 31mg | Iron: 1.3mg
Nutrition information is automatically calculated and should only be used as an approximation.
Additional Info
Course: Dessert
Cuisine: American
Visual Guide: How to Make Gluten-Free Brownies Step-by-Step
Sometimes, seeing is believing, especially when it comes to baking. Follow along with these visual steps to ensure your gluten-free brownies turn out perfectly every time. From combining the wet ingredients to the final bake, we’ll walk you through each stage with helpful descriptions.
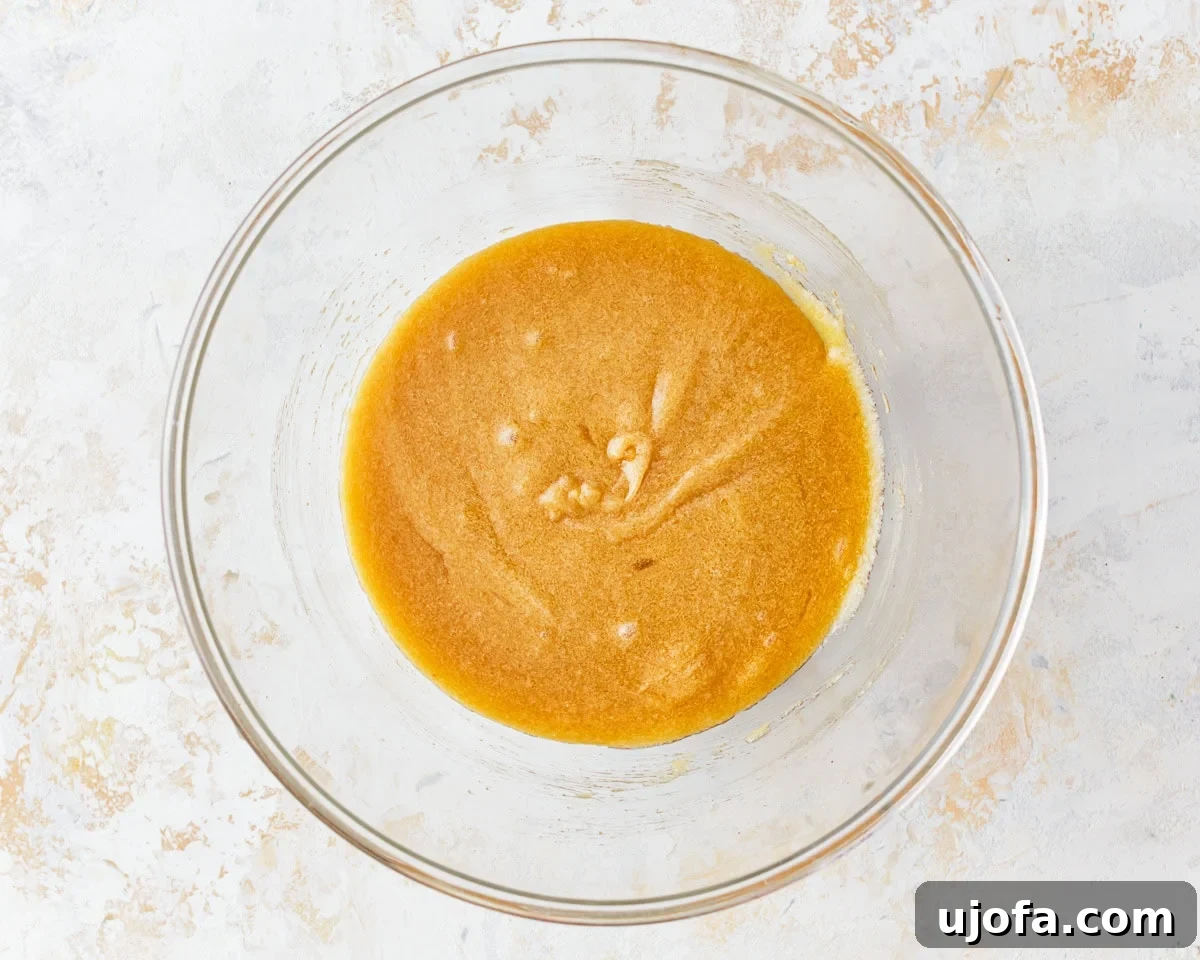
Begin by preheating your oven to 350º F (175ºC). Next, prepare your 8×8 inch square baking pan: either spray it generously with a gluten-free non-stick cooking spray, or line it with parchment paper and then coat the bottom and sides with non-stick spray or butter for easy removal. In a spacious mixing bowl, combine 1/2 cup of melted unsalted butter (or dairy-free alternative), 1 tablespoon of pure vanilla extract, 3/4 cup of granulated sugar, and 1/2 cup of packed brown sugar. Stir these ingredients together until they are fully combined and the mixture is smooth. Then, crack in 2 large eggs, adding them one at a time and mixing thoroughly after each addition until completely incorporated, creating a cohesive and glossy wet mixture.
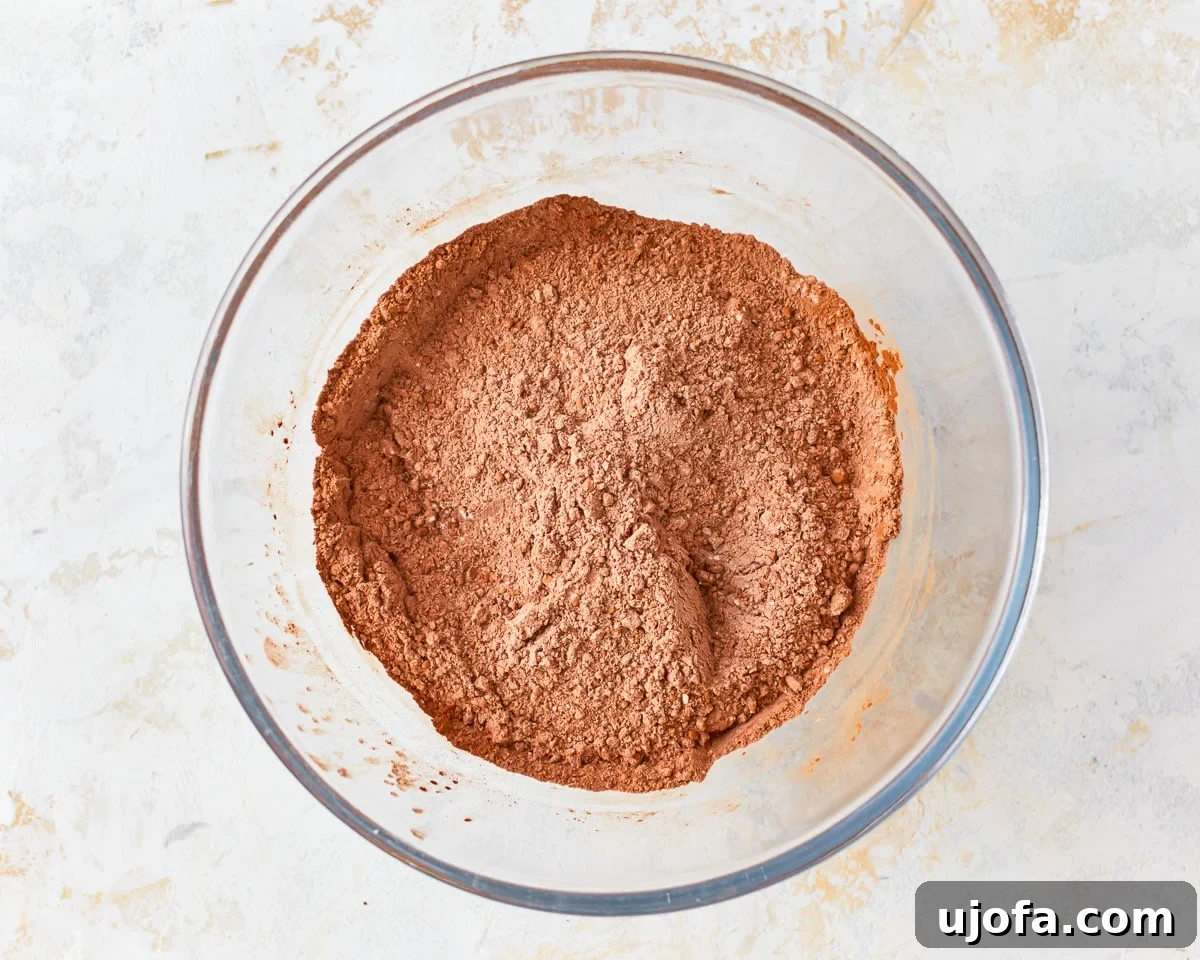
While your wet ingredients are ready, take a medium-sized bowl to prepare your dry components. Carefully measure out 3/4 cup of your preferred all-purpose gluten-free flour (ideally one that includes xanthan gum, like Pillsbury), 1/2 cup of unsweetened cocoa powder, 1/2 teaspoon of baking soda, and 1/2 teaspoon of salt. Use a whisk to thoroughly combine these dry ingredients. This step ensures that the leavening agent and salt are evenly distributed throughout the flour mixture, which is crucial for uniform rising and balanced flavor in your finished brownies.
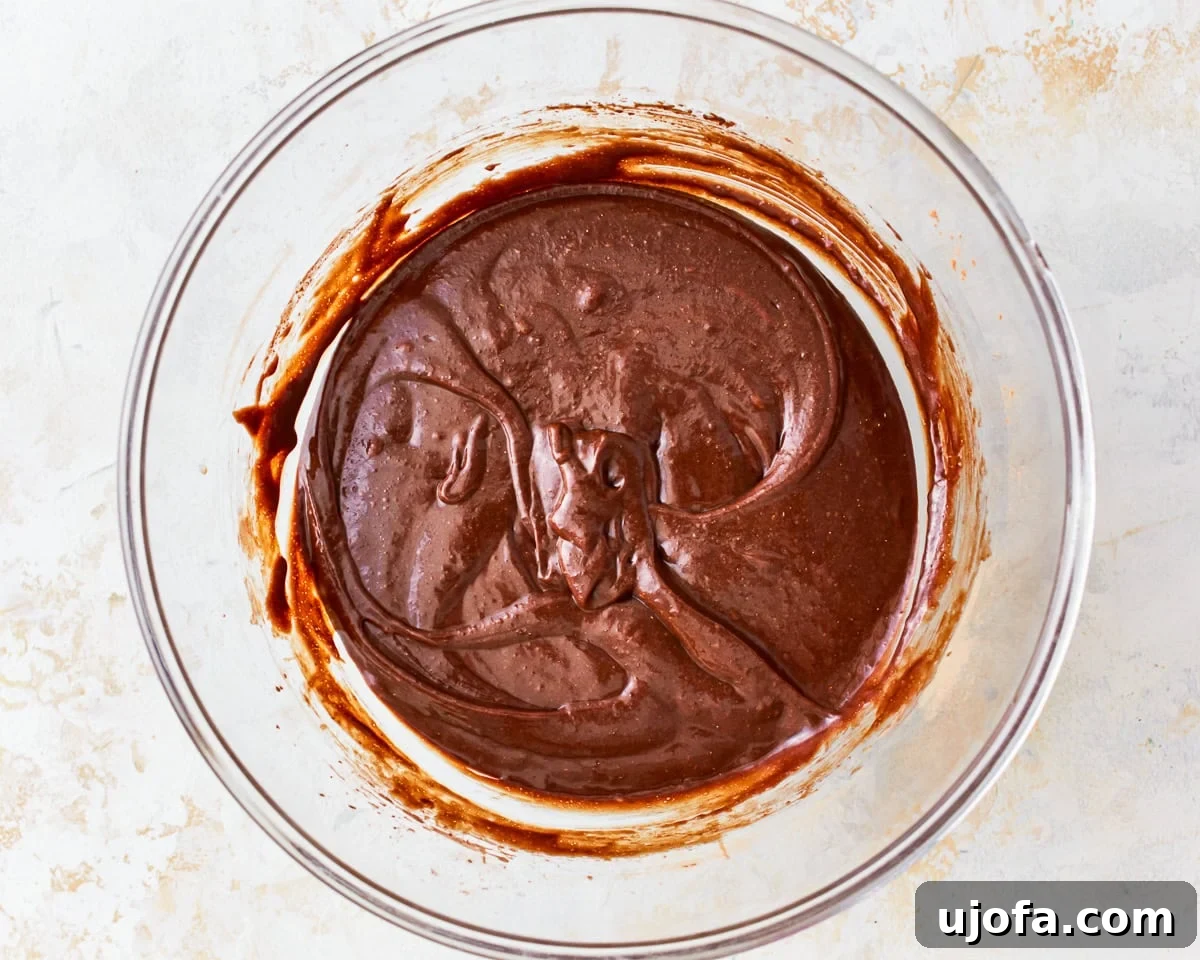
Now it’s time to bring everything together. Slowly and gradually add the whisked gluten-free flour mixture to the large bowl containing your wet ingredients. Mix the batter gently until all the ingredients are fully combined and a smooth, dark chocolatey batter forms. It’s important not to overmix at this stage, as excessive stirring can develop the starches in the gluten-free flour, leading to a tougher texture. Mix just until no streaks of dry flour remain, and the batter looks uniform and glossy.
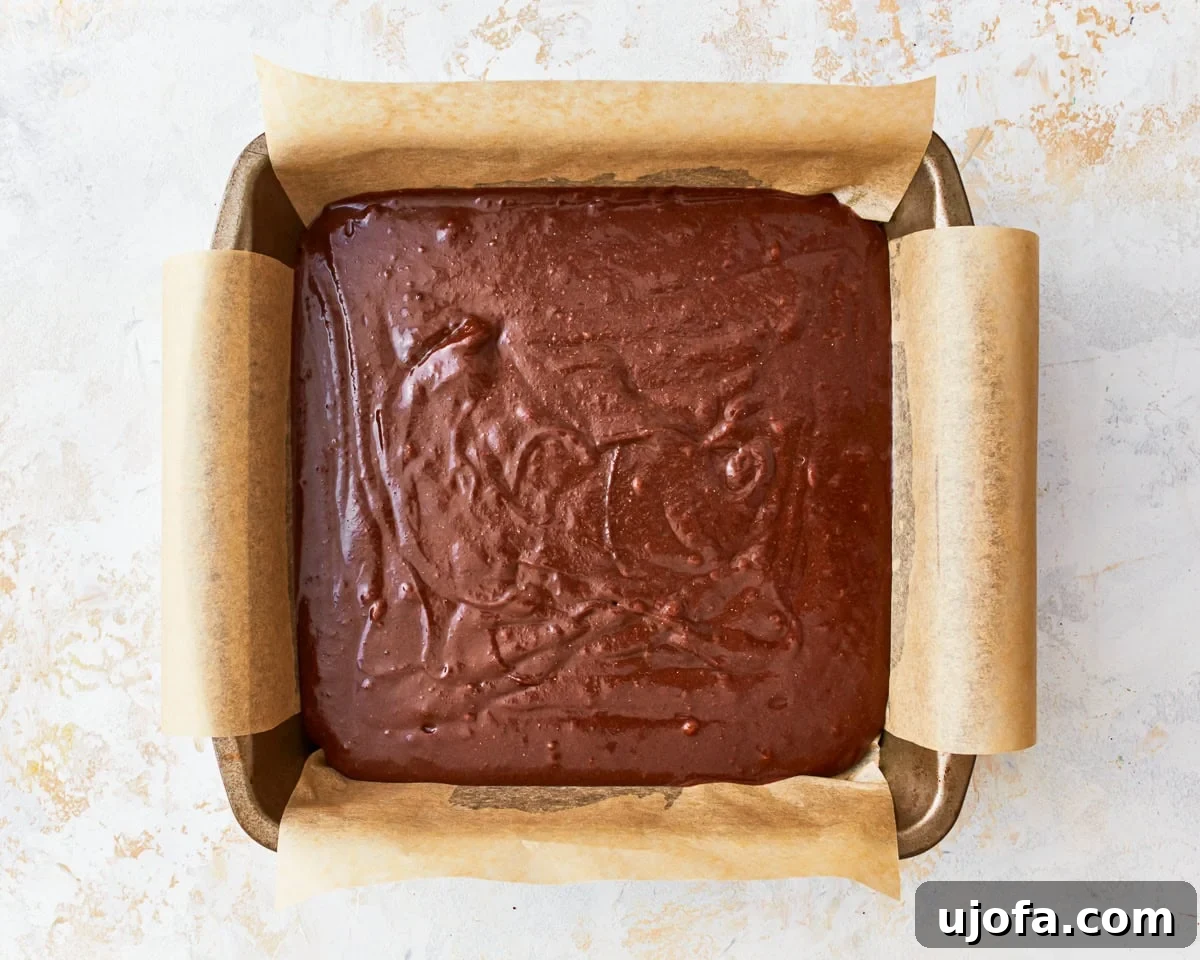
Once your luscious gluten-free brownie batter is perfectly mixed, it’s time to transfer it to the prepared baking pan. Carefully pour the entire contents of the bowl into the 8×8 inch square baking pan. Use a spatula to spread the batter evenly across the bottom of the pan, ensuring it reaches all corners and has a consistent thickness. This will help your brownies bake uniformly and result in even slices later on. A smooth, even layer of batter is key for that perfect brownie crust and a fudgy interior.
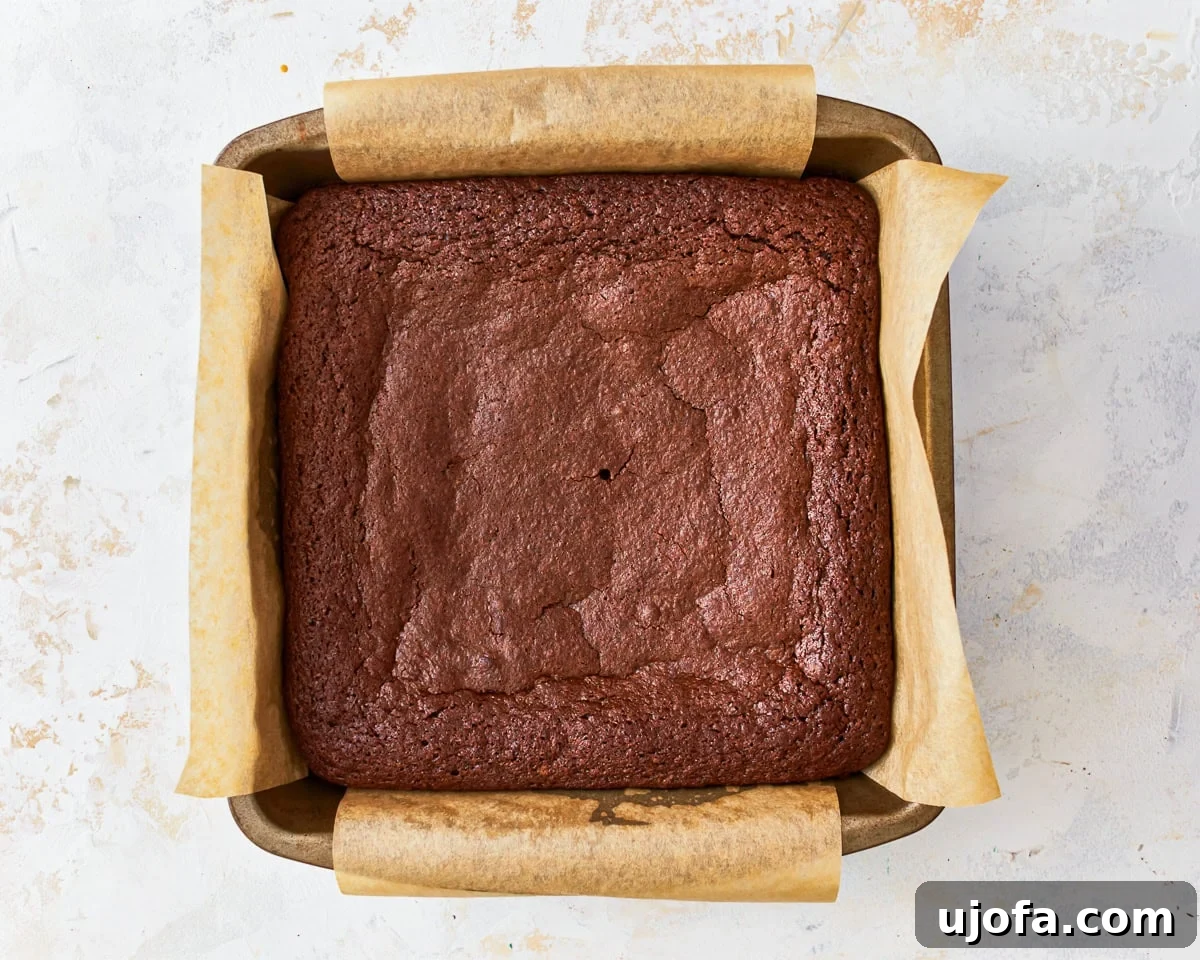
Place the baking pan into your preheated oven and bake for 30-35 minutes. Keep a close watch on your brownies as baking times can vary slightly depending on individual ovens. You’ll know they’re ready when a toothpick inserted into the center comes out with moist crumbs attached – not completely clean, as that indicates overbaking and a drier brownie. The edges of the brownies will also begin to pull away slightly from the sides of the pan, indicating they are set. Once baked to perfection, remove the brownies from the oven and, with great patience, allow them to cool completely in the pan on a wire rack. Cooling is crucial for the brownies to fully set and achieve their ultimate fudgy texture. Once cool, slice them into squares and savor every single bite of your homemade gluten-free chocolate masterpiece!