
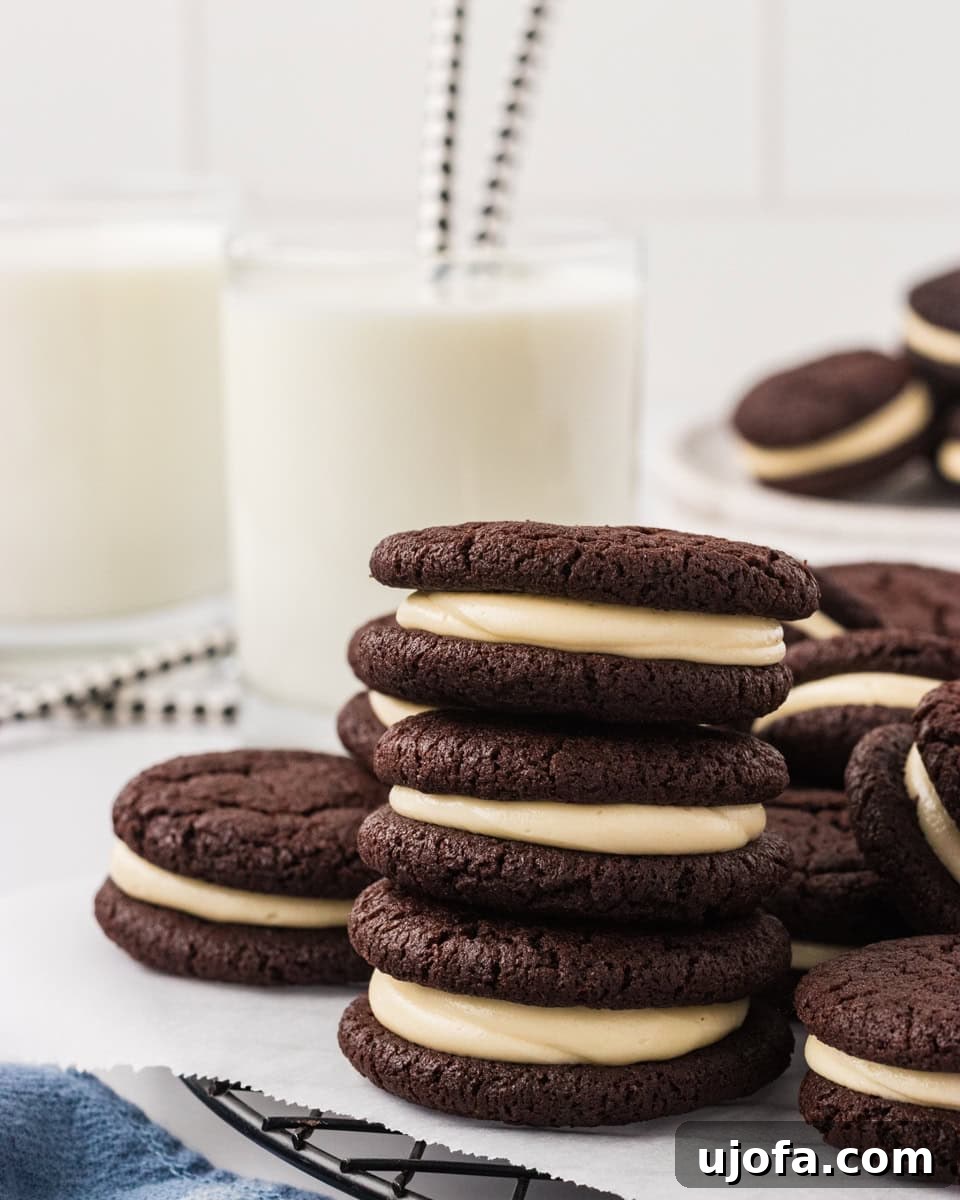
Oreos have long held a special place as a beloved treat for countless people. But for those navigating a gluten-free lifestyle, enjoying this classic sandwich cookie has often been out of reach. That changes today! These homemade gluten-free Oreos are a dream come true for anyone craving that rich, chocolatey crunch and creamy vanilla filling. They capture the authentic taste and texture of the original, making it easy to indulge without compromise.
What makes this recipe truly special is its simplicity. You won’t need any specialized kitchen gadgets or obscure ingredients to whip up a batch of these delectable cookies. Whether you prefer your Oreos with a soft, chewy texture or that signature crisp bite, this recipe is incredibly versatile, allowing you to bake them exactly to your liking. My family—gluten-free or not—devoured an entire batch in a single afternoon, and I’m confident yours will too. Get ready to rediscover the joy of Oreos, made perfectly for your gluten-free needs!
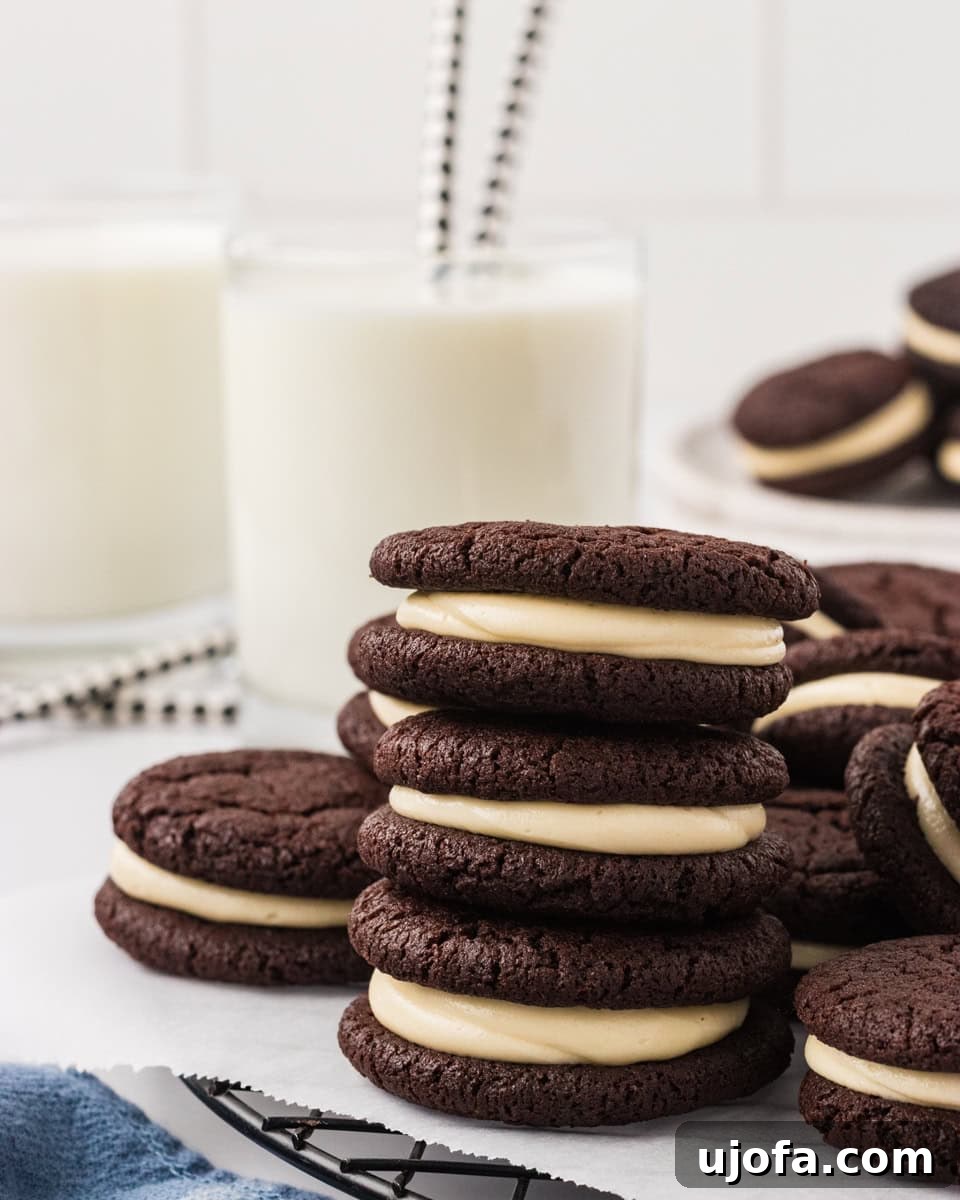
Effortless Homemade Gluten-Free Oreos: Simple Steps, Incredible Flavor
Creating these delicious gluten-free chocolate sandwich cookies at home is surprisingly easy, making them a fantastic project for bakers of all skill levels. I particularly appreciate how accessible this recipe is, relying on pantry staples you likely already have on hand. The chocolate cookies come together in a single bowl, simplifying cleanup, and they bake in under 10 minutes, which means you’re just moments away from a fresh, warm treat.
The luscious filling is equally straightforward, requiring just a handful of ingredients: butter, marshmallow creme, powdered sugar, and a splash of vanilla. This minimal ingredient list proves that you don’t need elaborate components for an extraordinary dessert. Beyond their ease of preparation, these homemade Oreos offer incredible versatility. You can customize them to your exact preference: bake them for a shorter time for a softer, chewier texture, or slightly longer for that classic crisp snap.
Feeling adventurous? Double-stuff your cookies for an extra generous layer of creamy filling, or infuse the flavor with a dash of peppermint extract for a festive twist during the holidays, or even almond extract for a delicate aroma. These cookies are also incredibly freezer-friendly, making them perfect for meal prepping your desserts, stocking up for unexpected cravings, or preparing thoughtful, handmade gifts for friends and family. This recipe truly transforms a kitchen task into a delightful experience, yielding a treat that’s both simple to make and endlessly satisfying.
Mastering Your Gluten-Free Oreos: Essential Baking Tips and Tricks
Through extensive testing and countless batches of these delightful gluten-free Oreos, I’ve gathered some invaluable insights that will help you achieve perfection every time. Following these tips will ensure your cookies are consistently delicious, perfectly textured, and visually appealing, just like the store-bought originals.
- Achieve Uniformity with a Kitchen Scale: Precision is key when baking, especially for cookies that need to sandwich together. I highly recommend using a kitchen scale to portion out exactly 15 grams of dough for each cookie. This small step ensures every cookie is uniform in size and weight, leading to even baking and a consistent, classic Oreo-sized sandwich every time. Without a scale, some cookies might bake faster or spread more, making assembly challenging and results inconsistent.
- Patience is a Virtue: Let Cookies Cool Completely: This might be the most crucial tip for perfect assembly. It’s tempting to rush, but if the cookies are even slightly warm when you apply the filling, the butter in the cream can melt, causing the filling to become runny and slide off. Always allow your cookies to cool completely on a wire rack. This ensures the cookies firm up properly and the filling remains neat, creamy, and holds its shape beautifully between the chocolate wafers.
- Opt for Dutch-Processed Cocoa Powder: For that iconic deep, rich, almost black color and distinctive intense chocolate flavor synonymous with Oreos, Dutch-processed cocoa powder is non-negotiable. Unlike natural cocoa powder, Dutch-processed cocoa has been treated with an alkali to reduce its acidity, resulting in a darker, less bitter, and smoother chocolate taste. This processing also helps create the desired dark hue, which is essential for replicating the authentic Oreo appearance.
- Sift Powdered Sugar for Silky Smooth Filling: The texture of your vanilla cream filling is paramount to these cookies. To guarantee a perfectly smooth, lump-free filling that’s easy to pipe or spread, sift your powdered sugar before incorporating it into the wet ingredients. Powdered sugar can clump up over time due to moisture, and sifting it breaks up these lumps, ensuring a uniformly soft and pipeable consistency. This attention to detail will elevate your filling from good to exceptional.
★
★
★
★
★
Homemade Gluten-Free Oreos Recipe
Julia Elizabeth
22
servings (22 cookies)
40
mins
8
mins
48
mins
Share by Email
Print Recipe

Ingredients
For the cookies
-
¾
cup
unsalted butter,
room temperature -
¾
cup
white sugar -
⅓
cup
brown sugar,
packed -
1
egg -
1¼
cups
gluten-free all-purpose flour (ensure it’s a blend with xanthan gum for best results) -
⅔
cup
Dutch-processed cocoa powder (for rich color and flavor) -
1
tsp
baking soda -
½
tsp
salt
For the filling
-
⅓
cup
unsalted butter, softened -
3
oz.
marshmallow creme -
1
tsp
vanilla extract -
¼
tsp
salt -
2
cups
powdered sugar, sifted
Instructions
-
Prepare for Baking: Preheat your oven to 350°F (180°C). Line a large baking sheet with parchment paper to prevent sticking and ensure easy cleanup.
-
Cream Wet Ingredients: In a spacious mixing bowl, combine the room-temperature unsalted butter, white sugar, and packed brown sugar. Beat with an electric mixer until the mixture is light, fluffy, and well combined. This process incorporates air, contributing to the cookies’ texture.
-
Incorporate the Egg: Crack one large egg into the creamed butter and sugar mixture. Continue to mix until the egg is fully incorporated and the batter appears smooth and homogenous.
-
Add Dry Ingredients: Directly into the same bowl, sift in the gluten-free all-purpose flour, Dutch-processed cocoa powder, baking soda, and salt. Sifting helps to break up any lumps and ensures even distribution of the dry ingredients.
-
Form the Dough: Mix the ingredients until they are thoroughly combined and a thick, rich chocolate cookie dough forms. Be careful not to overmix, which can toughen gluten-free baked goods. The dough should be soft but firm enough to roll.
-
Portion and Shape Cookies: For uniform cookies, use a kitchen scale to measure out 15 grams of dough for each cookie. Roll each portion into a smooth ball between your palms. Place these dough balls onto your prepared baking sheet, ensuring at least 1.5 inches of space between each to allow for spreading during baking. Do not flatten the cookie balls; they will naturally spread as they bake.
-
Bake to Perfection: Bake the cookies in the preheated oven for 8-10 minutes. The baking time directly influences the cookie’s final texture: bake for 8 minutes for a softer, chewier cookie, or closer to 10 minutes for a crunchier texture, akin to a traditional Oreo wafer. Remove from the oven and let them cool completely on the baking sheet before moving.
-
Prepare the Creamy Filling: While your cookies are baking and cooling, prepare the signature vanilla cream filling. In a medium-sized bowl, use a hand mixer to beat the softened unsalted butter, marshmallow creme, salt, and vanilla extract until the mixture is smooth and creamy.
-
Add Powdered Sugar: Gradually add the sifted powdered sugar to the butter and marshmallow mixture. Begin mixing slowly to incorporate the sugar without creating a cloud, then increase the speed and beat until the icing is light, smooth, and fluffy. Ensure all sugar lumps are gone for a silky texture.
-
Prepare for Filling: Transfer the prepared vanilla cream filling to a piping bag or a sturdy resealable storage bag. Snip off a medium-sized tip from the corner of the bag to create an opening for piping. The exact size isn’t critical, but a moderate opening makes filling easier. If you don’t have a piping bag, a butter knife can also be used to spread the filling.
-
Assemble Your Gluten-Free Oreos: Once the chocolate cookies are completely cooled, take half of them and flip them upside down so their flat bottom side faces up. Pipe or spread a generous amount of vanilla cream filling onto each of these cookies. You can adjust the amount of filling to your preference – feel free to double-stuff some if you like a thicker cream layer!
-
Complete the Sandwich: Gently place another cooled chocolate cookie on top of the filling, flat side down, to create the perfect sandwich. Repeat this process until all your cookies are assembled.
-
Enjoy: Your homemade gluten-free Oreos are now ready to be enjoyed! Serve them immediately on their own, or with a classic cold glass of milk for the ultimate nostalgic experience.
Nutrition
Serving:
1
serving (1 cookie)
Calories:
205
kcal
Carbohydrates:
31
g
Protein:
2
g
Fat:
10
g
Saturated Fat:
6
g
Polyunsaturated Fat:
0.4
g
Monounsaturated Fat:
3
g
Trans Fat:
0.4
g
Cholesterol:
31
mg
Sodium:
135
mg
Potassium:
50
mg
Fiber:
2
g
Sugar:
23
g
Vitamin A:
290
IU
Calcium:
15
mg
Iron:
1
mg
Nutrition information is automatically calculated and should only be used as an approximation. Individual results may vary based on ingredients and preparation.
Additional Info
Dessert, Snack
American
Tried this recipe?
Mention @mamaknowsglutenfree or tag #mamaknowsglutenfree!
A Visual Guide: How to Make Gluten-Free Oreos Step-by-Step
Embark on your journey to homemade gluten-free cookie bliss with this detailed, step-by-step visual guide. Each image below corresponds to a crucial stage in the recipe, ensuring you can follow along with confidence and precision.
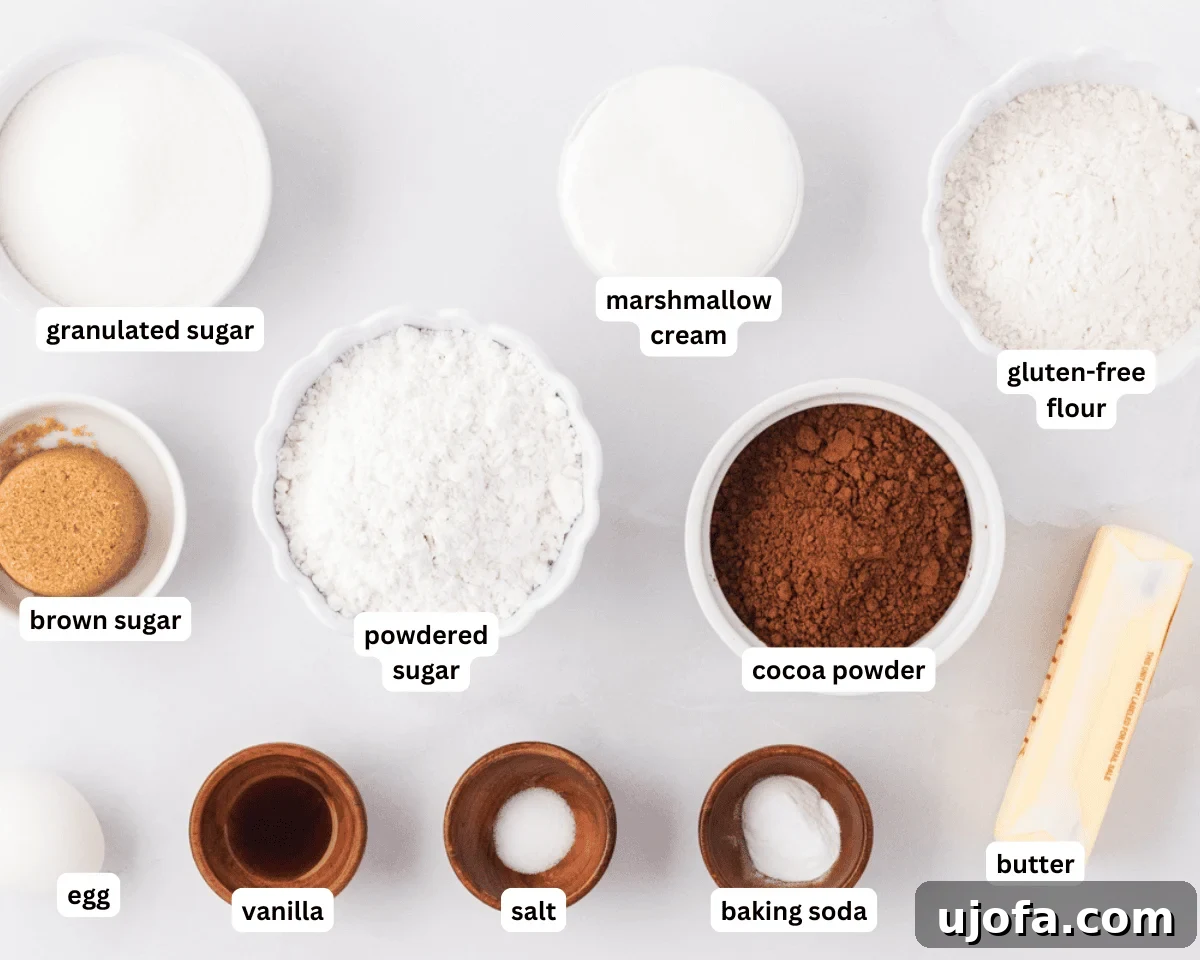
Step 1: Gather Your Ingredients. Begin by laying out all the necessary ingredients on your counter. This mise en place ensures a smooth and efficient baking process. Before you start mixing, preheat your oven to a precise 350°F (180°C) and prepare a baking sheet by lining it with parchment paper. Having everything ready minimizes interruptions and helps you focus on each step.
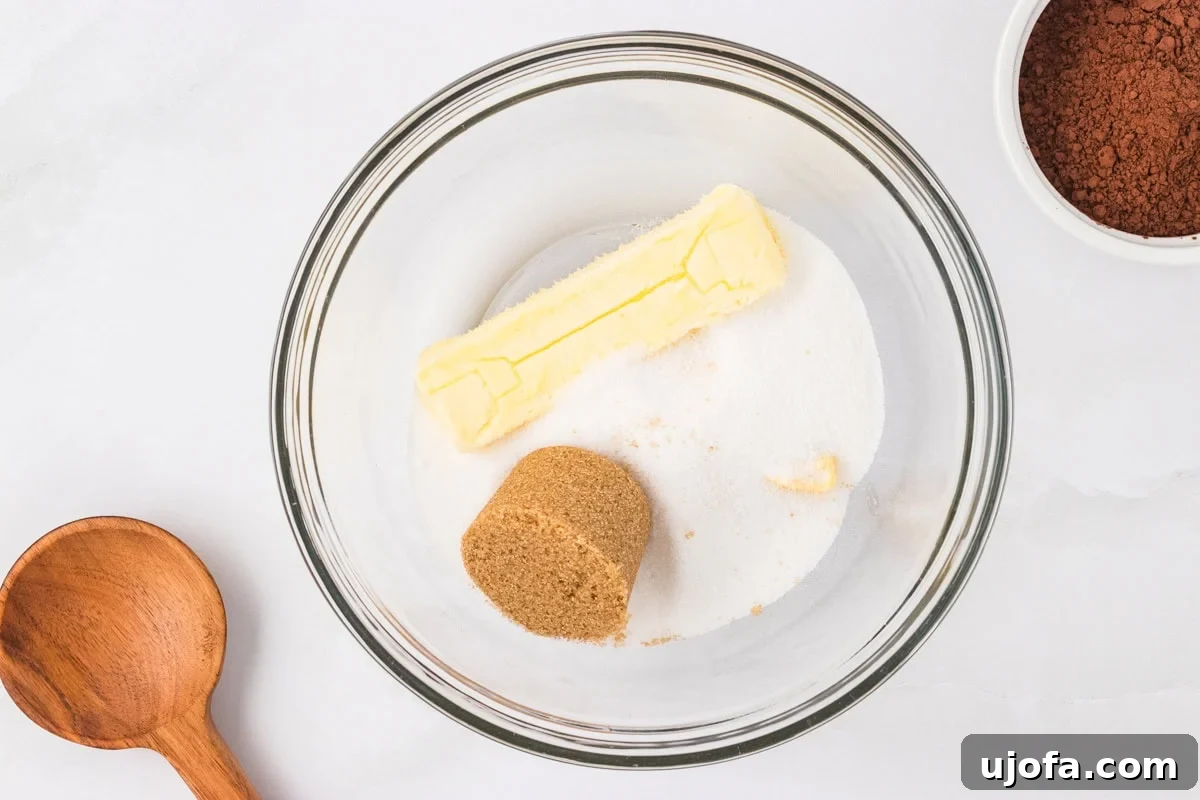
Step 2: Cream the Butter and Sugars. In a large mixing bowl, combine ¾ cup (170g) of softened, room-temperature unsalted butter with ¾ cup (150g) of white granulated sugar and ⅓ cup (70g) of packed brown sugar. Beat these ingredients together with an electric mixer until the mixture becomes visibly lighter in color and develops a fluffy texture. This creaming process is vital for incorporating air, which contributes to the cookies’ final texture.
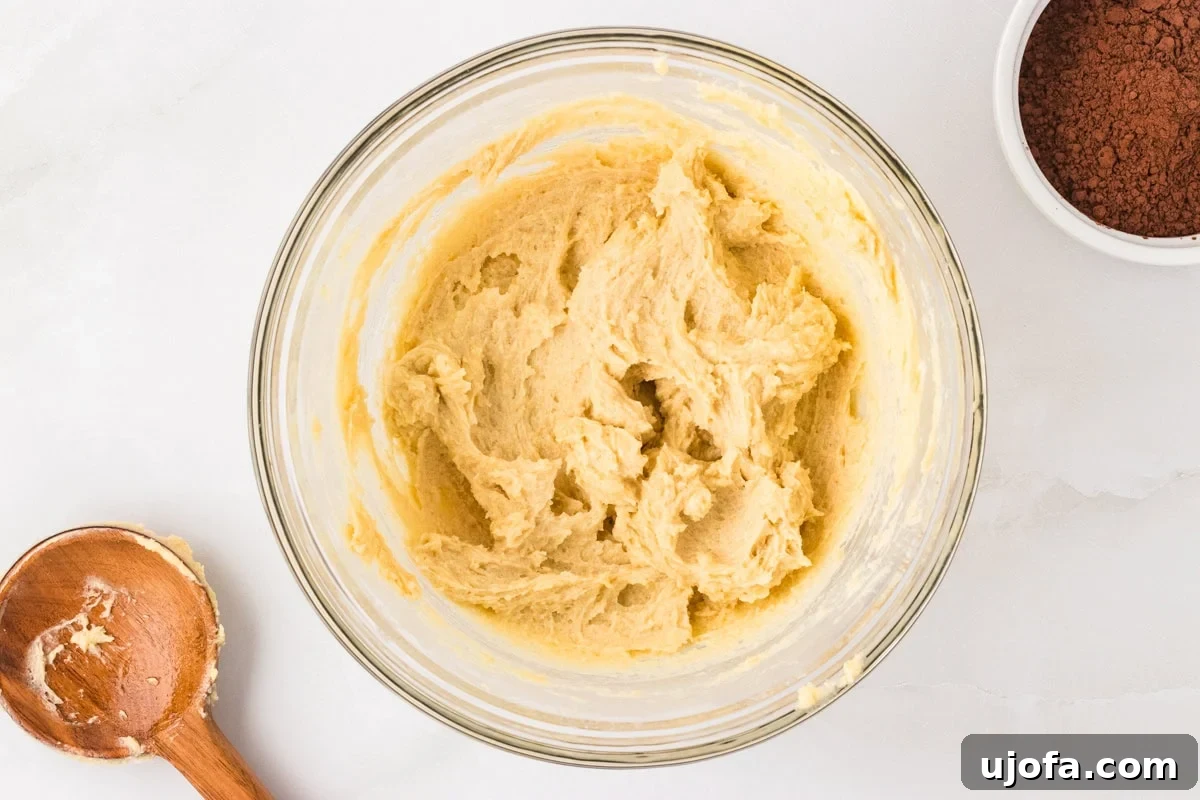
Step 3: Add the Egg. Once your butter and sugars are perfectly creamed, crack one large egg into the bowl. Continue to mix with your electric mixer until the egg is thoroughly integrated into the mixture, resulting in a smooth and uniform consistency. Ensure there are no visible streaks of egg before proceeding.
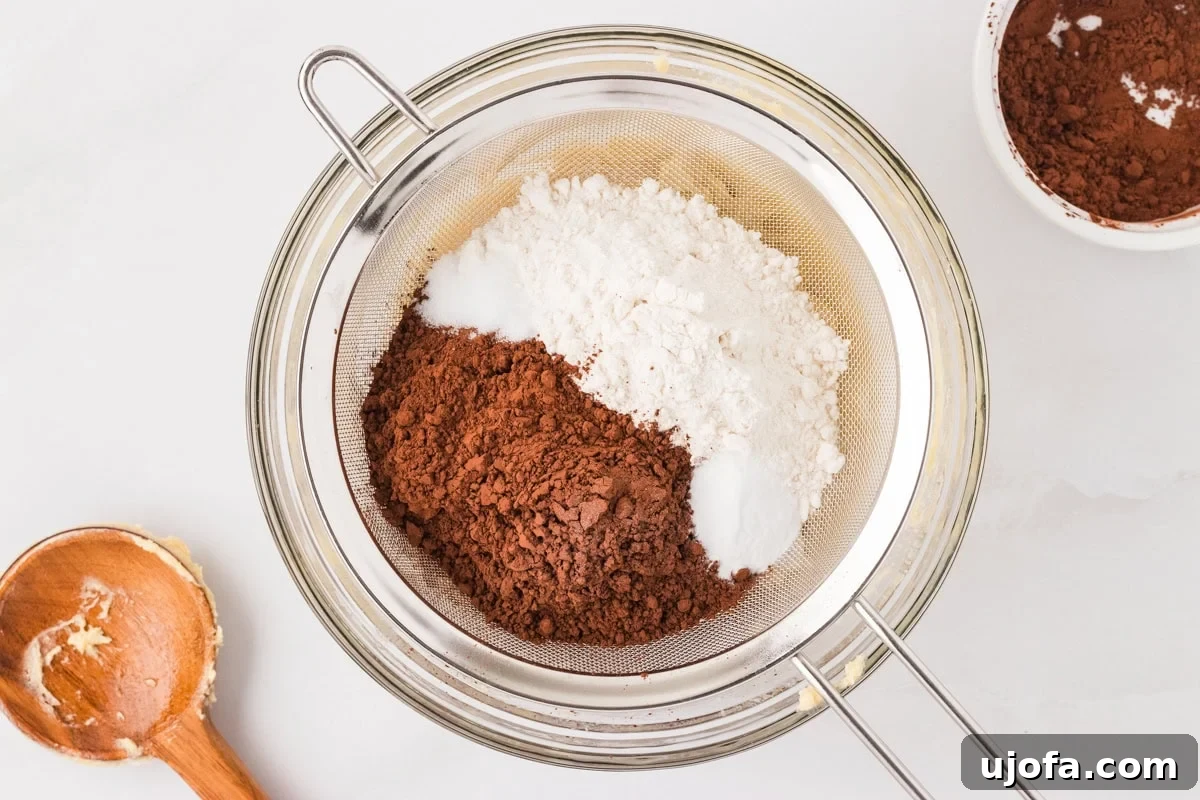
Step 4: Sift in Dry Ingredients. For a truly smooth cookie dough, it’s essential to sift your dry ingredients. Place a sifter over your mixing bowl and add 1¼ cups (175g) of gluten-free all-purpose flour, ⅔ cup (65g) of Dutch-processed cocoa powder, 1 teaspoon (5g) of baking soda, and ½ teaspoon (3g) of salt. Sift these ingredients directly into the wet mixture. This step prevents lumps and ensures even distribution, which is especially important for gluten-free baking.
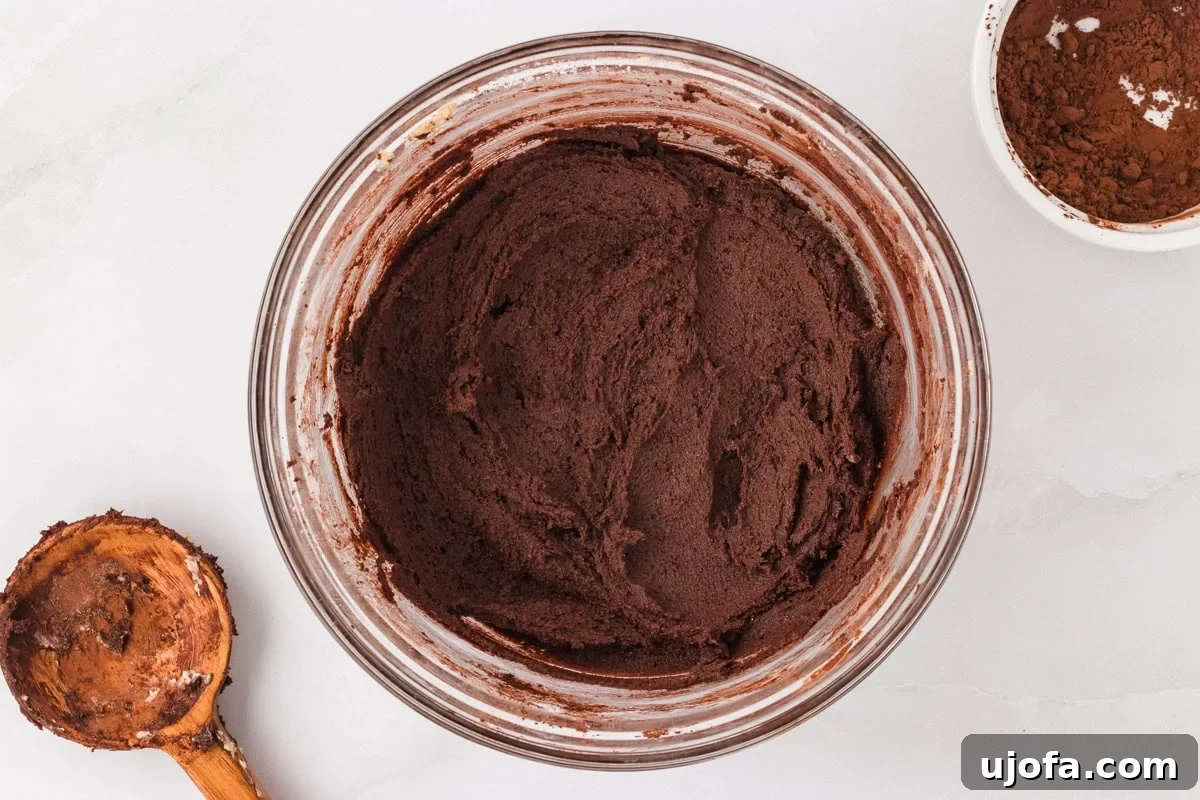
Step 5: Mix the Cookie Dough. Gently mix all the ingredients until they are just combined. Continue mixing until a thick, uniform chocolate cookie dough forms. Be careful not to overmix, as this can lead to tougher gluten-free cookies. The dough should be cohesive and hold its shape, ready for portioning.
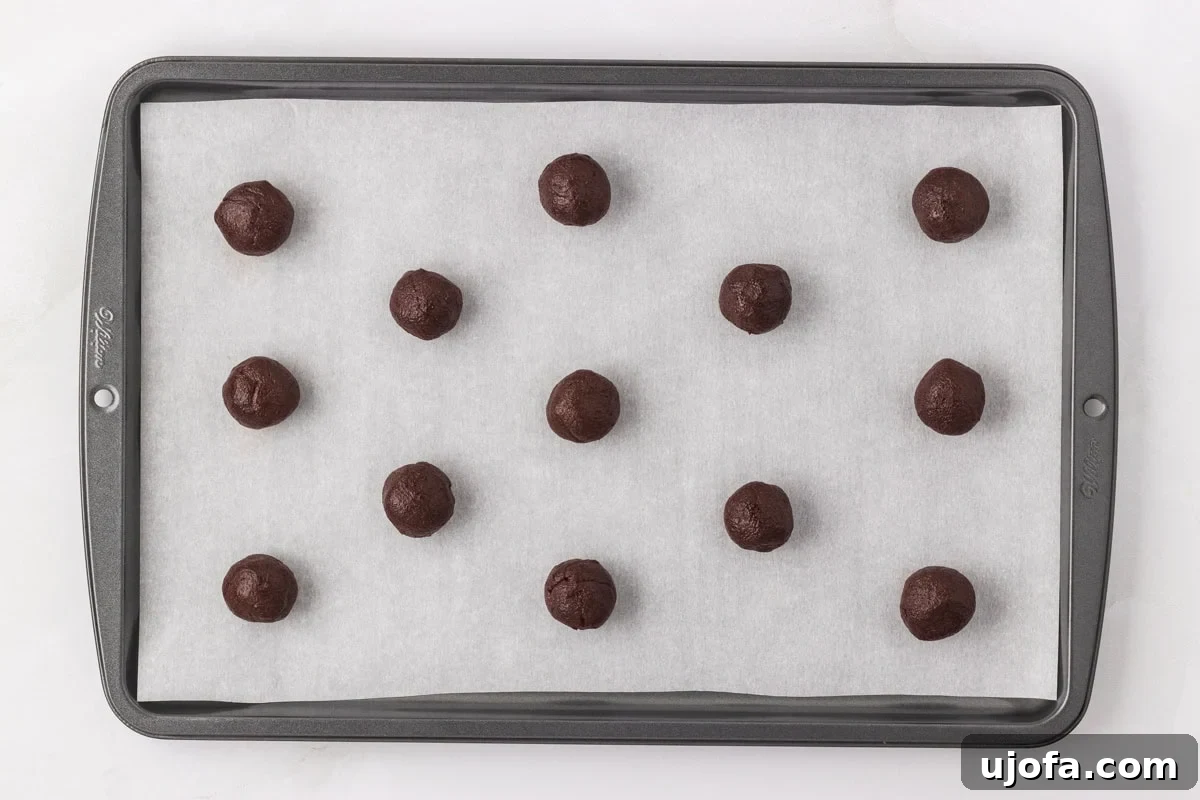
Step 6: Portion and Shape the Cookies. Achieving consistent cookie size is key for perfect sandwich cookies. Use a kitchen scale to measure out exactly 15 grams of dough for each cookie. Roll each portion into a smooth, tight ball. Arrange these dough balls on your parchment-lined baking sheet, ensuring about 1.5 inches of space between them to allow for even spreading during baking. Remember, do not flatten the cookie dough balls; they will naturally flatten as they bake.
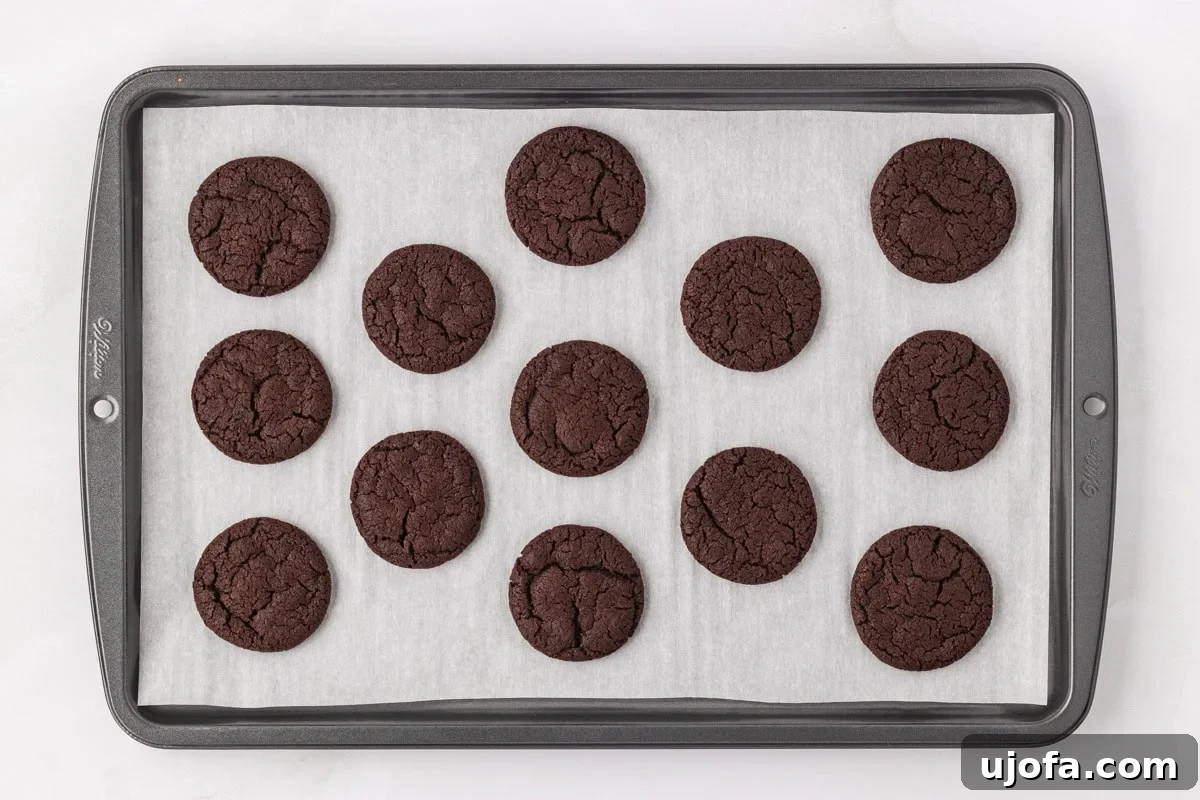
Step 7: Bake the Cookies to Your Preferred Texture. Place the baking sheet into your preheated oven and bake for 8-10 minutes. The baking time is crucial for achieving your desired texture: bake for precisely 8 minutes for softer, chewier cookies, or extend the baking time closer to 10 minutes for a crunchier, more classic Oreo-like bite. Once baked, remove the cookies from the oven and let them cool completely on the baking sheet. This cooling period is essential for them to firm up before handling.
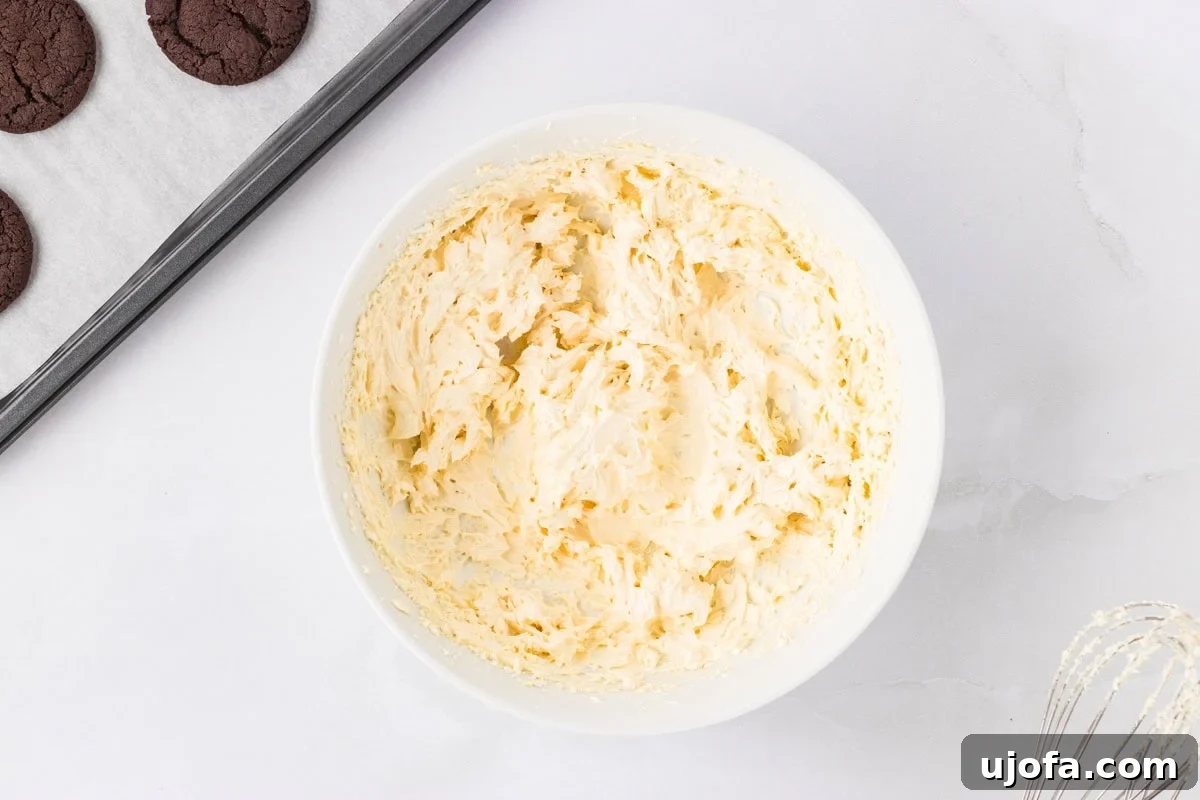
Step 8: Prepare the Creamy Vanilla Filling. While your delicious chocolate cookies are cooling, it’s time to whip up the signature vanilla marshmallow cream filling. In a medium bowl, combine ⅓ cup (75g) of softened unsalted butter, 3 oz. (85g) of marshmallow creme, 1 teaspoon (5ml) of vanilla extract, and ¼ teaspoon (1.5g) of salt. Using a hand mixer, beat these ingredients together until they form a smooth, light, and creamy mixture.
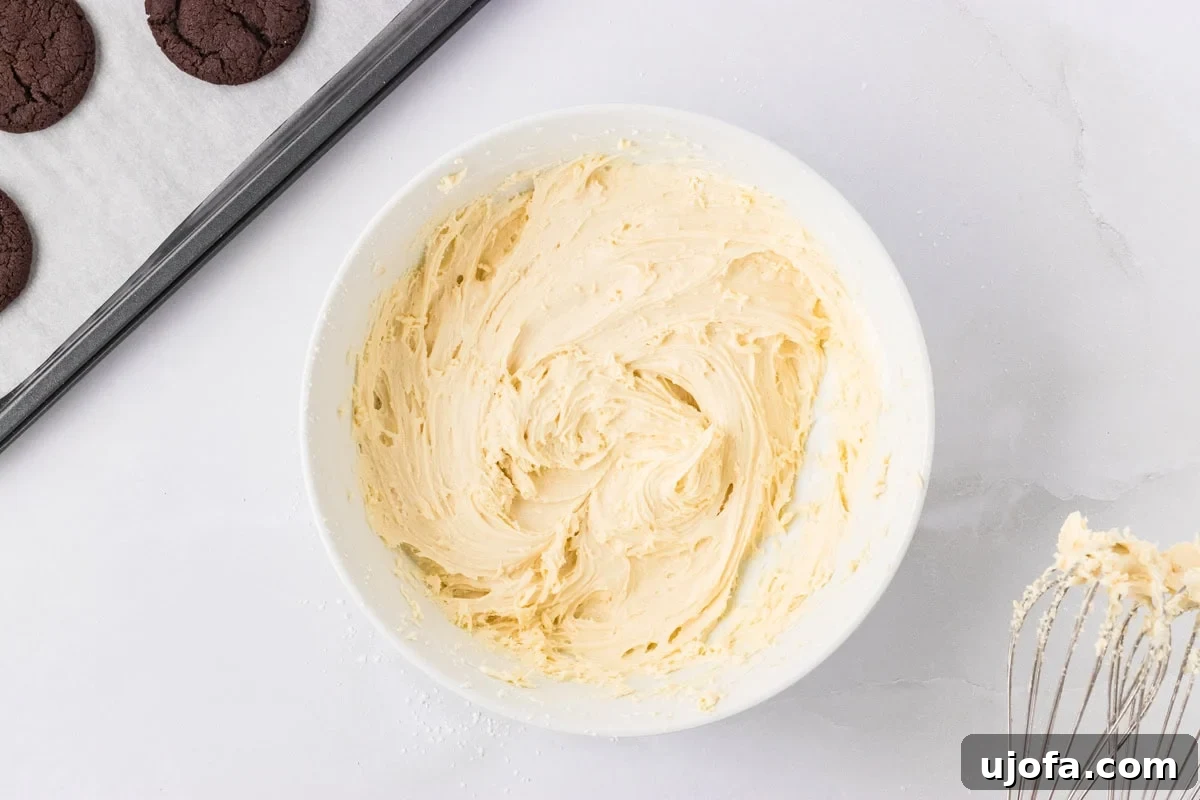
Step 9: Gradually Add Powdered Sugar to the Filling. With the butter and marshmallow base ready, it’s time to create the perfect filling consistency. Gradually add 2 cups (240g) of sifted powdered sugar to the mixture. Start by mixing on a low speed to prevent the sugar from flying out of the bowl, then increase the speed as the sugar incorporates. Beat until the icing is completely smooth, fluffy, and free of any lumps. Sifting the sugar beforehand is key for this step.
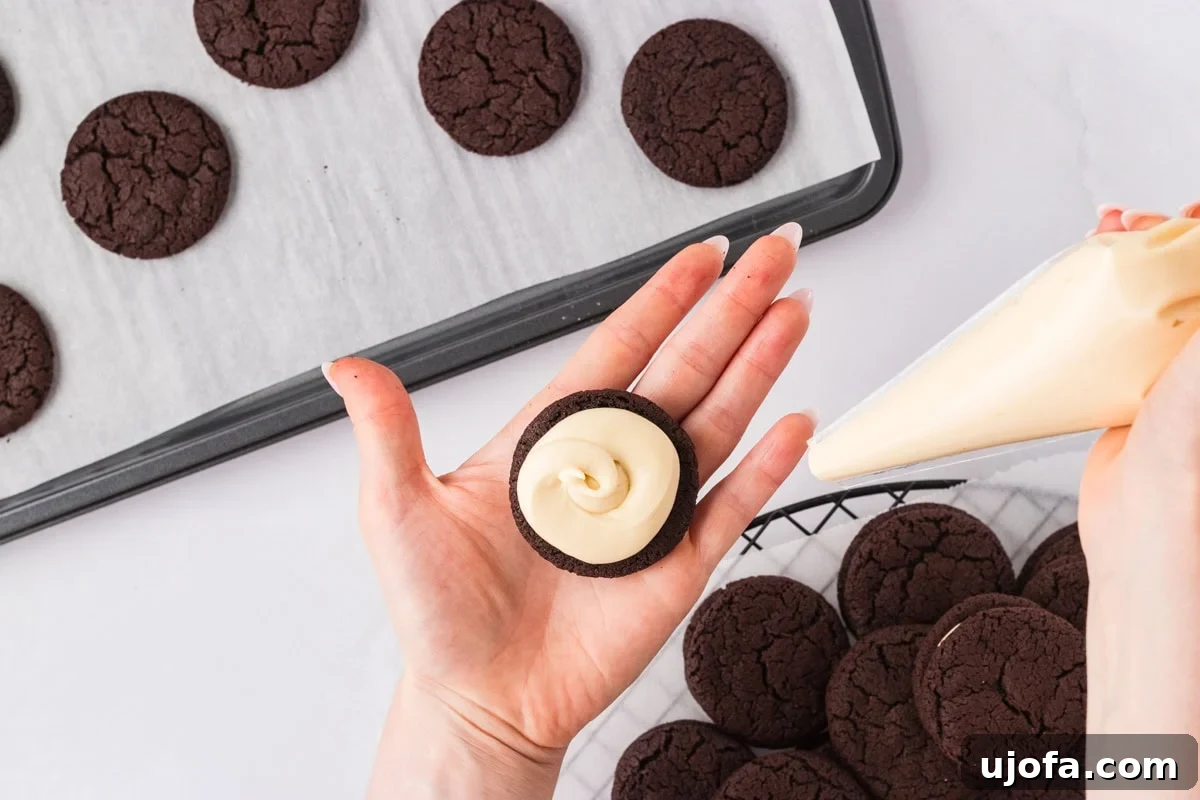
Step 10: Prepare the Filling for Assembly. Transfer the finished vanilla cream filling into a piping bag or a sturdy, clean storage bag. Snip off one corner of the bag to create a medium-sized hole for piping. This method allows for a clean and controlled application of the filling. If you don’t have a piping bag, a simple butter knife can also be used to spread the filling onto the cookies, though a bag offers greater ease and tidiness.
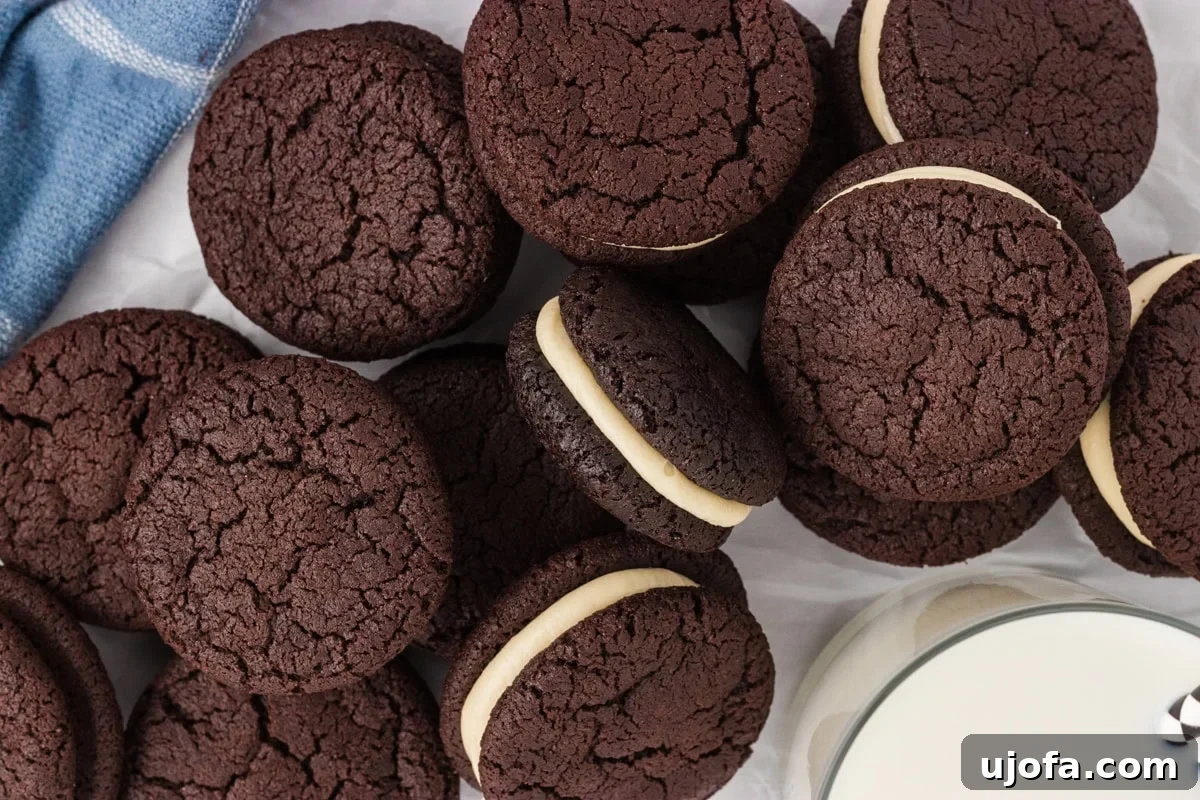
Step 11: Assemble the Gluten-Free Sandwich Cookies. With your chocolate cookies fully cooled and your filling ready, it’s time to assemble! Take half of your cooled cookies and gently flip them over so their flat bottoms face upwards. Pipe or spread your desired amount of creamy vanilla filling onto each cookie. Don’t be shy – if you’re a fan of “double-stuffed” Oreos, feel free to add an extra generous dollop!
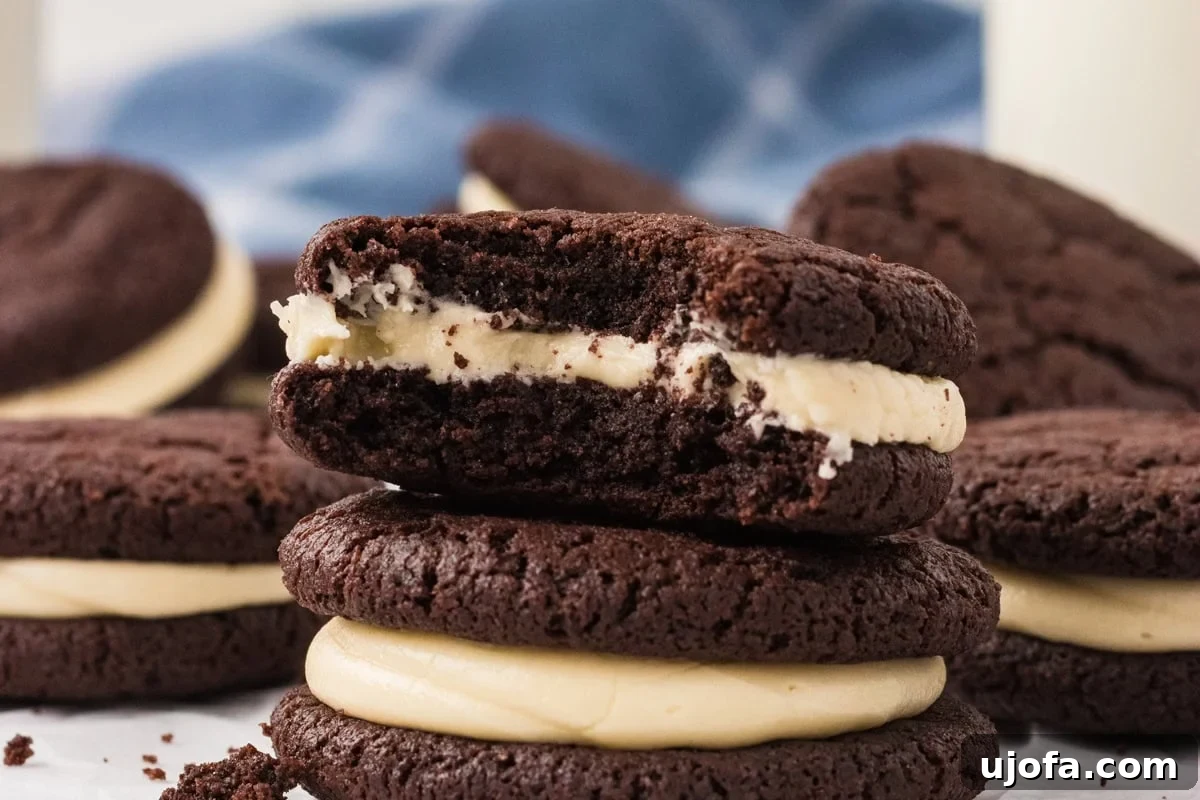
Step 12: Complete and Enjoy! Once each cookie has its creamy filling, carefully place another cooled chocolate cookie on top, flat side down, to complete the sandwich. Repeat this process until all your homemade gluten-free Oreos are assembled. Now, it’s time for the best part: enjoying your freshly baked, rich, and perfectly sweet gluten-free treats! Take a bite on their own, or pair them with a cold glass of milk for a classic indulgence.
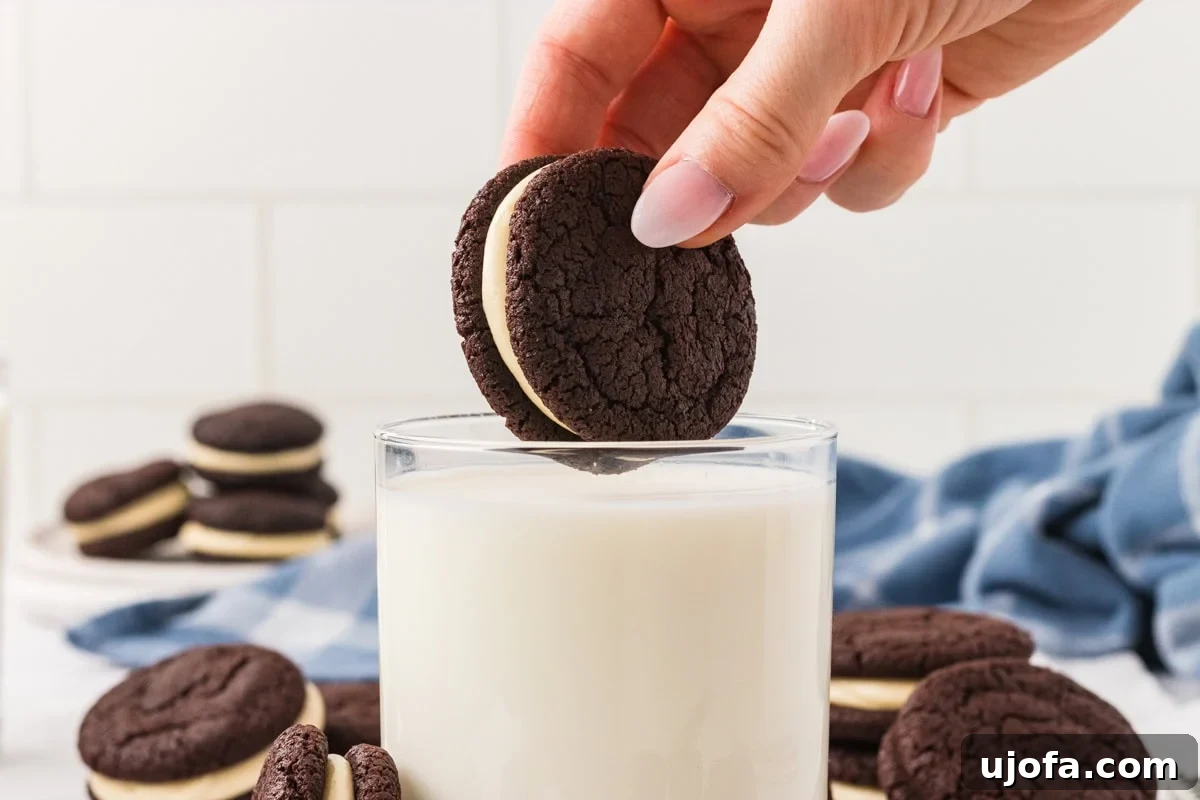
Creative Ways to Enjoy Your Homemade Gluten-Free Oreos
These homemade gluten-free Oreos are truly versatile, offering a delightful experience far beyond just eating them on their own. While nothing beats dipping one into a frosty glass of milk, here are some creative serving suggestions to elevate your cookie experience:
- Classic Milk Pairing: A tall, cold glass of milk (dairy or non-dairy like almond or oat milk) is the quintessential companion for these chocolate sandwich cookies. The cool milk perfectly balances the richness of the chocolate and the sweetness of the cream.
- Ice Cream Topping: Crumble your gluten-free Oreos over a scoop (or two!) of your favorite ice cream. They add a fantastic textural contrast and an extra layer of chocolatey goodness. They’re especially divine over almond milk ice cream for a dairy-free treat.
- Dessert Base: Use crushed gluten-free Oreos as a delicious crust for cheesecakes, pies, or even as a layer in a decadent gluten-free ice cream cake. Their robust chocolate flavor makes a superb foundation for various desserts.
- Flavor Variations for the Filling: Don’t be afraid to experiment with the vanilla cream filling! Add a few drops of peppermint extract for a refreshing holiday twist, or a hint of almond extract for a sophisticated flavor profile. A tiny bit of orange zest could also brighten the filling beautifully.
- Lunchbox Treat: Pack these delightful cookies in lunchboxes for a special surprise that’s sure to bring a smile to anyone’s face, whether for school or work.
- Gifting and Parties: Homemade cookies make thoughtful gifts. Arrange them in a pretty box or bag for a hostess gift, a holiday present, or a sweet gesture for a friend. They’re also an absolute hit at parties and gatherings, especially since they cater to gluten-free guests.
Storing Your Homemade Gluten-Free Oreos for Lasting Freshness
To ensure your delicious homemade gluten-free Oreos remain fresh and delightful for as long as possible, proper storage is key. Here’s how you can keep them at their best:
- Room Temperature Storage: Once assembled, these cookies can be stored in an airtight container at room temperature for up to 5 days. Make sure the container is truly airtight to prevent the cookies from drying out and the filling from hardening. Keep them away from direct sunlight or heat sources.
- Refrigeration: If you wish to extend their shelf life, you can refrigerate the assembled cookies in an airtight container for up to 2 weeks. The filling will firm up in the fridge, so for the best eating experience, allow them to sit at room temperature for about 10-15 minutes before serving. This softens the cream to its ideal texture.
-
Freezing for Long-Term Enjoyment: These gluten-free Oreos freeze exceptionally well, making them perfect for preparing ahead or keeping a stash for future cravings.
- Method: To freeze, first place the assembled cookies in a single layer on a baking sheet. Freeze them for about 1-2 hours until they are solid. This flash-freezing prevents them from sticking together.
- Transfer: Once solid, transfer the frozen cookies to a freezer-safe airtight container or a heavy-duty freezer bag. Squeeze out as much air as possible to prevent freezer burn.
- Shelf Life: Stored properly, they will stay fresh in the freezer for up to 2 months.
- Thawing: When ready to enjoy, simply remove the desired number of cookies from the freezer and let them thaw at room temperature for about 30 minutes to an hour, or until the filling softens.
Discover More Irresistible Gluten-Free Treats
If you loved creating these homemade gluten-free Oreos and are looking for more delightful baking adventures, explore these other fantastic gluten-free cookie recipes from our collection. Each one is designed to bring joy and satisfy your sweet tooth without any gluten worries.
- Gluten-Free Animal Crackers: For another nostalgic and charming homemade cookie, these gluten-free animal crackers are a must-try. They are delicately sweet, wonderfully crisp, and perfect for snacking, school lunches, or accompanying a cup of tea. Just like our Oreos, they offer that satisfying crunch everyone loves.
- Gluten-Free Chocolate Chip Cookies: When a classic craving strikes, these gluten-free chocolate chip cookies are always the answer. They bake up with perfectly crisp edges and delightfully soft, chewy centers, loaded with melty chocolate chips. They are just as easy to prepare as our homemade gluten-free Oreos and promise to be a universal crowd-pleaser.
- Gluten-Free Peanut Butter Cookies: If you’re seeking a delicious alternative to chocolate, these gluten-free peanut butter cookies are a fantastic choice. Rich, wonderfully chewy, and bursting with authentic peanut butter flavor, they offer a comforting and straightforward homemade cookie experience that is sure to be loved by all.
Frequently Asked Questions (FAQ)
Here are some common questions about making homemade gluten-free Oreos:
-
Can I use a different type of gluten-free flour?
This recipe is developed using a gluten-free all-purpose flour blend that typically contains xanthan gum. Using a different blend might yield varying results. If your blend doesn’t contain xanthan gum, you may need to add about 1/2 teaspoon per cup of flour to achieve the right texture and prevent crumbling.
-
Is it possible to make these cookies vegan?
Yes, with a few substitutions! Replace the unsalted butter with a high-quality, plant-based butter substitute (ensure it’s labeled for baking). For the egg, use a flax egg (1 tbsp ground flaxseed mixed with 3 tbsp water, let sit for 5 minutes). Ensure your marshmallow creme is vegan-friendly or use a vegan marshmallow fluff alternative. Always double-check ingredient labels for hidden animal products.
-
Why did my cookies spread too much?
Over-spreading can be due to several factors: butter that’s too warm, not enough flour, an oven that isn’t preheated properly, or cookies placed too close together on the baking sheet. Ensure your butter is at room temperature but not melted, measure ingredients accurately, and leave adequate space between dough balls.
-
Can I substitute natural cocoa powder for Dutch-processed?
While you can use natural cocoa powder, it will result in a lighter-colored cookie with a slightly different flavor profile and texture. Dutch-processed cocoa is crucial for achieving the characteristic dark color and deep, less bitter chocolate flavor of traditional Oreos. If you must substitute, be aware the final product will look and taste different.
-
How can I make the cookies extra chewy?
For an even chewier cookie, you can slightly reduce the baking time by about a minute or two from the “soft cookie” time (e.g., 7 minutes instead of 8). Also, ensuring your brown sugar is packed tightly when measured helps add moisture and chewiness. Storing them in an airtight container immediately after cooling helps retain moisture.