
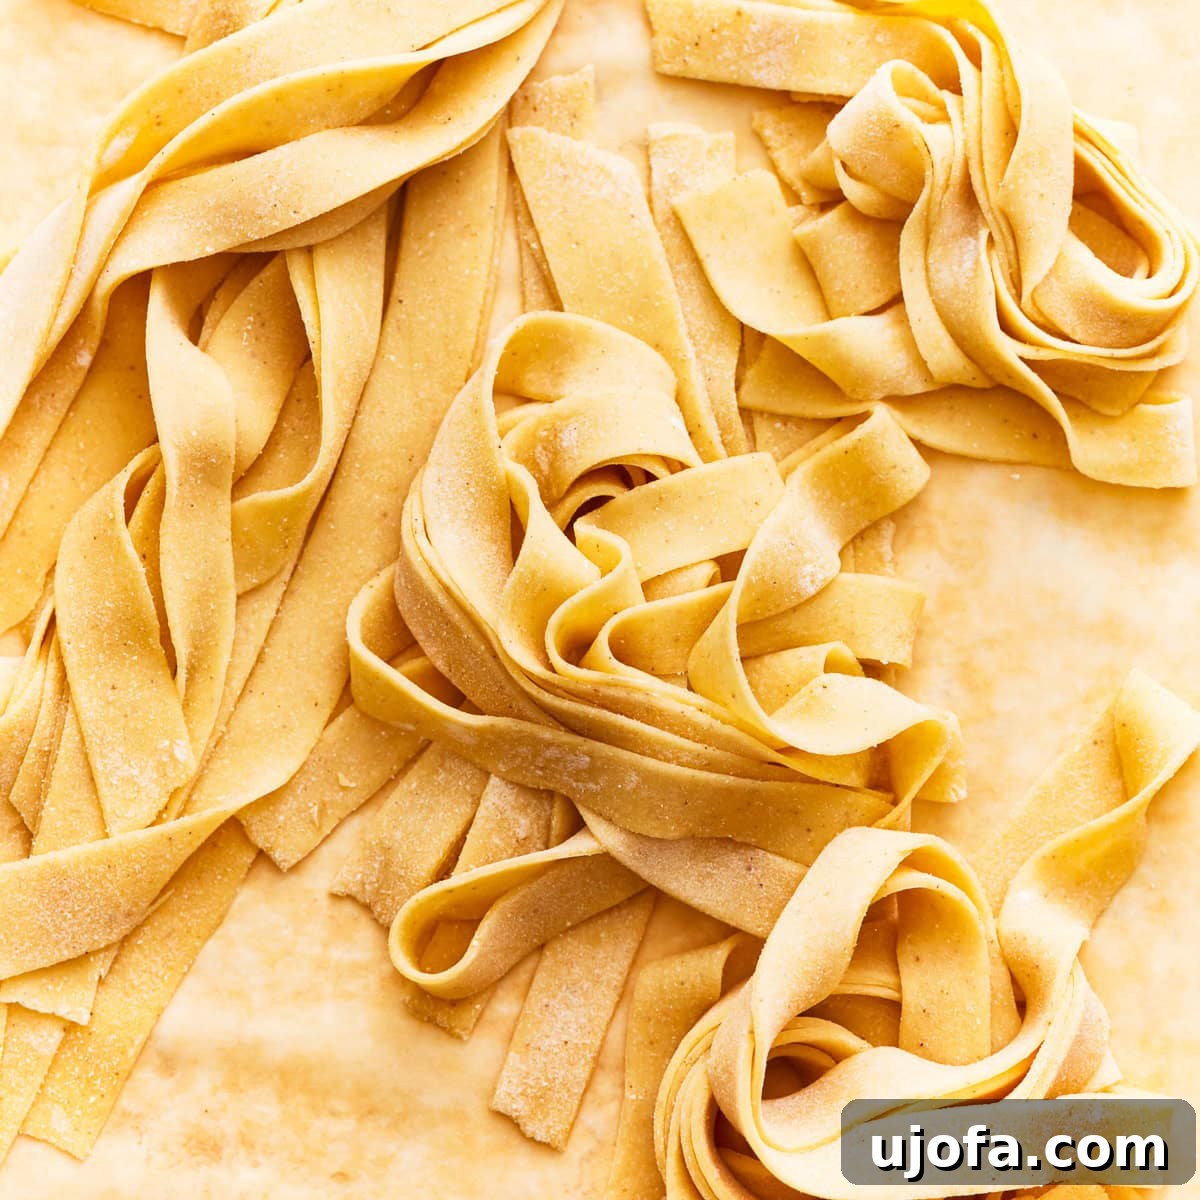
There’s nothing quite like the unparalleled taste and texture of fresh, homemade pasta. For those navigating a gluten-free diet, finding truly exceptional gluten-free pasta in restaurants can be a real challenge. That’s why I embarked on a mission to perfect my own recipe, and I’m thrilled to share with you a method that yields incredibly soft, silky, and utterly delicious gluten-free noodles. This recipe uses simple techniques, proving that you don’t need fancy equipment to create a culinary masterpiece. It’s a joyful experience that my entire family loves to participate in, turning meal preparation into a fun, shared activity!
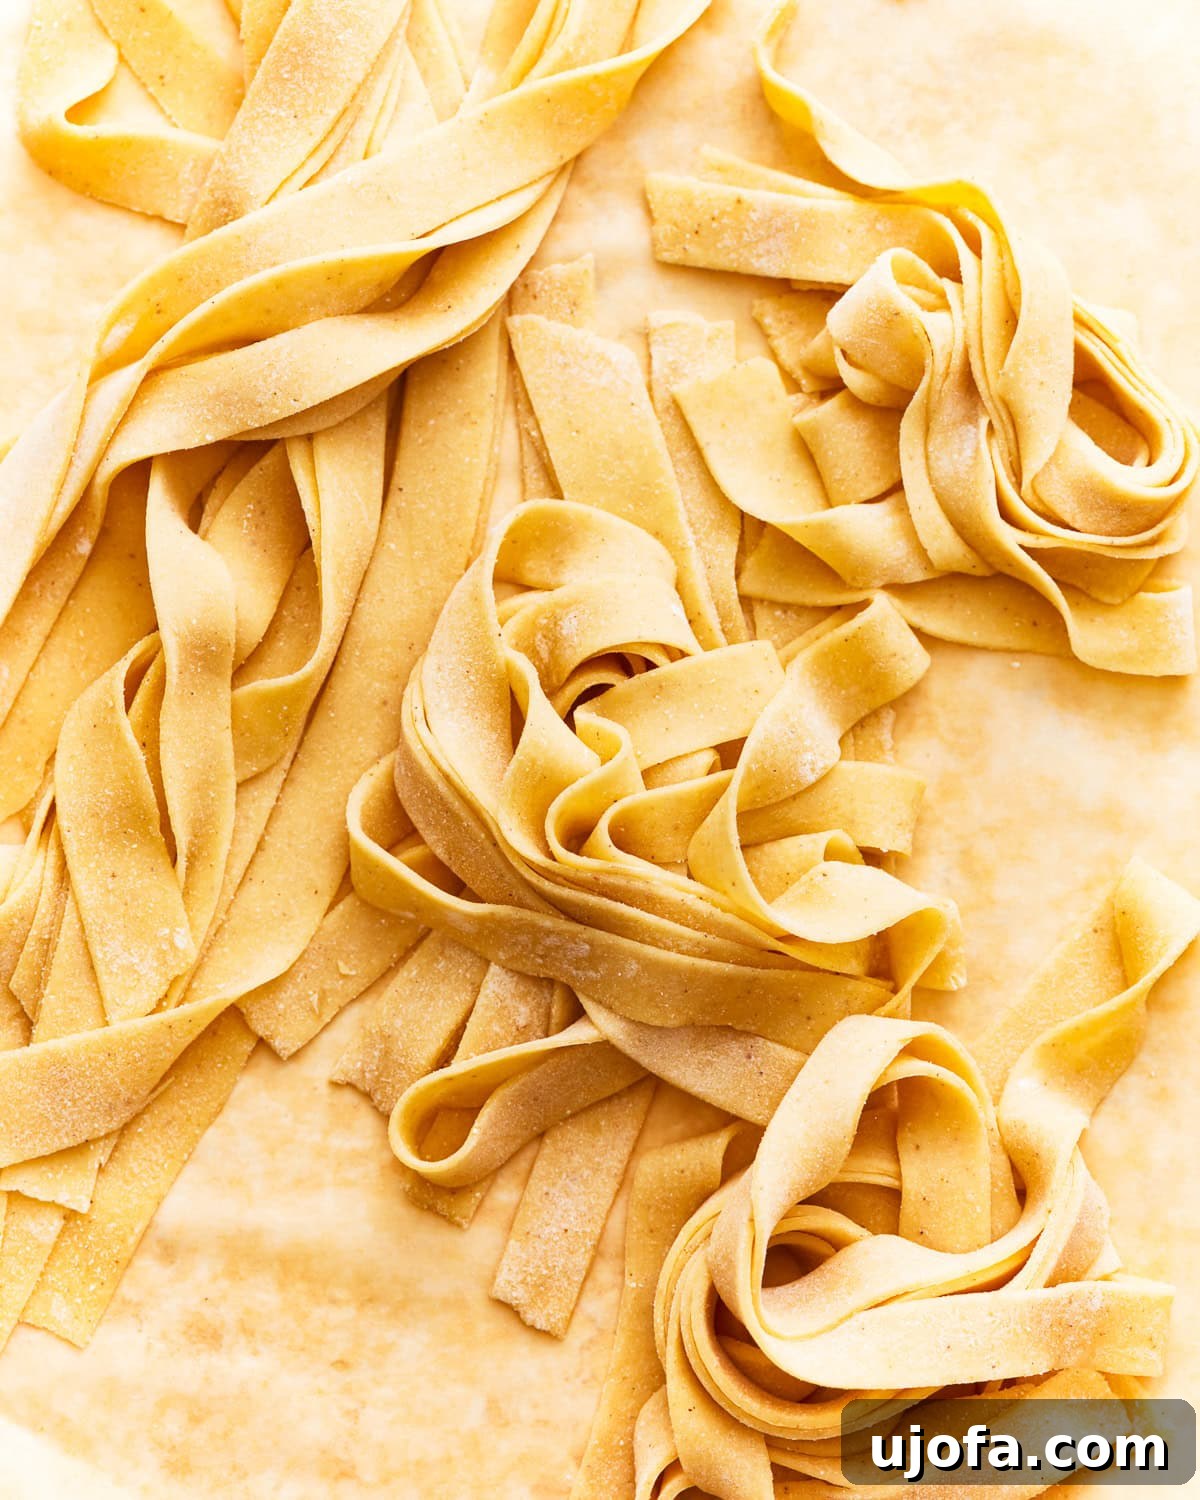
“I have never made homemade noodles before but this dough came together beautifully and it was delicious in my chicken noodle soup! Felt like I was working with real flour.”
– Danae
Mastering the Art of Homemade Gluten-Free Pasta
While store-bought pasta offers convenience, there’s an undeniable charm and superior quality to homemade versions that truly elevate any meal. For years, I dedicated myself to countless trials, meticulously adjusting ingredients and techniques to achieve the perfect flavor and texture for gluten-free pasta. I’m excited to say that I’ve finally cracked the code! The best part? You don’t need expensive or complicated tools like a pasta machine to achieve fantastic results. With just a few basic kitchen items and a little patience, you can create delightful gluten-free noodles right in your own kitchen.
Rating: 5 out of 5 stars (based on 5 votes)
Homemade Gluten-Free Pasta
By: Sabine Venier
Servings: 4
Prep Time: 45 minutes
Cook Time: 5 minutes
Total Time: 50 minutes
Email Recipe
Print Recipe
This homemade gluten-free pasta recipe delivers soft and silky noodles that cook to perfection and boast an incredible flavor! With simple techniques, you’ll create a dish that’s sure to impress.
Step-by-step photos can be seen below the recipe card for visual guidance.
Ingredients
- 1¾ cups gluten-free all-purpose flour (with xanthan gum)
- 1 tsp xanthan gum (omit if your flour blend already contains it)
- ½ tsp fine sea salt
- 3 large eggs
- 2 tbsp water
- 1 tbsp olive oil
Unit System: US Customary
For a visual guide, check out this video tutorial on making homemade gluten-free pasta:
Instructions
-
In a large mixing bowl, combine the gluten-free flour, xanthan gum (if your blend doesn’t already include it), and fine sea salt. Whisk everything together thoroughly to ensure the ingredients are evenly distributed.
-
Create a generous well in the center of the flour mixture. Crack the three large eggs directly into this well. Add the specified amounts of water and olive oil into the well alongside the eggs.
-
Using a fork or your fingertips, gradually begin to draw the surrounding flour mixture into the wet ingredients in the well. Continue this process until a shaggy, somewhat crumbly dough starts to form.
-
Once the dough has somewhat come together, transfer it onto a clean, lightly floured surface. Knead the dough for approximately 5-7 minutes. During this time, it should transform into a smooth, elastic, and slightly tacky ball. If the dough feels too dry and crumbly, add a very small amount of water (about half a teaspoon at a time) until it becomes more cohesive. Conversely, if it’s too sticky to handle, sprinkle in a bit more gluten-free flour until it reaches the desired consistency.
-
After thorough kneading, shape the dough into a cohesive ball. Cover it tightly with plastic wrap to prevent it from drying out. Let the dough rest at room temperature for about 30 minutes. This crucial resting period allows the gluten-free flours to properly hydrate and the dough to relax, making it much easier to roll.
-
Once rested, divide the dough into four equal portions (each weighing approximately 104 grams) to make it more manageable for rolling. Gently flatten each portion into a disk shape using your hands.
-
Lightly dust a piece of parchment paper and your rolling pin with gluten-free flour. Take one dough portion and roll it out into a thin, rectangular sheet. Aim for a thickness of about 1/16 to 1/8 inch – thin enough to be delicate but sturdy enough to handle.
-
With a sharp knife or a pizza cutter, slice the rolled-out dough into your preferred pasta shape. Common choices include fettuccine (medium-width ribbons), linguine (thinner ribbons), or wider sheets for lasagna. Repeat the rolling and cutting process with the remaining dough portions until all your pasta is beautifully formed.
-
To cook your fresh gluten-free pasta, bring a large pot of heavily salted water to a vigorous rolling boil. Carefully add the freshly cut pasta to the boiling water and cook for only about 2-3 minutes, or until it reaches an al dente texture – tender but still firm to the bite. Drain the cooked pasta immediately and serve hot with your favorite sauce or toppings.
Notes
*I do not recommend attempting to make this gluten-free pasta without eggs or with an egg replacer. The eggs play a vital role in creating the smooth, silky texture and structural integrity of this gluten-free dough. Their unique properties are hard to replicate with substitutes.
Nutrition
Serving: 1 serving
Calories: 262 kcal
Carbohydrates: 39 g
Protein: 10 g
Fat: 9 g
Saturated Fat: 2 g
Polyunsaturated Fat: 1 g
Monounsaturated Fat: 4 g
Trans Fat: 0.01 g
Cholesterol: 140 mg
Sodium: 366 mg
Potassium: 54 mg
Fiber: 6 g
Sugar: 2 g
Vitamin A: 203 IU
Calcium: 56 mg
Iron: 3 mg
Nutrition information is automatically calculated, so should only be used as an approximation and for general guidance.
Additional Info
Course: Dinner, Main Course
Cuisine: Italian
Tried this recipe?
Mention @mamaknowsglutenfree or tag #mamaknowsglutenfree!
How To Make Gluten-Free Pasta: A Detailed Step-by-Step Guide
Creating homemade gluten-free pasta might seem daunting at first, but with these detailed steps and accompanying visuals, you’ll be a pro in no time. Follow along closely for soft, supple, and perfectly textured noodles.
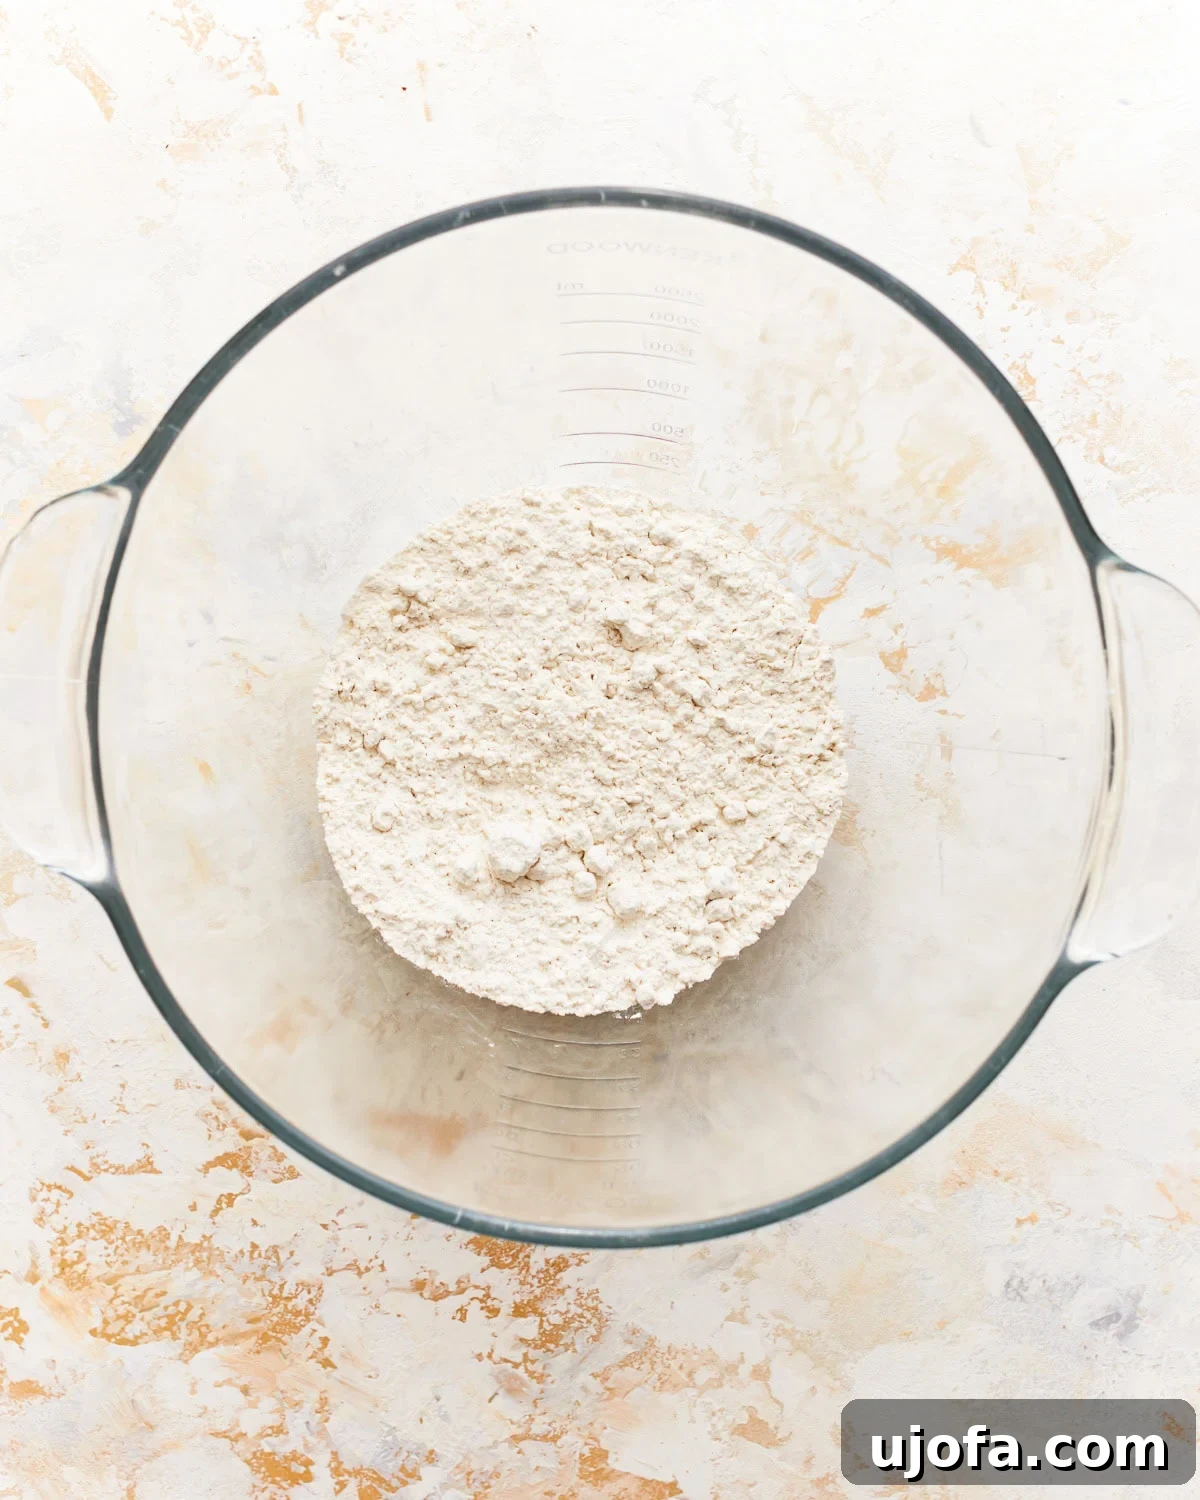
Step 1: Combine Dry Ingredients. In a large mixing bowl, whisk together 1 ¾ cups of gluten-free all-purpose flour. It’s crucial to use a blend that already contains xanthan gum, or add 1 teaspoon of xanthan gum separately if your chosen blend does not include it. Incorporate ½ teaspoon of fine sea salt, ensuring all dry ingredients are thoroughly mixed to prevent pockets of unmixed flour in your final dough.
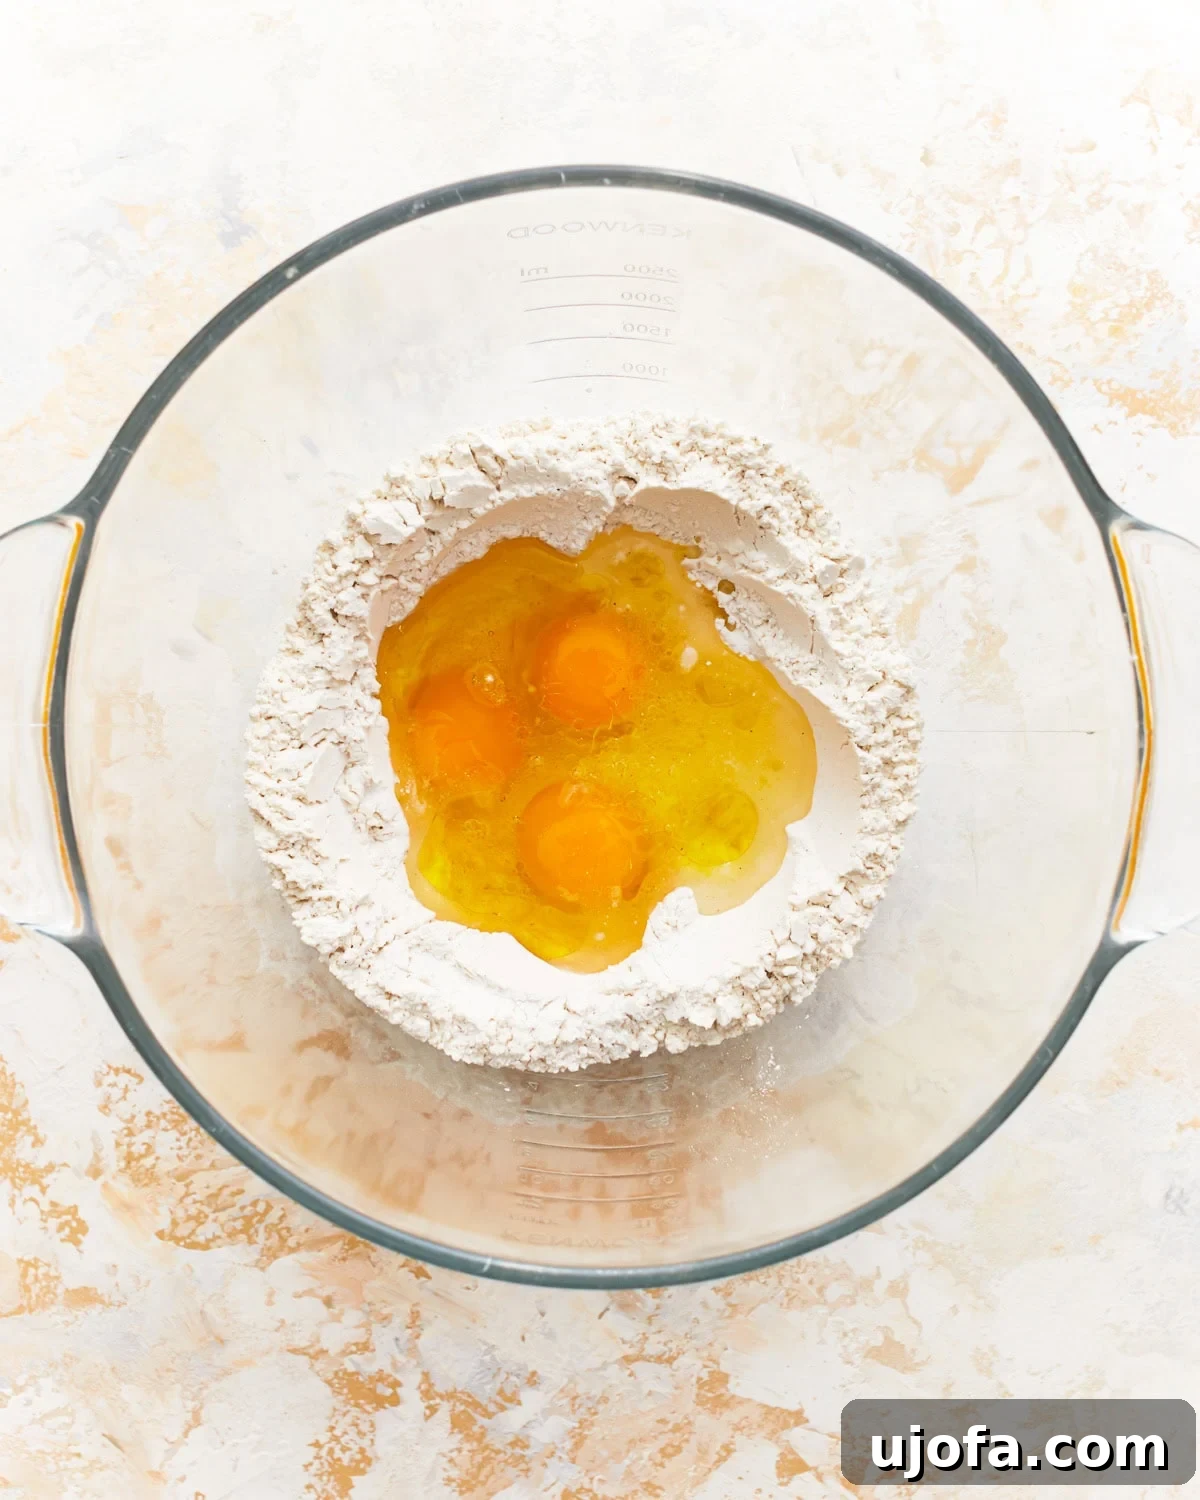
Step 2: Add Wet Ingredients to a Flour Well. Form a deep well in the center of your dry flour mixture. Carefully crack 3 large eggs into this well. Then, add 2 tablespoons of water and 1 tablespoon of olive oil directly into the well with the eggs. This method helps to gradually incorporate the wet and dry elements, ensuring a consistent dough.
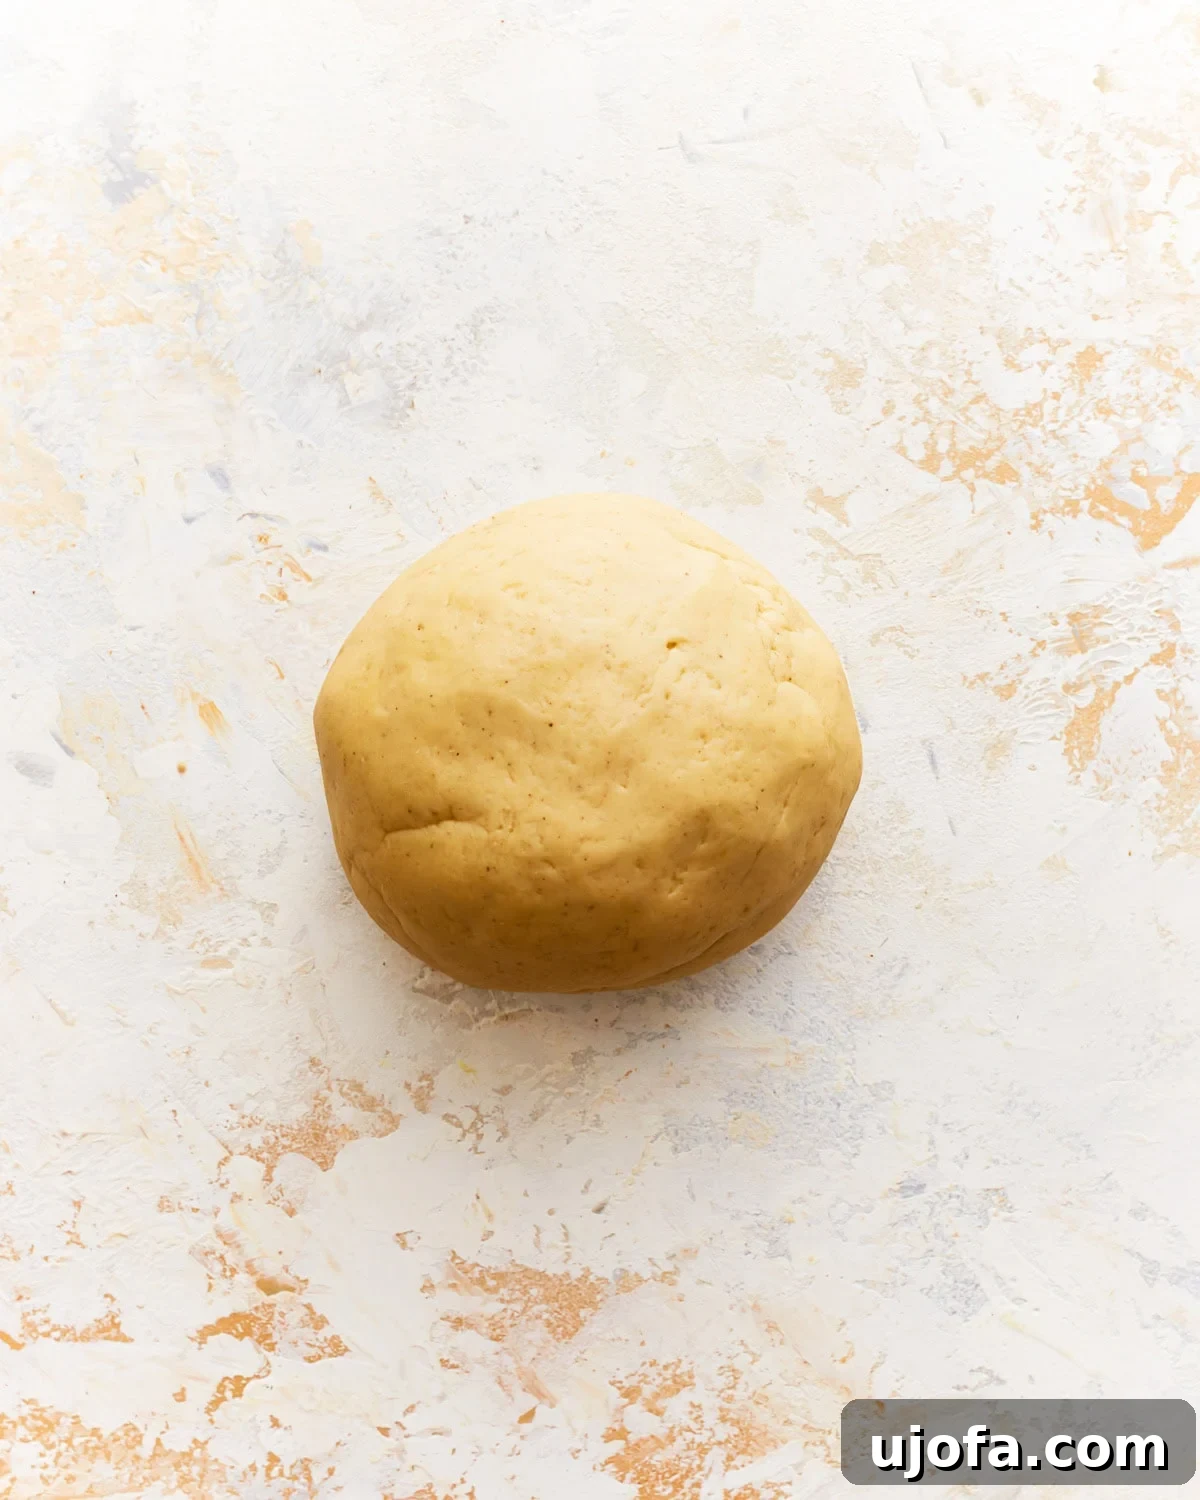
Step 3: Form and Knead the Dough. Begin by gently incorporating the flour from the edges of the well into the wet ingredients using a fork or your fingers. Continue until a shaggy dough starts to form. Once it’s cohesive enough to handle, transfer the dough to a clean, lightly floured work surface. Knead the dough vigorously for about 5-7 minutes. The goal is to achieve a smooth, elastic, and slightly tacky consistency. If the dough feels too dry and crumbly, add water sparingly, half a teaspoon at a time. If it becomes too sticky, dust with a small amount of gluten-free flour until it’s easy to work with.
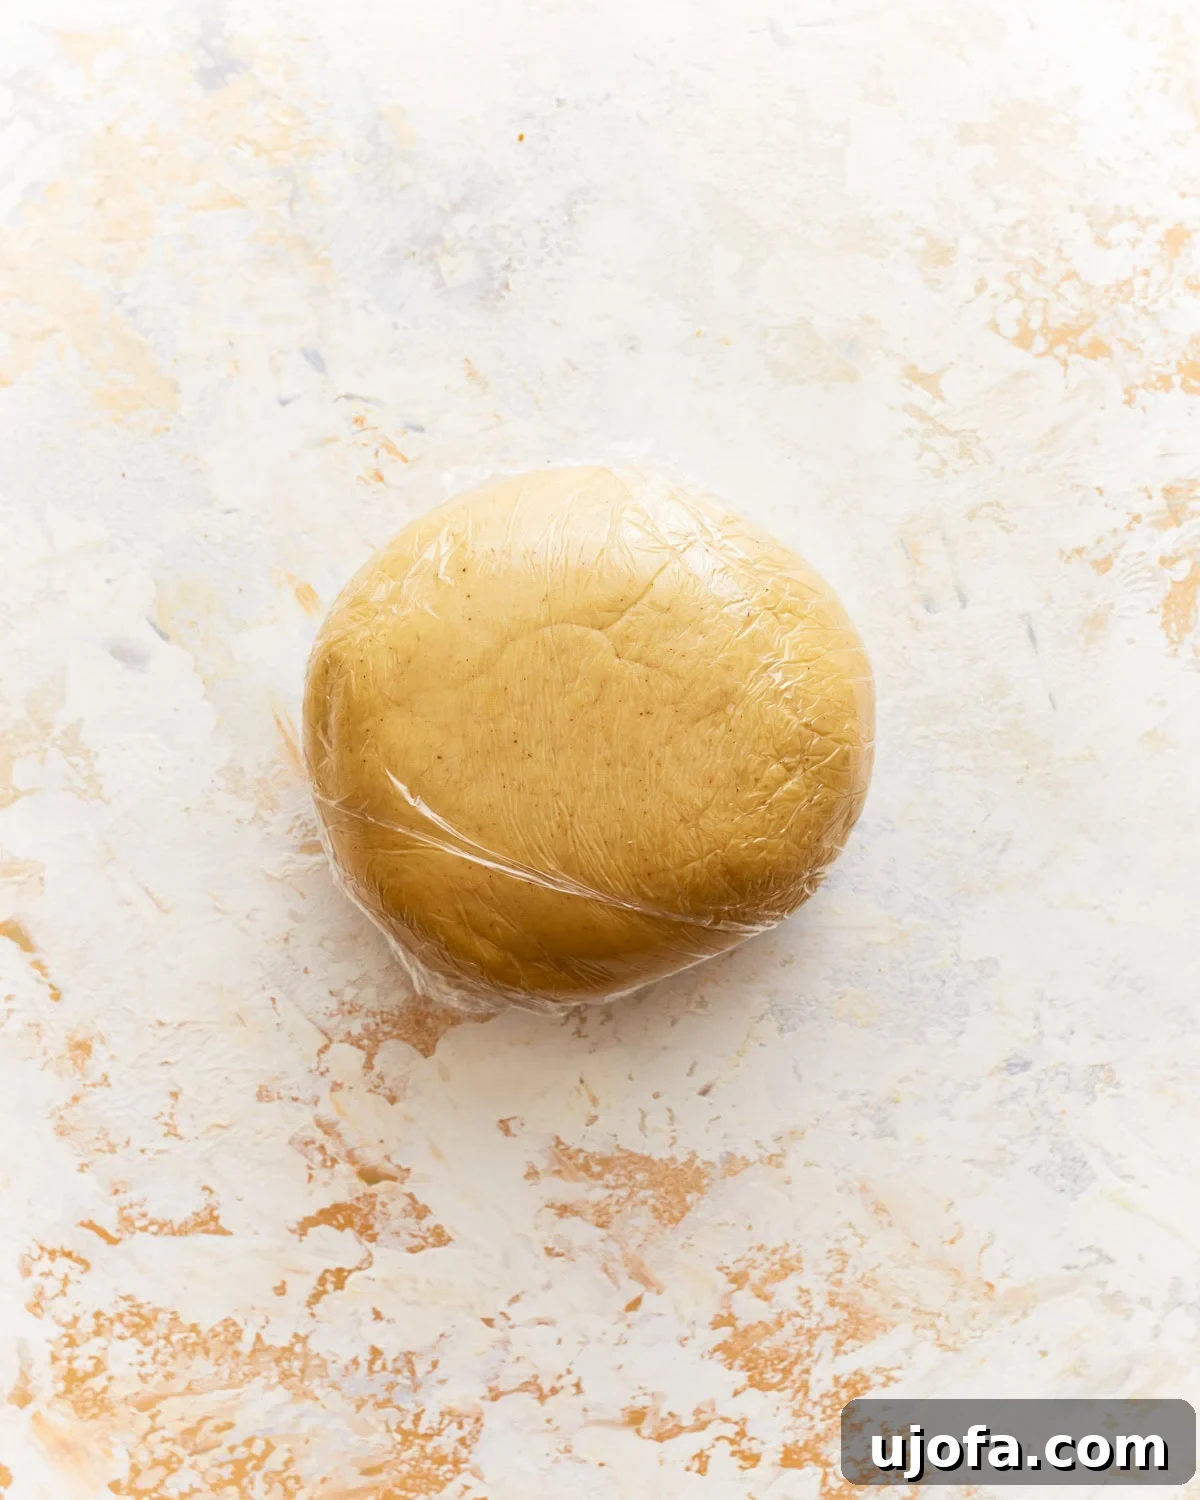
Step 4: Allow the Dough to Rest. After kneading, shape the dough into a smooth ball. Cover it tightly with plastic wrap to prevent any air from drying it out. Let the dough rest at room temperature for at least 30 minutes. This resting period is critical for gluten-free flours, as it allows them to fully hydrate and the dough to relax, making it much easier to roll thinly without tearing.
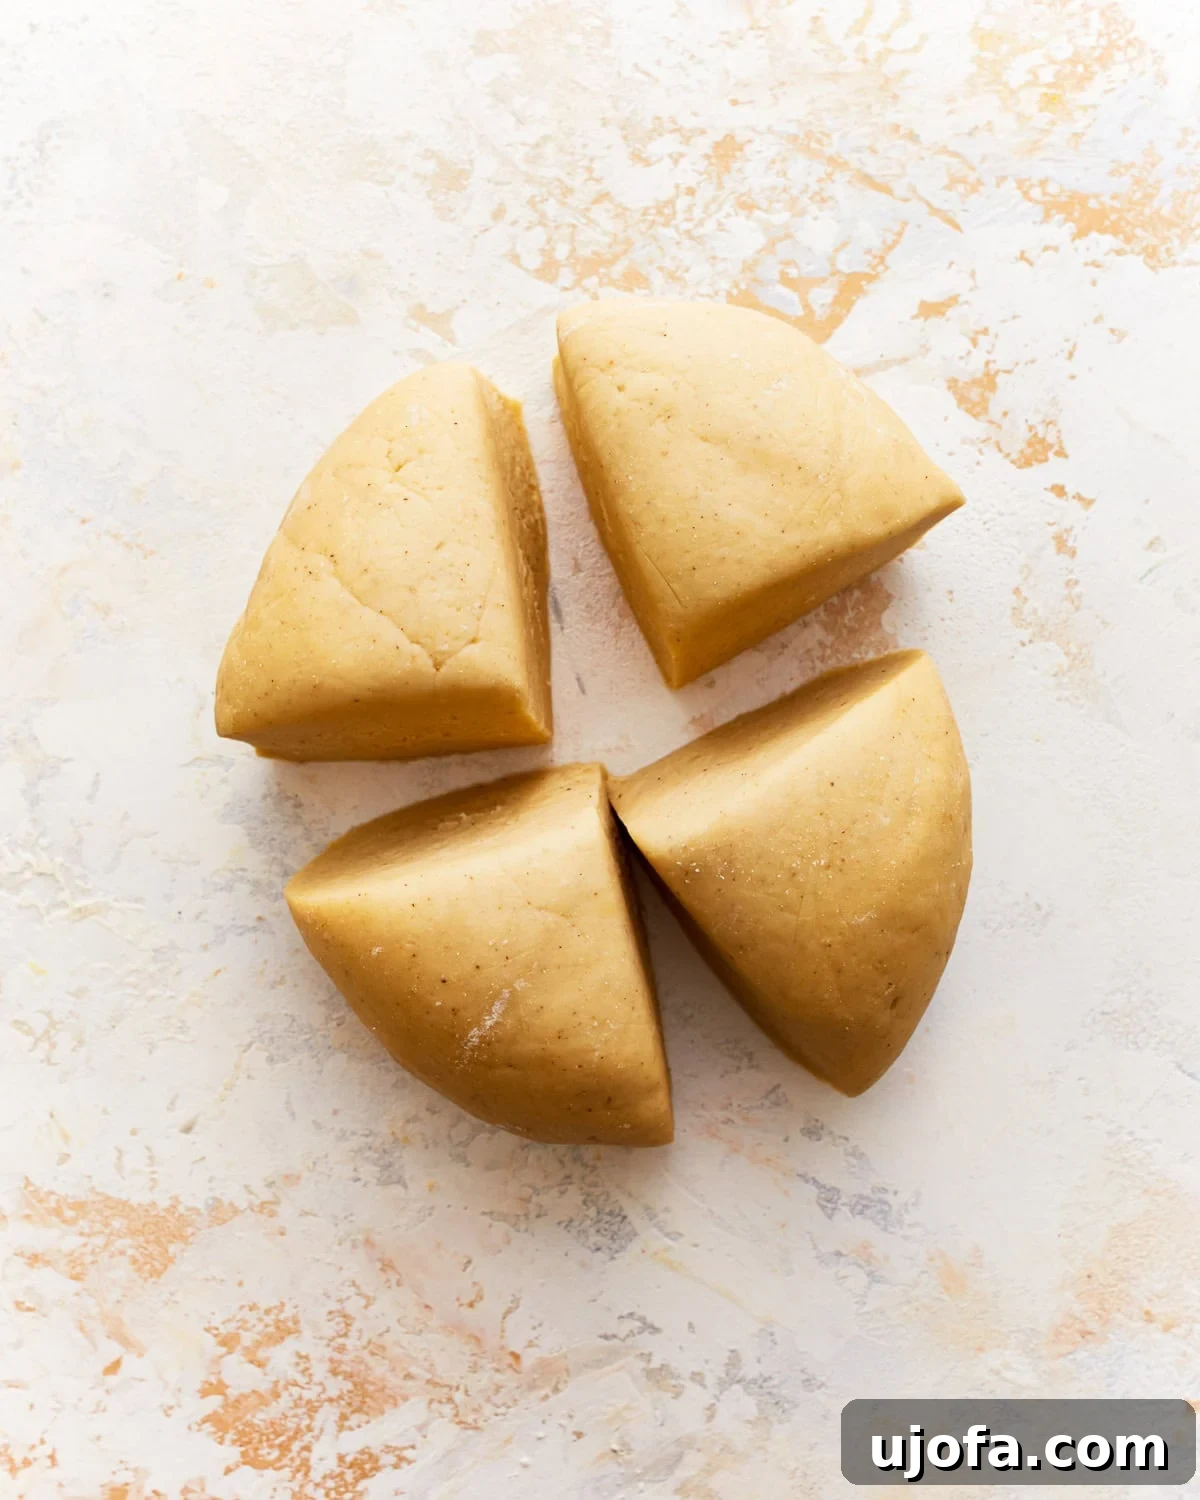
Step 5: Portion and Flatten the Dough. Once the dough has rested, divide it into 4 equal portions, each weighing approximately 104 grams. This sizing makes each piece more manageable for rolling. Gently flatten each portion into a disk with your hands, preparing them for the rolling process.
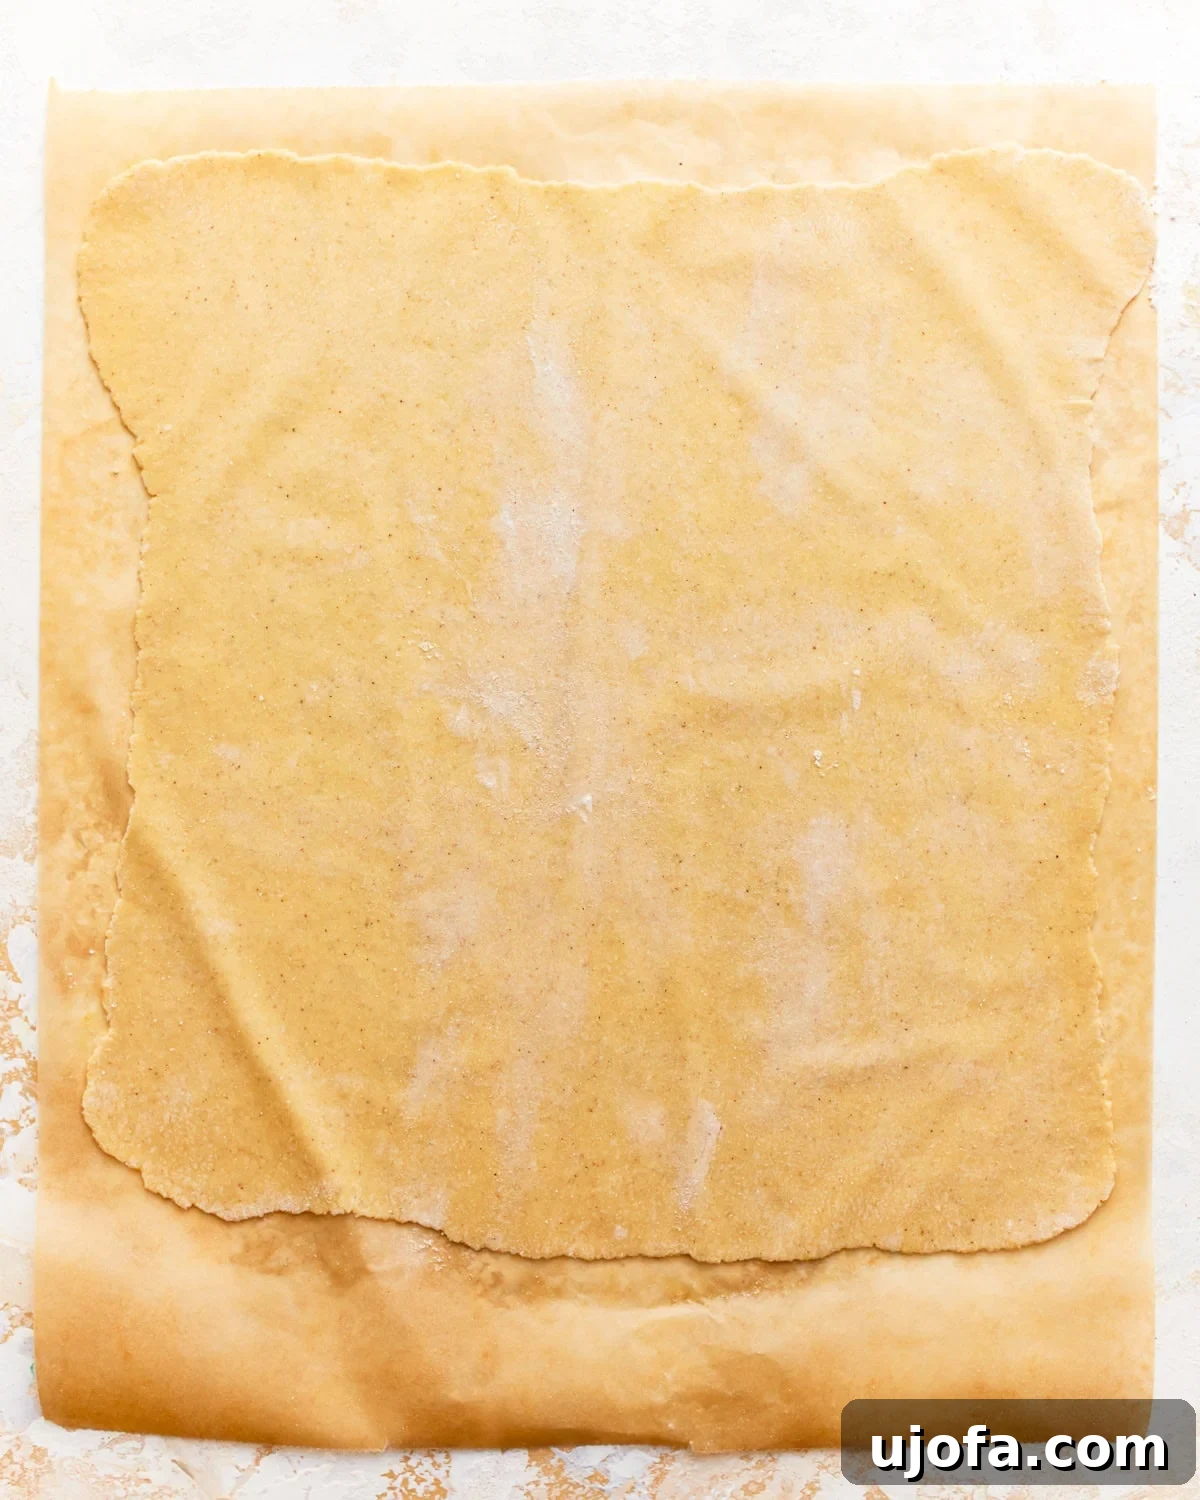
Step 6: Roll Out the Pasta Dough. Lightly dust a large sheet of parchment paper and your rolling pin with gluten-free flour to prevent sticking. Take one of the flattened dough portions and roll it out into a thin, rectangular sheet. Aim for a consistent thickness of about 1/16 to 1/8 inch. The thinner you roll it, the more delicate your pasta will be. Repeat this process for each of the remaining dough portions.
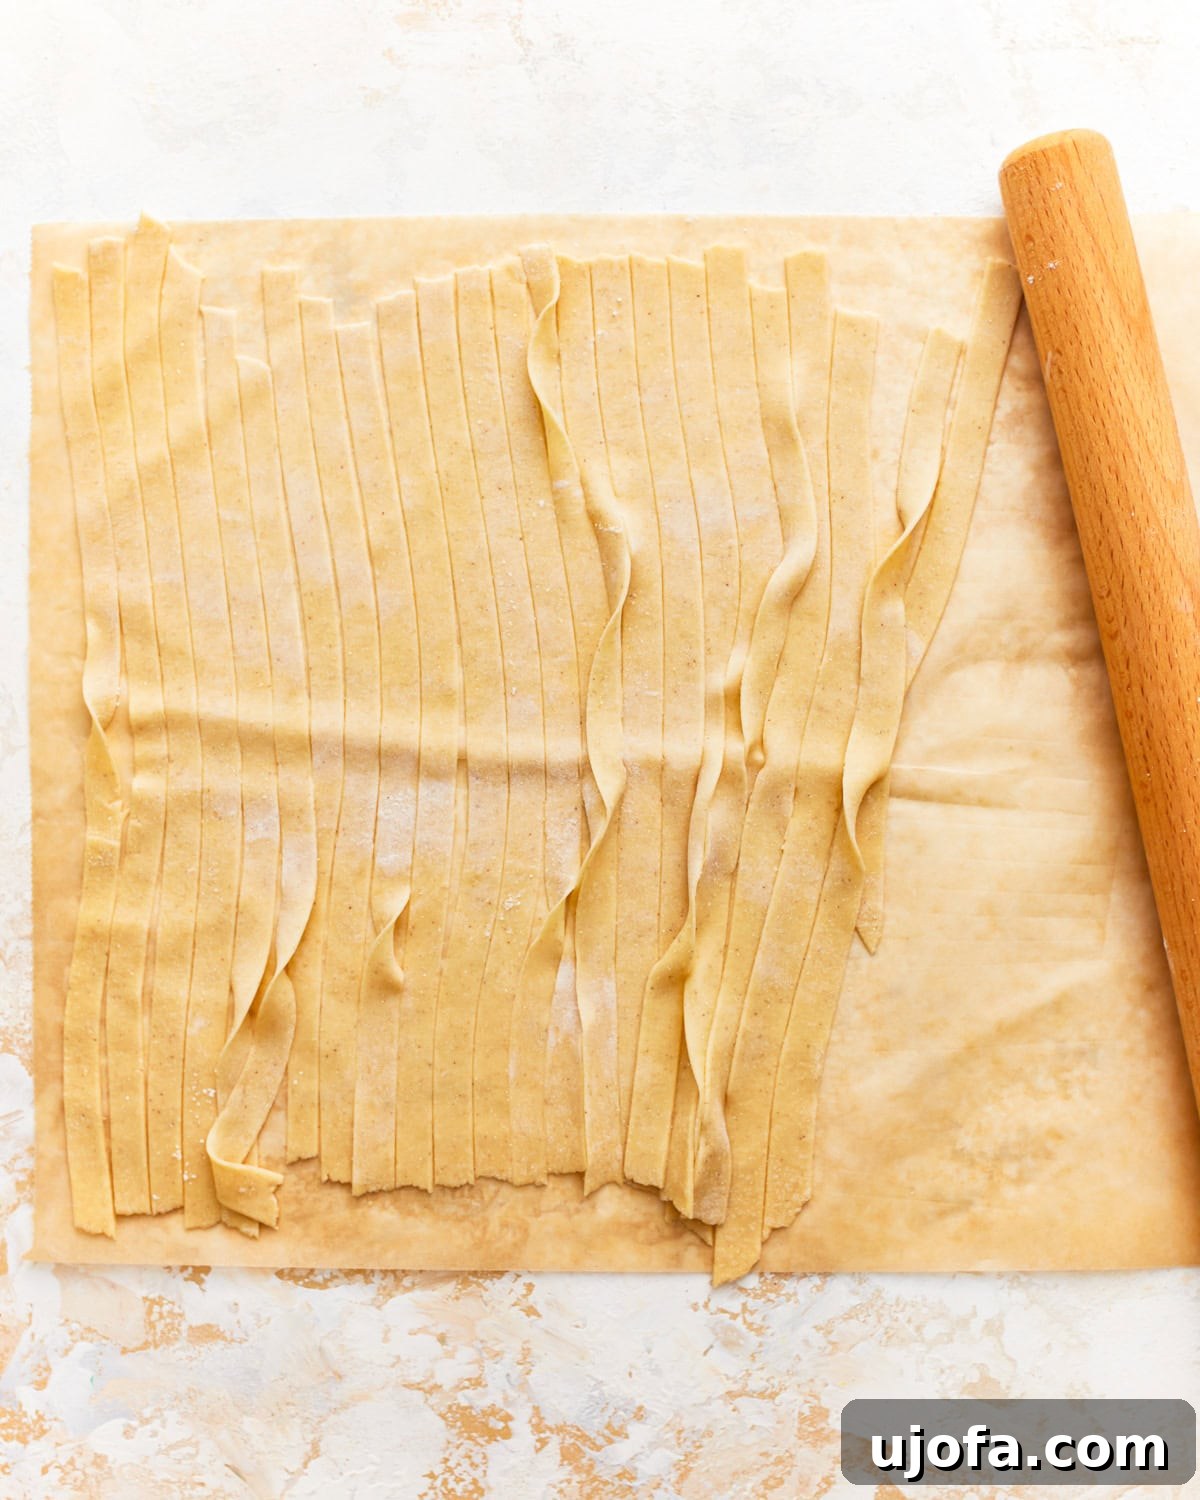
Step 7: Cut the Pasta to Shape. Once your dough is rolled out, use a sharp knife, a pizza cutter, or even a pasta wheel to cut the sheets into your desired pasta shape. Popular choices include classic fettuccine (about ¼ inch wide), thinner linguine, or broad lasagna sheets. You can also get creative with other shapes! Gently separate the cut noodles and lay them on a lightly floured surface or hang them on a pasta drying rack to prevent them from sticking together while you finish cutting the rest of the dough.
Why Make Your Own Gluten-Free Pasta? The Unbeatable Advantages
Opting for homemade gluten-free pasta over store-bought alternatives offers several significant benefits that elevate your culinary experience:
- Superior Taste and Texture: Fresh pasta, especially homemade, simply tastes better. It has a richer, more nuanced flavor and a wonderfully tender yet resilient texture that store-bought dried pasta often lacks. For gluten-free varieties, this difference is even more pronounced, as achieving the right consistency can be tricky. My recipe delivers a pasta that holds its shape and has a delightful mouthfeel.
- Control Over Ingredients: Making pasta from scratch allows you to choose high-quality, trusted gluten-free flour blends and ensures there are no hidden additives or preservatives. This is especially important for those with specific dietary needs or sensitivities.
- Customization Options: You can experiment with different flour blends, add herbs or spices to the dough, or even incorporate vegetable purées (though this recipe relies on eggs for structure, some variations allow for flavor additions). You also have complete freedom to cut your pasta into any shape you desire – from thin angel hair to wide pappardelle.
- A Rewarding Experience: There’s immense satisfaction in creating something delicious from basic ingredients. The process of mixing, kneading, and rolling the dough can be therapeutic, and the end result is a meal you can truly be proud of. It’s also a fantastic way to involve family members in the kitchen.
- Cost-Effective: While specialized gluten-free products can sometimes be pricey, making your own pasta can often be more economical in the long run, especially if you buy your gluten-free flour in bulk.
Essential Tools for Homemade Gluten-Free Pasta
One of the beauties of this recipe is its simplicity, meaning you don’t need a kitchen full of gadgets. Here’s what you’ll need:
- Large Mixing Bowl: For combining your dry and wet ingredients.
- Fork or Hands: For initially mixing the dough.
- Clean Work Surface: A spacious, clean countertop is ideal for kneading and rolling.
- Rolling Pin: A good sturdy rolling pin is essential for flattening the dough evenly.
- Sharp Knife or Pizza Cutter: For cutting the pasta into desired shapes.
- Parchment Paper: Prevents sticking during rolling and helps keep cut pasta from clumping.
- Plastic Wrap: For resting the dough.
- Large Pot: For boiling your fresh pasta.
While a pasta machine (manual or electric) can make the rolling process quicker and more uniform, it is absolutely not required for this recipe. My method is designed for those who prefer a hands-on approach with minimal equipment.
Expert Gluten-Free Pasta Cooking Tips
- Choose Reliable Flour Brands: Not all gluten-free flour blends are created equal. For consistent and excellent results with this recipe, I highly recommend using Pillsbury Gluten-Free All-Purpose flour or Better Batter Cup for Cup flour. These brands have been extensively tested and yield the best texture. I cannot guarantee the same results with other brands, as their compositions vary greatly.
- Dough Consistency is Key: Pay close attention to the dough’s feel. It should be pliable but not overly wet or crumbly. If it feels too dry, add water very gradually, a teaspoon at a time, until it comes together. If it’s too sticky and difficult to handle, sprinkle in a small amount of gluten-free flour. Achieving the right balance ensures easy rolling and a good final texture.
- The Ideal Kneading Stage: After kneading for 5-7 minutes, your gluten-free pasta dough should be noticeably smooth, elastic, and slightly tacky to the touch. When gently pressed with a finger, it should spring back. This elasticity is crucial for rolling thin sheets without tearing.
- Don’t Overcook Fresh Pasta: Fresh pasta cooks significantly faster than dried, store-bought pasta. For this recipe, 2-3 minutes in boiling salted water is usually sufficient to reach an al dente texture. Overcooking will result in mushy pasta, which is especially noticeable with gluten-free varieties.
- Drying and Storing Homemade Pasta: If you’re not cooking all your pasta immediately, you can dry it for later use. Arrange the cut pasta on a pasta drying rack or lay it flat in a single layer on a lightly floured surface. Allow it to dry completely, which can take several hours depending on humidity. Once fully dry, store it in an airtight container in a cool, dry place for up to 2 weeks. To rehydrate and cook dried pasta, boil it in salted water for approximately 6-7 minutes, or until tender.
Troubleshooting Common Gluten-Free Pasta Issues
Even with the best recipe, sometimes things don’t go exactly as planned. Here are solutions to common problems:
- Dough is too sticky: This is often due to too much moisture. Add a small amount of gluten-free flour (1 tablespoon at a time) and knead it in until the dough reaches a pliable, slightly tacky consistency.
- Dough is too dry or crumbly: The dough needs more liquid. Add water slowly (½ teaspoon at a time) and knead until the dough becomes cohesive and smooth.
- Pasta tears when rolling: This usually means the dough needs more resting time or more kneading. Ensure the dough is smooth and elastic before rolling. If it’s tearing, cover it and let it rest for another 15-20 minutes.
- Pasta sticks together when cooking: Make sure you’re using a large pot of aggressively boiling, salted water. Don’t overcrowd the pot; cook the pasta in batches if necessary. Stir gently when first added to prevent sticking.
- Cooked pasta is mushy: You likely overcooked it. Fresh gluten-free pasta cooks very quickly (2-3 minutes). Keep a close eye on it and taste test often.
Creative Serving Suggestions for Your Homemade Pasta
The versatility of this homemade gluten-free pasta means it pairs beautifully with almost any sauce you adore. It forms a fantastic base for a multitude of dishes:
- Classic Comfort: Serve it with a hearty and classic gluten-free spaghetti sauce for a truly comforting and satisfying meal that appeals to everyone.
- Creamy Indulgence: Elevate your dinner with a luxurious and creamy Alfredo sauce, whether traditional or a dairy-free alternative. The silky noodles beautifully absorb the rich flavors.
- Vegan Delight: For a plant-based option, a rich and flavorful vegan vodka sauce complements the pasta wonderfully, offering depth and zest.
- Simple & Fresh: Toss your fresh pasta with a vibrant pesto, cherry tomatoes, and fresh basil for a light and summery dish. A drizzle of high-quality olive oil and a sprinkle of Parmesan (or a dairy-free alternative) is also perfect.
- Hearty Ragus: The robust texture of these noodles stands up perfectly to slow-cooked meat sauces or rich vegetable ragus, making for a substantial and flavorful meal.
The beauty of this homemade gluten-free pasta is its remarkable ability to hold up beautifully with both red and white sauces, making it an incredibly versatile and delicious foundation for countless culinary creations.
Storage Instructions for Fresh and Cooked Gluten-Free Pasta
Proper storage is essential to enjoy your homemade gluten-free pasta at its best, whether fresh or cooked.
- Storing Fresh Dough: If you’ve made a batch of dough but aren’t ready to roll and cook it, wrap the dough ball tightly in plastic wrap to prevent it from drying out. It can be stored in the refrigerator for up to 3 days. For longer storage, the dough can be frozen for up to 3 months. When ready to use, simply thaw it overnight in the refrigerator before shaping and cooking.
- Storing Freshly Cut, Uncooked Pasta: For pasta that has been cut but not yet cooked, you have a few options. You can cook it immediately. Alternatively, lightly dust the noodles with gluten-free flour and let them air dry for about 30 minutes to an hour on a lightly floured baking sheet or pasta drying rack before loosely coiling them into nests or storing flat in an airtight container in the refrigerator for 1-2 days. For longer preservation, completely dry the pasta as described in the “Gluten-Free Cooking Tips” section, then store in an airtight container in a cool, dry place for up to 2 weeks, or freeze uncooked for up to 1 month.
- Storing Cooked Gluten-Free Pasta: Once your pasta is cooked, drain it well and lightly toss it with a small amount of olive oil to prevent sticking. Store it in an airtight container in the refrigerator for up to 3 days. Reheat gently on the stovetop with a little sauce or water to loosen.
Frequently Asked Questions (FAQs) About Gluten-Free Pasta
Here are answers to some common questions about making and enjoying gluten-free pasta:
Q: What is xanthan gum and why is it important for gluten-free pasta?
A: Xanthan gum is a common food additive used as a binder and thickener. In gluten-free baking and pasta making, it mimics the elasticity and stickiness that gluten provides in traditional flour. It helps the dough hold together, preventing it from crumbling, and gives the pasta a more traditional, pliable texture.
Q: Can I use any gluten-free flour blend for this recipe?
A: While many gluten-free flour blends exist, their compositions (different rice flours, starches, etc.) vary significantly. For the best results with this specific recipe, I highly recommend Pillsbury Gluten-Free All-Purpose flour or Better Batter Cup for Cup flour. Using other brands might require adjustments to the water content or result in a different texture.
Q: Do I need a pasta machine to make this recipe?
A: Absolutely not! This recipe is specifically designed to be made without a pasta machine, using just a rolling pin. While a pasta machine can make the rolling process faster and more uniform, a rolling pin works perfectly well to achieve thin, delicious noodles.
Q: How can I tell if my gluten-free pasta dough is kneaded enough?
A: After kneading for about 5-7 minutes, the dough should feel smooth and elastic, not sticky or crumbly. When you gently press it with your finger, it should spring back slightly. This indicates proper development and hydration of the flours.
Q: My pasta broke apart when cooking, what went wrong?
A: This could happen for a few reasons: the dough might have been too dry, not kneaded enough, or the pasta was overcooked. Ensure your dough has the correct consistency (elastic, slightly tacky), that it rested sufficiently, and that you’re cooking it for only 2-3 minutes in boiling water.
More Delicious Gluten-Free Pasta Recipes to Try!
- Hearty Gluten-Free Lasagna
- Creamy Gluten-Free Baked Mac and Cheese
- Comforting Gluten-Free Egg Noodles
- Refreshing Gluten-Free Italian Pasta Salad