
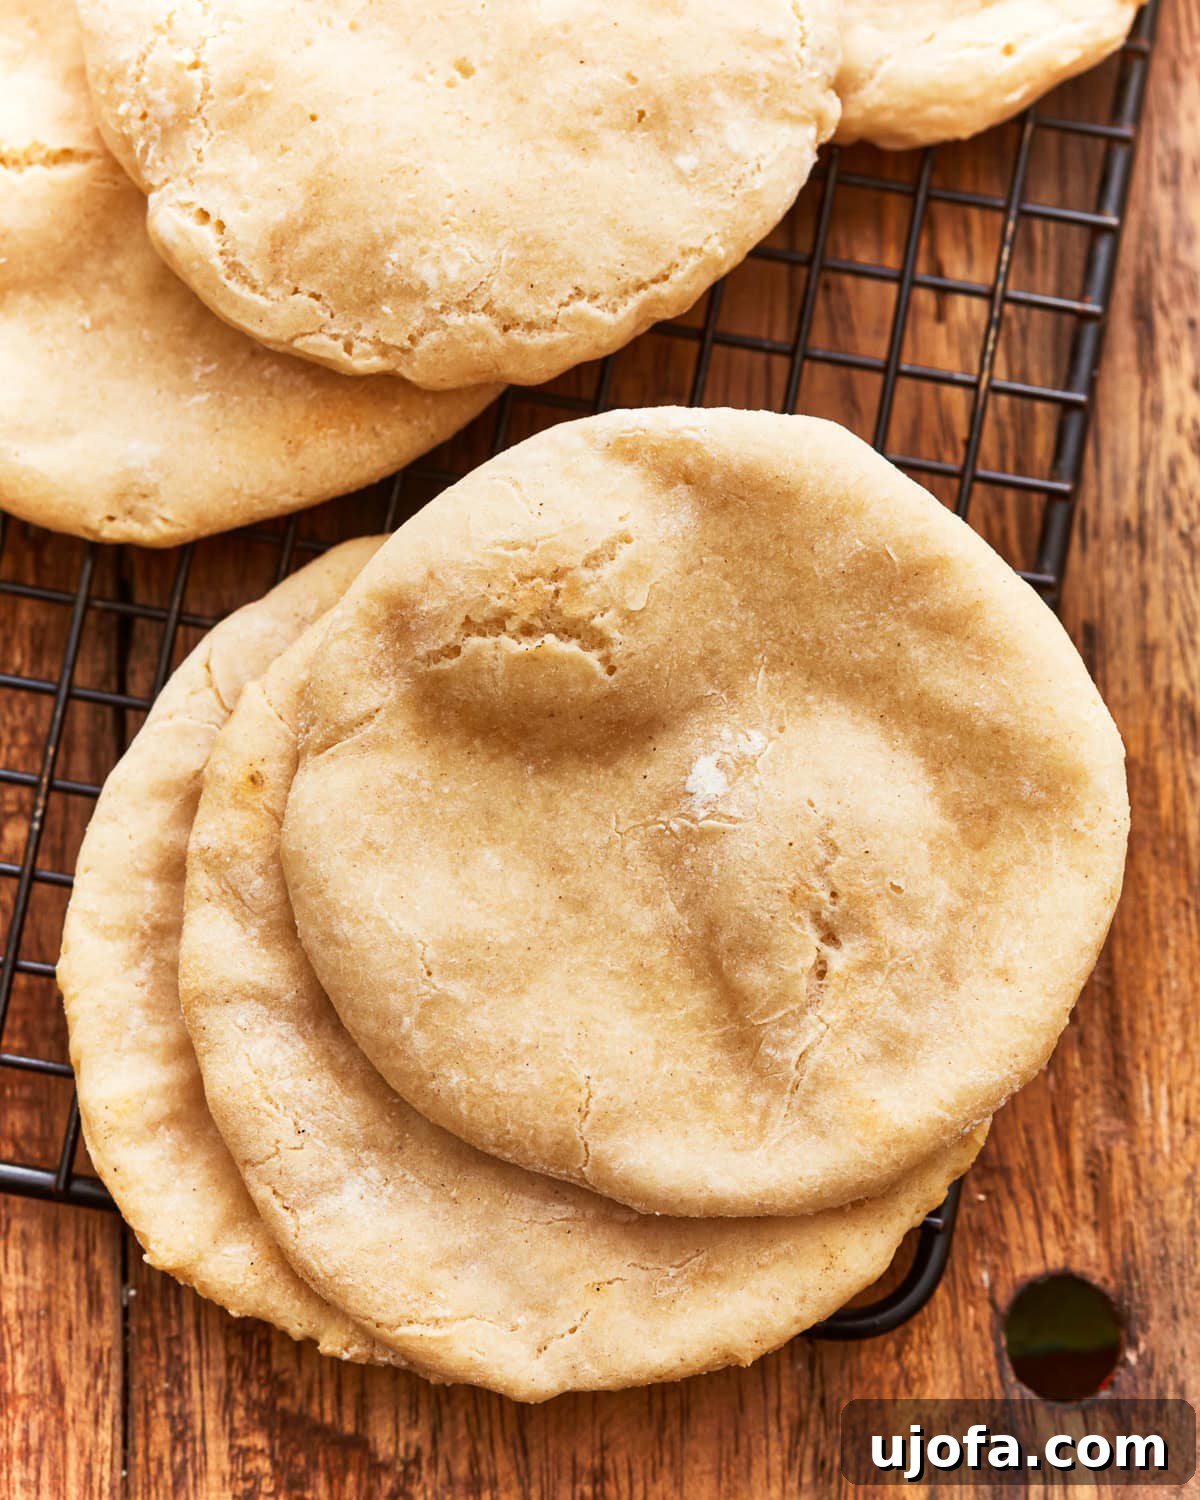
Imagine soft, pillowy pita bread, still warm from the oven, filling your kitchen with an irresistible aroma. Now imagine that deliciousness is completely gluten-free, dairy-free, and vegan, ready for you to enjoy in under 90 minutes! This homemade gluten-free pita bread recipe is not just a dream, it’s a simple reality that will revolutionize your snacking, dipping, and meal prep. Perfect for stuffing with your favorite fillings like creamy chicken salad or savory falafel, or baking into crispy gluten-free pita chips, these versatile flatbreads are a game-changer for anyone following a gluten-free lifestyle.
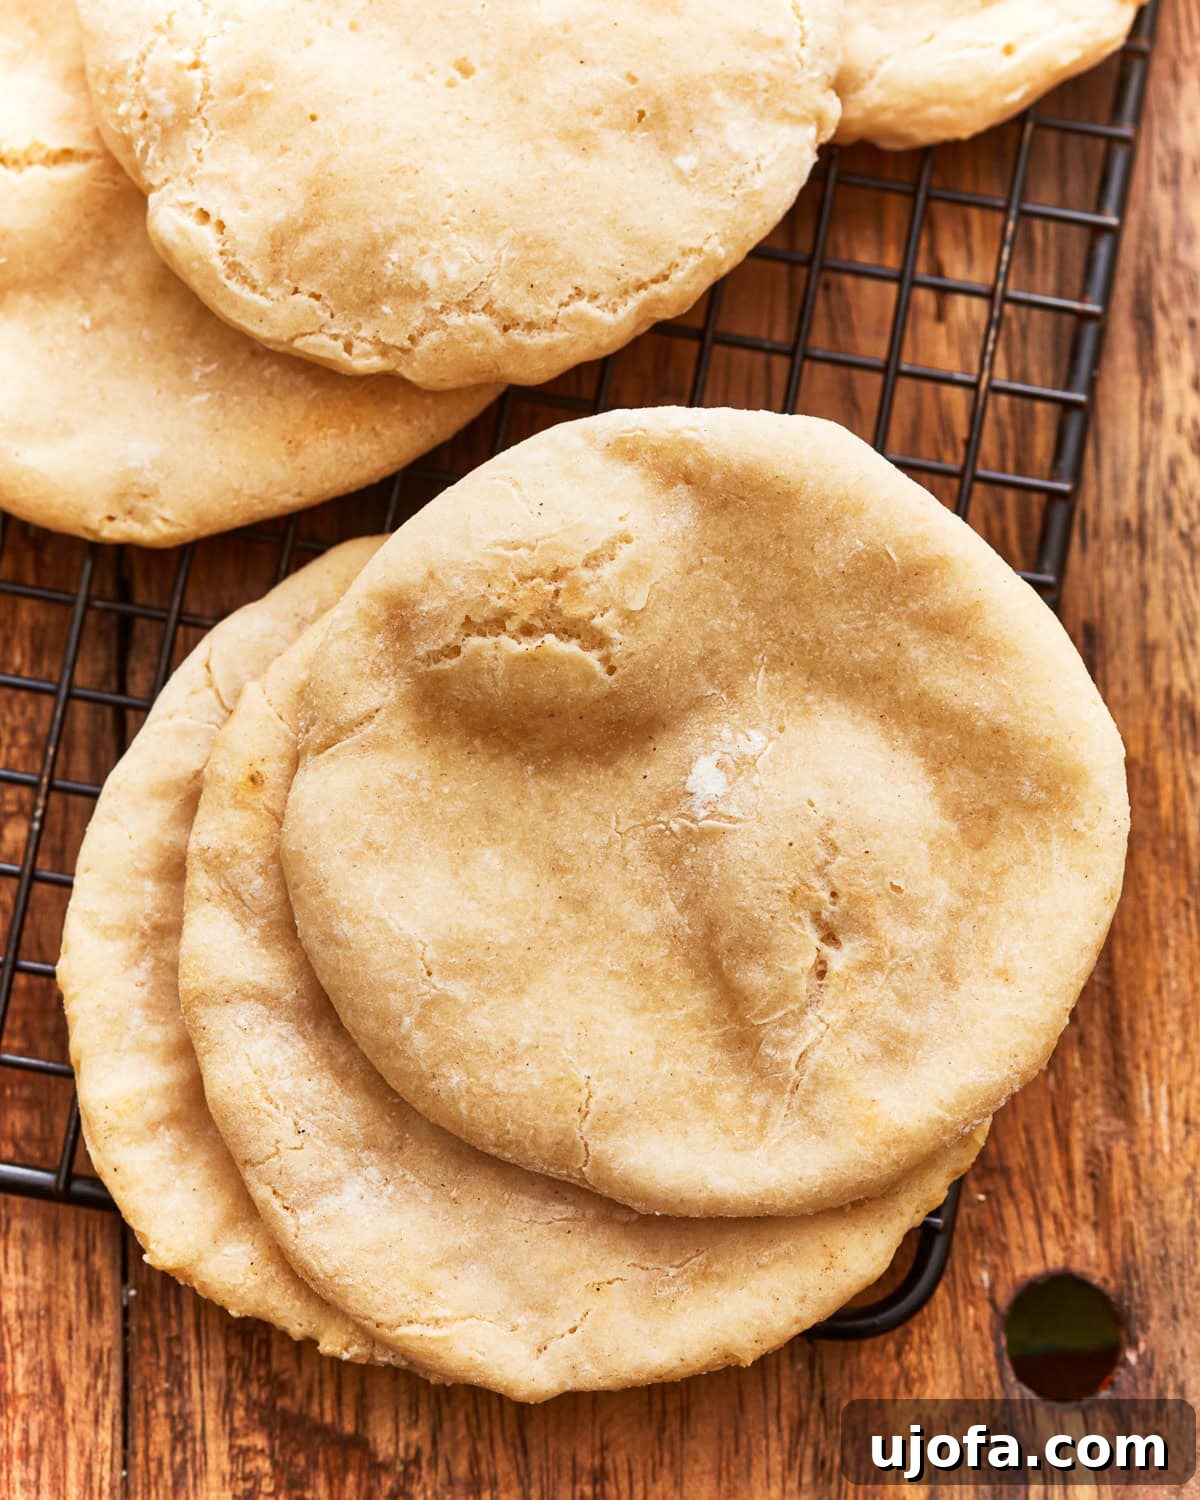
The Ultimate Gluten-Free Pita Bread Recipe: Soft, Fluffy & Flavorful
There’s a unique satisfaction that comes from baking your own bread, and this gluten-free pita recipe delivers on all fronts. It’s surprisingly easy to achieve soft, pliable, and incredibly flavorful pita bread right in your own kitchen, without needing any specialized equipment. This recipe has quickly become a staple for me, not only for its simplicity but also because it naturally accommodates multiple dietary needs. Being dairy-free, egg-free, and vegan, it’s a recipe that truly checks all the boxes, making it ideal for sharing with friends and family with various sensitivities. Whether you’re using it for dipping into hummus, crafting a hearty sandwich, or simply enjoying it on its own, this pita bread is an absolute delight.
Homemade Gluten-Free Pita Bread
By: Sabine Venier
Servings: 6
Prep Time: 1 hour 15 mins
Cook Time: 8 mins
Total Time: 1 hour 23 mins
This recipe brings you soft, fresh-from-the-oven gluten-free pita bread that might just become your new favorite snack! Enjoy homemade pita on your table in less than 90 minutes.
Ingredients
- 1 1/2 cups gluten-free all-purpose flour with xanthan gum (recommended for yeast baking; Pillsbury or Better Batter Brand work exceptionally well)
- 1/4 cup tapioca starch (can substitute with arrowroot starch or potato starch in equal amounts)
- 1/2 tsp salt
- 1 tsp granulated sugar
- 2 tsp instant yeast
- 1 cup warm water (ideally around 110°F to properly activate the yeast)
- 1 tbsp olive oil
Watch a video tutorial on how to make this gluten-free pita bread (video content to be embedded here).
Instructions
-
In a large mixing bowl, thoroughly whisk together the gluten-free all-purpose flour, tapioca starch, salt, granulated sugar, and instant yeast. Ensuring these dry ingredients are well combined helps with even distribution in the dough.
-
Gradually pour the warm water and olive oil into the dry ingredients. Mix everything until a soft, slightly sticky dough forms. This typically takes about 2-3 minutes of mixing. The dough should be cohesive but not overly dry.
-
Transfer the dough to a lightly greased bowl, ensuring it’s coated evenly to prevent sticking during rising. Cover the bowl with a clean kitchen towel or plastic wrap. Allow the dough to rise in a warm, draft-free spot for approximately 1 hour, or until its volume has visibly doubled. A warm oven (turned off) or a sunny spot can aid this process.
-
While the dough is rising, preheat your oven to a high temperature of 475°F (245°C). If you plan to use a baking stone or steel for baking, place it in the oven during preheating to ensure it reaches the optimal temperature for that classic pita puff.
-
Once the dough has risen, gently deflate it by pressing down lightly. Divide the dough into 6 equal portions. On a lightly floured surface or a piece of parchment paper, use your fingers to flatten each dough portion into a disc, about 1/4 inch thick. Aim for an even thickness for uniform baking.
-
Carefully place the flattened dough rounds onto a parchment-lined baking sheet or directly onto your preheated baking stone. Bake for 7-8 minutes. Keep a close eye on them; they should puff up beautifully and turn a light golden brown.
-
Once baked, remove the pitas from the oven and transfer them to a wire rack to cool slightly. Allowing them to cool on a rack prevents them from becoming soggy. Serve warm or at room temperature, ready to be enjoyed.
Notes
- The success of gluten-free yeast baking highly depends on the flour blend used. Not all gluten-free flour blends are created equal for yeast-based recipes. For the best results, I strongly recommend using reliable brands like Pillsbury or Better Batter, which include xanthan gum, crucial for structure in gluten-free baking. Using other blends may lead to different textures or rise.
- Nutrition information is automatically calculated and should be used as an approximation.
Nutrition (per serving)
Calories: 153kcal | Carbohydrates: 28g | Protein: 5g | Fat: 4g | Saturated Fat: 0.4g | Polyunsaturated Fat: 0.4g | Monounsaturated Fat: 2g | Sodium: 198mg | Potassium: 39mg | Fiber: 4g | Sugar: 2g | Vitamin C: 0.01mg | Calcium: 23mg | Iron: 1mg
Additional Info
- Course: Baking, Side Dish
- Cuisine: Mediterranean
How to Make Gluten-Free Pita Bread: A Visual Guide
Creating homemade gluten-free pita bread is a rewarding experience, and having a visual guide can make the process even smoother. Follow these step-by-step photos to ensure your pitas come out perfectly soft and puffed every time.
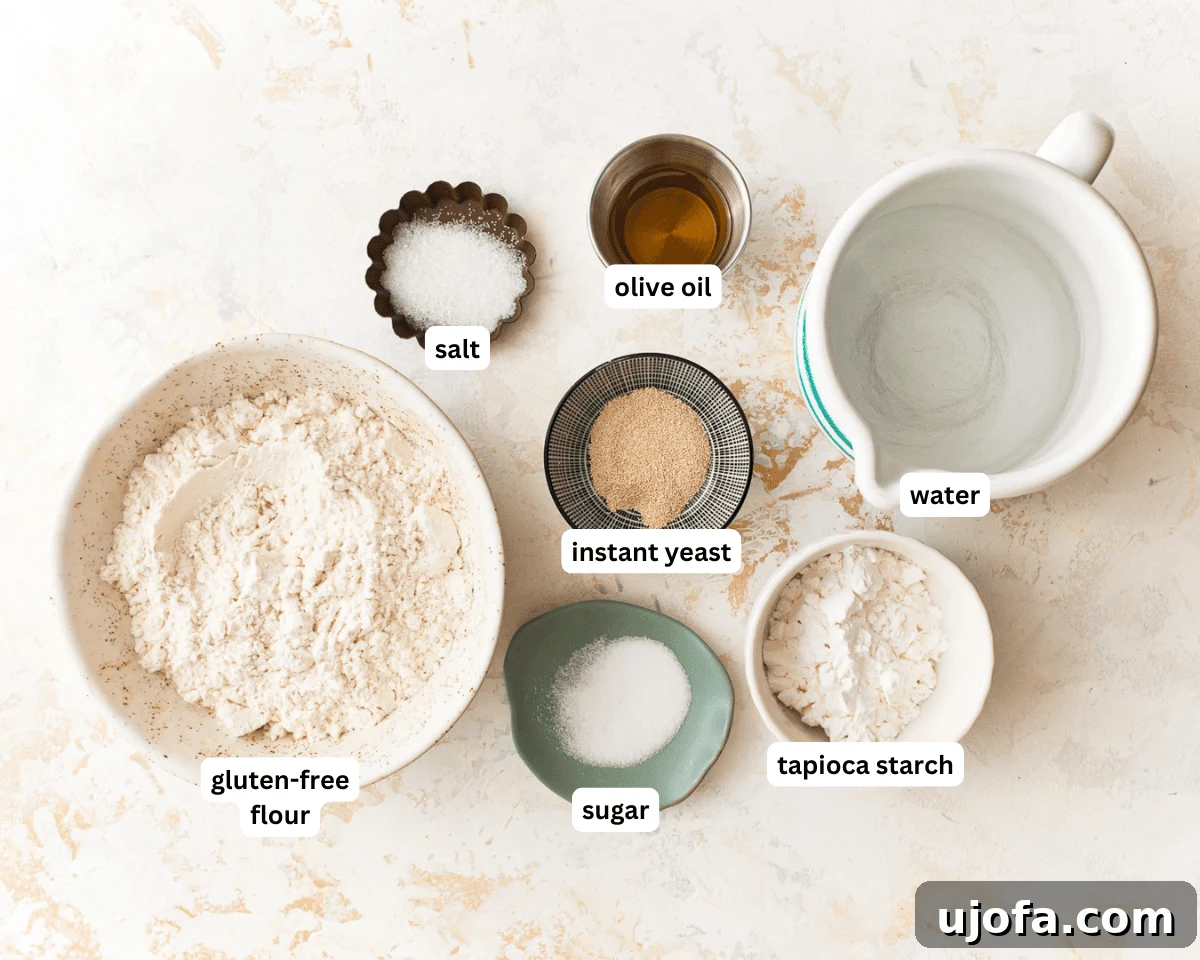
1. Gather Your Ingredients: Begin by laying out all your ingredients on a clean counter. This ensures you have everything at hand and can easily measure each component accurately, which is key for successful baking. Having warm water ready at about 110°F is crucial for activating the instant yeast.
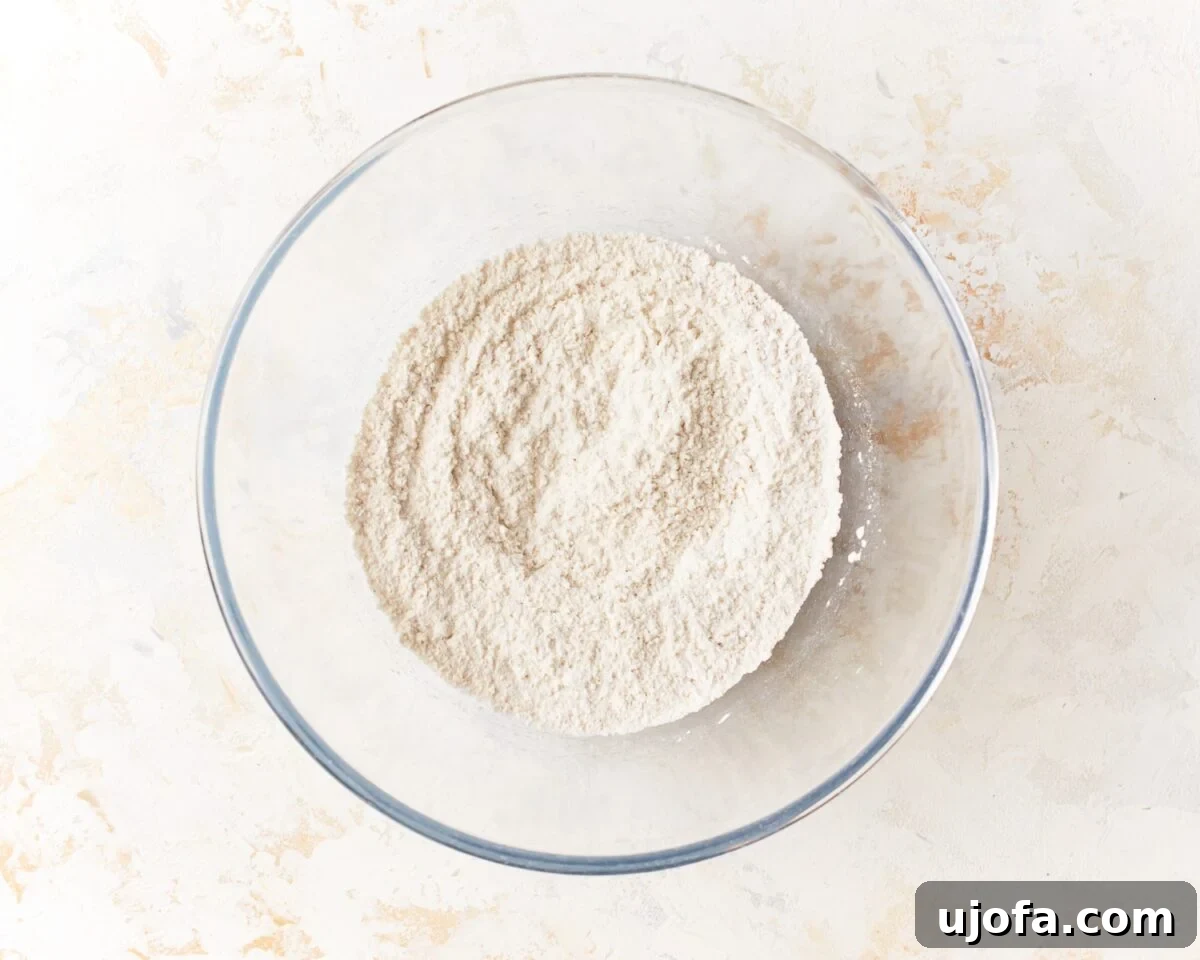
2. Mix the Dry Ingredients: In a spacious mixing bowl, combine 1 1/2 cups of gluten-free all-purpose flour (ensure it contains xanthan gum for structure), 1/4 cup of tapioca starch (which provides chewiness and elasticity), 1/2 teaspoon of salt, 1 teaspoon of granulated sugar (to feed the yeast), and 2 teaspoons of instant yeast. Whisk these dry components thoroughly until they are uniformly distributed. This step prevents pockets of unmixed ingredients and helps the yeast activate evenly.
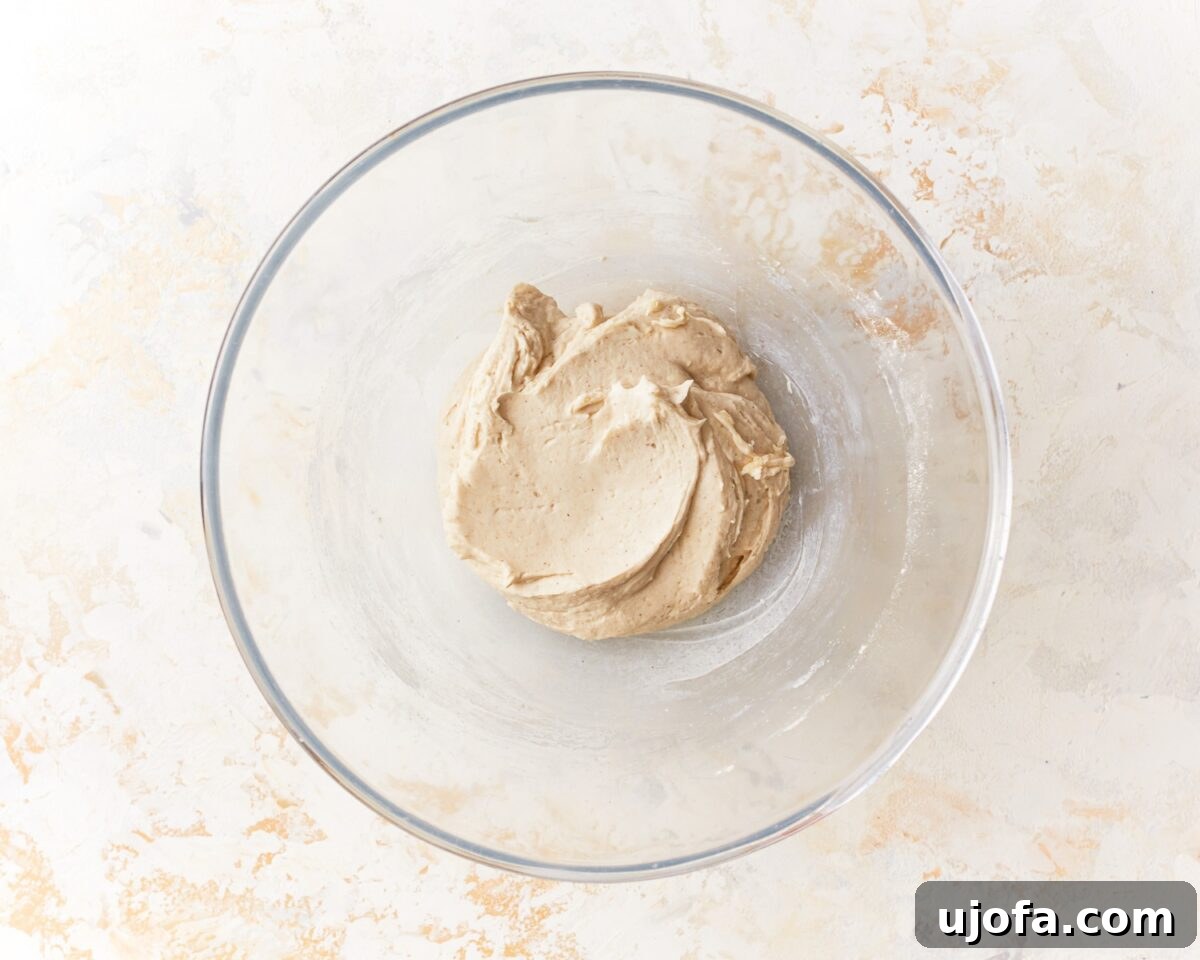
3. Add Wet Ingredients and Let Rise: Pour the 1 cup of warm water (approximately 110°F) and 1 tablespoon of olive oil into your dry mixture. Mix everything together for about 2-3 minutes, until a soft, slightly sticky dough consistency is achieved. The dough should be manageable but not overly firm. Once mixed, transfer this dough to a bowl that has been lightly greased with olive oil to prevent sticking. Cover the bowl with a clean kitchen towel or plastic wrap. Find a warm, draft-free spot for your dough to rise; a slightly warm (but off) oven or a warm spot on your counter works well. Let it rise for approximately 1 hour, or until the dough has clearly doubled in size. During the last 15-20 minutes of the rising time, preheat your oven to a blazing 475°F (245°C). If you’re using a baking stone or pizza steel, place it in the oven as it preheats to ensure it gets extremely hot.
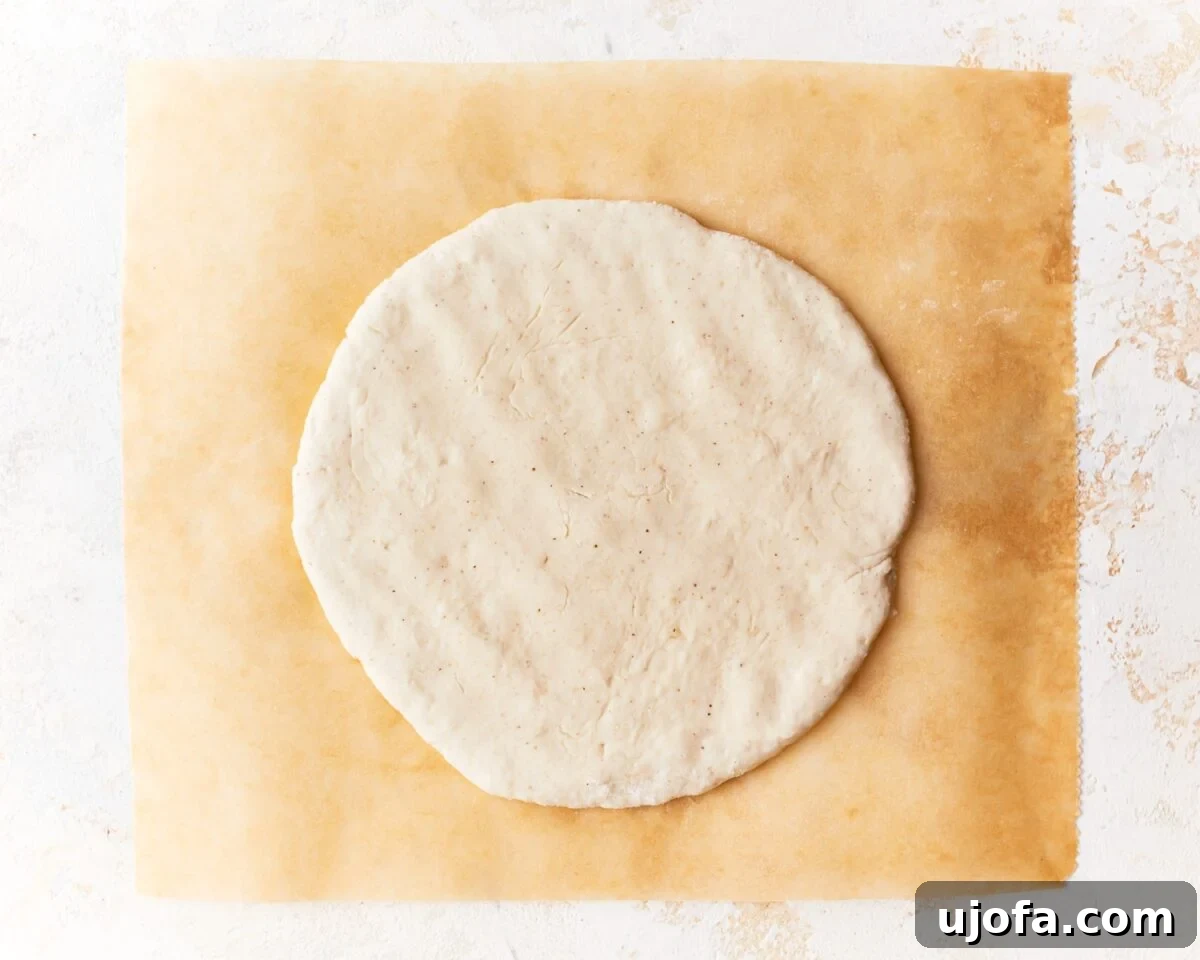
4. Shape the Pitas: After the dough has completed its rise, gently deflate it. This step helps release excess air and makes the dough easier to work with. Divide the dough into 6 equal portions. You can use a kitchen scale for precision, or simply eyeball it. On a lightly floured surface or a piece of parchment paper, use your fingers to gently flatten each portion into a round disc, aiming for a thickness of about 1/4 inch. Avoid making them too thin, as this can prevent the pita from puffing up properly in the oven.
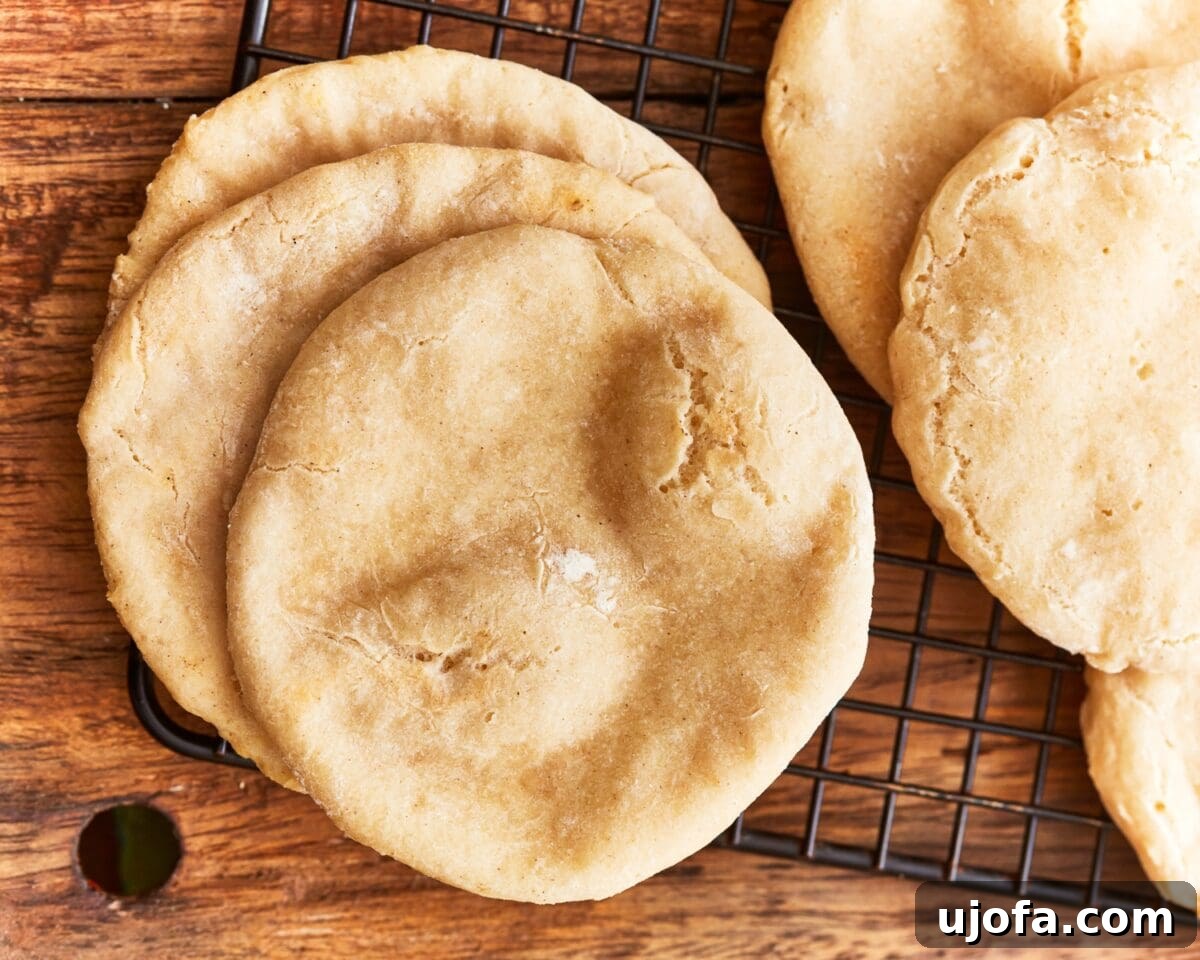
5. Bake, Cool, and Serve: Carefully place your shaped dough rounds onto a parchment-lined baking sheet or directly onto the preheated baking stone. Bake them for approximately 7-8 minutes. Watch them closely; you’ll know they’re ready when they puff up dramatically and develop a beautiful light golden-brown color on the edges. The puff is a magical moment in pita baking! Once baked, use tongs or a spatula to remove the pitas from the oven and transfer them to a wire rack. Allow them to cool slightly. Serve your homemade gluten-free pitas warm or at room temperature, ready to be enjoyed with your favorite dips or fillings.
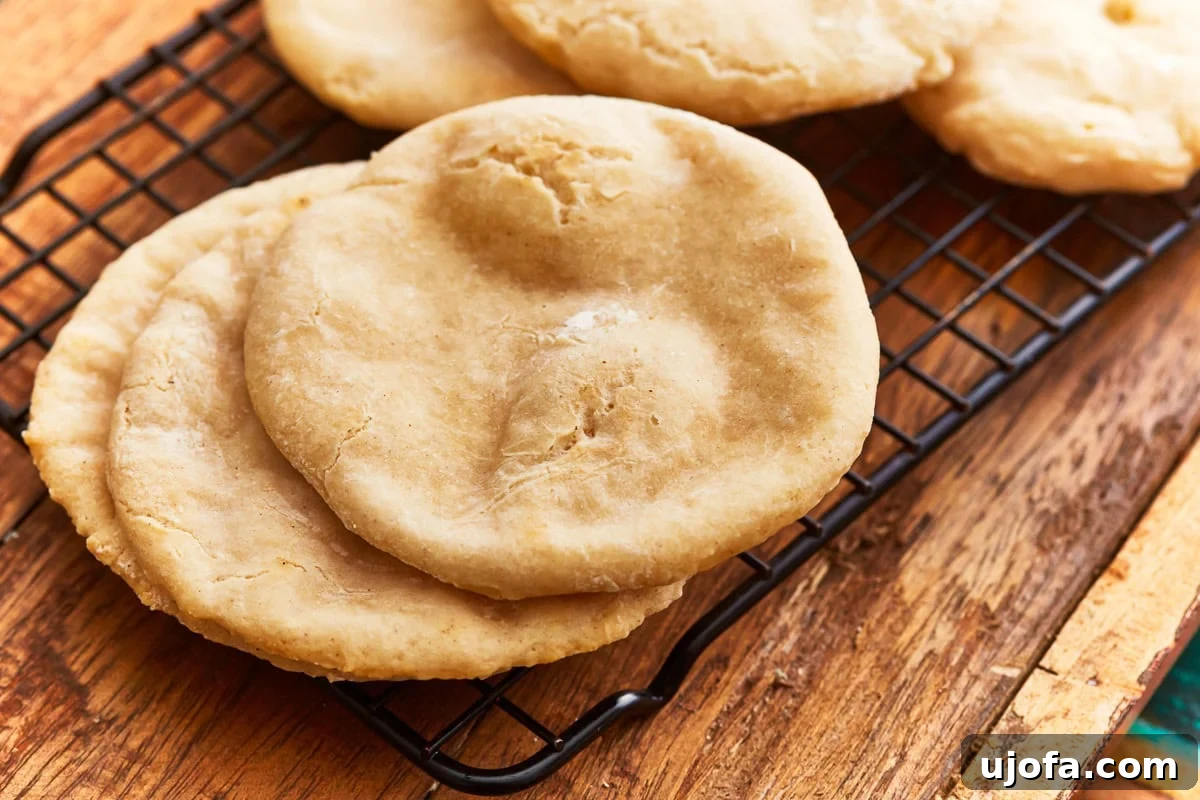
Delightful Serving Suggestions for Your Gluten-Free Pita
The versatility of homemade gluten-free pita bread is truly incredible. Once you master this recipe, a world of culinary possibilities opens up! While delicious on its own, here are some favorite ways to enjoy your fresh pita:
- Classic Dips: Serve your warm pita with traditional Mediterranean dips. My absolute favorite combination is with a generous dollop of creamy dairy-free tzatziki, or classic hummus. Other great options include baba ghanoush, muhammara, or a simple olive tapenade.
- Stuffed Sandwiches & Wraps: The pocket in a well-made pita is perfect for stuffing. Fill it with grilled chicken, roasted vegetables, or the ultimate gluten-free falafel for a satisfying and easy meal. You can also create delicious lunch wraps with deli meats, fresh greens, and a drizzle of dressing.
- Homemade Pita Chips: Don’t let any pita go to waste! Cut leftover pita into triangles, toss with olive oil and your favorite seasonings (garlic powder, paprika, za’atar), then bake until crispy. These make fantastic dippers for salsa, guacamole, or your creamy dips.
- Mini Pizzas: Use pita bread as a quick and easy base for individual pizzas. Top with tomato sauce, dairy-free cheese, and your preferred toppings, then bake until golden and bubbly. Perfect for a quick weeknight dinner or a fun activity with kids.
- Breakfast Delight: Spread your pita with nut butter and sliced fruit, or use it to scoop up scrambled eggs for a savory breakfast. You can even try a sweet version with cinnamon sugar and a dollop of yogurt.
- Alongside Main Dishes: Pita bread makes an excellent accompaniment to stews, curries, or grilled meats, perfect for soaking up flavorful sauces.
Essential Tips for Perfect Gluten-Free Pita Bread Every Time
Baking with gluten-free flours can sometimes present unique challenges, but with these expert tips, you’ll achieve perfect, puffy pita bread every time. Consistency and attention to detail are key to mastering gluten-free yeast baking.
- Room Temperature Ingredients: Always use ingredients that are at room temperature. Cold ingredients, especially water, can inhibit yeast activation and lead to a longer rise time or a less active yeast. Room temperature ingredients also combine more smoothly, creating a more uniform dough.
- Accurate Flour Measurement: The “spoon-and-level” method is crucial for measuring gluten-free flour. Instead of scooping flour directly from the bag, which compacts it and can add too much flour, spoon the flour into your measuring cup and then level it off with the back of a knife. Too much flour will result in a dry, dense, and difficult-to-work-with dough that won’t puff well.
- Avoid Overworking the Dough: Unlike traditional gluten-containing doughs, gluten-free doughs do not develop gluten strands, so there’s no need for extensive kneading. Overworking the dough can actually make it tough and dense. Mix just until combined and smooth.
- Optimal Rise Environment: Yeast loves warmth! Find a warm, draft-free place for your dough to rise. This could be a slightly warm (but turned off) oven, near a sunny window, or on top of a warm appliance. Adjust the rise time based on your kitchen’s temperature: warmer environments mean a shorter rise, while cooler ones require more time. The goal is for the dough to approximately double in size.
- Understanding Gluten-Free Rise: Gluten-free dough might not rise as dramatically or form the same kind of expansive network as traditional wheat dough. Don’t be discouraged if it doesn’t look identical. Instead, look for clear signs of expansion, a noticeable increase in volume, and a slightly airy, puffy appearance. When gently touched, the dough should feel lighter and softer.
- High Oven Temperature is Key: A very hot oven is essential for pita bread to puff. The sudden blast of high heat creates steam inside the dough, which causes it to inflate and form the characteristic pocket. Ensure your oven is fully preheated to 475°F (245°C) before baking.
- Baking Surface Matters: For the best puff, a preheated baking stone or pizza steel works wonders. The intense, even heat from the stone directly transfers to the pita, promoting rapid steam formation. If you don’t have one, a heavy baking sheet preheated in the oven can also work, though the puff might be slightly less dramatic.
- Don’t Peek Too Early: Resist the urge to open the oven door frequently while the pitas are baking. Each time you open the door, cold air rushes in, dropping the oven temperature and potentially causing the pitas to deflate or not puff at all.
Storage and Reheating Instructions
Homemade pita bread is undeniably at its best when enjoyed fresh from the oven. However, with proper storage, you can extend its deliciousness and enjoy it for a few days, or even longer if frozen.
- Room Temperature Storage: To keep your gluten-free pita bread fresh for a day or two, allow it to cool completely after baking. Then, store it in an airtight container or a resealable plastic bag at room temperature. This will help maintain its softness and prevent it from drying out.
- Reheating for Freshness: When ready to enjoy stored pita, reheating is highly recommended to restore its warmth and soft texture. For best results, preheat your oven to 350°F (175°C). Wrap the pita breads loosely in aluminum foil or place them directly on a baking sheet. Heat for 5-7 minutes, or until they are warmed through and pliable. This method prevents them from becoming crisp or drying out. You can also lightly toast them in a toaster oven for a minute or two, or briefly warm them in a dry skillet over medium heat until softened.
- Freezing for Longer Storage: This gluten-free pita bread freezes exceptionally well, allowing you to enjoy fresh pita anytime. Once the pitas have cooled completely, stack them with a piece of parchment paper between each one to prevent sticking. Place the stack in a freezer-safe bag or an airtight container. They can be frozen for up to 3 months.
- Thawing Frozen Pita: When you’re ready to use frozen pitas, simply remove them from the freezer and allow them to thaw at room temperature for about 30-60 minutes. Once thawed, reheat them using one of the methods described above to bring back their delightful warmth and texture.
Frequently Asked Questions About Gluten-Free Pita Bread
Here are answers to some common questions about making and enjoying gluten-free pita bread:
- What kind of gluten-free flour blend is best for this recipe?
For yeast-based baking like pita bread, a good quality all-purpose gluten-free flour blend that contains xanthan gum is crucial. Brands like Pillsbury or Better Batter are excellent choices as they provide the necessary structure and elasticity that gluten would normally offer. Avoid single-ingredient flours unless you are experienced with creating your own blends, as they may not yield the desired texture or rise.
- My pita didn’t puff up, what went wrong?
The most common reasons for pita not puffing are an oven that isn’t hot enough, dough that is too thick or too thin, or overworking the dough. Ensure your oven is preheated to 475°F (245°C) and your baking surface (stone or sheet) is piping hot. Also, make sure your dough discs are uniformly about 1/4 inch thick. Opening the oven door too early can also cause a temperature drop that prevents puffing.
- Can I make this pita bread ahead of time?
While fresh is always best, you can prepare the dough in advance. After the first rise, you can shape the pitas and then refrigerate them on a parchment-lined baking sheet, covered loosely with plastic wrap, for up to 24 hours. Let them come closer to room temperature for about 30 minutes before baking for optimal puff. Alternatively, baked pitas can be stored and reheated as per the storage instructions.
- Can I use a stand mixer for this recipe?
Yes, you can absolutely use a stand mixer with a dough hook attachment. This can make the mixing process even easier. Simply add all the dry ingredients, then the wet, and mix on low speed until a soft, sticky dough forms, typically 2-3 minutes. Avoid overmixing once the ingredients are combined.
- Is this recipe suitable for individuals with other allergies?
This recipe is naturally dairy-free and egg-free, making it suitable for those with dairy and egg allergies, as well as vegans. Always double-check your gluten-free flour blend and yeast to ensure they don’t contain any hidden allergens you need to avoid.
- How do I make gluten-free pita chips from this recipe?
To make pita chips, cut your baked (or even unbaked, for a crispier chip) pita bread into triangles. Toss them with a little olive oil, salt, and your favorite spices (garlic powder, oregano, paprika, or za’atar are great). Spread them in a single layer on a baking sheet and bake at 350°F (175°C) for 10-15 minutes, or until golden and crispy. Keep an eye on them to prevent burning.
More Delicious Gluten-Free Bread Recipes to Explore!
If you loved making this gluten-free pita bread, you’ll be thrilled to discover more incredible gluten-free bread options. Expand your baking repertoire with these fantastic recipes:
- Easy Gluten-Free Bread
- Gluten-Free Bread Machine Bread
- Gluten-Free Sourdough Bread
- Gluten-Free Naan Bread
- Gluten-Free Dinner Rolls
- Gluten-Free Focaccia
Share Your Gluten-Free Pita Masterpiece!
We absolutely love seeing your culinary creations! If you try this recipe for homemade gluten-free pita bread, we encourage you to share your results with us. Mention @mamaknowsglutenfree or tag #mamaknowsglutenfree on Instagram. Your shared photos and stories inspire other gluten-free bakers and help us build a vibrant community of delicious and accessible recipes!