
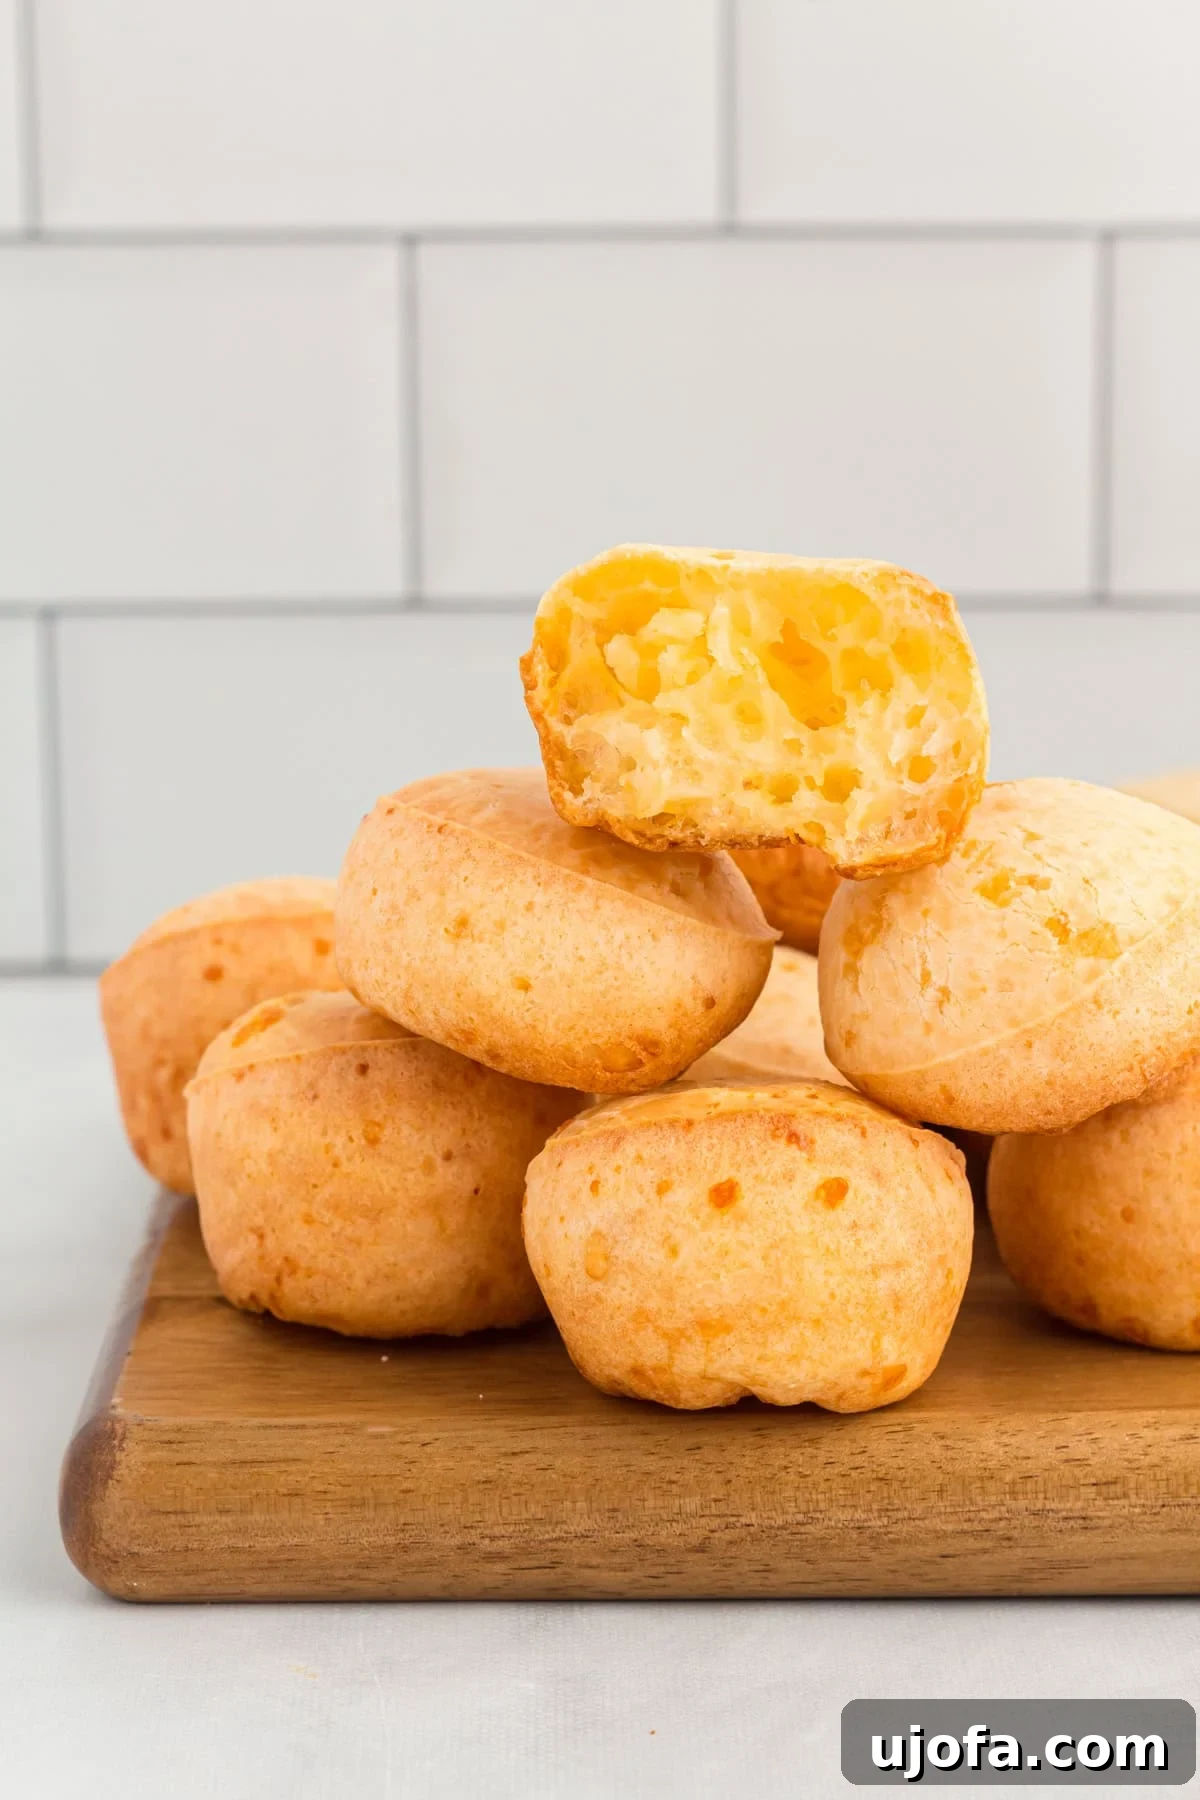
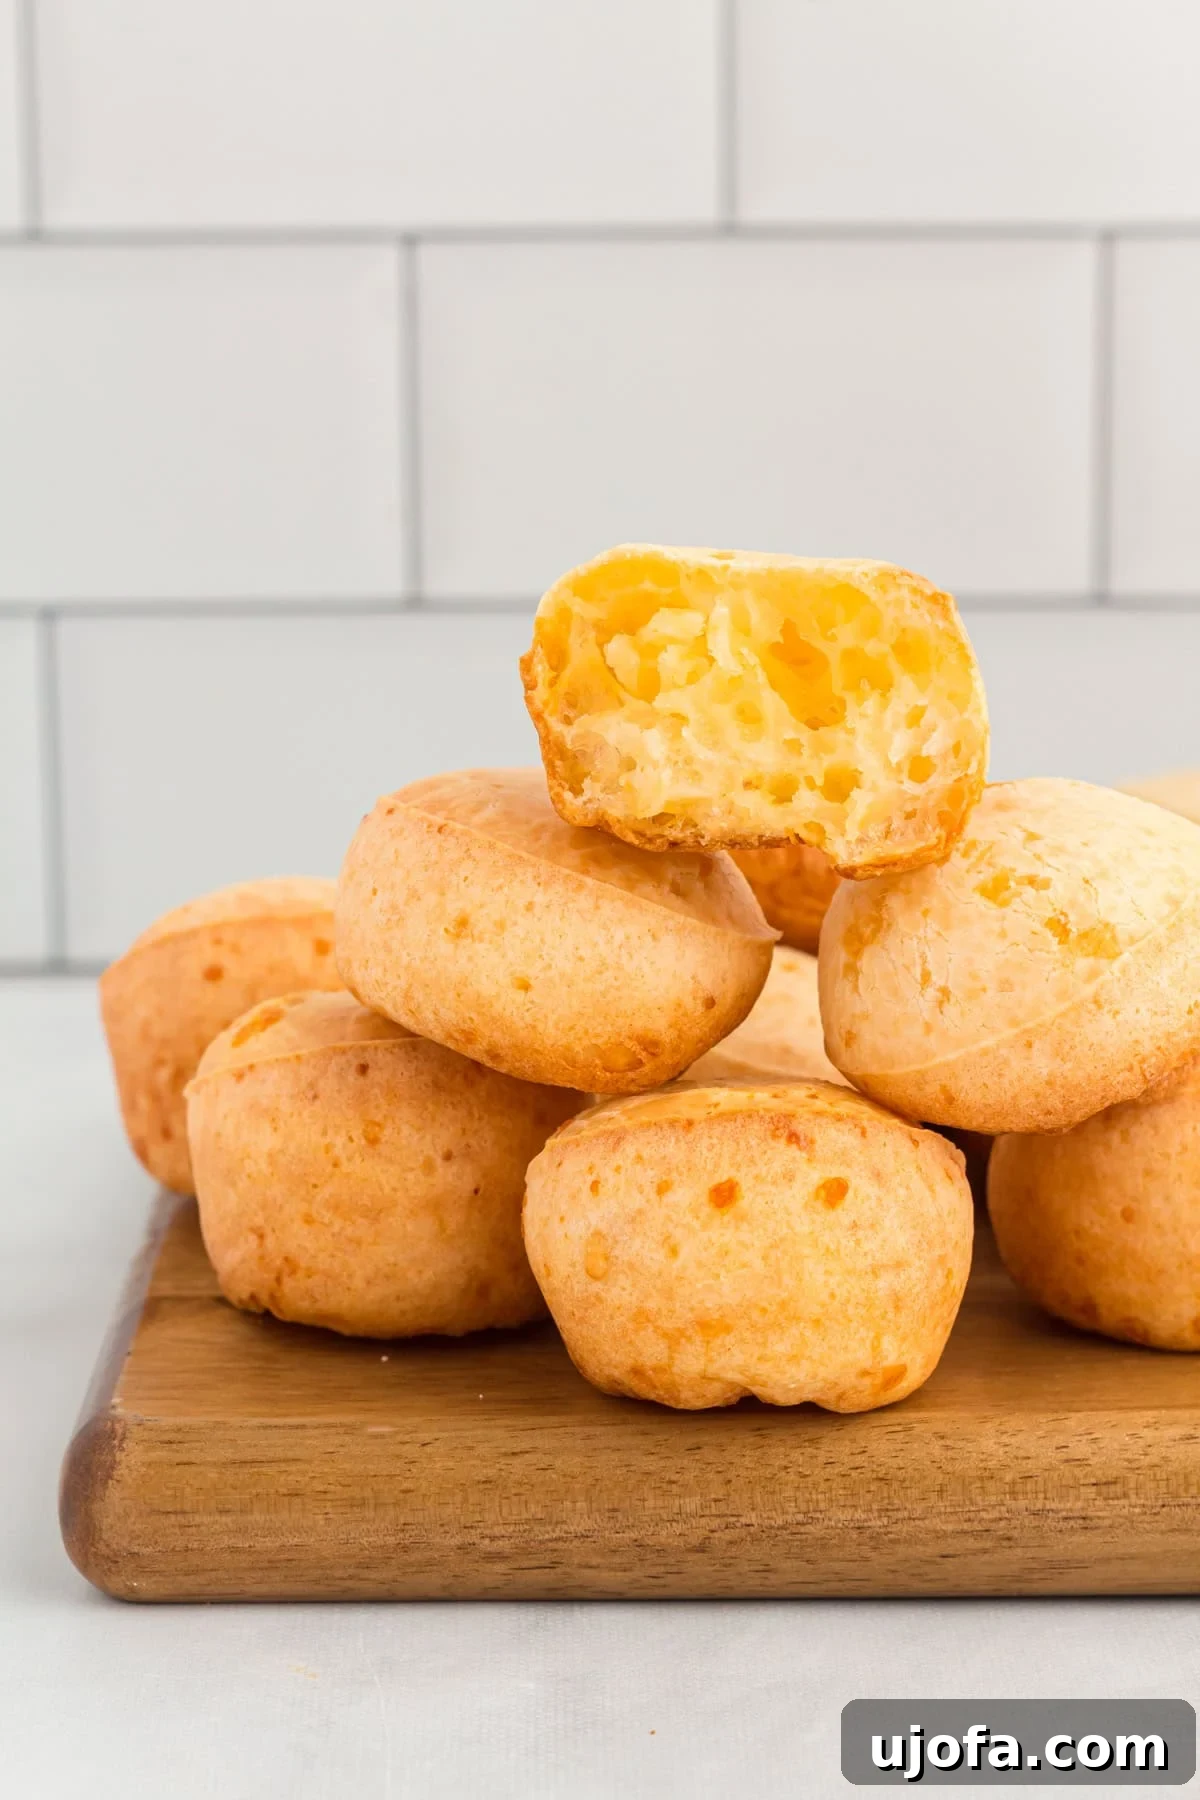
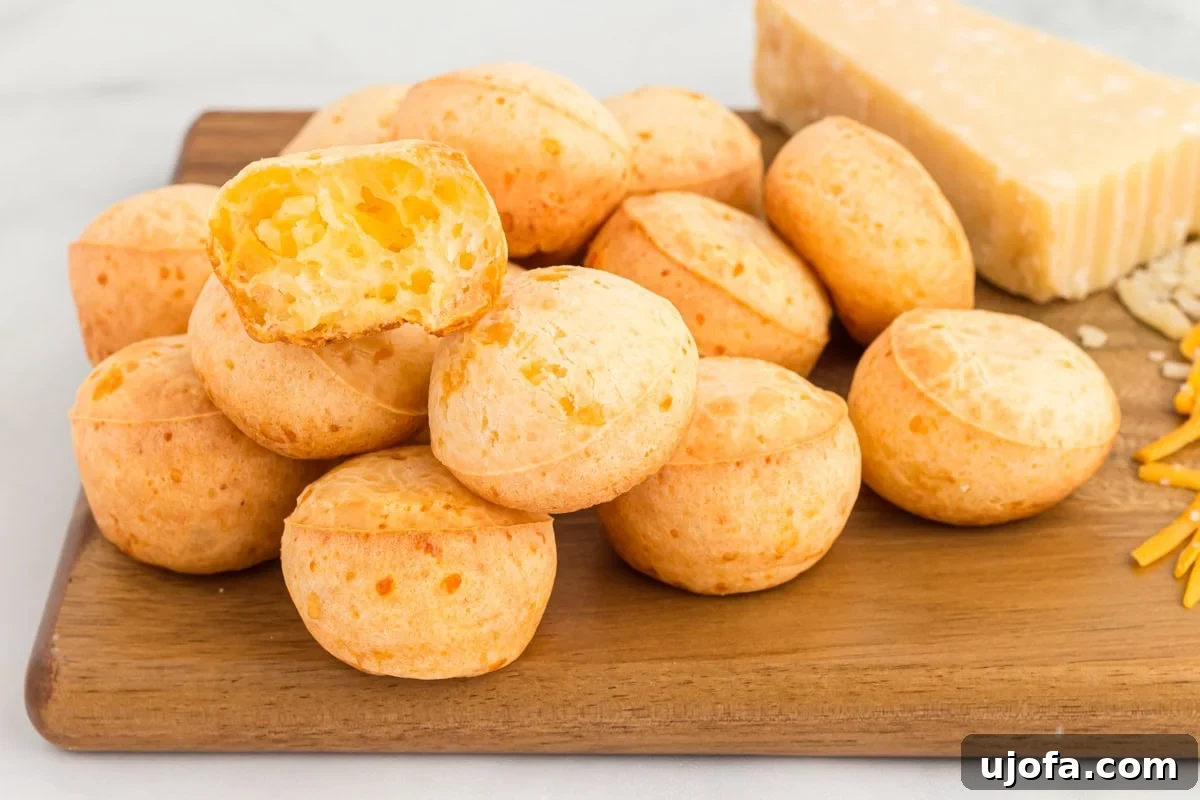
Prepare to fall in love with Pão de Queijo, the beloved Brazilian cheese bread that’s guaranteed to become a family favorite! These naturally gluten-free, irresistibly soft, and pillowy cheese puffs are a delightful treat that my children simply can’t get enough of. With a golden, subtly crisp crust and an airy, light interior that truly melts in your mouth, they are the epitome of a perfect quick snack for any occasion.
What is Pão de Queijo? An Introduction to Brazil’s Favorite Gluten-Free Snack
Pão de Queijo, pronounced “pown-de-KAY-zho,” translates directly to “cheese bread” in Portuguese, and it’s a staple in Brazilian cuisine. These delightful, chewy cheese puffs are distinct from traditional bread thanks to their unique primary ingredient: tapioca flour. Tapioca flour, derived from the pulp of the versatile cassava root (also known as yuca), is what gives these Brazilian snacks their signature chewy yet light texture. Unlike wheat-based breads, Pão de Queijo is naturally gluten-free, making it an excellent option for those with dietary restrictions or simply looking for a lighter alternative. The moment I discovered these were made from cassava and inherently gluten-free, I knew I had to try my hand at making them! They offer a perfect balance of a golden, slightly crunchy cheese crust and an incredibly airy, savory center.
While often described as cheesy dough balls, Pão de Queijo is remarkably lighter than most traditional bread rolls. Their delicate structure makes them an ideal accompaniment to coffee or a standalone snack at any time of day. This recipe is just as straightforward to prepare as my popular Pandebono (Colombian cheese bread) recipe. Both aren’t your typical bread recipes; they’re actually more akin to a thick batter than a traditional kneaded dough. All the ingredients are simply blended together, poured into a mini muffin tin, and baked. With just a few minutes of active prep time, the entire recipe can be completed in approximately 25 minutes, yielding a fresh batch of warm, delicious Pão de Queijo.
Pão de Queijo (Brazilian Cheese Bread)
24 puffs
10 minutes
15 minutes
25 minutes
Share by Email
Print Recipe

Equipment
- 1 mini muffin tin
- Blender
- Non-stick cooking spray
- Spatula
Ingredients
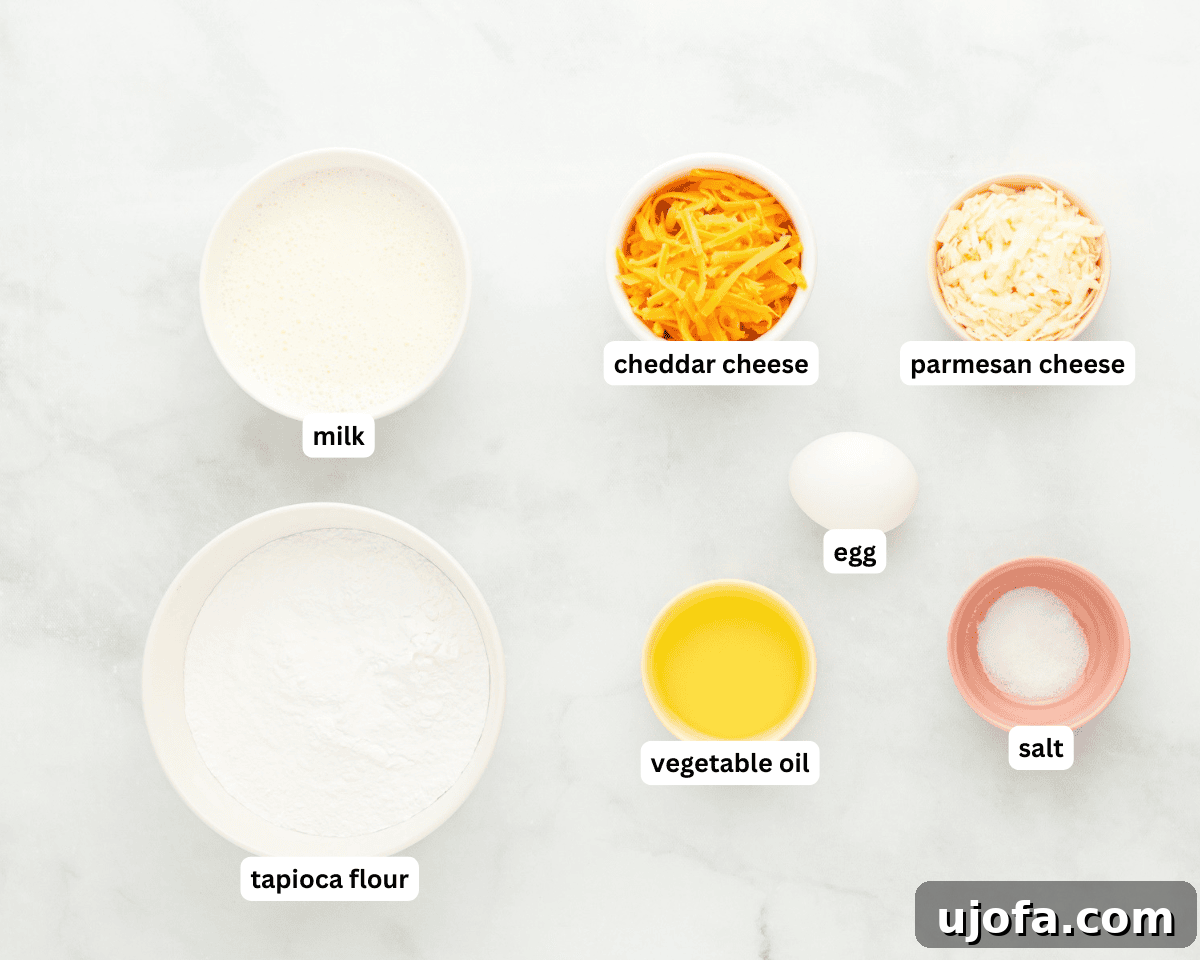
- 1 ½ cups tapioca flour (175 grams, accurately measured)
- ⅔ cup milk (dairy or non-dairy, as preferred)
- ¼ cup vegetable oil (or neutral-flavored oil like canola or sunflower)
- ¼ cup sharp cheddar cheese, shredded and packed
- ¼ cup parmesan cheese, freshly grated and packed
- 1 large egg
- ½ teaspoon salt
Instructions
- Preheat your oven to 400°F (204°C). Ensuring the oven is fully preheated is crucial for the proper rise of the Pão de Queijo.
- Generously spray a mini muffin tin with non-stick cooking spray. This prevents the cheese breads from sticking and helps them release easily after baking. Set the prepared tin aside.
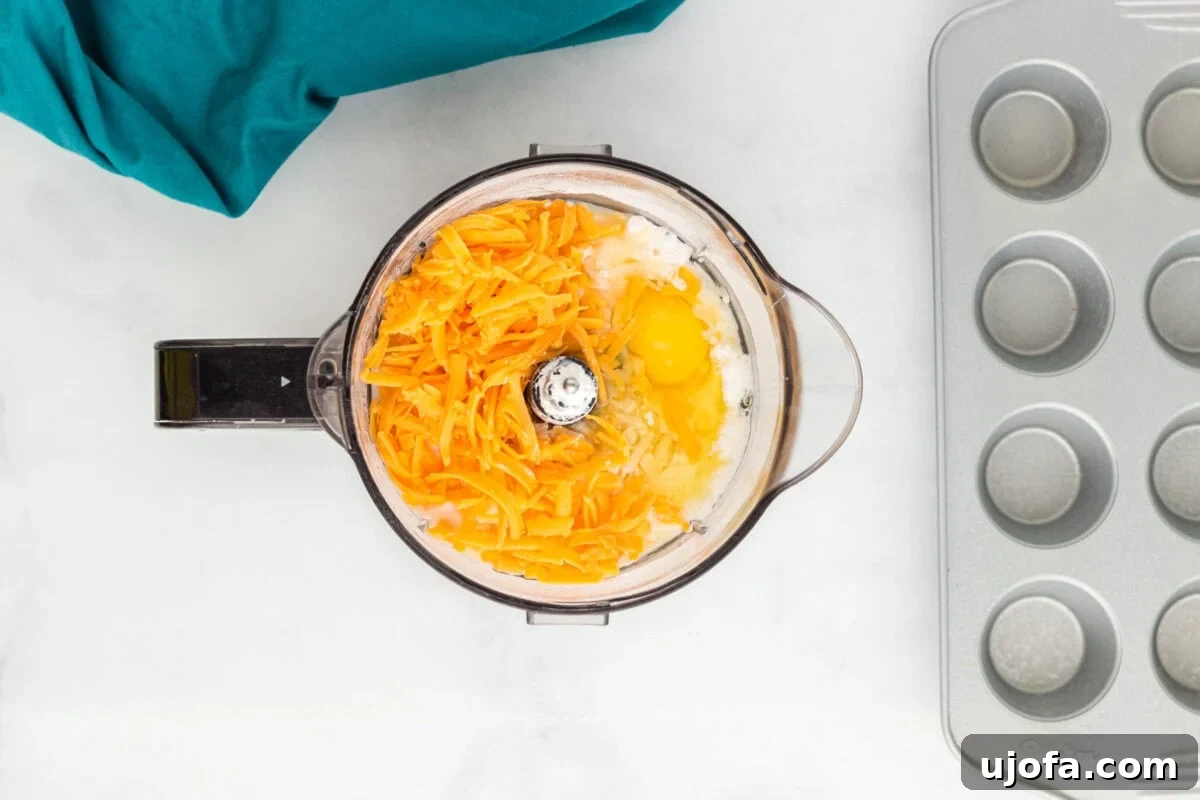
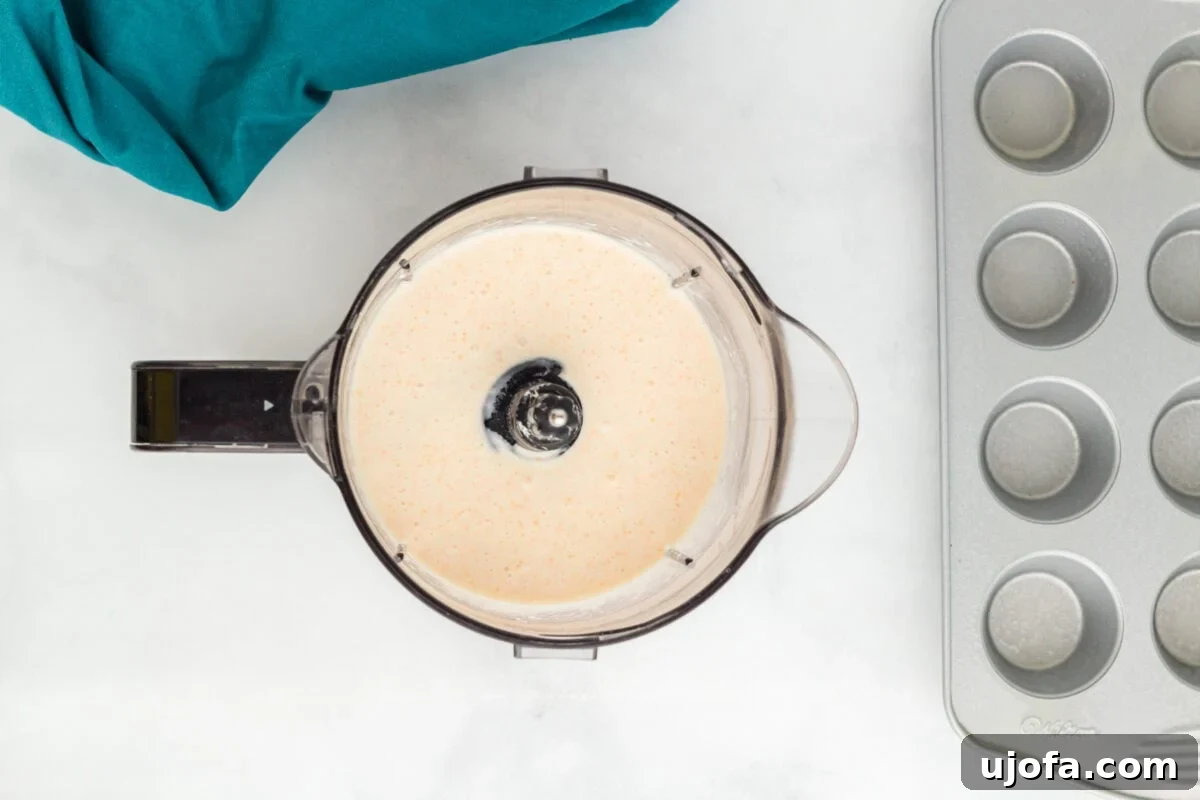
- Add all the listed ingredients into a blender. Blend for just a few seconds, typically 10 to 15 seconds, until all the ingredients are thoroughly combined into a smooth batter. It’s important not to overmix. After blending, give the mixture a quick stir with a spatula to ensure no dry ingredients are stuck at the bottom of the blender.
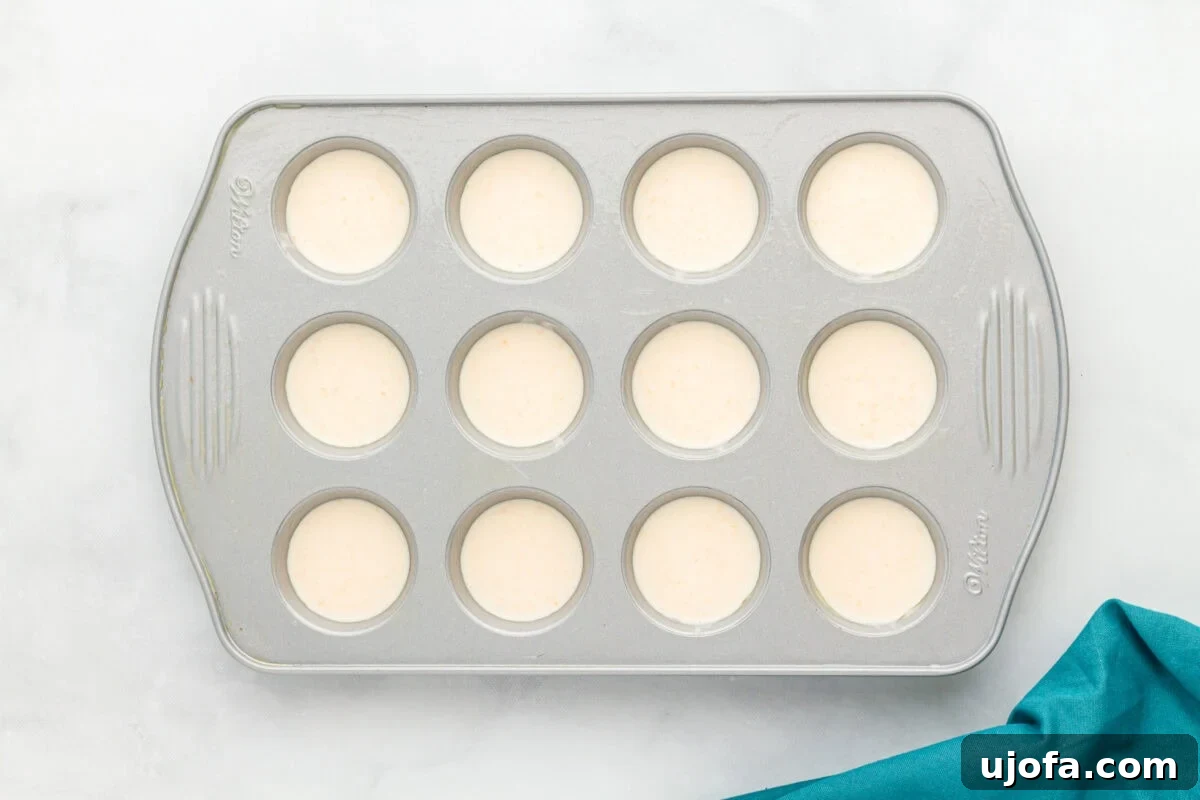
- Carefully pour the batter into each cavity of the mini muffin tin. Each cavity should be filled to about ¾ full. This allows sufficient space for the cheese bread to expand and rise beautifully during baking, creating those characteristic airy pockets. This recipe yields approximately 24 delicious Brazilian cheese breads.
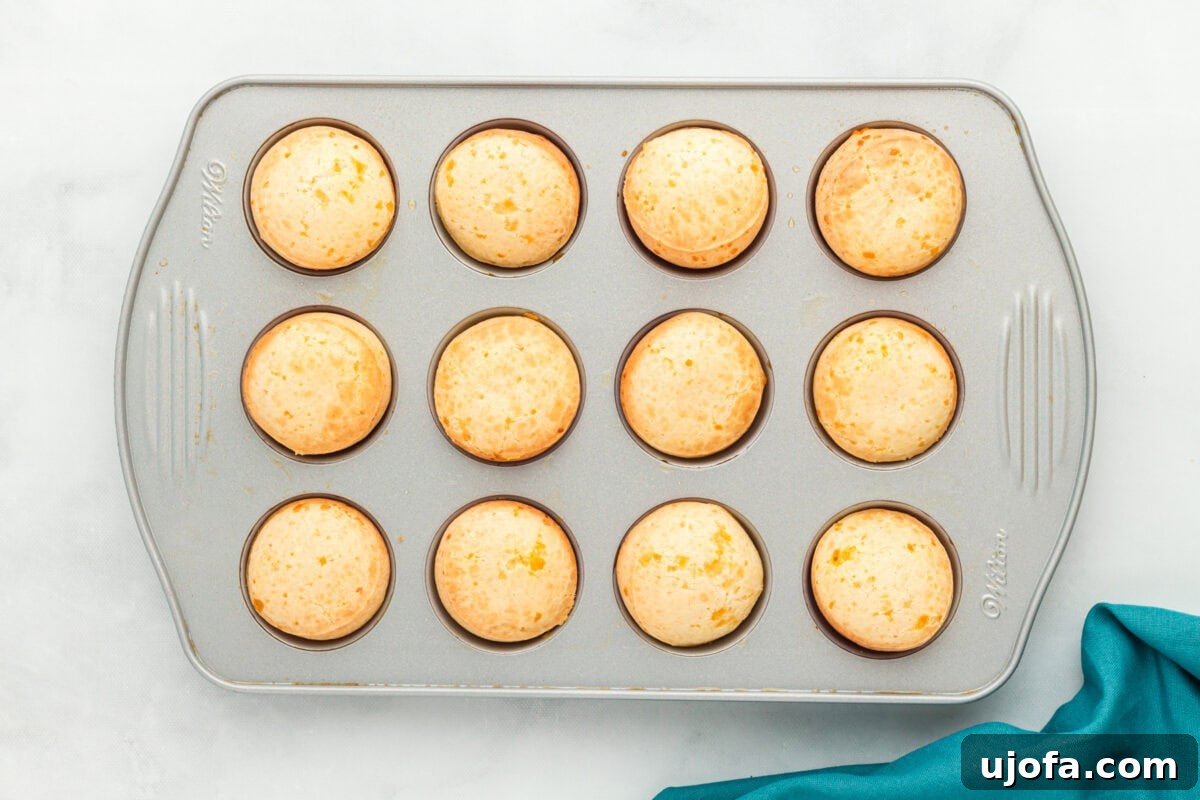
- Place the filled muffin tin into the preheated oven and bake for 15 minutes. Once the baking time is complete, turn the oven off immediately. Open the oven door just a crack (about an inch or two). Allow the cheese breads to cool slowly to room temperature inside the oven. Let them sit in the open oven for about 10 minutes before removing them entirely. This gradual cooling process is vital; it helps prevent the cheese breads from developing “crater holes” or sinkholes in the middle, maintaining their perfect shape and texture.
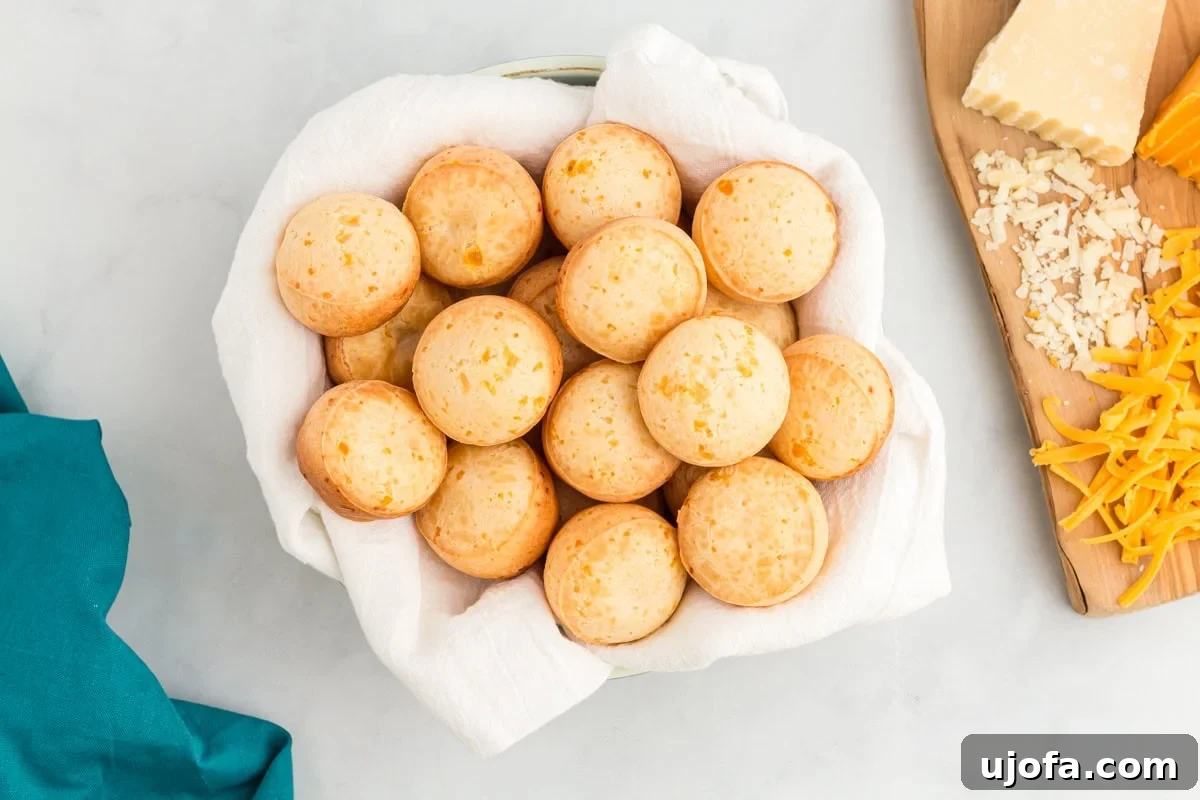
- Serve your Pão de Queijo warm, straight from the oven, for the ultimate experience, or enjoy them cold as a convenient snack. Both ways are delicious!
- Store any leftovers in a sealed, food-safe container at room temperature for up to 3 days. For longer storage, refrigerate for up to 1 week. Ensure they are completely cool before sealing them to prevent condensation.
Tips for Perfection
- **Oil Choice:** I recommend using a neutral-flavored vegetable oil, such as canola or sunflower oil, as it won’t interfere with the cheesy flavor profile. While you can substitute butter or olive oil, be aware that these will subtly alter the taste of the Pão de Queijo.
- **Avoid Overmixing:** This is a crucial step! The batter only needs to be blended until the ingredients are just combined. Overmixing can lead to a tougher texture, so blend for no more than 10-15 seconds.
- **The Magic of Steam:** This recipe is unique because it doesn’t rely on traditional leavening agents like baking powder or yeast. Instead, the Pão de Queijo rises thanks to the steam and air pockets created during baking. To maximize this natural rise, ensure your oven is fully preheated and exceptionally hot before you place the muffin tin inside.
- **Quality Cheese Matters:** For the best texture and melt, always grate and shred your own cheese from blocks rather than purchasing pre-shredded varieties. Pre-shredded cheese often contains anti-caking agents that can prevent it from melting smoothly, resulting in a less desirable texture.
- **Gluten-Free Assurance:** If you are strictly gluten-free, always double-check all your ingredients for certification. Remember to read product labels carefully for any cross-contamination warnings.
- **Accurate Flour Measurement:** In baking, precision is key, especially with flour. For this recipe, it’s highly recommended to weigh your tapioca flour using a kitchen scale rather than relying solely on measuring cups. Measuring directly from the bag can pack the flour, leading to an excess amount and potentially altering the final texture of your Pão de Queijo. Aim for exactly 175 grams of tapioca flour for consistent results.
- **The Slow Cool Down:** As detailed in the instructions, allowing the cheese bread to cool slowly in the oven with the door cracked open is critical. A sudden change in temperature, such as immediately transferring them from a hot oven to a cool countertop, can cause the Pão de Queijo to collapse and form sinkholes in the middle. While they would still be delicious, they wouldn’t look as aesthetically pleasing.
Nutrition
Nutrition information is automatically calculated, so should only be used as an approximation.
Additional Info
Baking, Breakfast, Snack
Brazilian
Tried this recipe?
Mention @mamaknowsglutenfree or tag #mamaknowsglutenfree!
How to Make Pão de Queijo (Brazilian Cheese Bread) – Step-by-Step Photos
Making authentic Pão de Queijo at home is surprisingly simple, and these step-by-step photos will guide you through the process, ensuring perfect results every time. Get ready to enjoy these warm, cheesy delights!
Serving Suggestions for Pão de Queijo
In Brazil, Pão de Queijo is deeply ingrained in daily life and is usually enjoyed warm, straight from the oven. At this stage, the exterior boasts a delicate crispness, and the interior is delightfully soft, gooey, and intensely cheesy. Traditionally, these savory bites are a popular pairing with a freshly brewed cup of hot coffee or rich hot chocolate, serving as a quintessential snack or a beloved breakfast item. The comforting warmth and savory cheese perfectly complement the bitter notes of coffee or the sweetness of chocolate, creating a harmonious culinary experience.
Beyond traditional Brazilian customs, Pão de Queijo offers incredible versatility for various meal times and occasions. My family, for instance, adores them as a quick, energizing snack when we’re rushing out the door. Their grab-and-go nature makes them ideal for busy mornings or afternoon hunger pangs. Furthermore, they serve as a fantastic side dish for hearty meals. Imagine pairing these cheesy puffs with a bowl of comforting gluten-free tomato soup or a robust gluten-free chili—the soft, cheesy bread is perfect for soaking up every last drop. They also make an excellent addition to a brunch spread, a light lunch, or even as an appetizer for a casual gathering. You can also get creative by dipping them in a variety of sauces, from a classic marinara to a spicy aioli, or even serving them alongside scrambled eggs for a more substantial breakfast.
Storage Instructions for Pão de Queijo
To ensure your delicious Pão de Queijo stays fresh and retains its delightful texture, proper storage is key. If you have any leftovers (which is a rare occurrence in our household!), store them in an airtight container on the kitchen counter at room temperature for up to 2 days. For extended freshness, they can be stored in the refrigerator for up to 1 week. Always ensure the cheese breads have cooled completely to room temperature before placing them in any sealed container to prevent condensation, which can make them soggy.
When you’re ready to enjoy your stored Pão de Queijo, reheating them can bring back their original crispness and soft interior. Simply reheat them in a preheated oven or an air fryer at 300°F (150°C) for approximately 5-7 minutes. This gentle reheating method will restore their golden exterior and melt the cheese inside, making them taste almost as good as freshly baked.
Pão de Queijo can also be frozen for longer storage. Once completely cooled, arrange them in a single layer on a baking sheet and freeze until solid. Then transfer the frozen puffs to a freezer-safe bag or container, removing as much air as possible. They can be stored for up to 2-3 months. To reheat from frozen, place them directly in a preheated oven or air fryer at 350°F (175°C) for 10-15 minutes, or until heated through and crisp.
Why Pão de Queijo is a Must-Try Culinary Delight
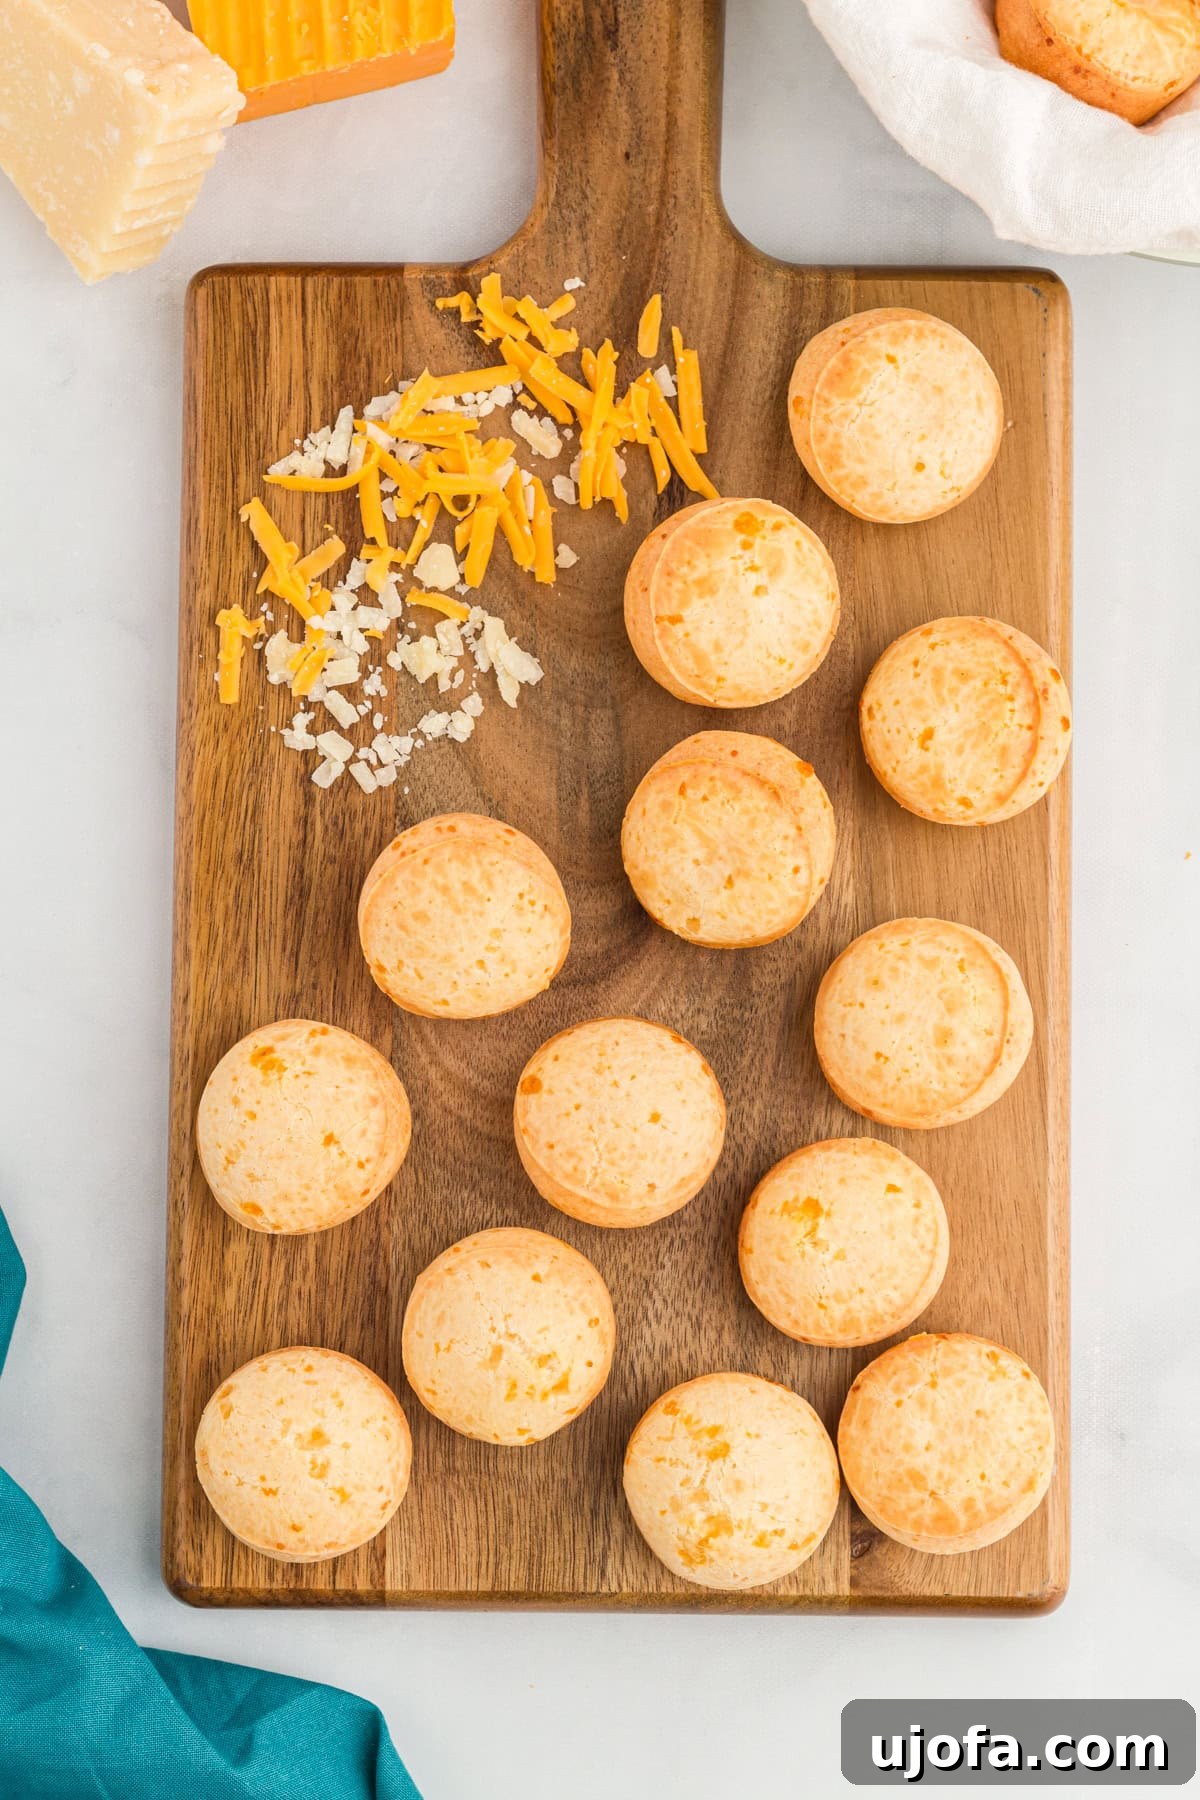
If you’ve never experienced the magic of Pão de Queijo, you are in for a truly delightful surprise. This Brazilian cheese bread is more than just a snack; it’s a culinary experience that combines simplicity with incredible flavor and texture. Its unique appeal stems from several key characteristics that make it stand out from other baked goods.
Firstly, its naturally gluten-free nature makes it a fantastic option for individuals with celiac disease or gluten sensitivity. Made with tapioca flour, Pão de Queijo offers a light and chewy alternative to traditional wheat-based breads without compromising on taste or satisfaction. This accessibility means more people can enjoy the comforting goodness of warm, cheesy bread.
Secondly, the texture of Pão de Queijo is simply unparalleled. The combination of a crispy, golden exterior and a soft, airy, and wonderfully stretchy interior creates an irresistible mouthfeel. It’s a texture that’s both substantial and light, making it satisfying without being heavy. The burst of cheesy flavor with every bite is addictive, and the simplicity of its ingredients belies the complexity of its deliciousness.
Finally, its versatility as a food item is remarkable. From a quick breakfast item alongside coffee, to a savory snack for kids after school, an elegant appetizer at a party, or a comforting side dish with soups and stews, Pão de Queijo fits seamlessly into any meal or occasion. Its ease of preparation, requiring just a blender and a muffin tin, means you can whip up a fresh batch whenever a craving strikes, bringing a taste of Brazil right into your home kitchen.
Creative Variations and Flavor Enhancements
While classic Pão de Queijo is perfect on its own, its simple base makes it an excellent canvas for culinary creativity. Here are a few ideas to customize your next batch:
- **Cheese Blends:** Don’t limit yourself to just cheddar and parmesan. Experiment with other meltable cheeses like mozzarella, Gruyère, Monterey Jack, or even a touch of cream cheese for added richness. A sharp provolone or a smoky Gouda could also introduce exciting new flavors.
- **Herbs and Spices:** Incorporate finely chopped fresh herbs into the batter, such as chives, parsley, oregano, or thyme, for an aromatic twist. A pinch of garlic powder or onion powder can also deepen the savory profile. For a subtle kick, try a tiny dash of cayenne pepper or red pepper flakes.
- **Sweet Touch:** While typically savory, Pão de Queijo can be adapted for a sweet treat. Reduce the salt, and consider adding a tablespoon of sugar to the batter. After baking, you could drizzle them with honey, sprinkle with cinnamon sugar, or serve with a fruit compote for a unique dessert or breakfast pastry.
- **Dairy-Free Option:** For those avoiding dairy, you can substitute the milk with a plain, unsweetened non-dairy milk (like almond or oat milk) and use a high-quality vegan shredded cheese blend. Ensure your vegan cheese melts well for the best results.
- **Filling Surprises:** For a delightful surprise, try adding a small piece of cooked sausage, ham, or even a tiny dollop of cream cheese into the center of each muffin cup before baking. As the Pão de Queijo bakes, the filling will be encased within the fluffy bread.
Frequently Asked Questions About Pão de Queijo
Here are some common questions about making Pão de Queijo:
What is tapioca flour and is it the same as cassava flour?
Tapioca flour (also known as tapioca starch) is a fine, white flour made from the extracted starch of the cassava root. Cassava flour, on the other hand, is made from the entire cassava root, which is peeled, dried, and ground. While both come from the same plant and are gluten-free, tapioca flour is pure starch, giving Pão de Queijo its characteristic chewiness and light texture, whereas cassava flour has more fiber and a slightly different binding property.
Can I use different types of cheese?
Absolutely! The traditional recipe often uses a mix of cheeses. While parmesan and cheddar are excellent choices, feel free to experiment with other firm, meltable cheeses like mozzarella, provolone, Gruyère, or even a local artisanal cheese. Just ensure they grate well and have good melting qualities.
Why do my Pão de Queijo sometimes get sinkholes?
Sinkholes typically occur due to a rapid change in temperature. When Pão de Queijo is taken out of a hot oven too quickly, the sudden exposure to cooler air can cause the internal structure to deflate, leading to a sunken center. To prevent this, always follow the instruction to turn off the oven and let the cheese bread cool slowly with the oven door slightly ajar.
Can I make the batter ahead of time?
Yes, you can prepare the batter a few hours in advance. Store it in an airtight container in the refrigerator. Before baking, give it a quick stir. However, for the absolute best rise and texture, baking immediately after blending is recommended.
What if I don’t have a mini muffin tin?
While a mini muffin tin is ideal for the classic small puffs, you can use a regular-sized muffin tin. Just be aware that the baking time will need to be adjusted (likely longer, around 20-25 minutes), and the yield will be fewer, larger cheese breads. You could also free-form small balls on a baking sheet, but they might not hold their shape as well.
More Cheesy Snack Recipes to Enjoy
- Gluten-Free Cheez Its Copycat Recipe
- Gooey Pupusas
- Gluten-Free Cheddar Bay Biscuits
- Gluten-Free Drop Biscuits