
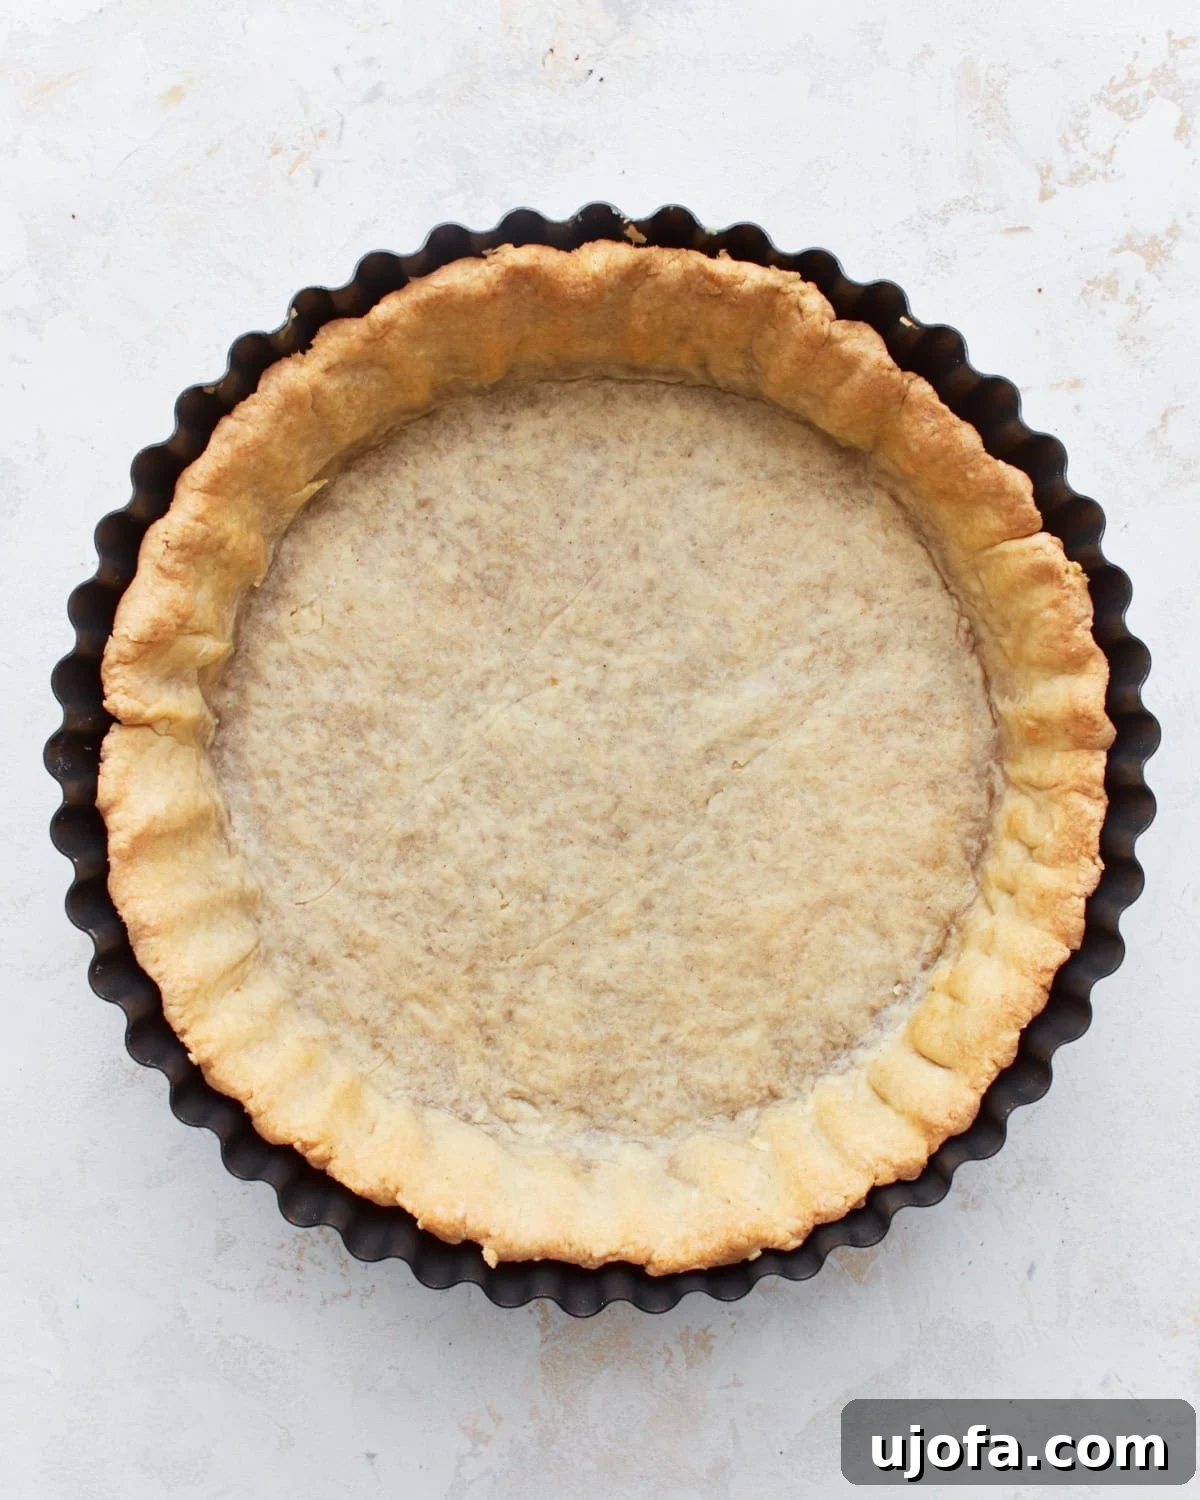
Unlock the secret to a perfect pie with this incredibly easy and reliable recipe for homemade gluten-free pie crust. Forget crumbly, dry, or hard-to-work-with doughs; my method consistently delivers a tender, flaky, and golden-brown crust that’s truly irresistible. Whether you’re craving a sweet apple pie or a savory quiche, this versatile crust is the ideal foundation. It’s crafted from common gluten-free pantry staples and employs straightforward techniques, making it approachable for bakers of all skill levels. With options for dairy-free, egg-free, and vegan diets, everyone can enjoy a slice of homemade perfection. Don’t just take my word for it—this recipe boasts glowing 5-star reviews, proving it’s a true reader favorite for effortlessly delicious gluten-free baking.
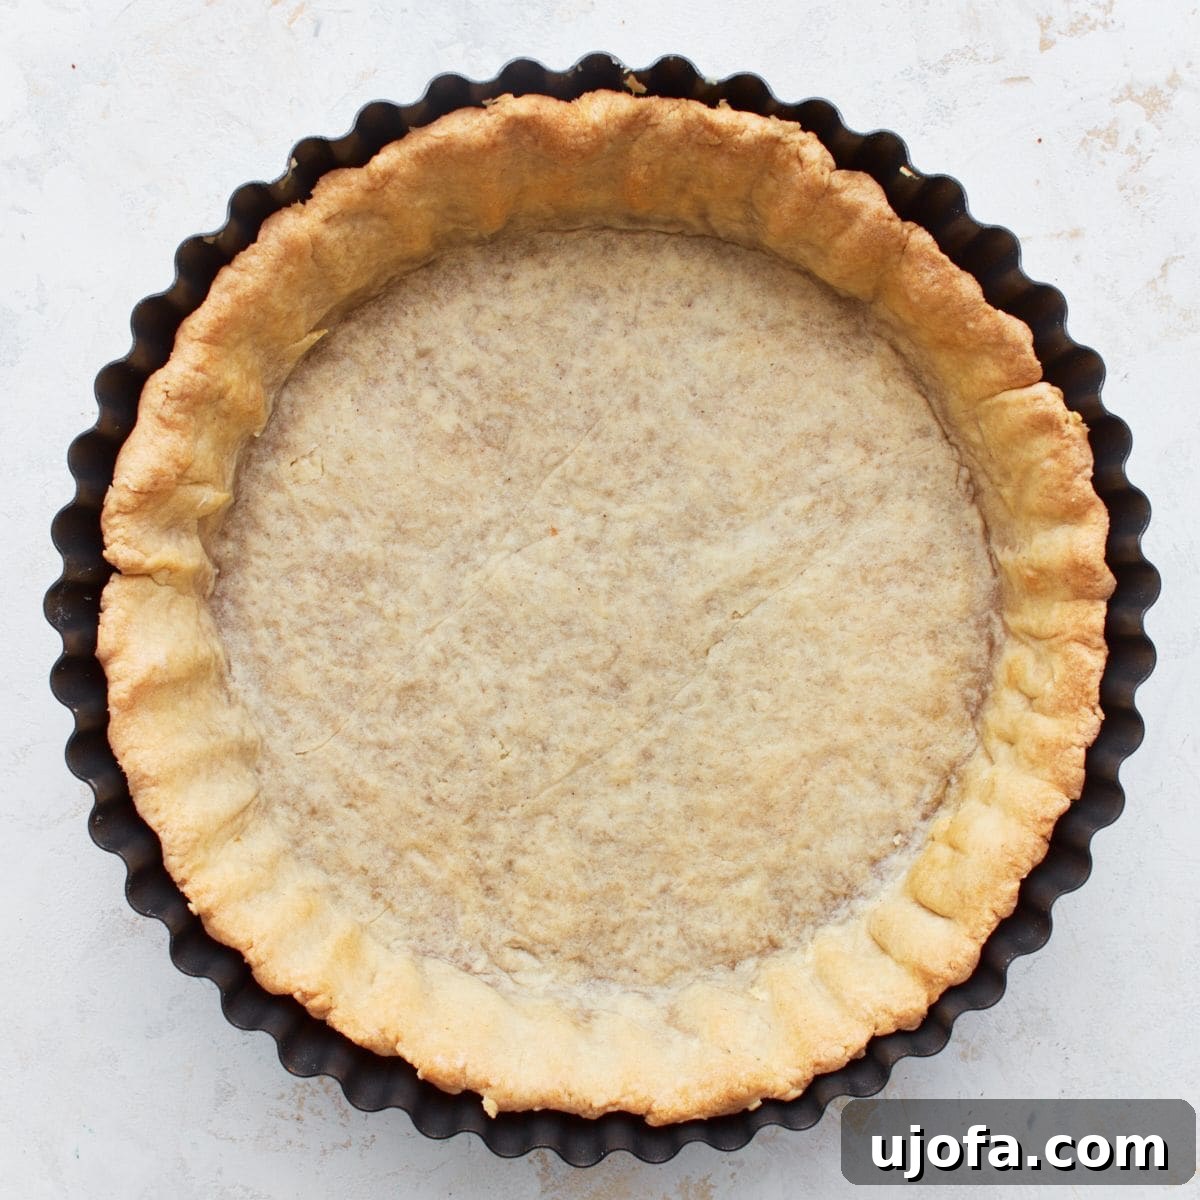
The Ultimate Homemade Gluten-Free Pie Crust Recipe
Crafting the perfect pie crust can seem daunting, especially when navigating the world of gluten-free baking. When I first embarked on developing this gluten-free pie crust recipe, my goal was clear: to replicate the magical qualities of my grandmother’s classic crust from her beloved Betty Crocker 40th Anniversary Cookbook. That crust was the benchmark—tender, flaky, rich with buttery flavor, and incredibly easy to handle. Translating those characteristics into a gluten-free version was a challenge, but one that yielded exceptional results.
After several dedicated attempts, experimenting with different flour blends and fat ratios, I finally achieved a gluten-free pie crust that not only met but exceeded my expectations. It’s surprisingly simple to make, defying the common misconception that gluten-free pastry is inherently difficult. The secret lies in a balanced combination of high-quality gluten-free flour, a touch of sugar for tenderness and browning, and a strategic blend of butter and shortening. This blend is crucial for achieving that quintessential flaky texture and rich, buttery flavor without compromising on structural integrity.
This versatile gluten-free pie crust has become a cherished staple in my kitchen. It’s the go-to base for family favorites like my hearty gluten-free turkey pot pie and the delightful nostalgic gluten-free pop tarts. During special occasions, particularly Thanksgiving and Christmas, my family consistently requests pies made with this very crust, a testament to its crowd-pleasing taste and texture.
Mastering Gluten-Free Pie Crust: Essential Baking Tips
Achieving a superb gluten-free pie crust doesn’t have to be complicated. With a few key considerations, you can ensure a tender, flaky result every time. Here are my top tips for success:
- Choose the Right Flour Blend: This recipe is specifically designed to work with all-purpose gluten-free flour blends that already contain xanthan gum. Brands like Pillsbury gluten-free flour or Better Batter gluten-free flour yield excellent results. Important Note: This particular recipe will not work with single-grain flours like almond, oat, or coconut flour. These flours behave very differently and require distinct recipes. If you’re keen on an almond flour option, be sure to try our dedicated almond flour pie crust recipe instead.
- Keep Ingredients Chilled: The temperature of your fats (butter and shortening) and water is paramount for a flaky crust. Cold fats create pockets of steam during baking, which separate the layers of dough, resulting in that desirable flakiness. Always ensure your butter, shortening, and water are ice-cold.
- Don’t Overwork the Dough: Gluten-free dough can be more delicate than traditional wheat dough. Overmixing can lead to a tough crust. Mix just until the ingredients are combined and the dough begins to come together.
- Proper Flour for Rolling: When rolling out your dough, lightly flour your parchment-lined work surface and rolling pin with extra gluten-free flour. This prevents sticking without adding too much additional flour, which can dry out the dough.
- Chill Time is Crucial: Don’t skip the refrigeration step! Chilling allows the fats to firm up, preventing them from melting too quickly in the oven. It also allows the gluten-free flours to hydrate fully, making the dough more pliable and less prone to cracking during rolling.
- Handle with Care: Gluten-free dough can be more fragile. When transferring the rolled-out crust to the pie pan, avoid stretching it. Instead, gently lift and ease it into place, pressing it into the contours of the pan. Stretching can lead to shrinkage during baking.
- Consider Blind Baking: For custard-based pies or pies with very wet fillings, blind baking (or par-baking) the crust helps prevent a soggy bottom.
Gluten-Free Pie Crust Recipe
Print Recipe
Ingredients
- 1 ¼ cup all-purpose gluten-free flour with xanthan gum*
- 2 tablespoons granulated sugar
- ¼ teaspoon salt
- ¼ cup unsalted butter, chopped and chilled, for dairy-free/vegan, use Smart Balance butter.
- ¼ cup shortening**, chilled
- ¼ teaspoon apple cider vinegar, You can also use white vinegar.
- 1 large egg, for vegan, use Bob’s Red Mill egg replacer.
- 3 tablespoons ice cold water
Instructions
-
Chill Fats and Water: In separate small bowls, measure out the chopped butter, shortening, and cold water. Place these bowls in the freezer for about 10-15 minutes to ensure they are thoroughly chilled. This step is critical for a flaky crust.
-
Combine Dry and Wet Ingredients: In a large mixing bowl, combine the all-purpose gluten-free flour, granulated sugar, and salt. Add the well-chilled chopped butter, chilled shortening, apple cider vinegar, large egg (or prepared egg replacer for vegan option), and the ice-cold water to the dry mixture.
-
Mix the Dough: Attach the paddle attachment to your stand mixer. Begin mixing on low speed, gradually increasing to medium, until all ingredients are fully combined and a cohesive dough starts to form. Be sure to stop occasionally and scrape down the sides and bottom of the bowl to ensure everything is incorporated. The dough will be thick and may feel a bit sticky, which is normal for gluten-free pastry. Avoid overmixing, as this can lead to a tough crust.
-
Shape and Chill: Gently gather the dough into a ball. Place the dough ball onto a piece of plastic wrap. Using your hands, gently press the ball into a flat disc shape, about 1-inch thick. This pre-shapes the dough for easier rolling later. Tightly wrap the dough disc in the plastic wrap and refrigerate for a minimum of 1 hour. This chilling period is essential for the fats to firm up and the flour to hydrate, making the dough easier to handle.
-
Temper the Dough: Once thoroughly chilled, remove the dough disc from the refrigerator. Allow it to rest at room temperature for 10-15 minutes. This slight warming makes the dough more pliable and prevents cracking during the rolling process.
-
Prepare for Rolling: Unwrap the dough disc and place it onto a piece of parchment paper that has been lightly floured with gluten-free flour. Lightly flour the top surface of the dough disc and your rolling pin to prevent sticking.
-
Roll out the Dough: Carefully roll out the dough disc into an even, round circle, approximately 10-12 inches in diameter. This size is perfect for a standard 9-inch pie pan. If the edges crack, gently pinch them back together.
-
Transfer to Pie Pan: Carefully transfer the rolled dough into a lightly greased 9-inch pie pan. An easy way to do this is to roll the dough loosely around your rolling pin, then unroll it over the pie pan. Gently press the dough into the bottom and up the sides of the pan. Avoid stretching the dough; instead, lift and lower it to fit the contours. If any cracks appear, simply press them together with your fingers to seal. Flute or crimp the edges as desired. Now, it’s ready to be filled and baked according to your chosen pie recipe. For a beautiful golden finish, you can brush the crust with an egg wash (beaten egg with a splash of water) or a milk wash before baking.
-
Par-Baking Instructions: For a par-baked (partially baked) crust, preheat your oven to 400˚F (204°C). Line the unbaked crust with parchment paper and fill it with pie weights, dried beans, or uncooked rice to prevent it from puffing up or shrinking. Bake for 10-15 minutes, or until the edges are lightly golden. Carefully remove the weights and parchment, then continue baking for another 5-10 minutes if a fully baked crust is desired, or proceed with your filling. Keep a close eye on the crust to prevent over-baking or excessive browning.
Notes
**Please, for the best results, do not substitute extra butter for the shortening. Shortening plays a vital role in maintaining the dough’s moisture, tenderness, and exceptional flakiness. While butter adds rich flavor, shortening provides the structural integrity and resistance to moisture that prevents the crust from becoming tough or overly dense.
Nutrition
Nutrition information is automatically calculated and should be used as an approximation only.
Additional Info
How to Make Gluten-Free Pie Crust: A Step-by-Step Visual Guide
Let’s walk through each step with clear visuals to ensure your homemade gluten-free pie crust turns out perfectly every time.
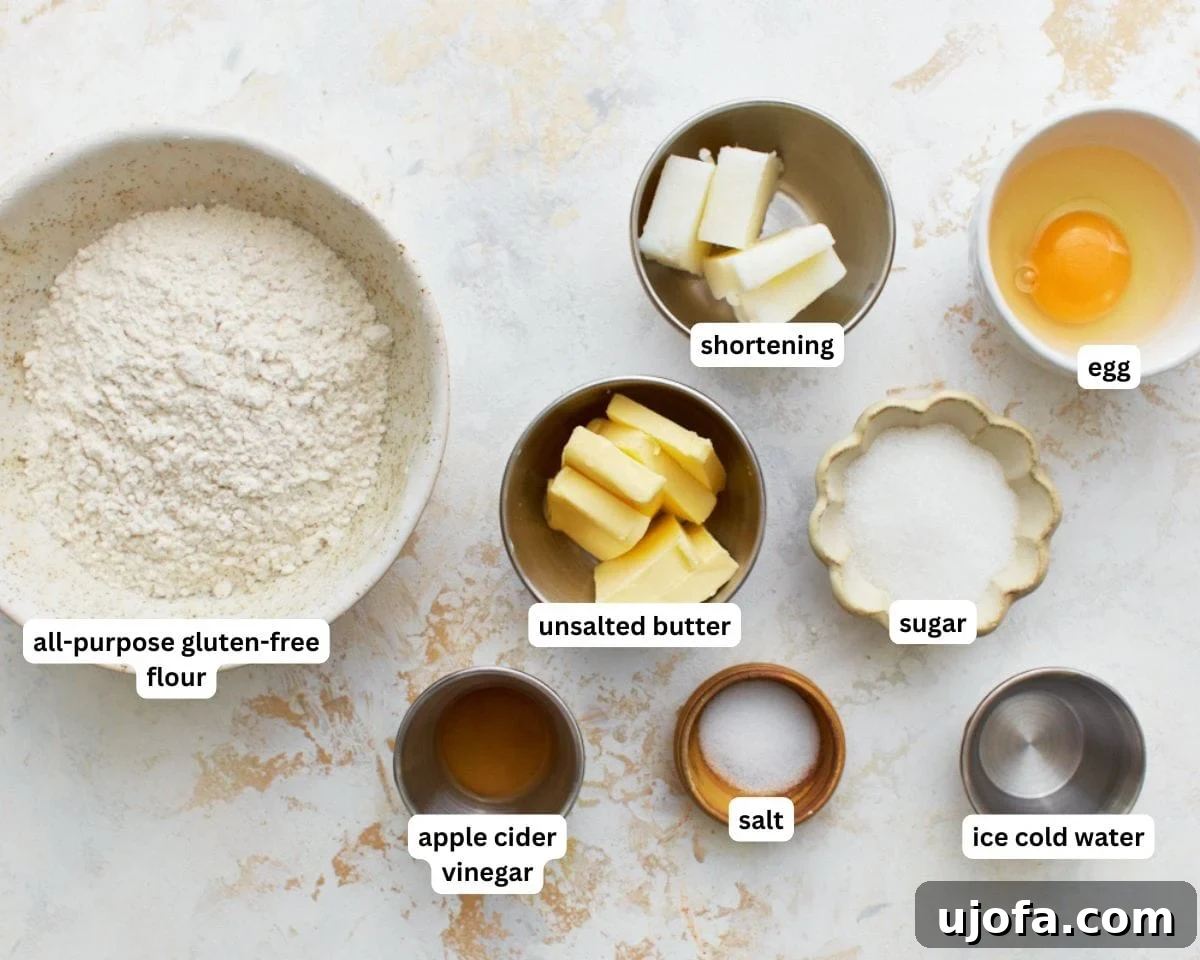
Step 1: Gather Your Ingredients. Ensure all your ingredients are measured out and ready. Remember, chilled butter, shortening, and water are your best friends for a flaky crust! Having everything prepared beforehand makes the process smooth and enjoyable.
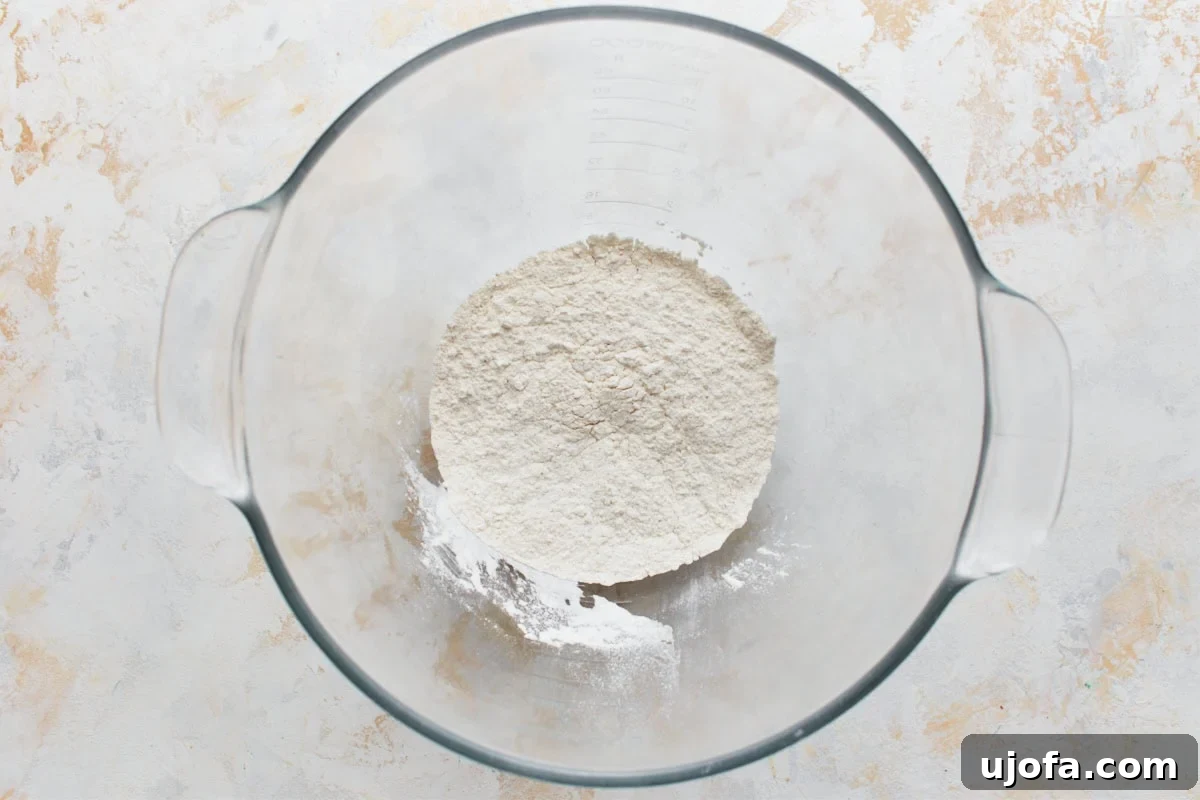
Step 2: Chill Fats and Prepare Dry Mixture. Begin by placing your pre-measured and chopped butter and shortening, along with the measured cold water, into separate small bowls and pop them into the freezer for a quick chill – about 10-15 minutes will do the trick. While your fats are chilling, combine your 1 ¼ cup all-purpose gluten-free flour, 2 tablespoons granulated sugar, and ¼ teaspoon salt in a large mixing bowl. The colder your fats, the flakier your gluten-free pie crust will be!
Once chilled, add the ¼ cup chilled butter, ¼ cup chilled shortening, ¼ teaspoon apple cider vinegar (which helps tenderize the dough), 1 large egg (or your chosen egg replacer for a vegan option), and 3 tablespoons ice cold water to the large bowl with your dry ingredients.
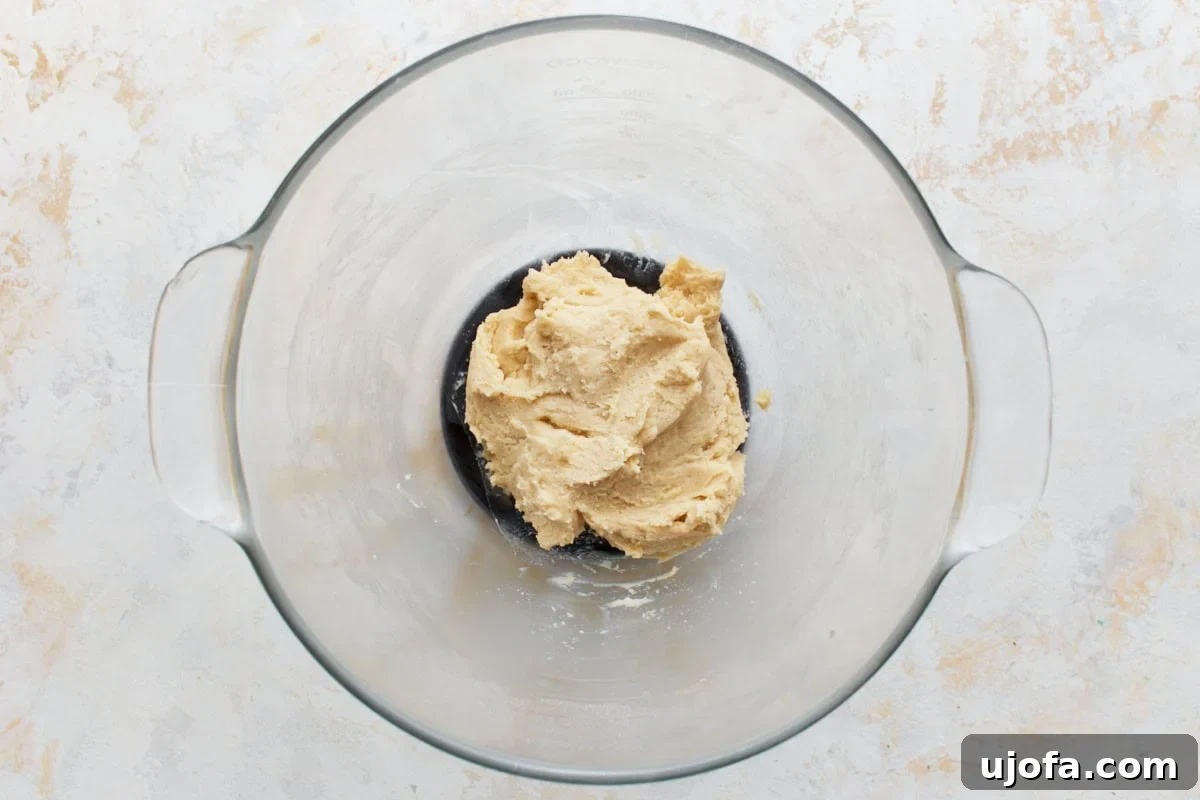
Step 3: Mix Until Combined. Using the paddle attachment on your stand mixer, begin mixing on a low speed, then gradually increase to medium. Mix until all the ingredients are fully combined and the dough just starts to come together. Make sure to stop and scrape down the sides of the bowl with a spatula to ensure an even mix. The dough for this easy gluten-free pie crust will appear thick and slightly sticky – this is perfectly normal and expected. Remember, resist the urge to overmix, as this can make your crust tough.
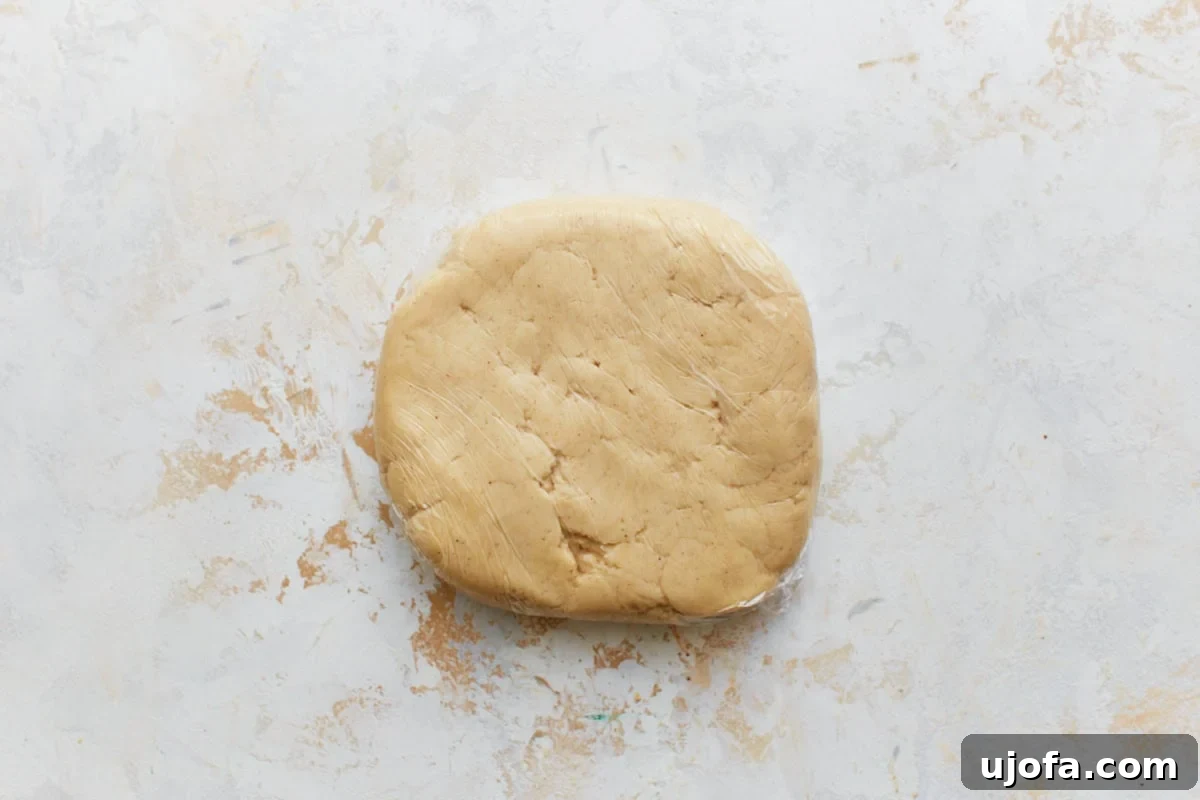
Step 4: Shape and Chill the Dough. Gently shape the dough into a cohesive ball. Place this ball onto a piece of plastic wrap, then gently press it into a disc shape, approximately 1 inch thick. This disc shape will make it much easier to roll out evenly later. Wrap the dough disc tightly in the plastic wrap, ensuring no air can get in, and refrigerate it for at least 1 hour. This crucial chilling period allows the fats to solidify and the gluten-free flours to properly hydrate, resulting in a more manageable and tender dough.
Once thoroughly chilled, remove the dough from the refrigerator and let it sit at room temperature for 10-15 minutes. This brief tempering makes the dough pliable enough to roll without cracking, while still maintaining its cold temperature for flakiness.
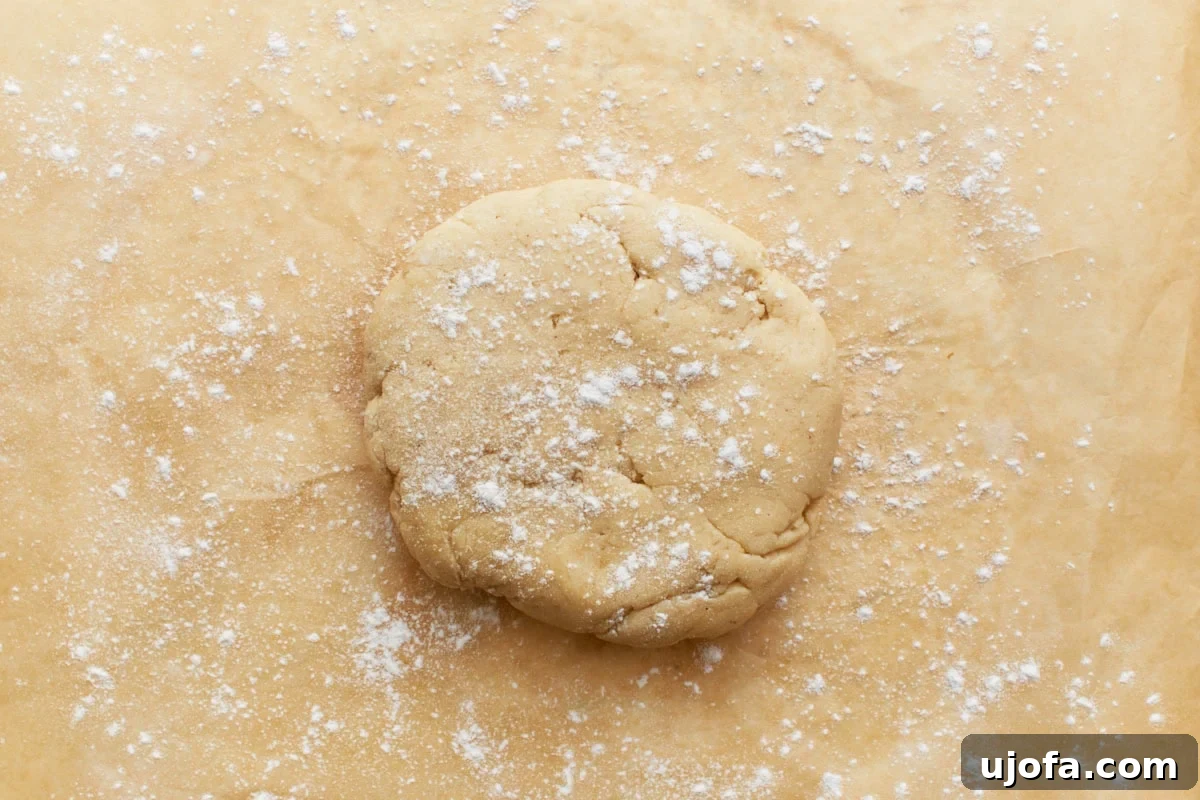
Step 5: Prepare for Rolling. Unwrap the chilled dough disc and place it onto a piece of parchment paper. Lightly dust both the parchment paper and the top of the dough disc with a little extra gluten-free flour. Also, lightly flour your rolling pin. This light dusting ensures the dough doesn’t stick as you roll it out, allowing for a smooth process.
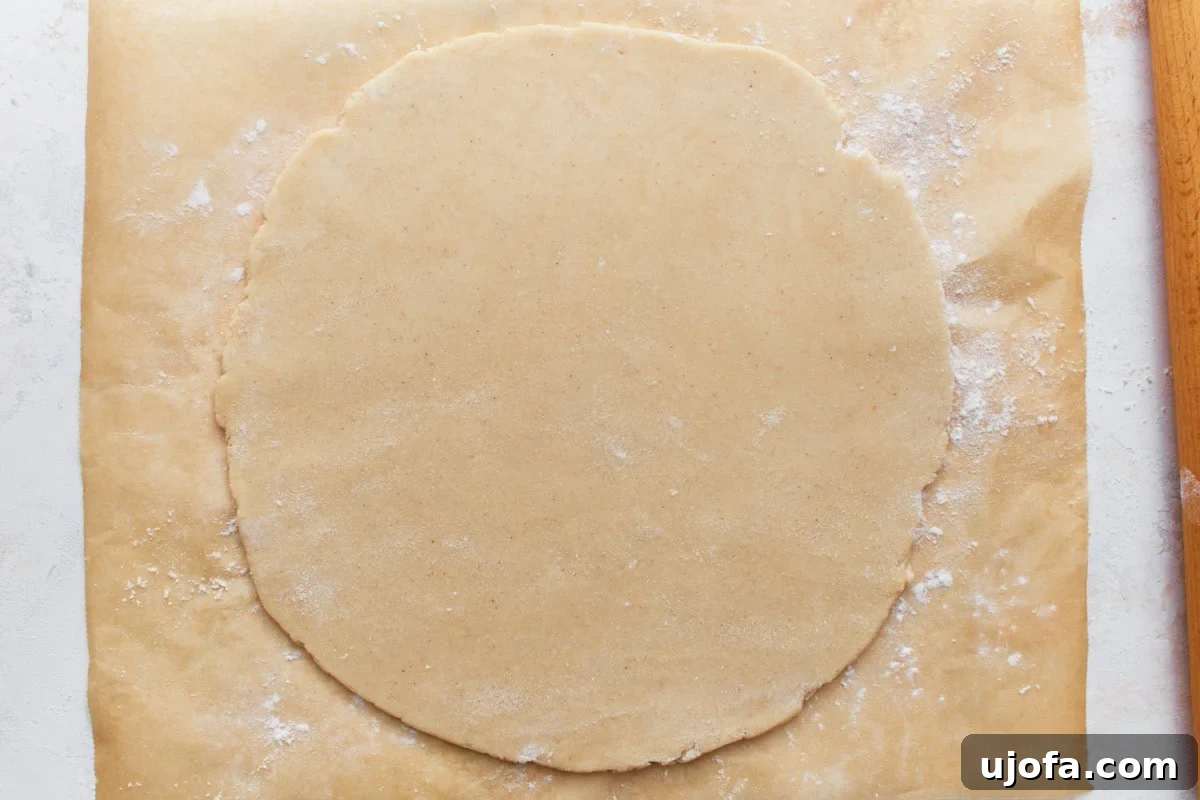
Step 6: Roll Out the Dough. Using your floured rolling pin, carefully roll out the dough disc into an even, round circle. Aim for a diameter of 10-12 inches, which is perfect for a standard 9-inch pie pan. Take your time, rolling from the center outwards, and rotating the parchment paper as needed to maintain a circular shape. If the edges crack, gently pinch them back together with your fingers.
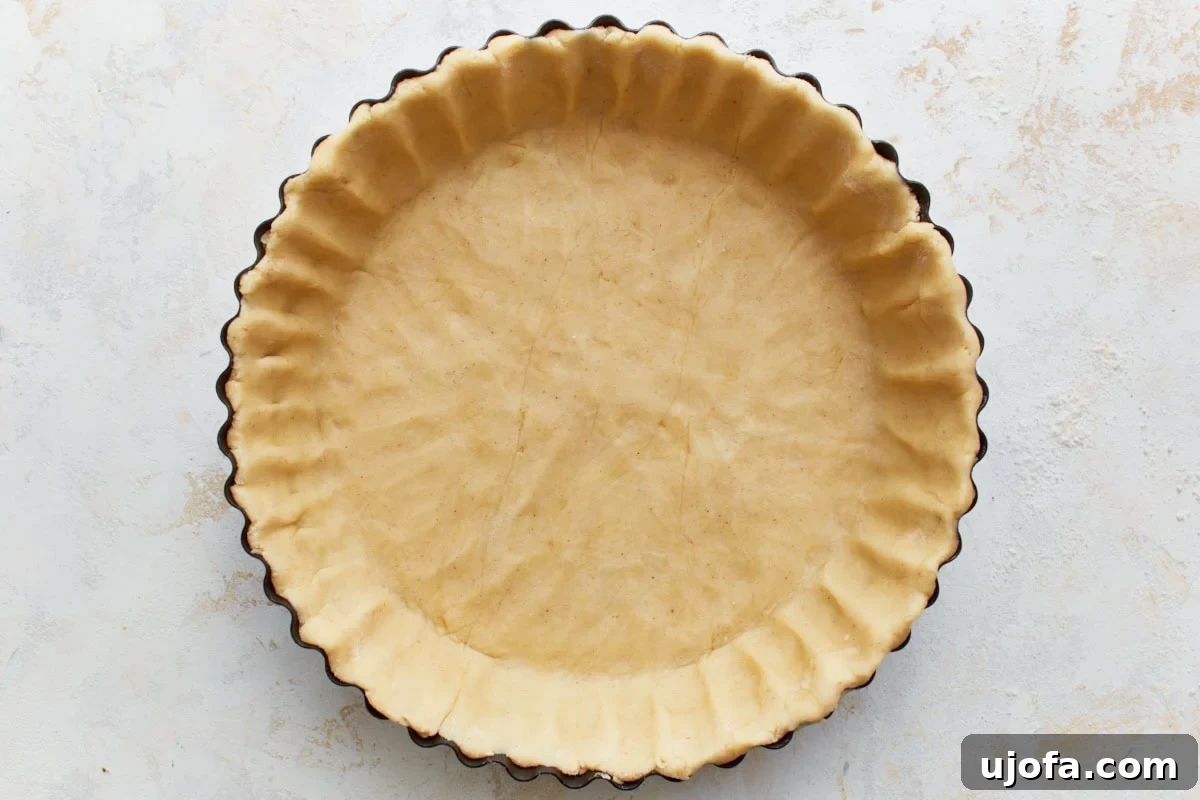
Step 7: Place in Greased Pie Pan. With care, transfer the rolled dough into a lightly greased 9-inch pie pan. The easiest way to do this is to gently roll the dough around your rolling pin and then unroll it directly over the pan. Ease the dough into the bottom and up the sides of the pan, making sure not to stretch it, as stretching can cause the crust to shrink during baking. If you notice any small cracks, simply press them together with your fingers to seal. Shape the edges as desired—a classic crimp or a decorative flute works beautifully. Your flaky gluten-free pie crust is now ready for your chosen filling and subsequent baking! For an extra golden-brown finish, you can brush the dough lightly with an egg wash (one egg beaten with a teaspoon of water) or a milk wash before baking.
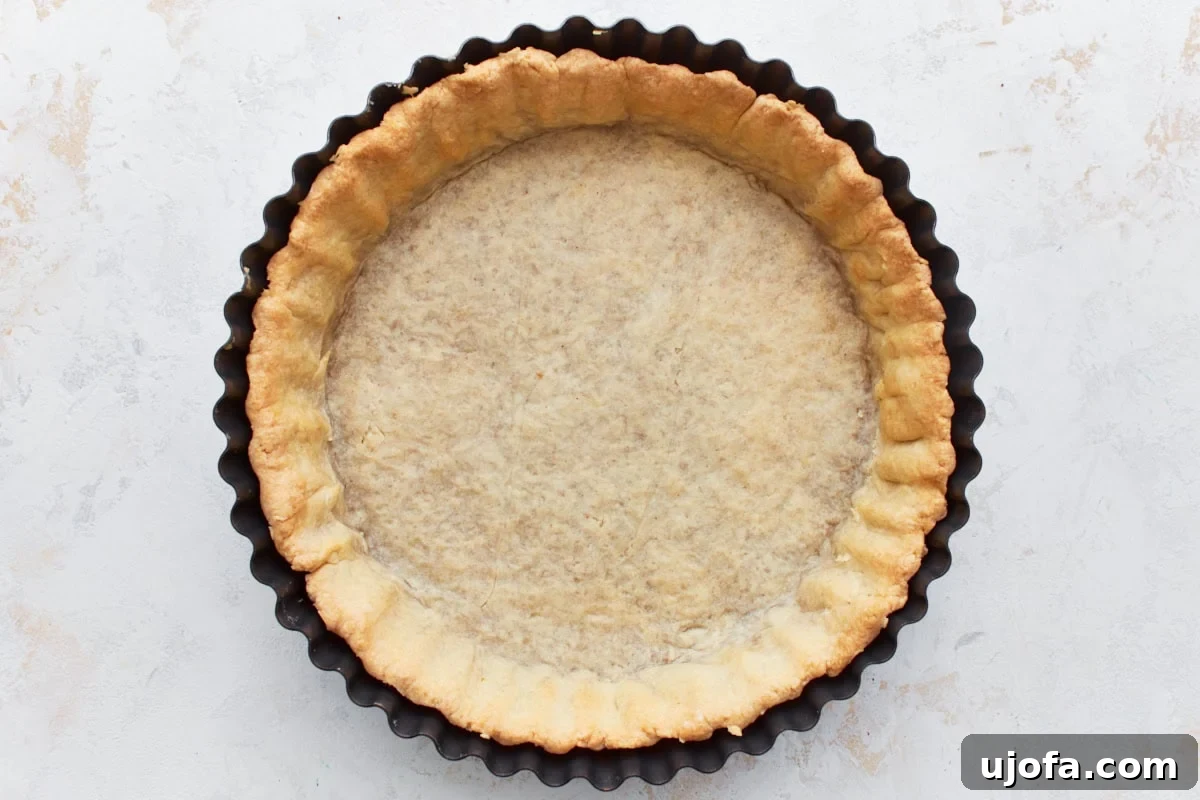
Step 8: Bake the Crust (or Par-Bake). If your recipe calls for a par-baked (partially baked) crust, preheat your oven to 400˚F (204°C). Line the unbaked crust with a sheet of parchment paper and fill it with pie weights, dried beans, or uncooked rice to prevent the bottom from puffing up. Bake for 10-15 minutes, or until the edges begin to turn a light golden color. Carefully remove the parchment paper and weights, then continue baking for an additional 5-10 minutes if a crispier, fully baked crust is desired, or proceed with adding your filling and baking as per your pie recipe. Always keep a close watch on your crust to ensure it doesn’t over-bake or become too dark.
How to Make Gluten-Free Pie Crust Without a Mixer
While I often opt for the convenience of a stand mixer with a paddle attachment for a smoother, easier-to-handle dough, this tender gluten-free pie crust can absolutely be made by hand, using traditional pastry-making techniques. It requires a little more elbow grease but yields equally delicious results. Here’s how to do it:
- Combine Dry Ingredients: In a large mixing bowl, whisk together the gluten-free flour, granulated sugar, and salt.
- Cut in the Fats: Add the chilled, chopped butter and shortening to the dry ingredients. Using a pastry cutter, two knives, or even your fingertips, work the fats into the flour mixture until it resembles coarse crumbs with some pea-sized pieces of butter and shortening remaining. This is crucial for flakiness.
- Add Wet Ingredients: Create a well in the center of the flour mixture. Add the apple cider vinegar, egg (or egg replacer), and ice-cold water to the well.
- Mix by Hand: Using a fork or your hands, gently mix the wet ingredients into the dry until a dough begins to form. Be very careful not to overmix; stop as soon as the dough comes together.
- Chill: Form the dough into a disc, wrap it tightly in plastic wrap, and refrigerate for at least 1 hour, as directed in the main recipe. Then, proceed with rolling and baking instructions.
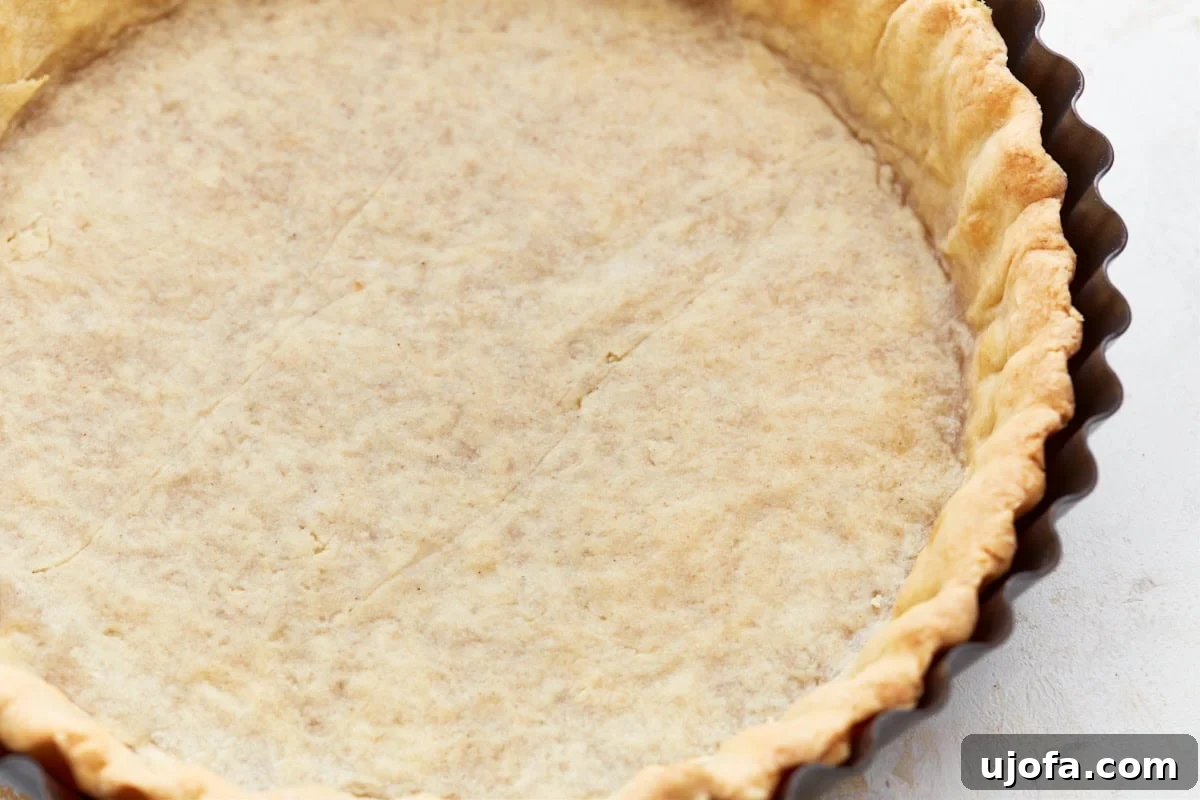
Delightful Serving Suggestions for Your Gluten-Free Pie Crust
Once you’ve tried this versatile gluten-free pie crust, you’ll find yourself reaching for it again and again. It has completely replaced all store-bought or frozen pie crusts in my home, a testament to its superior taste and ease of use. Its delicate flakiness and rich, buttery flavor make it suitable for an endless array of sweet and savory creations.
- Holiday Feasts: This crust is a non-negotiable for my Thanksgiving table. It forms the perfect base for my classic easy gluten-free apple pie, bursting with spiced fruit, and my indulgent gluten-free pecan pie, with its rich, caramel-like filling.
- Savory Delights: Beyond desserts, this crust shines in savory applications. My husband absolutely adores it as the crust for my homemade gluten-free quiche. When making it for savory dishes like quiches, chicken pot pie, or savory tarts, simply omit the granulated sugar from the crust recipe for a neutral base that complements any filling.
- Sweet Creations: Imagine this crust as the foundation for a vibrant berry tart, a creamy chocolate silk pie, a tangy lemon meringue pie, or individual fruit galettes. Its sturdy yet tender nature holds up beautifully to various fillings.
- Beyond Pies: Get creative! Use this dough to make adorable hand pies, savory turnovers, or even a simple yet elegant galette topped with seasonal fruits. The possibilities are truly endless when you have such a reliable and delicious gluten-free pie dough at your fingertips.
Storage Instructions for Gluten-Free Pie Dough
One of the many benefits of this easy gluten-free pie crust recipe is its excellent make-ahead potential. This feature is particularly helpful during busy times, like the bustling holiday season, allowing you to prepare components in advance and reduce stress on baking day.
- Refrigerating Dough: You can easily prepare the dough disc ahead of time and store it in the refrigerator. After shaping it into a disc and wrapping it tightly in plastic wrap, it will keep well for up to three days. When you’re ready to use it, remember to remove it from the refrigerator and let it sit at room temperature for 10-15 minutes before attempting to roll it out. This brief resting period helps the dough become pliable again, preventing cracks and making it much easier to work with.
- Freezing Dough for Longer Storage: For longer-term storage, this gluten-free pie dough freezes beautifully. Once the dough disc is tightly wrapped in plastic wrap, place it inside a heavy-duty plastic freezer bag. Ensure as much air as possible is removed from the bag before sealing to prevent freezer burn. The dough can be frozen for up to 3 months.
- Thawing Frozen Dough: When you’re ready to use frozen dough, transfer it from the freezer to the refrigerator and allow it to defrost overnight. Once thawed, let it stand at room temperature for 10-15 minutes before rolling, just as you would with refrigerated dough. This ensures it’s at the optimal temperature for handling.
Common Questions About Gluten-Free Pie Crust
New to gluten-free baking or just looking to perfect your pie crust? Here are answers to some frequently asked questions:
- Why is my gluten-free pie crust crumbly? A crumbly crust often indicates too little liquid or too much flour. Gluten-free flours can absorb liquid differently. Ensure your measurements are precise, and don’t be afraid to add a tiny bit more ice water (1 teaspoon at a time) if the dough feels too dry to come together. Overworking the dough can also sometimes make it crumbly.
- Can I use only butter instead of butter and shortening? While you technically can, I strongly advise against it for this recipe. Shortening is key to the tenderness and flakiness of this particular gluten-free crust. It has a higher melting point than butter, creating steam pockets that lift the layers, and helps with moisture retention. Using only butter may result in a tougher or less flaky crust.
- How do I prevent a soggy bottom crust? For pies with very wet fillings (like fruit pies or quiches), blind baking the crust as described in the instructions is your best defense against a soggy bottom. Also, ensure your filling isn’t excessively watery. A sprinkle of gluten-free breadcrumbs or crushed gluten-free cornflakes on the bottom of the crust before filling can also help absorb excess moisture.
- What if my dough cracks when rolling? This is common with gluten-free doughs, especially if they are too cold or not hydrated enough. If it cracks, gently pinch the cracks together or use a small piece of excess dough to patch them. Allowing the dough to sit at room temperature for an extra 5-10 minutes can also help if it’s too stiff.
- Can I make this crust savory? Absolutely! For savory pies like quiche or pot pie, simply omit the 2 tablespoons of granulated sugar from the ingredient list. The rest of the recipe remains the same, providing a wonderfully flaky and neutral base for your savory fillings.
More Irresistible Gluten-Free Pastry Recipes to Explore!
If you’ve loved mastering this homemade gluten-free pie crust, you’ll be thrilled to discover more of my favorite gluten-free pastry recipes. Expand your baking repertoire with these delicious options, perfect for a variety of desserts and savory treats:
- Gluten-Free Graham Cracker Crust: A delightful, crumbly crust that’s perfect for cheesecakes, cream pies, and no-bake desserts. It’s incredibly easy and requires no baking!
- Gluten-Free Puff Pastry: Achieve light, airy, and flaky layers with this impressive recipe. Ideal for savory tarts, turnovers, and sweet pastries, offering that classic puff pastry experience without the gluten.
- Gluten-Free Phyllo Dough/Filo Pastry: Master the art of delicate, paper-thin phyllo pastry. Perfect for baklava, spanakopita, and other Mediterranean-inspired dishes, bringing elegance to your gluten-free table.
Each of these recipes is designed to be approachable and delicious, proving that gluten-free baking can be just as satisfying and rewarding as traditional baking. Happy baking!