
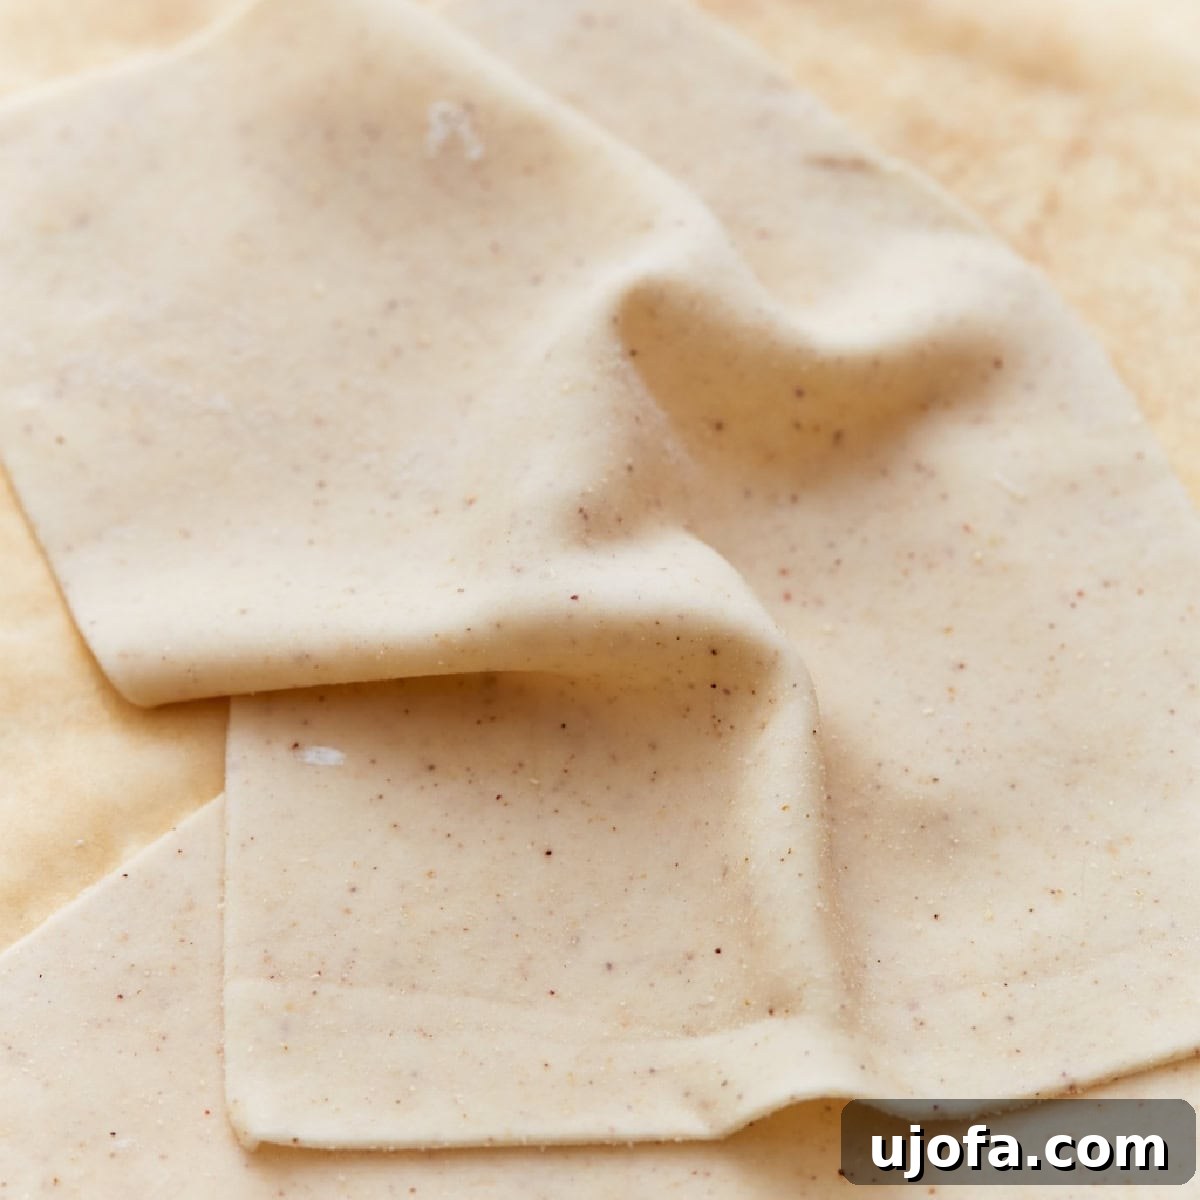
Unlock the secrets to crafting exceptional homemade gluten-free phyllo dough right in your own kitchen! Many believe this delicate pastry is too challenging without gluten, but I’m here to prove them wrong. After extensive testing and refinement, this recipe consistently delivers perfectly flaky, golden filo pastry that’s incredibly versatile for both sweet and savory culinary creations. The magic lies in the precise application of xanthan gum, which brilliantly replaces gluten, creating an elastic dough that can be effortlessly rolled into gossamer-thin sheets. Forget the need for a stand mixer, a pasta machine, or any other specialized equipment; this recipe is designed for accessibility and success with basic kitchen tools.
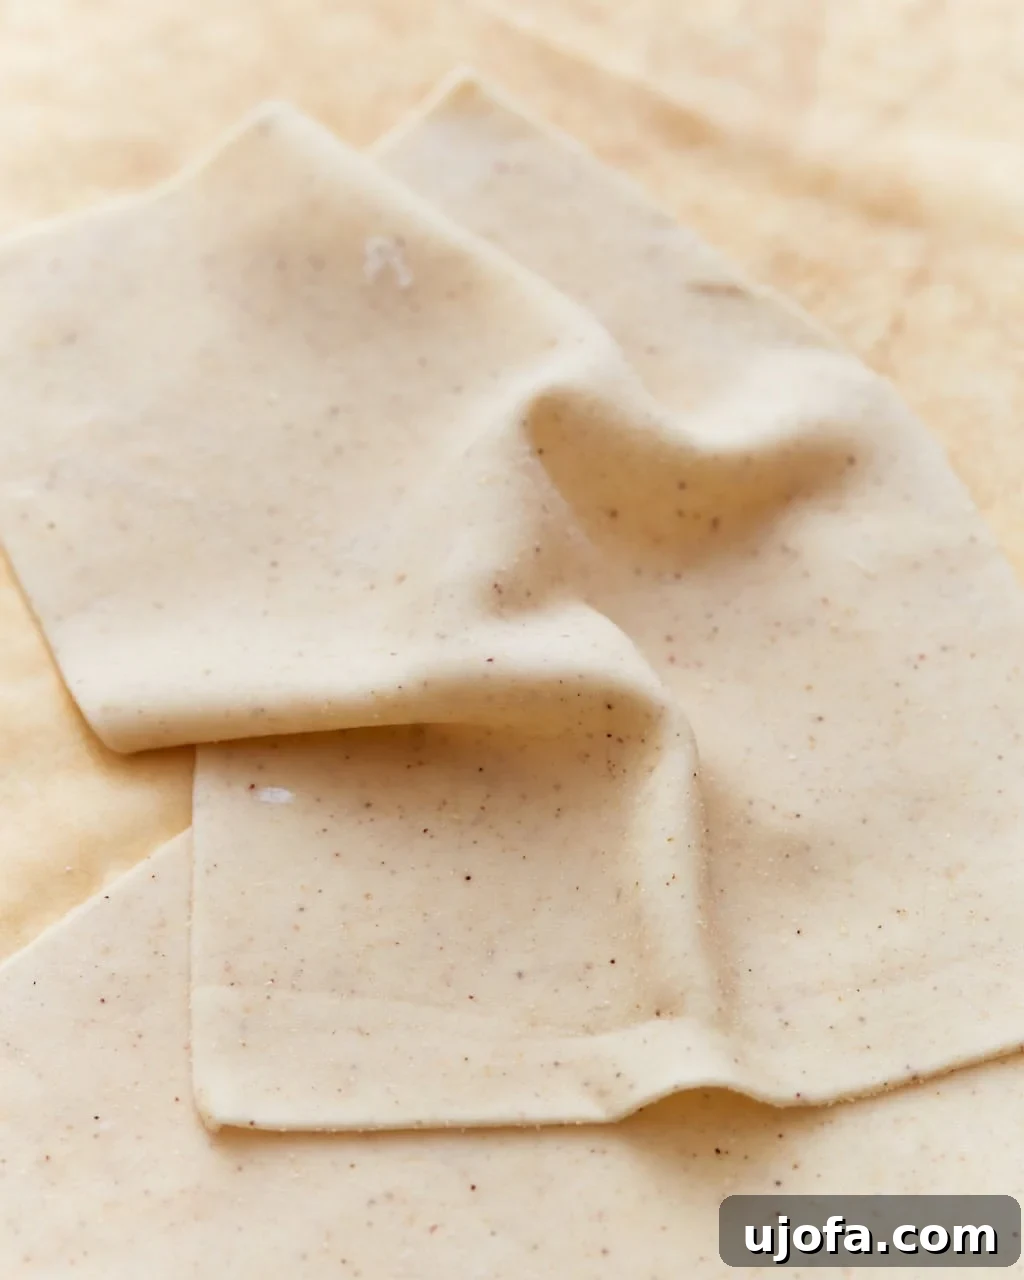
Mastering Gluten-Free Phyllo Dough: A Culinary Journey
Phyllo dough, also widely known as filo pastry, holds a cherished place in the culinary traditions of Balkan, Greek, and Middle Eastern cuisines. Traditionally prepared with wheat flour, this exquisitely thin pastry dough is famously layered to achieve a wonderfully crisp and flaky texture, forming the foundation for iconic dishes like the sweet, nutty baklava and the savory spinach-and-feta pie, spanakopita. Its delicate structure and ability to absorb flavors make it indispensable in these rich culinary landscapes.
My passion lies in reimagining beloved bakery classics to be completely gluten-free, ensuring that no one has to miss out on their favorite treats. Following the success of my gluten-free croissant recipe, perfecting gluten-free phyllo dough became my next exciting challenge. This carefully developed recipe combines a high-quality all-purpose gluten-free flour blend with xanthan gum, melted butter, and cornstarch to produce a remarkably flexible dough that bakes up beautifully crisp and golden. While rolling the dough to its desired paper-thin consistency does require a touch of time and a dose of patience, the technique is surprisingly straightforward to master. Once you experience the satisfaction of creating your own homemade gluten-free phyllo, you’ll be inspired to explore a myriad of delicious possibilities.
Essential Ingredients for Gluten-Free Phyllo Dough
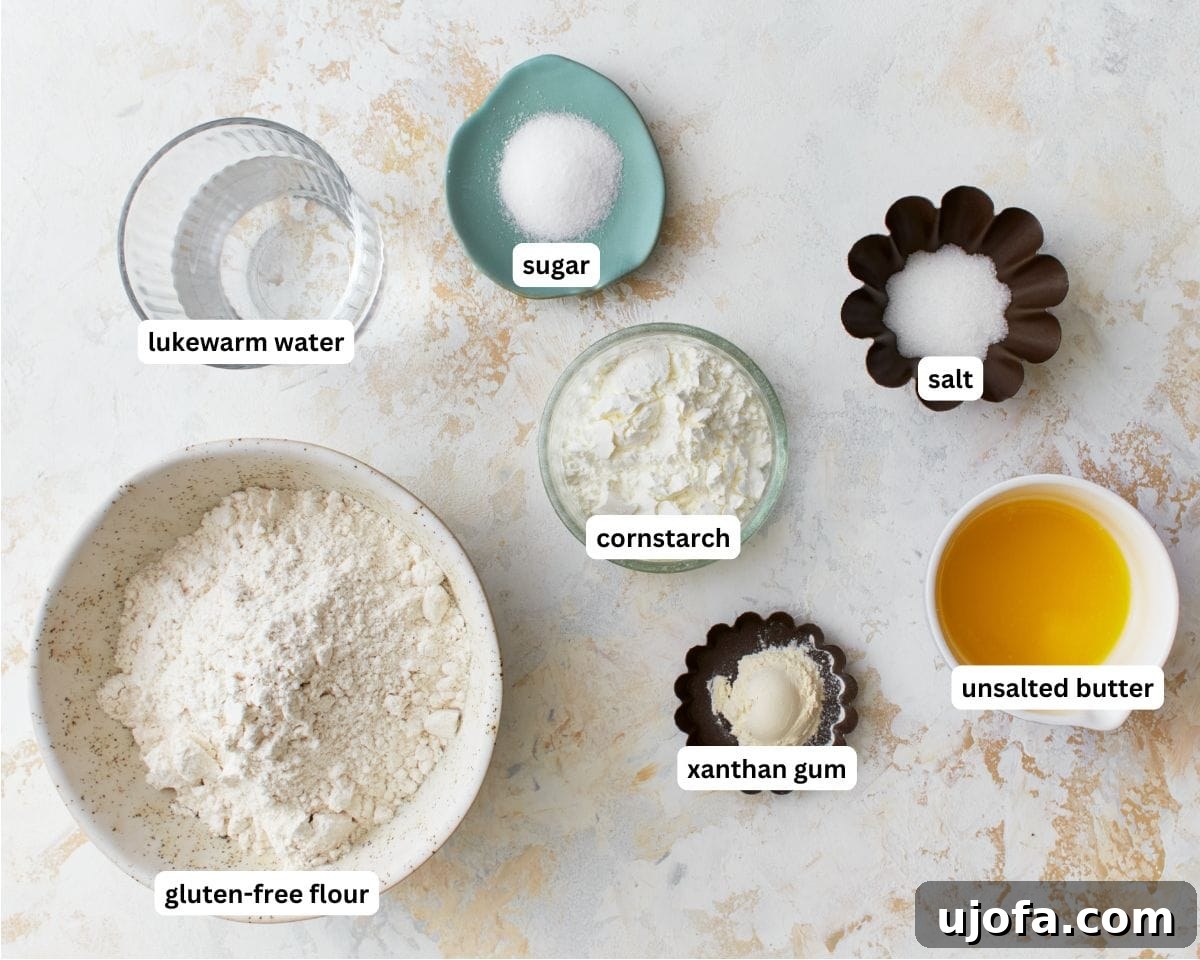
Crafting perfect gluten-free phyllo dough relies on a specific blend of ingredients, each playing a crucial role in achieving the desired texture and flakiness. Here’s a closer look at what you’ll need and why:
- All-Purpose Gluten-Free Flour: The foundation of our dough, it’s paramount to select a premium gluten-free flour blend that is specifically designed as a 1-to-1 substitute for traditional wheat flour. Brands like Pillsbury Gluten-Free and Better Batter Cup for Cup are often excellent choices. It’s important to note that not all gluten-free flour blends are created equal; results can vary significantly depending on the specific starches and gums present in your chosen brand. For consistent results, stick with a blend you trust for baking.
- Xanthan Gum: This ingredient is absolutely non-negotiable for gluten-free phyllo dough. Without xanthan gum, the dough would be prone to crumbling, lacking the structural integrity and elasticity necessary for thin rolling. It acts as a binder, mimicking the gluten protein found in wheat flour, allowing the dough to stretch without tearing. Even if your chosen gluten-free flour blend already contains xanthan gum, you’ll still need to add more – just reduce the amount from 2 teaspoons to 1 teaspoon to avoid an overly gummy texture.
- Cornstarch: Beyond adding a delicate crispness to the final baked product, cornstarch contributes to the dough’s overall elasticity. This enhanced pliability makes the dough much easier to roll out to the super-thin consistency required for authentic phyllo, reducing the risk of tears and making your rolling process smoother.
- Sugar: A small amount of granulated sugar is added not just for a subtle hint of sweetness, but primarily to assist the dough in achieving that beautiful golden-brown color and irresistible crispness when baked. Don’t worry; the quantity is minimal enough that the pastry remains perfectly suitable for savory recipes, adding depth rather than overt sweetness.
- Salt: Essential for seasoning, salt enhances the overall flavor profile of the dough, balancing the other ingredients and ensuring your phyllo doesn’t taste bland, whether used in sweet or savory applications.
- Lukewarm Water: The temperature of the water is key. Lukewarm water is preferred over cold water because it helps to hydrate the gluten-free flour more quickly and efficiently. This results in a softer, more pliable dough that is easier to work with, knead, and roll out to the desired thinness without excessive effort.
- Unsalted Butter: Melted unsalted butter is incorporated into the dough to add richness, tenderness, and contribute to the delicate crispness that defines authentic filo pastry. Using unsalted butter gives you better control over the overall salt content of your recipe.
Mastering the Art of Rolling Gluten-Free Phyllo: Expert Tips for Success
Achieving perfectly thin and resilient gluten-free phyllo dough requires a thoughtful approach and a few key techniques. Follow these expert tips to ensure your homemade phyllo is a resounding success:
- Portioning for Uniformity: For layers that bake evenly and look professional, I strongly recommend using a kitchen scale to weigh each portion of dough after dividing it. This ensures every sheet is consistent in size and thickness, leading to a more uniform final product.
- Proper Flour Application: Always ensure your work surface is lightly but thoroughly floured. This critical step prevents the delicate dough from sticking, which can cause tearing and frustration. Avoid excessive flour, however, as it can make the dough stiff.
- Choosing the Right Rolling Pin: While a regular rolling pin will certainly get the job done, a thin rolling pin – often resembling a dowel with tapered ends – is ideal for delicate doughs like phyllo. These specialized pins offer superior control and require less downward pressure, significantly reducing the risk of tearing the ultra-thin dough. If you frequently bake delicate pastries, it’s a worthwhile investment.
- Strategic Rolling Technique: To achieve consistent thickness and prevent weak spots, always roll the dough from the center outwards. Work your way around the dough, rotating it frequently, to ensure an even spread. This method helps prevent thin patches that are prone to tearing.
- Gentle Pressure is Key: As the dough becomes thinner, it naturally becomes more delicate. Your goal is to roll it as thinly as possible (aiming for approximately 1/8 inch thick) without causing it to break. Resist the urge to press down too hard with the rolling pin. Instead, use a gentle, even rolling motion, allowing the dough to gradually spread out. Think of coaxing the dough rather than forcing it.
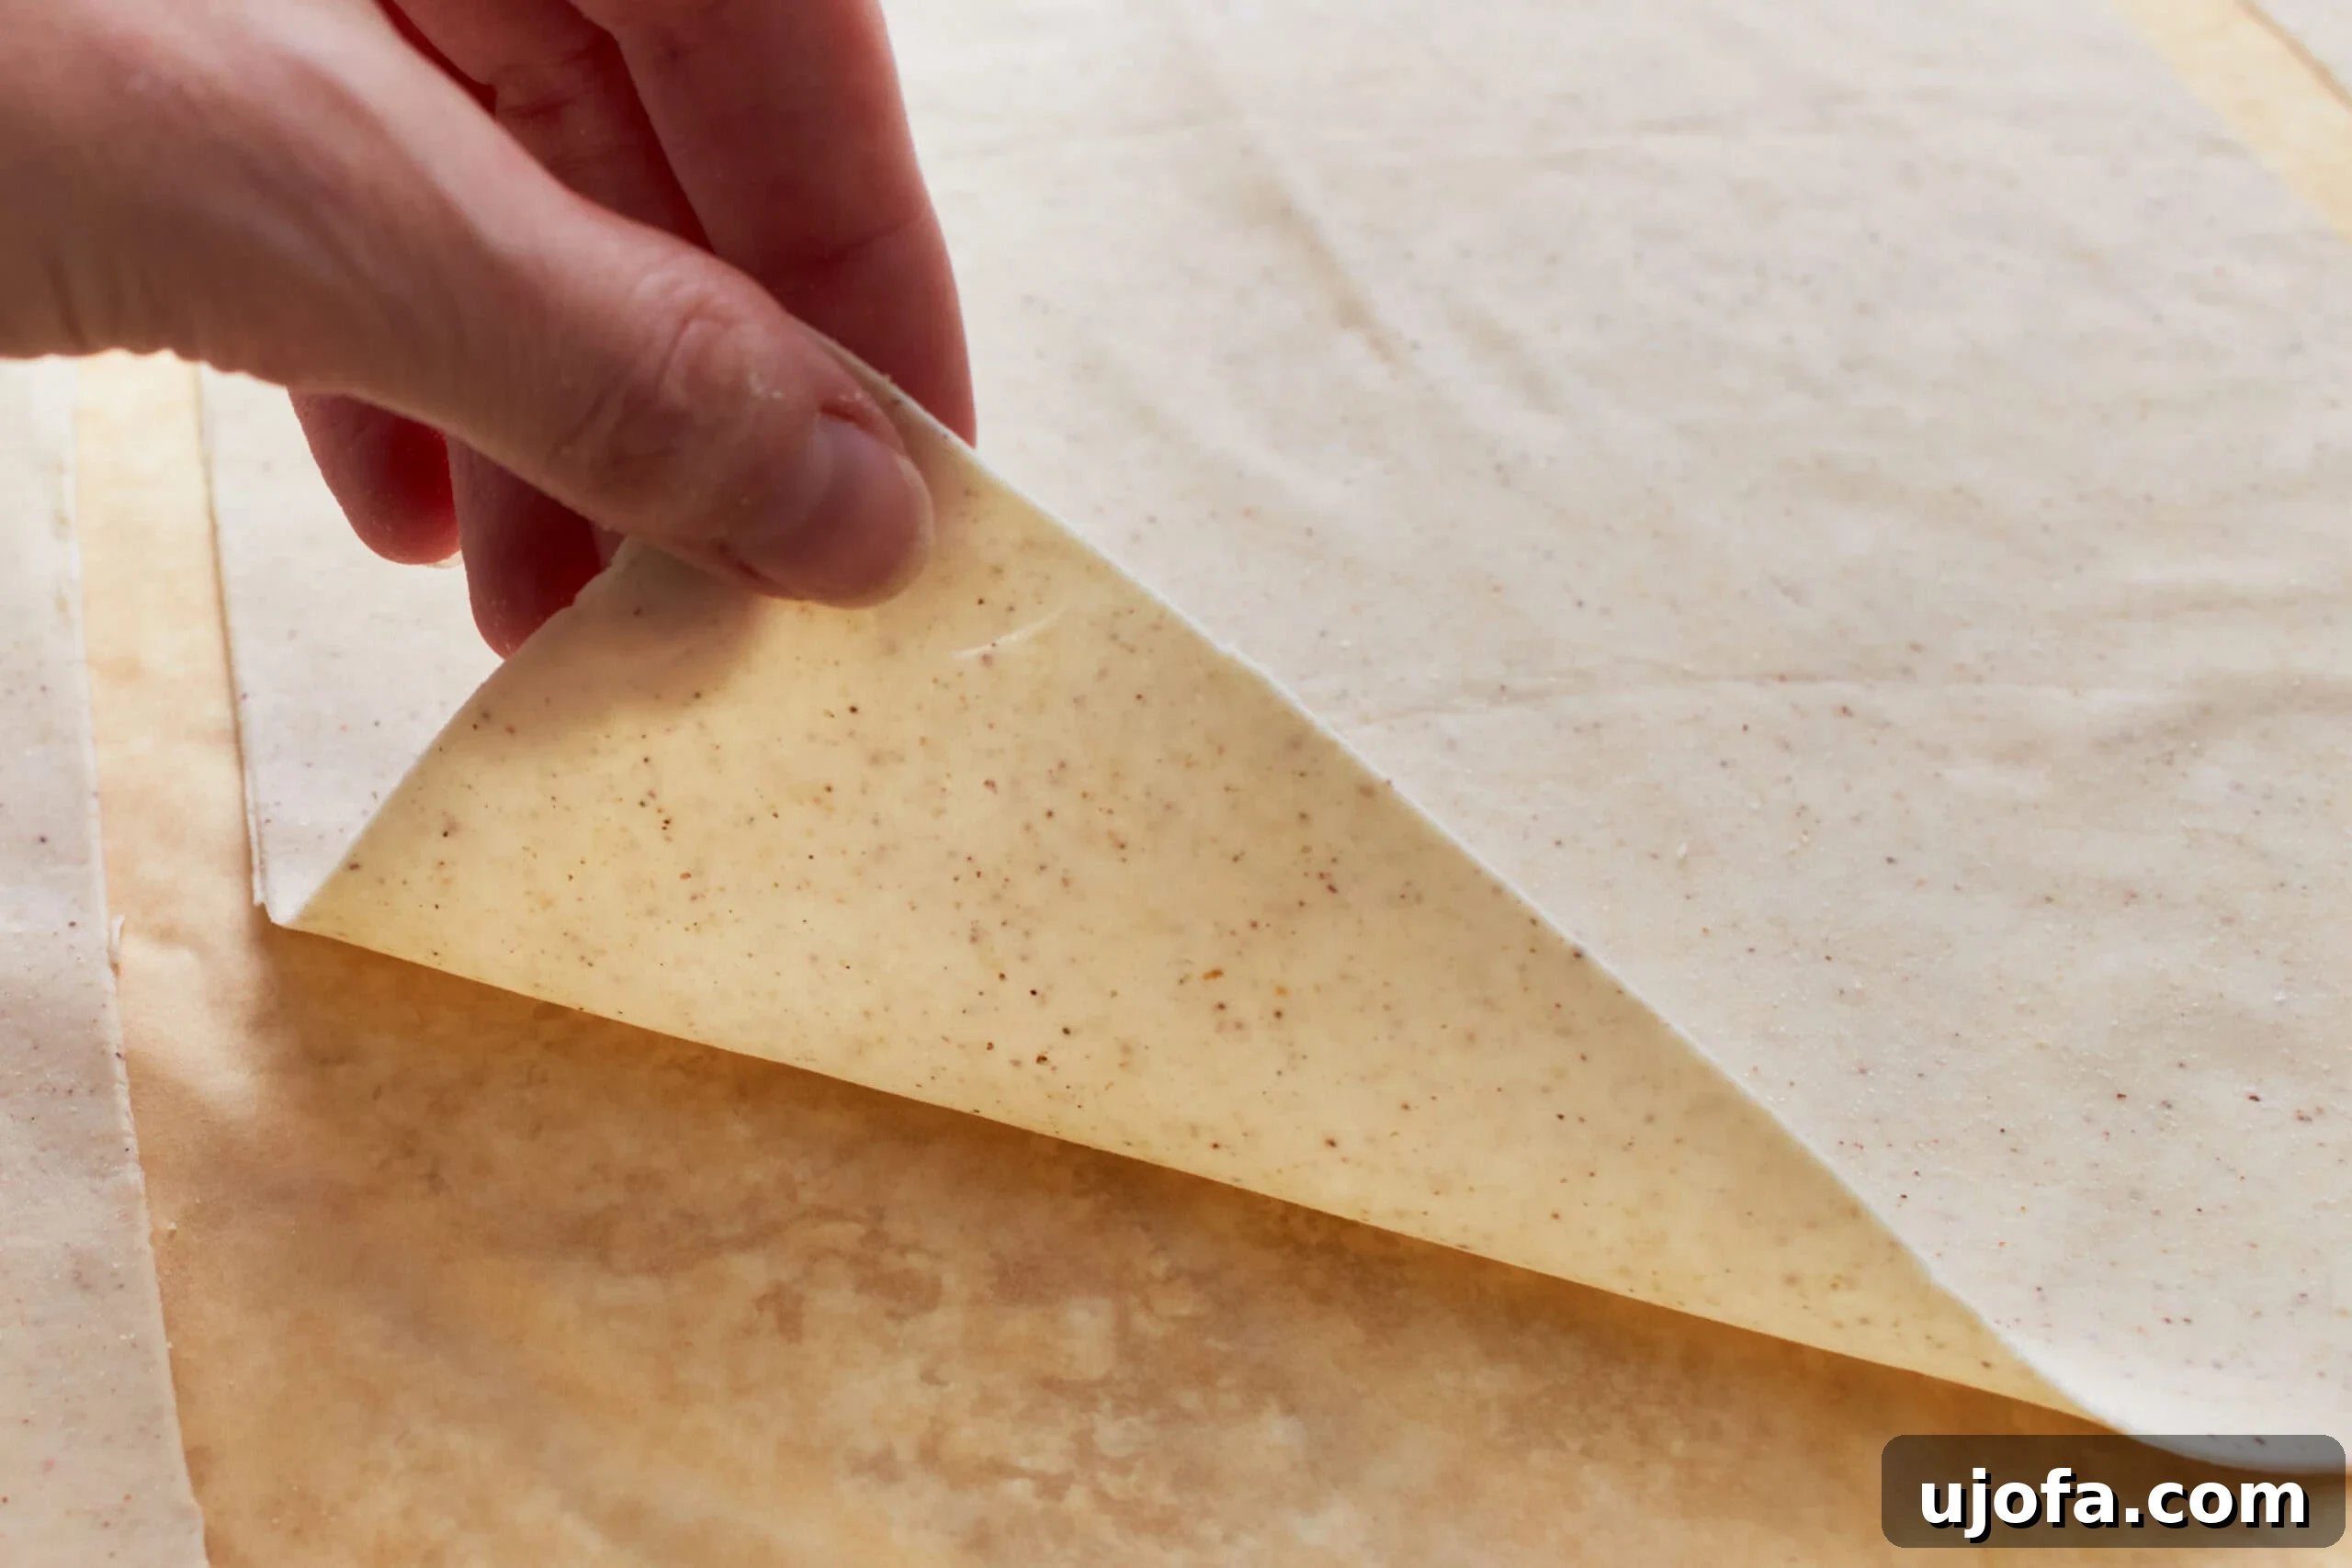
- Preventing Dryness: Phyllo dough dries out incredibly quickly, becoming brittle and unusable. To combat this, immediately cover any dough sheets you aren’t actively working with a damp kitchen towel or plastic wrap. Work with only a few sheets at a time, keeping the rest safely covered until needed.
- Dealing with Imperfections: Don’t despair if a sheet develops a small hole or tear! Imperfect sheets can still be perfectly useful. Simply layer them together, ensuring the tears are not all in the same place, and use them for the bottom or middle layers of your chosen recipe. The layers will bake together beautifully, and any flaws will be hidden.
Phyllo Dough vs. Puff Pastry: Understanding the Differences
While both phyllo dough and puff pastry are renowned for their incredible flakiness and are staples in the world of layered pastries, they are fundamentally distinct in their composition and preparation, leading to different textural outcomes. Understanding these differences is key to choosing the right pastry for your culinary vision.
Phyllo dough (or filo pastry) is characterized by its exceptionally thin, almost transparent sheets. The dough is traditionally made from flour, water, and a small amount of oil or fat, then rolled out by hand or machine into paper-thin layers. These individual sheets are then typically brushed with melted butter or oil and stacked upon one another to create the desired number of layers for a recipe. When baked, the moisture between these buttered layers evaporates rapidly, causing the sheets to separate and puff slightly, resulting in a wonderfully crisp, delicate, and shatteringly flaky texture.
Puff pastry, on the other hand, is a laminated dough. This means its characteristic layers are created through a much more intensive process involving alternating layers of dough and solid butter. The dough is repeatedly folded and rolled out (a process known as ‘turning’), encapsulating the butter within the dough. As puff pastry bakes, the butter creates steam, which forces the dough layers apart, resulting in a significantly more voluminous, airy, and rich flakiness compared to phyllo. The layers in puff pastry are more pronounced and distinct.
While they can occasionally be used interchangeably in certain recipes, the end result will always have a slightly different texture and mouthfeel. Phyllo offers a lighter, more brittle crunch, ideal for delicate constructions, whereas puff pastry provides a richer, more substantial, and airy crispness, often used in pastries that require more lift and a buttery flavor. My gluten-free puff pastry recipe provides a fantastic alternative for when that richer, airier texture is desired.
Unleashing Your Culinary Creativity: What to Make with Gluten-Free Phyllo Dough
The beauty of homemade gluten-free phyllo dough lies in its incredible versatility, opening up a world of culinary possibilities for both sweet and savory dishes. Once you have your delicate sheets ready, the only limit is your imagination!
One of my absolute favorite applications is creating a classic gluten-free spanakopita, a beloved Greek spinach and feta pie. With homemade dough, it transforms into an even more authentic and satisfying dish. But the options don’t stop there. Here are some more inspiring ideas for utilizing your freshly made gluten-free phyllo dough:
- Baklava: Indulge in this iconic sweet pastry, traditionally made with layers of phyllo, chopped nuts (like walnuts or pistachios), and a sweet honey or sugar syrup. Your gluten-free version will be just as irresistible.
- Gluten-Free Baked Brie: Wrap a wheel of brie cheese in a few layers of phyllo, perhaps with some fruit preserves or nuts, and bake until golden and melty for an elegant appetizer.
- Savory Vegetable Tarts: Use the phyllo as a light, crisp base for individual or large tarts filled with roasted vegetables, cheeses, and herbs.
- As a Gluten-Free Pie Crust Alternative: For dishes like gluten-free chicken pot pie or other savory pies, layering phyllo sheets can create a unique, extra-flaky top crust that is lighter than traditional pastry.
- Apple Turnovers or Strudel: Fill phyllo sheets with spiced apples and bake for a delightful dessert reminiscent of classic apple strudel, but with an even crispier exterior.
- Mini Gluten-Free Quiches: Cut the phyllo sheets into quarters and press them into a muffin tin to create individual cups. Fill with your favorite quiche mixture (eggs, cheese, vegetables) and bake for adorable, bite-sized breakfast or brunch items.
- Samosas or Hand Pies: Fill small phyllo triangles or squares with savory fillings like spiced potatoes and peas, or sweet fillings like fruit, then fold and bake or air-fry until crisp.
A crucial step when preparing your chosen recipe with this dough is to brush each individual sheet generously with melted butter or oil before layering. This not only prevents the layers from sticking together but is also essential for creating that signature, incredibly crisp and flaky texture that makes phyllo so beloved.
Freezing Gluten-Free Phyllo Dough for Future Enjoyment
Life can be busy, and sometimes you want to prepare ingredients in advance. The good news is, you absolutely can freeze your homemade gluten-free phyllo dough, making it incredibly convenient for future baking endeavors. When properly stored, the dough can maintain its quality in the freezer for up to 2-3 months.
To freeze the dough sheets effectively, stack them carefully with a sheet of parchment paper or plastic wrap placed in between each layer. This vital step prevents the delicate sheets from sticking together, allowing you to easily separate them when you’re ready to use them. Once stacked, roll up the entire stack tightly and cover it securely with an additional layer of plastic wrap, or place it in an airtight, freezer-safe container or bag. When you’re ready to bake, remember to let the dough thaw completely in the refrigerator overnight before attempting to separate and use the sheets. This gradual thawing helps preserve the dough’s texture and elasticity.
Short-Term Storage for Fresh Phyllo Dough
If you’re not planning to use your freshly made gluten-free phyllo dough immediately but want to keep it on hand for a few days, proper refrigeration is key to maintaining its freshness and pliability. You can store the dough in the refrigerator for up to 3 days. To prevent the dough from drying out and becoming brittle, it’s essential to wrap it tightly in plastic wrap. Ensure there are no exposed areas where air can reach the dough. For best results, place the plastic-wrapped dough in an airtight container to add an extra layer of protection against moisture loss and absorption of refrigerator odors.
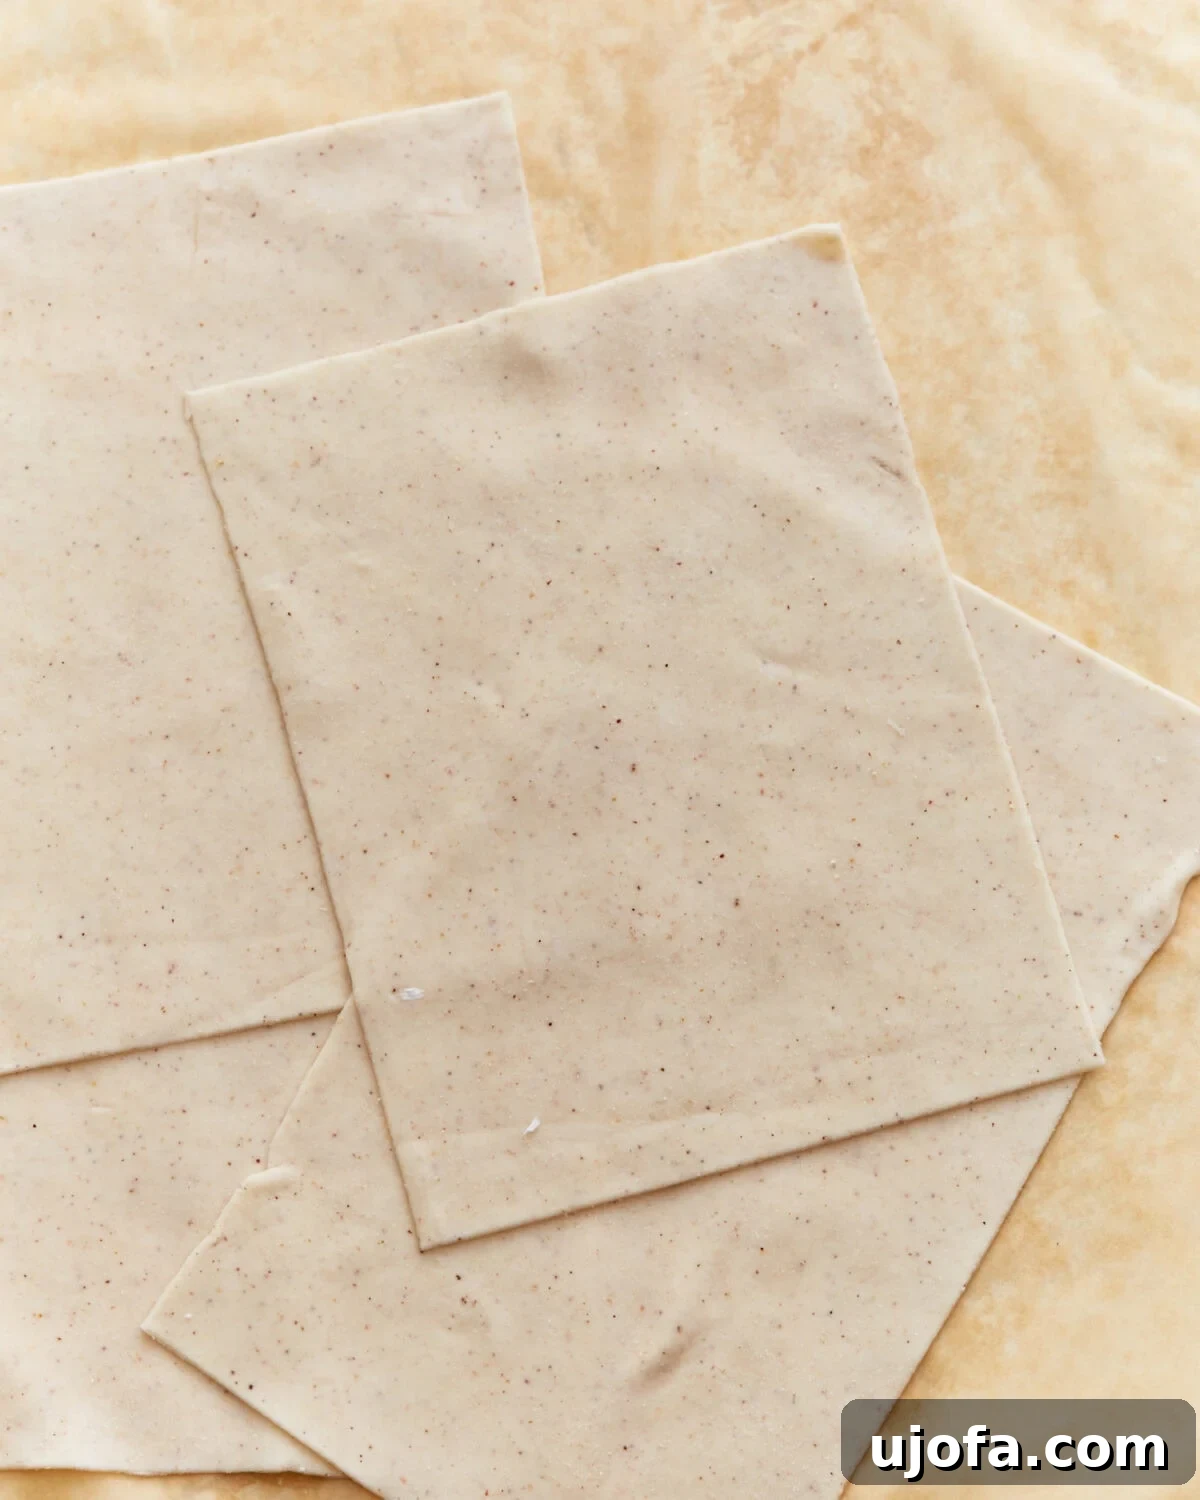
Expand Your Gluten-Free Repertoire: More From-Scratch Recipes!
Once you’ve mastered the art of homemade gluten-free phyllo dough, you’ll be eager to tackle more from-scratch gluten-free creations. Building foundational skills in gluten-free baking and cooking opens up a world of delicious possibilities. Here are some other rewarding recipes to try in your kitchen:
- Gluten-Free Egg Noodles
- Gluten-Free Roux
- Homemade Gluten-Free Pasta
- Gluten-Free Tempura Batter
- Gluten-Free Ravioli
Gluten-Free Phyllo Dough / Filo Pastry
Make homemade gluten-free phyllo dough that’s perfectly flaky and easy to roll. This simple recipe uses xanthan gum for elasticity and works for sweet and savory dishes—no special equipment needed.
Step-by-step photos can be seen below the recipe card.
By: Sabine Venier
Servings: 4 sheets
Prep Time: 1 hour
Total Time: 1 hour
Ingredients
- 2 cups gluten-free all-purpose flour
- 2 teaspoons xanthan gum (reduce to 1 teaspoon if your blend already contains it)
- ¼ cup cornstarch
- 2 teaspoons sugar
- 1 teaspoon salt
- ¾ cup lukewarm water
- 2 tablespoons unsalted butter, melted
Instructions
- In a large bowl, whisk together the gluten-free flour, xanthan gum, cornstarch, sugar, and salt until well combined.
- Create a well in the center of the dry ingredients and pour in the lukewarm water and melted butter. Using a sturdy spoon or your hands, gradually incorporate the dry ingredients into the wet ingredients until a shaggy dough forms.
- Turn the dough onto a lightly floured surface and knead for about 5 minutes until smooth and pliable. If the dough seems too sticky, add a little more gluten-free flour, 1 tablespoon at a time.
- Cover the dough with plastic wrap or a damp towel and let it rest at room temperature for 30 minutes.
- After resting, divide the dough into 4 equal portions. On a lightly floured surface or parchment paper, roll out each portion into a rectangular shape, about 1/8 inch thick.
- Using a sharp knife or a pizza cutter, cut the dough into rectangles, approximately 10×8-inches. Cut into smaller rectangles as desired. Cover them with a damp towel or plastic wrap to prevent drying out.
- Use the gluten-free phyllo dough sheets immediately or store them in an airtight container in the refrigerator for up to 3 days.
Notes
- If possible, use a thin rolling pin when rolling out the dough, and don’t apply too much pressure. Gently roll the dough from the center outwards in each direction.
- Cover the dough with a damp kitchen towel when not using to keep it from drying out.
- To Store: Wrap in plastic wrap and refrigerate for up to 3 days.
- To Freeze: Layer parchment paper or plastic wrap between each sheet and roll tightly before wrapping in plastic. Freeze for up to 3 months.
- Mama says, “Check all of your labels!” (Always double-check ingredient labels for hidden gluten.)
Nutrition Facts (per 1 sheet serving – approximate)
- Calories: 293 kcal
- Carbohydrates: 54g
- Protein: 6g
- Fat: 8g
- Saturated Fat: 4g
- Polyunsaturated Fat: 1g
- Monounsaturated Fat: 2g
- Trans Fat: 0.2g
- Cholesterol: 15mg
- Sodium: 628mg
- Potassium: 7mg
- Fiber: 7g
- Sugar: 4g
- Vitamin A: 175 IU
- Calcium: 44mg
- Iron: 2mg
Nutrition information is automatically calculated, so should only be used as an approximation and can vary based on specific ingredient brands and preparation methods.
Additional Info
Course: Baking
Cuisine: Middle Eastern
How to Make Gluten-Free Phyllo Dough – Step-by-Step Visual Guide
Visual learners, rejoice! Here’s a detailed, step-by-step breakdown with accompanying images to guide you through the process of making flawless gluten-free phyllo dough. Each photo illustrates a crucial stage, ensuring you can follow along with confidence and achieve perfect results every time.
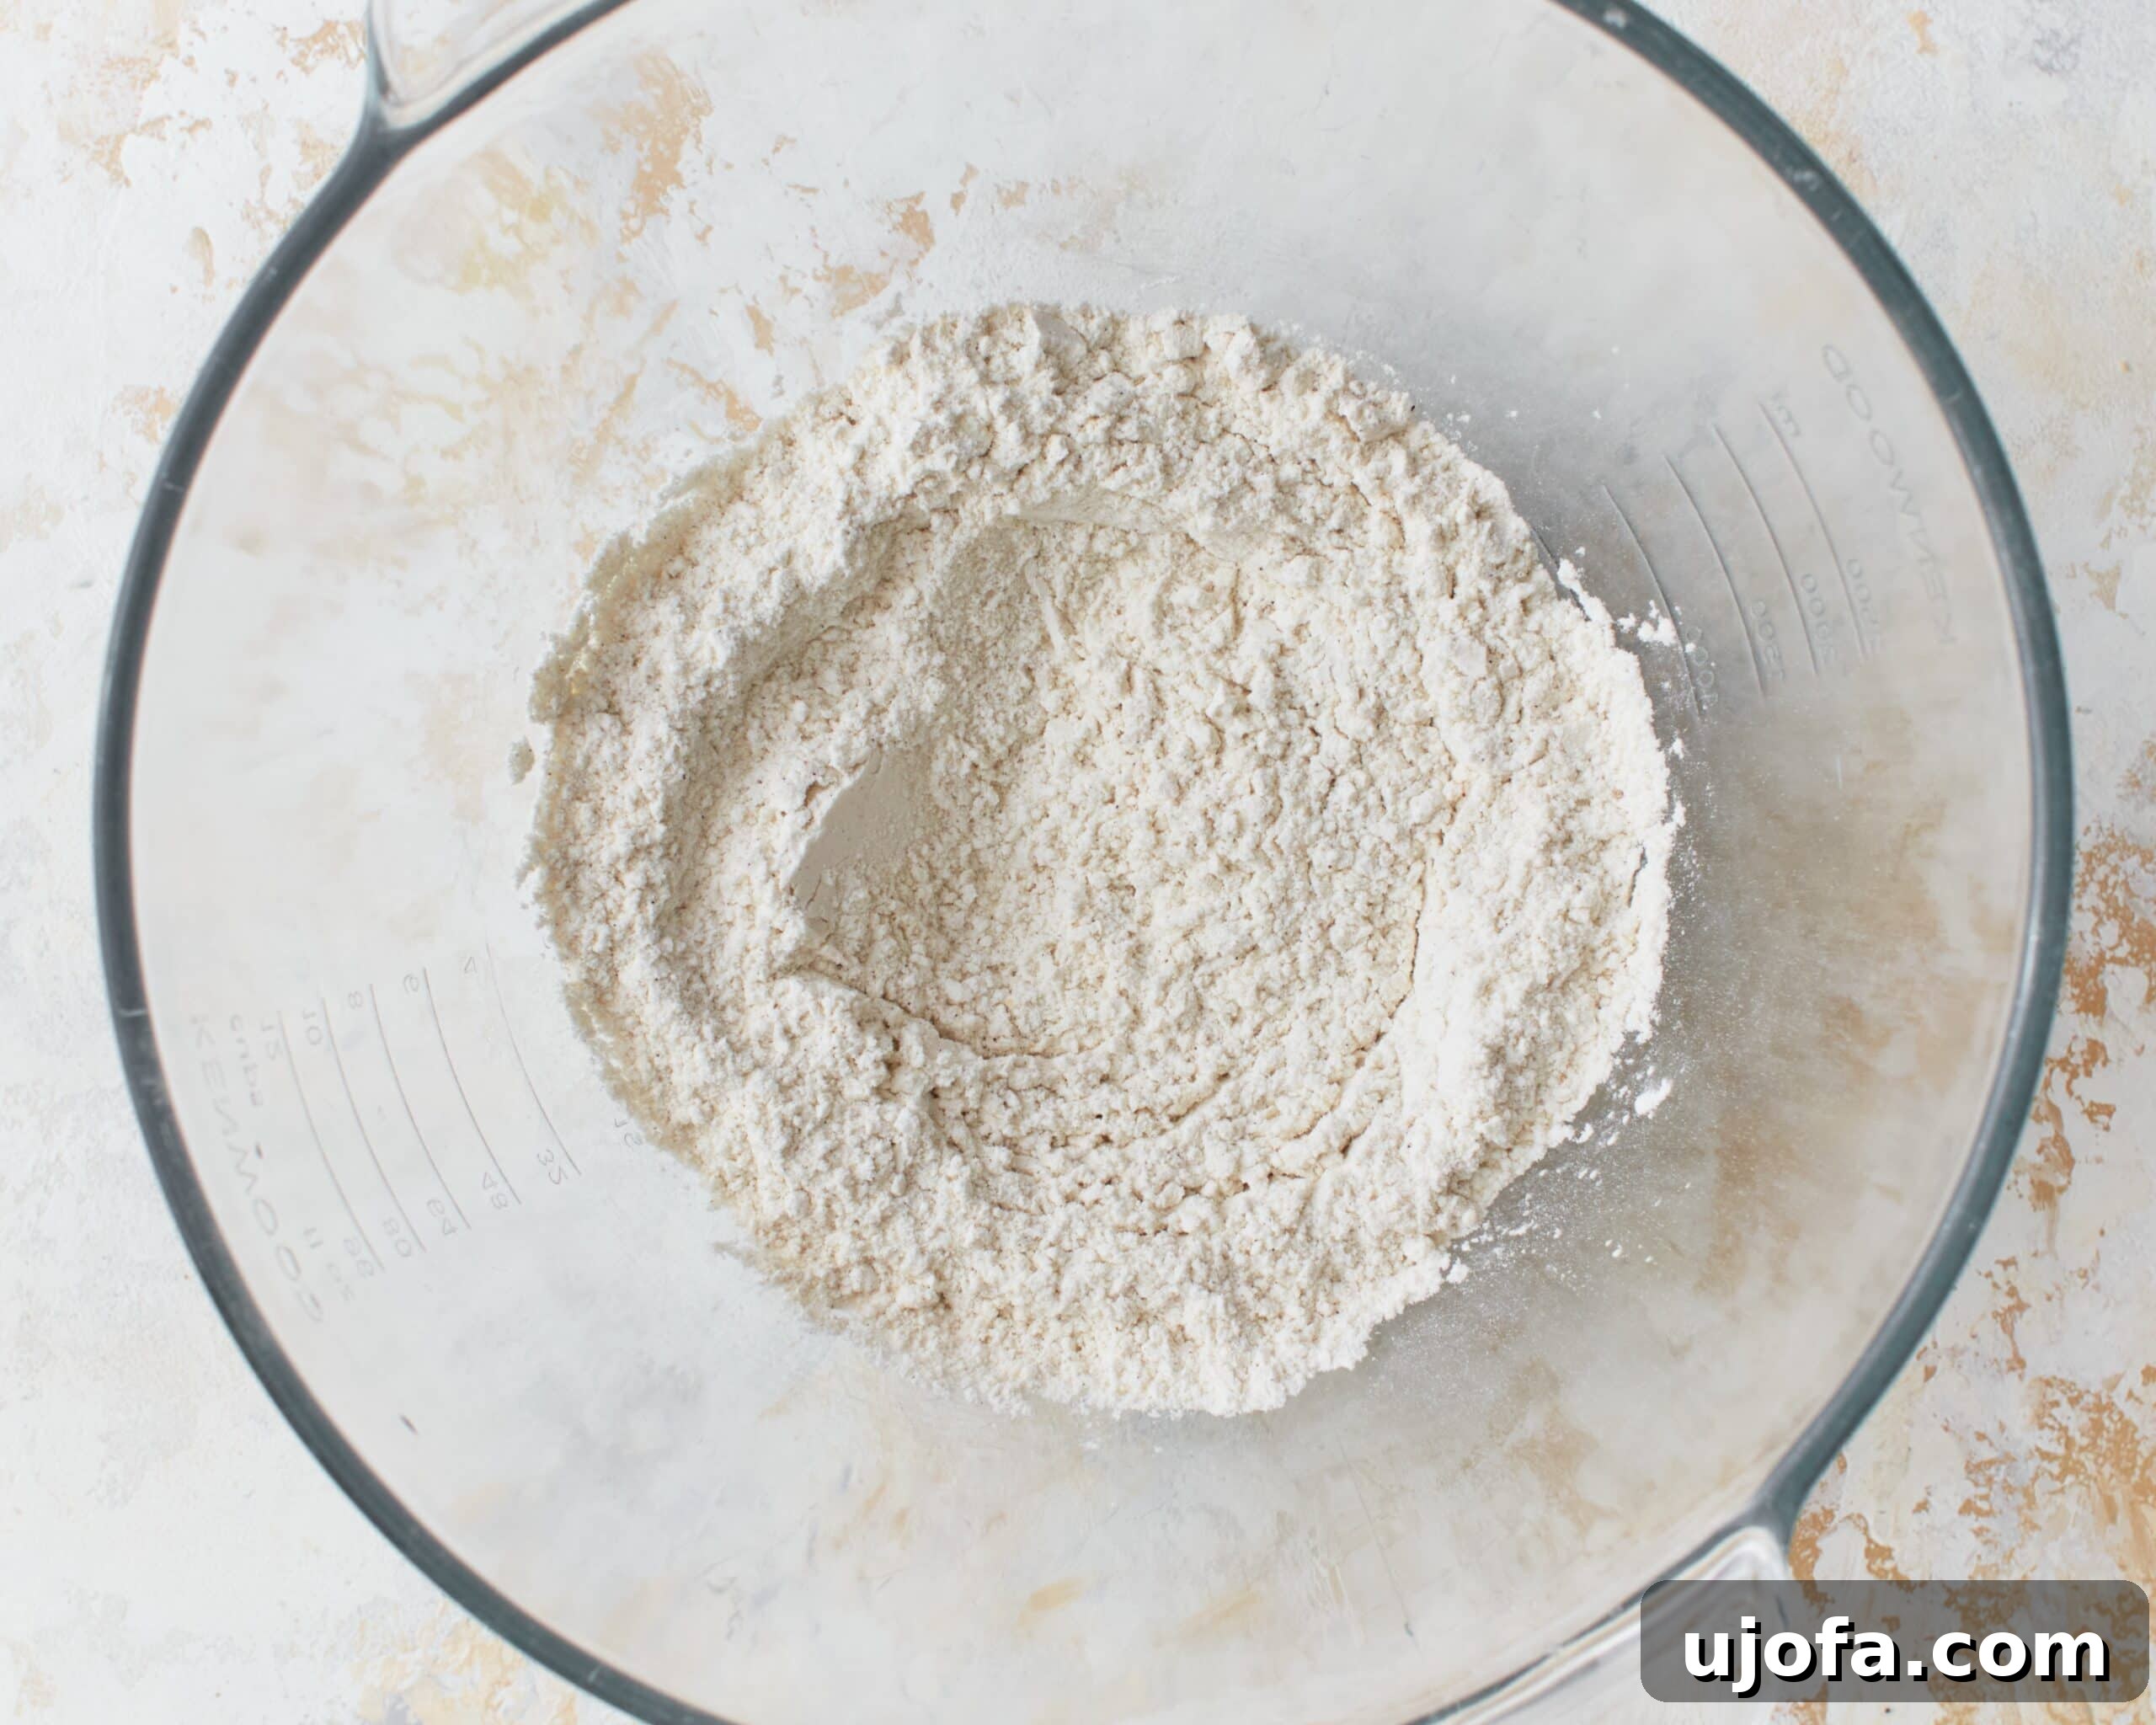
Step 1: Combine Dry Ingredients. In a spacious mixing bowl, thoroughly whisk together 2 cups of your chosen all-purpose gluten-free flour, 2 teaspoons of xanthan gum (remember to reduce to 1 teaspoon if your specific flour blend already includes it), ¼ cup of cornstarch, 2 teaspoons of sugar, and 1 teaspoon of salt. Ensure all ingredients are well combined and uniformly distributed.
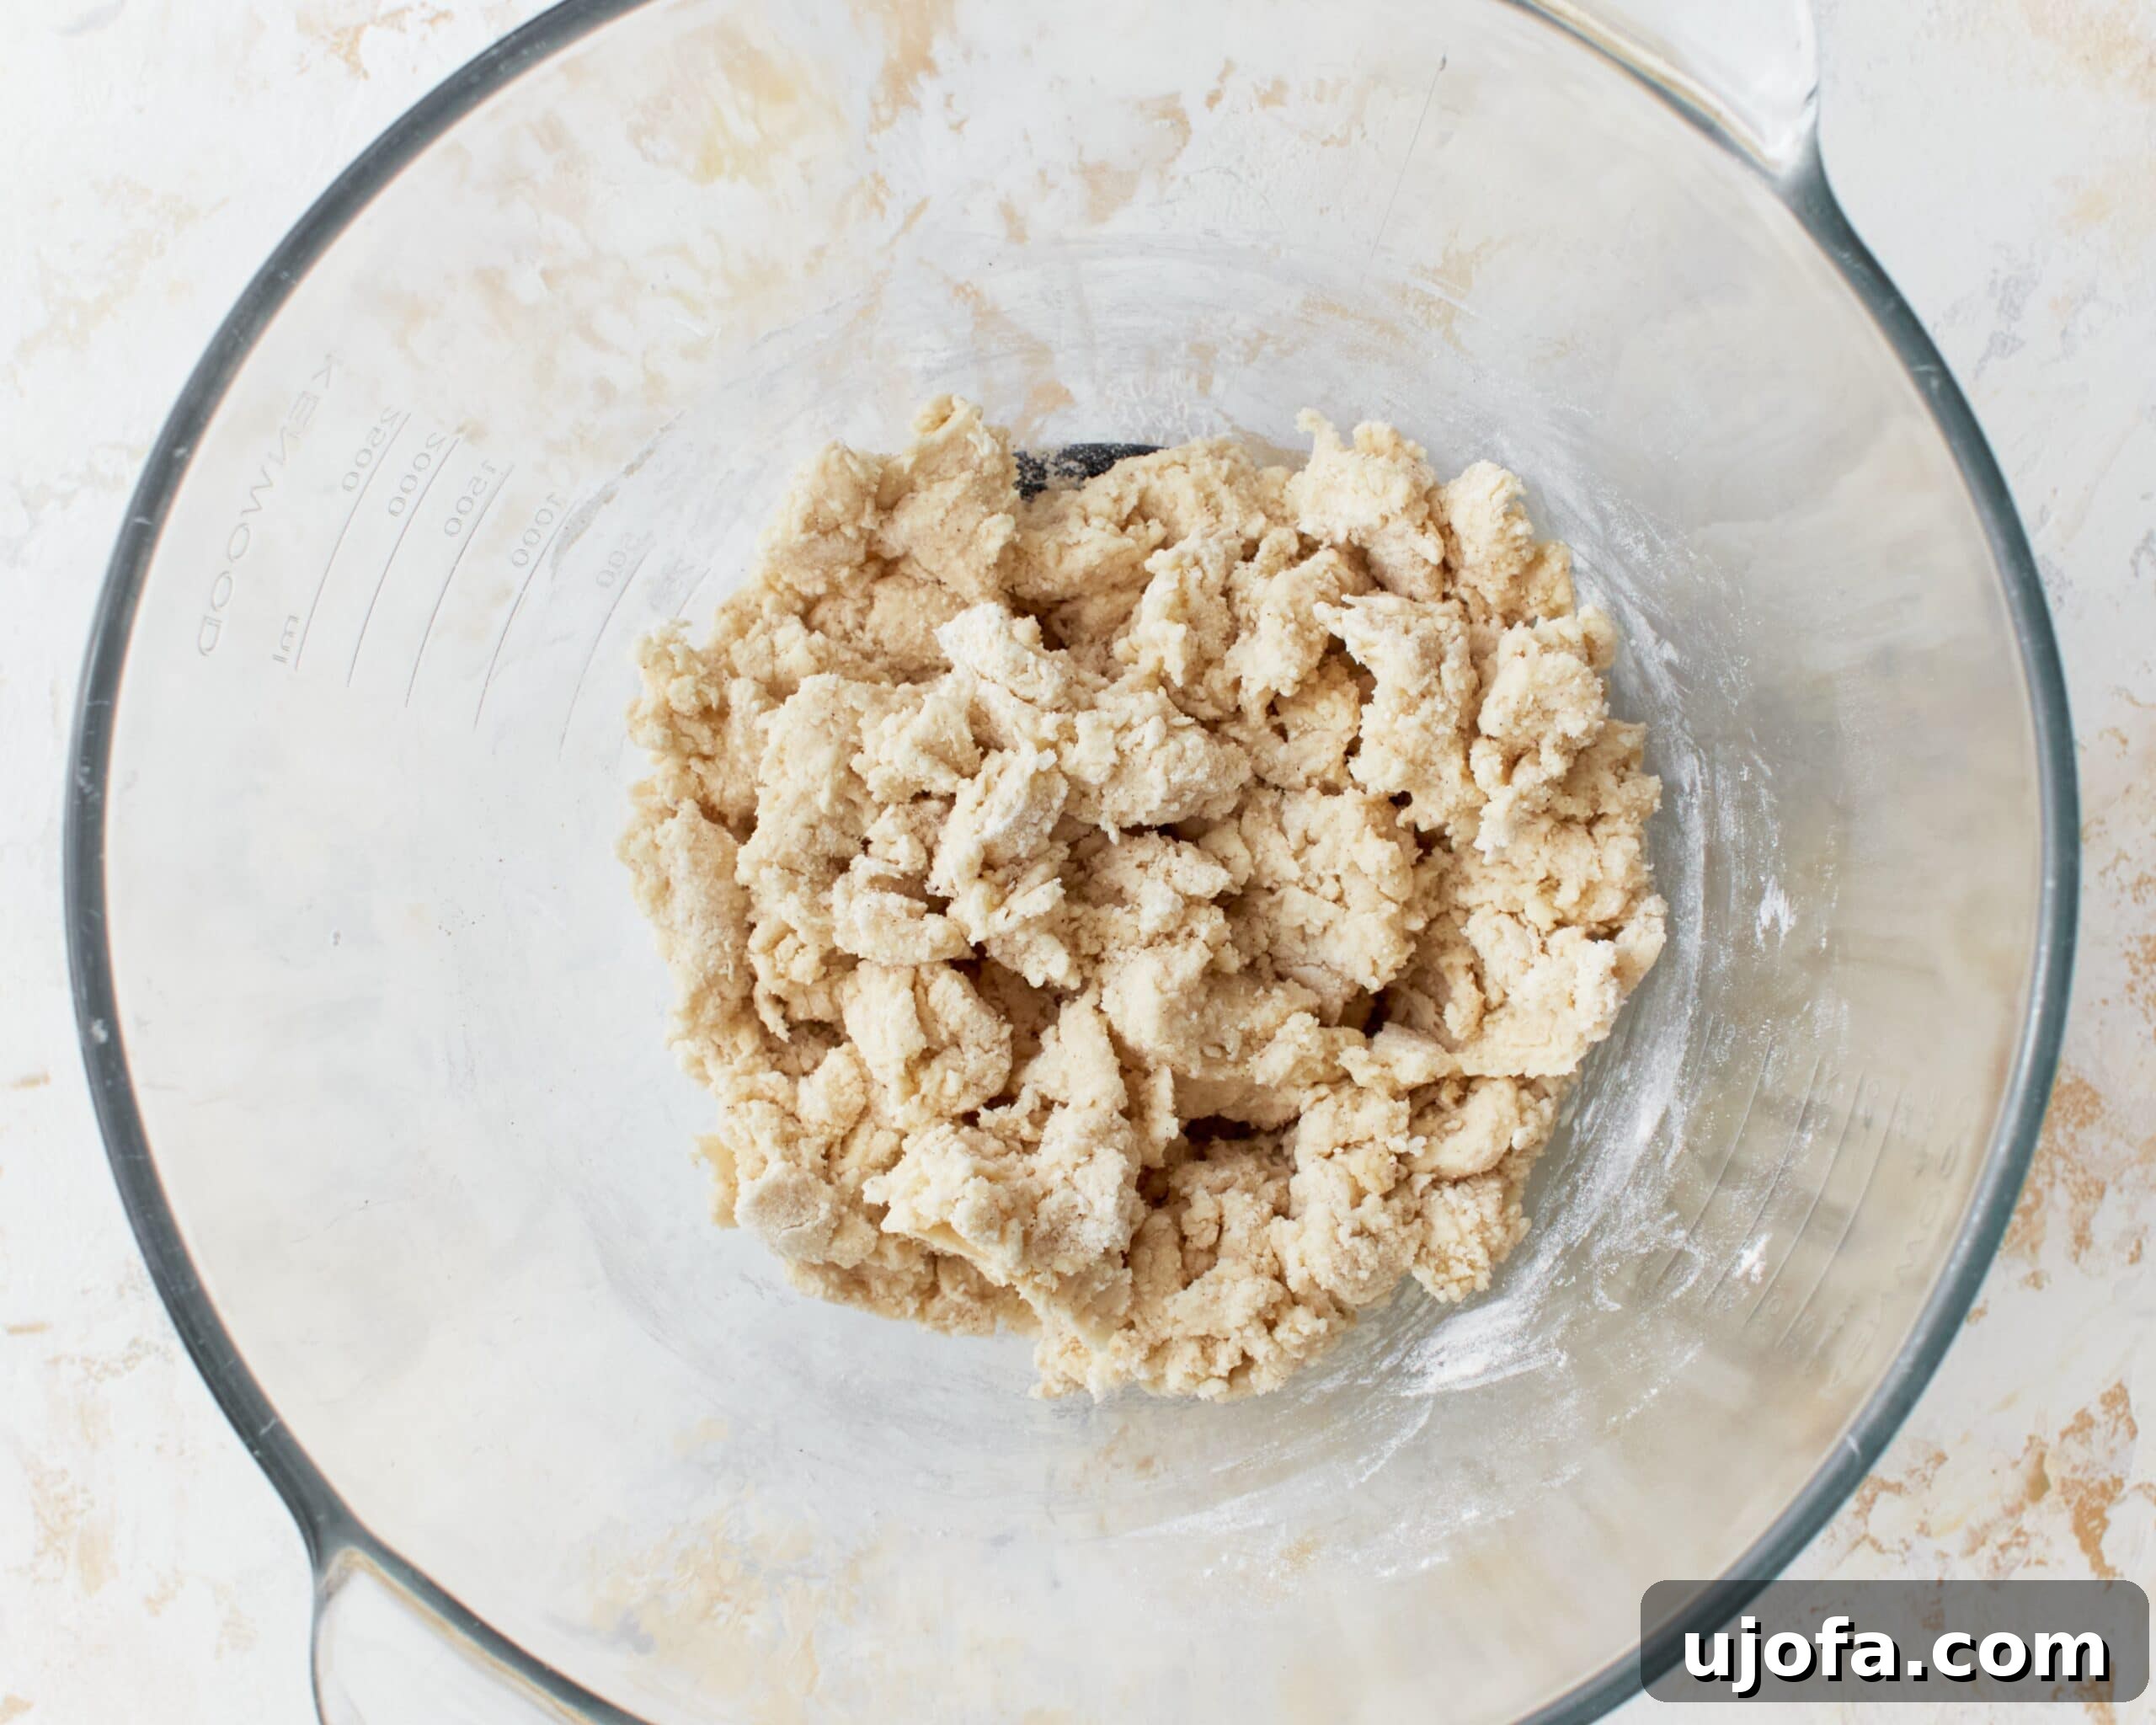
Step 2: Incorporate Wet Ingredients. Form a small well in the center of your dry ingredients. Carefully pour ¾ cup of lukewarm water and 2 tablespoons of melted butter into this well. Using a robust spoon or, ideally, your clean hands, gently work the dry ingredients into the wet ones. Continue mixing until a cohesive, shaggy dough begins to form.
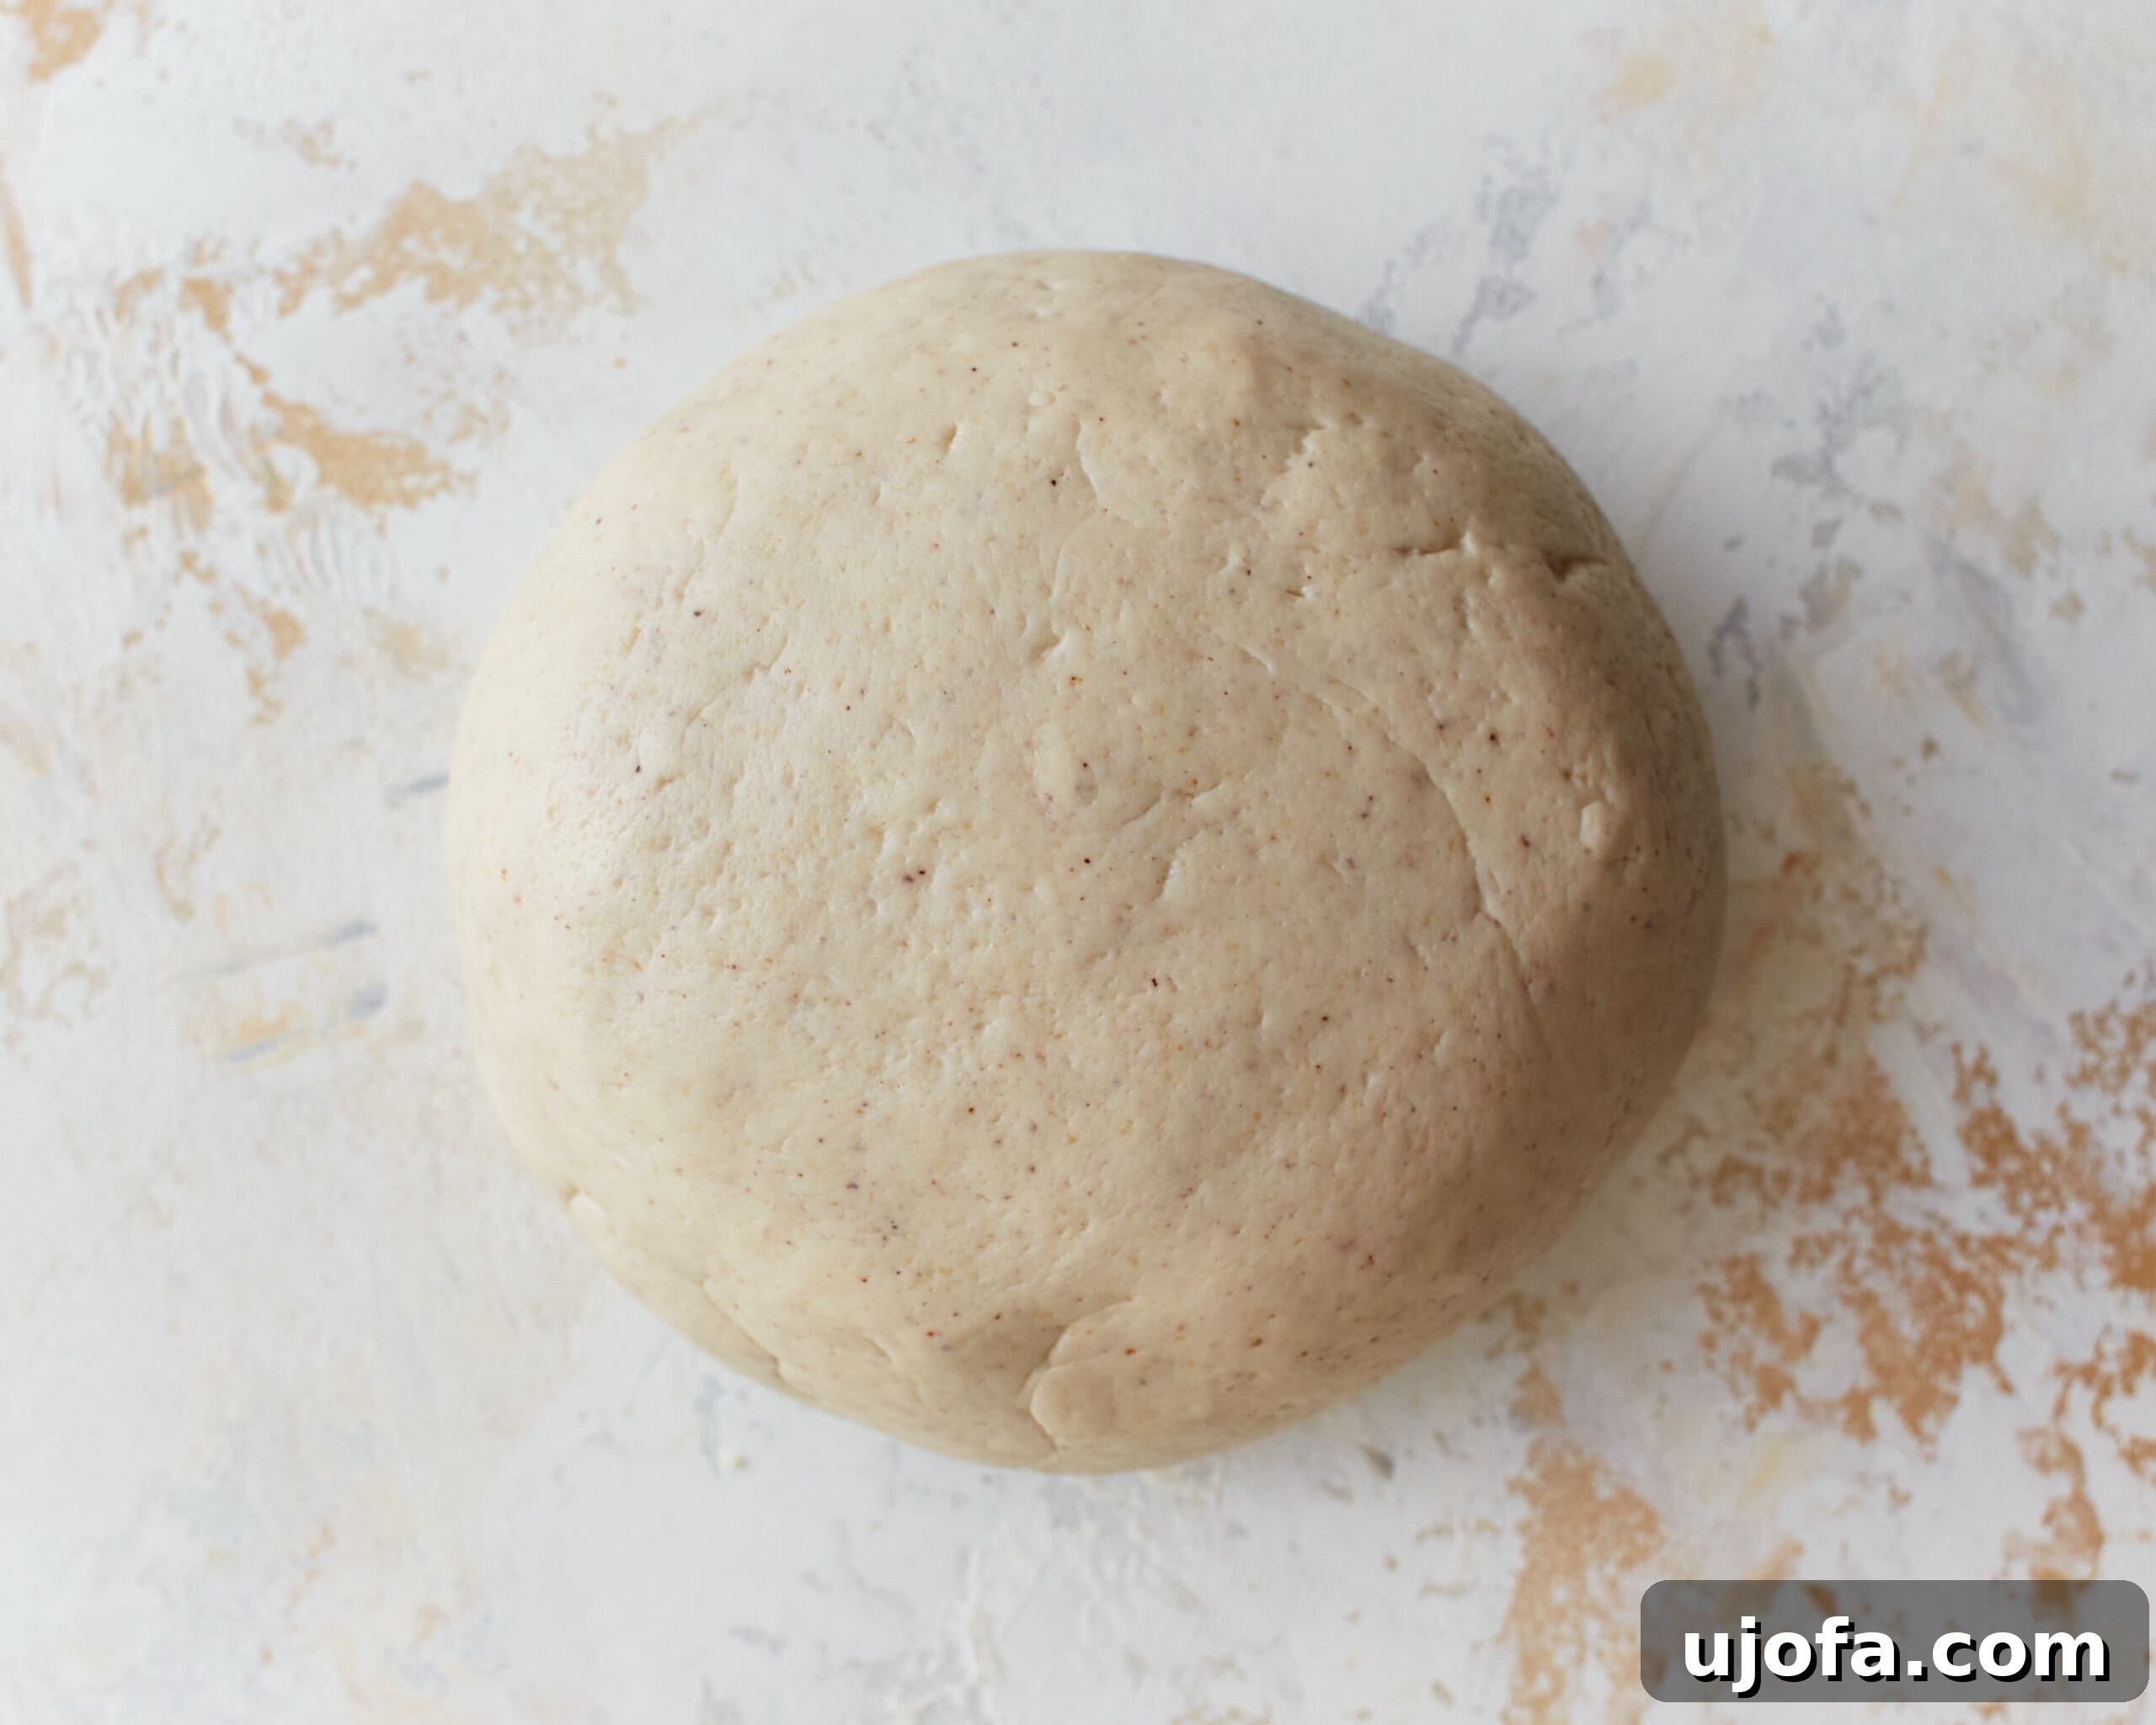
Step 3: Knead the Dough. Transfer the shaggy dough onto a lightly floured work surface. Knead the dough consistently for approximately 5 minutes until it transforms into a smooth, elastic, and pliable ball. If at any point the dough feels overly sticky, add additional gluten-free flour sparingly, one tablespoon at a time, until it reaches the desired consistency.
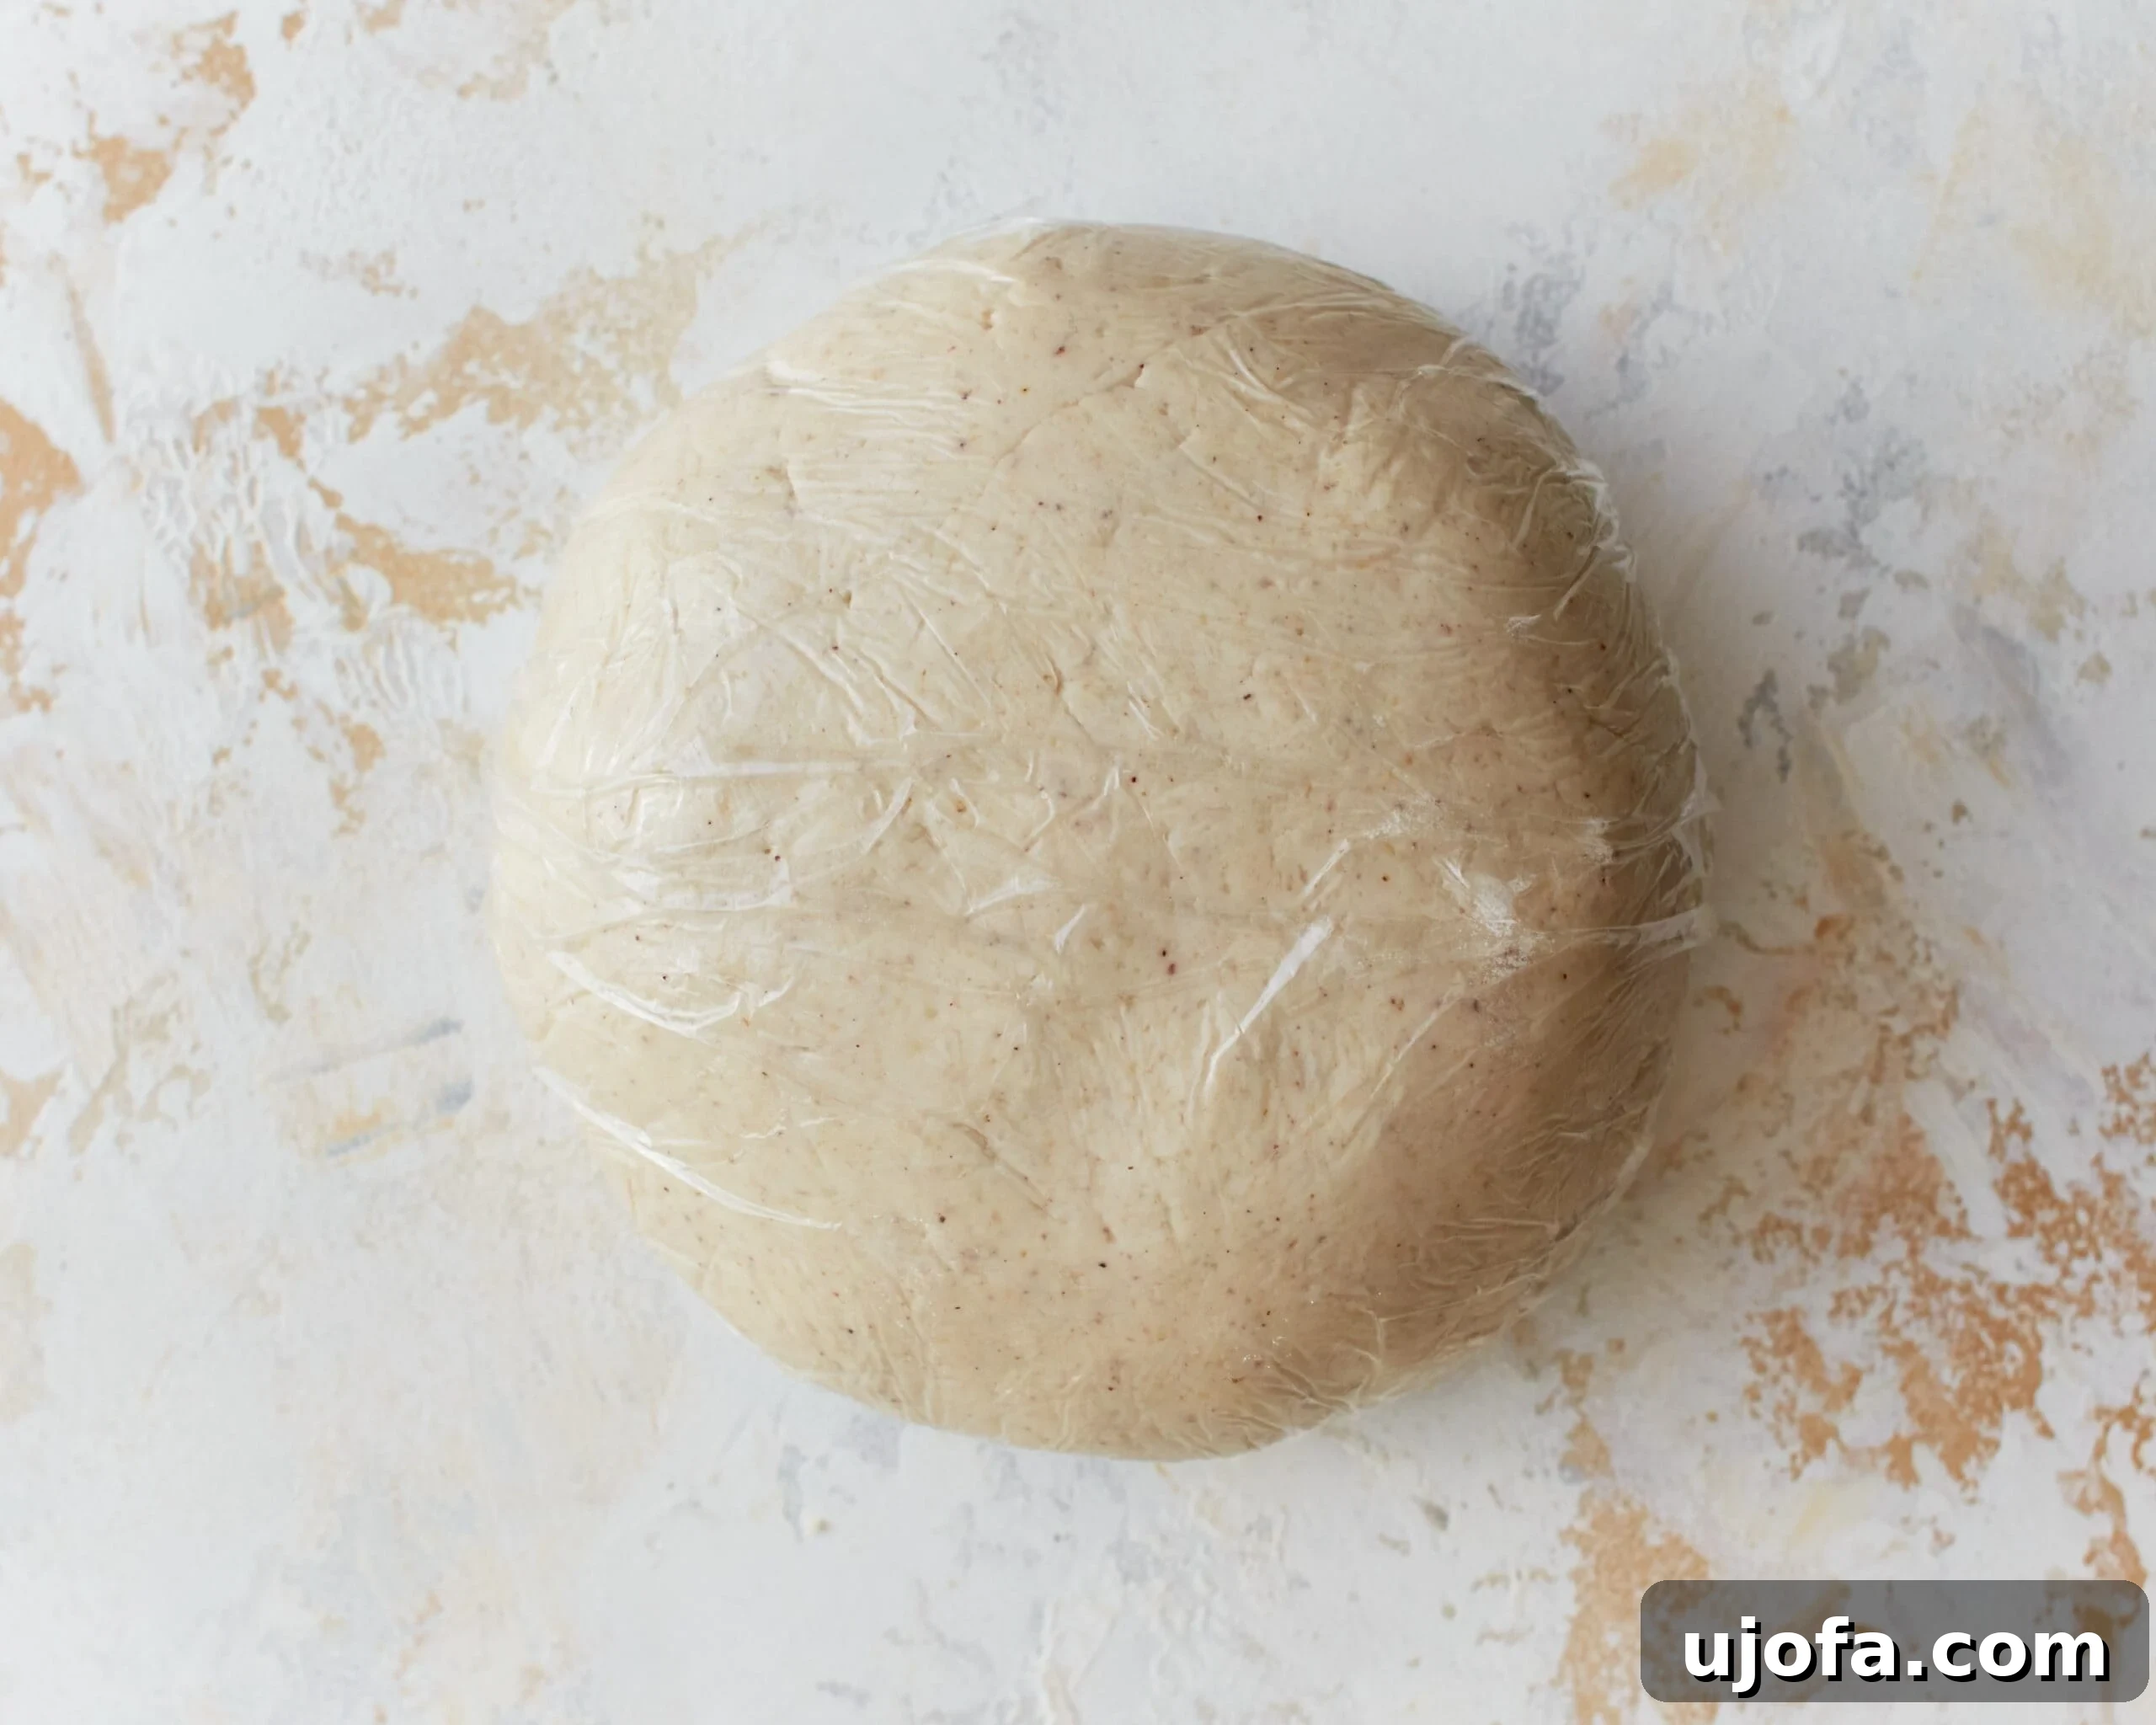
Step 4: Rest the Dough. Once kneaded, cover the dough ball completely with plastic wrap or a slightly damp kitchen towel. Allow the dough to rest at room temperature for a minimum of 30 minutes. This resting period is crucial as it allows the flours to fully hydrate and the xanthan gum to work its magic, improving the dough’s elasticity and making it easier to roll.
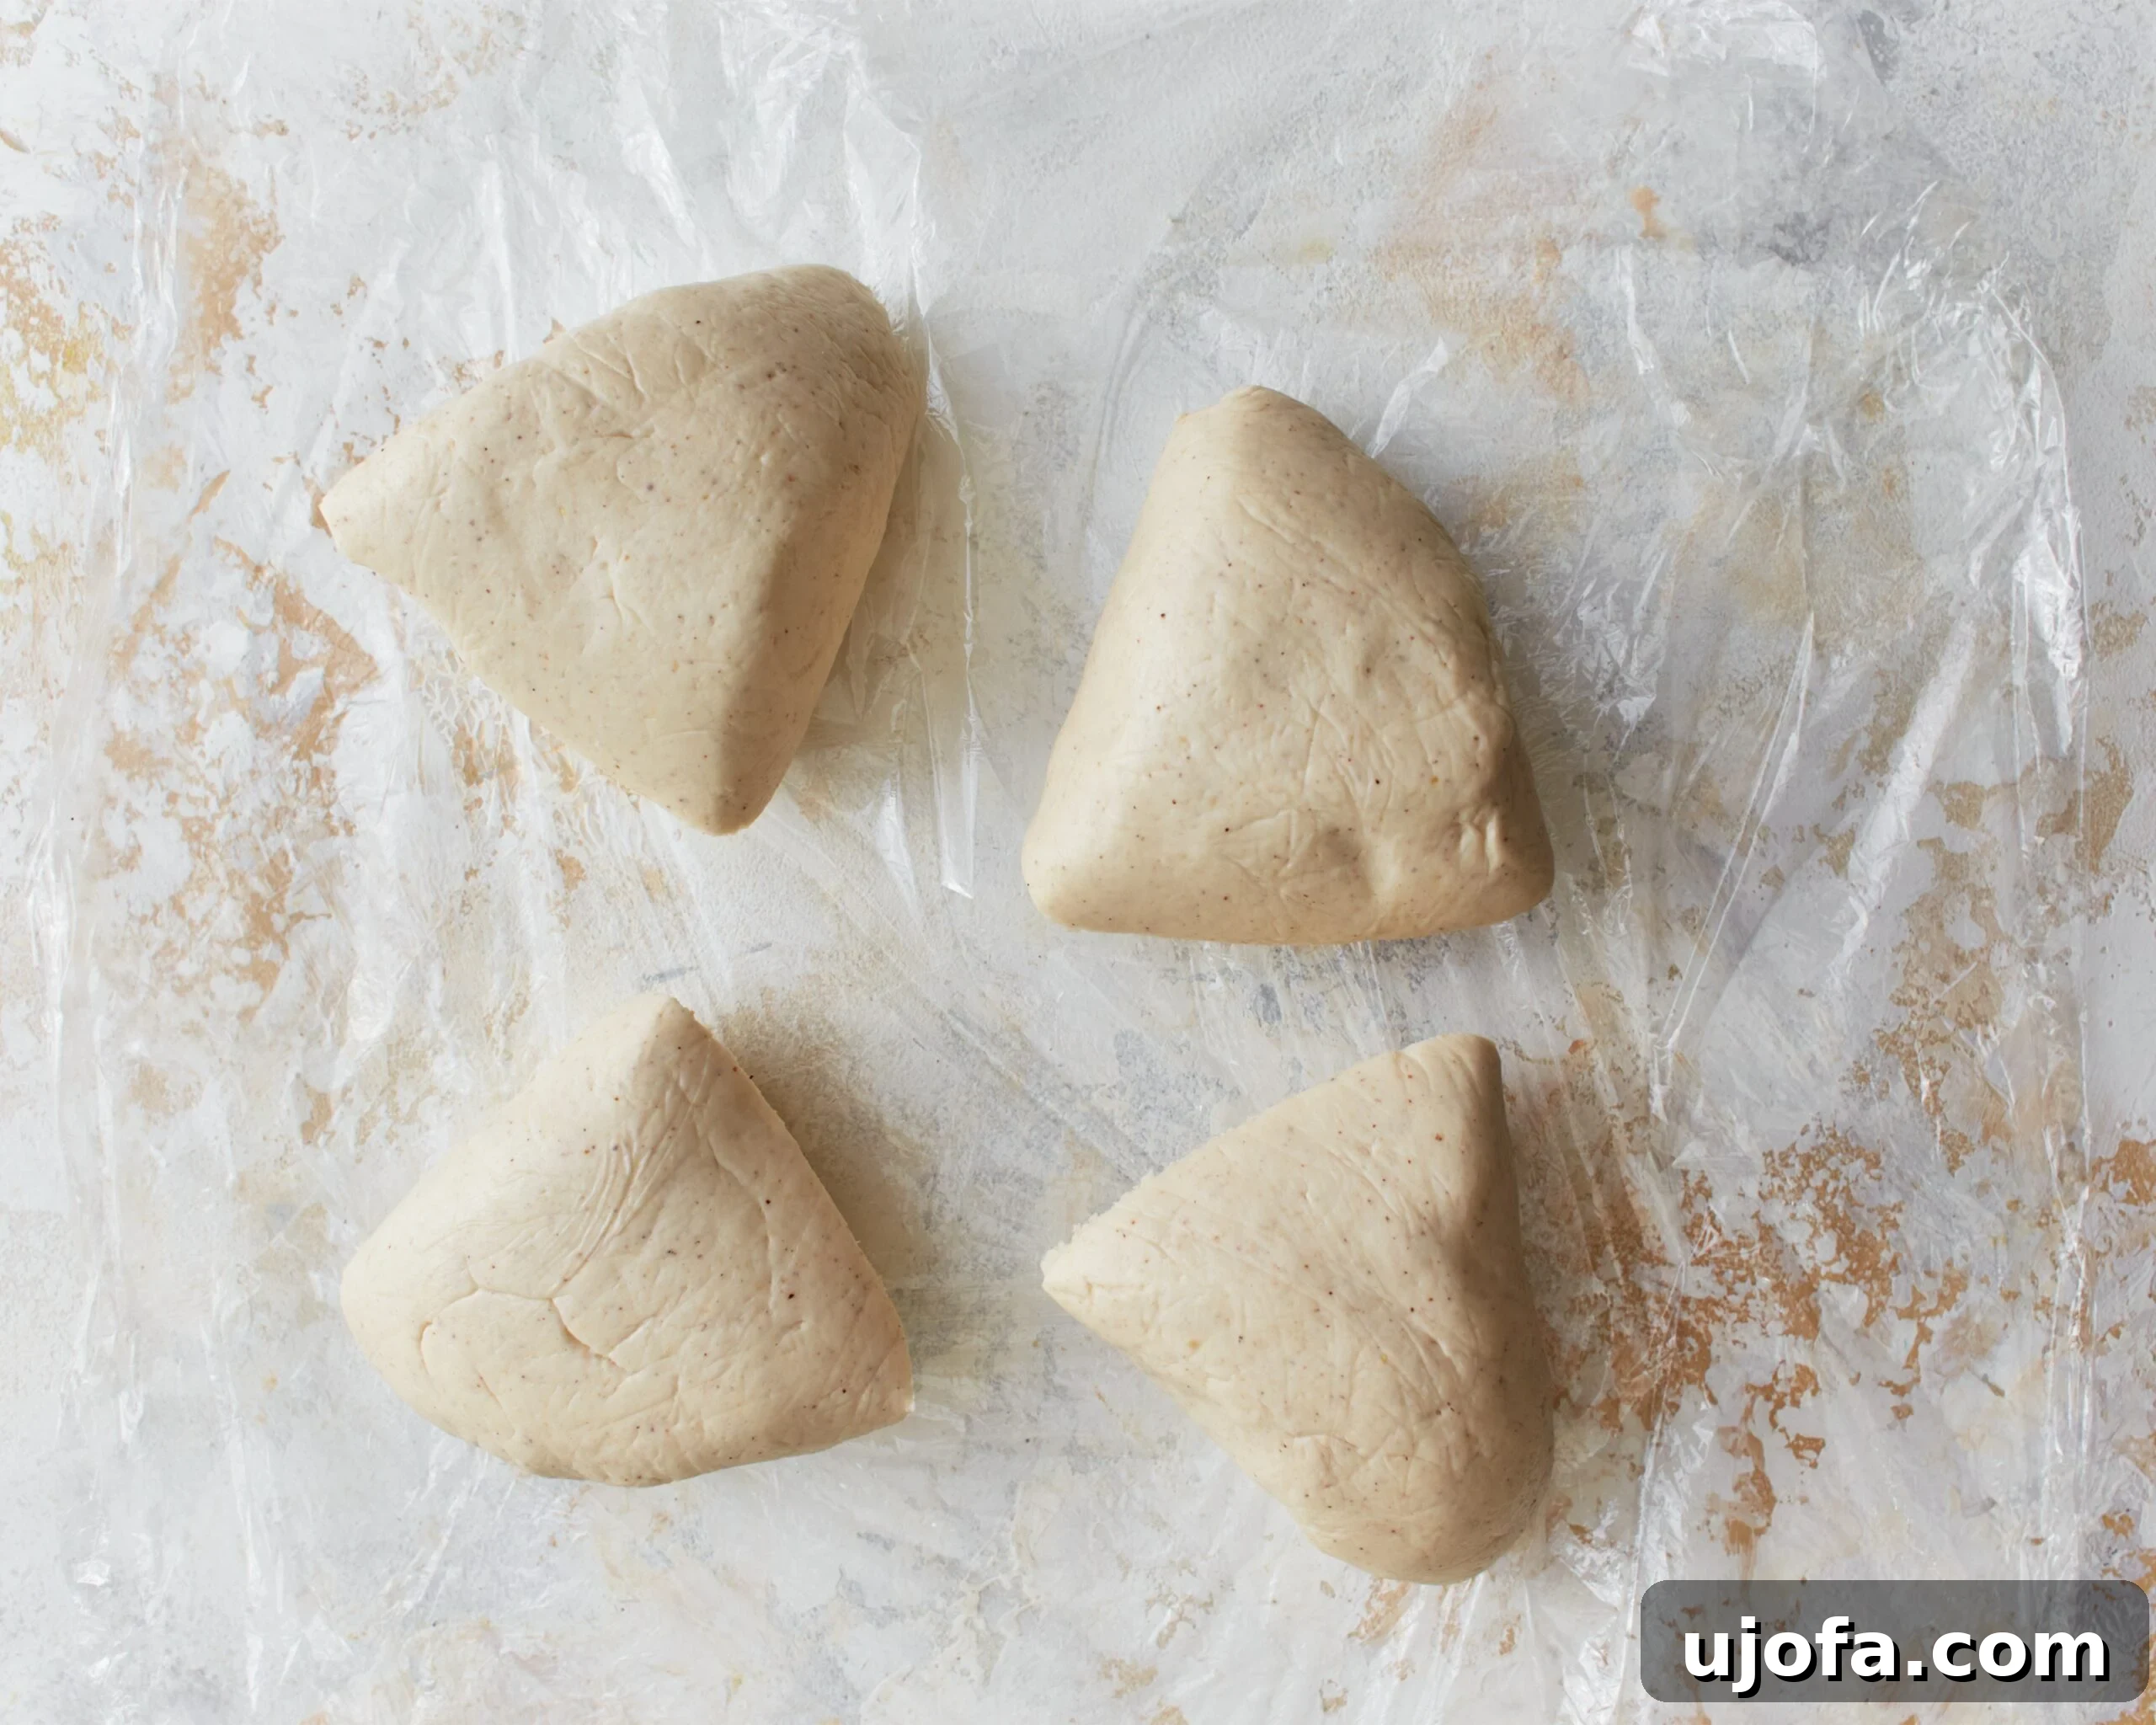
Step 5: Portion and Roll Dough. After the dough has rested, divide it into 4 equal portions. On a lightly floured surface or, for easier handling, between two sheets of parchment paper, roll out each portion. Aim to create a rectangular shape that is approximately 1/8 inch thick. Roll from the center outwards, rotating the dough frequently to maintain an even thickness.
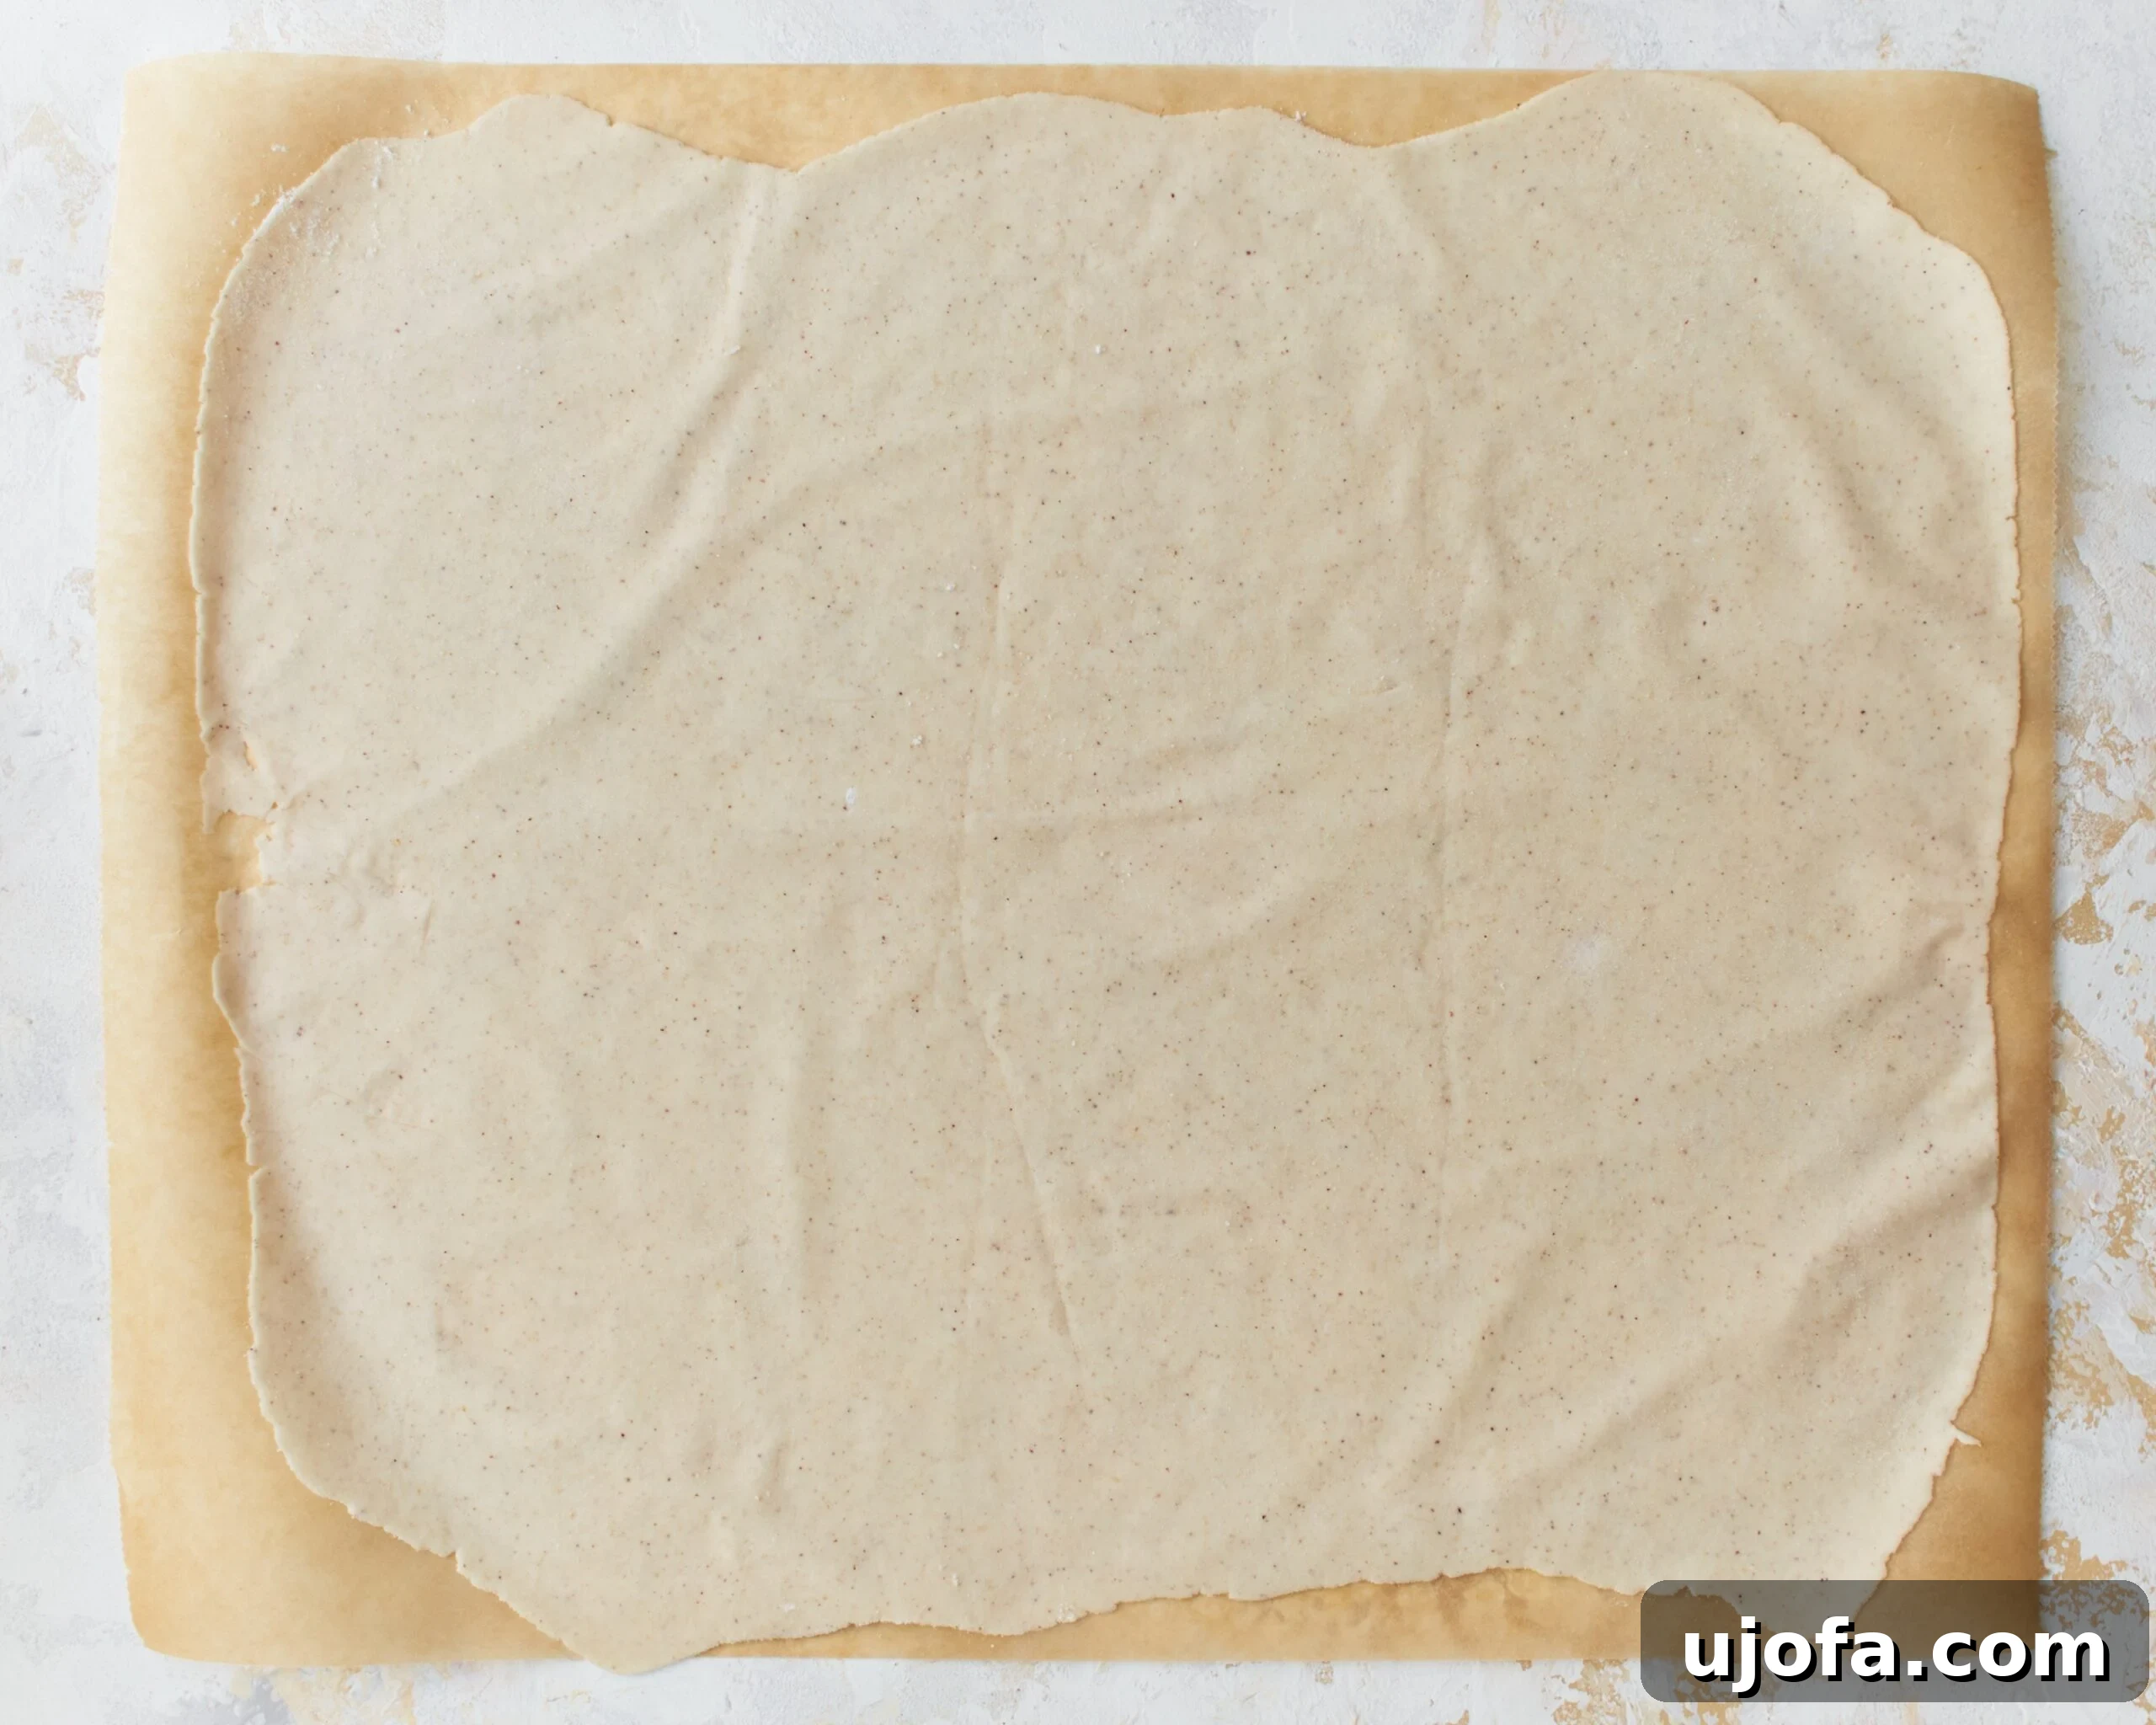
Step 6: Cut and Cover Sheets. Once each portion is rolled thinly, use a sharp knife or a pizza cutter to trim the dough into uniform rectangles, ideally about 10×8-inches. You can adjust the size to smaller rectangles if your recipe requires. Immediately cover the cut dough sheets with a damp towel or plastic wrap to prevent them from drying out, which can happen very quickly.
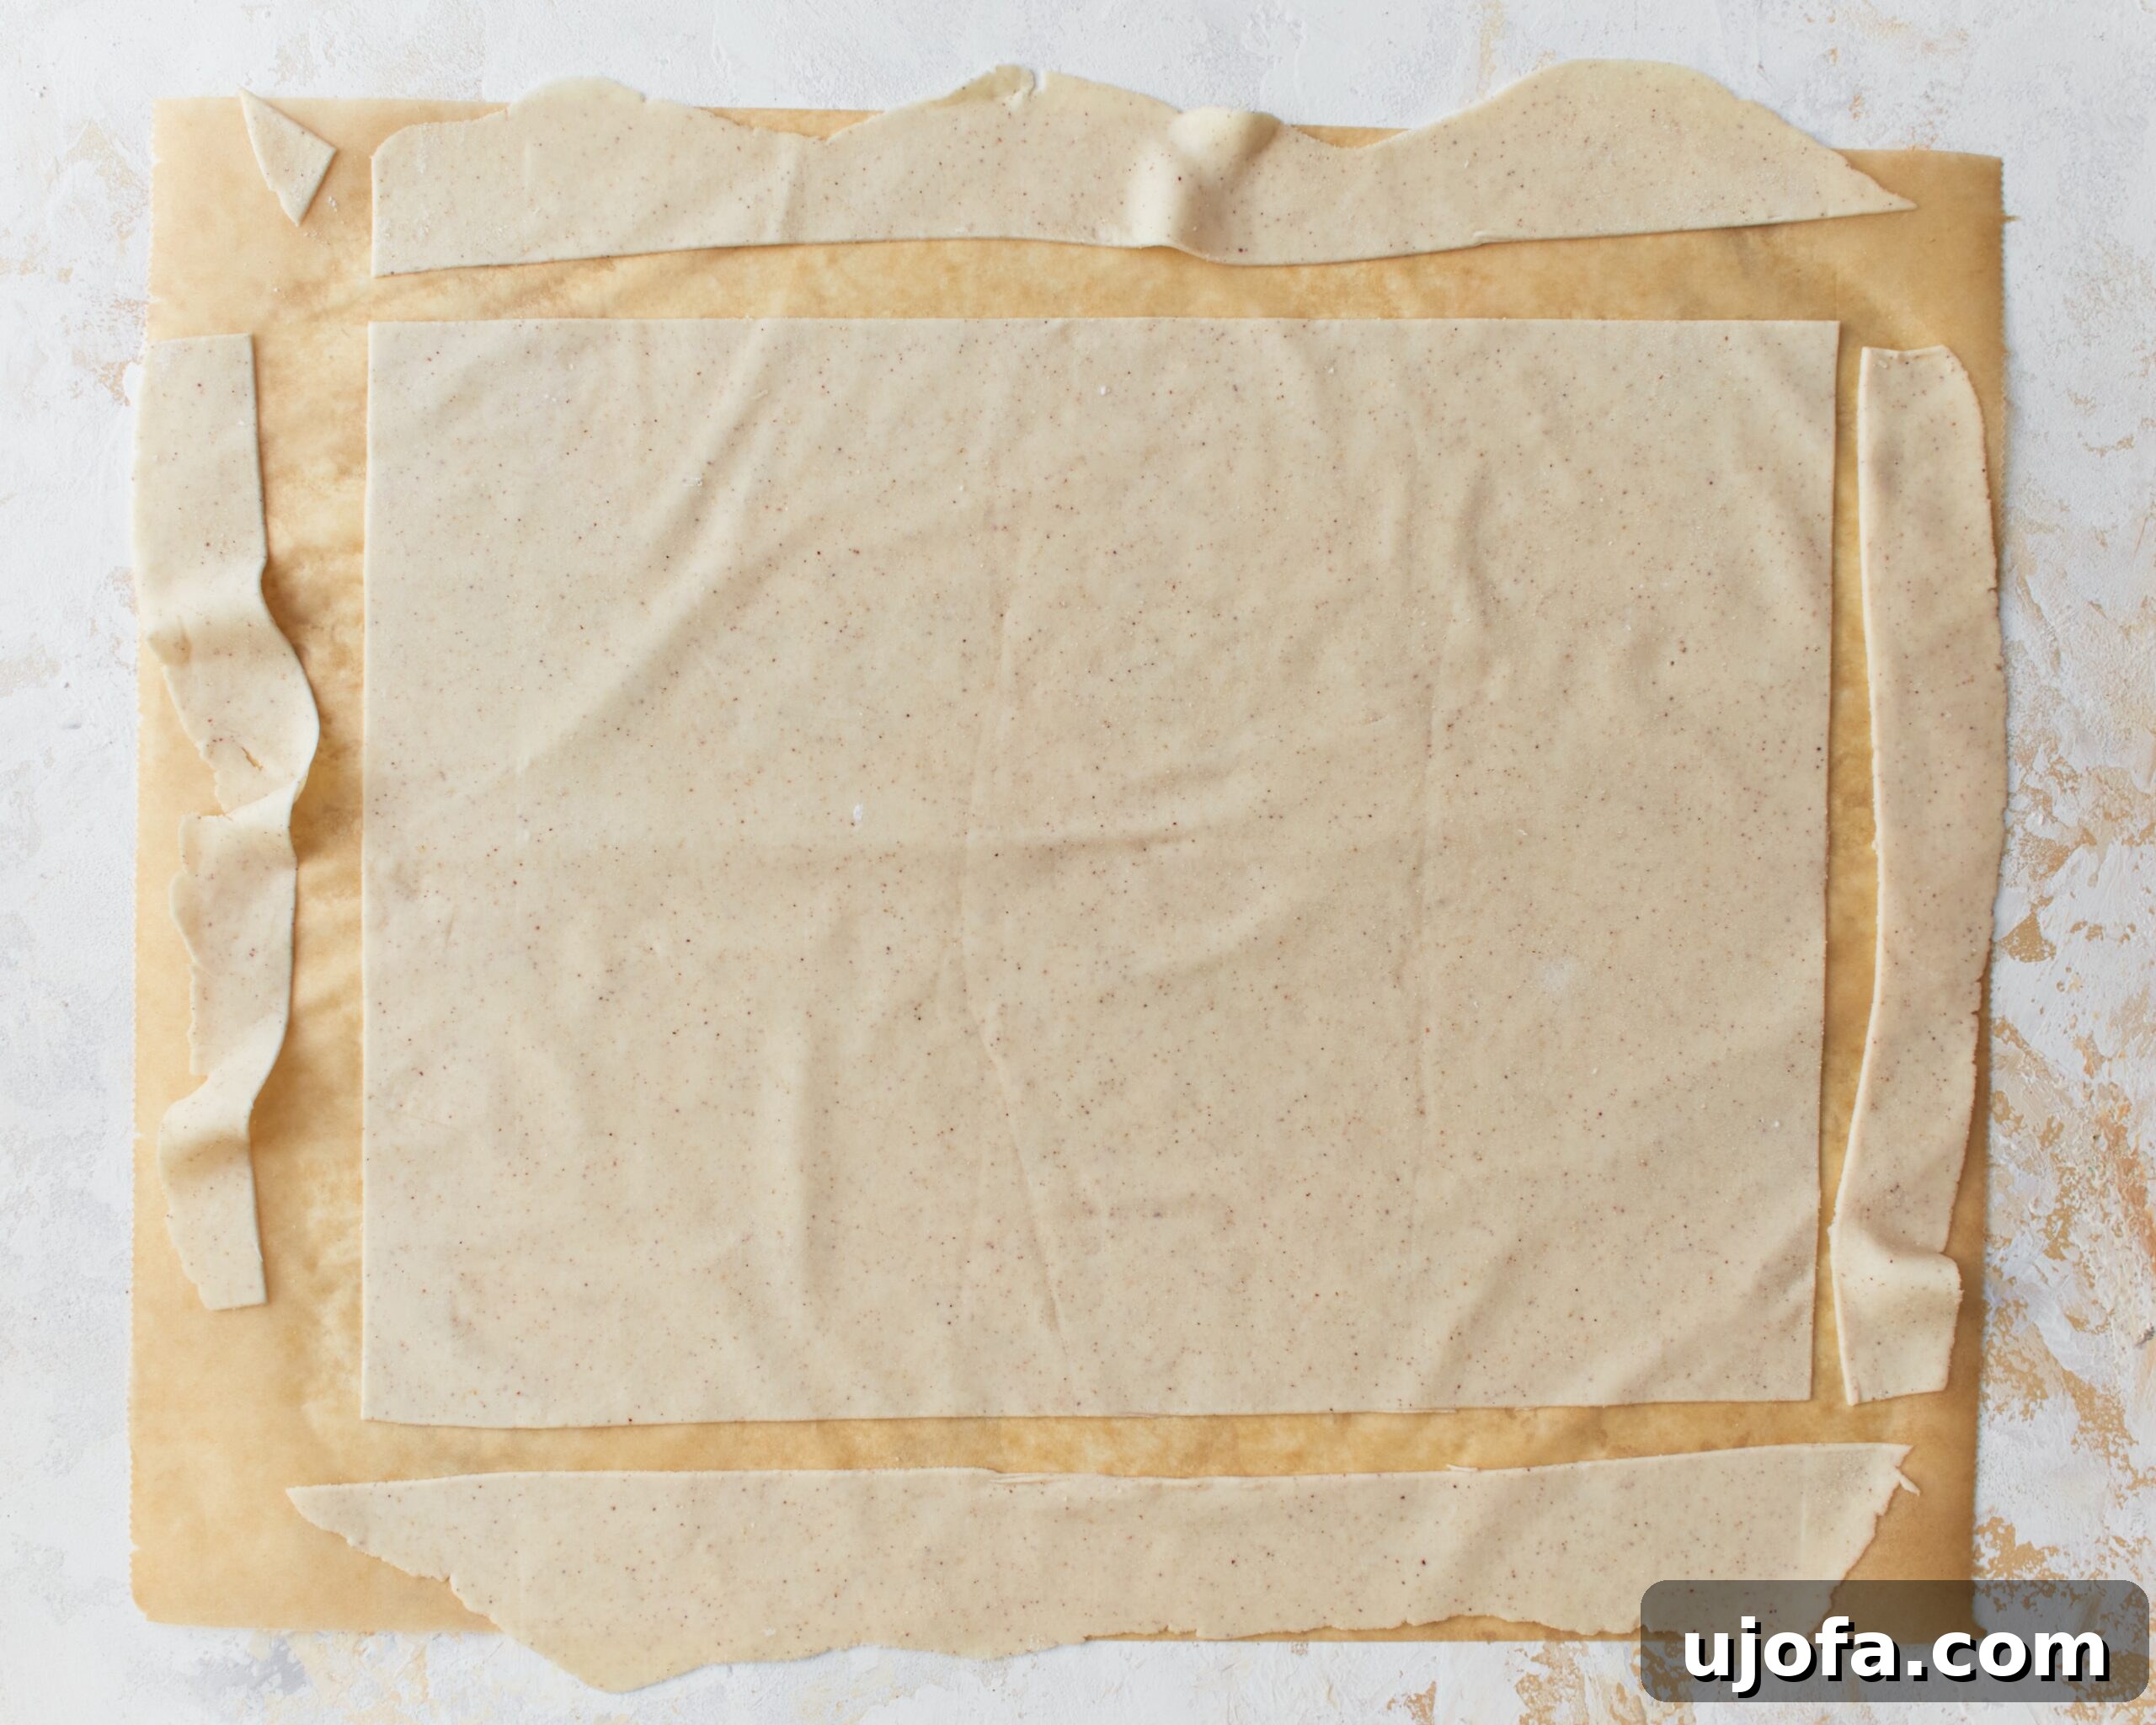
Step 7: Immediate Use or Storage. Your homemade gluten-free phyllo dough sheets are now ready to be used in your desired recipe. If you’re not planning to use them right away, store them carefully layered with parchment paper in a sealed, airtight container in the refrigerator for up to 3 days. For longer storage, refer to the freezing instructions provided earlier.