
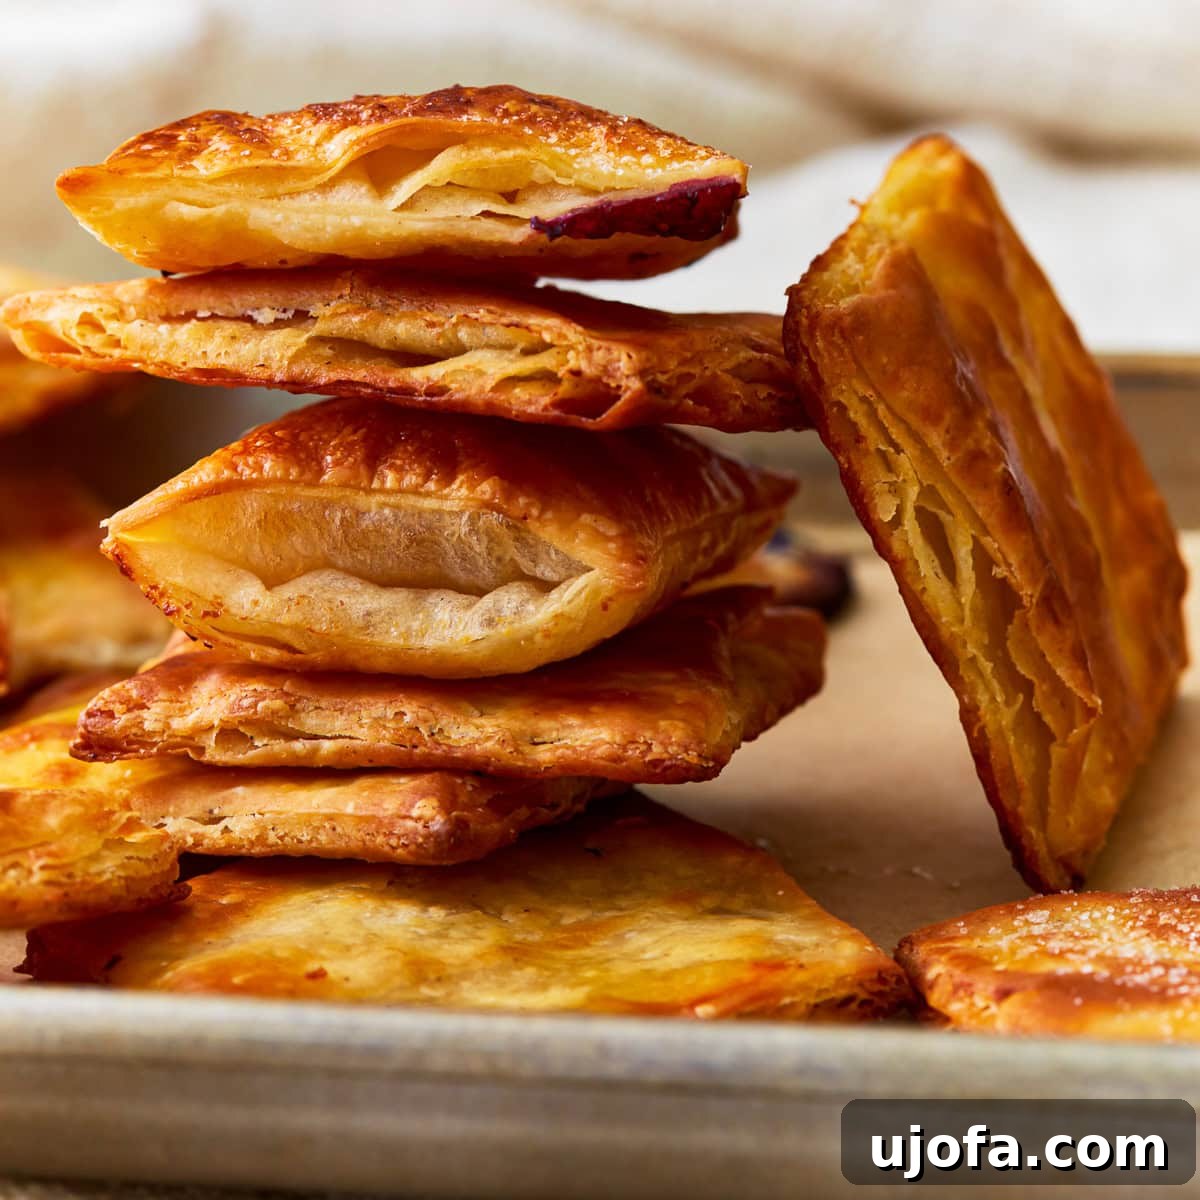
Unlock the secrets to crafting exceptional gluten-free puff pastry right in your own kitchen! This meticulously developed recipe guides you through creating a laminated rough-puff dough that bakes into an incredibly buttery, airy, and flaky pastry. Imagine all your favorite sweet and savory treats, now perfectly achievable with a gluten-free twist. With only six essential gluten-free pantry staples and minimal hands-on effort – mostly rolling and folding while your refrigerator does the crucial chilling – you’ll achieve remarkable results. The key lies in maintaining the butter’s cold temperature and precisely balancing the gluten-free flour to form those coveted, delicate layers that define a truly magnificent puff pastry.
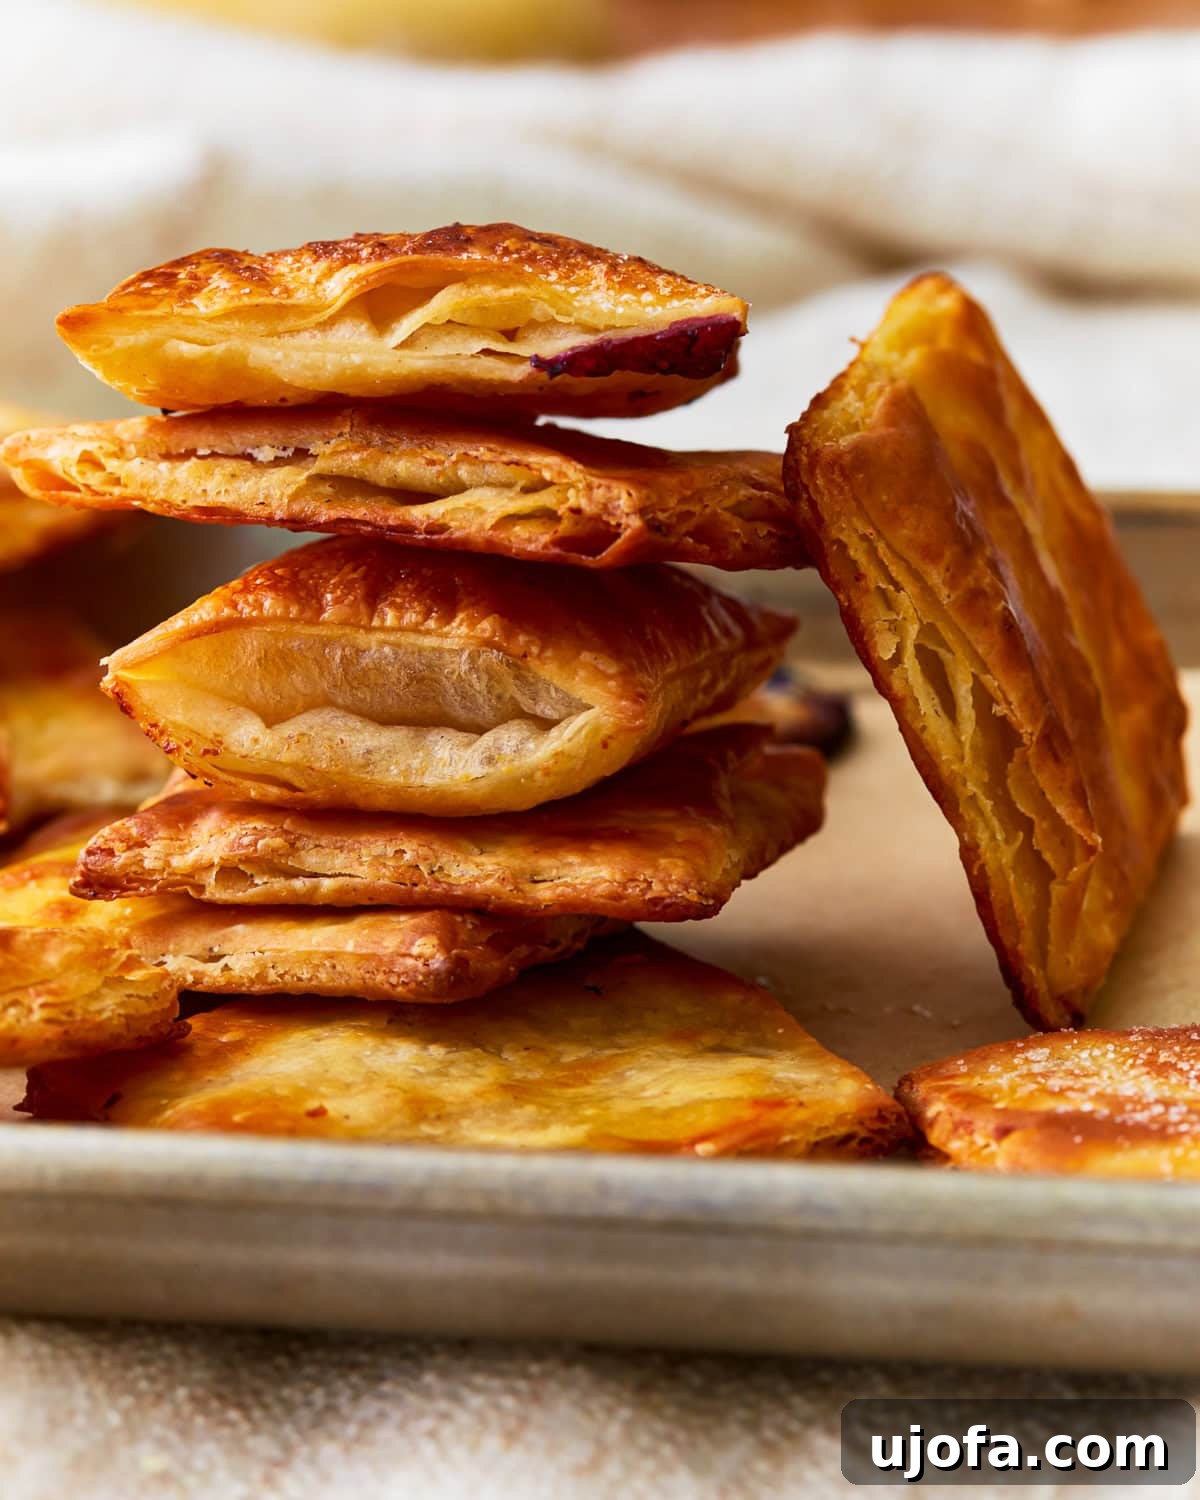
Mastering Homemade Gluten-Free Puff Pastry: A Flaky Delight for Every Occasion
As a passionate baker, there’s nothing more rewarding than transforming beloved traditional recipes into delicious gluten-free alternatives. While I’ve successfully conquered challenging endeavors like creating a pliable gluten-free phyllo dough, puff pastry always felt like the ultimate test of gluten-free baking prowess. Its reputation for intricate lamination and delicate texture often intimidates even experienced bakers, let alone those navigating the unique properties of gluten-free flours.
However, I’m thrilled to share that crafting a truly authentic and remarkably flaky gluten-free puff pastry is not only possible but surprisingly straightforward using the “rough puff” method! This ingenious technique simplifies the lamination process without compromising on the signature airy, layered texture that makes puff pastry so irresistible. By combining a high-quality gluten-free flour blend with a touch of xanthan gum, we achieve a flexible dough that can be rolled and folded repeatedly without tearing or crumbling. The secret weapon? Chunks and thin slices of ice-cold unsalted butter, strategically incorporated to create hundreds of distinct layers. As this rough puff pastry bakes, these butter layers release steam, dramatically puffing up the dough to a golden, crispy perfection. Say goodbye to dense, crumbly gluten-free pastries and hello to a world of light, airy possibilities!
This gluten-free rough puff pastry recipe is designed for ease and success. Below, I’ll walk you through each step with clear instructions and helpful photos to ensure your homemade puff pastry turns out perfectly every single time.
Essential Tips for Perfect Gluten-Free Puff Pastry
Creating a truly magnificent gluten-free puff pastry relies on a few critical techniques. Heed these tips to ensure your dough is pliable, your butter stays cold, and your final product is wonderfully flaky:
- Dough Consistency is Key: When initially mixing and gently kneading, your dough should coalesce into a smooth, cohesive ball. It should feel supple and hold its shape when lightly pressed, but crucially, it should not be excessively sticky or overly dry. Remember that different brands of gluten-free flour blends can vary in absorption rates, so be prepared to make minor adjustments. If the dough seems too dry and crumbly, add a tiny splash of cold water (half a teaspoon at a time). If it’s too sticky, dust with a small amount of extra gluten-free flour until the ideal consistency is reached.
- Avoid Over-Kneading: Gluten-free doughs, unlike their gluten-containing counterparts, don’t benefit from extensive kneading. Once your dough forms a smooth ball, stop. Over-kneading generates heat, which is the enemy of cold butter. The goal is to keep the butter within the dough as chilled as possible to prevent it from melting prematurely.
- Maintain Cold Ingredients Throughout: This is arguably the most crucial rule for flaky puff pastry. All your ingredients, especially the butter and water, must be ice-cold. During the rolling and folding (lamination) process, if your butter begins to soften or melt, or if the dough feels warm and sticky to the touch, immediately stop and refrigerate the dough for 15-20 minutes. You should be able to see distinct flecks or streaks of butter interspersed throughout the dough after each fold and roll. These butter pockets are what create the characteristic layers when they melt and release steam during baking.
- Generous Flour Dusting: Gluten-free doughs can sometimes be more prone to sticking than traditional doughs. Always lightly dust your work surface, rolling pin, and even your hands with gluten-free flour to prevent any mishaps. For an extra layer of protection, I often lay a sheet of plastic wrap on my countertop before flouring; this makes cleanup easier and can further prevent sticking, especially during humid weather.
- Embrace the Rough Puff Method: This recipe utilizes the “rough puff” method, a brilliant simplification of classic puff pastry lamination. Traditional puff pastry involves encasing a solid block of butter within dough and performing numerous precise folds with lengthy chilling times between each fold. The rough puff method, however, incorporates larger chunks and slices of cold butter directly into the dough and reduces the required chilling time between folds. This streamlined approach still yields beautifully flaky, layered pastry but significantly cuts down on both preparation time and overall effort, making it far more accessible for the home baker and especially forgiving with gluten-free flours.
Gluten-Free Puff Pastry Recipe: The Ultimate Guide
Prepare to amaze your taste buds with this easy-to-follow recipe for flaky, homemade gluten-free puff pastry. Perfect for both sweet and savory applications!
By: Sabine Venier
Servings: 1 sheet (yields approximately 12 small pastries or one 9×13 inch tart base)
Prep time: 45 minutes
Chill Time: 1 hour
Total Time: 1 hour 45 minutes
This homemade gluten-free puff pastry recipe is easy to make with just 6 pantry staples. Perfect for your favorite sweet and savory treats!
Ingredients
- 2 cups all-purpose gluten-free flour blend* (plus extra for flouring the work surface)
- 1 teaspoon xanthan gum (omit if your blend already contains it)
- 1 tablespoon granulated sugar
- 1 teaspoon salt
- 3 tablespoons cold unsalted butter**, cubed
- ⅔ cup cold unsalted butter**, cut into thin slices (approximately 1 cm thick, resembling small dominoes)
- ½ cup cold water, straight from the refrigerator (or even colder, with a few ice cubes removed just before adding)
Instructions
- In a large mixing bowl, thoroughly combine the dry ingredients: the all-purpose gluten-free flour blend, xanthan gum (if your blend doesn’t already include it), granulated sugar, and salt. Whisk briefly to ensure even distribution.
- Add the 3 tablespoons of cubed cold unsalted butter to the dry mixture. Using a pastry cutter, two knives, or your fingertips, swiftly work the butter into the flour. Your goal is a texture resembling coarse crumbs, with some pea-sized pieces of butter remaining visible. This process should be quick to keep the butter cold.
- Gradually pour the ½ cup of ice-cold water into the flour and butter mixture. Use a fork to gently stir and bring the dough together. Be careful not to overmix; simply combine until a shaggy dough forms.
- Turn the shaggy dough out onto a lightly floured work surface. Gently knead it for just 1-2 minutes until it comes together into a relatively smooth, cohesive ball. Avoid excessive kneading to prevent warming the butter.
- Flatten the dough into a rough rectangular shape. Wrap it tightly in plastic wrap, ensuring no air can get in, and refrigerate for at least 30 minutes. This chilling period allows the flour to fully hydrate and the butter to firm up again.
- Once thoroughly chilled, remove the dough from the refrigerator. Place it on your generously floured work surface. Using a floured rolling pin, roll the dough out into a large rectangle, aiming for a thickness of about ¼ inch (approximately 0.6 cm). Try to keep the edges as straight as possible.
- Now for the lamination: Visually divide your rolled-out dough into three equal sections. Arrange the ⅔ cup of cold unsalted butter (cut into thin slices) evenly over two-thirds of the dough, leaving the remaining one-third completely butter-free.
- Take the unbuttered third of the dough and fold it carefully over the middle third (which is covered in butter slices).
- Next, take the remaining buttered third and fold it over the top, creating a neat three-layered rectangle. This completes your first “turn” or fold.
- Rotate the dough 90 degrees (a quarter turn). Dust your work surface and rolling pin with more gluten-free flour as needed. Roll the dough out again into another large rectangle, approximately ¼ inch thick. You should still see visible flecks of butter.
- Repeat the folding process: visually divide into thirds, fold one outer third over the middle, then fold the remaining outer third over the top to create another three-layered rectangle. This is your second “turn.”
- For the final shaping: Roll out the dough into a large rectangle one last time. This is the desired thickness for most recipes.
- Wrap the finished dough tightly in plastic wrap. Refrigerate for at least another 30 minutes before proceeding with your desired recipe. This final chill is crucial for the butter to re-solidify, ensuring maximum puff and flakiness during baking. (I often slice mine into squares at this point to prepare for small pastries, like the ones pictured.)
Notes
- Choose Your Flour Wisely: The quality of your all-purpose gluten-free flour blend significantly impacts the success of this recipe. Opt for a reputable brand known for baking. It’s imperative not to substitute this blend with single-ingredient flours like coconut flour or almond flour, as their absorbency and structural properties are vastly different and will not yield the correct texture for puff pastry.
- Butter Temperature is Non-Negotiable: Your butter *must be cold* throughout the entire process. Chill it in the refrigerator (or even the freezer for 10-15 minutes if your kitchen is warm) before you begin. We use butter in two forms: small cubes for cutting into the dry ingredients (to create small pockets of fat) and thin slices for layering during the lamination process. These different forms contribute to varied fat distribution and ultimate flakiness.
- Handle with Care: One of the most common pitfalls in pastry making is overworking the dough. With gluten-free puff pastry, this risk is even higher. Excessive handling generates warmth, which will soften and melt the cold butter into the dough. If the butter melts, the distinct layers crucial for puffing will be lost, resulting in a dense, rather than flaky, pastry. Work swiftly and gently, pausing for chilling if the dough feels warm.
Nutrition
The following nutrition information is an approximation and can vary based on specific ingredient brands and preparation methods. It should be used as a guide only.
Serving: 1 sheet
Calories: 2242 kcal
Carbohydrates: 188 g
Protein: 26 g
Fat: 165 g
Saturated Fat: 99 g
Polyunsaturated Fat: 7 g
Monounsaturated Fat: 42 g
Trans Fat: 6 g
Cholesterol: 416 mg
Sodium: 2439 mg
Potassium: 57 mg
Fiber: 27 g
Sugar: 20 g
Vitamin A: 4831 IU
Calcium: 211 mg
Iron: 9 mg
Additional Info
Course: Baking, Dessert, Appetizer
Cuisine: French, American
Tried this recipe? Mention @mamaknowsglutenfree or tag #mamaknowsglutenfree!
How to Make Gluten-Free Puff Pastry: A Visual Step-by-Step Guide
Follow these detailed steps, complete with illustrative images, to confidently create your own batch of delicious gluten-free puff pastry.
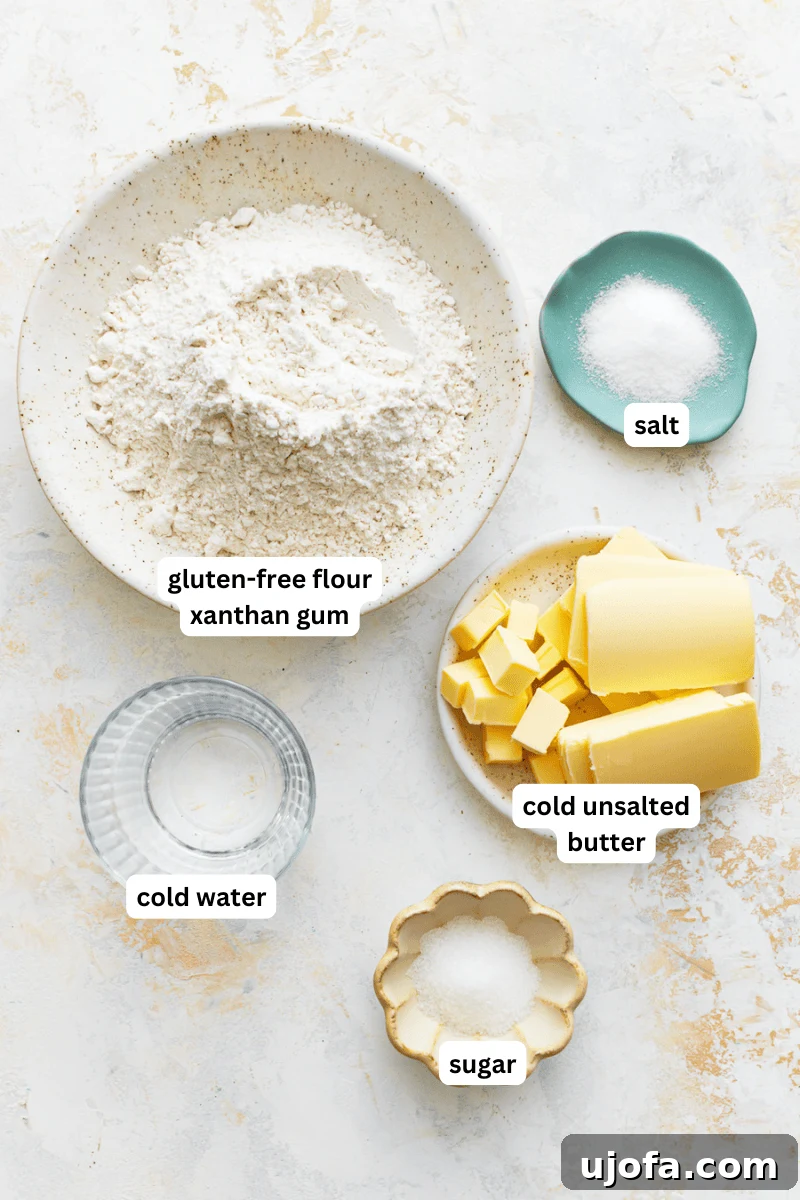
First, ensure you have all your ingredients ready and measured. Remember, cold butter and cold water are paramount for success!
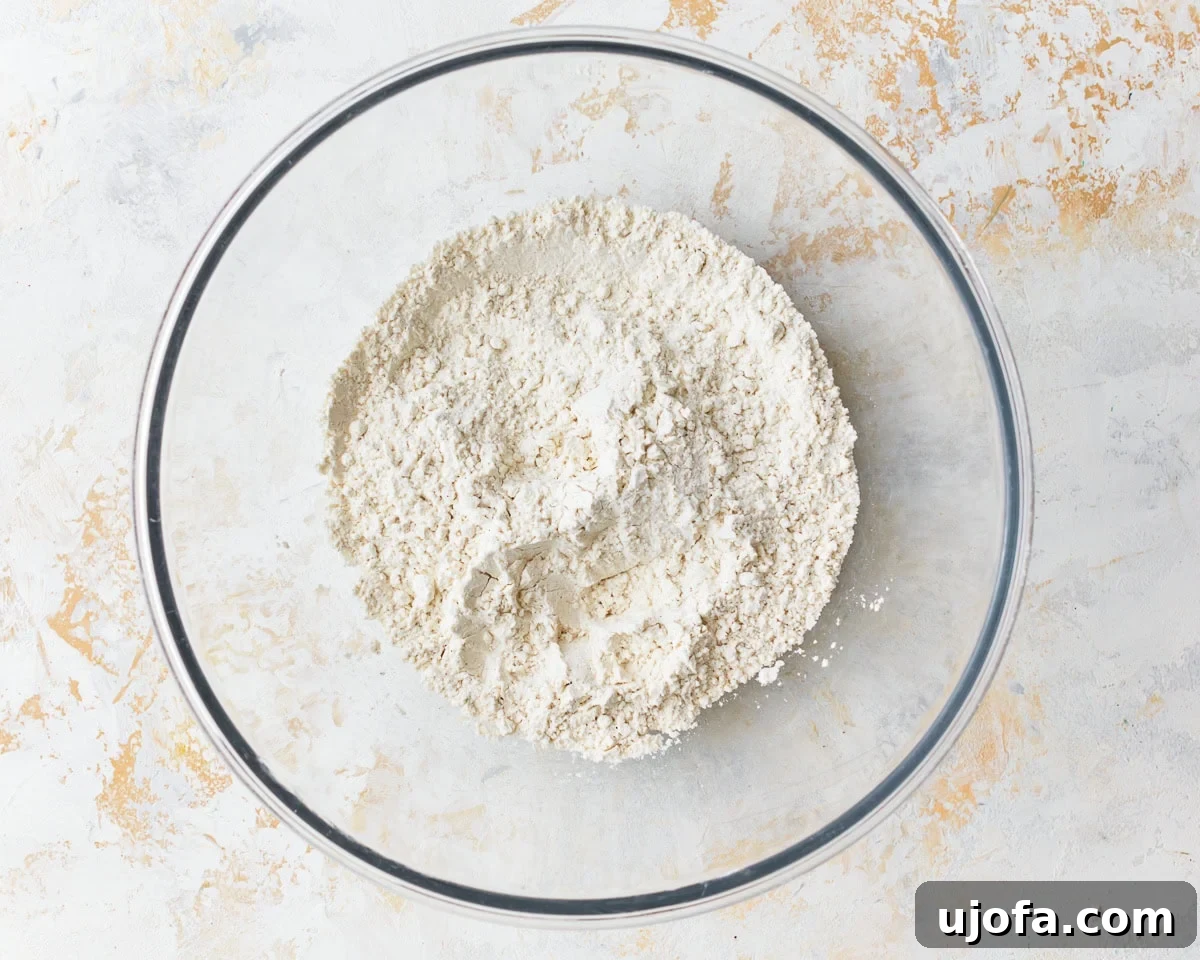
In a large mixing bowl, combine 2 cups of your chosen gluten-free flour blend, 1 teaspoon of xanthan gum (only if your blend doesn’t already contain it), 1 tablespoon of granulated sugar, and 1 teaspoon of salt. Whisk these dry ingredients together thoroughly.
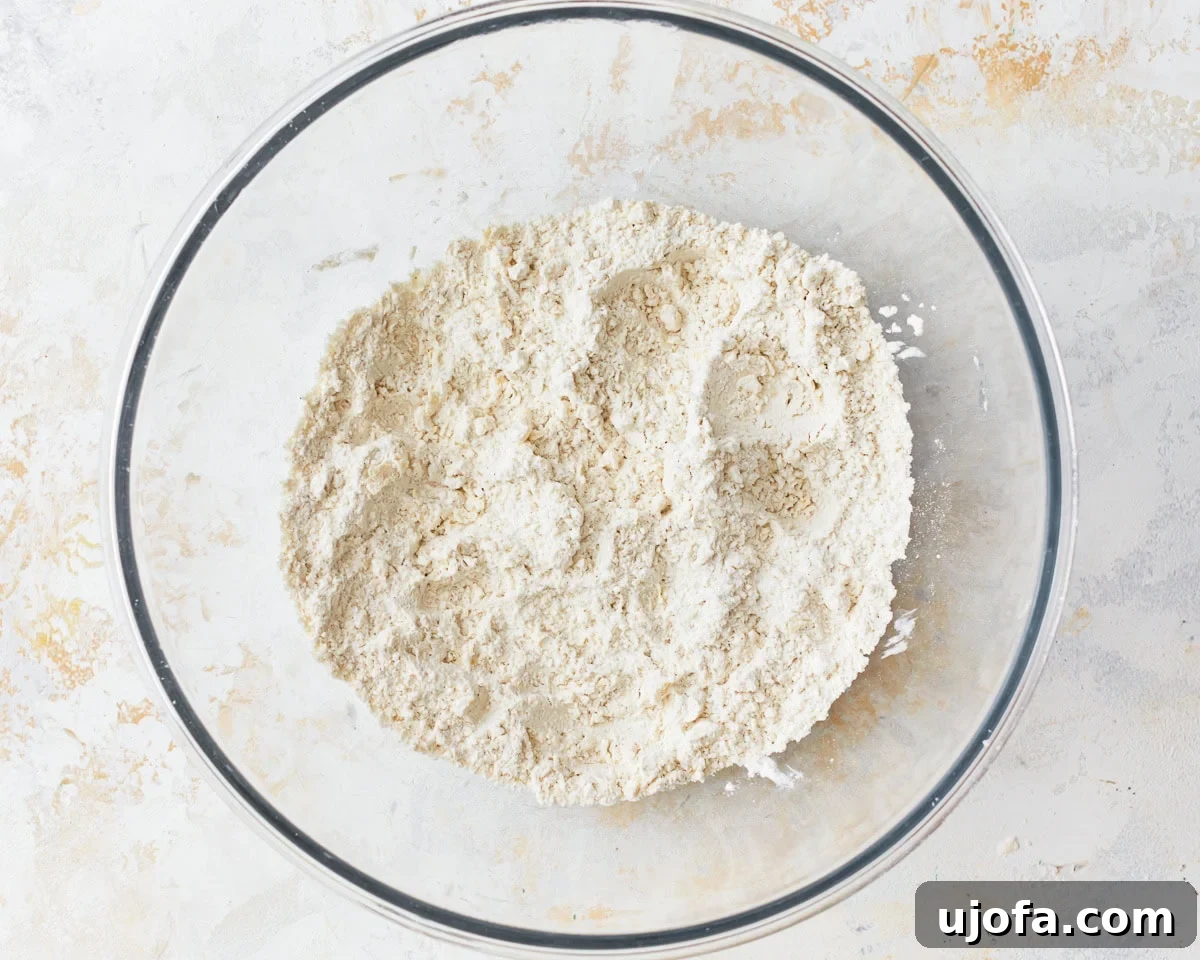
Introduce 3 tablespoons of cubed, cold unsalted butter into the flour mixture. Using a pastry cutter or your fingertips, quickly work the butter into the flour until the mixture resembles coarse crumbs. Some small, pea-sized pieces of butter should still be visible.
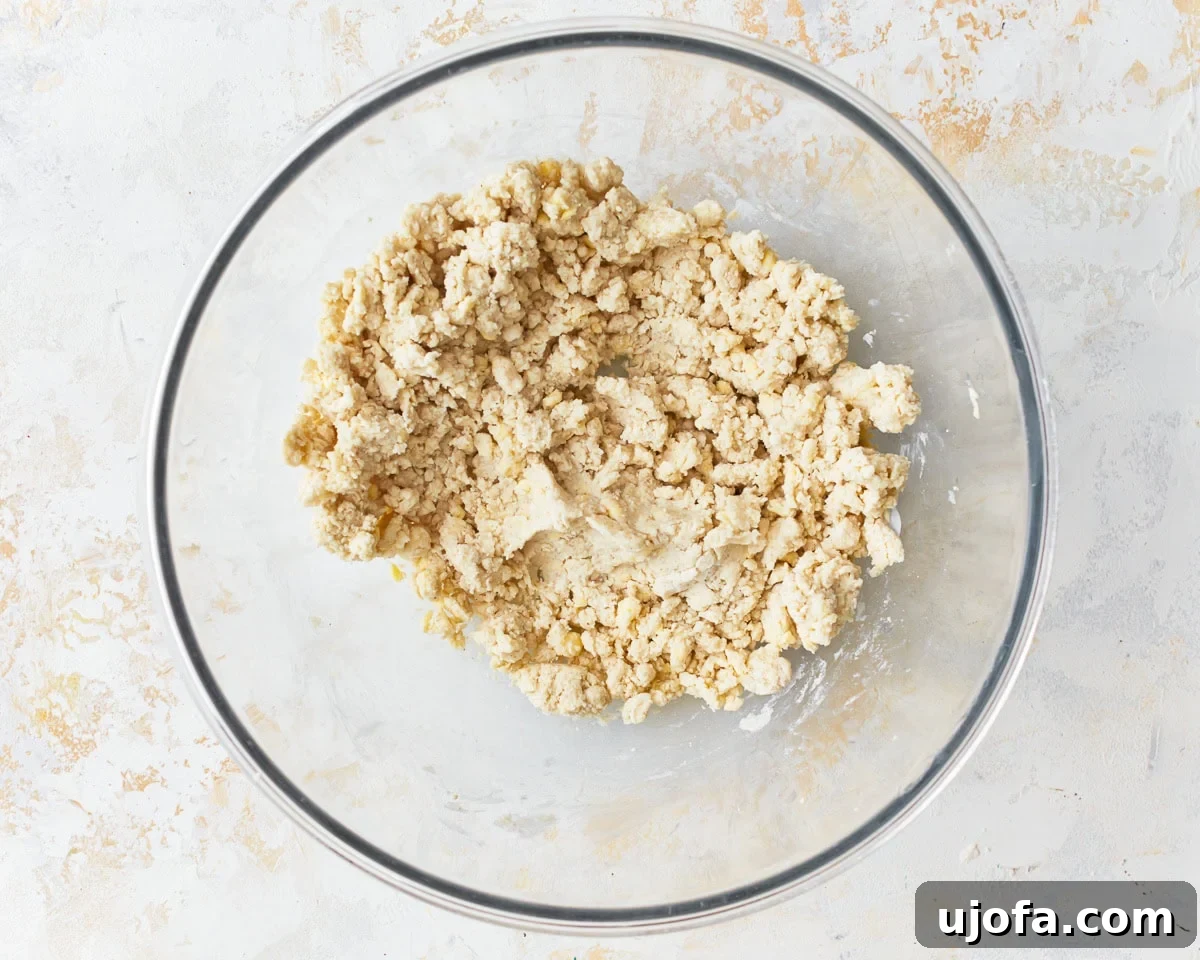
Gradually pour ½ cup of very cold water into the mixture. Stir with a fork until the dough just begins to come together into a shaggy mass. Be gentle and avoid overmixing at this stage.
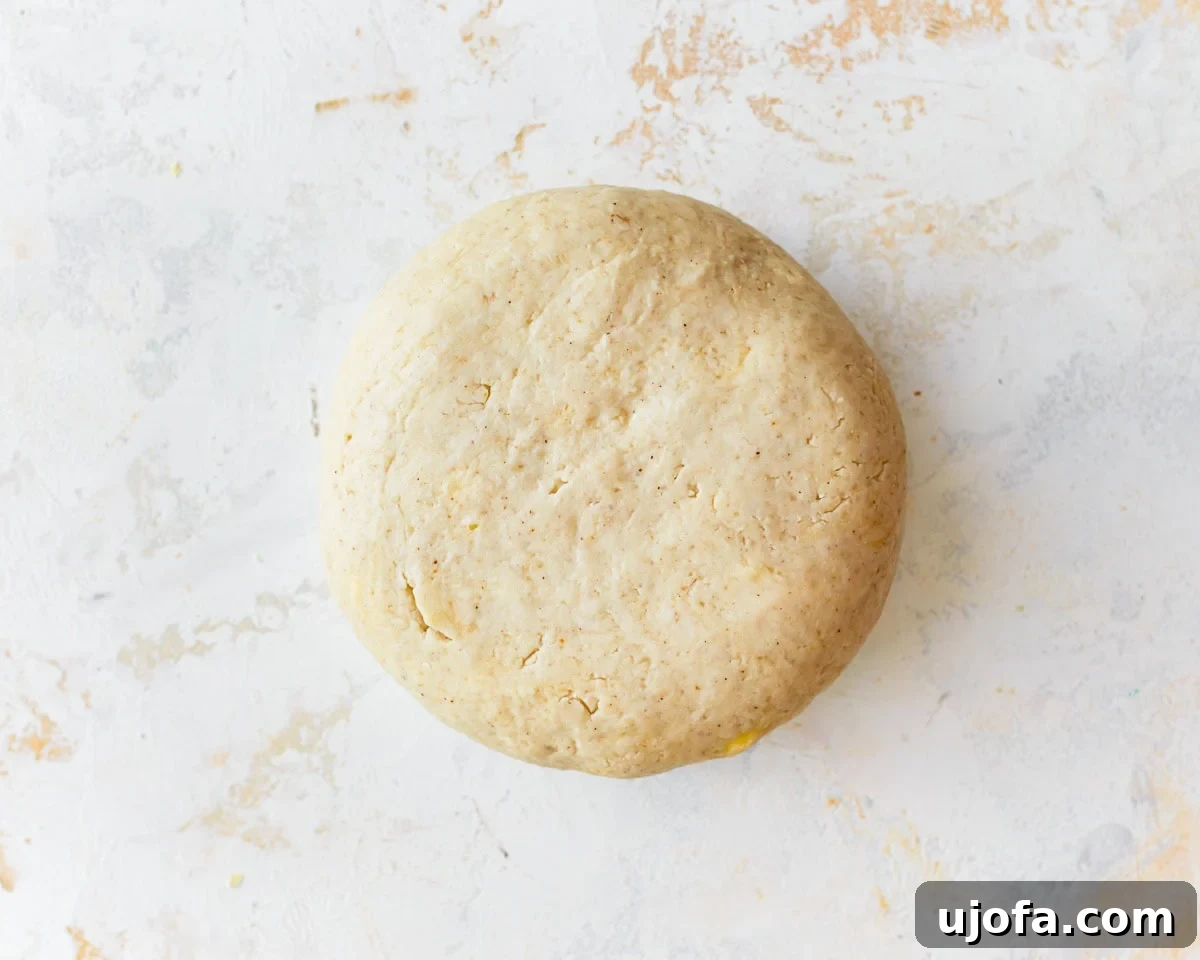
Turn the dough out onto a lightly floured work surface. Gently knead it for about 1-2 minutes, just enough for it to form a relatively smooth, cohesive ball. Stop as soon as it comes together to keep the butter cold.
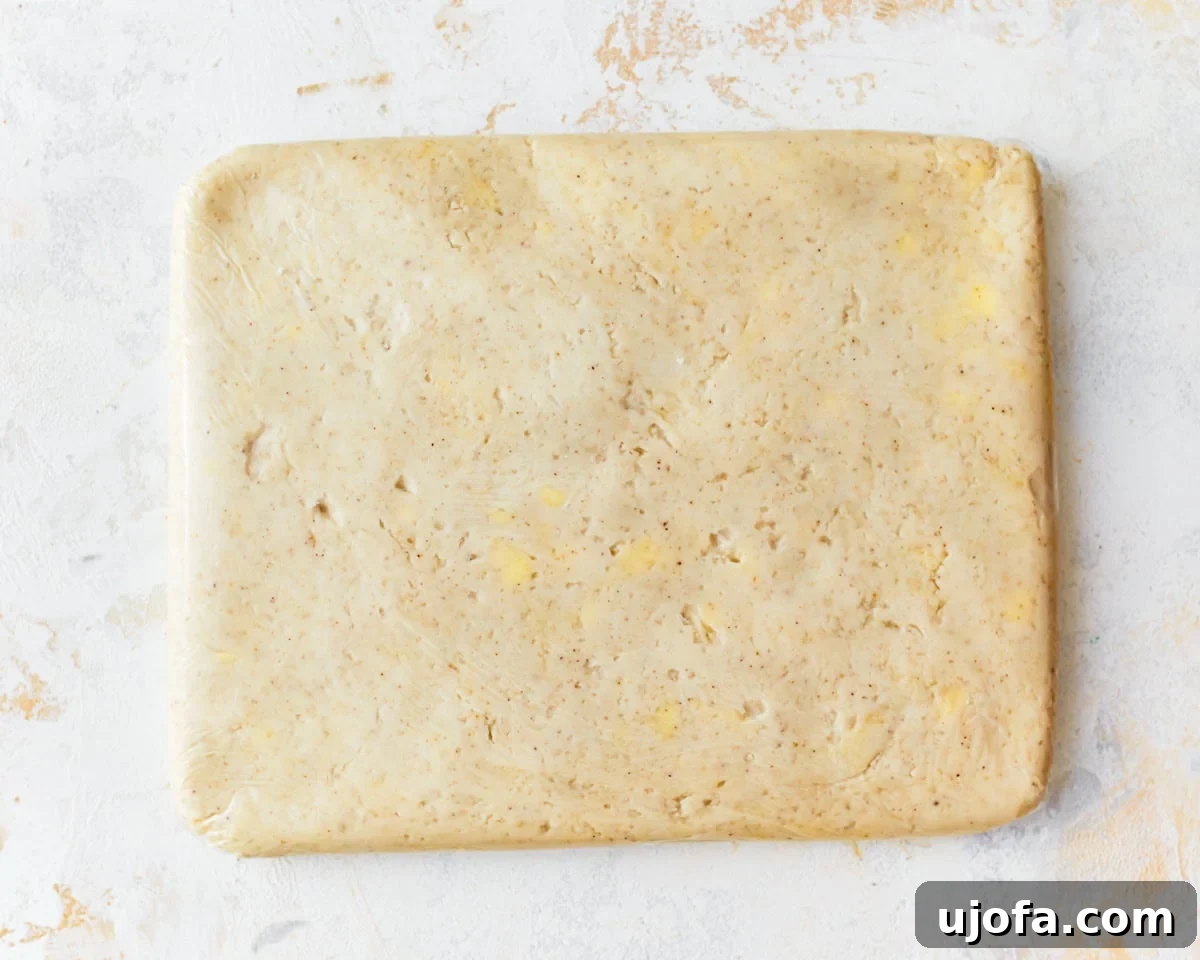
Shape the dough into a flat rectangle. Wrap it tightly in plastic wrap to prevent it from drying out, and refrigerate for a minimum of 30 minutes. This rest period is essential for hydrating the flour and firming up the butter.
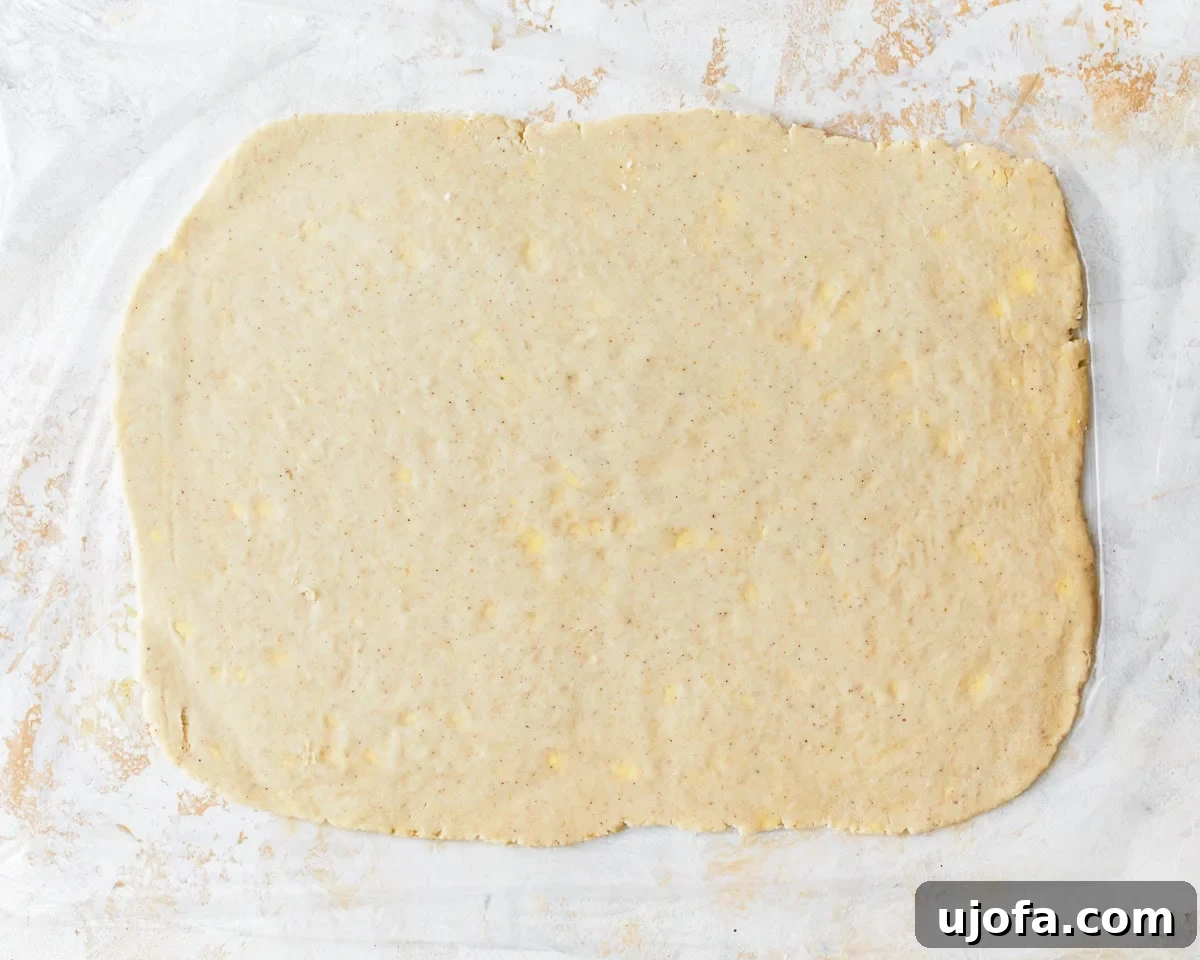
After chilling, remove the dough from the refrigerator and place it on your generously floured work surface. Roll the dough out into a large rectangle, approximately ¼ inch (0.6 cm) thick. Try to maintain straight edges.
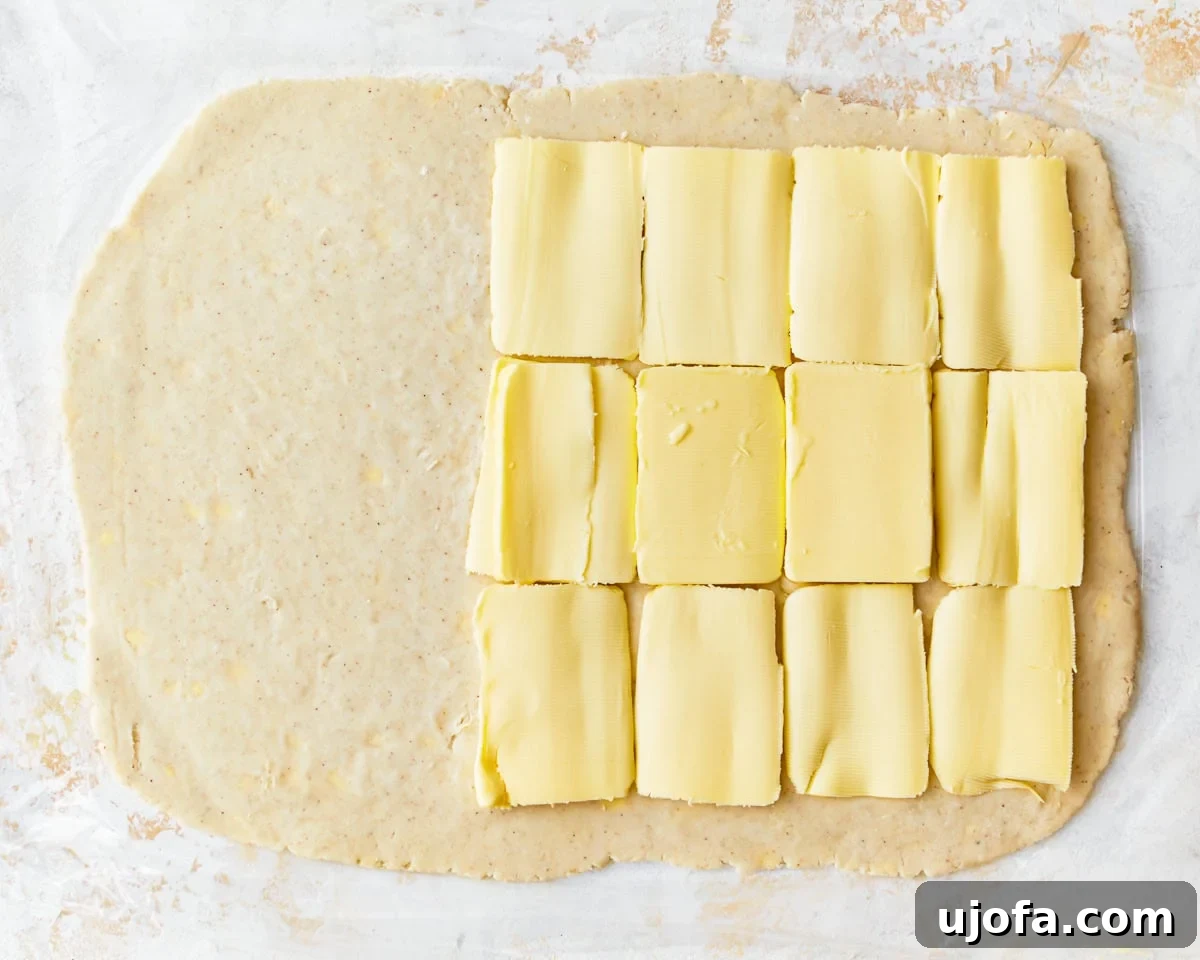
Evenly distribute ⅔ cup of cold unsalted butter, cut into thin slices, over two-thirds of the rolled-out dough. Ensure one-third of the dough remains uncovered by butter.
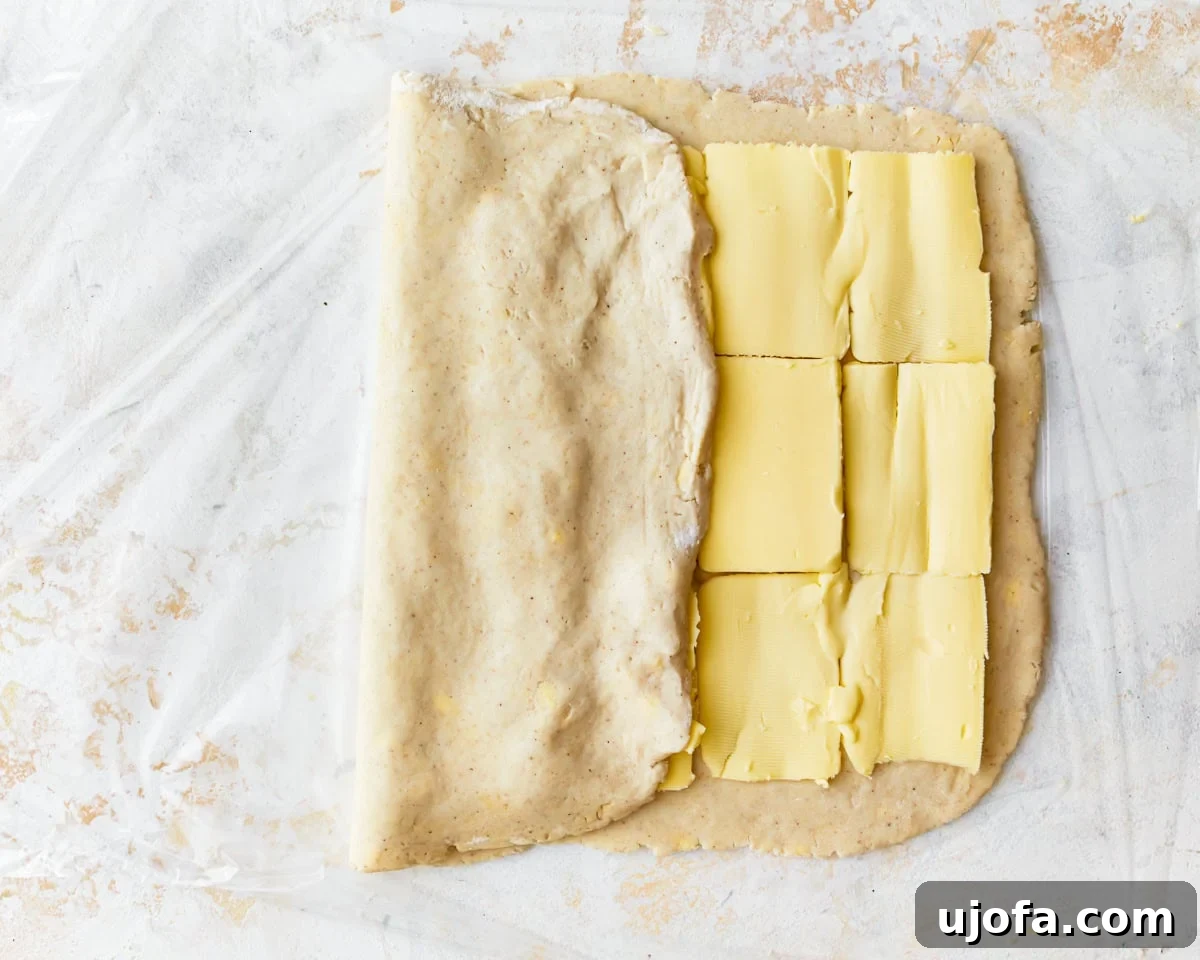
Carefully fold the unbuttered third of the dough over the middle third, which is covered with butter.
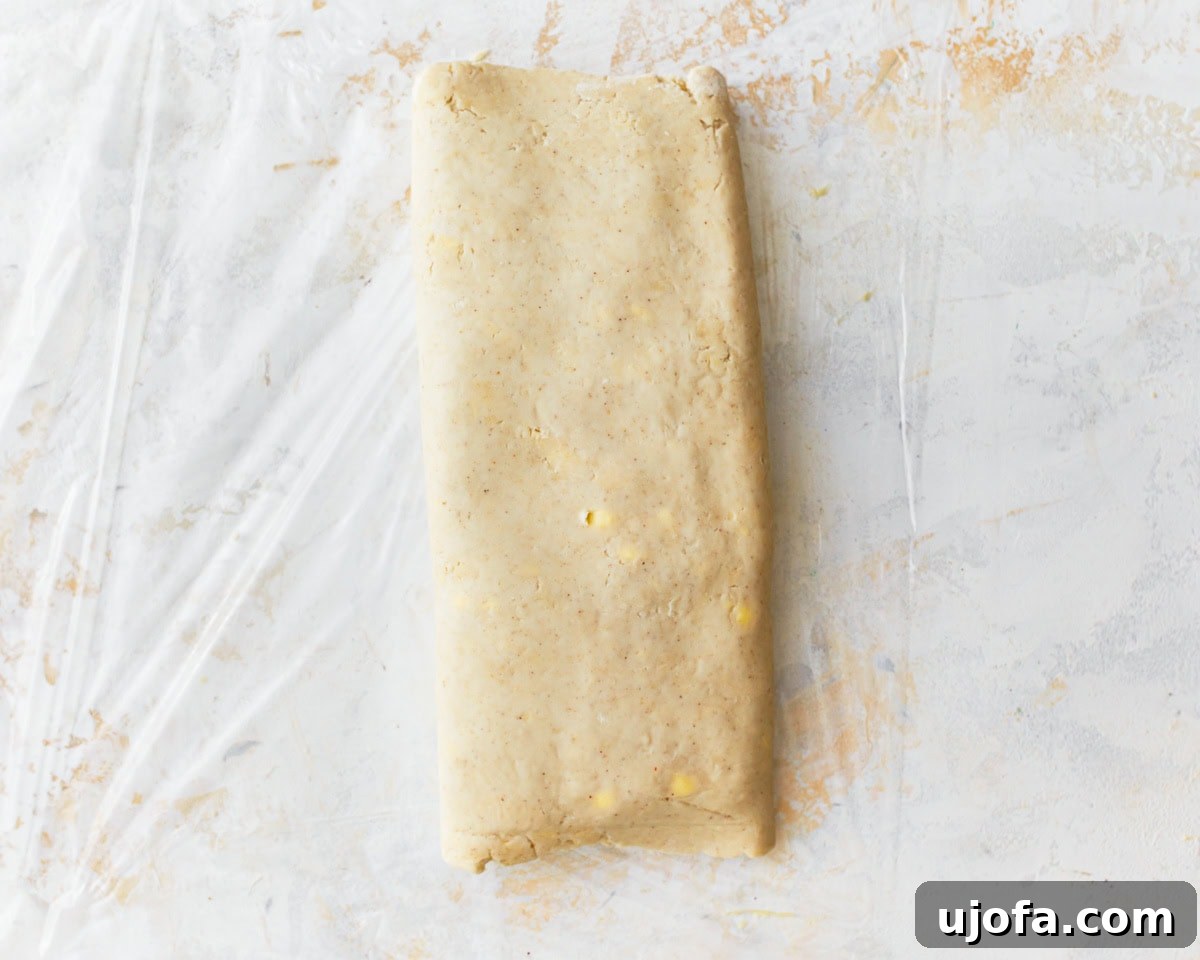
Then, fold the remaining buttered third over the top, creating a neat three-layered rectangle. This is your first “turn” of lamination.
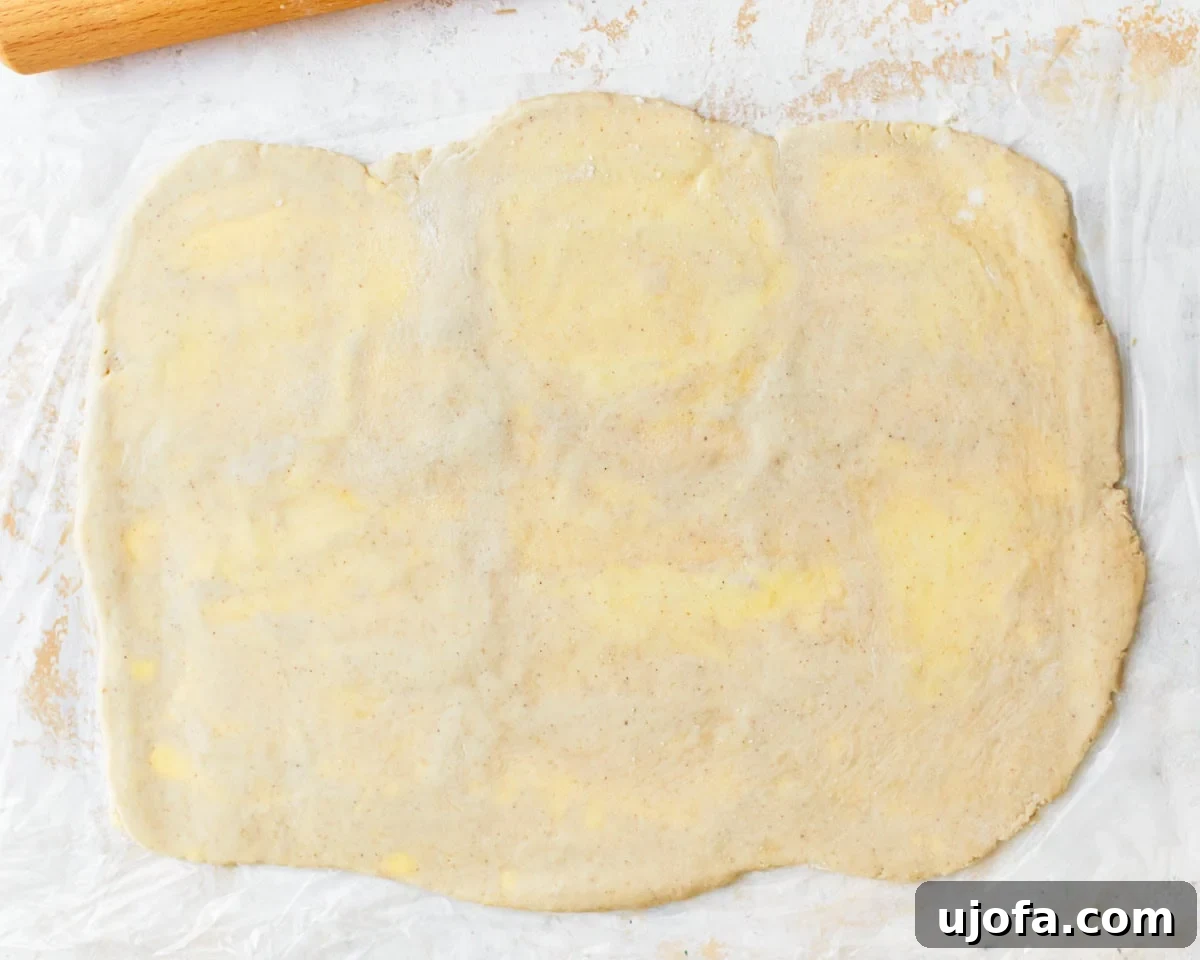
Rotate the dough 90 degrees (a quarter turn). Dust your work surface and rolling pin again, then roll the dough out into another large rectangle, maintaining the ¼ inch thickness. You should see scattered flecks of butter, which is a good sign.
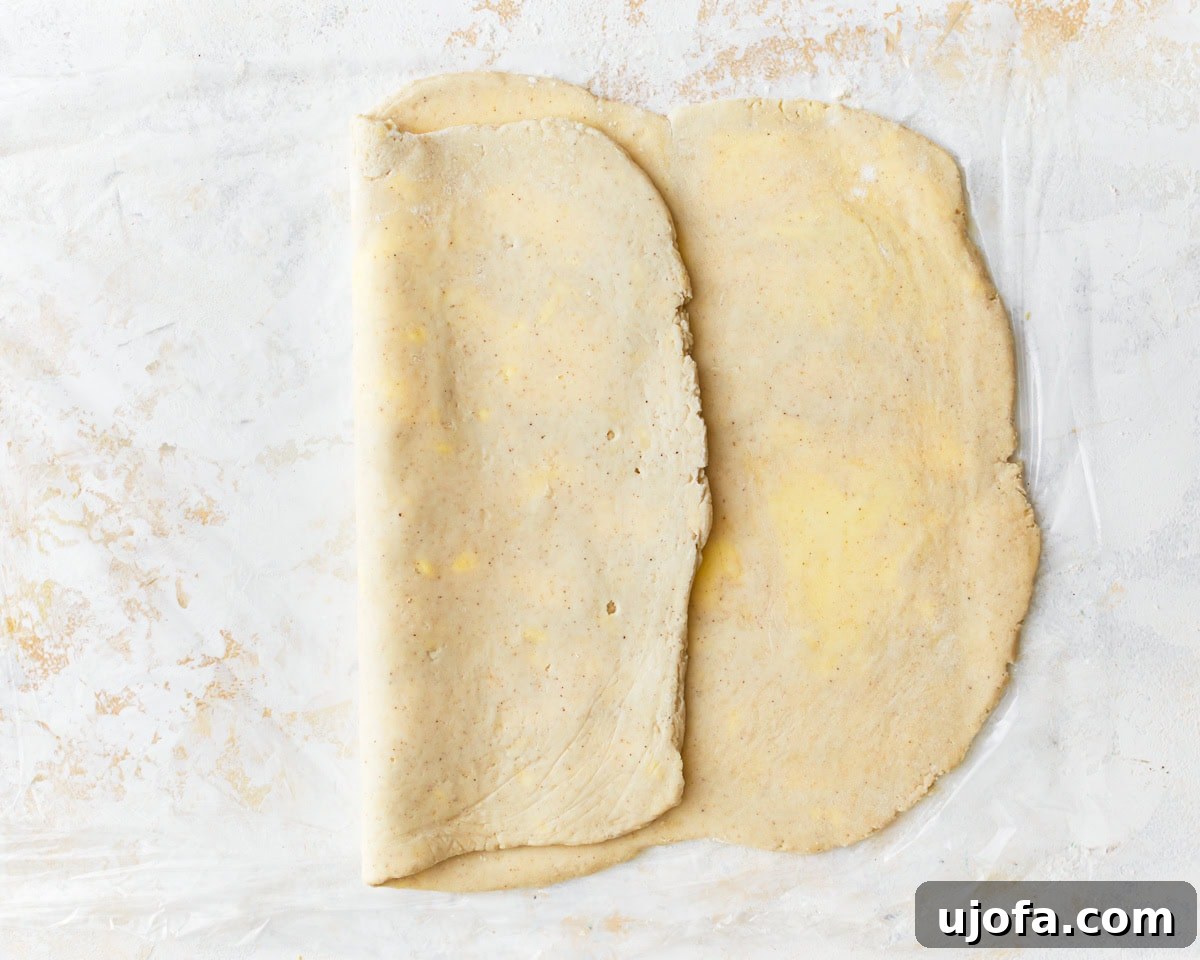
Repeat the folding process: fold one outer third of the dough over the middle section.
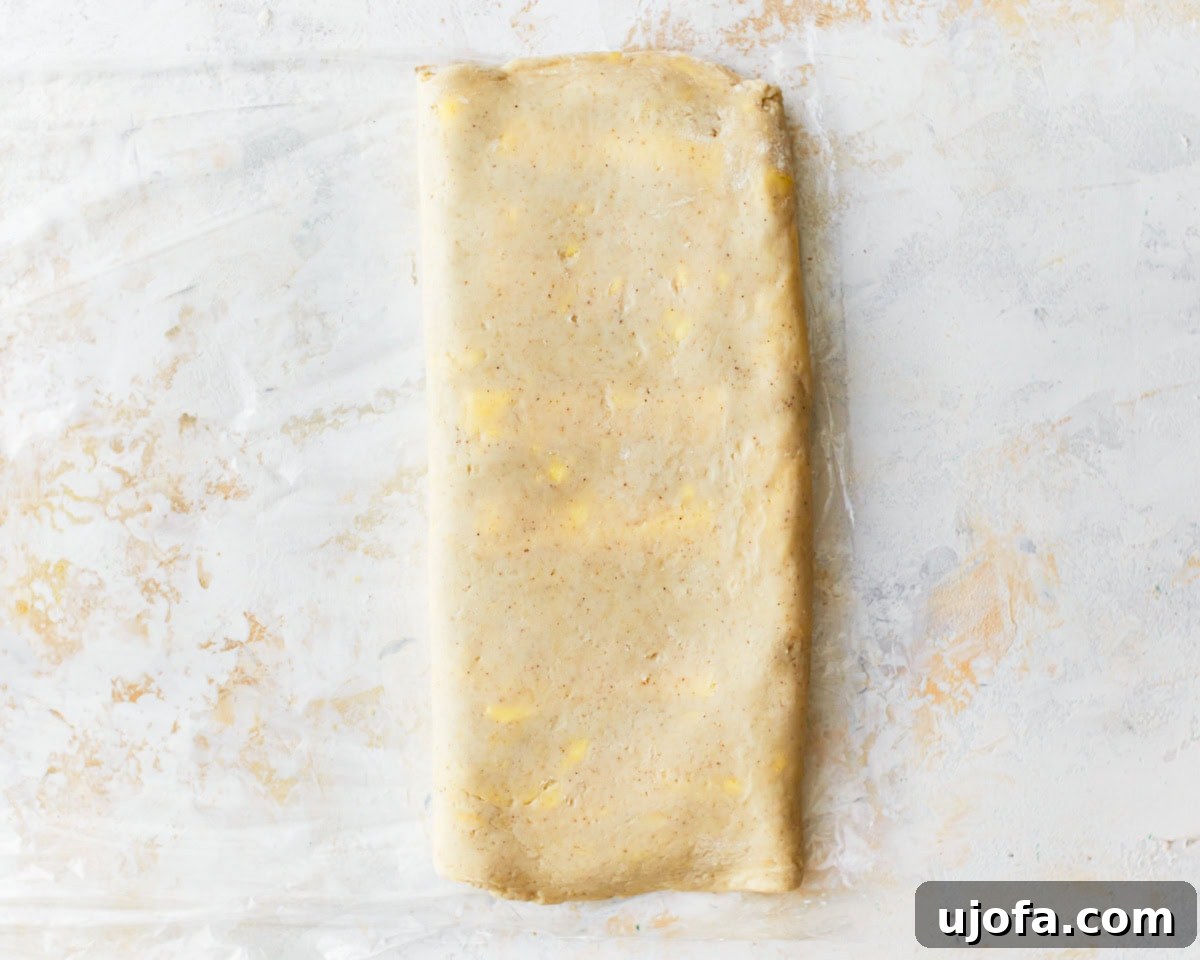
Finally, fold the remaining third over once again to create a compact, three-layered rectangle. This marks the completion of your second and final “turn” for the rough puff method.
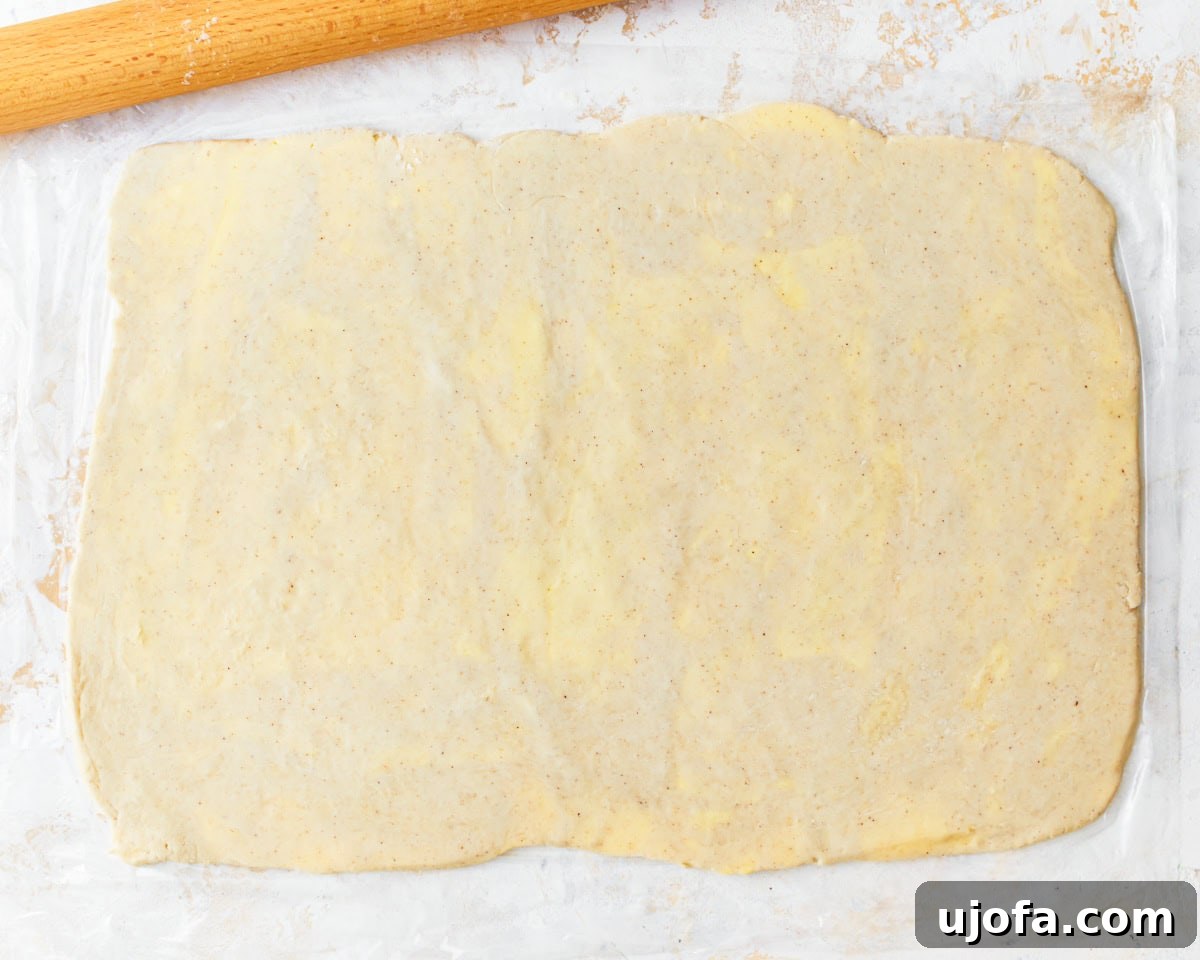
Roll out the dough into a large rectangle one last time to your desired final thickness. This sheet is now ready for its final chill.
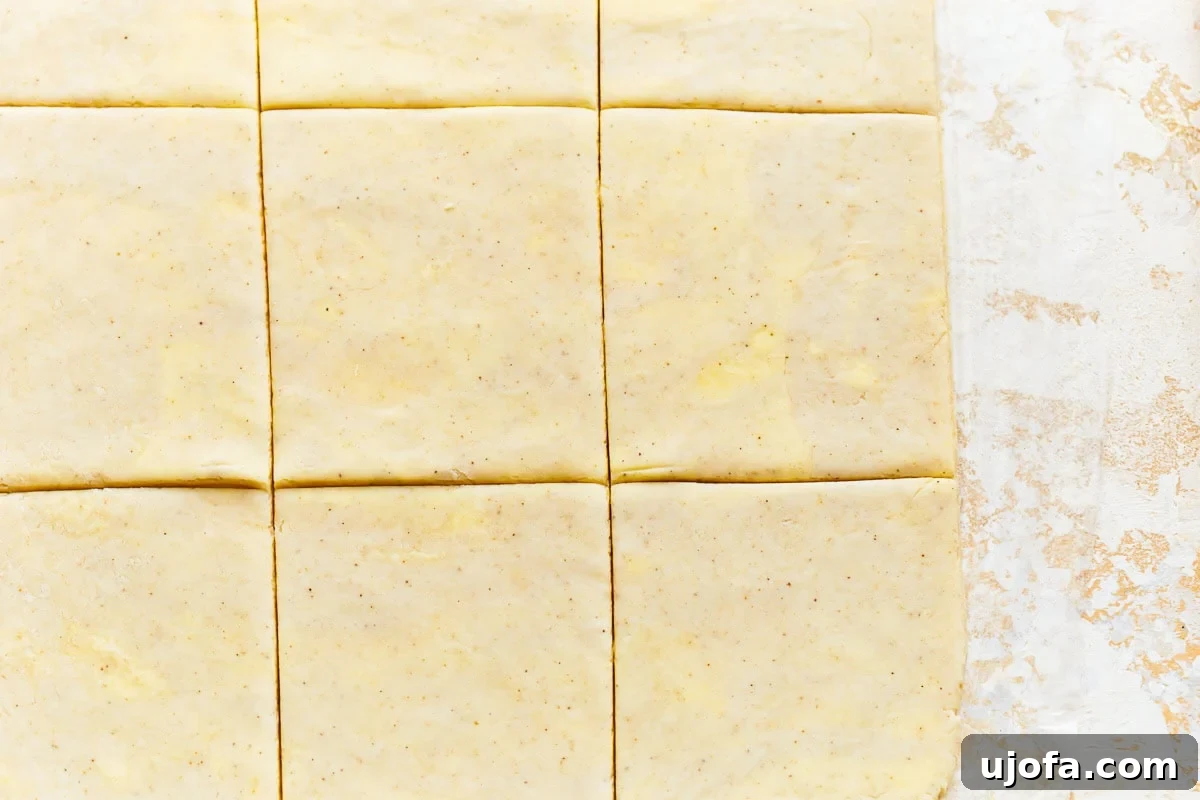
Wrap the prepared dough tightly in plastic wrap and refrigerate for at least another 30 minutes before using it in your chosen recipe. This allows the butter to firm up completely and ensures optimal flakiness when baked. For demonstration, I’ve sliced mine into squares, perfect for creating individual pastries.
Creative Ways to Enjoy Your Gluten-Free Puff Pastry
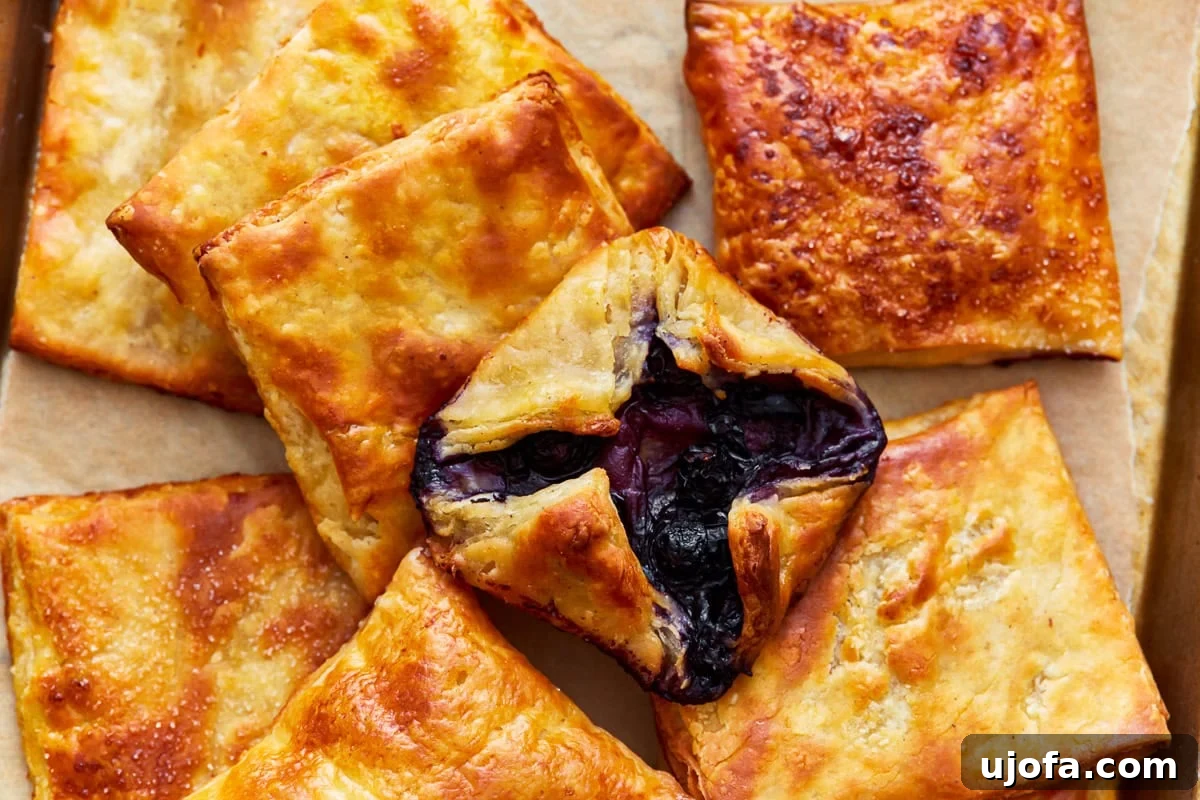
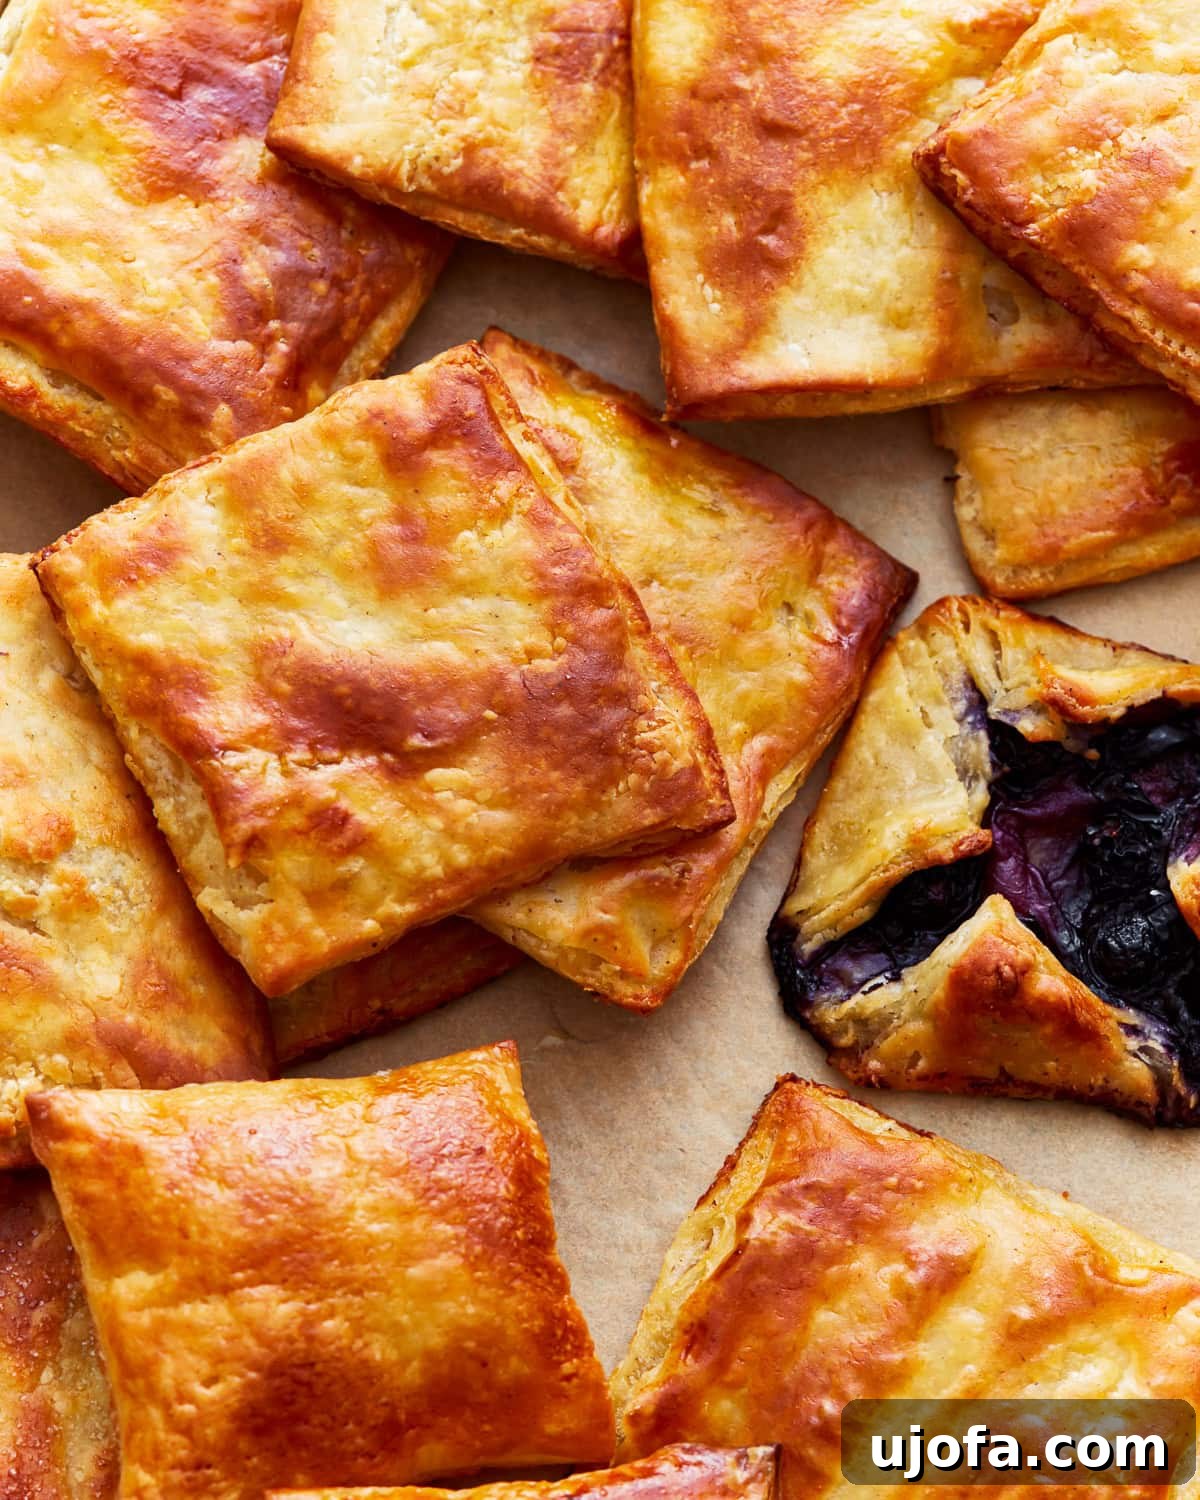
The beauty of homemade gluten-free puff pastry lies in its incredible versatility. Once you’ve mastered this dough, a world of sweet and savory culinary possibilities opens up! I adore making a variety of pastries and puffs with this recipe. For a nostalgic treat, transform it into delightful gluten-free pop tarts, filling them with your favorite fruit jams. It also makes an exceptional, tender, and flaky crust for savory dishes like a rich gluten-free quiche or elegant savory tarts, providing a luxurious base for eggs, cheese, and vegetables. Beyond these, consider using it for:
- Sweet Danish Pastries: Fill squares with a dollop of jam and cream cheese for a homemade gluten-free Danish.
- Mini Sausage Rolls: Wrap strips of pastry around cooked sausages (or plant-based alternatives) for a crowd-pleasing appetizer.
- Fruit Turnovers: Fill with spiced apple or berry filling, fold into triangles, and bake until golden.
- Palmiers (Elephant Ears): Simply sprinkle with sugar, fold, slice, and bake for a classic, crispy cookie.
- Vol-au-vents: Create small, hollow cases to fill with creamy chicken, mushroom, or seafood mixtures.
Storing Your Gluten-Free Puff Pastry Dough
Proper storage ensures your homemade gluten-free puff pastry remains fresh and ready for baking whenever inspiration strikes. Here’s how to store it effectively:
- Refrigerator Storage: If you plan to use your rolled-out gluten-free puff pastry dough within a couple of days, store it in the refrigerator. Lay the rolled-out sheet between sheets of parchment paper (this prevents sticking and makes it easy to handle). Then, wrap the entire stack tightly in multiple layers of plastic wrap, ensuring it’s completely sealed off from air. This method will keep the dough fresh and workable for up to 2 days.
- Freezer Storage: For longer-term storage, this recipe freezes beautifully! After wrapping the dough tightly in plastic wrap as described above, place it into a heavy-duty freezer-safe bag or an airtight container. Label it with the date. Your gluten-free puff pastry dough can be frozen for up to 3 months without significant loss of quality.
- Thawing Frozen Dough: When you’re ready to use frozen dough, simply transfer it from the freezer to the refrigerator and allow it to thaw overnight. Avoid thawing at room temperature, as this can cause the butter to soften too quickly and compromise the delicate layers. Once thawed, proceed with your recipe as usual, ensuring the dough remains cold during handling.
Expand Your Gluten-Free Baking Repertoire with More Pastry Recipes!
If you’ve enjoyed making this gluten-free puff pastry, you’re ready to tackle more exciting baking projects. Explore these other fantastic gluten-free pastry recipes from my kitchen to yours:
- Gluten-Free Phyllo Dough / Filo Pastry: Perfect for baklava, spanakopita, and other delicate layered creations.
- Flaky Gluten-Free Pie Crust: The essential foundation for any sweet or savory pie.
- Soft Gluten-Free Crescent Rolls: Ideal for dinner tables or holiday feasts.
- Classic Gluten-Free Apple Pie: A comforting dessert that everyone can enjoy, with dairy-free and vegan options.