
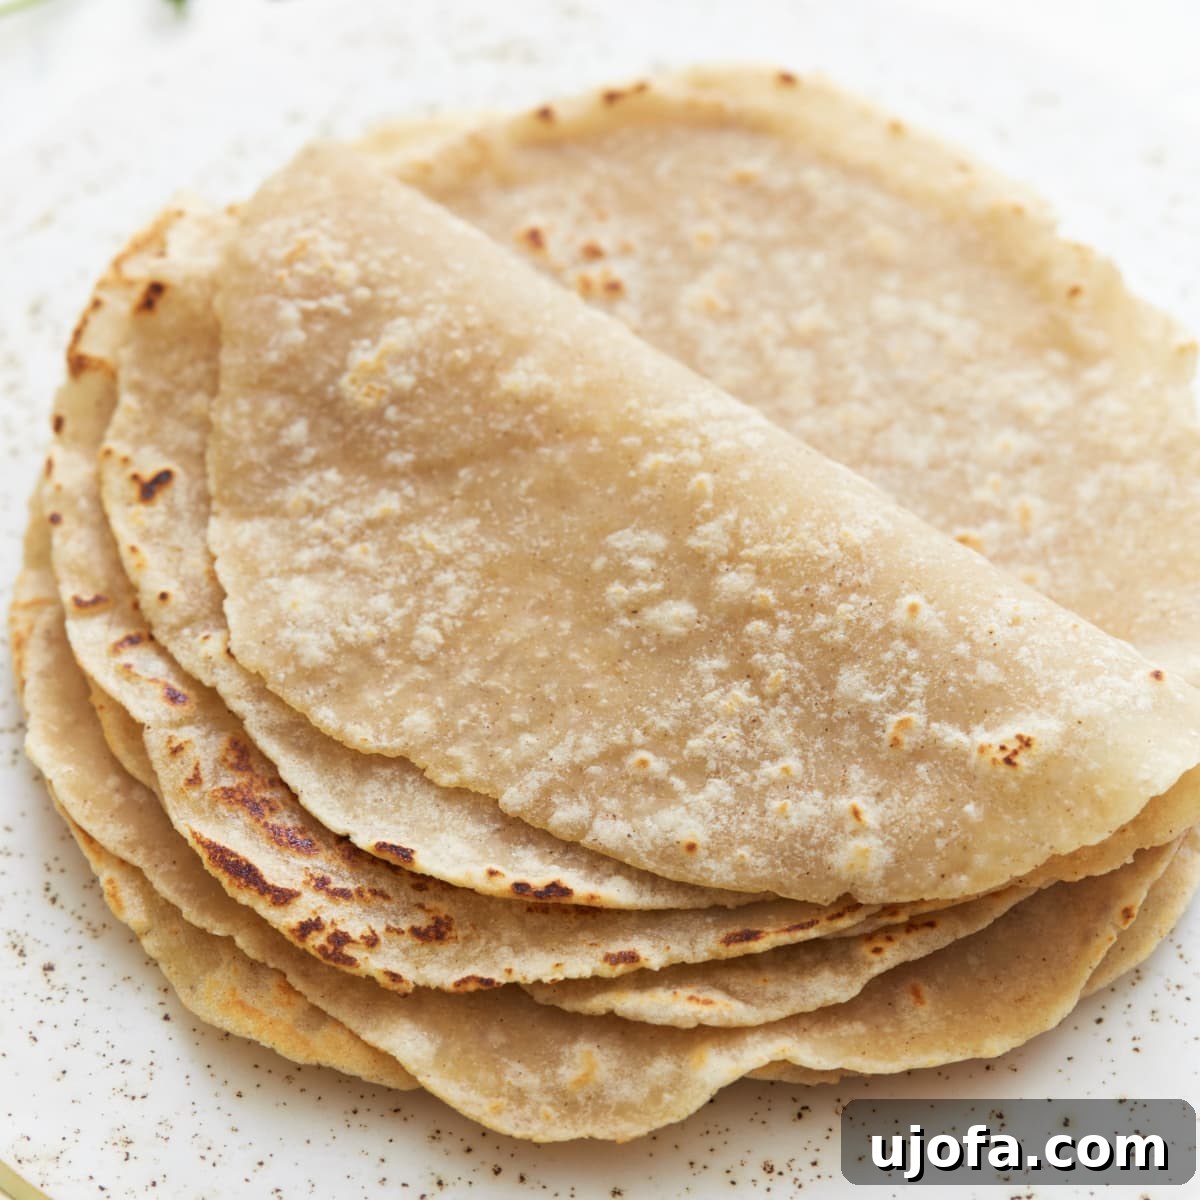
Welcome to the ultimate guide for crafting your own incredibly soft, wonderfully pliable, and perfectly flexible gluten-free tortillas! Prepare to revolutionize your gluten-free cooking with a recipe that is not only surprisingly easy but also requires just five simple ingredients. This comprehensive article will empower you to create homemade gluten-free flour tortillas that effortlessly outshine any store-bought variety, offering superior taste, texture, and the satisfaction of a truly homemade meal. Say goodbye to brittle, cracking tortillas and hello to a staple that will transform your meals.
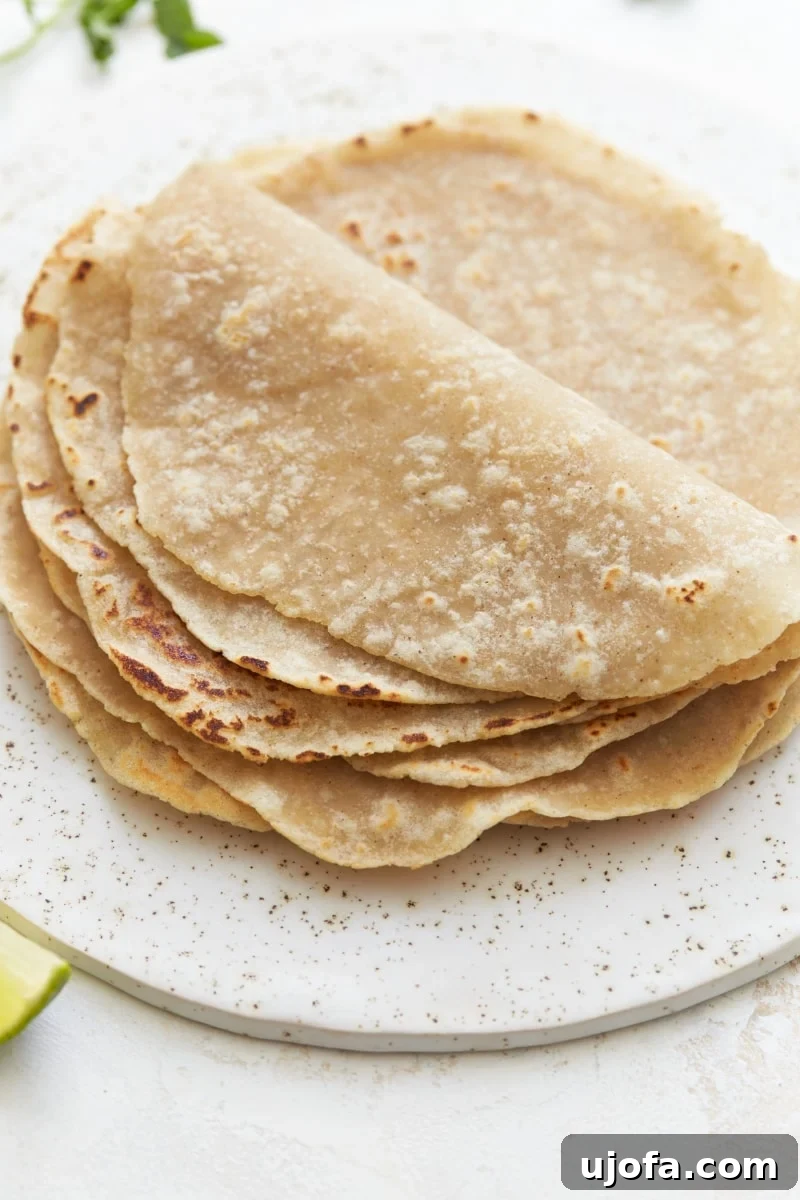
Unlock the Simplicity: Your Go-To 5-Ingredient Recipe for Soft Gluten-Free Flour Tortillas
Embark on a delightful culinary adventure with this incredibly simple and straightforward recipe for gluten-free tortillas. You might think making tortillas from scratch sounds daunting, especially gluten-free ones, but this recipe promises a hassle-free experience with results that will astound you. Crafted with just five fundamental ingredients – gluten-free all-purpose flour, a touch of baking powder, essential salt, warm water, and vegetable oil – you’ll be whipping up a batch of soft, pliable tortillas in mere minutes. This recipe is also a fantastic choice for those with various dietary needs, as it’s naturally dairy-free, egg-free, and entirely vegan, ensuring everyone can enjoy these delicious wraps.
One of the most common concerns when working with gluten-free dough is its manageability. Many gluten-free doughs can be notoriously sticky, crumbly, or challenging to roll out. However, this particular gluten-free tortilla dough stands apart. Its unique composition makes it exceptionally easy to handle, exhibiting a wonderful elasticity that allows for smooth rolling without constant fuss. You’ll find there’s no need for a specialized tortilla press; a standard rolling pin is perfectly sufficient to achieve beautifully thin and perfectly round tortillas. This ease of use makes it a joy for both seasoned bakers and beginners alike.
For my family, these homemade gluten-free flour tortillas have become an indispensable part of our meal rotation. The difference in taste and texture compared to mass-produced store-bought brands is truly remarkable. Freshly made tortillas possess a warmth, softness, and delicate flavor that pre-packaged versions simply cannot replicate. Beyond their traditional use for creating mouth-watering tacos, these versatile tortillas are perfect for an endless array of culinary creations. Imagine vibrant wrap sandwiches bursting with fresh ingredients, crispy and cheesy quesadillas, hearty burritos, or even as a light and flaky base for mini pizzas. Their robust yet flexible nature ensures they hold up perfectly to any filling you choose, without tearing or falling apart.
To guarantee your success in mastering this recipe, I’ve included detailed technique notes and invaluable tips, ensuring you have all the insider knowledge to produce consistently perfect tortillas. Each step is clearly explained and beautifully illustrated with accompanying photographs, guiding you through the entire process with confidence. For an even clearer demonstration, don’t forget to check out the comprehensive recipe video, which visually walks you through every stage of preparation, making it almost impossible to go wrong. Get ready to impress yourself and your loved ones with these delightful homemade gluten-free tortillas!
Essential Ingredients for Your Gluten-Free Tortillas
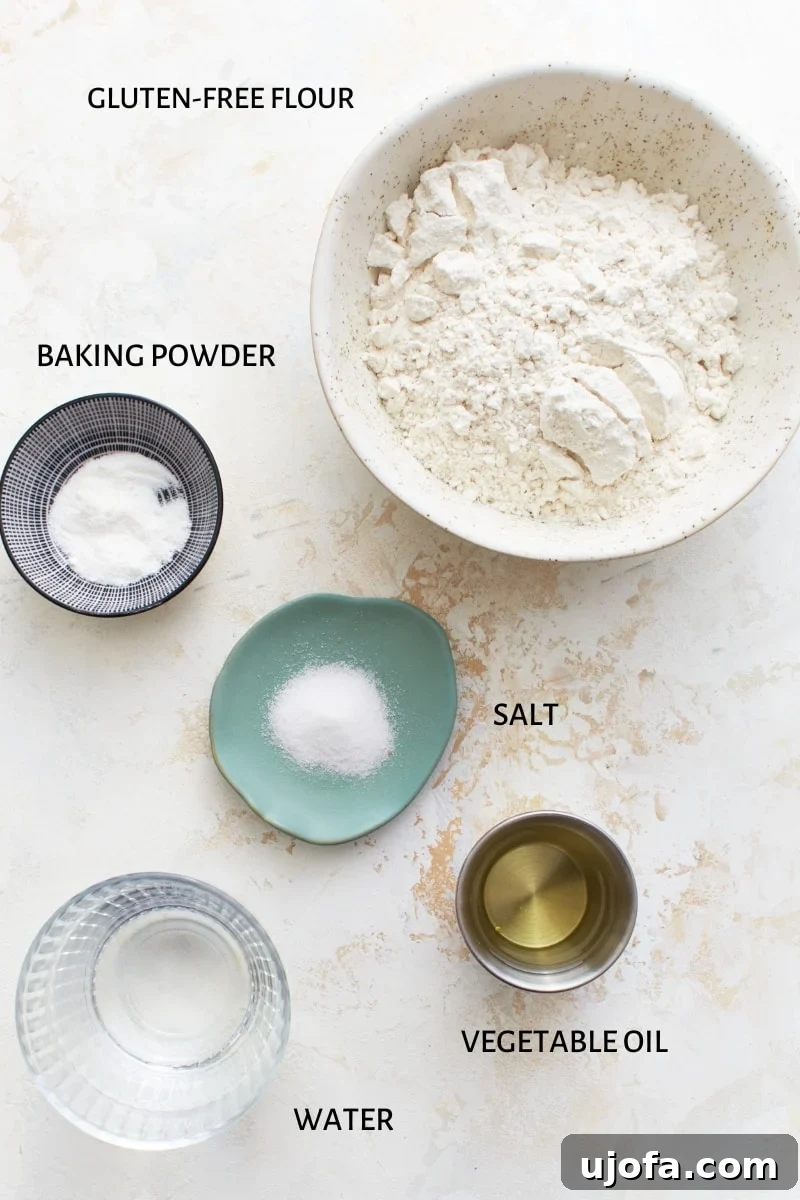
The magic of these incredible gluten-free tortillas lies in the carefully balanced combination of just five simple ingredients. Understanding each component’s role is key to achieving that perfect soft and flexible texture. Here’s a detailed breakdown:
- Gluten-Free All-Purpose Flour with Xanthan Gum: This is the cornerstone of our tortilla dough. The choice of gluten-free flour blend is paramount to the final texture and pliability. My absolute favorite for this recipe, consistently delivering the best results, is Better Batter gluten-free flour. It provides exceptional softness and flexibility. It’s crucial to recognize that not all gluten-free flour blends are interchangeable. For instance, I’ve also successfully tested this recipe with Bob’s Red Mill 1 to 1, King Arthur Measure for Measure, and Pillsbury gluten-free flour. While these work, you may notice slight variations in the dough’s feel and the tortillas’ final texture. The inclusion of xanthan gum in your flour blend is vital; it acts as a binder, compensating for the absence of gluten and giving the dough the necessary elasticity to be rolled thin without tearing.
- Baking Powder: A small but mighty leavening agent, baking powder is added to give the tortillas a subtle lift, creating a lighter, more tender crumb. This helps prevent them from becoming dense or stiff, ensuring they remain soft and enjoyable.
- Salt: Essential for enhancing the overall flavor profile, salt brightens the taste of the tortillas and balances the other ingredients. A pinch of salt elevates the simple flour and water mixture into something truly savory and delicious.
- Vegetable Oil: The addition of vegetable oil is key to achieving the desired tenderness and flexibility in your tortillas. I highly recommend using a light, neutral-flavored oil such as canola oil, as it won’t overpower the delicate flavor of the tortilla itself. Olive oil or other mild vegetable oils can also be used, but always ensure they have a subtle taste.
- Warm Water: The temperature of your water makes a significant difference in gluten-free dough. Using warm water (not boiling hot) helps to hydrate the gluten-free flour more effectively and quickly. This leads to a more cohesive, smoother, and incredibly pliable dough that is easier to mix and roll out. A quick 20-second zap in the microwave usually gets water to the perfect warm temperature without making it too hot to handle.
Expert Tips & Smart Suggestions for Perfect Gluten-Free Tortillas Every Time
While the recipe itself is straightforward, a few key tips and techniques can elevate your gluten-free tortilla-making from good to absolutely perfect. Pay close attention to these suggestions for consistently soft, flexible, and flavorful results:
- Choosing the Right Oil: Always opt for a light and neutral-flavored vegetable oil, such as canola oil. Heavy or strongly flavored oils can overpower the delicate taste of your tortillas.
- Optimal Water Temperature: The warmth of your water is more important than you might think. Very warm, but not boiling, water helps activate the starches in gluten-free flour, making the dough more pliable and easier to work with. I find heating the water in the microwave for just 20 seconds achieves the ideal temperature – warm to the touch, but not hot.
- Flour Blend’s Impact: As highlighted in the ingredients section, your choice of gluten-free flour blend will significantly influence the outcome. My extensive testing confirms that Better Batter gluten-free flour yields the most superior tortillas: incredibly soft, flexible, and with excellent flavor. If you choose to use other brands (like Bob’s Red Mill 1 to 1, King Arthur Measure for Measure, or Pillsbury gluten-free), be prepared that the dough consistency and final texture might vary slightly. You may need minor adjustments to liquid or flour.
- Accurate Flour Measurement (Spoon & Level Method): One of the most common pitfalls in gluten-free baking is over-measuring flour. Always use the “spoon & level” method: gently spoon the flour into your measuring cup until it’s overflowing, then use the back of a knife or a straight edge to level it off. This prevents compacting the flour, ensuring you don’t add too much dry ingredient, which can lead to a dry, crumbly dough.
- Preventing Dough from Drying Out: Gluten-free dough can dry out quickly, losing its elasticity and becoming difficult to roll. Always keep any dough portions you’re not actively rolling covered with a clean, damp kitchen towel. This simple step keeps the dough moist and pliable.
- The Parchment Paper Rolling Technique: Forget flouring your rolling pin and workstation! The best method for rolling thin, non-stick gluten-free tortillas is to place your dough ball between two pieces of parchment paper. This creates a non-stick barrier, allows you to roll the dough incredibly thin, and prevents excess flour from getting onto the tortillas (which can burn in the pan). Plastic cling wrap can also be used for the top layer.
- Achieving Uniform Thinness: The secret to truly flexible tortillas lies in rolling them out as thinly and evenly as possible. Aim for a consistent thickness across the entire circle. Thinner tortillas cook faster, are more pliable, and have a better mouthfeel.
- Perfect Pan Preparation for Cooking: A well-seasoned cast iron pan is ideal for cooking these tortillas, as it distributes heat evenly and helps achieve those desirable browned spots. Add approximately a tablespoon of canola oil to the pan, then use a paper towel to thoroughly rub it around, creating a very thin, even layer. Avoid having excess oil pooling in the pan. You might need to lightly re-grease the pan after every few tortillas.
- Optimizing Cooking Temperature: Based on my experience, a stovetop setting between 6 and 7 (medium-high) works perfectly for cooking on a cast iron pan. If you’re using a different type of heavy-bottomed skillet, you might need to adjust your heat slightly, potentially lower, to prevent burning or overcooking. Overcooked tortillas will become stiff and lose their flexibility, so watch them closely! Cook just until light brown spots appear and a few bubbles form.
- Keeping Tortillas Warm and Soft: As each tortilla finishes cooking, immediately transfer it to a plate and cover the stack with a clean kitchen towel. The steam trapped underneath the towel will keep the tortillas warm, soft, and moist, ensuring they remain pliable until serving time.
Reheating Your Gluten-Free Tortillas
Enjoying your homemade gluten-free tortillas doesn’t stop after the first meal! Proper reheating is essential to restore their soft and flexible texture. Here are two convenient methods:
- Stovetop Method (Recommended for Best Texture): For the best results, heat a dry skillet (cast iron or non-stick) over medium heat. Place a tortilla in the warm pan for about 15-20 seconds per side, just until it’s heated through and soft again. Be careful not to overcook, as this can make them stiff.
- Microwave Method (Quick & Easy): For a quicker option, lightly dampen two paper towels. Place a tortilla (or a small stack of 2-3) between the damp paper towels. Microwave for 15 to 20 seconds. The moisture from the paper towels creates steam, keeping the tortillas incredibly soft and moist.
Freezing Gluten-Free Tortillas for Later Enjoyment
These gluten-free tortillas freeze beautifully, making them an excellent candidate for batch cooking. Having a stash in your freezer means delicious, homemade tortillas are always just a few minutes away:
- Once your freshly cooked tortillas have completely cooled to room temperature, stack them with small pieces of parchment paper in between each tortilla to prevent sticking.
- Wrap the entire stack tightly in freezer-safe plastic cling film, then place them into a heavy-duty freezer bag or an airtight freezer-safe container. This double-layer protection helps prevent freezer burn.
- Properly stored, they can be frozen for up to 3 months without any loss of quality.
- To use, simply defrost the tortillas in the refrigerator overnight. For a quicker option, you can gently microwave them for a minute or two until pliable. Once defrosted, reheat them using either the stovetop or microwave methods described above for optimal results.
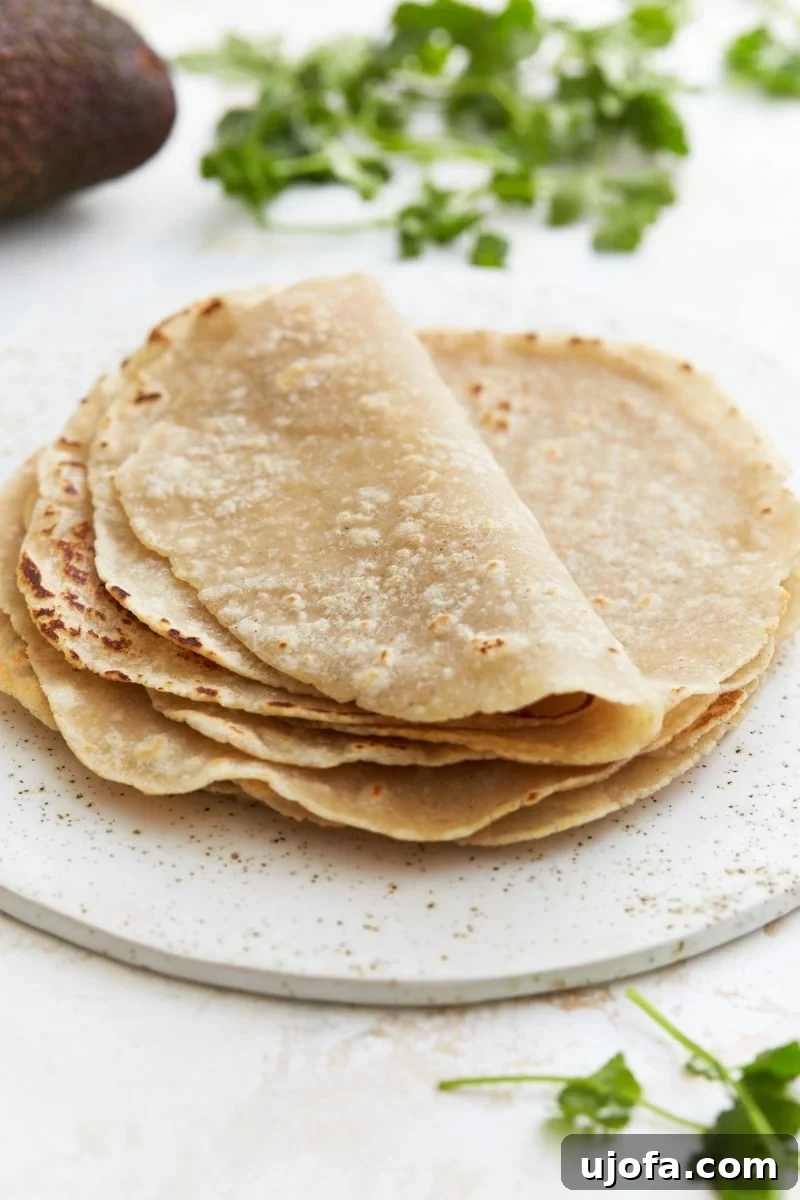
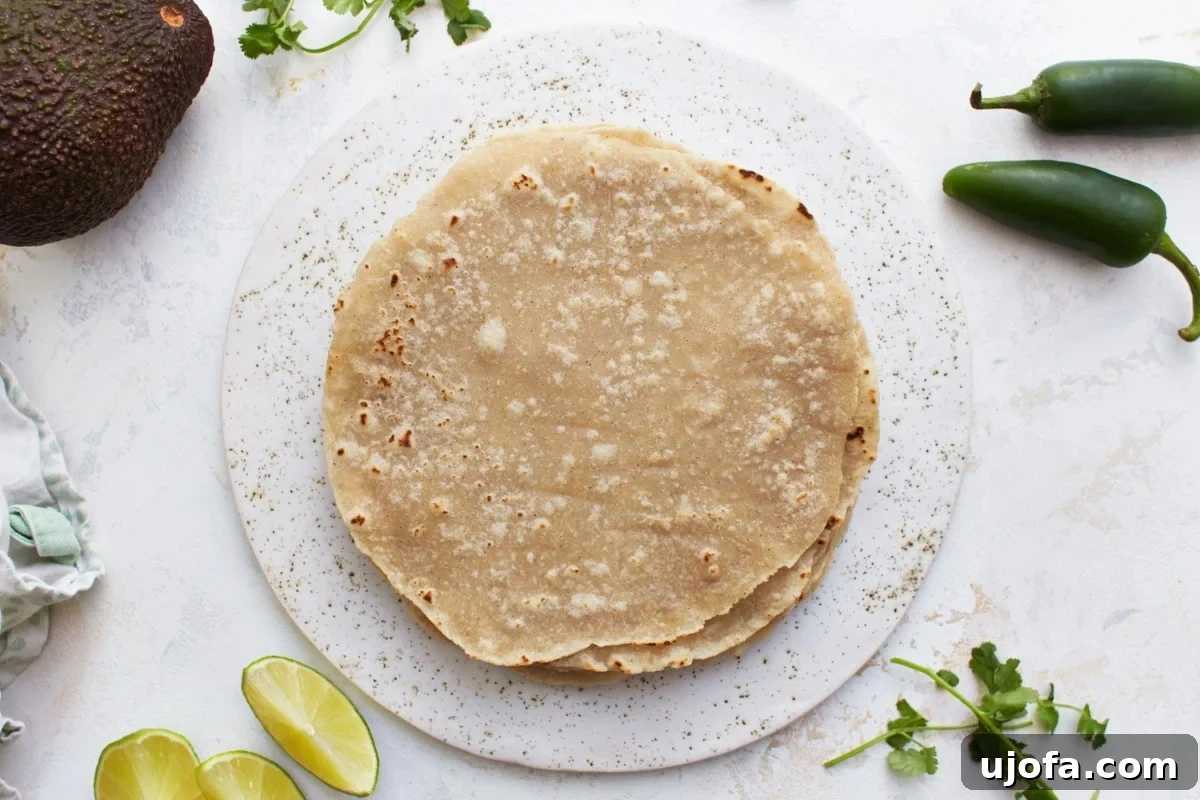
It’s time to skip those often-disappointing and frequently expensive store-bought gluten-free tortillas and wraps! Embracing the art of making tortillas from scratch is a deeply rewarding experience, and as you’ve discovered through this guide, it’s far simpler than you might have imagined. These homemade gluten-free flour tortillas are nothing short of a culinary revelation – perfectly soft, delightfully flexible, and robust enough to hold any filling, they are the ideal foundation for an endless array of delicious meals. Whether you’re planning a lively taco night, assembling hearty burritos for lunch, creating crispy, gooey quesadillas, or preparing healthy sandwich wraps, these tortillas deliver on every front: taste, texture, and unparalleled freshness. Get ready to elevate your home cooking, impress your guests, and savor the true flavor of homemade goodness!
Expand Your Gluten-Free Baking Skills: More Delicious Bread Recipes!
If you’ve enjoyed the satisfaction of making your own gluten-free tortillas, you’ll be thrilled to discover more of our easy and satisfying gluten-free bread recipes. From everyday loaves to delightful dinner rolls, we offer a variety of options for every baker looking to enjoy delicious, gluten-free alternatives:
- Easy Gluten-Free Bread: A simple, foolproof recipe for a classic, fluffy gluten-free loaf perfect for sandwiches or toast.
- Gluten-Free Sweet Cornbread: A wonderfully moist and flavorful cornbread that pairs perfectly with chili, stew, or enjoyed on its own.
- Gluten-Free Bread Machine Bread: Experience the ultimate convenience with this recipe, designed for effortless baking in your bread machine, yielding perfect results every time.
- Gluten-Free Dinner Rolls: Soft, airy, and incredibly delicious, these rolls are ideal for complementing any meal or gathering.
Gluten-Free Tortillas Recipe
Email Recipe
Print Recipe
Ingredients
- 1 1/2 cup gluten-free all-purpose flour with xanthan gum, I like Better Batter for this recipe. Please see my notes on all the brands I tested for this recipe.
- 1 teaspoon gluten-free baking powder
- 1/2 teaspoon salt
- 3/4 cups water, very warm, I microwaved the water for 20 seconds to heat it up.
- 2 tablespoons vegetable oil, I like canola oil for this recipe.
Recipe Video Guide
Watch this short video to see just how easy it is to make these gluten-free tortillas:

A video tutorial for making gluten-free tortillas is available.
Instructions
-
In a large bowl, combine the gluten-free flour, baking powder, and salt. Whisk them together thoroughly to ensure all dry ingredients are evenly distributed.
-
Stir in the warm water and vegetable oil until just combined.
-
Using a spoon or spatula, mix until a shaggy dough forms.
-
Using your hands, continue to mix and gently knead the dough until it forms a smooth, cohesive dough ball and all liquid has been absorbed.
-
Turn on your stove to medium-high heat and place a greased cast-iron skillet (or another heavy-bottomed pan) on it to pre-heat while you roll the dough.
-
Pinch off a golf ball-sized piece of dough and roll into a smooth ball. You should get eight dough balls.
-
Cover the bowl with the remaining dough with a clean kitchen towel to keep it from drying out.
-
Place one dough ball on a piece of parchment paper. Flatten it with your hand to make a disk shape.
-
Place a piece of plastic cling wrap or another piece of parchment paper over the dough and use a rolling pin to roll it out into a 7-inch thin circle.
-
Carefully transfer the rolled tortilla to the pre-heated, greased pan. Cook over medium-high heat until lightly browned, 30 seconds to 1 minute on each side. If tortillas are stiff, they were cooked too long or heat was too high. You want light bubbles on top and light brown spots on the underside.
-
Stack the cooked tortillas on a plate and cover with a towel to keep them warm and soft.
-
Once completely cooled, store leftover tortillas in an airtight plastic storage bag and refrigerate.
Recipe Notes for Optimal Results
- Flour Blend Recommendation: My preferred gluten-free flour for this recipe is Better Batter gluten-free flour. Not all gluten-free flours are created equal, and results may vary.
- Tested Flour Brands: This recipe was tested with Better Batter, Bob’s Red Mill 1 to 1, King Arthur Measure for Measure, and Pillsbury gluten-free. Better Batter yielded the best texture.
- Storing Leftovers: Store cooled leftovers in a plastic storage bag and refrigerate for several days.
- Reheating Instructions: Reheat on the stovetop in a pan, or microwave between two damp paper towels for 15-20 seconds.
- Freezing for Future Use: Wrap completely cooled tortillas in freezer-safe wrap and place in a freezer bag for up to 3 months. Defrost in the refrigerator overnight or in the microwave, then reheat as desired.
- Always Check Labels: Mama says, “Always check your labels!” to ensure all ingredients are certified gluten-free.
Nutrition Information (Approximate)
Calories: 105 kcal
Carbohydrates: 16 g
Protein: 2 g
Fat: 4 g
Saturated Fat: 3 g
Sodium: 199 mg
Fiber: 2 g
Sugar: 1 g
Calcium: 44 mg
Iron: 1 mg
Nutrition information provided is an estimation and may vary based on specific ingredient brands and preparation methods. It should be used as an approximation.
Additional Recipe Info
Tried this incredible recipe?
We’d love to see your creations! Mention @mamaknowsglutenfree or tag #mamaknowsglutenfree on Instagram to share your gluten-free tortilla triumphs!
Step-by-Step Guide: Crafting Your Perfect Gluten-Free Tortillas
For a clear, visual walkthrough, follow these detailed step-by-step instructions with accompanying photos. This section ensures you can confidently navigate each stage of making perfectly soft and flexible gluten-free tortillas from scratch.
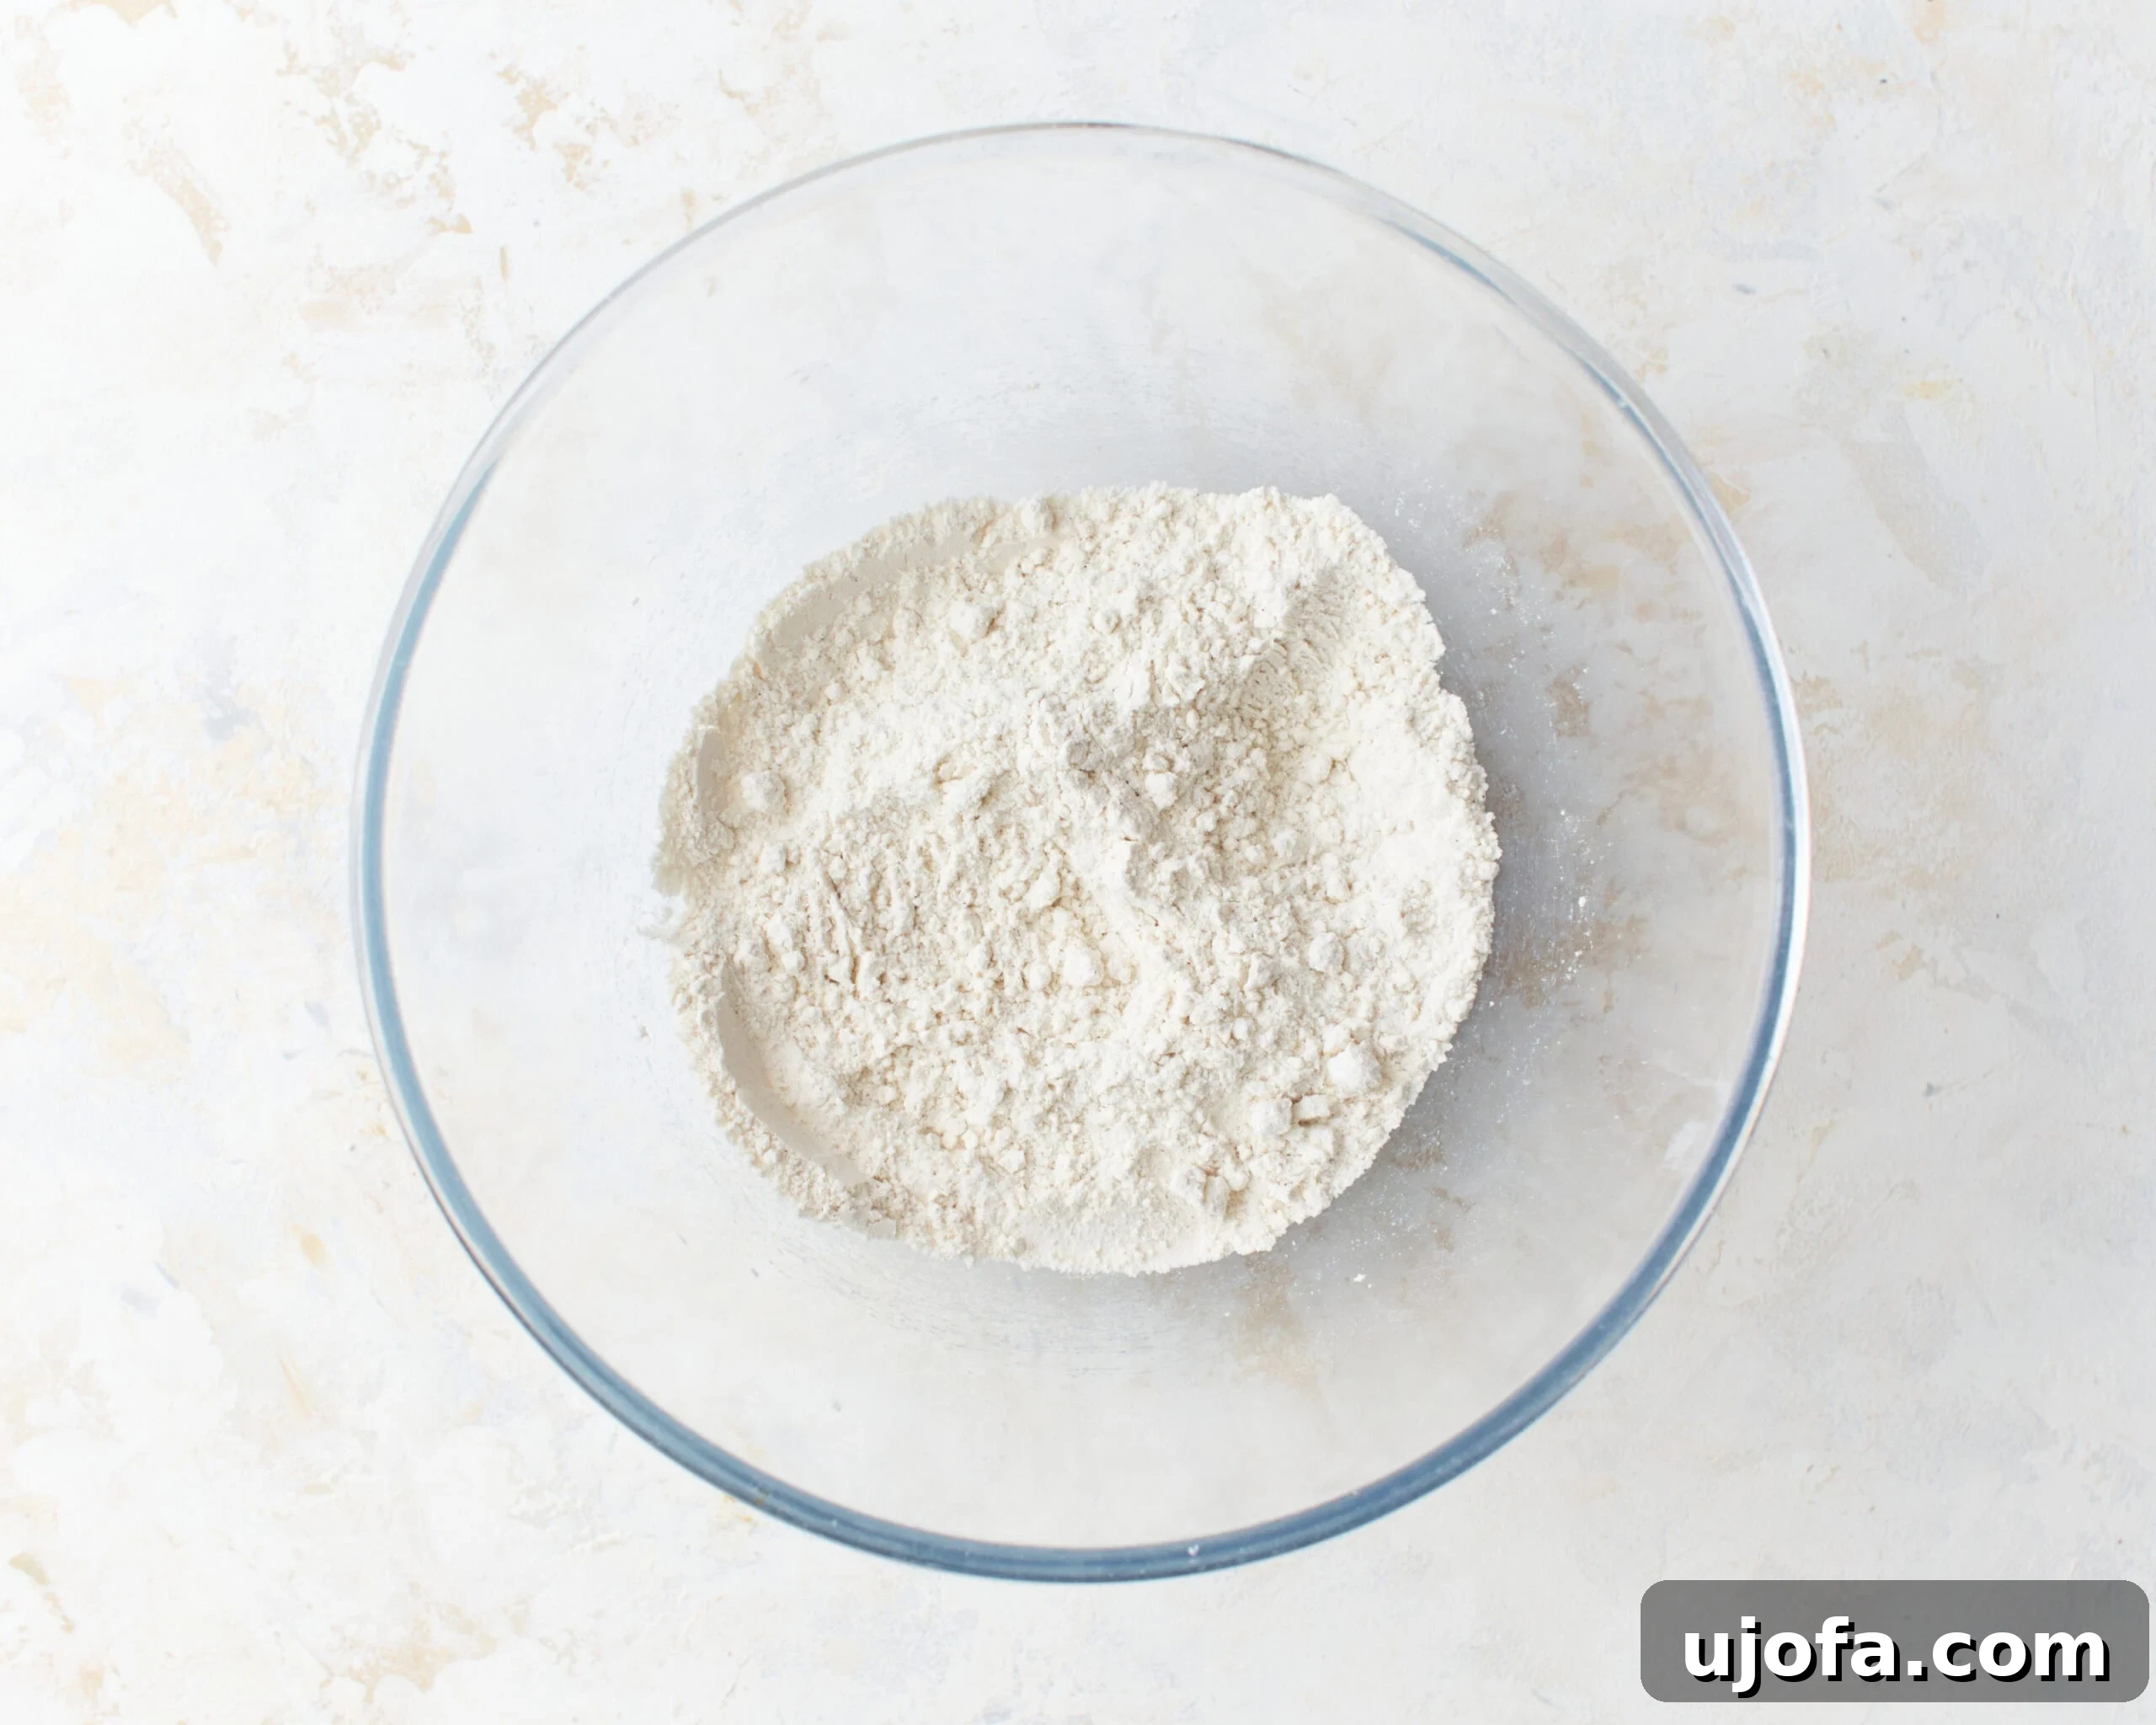
Step 1: Combine Dry Ingredients. In a spacious mixing bowl, carefully measure and combine 1 1/2 cups of your chosen gluten-free all-purpose flour (Better Batter is highly recommended for best results), 1 teaspoon of gluten-free baking powder, and 1/2 teaspoon of salt. Use a whisk to thoroughly blend these dry components, ensuring an even distribution, which is foundational for a consistent dough texture.
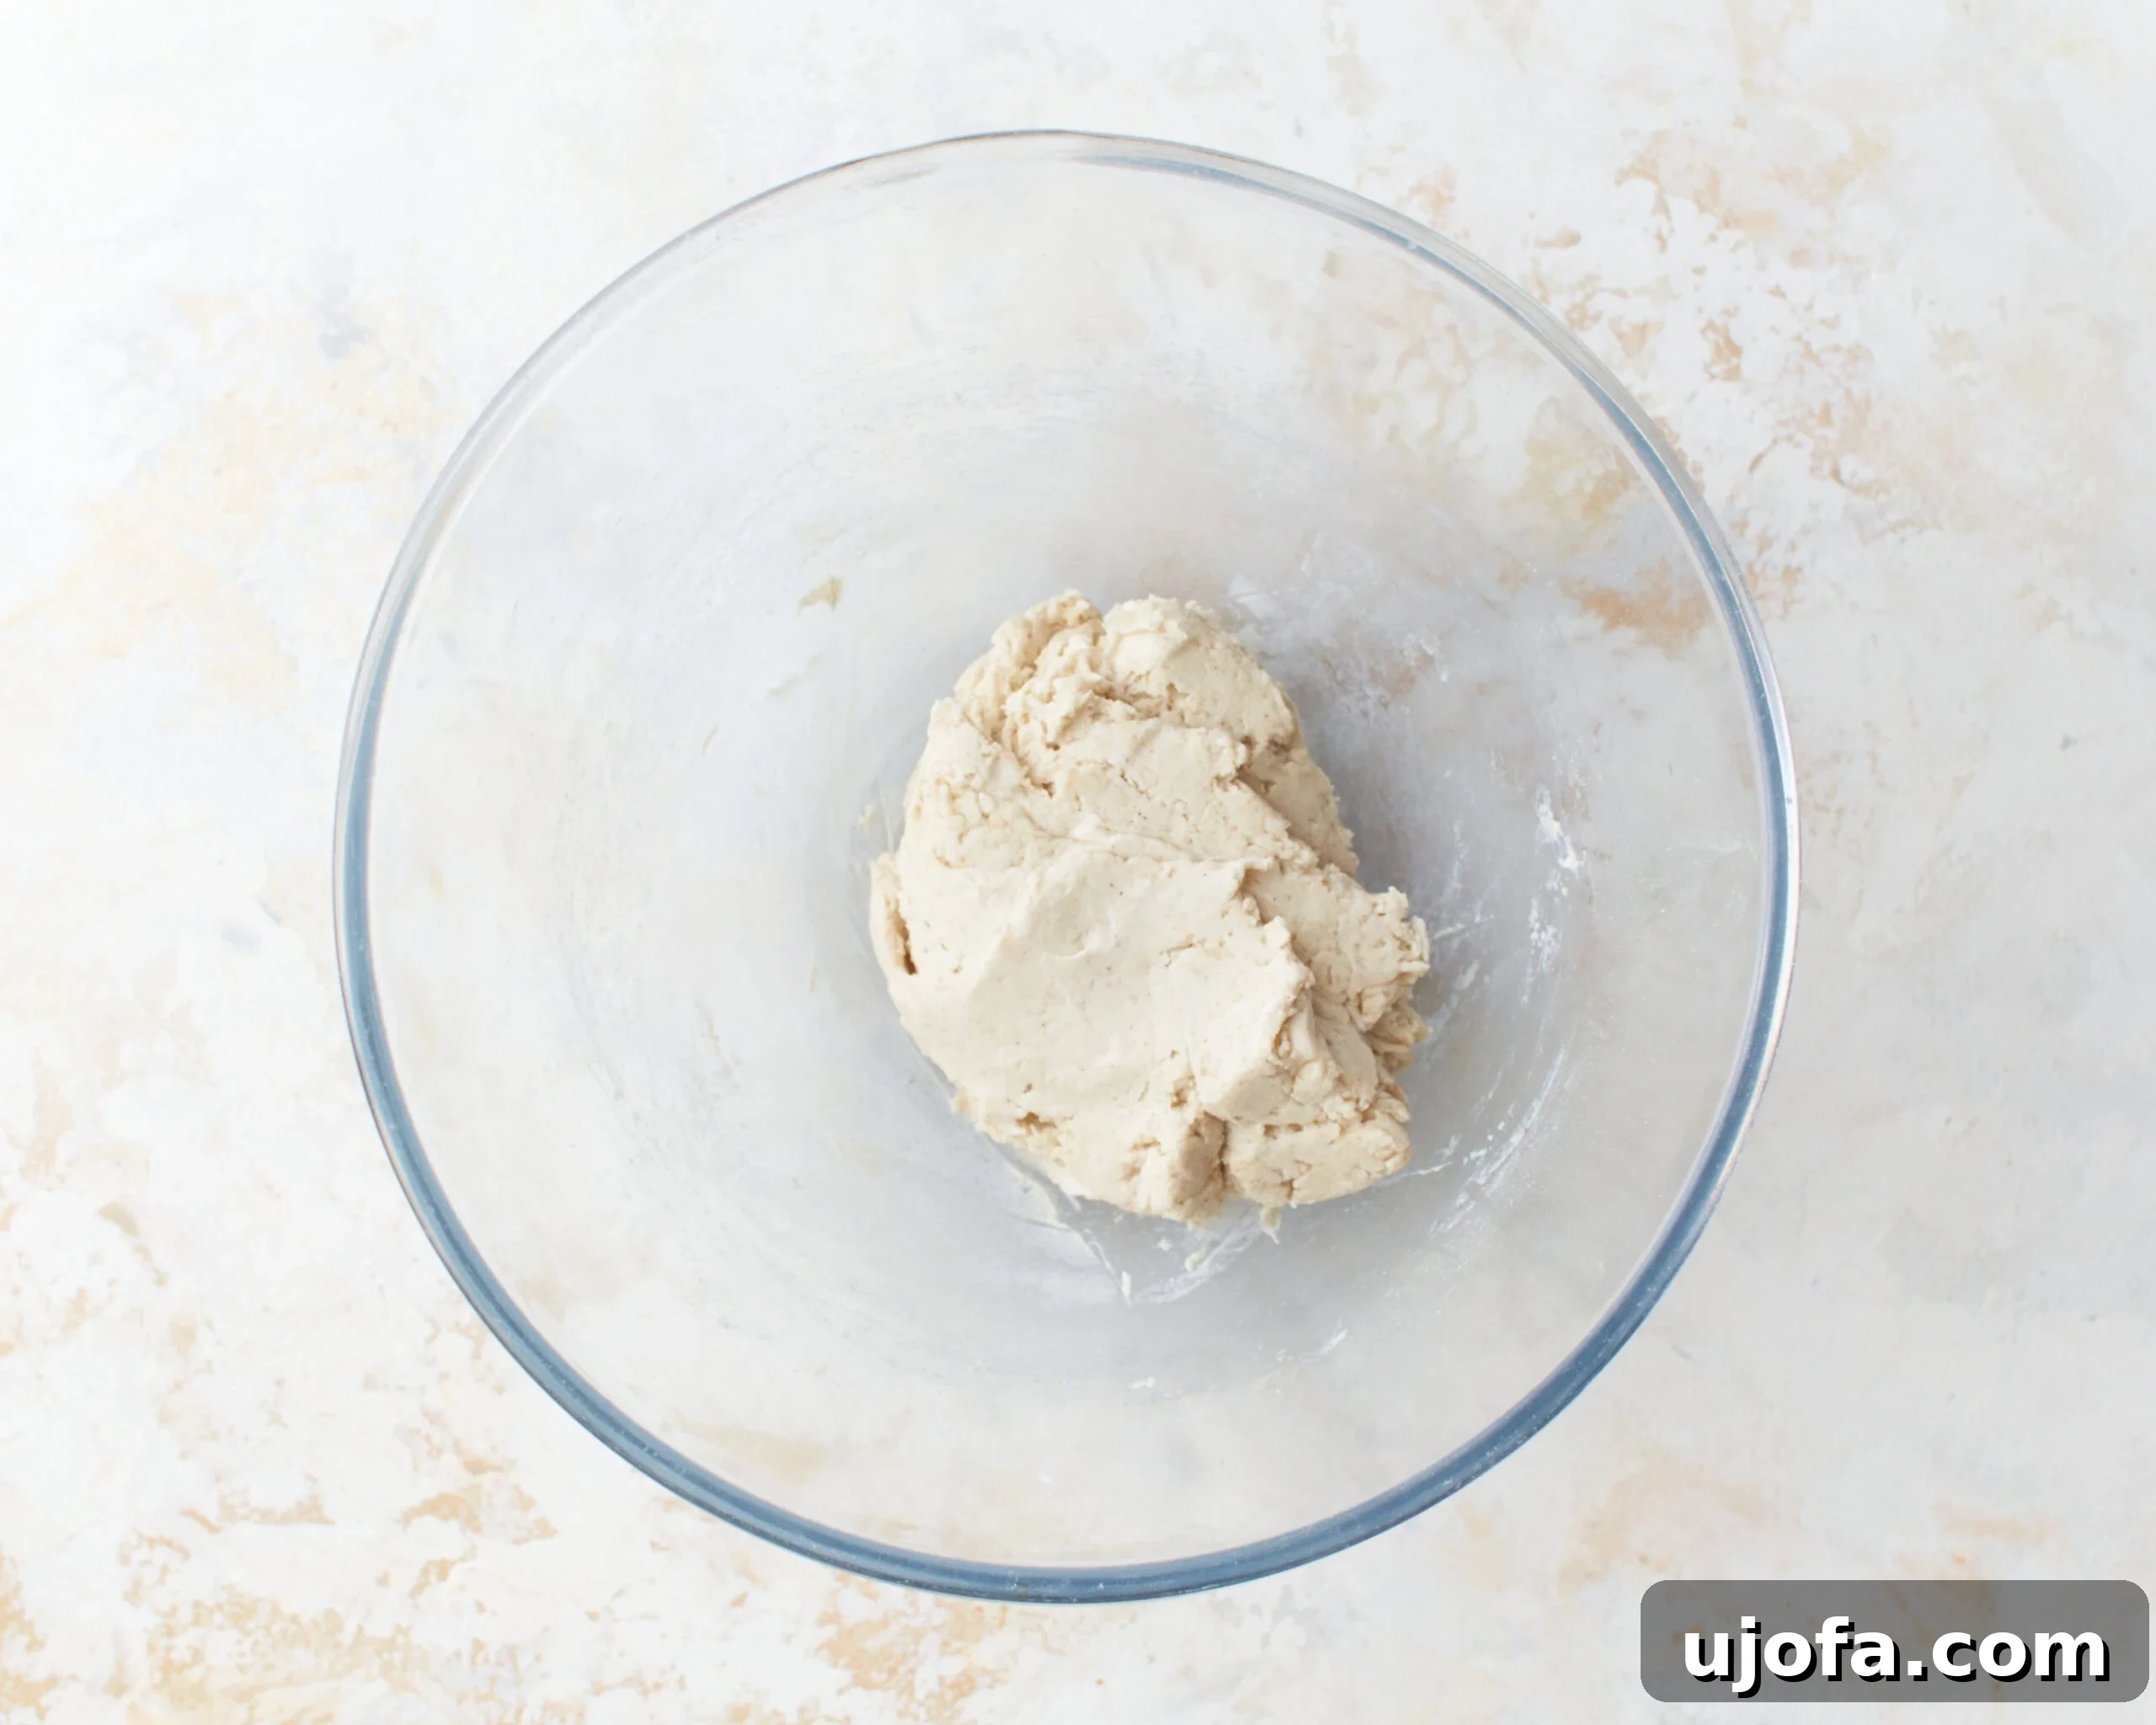
Step 2: Incorporate Wet Ingredients. Introduce 3/4 cups of very warm water (warmed for about 20 seconds in the microwave to make it comfortable to touch, not hot) and 2 tablespoons of vegetable oil (canola oil is recommended for its neutral flavor) to the dry mixture. Stir these ingredients together using a sturdy spoon or spatula until they are just combined and the mixture starts to look like a shaggy, lumpy dough.
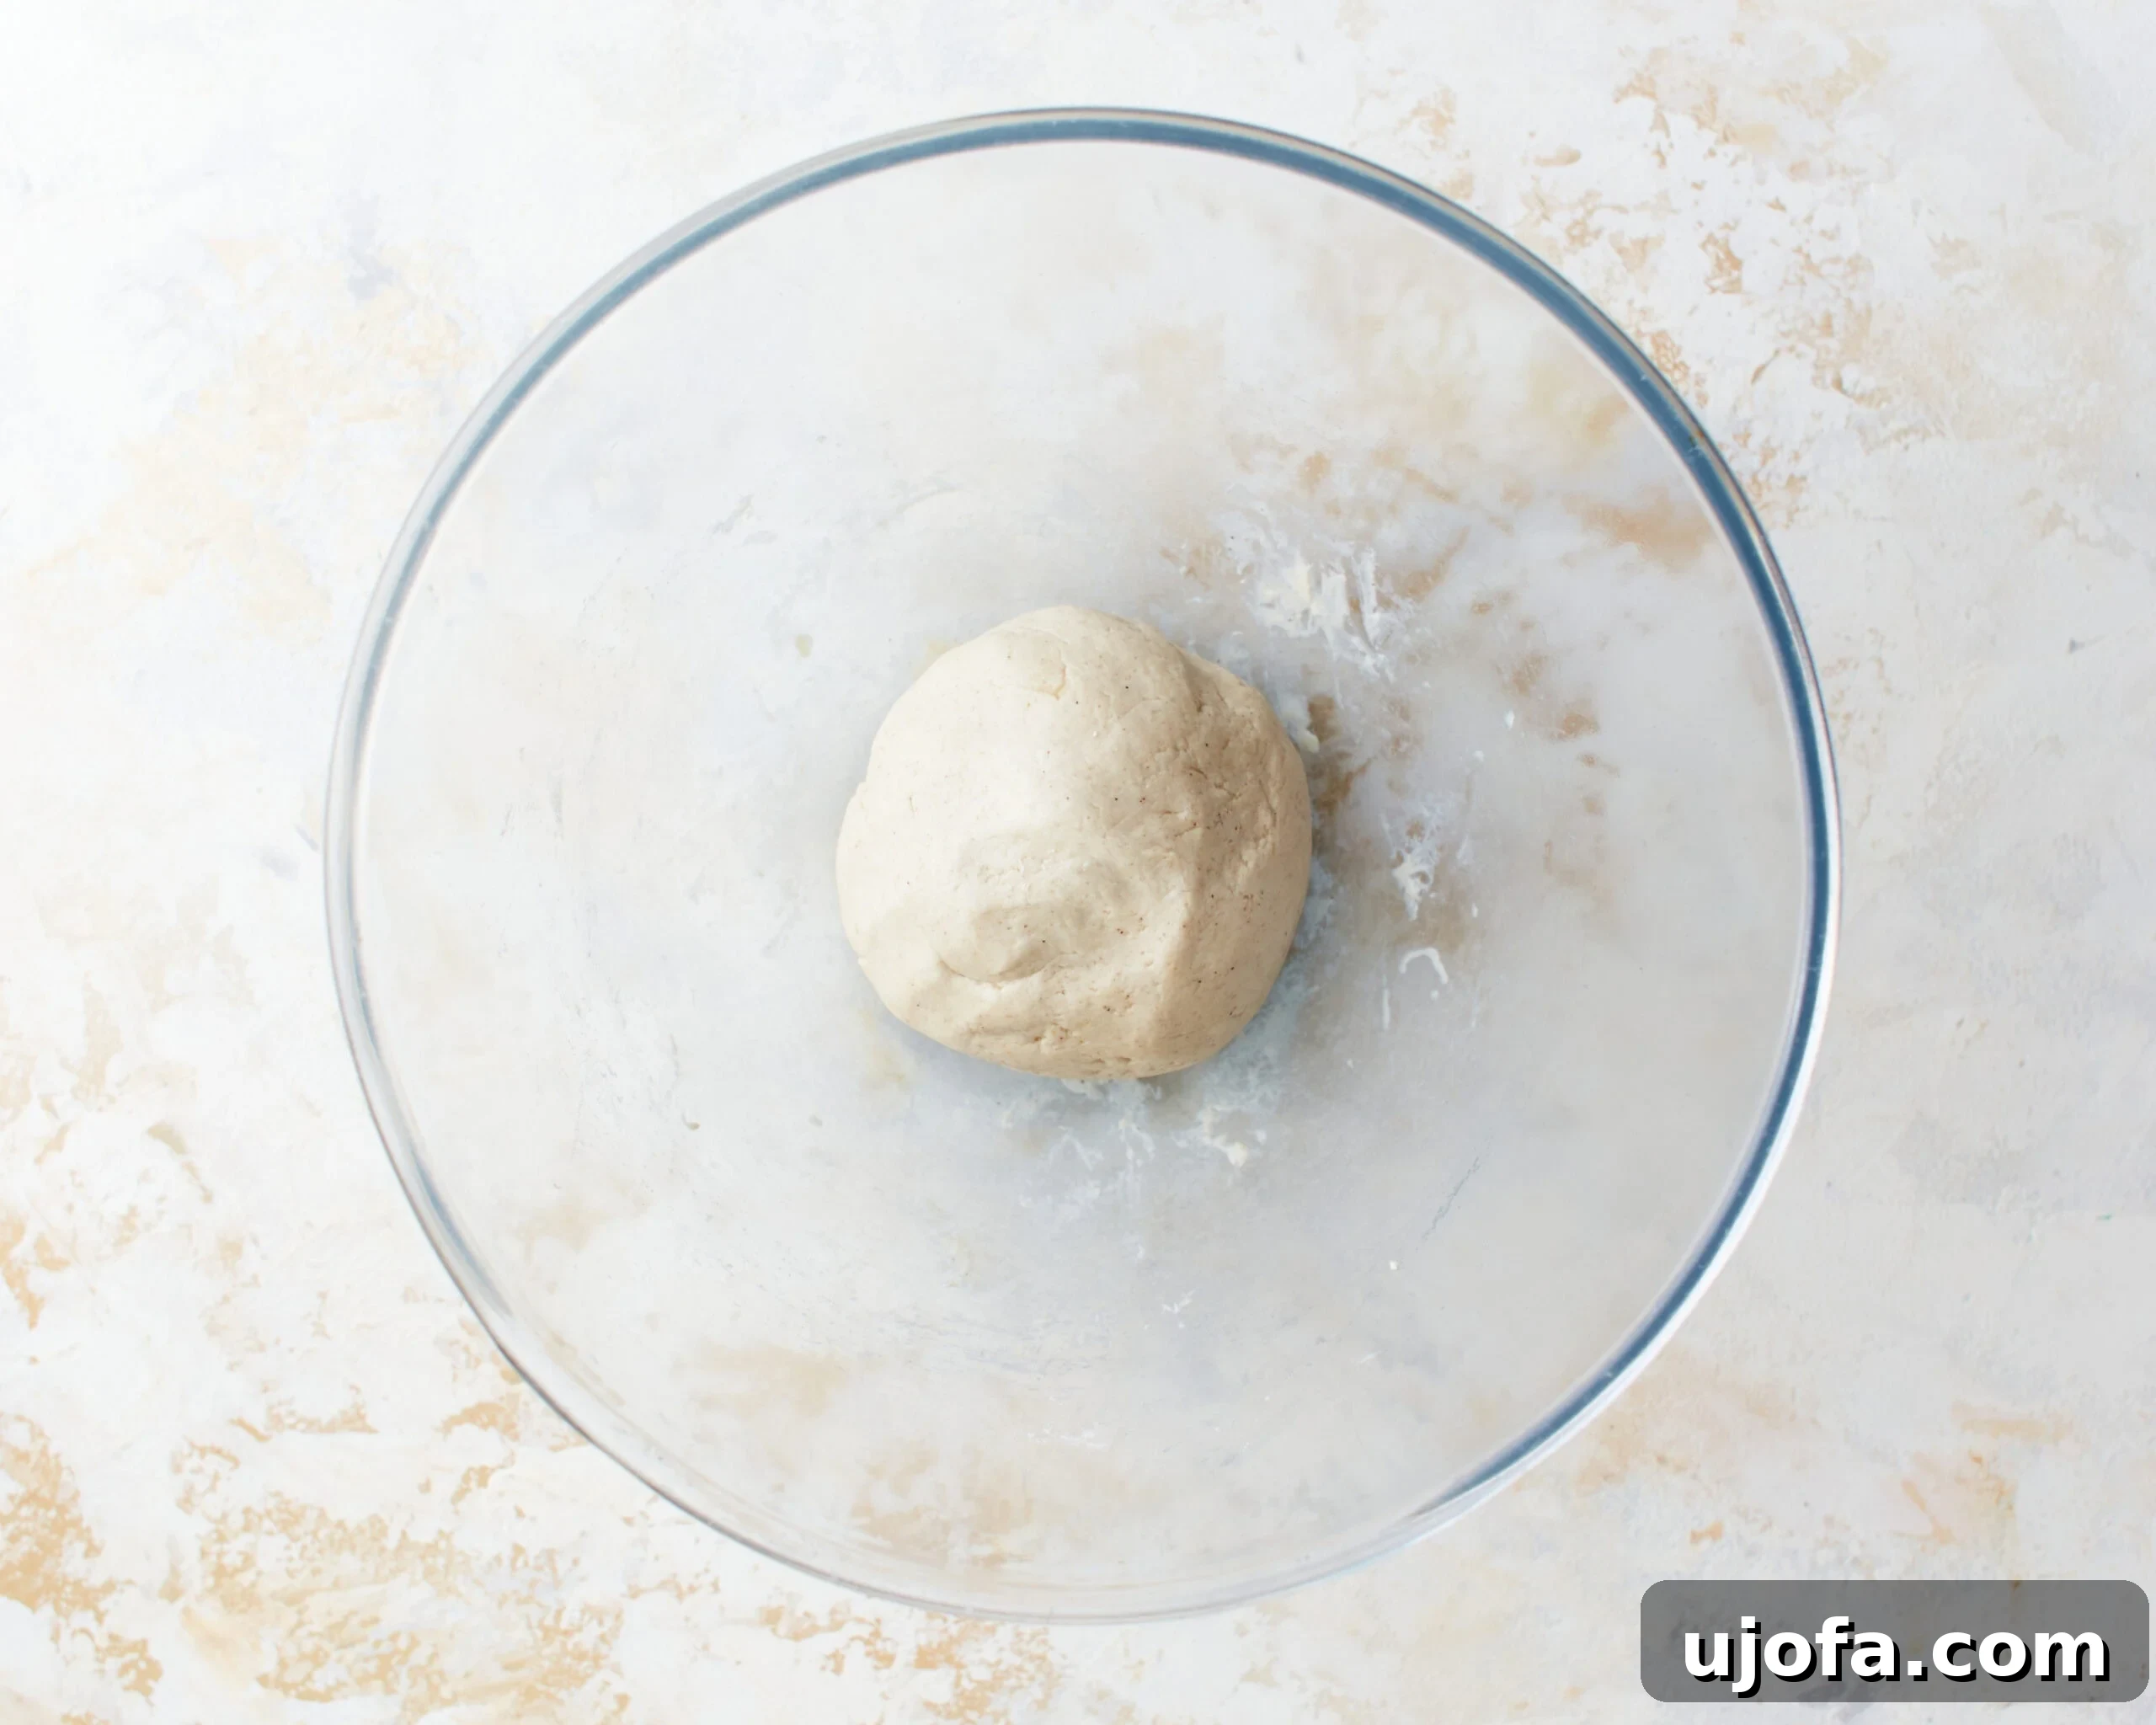
Step 3: Form the Dough Ball. At this point, set aside your utensil and transition to using your hands. Continue to mix and gently knead the dough directly in the bowl. Work it until all the liquid has been fully absorbed, and the mixture transforms into a smooth, cohesive dough ball. It should be soft and pliable, not overly sticky or dry, indicating perfect hydration.
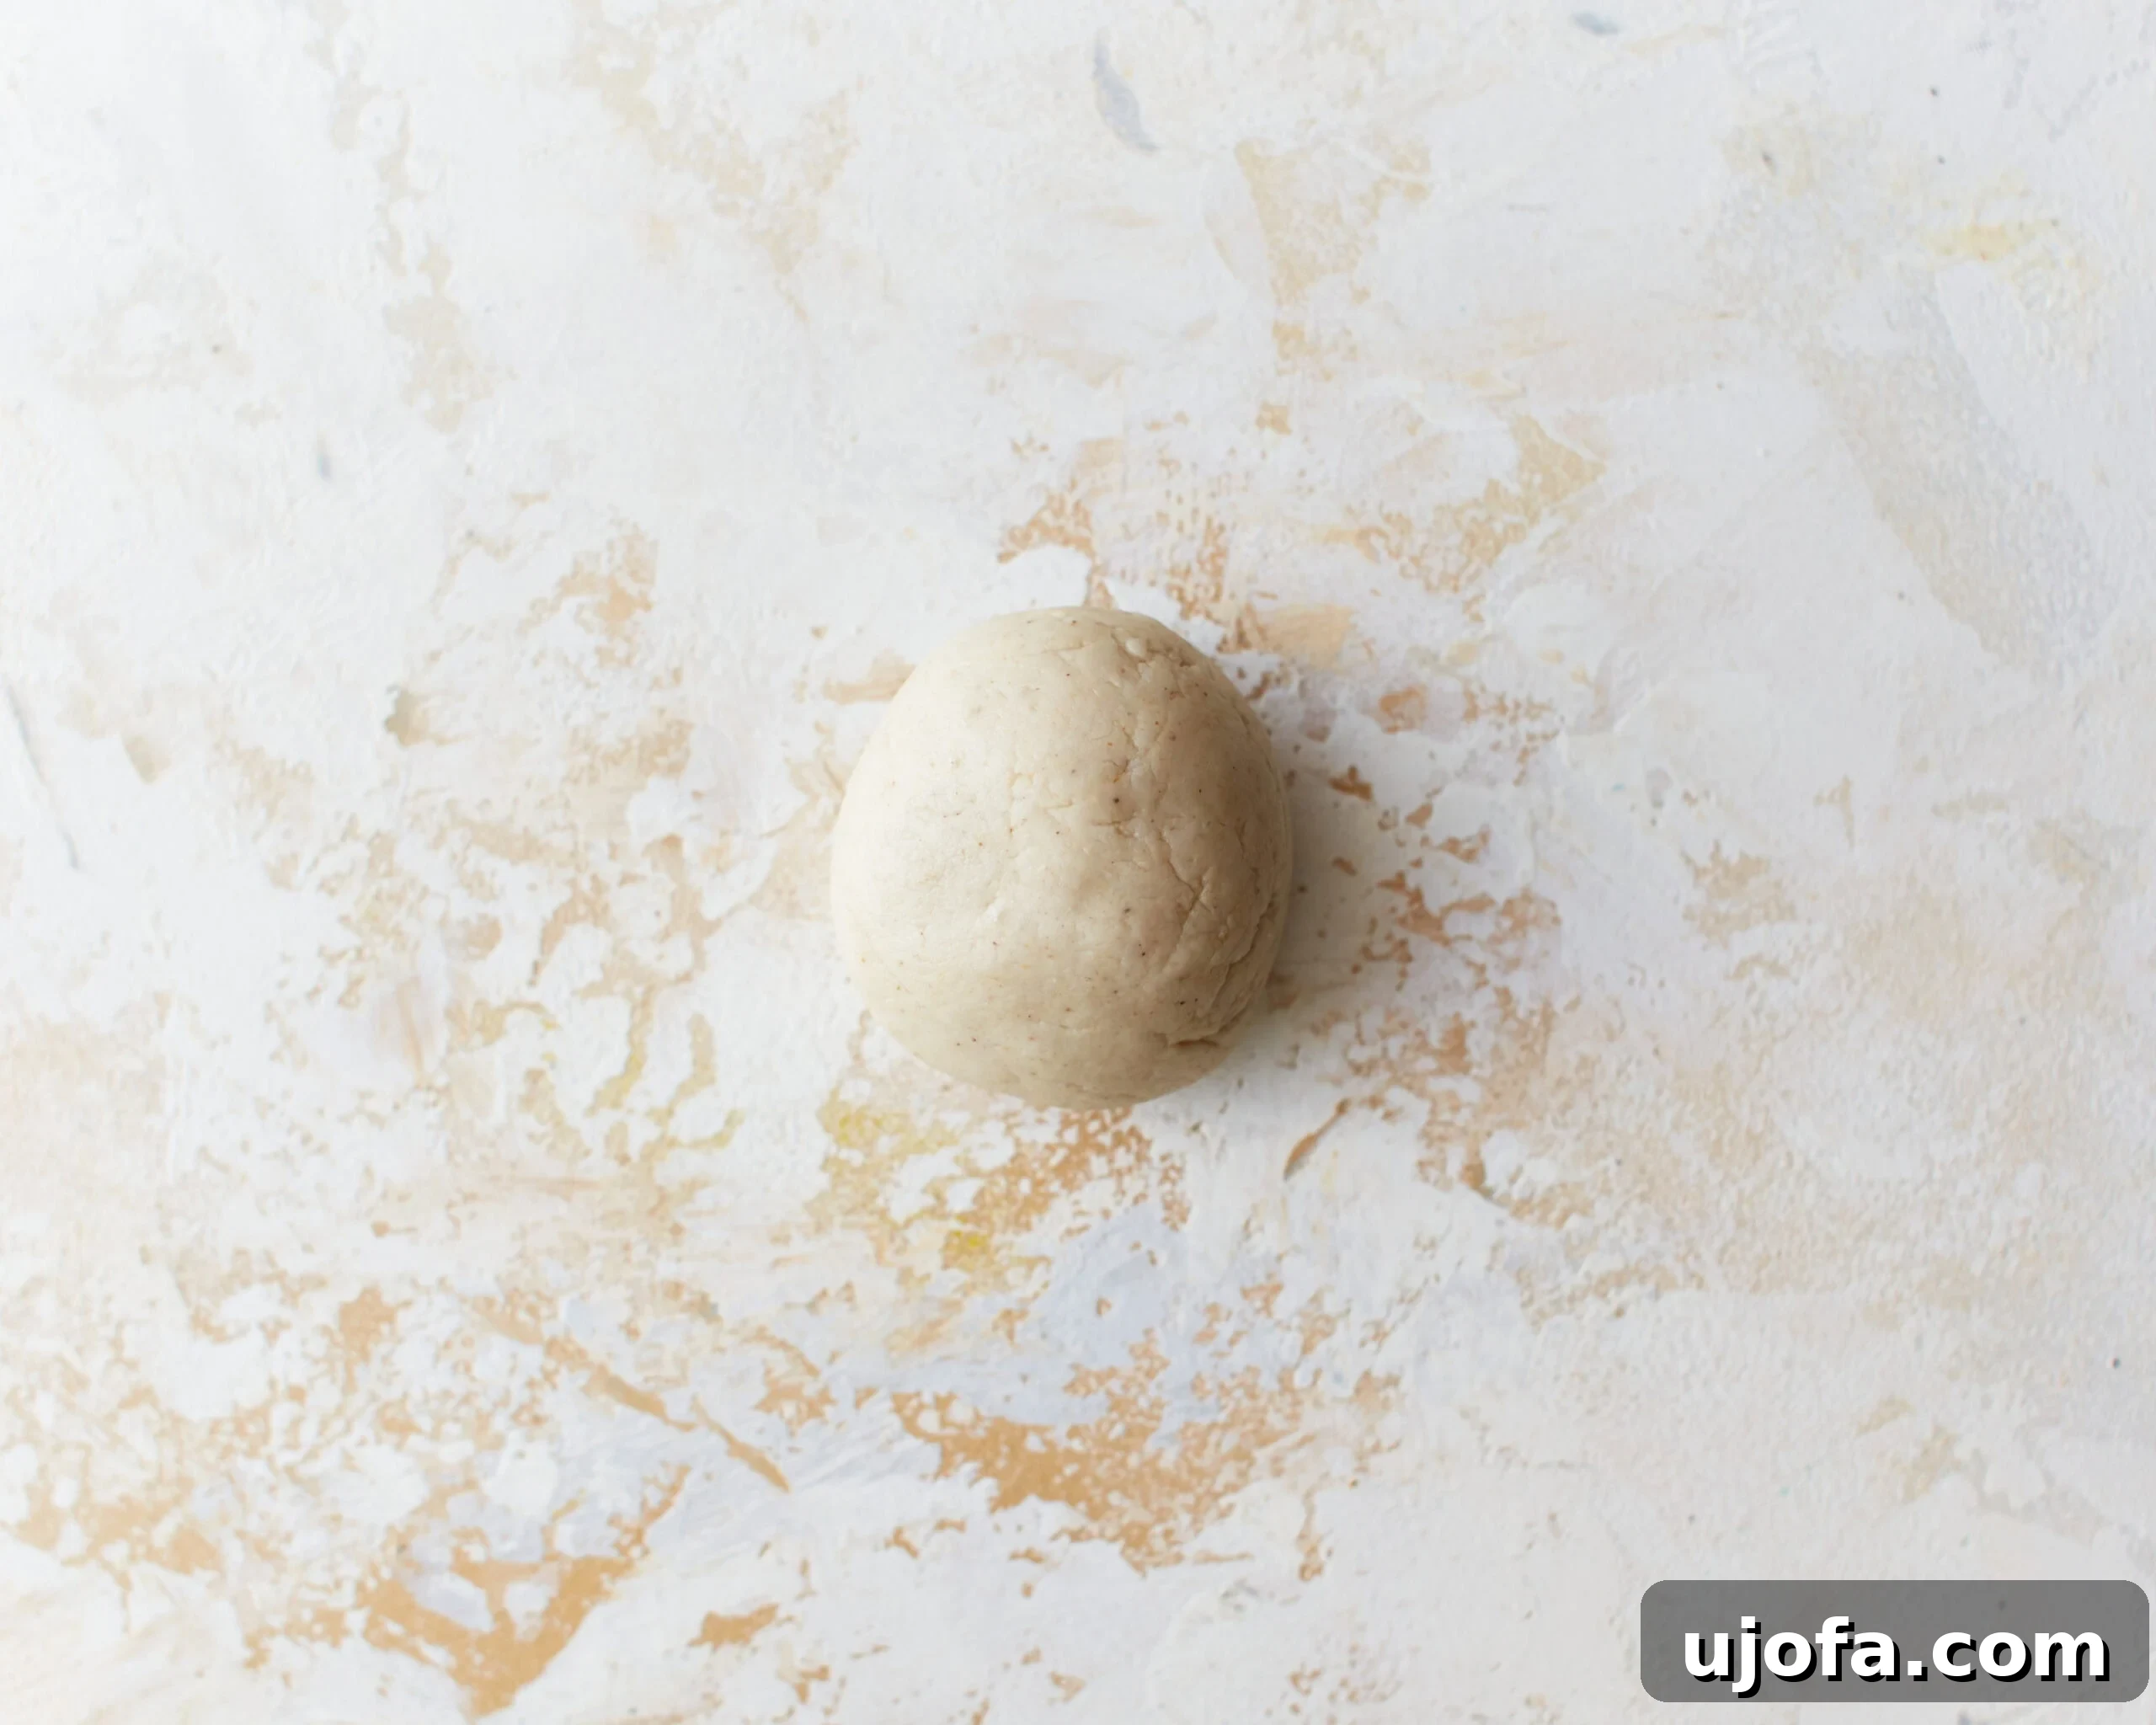
Step 4: Pre-heat Skillet and Divide Dough. Turn your stovetop to a medium-high setting to begin pre-heating your greased cast-iron skillet (or another heavy-bottomed, non-stick pan). This allows the pan to reach the ideal cooking temperature while you continue dough preparation. Next, take the dough ball and pinch off individual pieces, each roughly the size of a golf ball. Roll each piece between your palms to form eight smooth, uniform dough balls, ensuring consistent tortilla sizes.
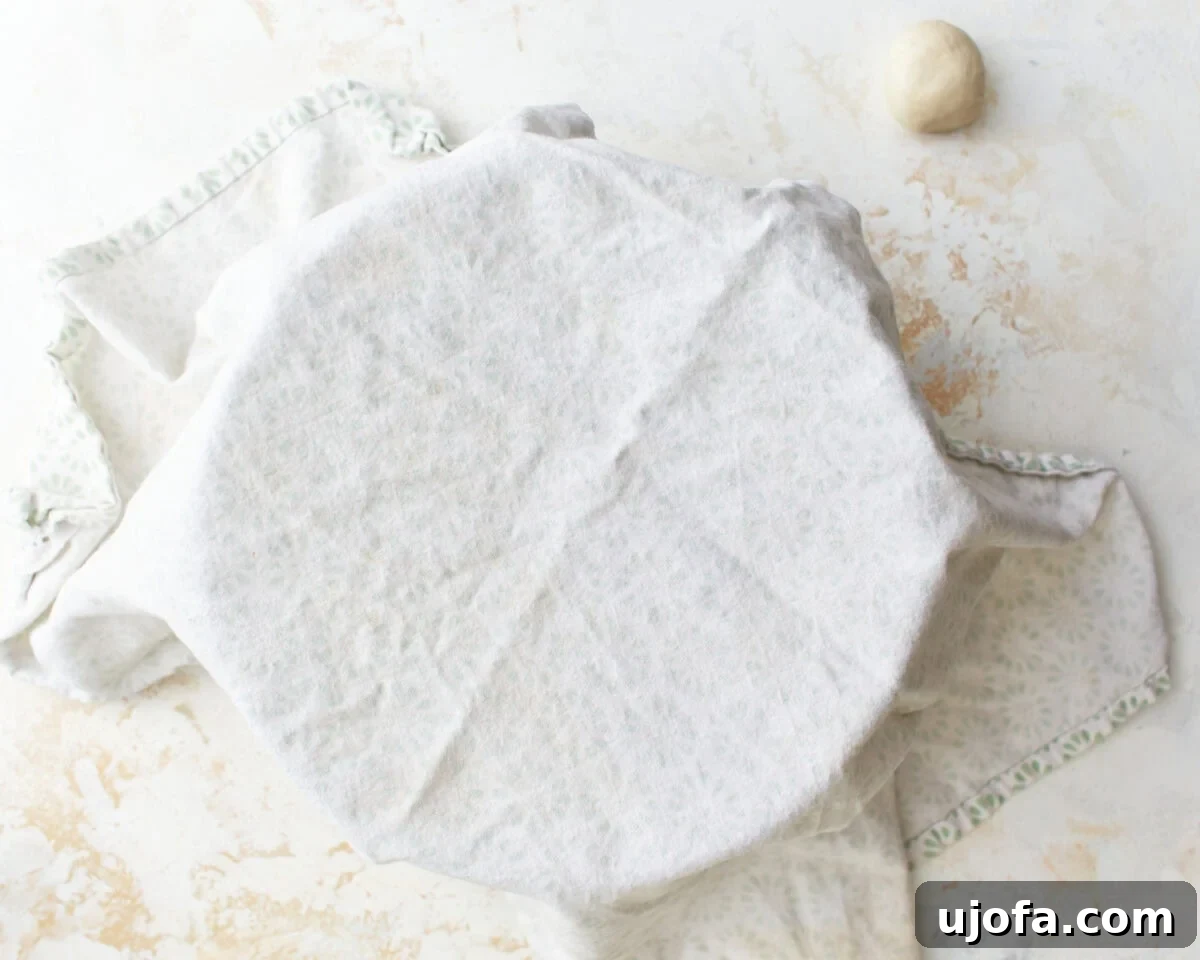
Step 5: Cover Dough. While you are rolling out the individual dough balls, it’s crucial to cover the bowl containing the remaining dough with a clean kitchen towel. This simple but essential step prevents the dough from drying out and cracking, ensuring each tortilla remains soft and easy to work with from start to finish.
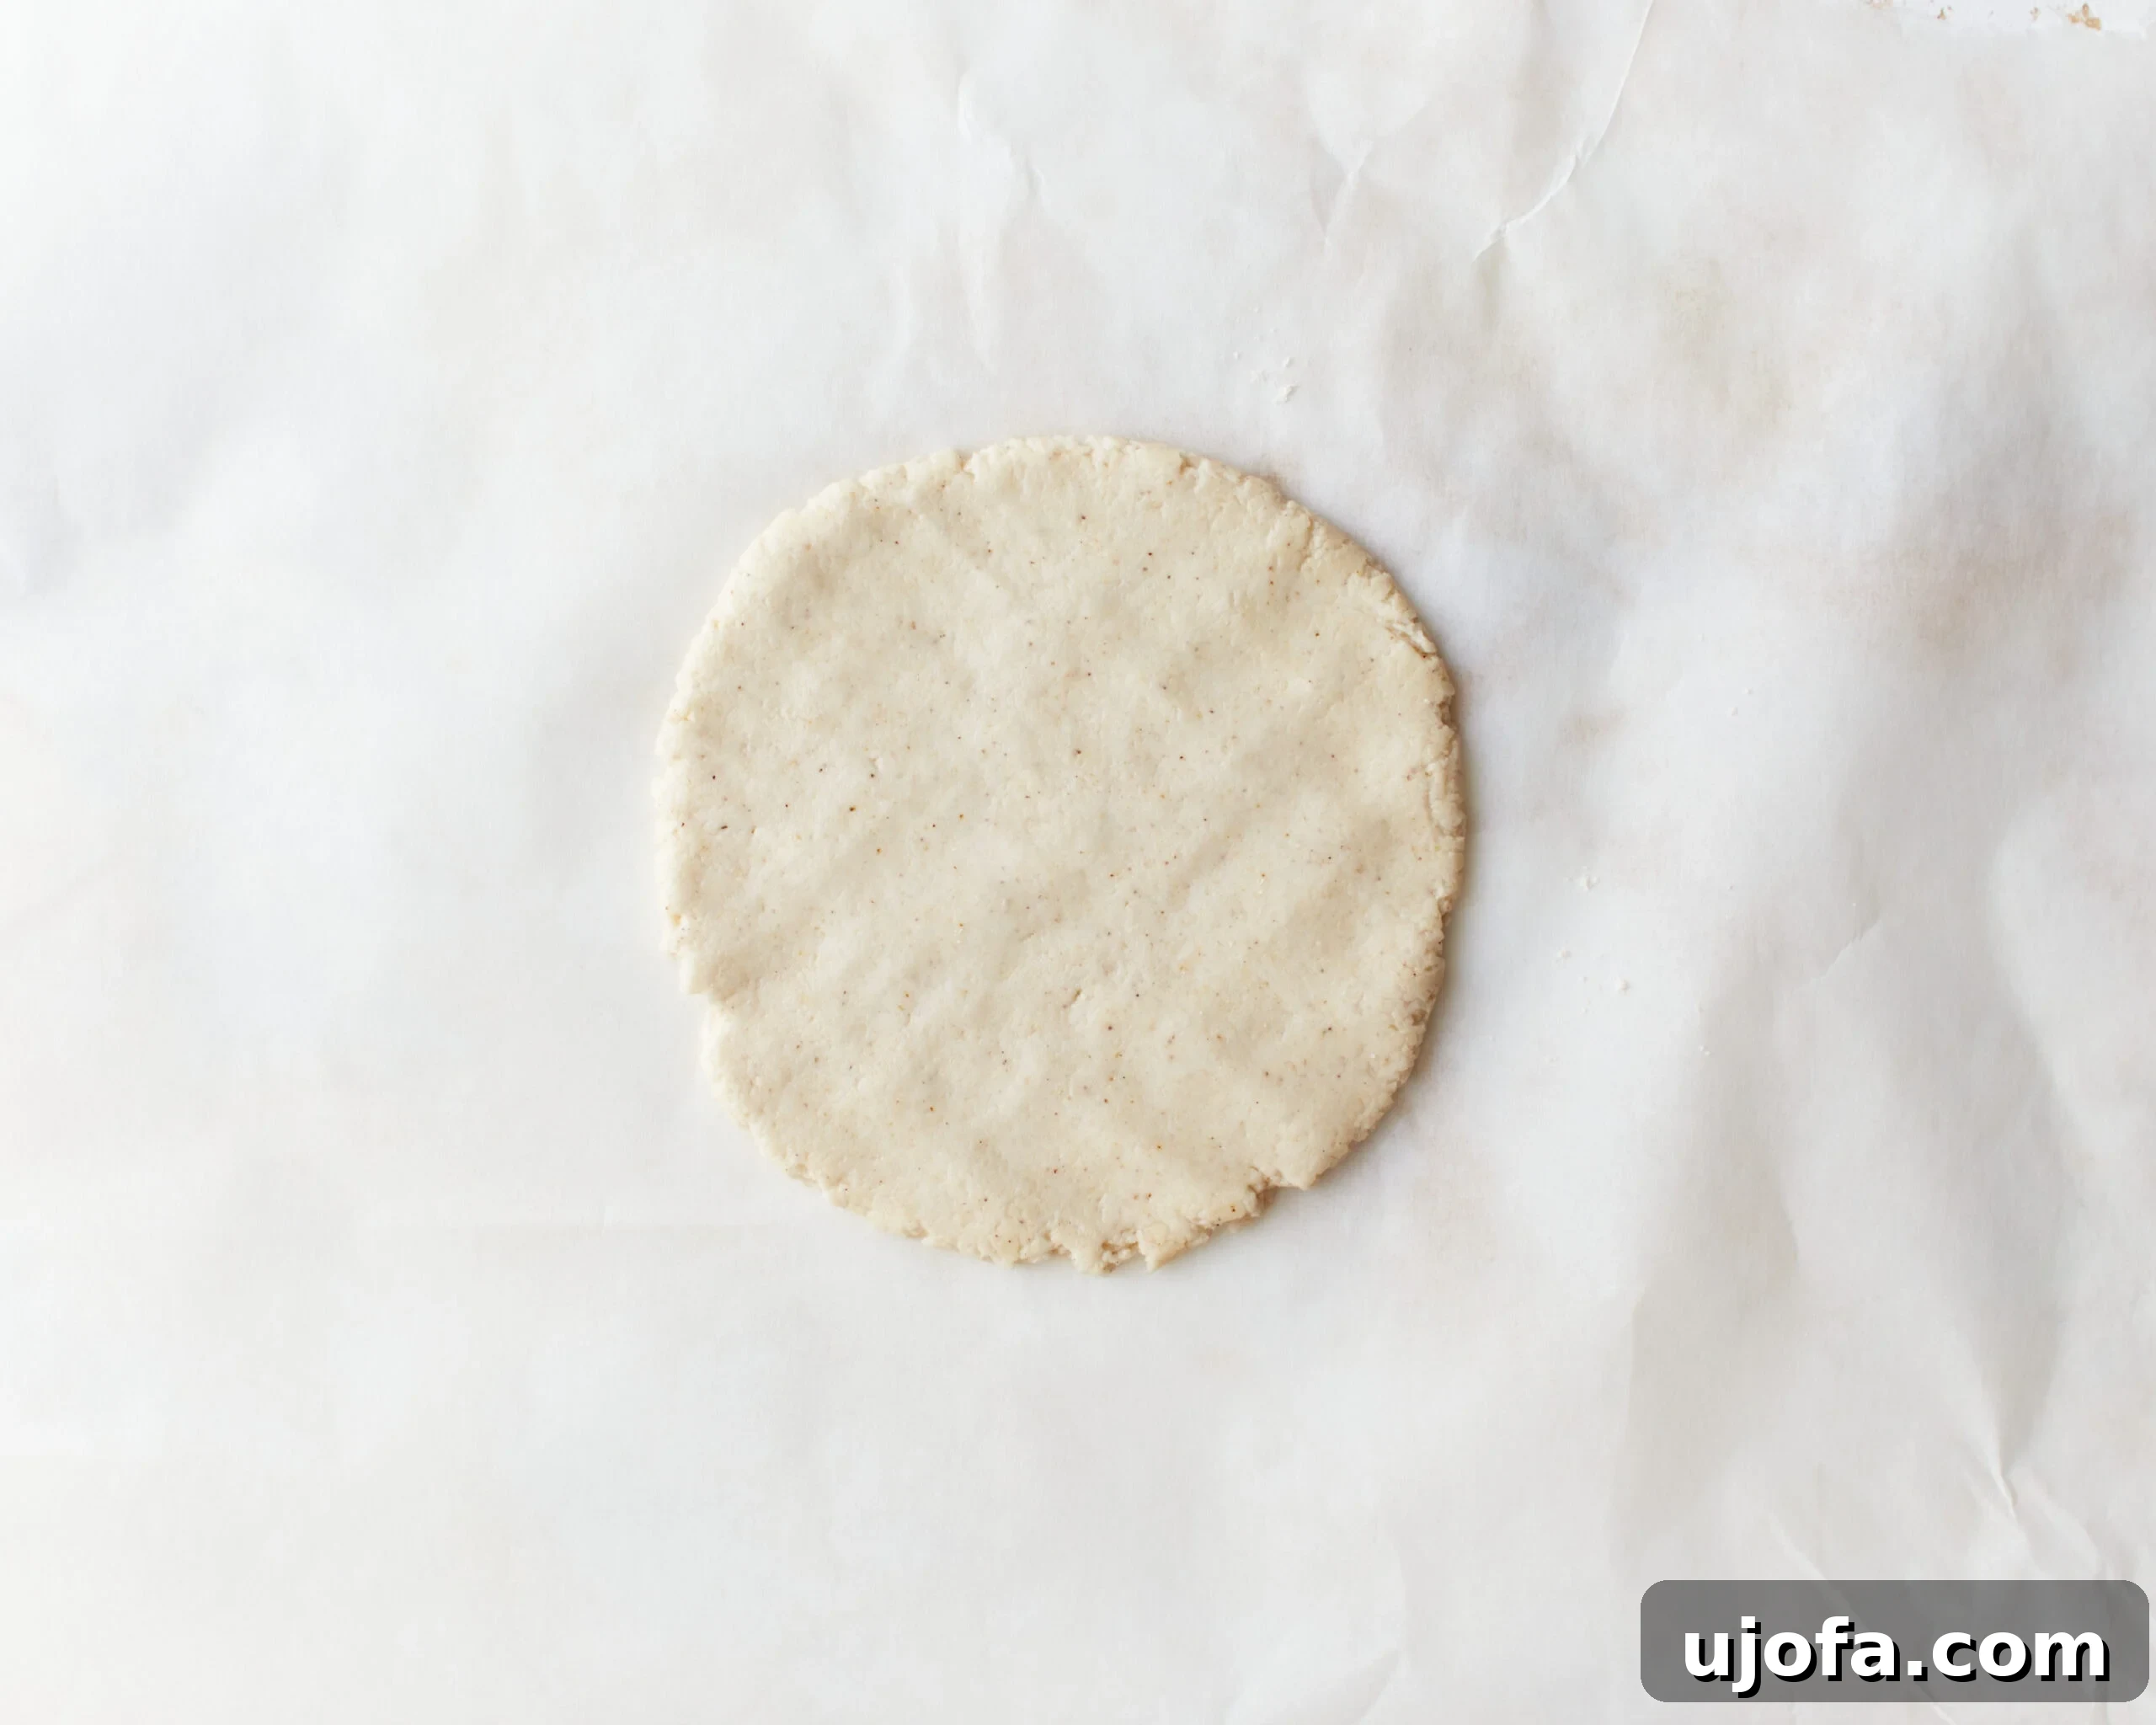
Step 6: Flatten Dough Disk. Take one of the prepared dough balls and place it directly onto a piece of parchment paper. Using the heel of your hand or your fingers, gently flatten the dough ball into a small, uniform disk shape. This initial flattening makes the subsequent rolling process much easier and helps achieve a uniform tortilla with minimal effort.
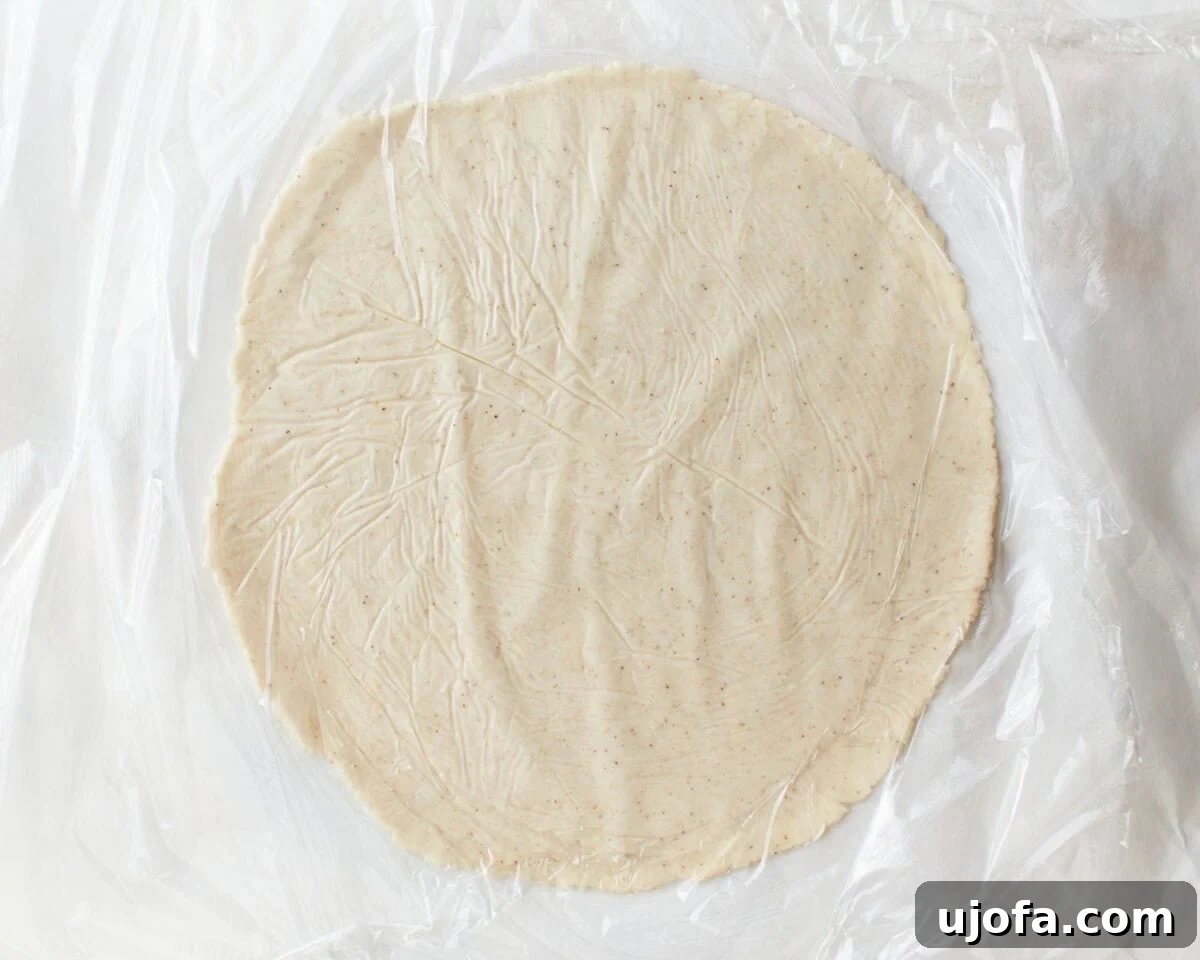
Step 7: Roll Out Thin Tortillas. Place another piece of plastic cling wrap or parchment paper directly over the flattened dough disk. Using a rolling pin, apply gentle, even pressure to roll out the dough into a circular shape, aiming for approximately 7 inches in diameter. Focus on making the tortilla as thin and uniform as possible across its entire surface; thinness is key for ultimate flexibility and a delightful texture. Avoid adding extra flour to your rolling pin, as this can lead to a dry finished product and potential burning in the pan.
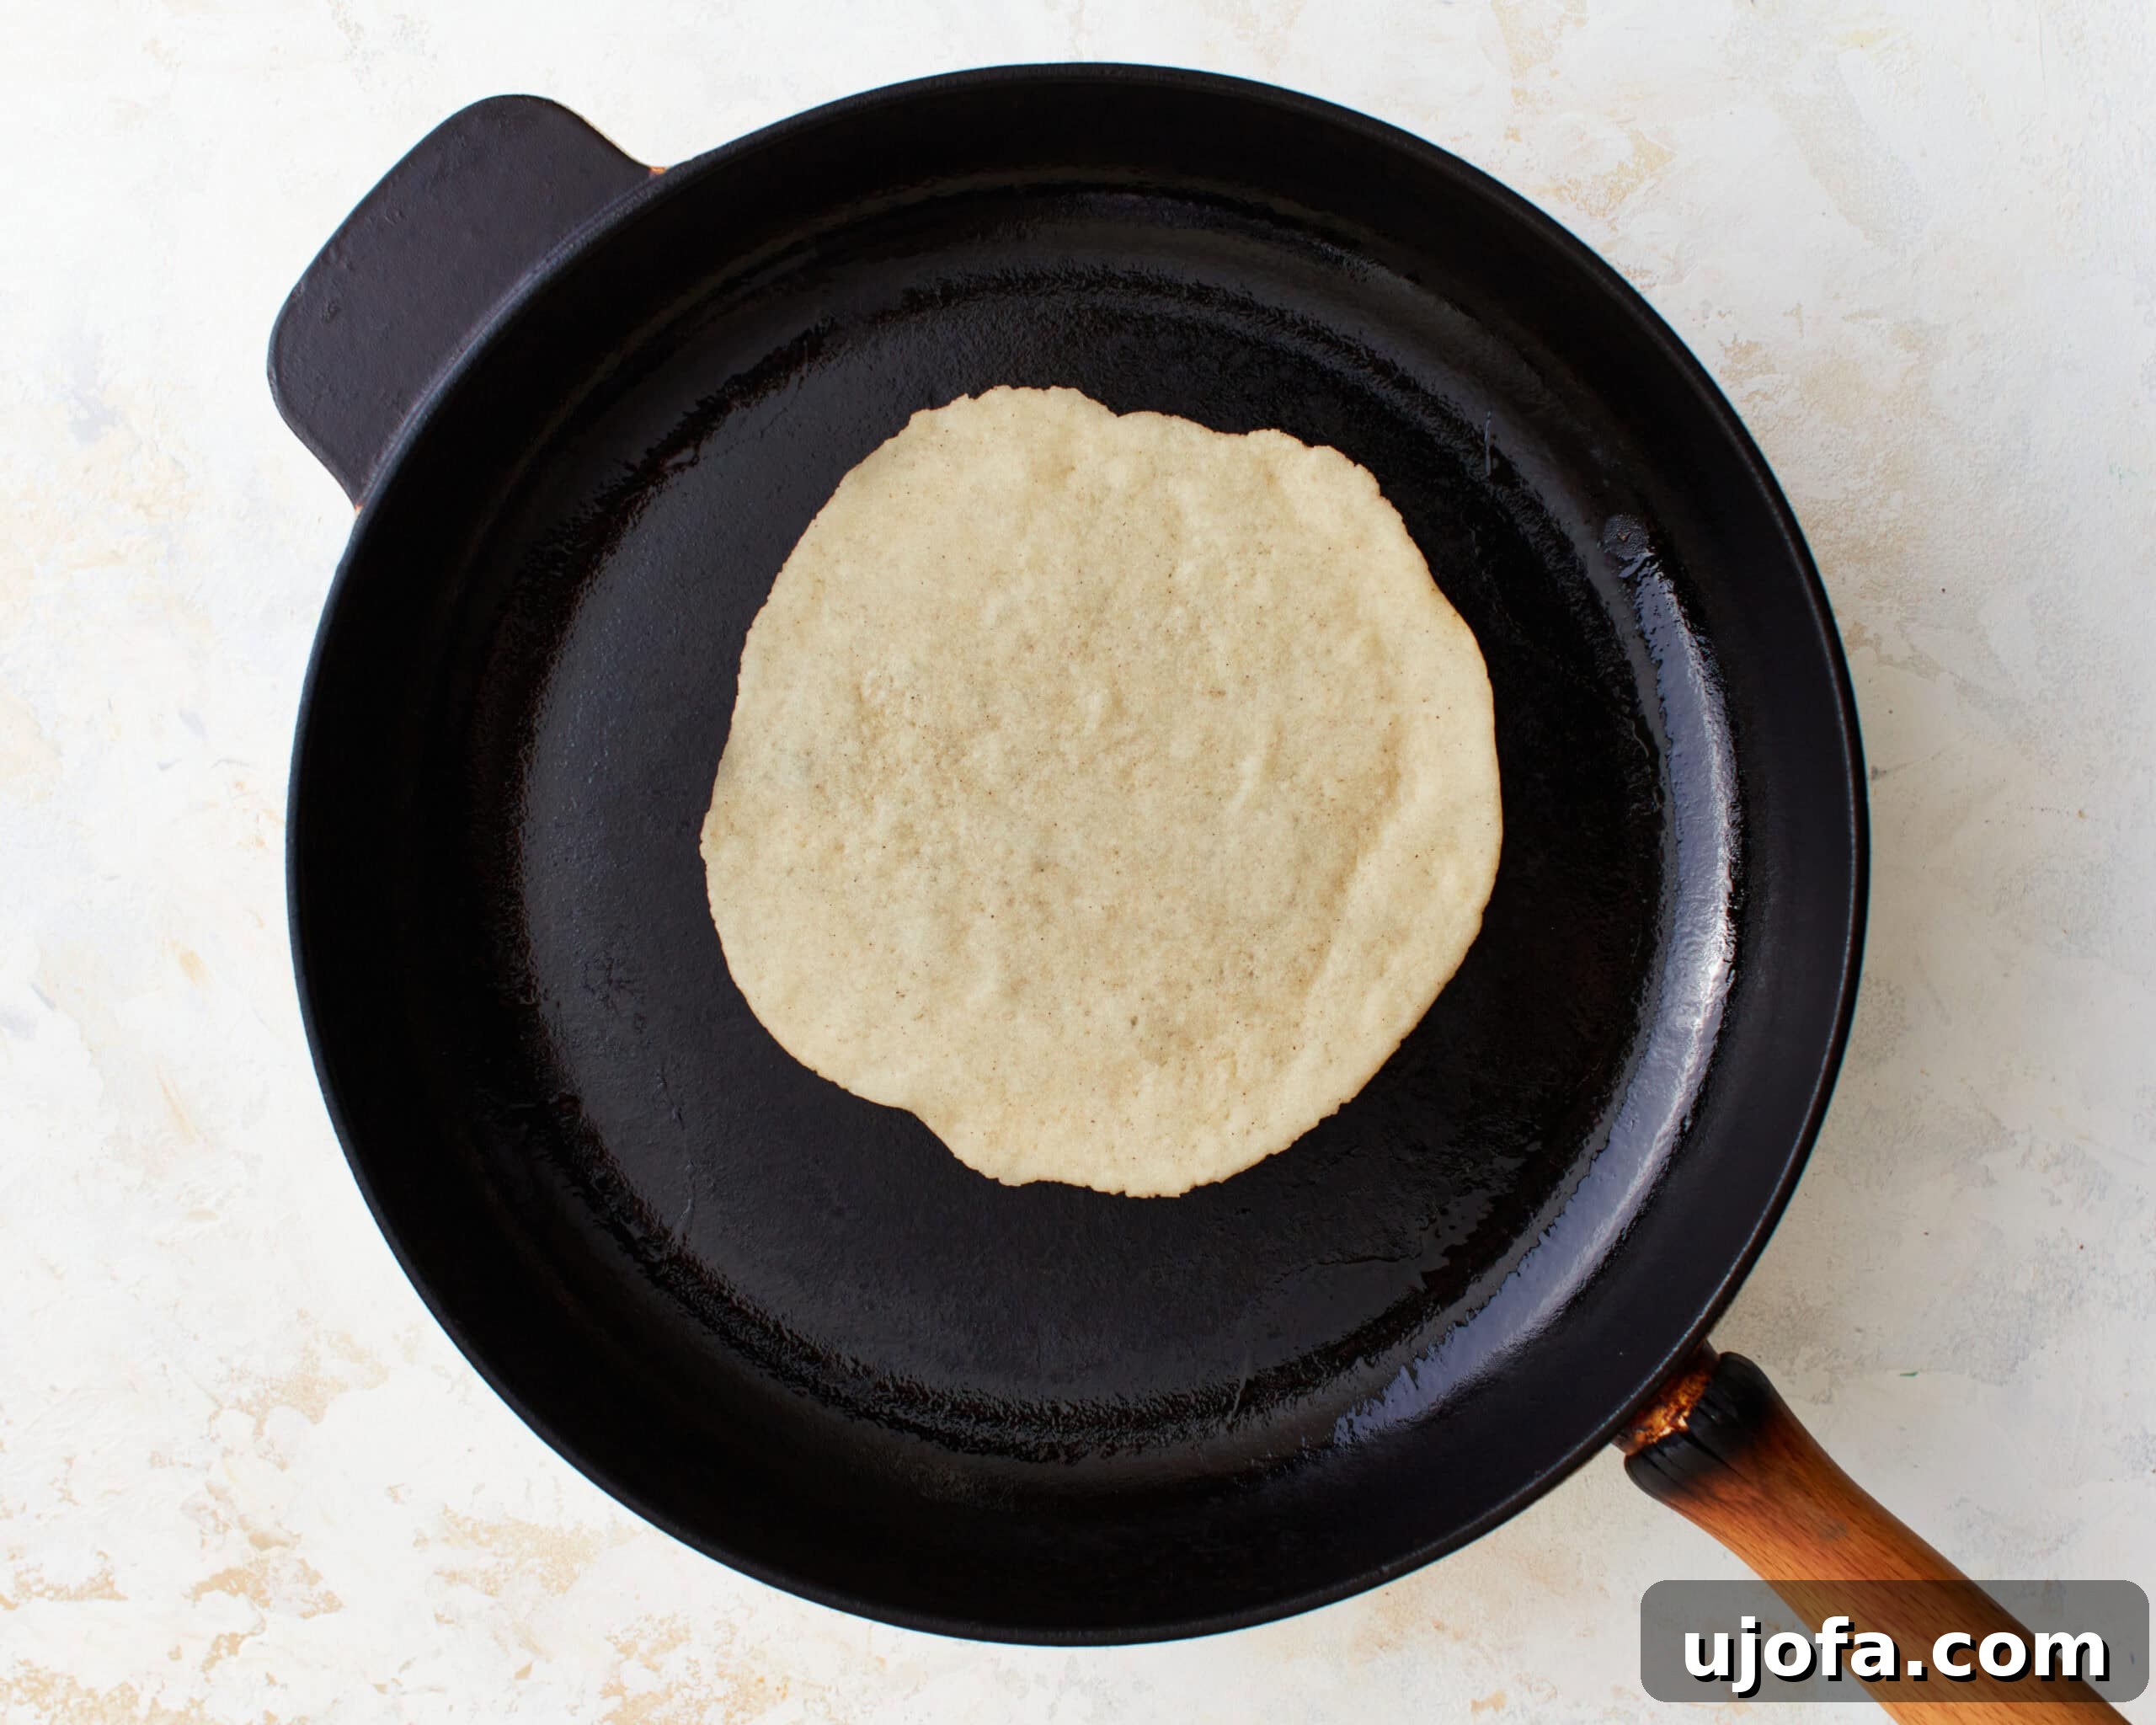
Step 8: Cook Tortillas (First Side). Carefully peel the top layer of parchment or plastic wrap from the rolled tortilla, then gently transfer the raw tortilla to your pre-heated, lightly greased cast-iron pan. Cook the tortilla over medium-high heat. Observe closely for small bubbles forming on the surface and light brown spots beginning to appear on the underside. This typically takes about 30 seconds to 1 minute per side. Be vigilant not to overcook, as this is the primary cause of stiff, brittle tortillas.
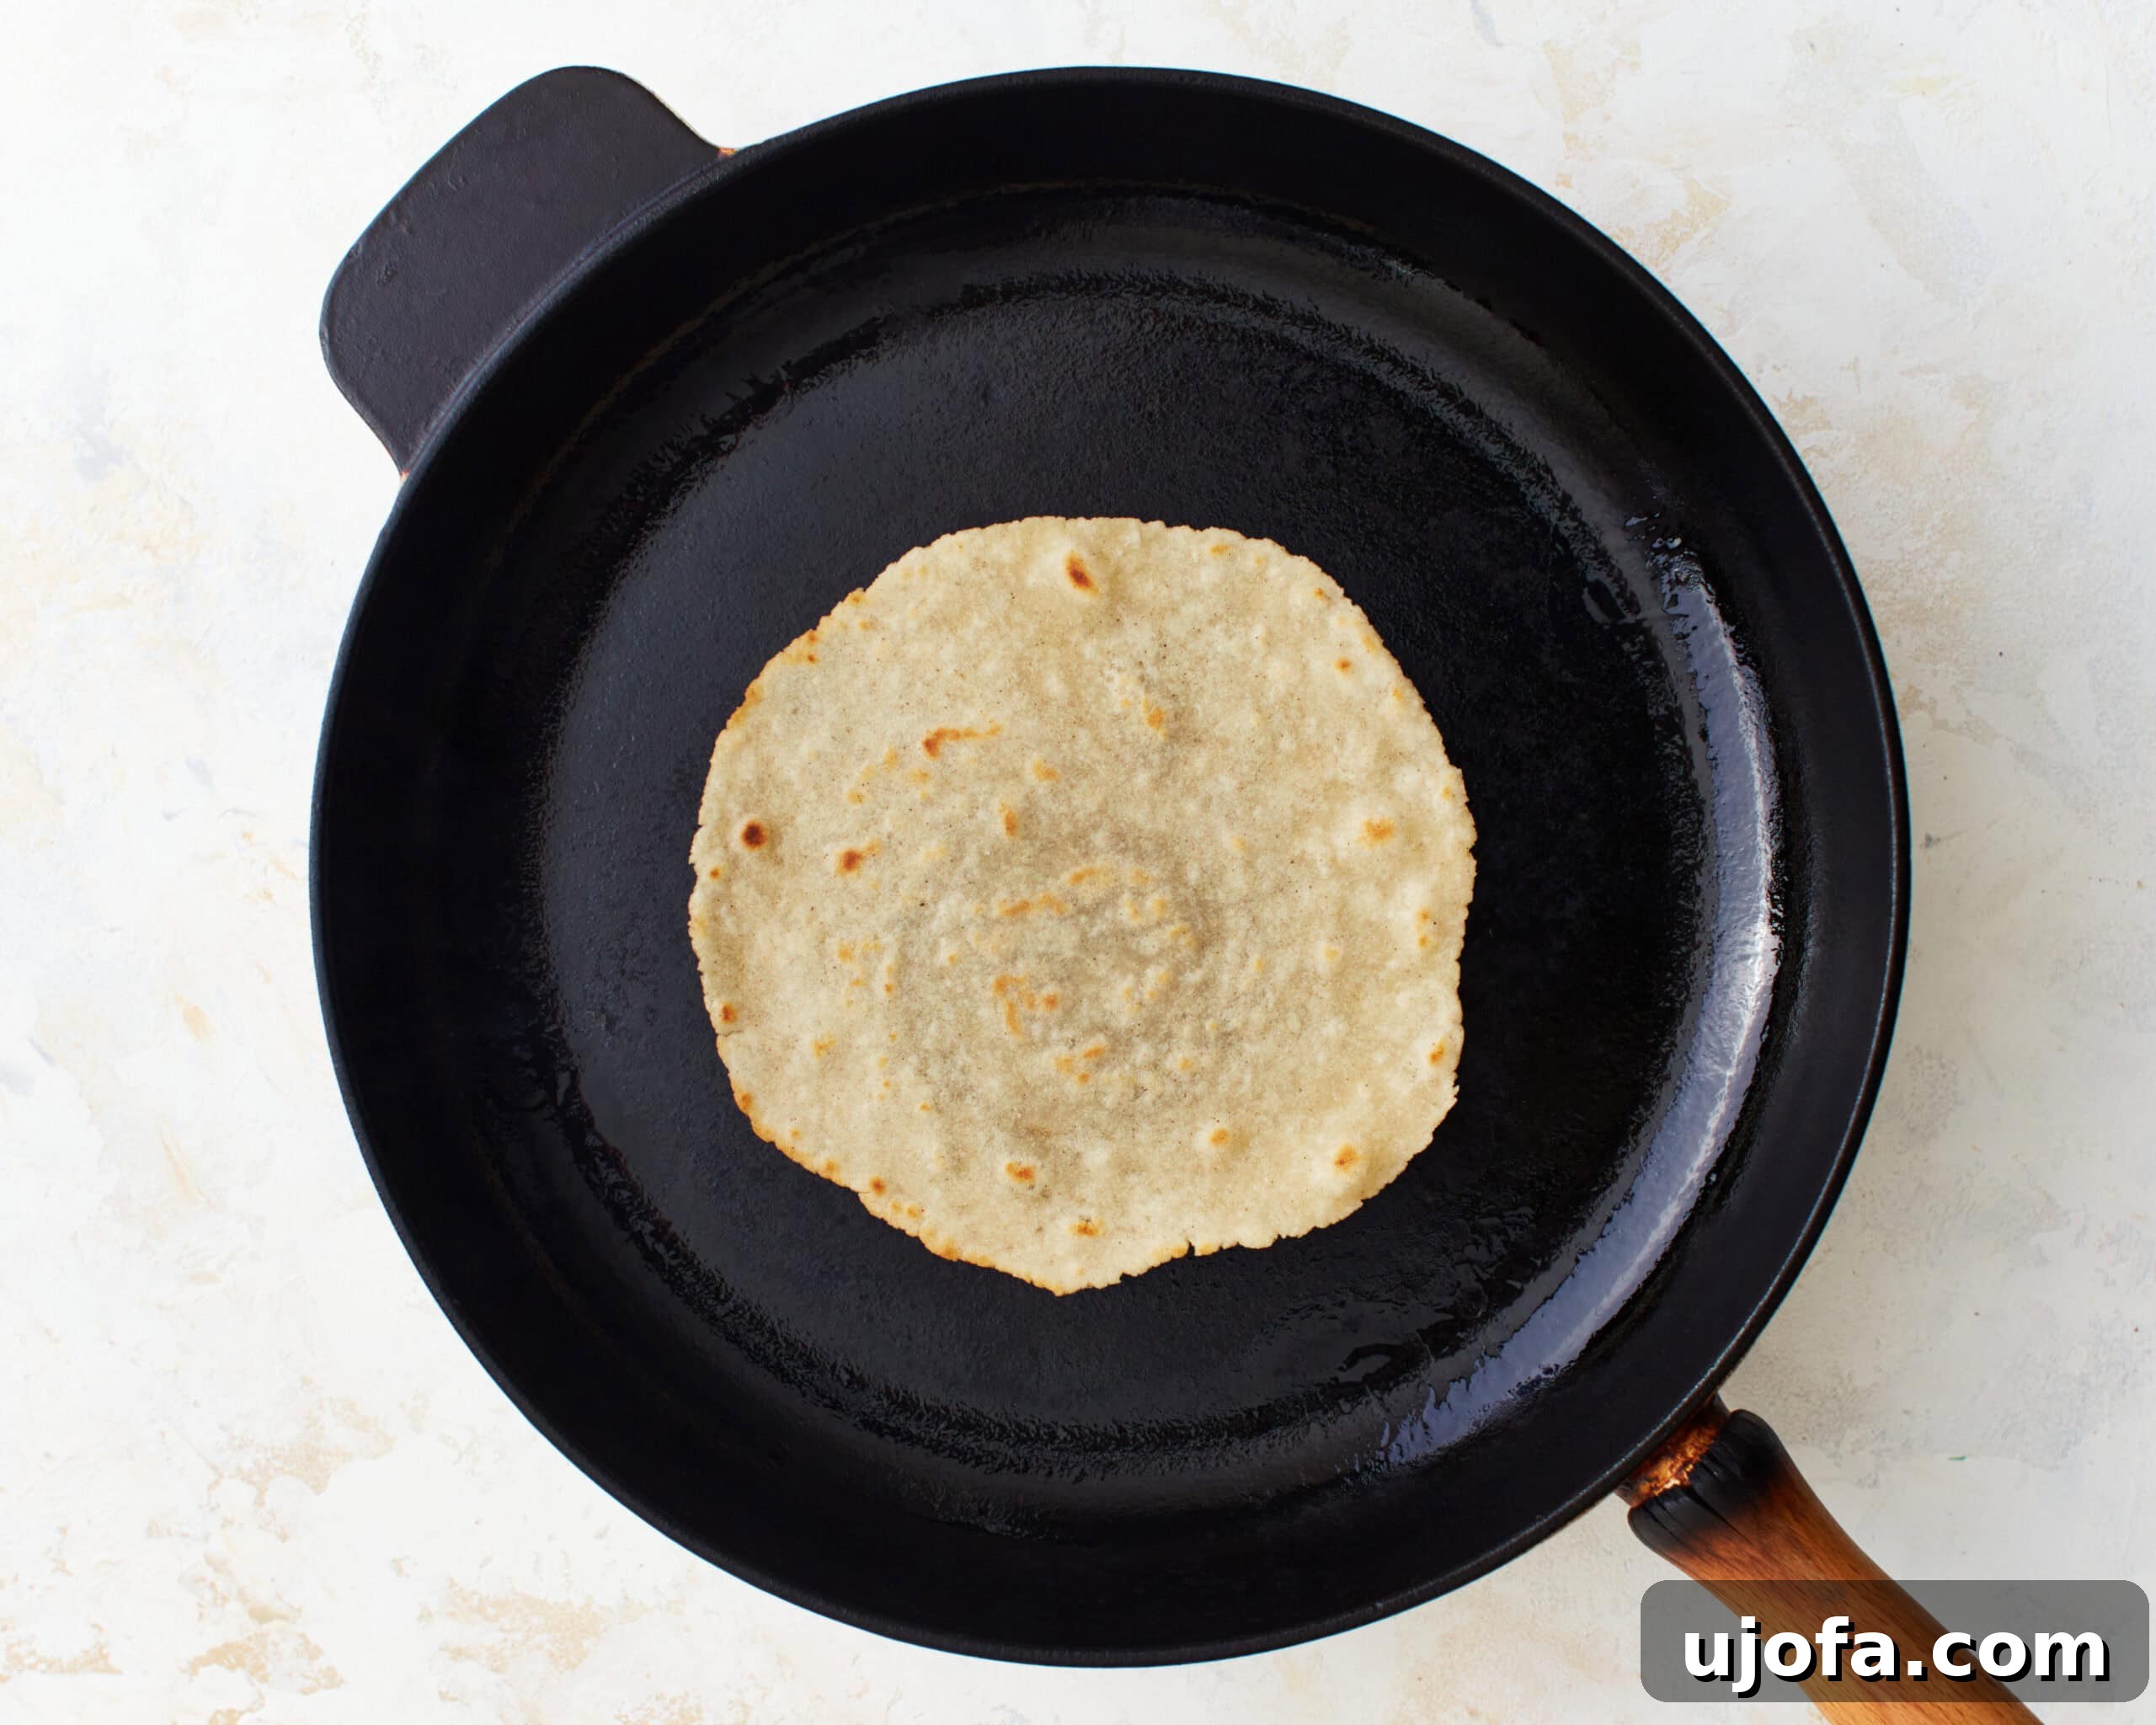
Step 9: Achieve Perfect Pliability (Second Side). Once you’ve flipped the tortilla, continue cooking the second side for another 30 seconds to 1 minute, until you observe similar light brown spots and the tortilla feels soft and flexible to the touch. The ultimate goal is a tortilla that is thoroughly cooked but remains wonderfully soft and pliable, ready to bend without cracking. If your tortillas feel stiff after cooking, it’s a clear indication that they were cooked for too long or the heat was too high. Adjust your cooking time or temperature accordingly for subsequent tortillas to perfect your technique.
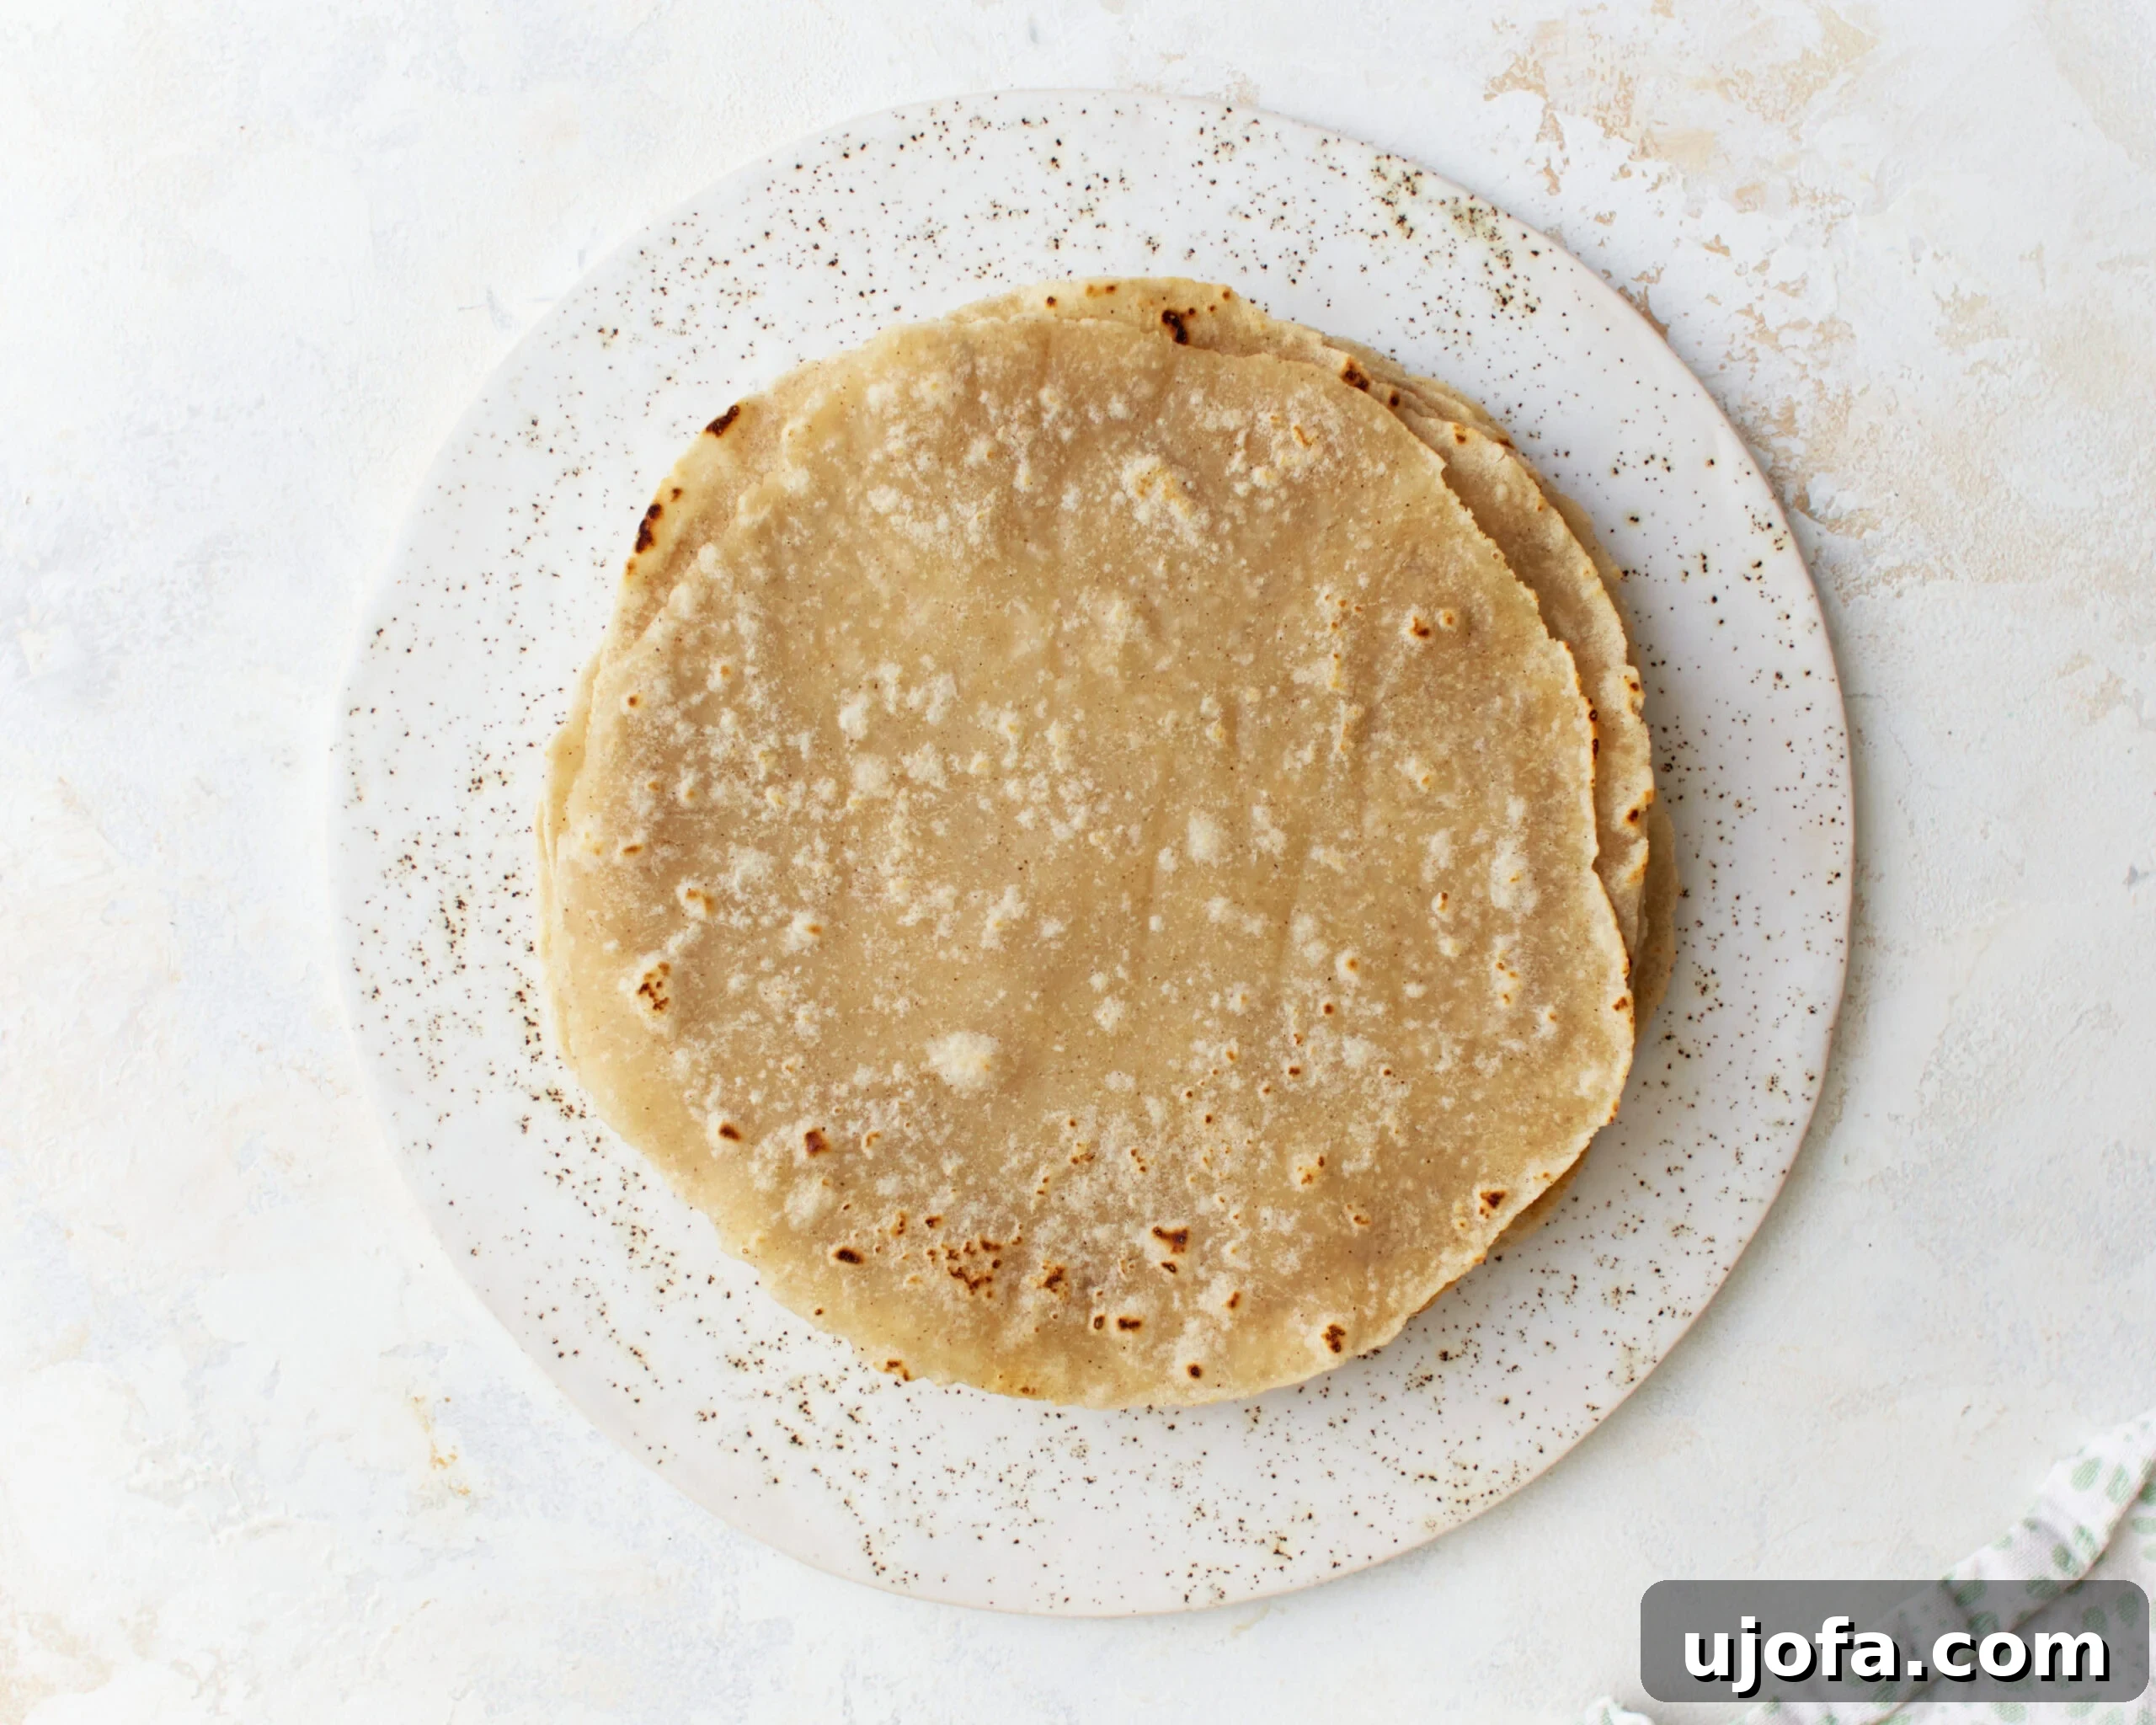
Step 10: Stack and Store. As each tortilla comes off the pan, immediately stack it on a clean plate. Crucially, cover the entire stack with a clean kitchen towel. This simple technique is vital: the trapped steam keeps the tortillas wonderfully warm and prevents them from drying out, ensuring they remain soft and pliable until you’re ready to serve. Once all the tortillas have completely cooled to room temperature, transfer any leftovers to an airtight plastic storage bag and refrigerate for up to several days, ready for your next delicious meal.