
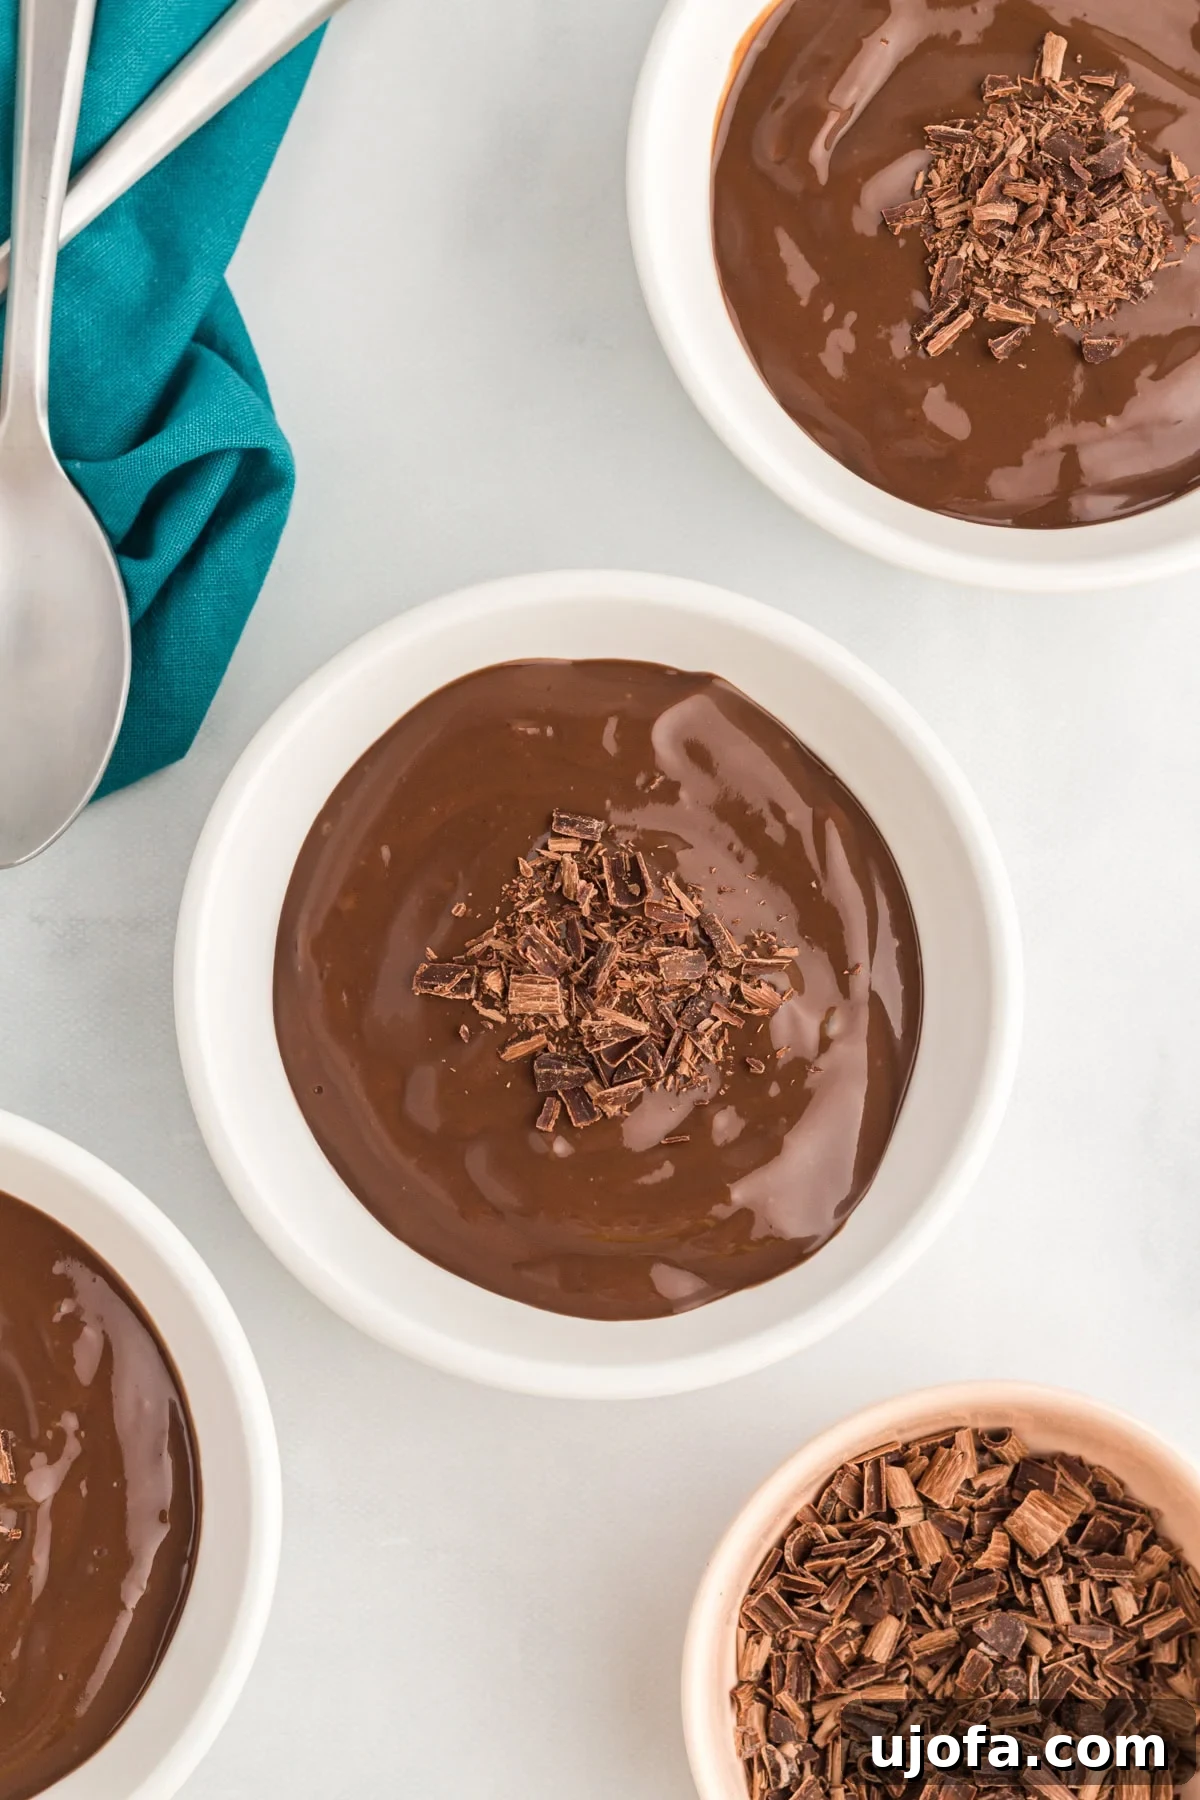
Indulge in Creamy Dairy-Free Chocolate Pudding: A Wholesome & Easy Treat
Craving a classic dessert that’s rich, smooth, and utterly satisfying, but without the dairy? Look no further! This homemade dairy-free chocolate pudding recipe delivers an irresistibly luscious treat that surpasses any store-bought version. Imagine a deeply chocolatey delight, perfectly spoonable, and crafted from simple ingredients you likely already have on hand. It’s a nostalgic comfort food reimagined for modern dietary needs, coming together effortlessly in minutes on your stovetop. Get ready to rediscover your favorite childhood dessert, perfected for a dairy-free lifestyle.
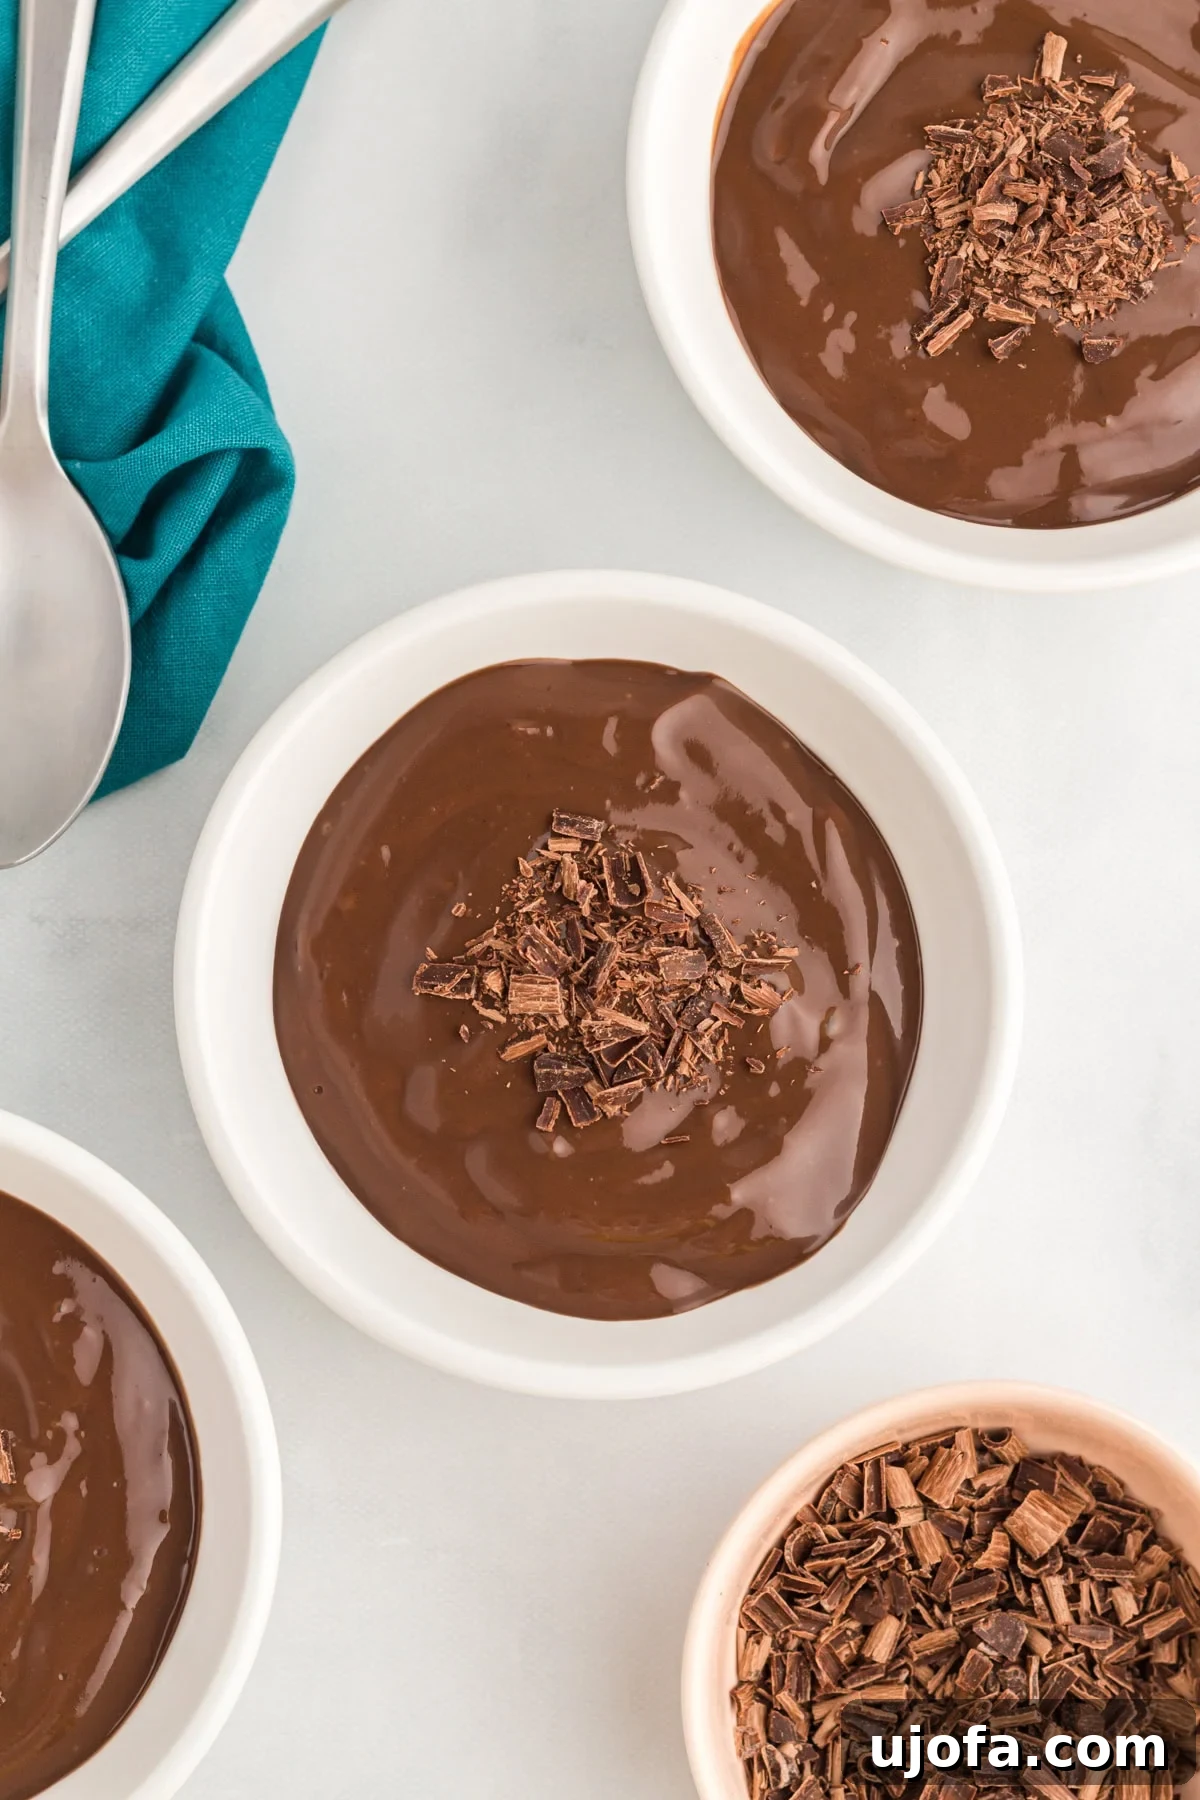
Classic Dessert, Reimagined Without the Dairy!
For those navigating dairy sensitivities, allergies, or simply choosing a vegan lifestyle, traditional creamy desserts like chocolate pudding can be sorely missed. The good news is that with today’s incredible array of non-dairy alternatives, recreating beloved classics is easier and more delicious than ever. This dairy-free chocolate pudding recipe proves that you don’t have to compromise on taste or texture. Using wholesome ingredients like soy milk thickened with cornstarch and melted dairy-free chocolate chips, we achieve a remarkably silky and rich consistency that will have everyone, both adults and kids, asking for more. It’s a creamy, deeply satisfying vegan chocolate pudding that easily outshines its store-bought counterparts, bringing a touch of nostalgic comfort to your table, completely free from dairy.
Essential Ingredients for Your Dairy-Free Chocolate Pudding
Creating this irresistible dairy-free chocolate pudding requires just a few basic ingredients, each playing a crucial role in achieving its perfect texture and rich flavor. The beauty of this recipe lies in its simplicity and the accessibility of its components.
- Soy Milk: This forms the base of our pudding, providing a creamy consistency that mimics traditional dairy. We recommend full-fat soy milk for the richest results, but you can experiment with other non-dairy milks like almond milk or oat milk. Be aware that these alternatives might result in a slightly thinner consistency due to their varying fat content.
- Cornstarch: Our go-to thickening agent! Cornstarch is a reliable, gluten-free option that creates a smooth, gel-like texture when heated with liquid. It’s essential to dissolve it completely in a small amount of cold milk before adding it to the rest of the ingredients to prevent lumps. Arrowroot powder or potato starch can be used as substitutes if cornstarch isn’t available, but always check for proper ratios as they can differ in thickening power.
- Granulated Sugar: Sweetness is key to any great chocolate pudding. Granulated sugar provides the perfect balance to the bitterness of cocoa powder. Adjust the amount to your personal preference; for a less sweet pudding, you can reduce it slightly.
- Unsweetened Cocoa Powder: This is where the magic happens for that deep, rich chocolate flavor. Sifting your cocoa powder is a critical step to ensure it blends seamlessly into the milk mixture without forming dry clumps, guaranteeing a perfectly smooth pudding.
- Salt: A small pinch of salt is vital. It doesn’t make the pudding salty, but rather enhances and balances the chocolate flavor, making it taste even more intense and complex.
- Dairy-Free Semisweet Chocolate Chips: These chips melt into the pudding, adding an extra layer of chocolatey decadence and contributing to its velvety texture. Brands like Enjoy Life are excellent choices for reliable dairy-free options. The quality of your chocolate chips will directly impact the final flavor, so choose a brand you love.
- Vanilla Extract: A splash of vanilla extract at the end brightens all the flavors and adds a warm, aromatic note that complements the chocolate beautifully. Don’t skip this step!
Expert Tips for Making Perfect Dairy-Free Chocolate Pudding
Achieving that perfectly smooth, rich, and creamy dairy-free chocolate pudding is simple when you follow a few key techniques. These tips will help you avoid common pudding pitfalls and ensure a delightful dessert every time.
- Dissolve the Cornstarch Completely: This is perhaps the most crucial step for a lump-free pudding. Always whisk the cornstarch into a small, separate amount of cold milk until it is fully dissolved and forms a smooth slurry before introducing it to the main liquid. Adding dry cornstarch directly to warm liquid will inevitably lead to stubborn lumps. This small extra step guarantees an evenly thickened, silky smooth pudding.
- Sift the Cocoa Powder First: Cocoa powder has a tendency to clump together, which can create dry pockets that refuse to dissolve in your pudding. To prevent this, always sift your unsweetened cocoa powder before adding it to the milk mixture. A fine-mesh sieve works wonders here, ensuring a smooth blend and consistent chocolate flavor throughout.
- Keep the Heat Low and Steady: Patience is a virtue when making pudding. While it might be tempting to crank up the heat to speed up the thickening process, this can quickly lead to scorching the bottom of your pan or an unevenly cooked pudding. Gentle, low-to-medium heat allows the pudding to thicken gradually and uniformly, developing its creamy texture without any burnt bits.
- Whisk Constantly: Your whisk is your best friend during this process. Continuous whisking is essential from the moment you put the saucepan on the heat until the pudding thickens. This prevents the mixture from sticking to the bottom of the pan, ensures even cooking, helps the cornstarch activate properly, and keeps the pudding silky and free of lumps. Don’t walk away from the stove!
- Troubleshooting Thin Pudding: If your dairy-free chocolate pudding doesn’t seem to be thickening sufficiently or remains too thin after the recommended cooking time, it’s usually due to one of two reasons: either it hasn’t simmered long enough, or the ratio of liquid to thickener is slightly off. Try increasing the cook time by another minute or two, continuing to whisk. If you consistently find it too thin, you might consider slightly reducing the milk or increasing the cornstarch by half a tablespoon in your next batch. Remember, pudding continues to thicken as it cools.
Dairy-Free Chocolate Pudding Recipe
Summary: Rich, creamy, and irresistibly smooth, this dairy-free chocolate pudding is the perfect sweet treat. It’s even better than the pudding cups we all packed in our lunch boxes.
- Author: Cheryl Johnson
- Servings: 4 servings
- Prep Time: 5 mins
- Cook Time: 5 mins
- Chill Time: 3 hrs
- Total Time: 3 hrs 10 mins
- Course: Dessert
- Cuisine: American
Ingredients
- 2 cups soy milk, divided; sub for almond or oat milk, but the consistency may be thinner
- 3 tbsp cornstarch, sub for arrowroot or potato starch can work
- ½ cup granulated sugar
- ¼ cup unsweetened cocoa powder, sifted
- ⅛ tsp salt
- ¼ cup dairy-free semisweet chocolate chips (e.g., Enjoy Life brand)
- 2 tsp vanilla extract
Instructions
- In a small bowl, stir together ½ cup soy milk with the cornstarch. Stir until the cornstarch has completely dissolved.
- In a medium-sized saucepan, whisk together the soy milk and cornstarch mixture, the remaining soy milk, granulated sugar, sifted cocoa powder, and salt. Whisk constantly over low-medium heat until the mixture starts to simmer lightly.
- Once the mixture starts to simmer gently, stir in the chocolate chips. Reduce heat to low. Whisk constantly while the chocolate chips melt into the pudding and the pudding starts to thicken. The pudding should thicken within a minute or two. It’s thick enough when it coats the back of a spoon.
- Remove saucepan from heat and stir in vanilla extract.
- Pour pudding into a glass bowl or individual small glass containers, cover with food-safe plastic wrap and refrigerate for 3 hours before serving. To prevent a thick layer (skin) forming on top of the pudding, place the food-safe plastic wrap directly on top (touching) the top of the pudding.
- Serve chilled. Enjoy!
Notes
For a richer texture, you could use part soy milk and part full-fat coconut milk (for richness) or increase the chocolate chips slightly.
Nutrition
- Serving:
- 1 serving
- Calories:
- 247 kcal
- Carbohydrates:
- 45 g
- Protein:
- 5 g
- Fat:
- 7 g
- Saturated Fat:
- 3 g
- Polyunsaturated Fat:
- 1 g
- Monounsaturated Fat:
- 1 g
- Sodium:
- 134 mg
- Potassium:
- 252 mg
- Fiber:
- 3 g
- Sugar:
- 34 g
- Vitamin A:
- 464 IU
- Vitamin C:
- 8 mg
- Calcium:
- 187 mg
- Iron:
- 2 mg
Nutrition information is automatically calculated, so should only be used as an approximation.
How to Make Dairy-Free Chocolate Pudding Step by Step
Follow these easy, visual steps to create your own perfectly smooth and creamy dairy-free chocolate pudding at home. It’s simpler than you think!
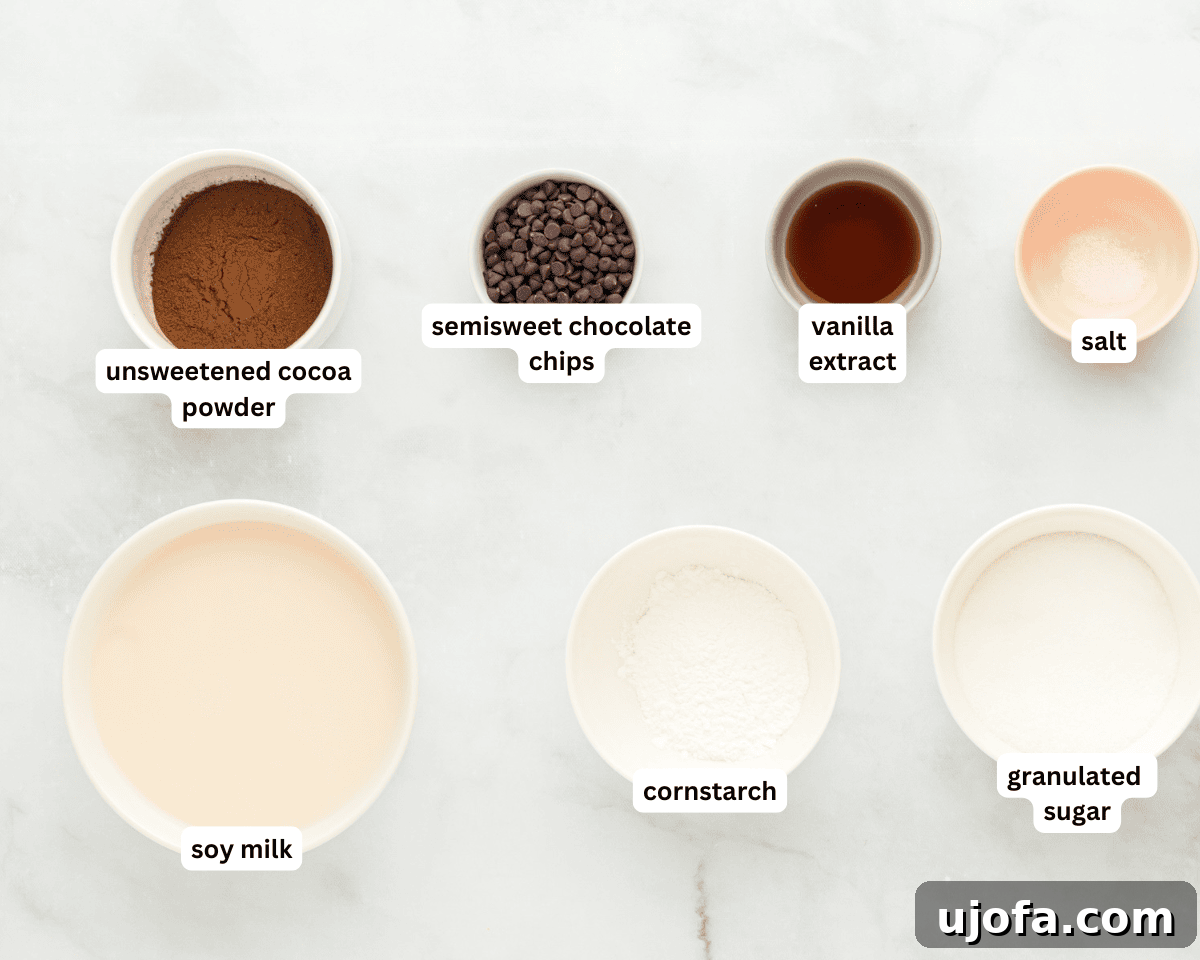
Step 1: Gather Your Ingredients and Prepare the Cornstarch Slurry. Begin by laying out all the necessary ingredients, ensuring everything is within easy reach. In a small bowl, combine ½ cup of the soy milk with 3 tablespoons of cornstarch. Whisk vigorously until the cornstarch is completely dissolved and no lumps remain. This creates a smooth slurry that will prevent your pudding from being lumpy.
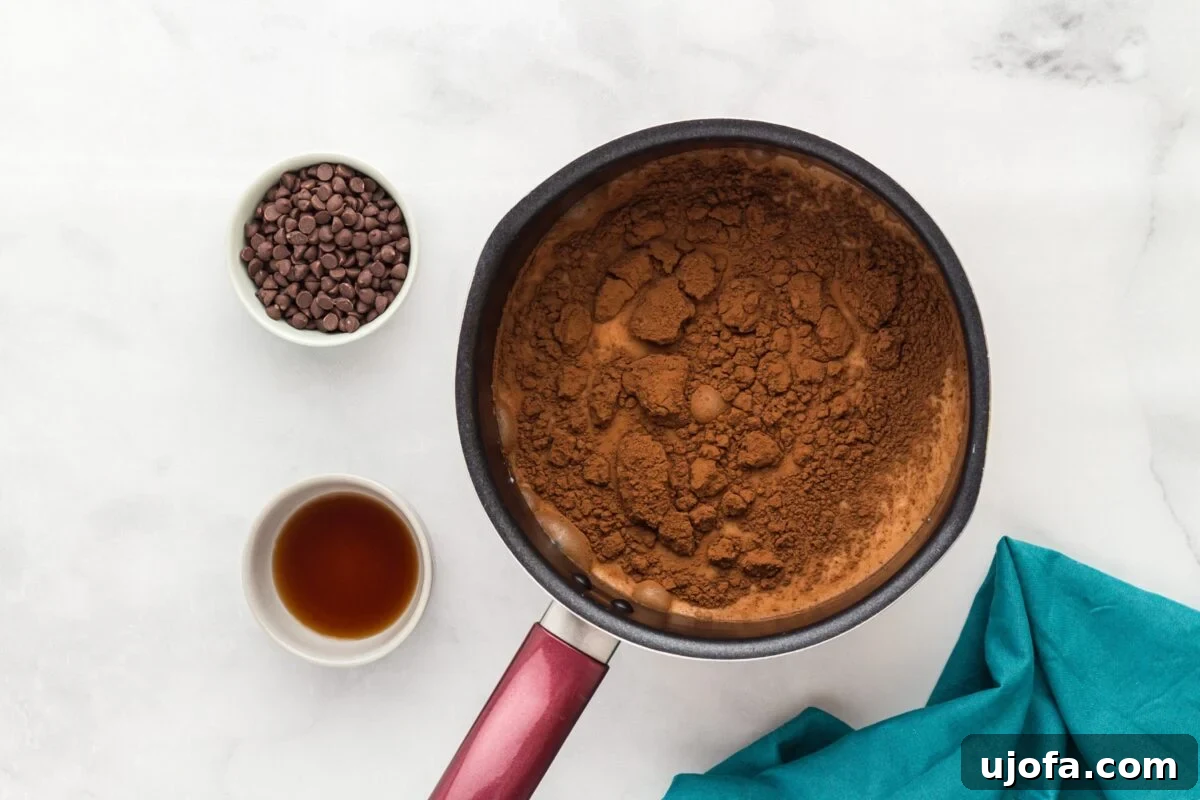
Step 2: Combine Remaining Ingredients in a Saucepan. In a medium-sized saucepan, pour in the prepared cornstarch and soy milk mixture. Add the remaining 1½ cups of soy milk, ½ cup of granulated sugar, ¼ cup of sifted unsweetened cocoa powder, and ⅛ teaspoon of salt. Whisk all the ingredients together thoroughly until they are well combined and smooth.
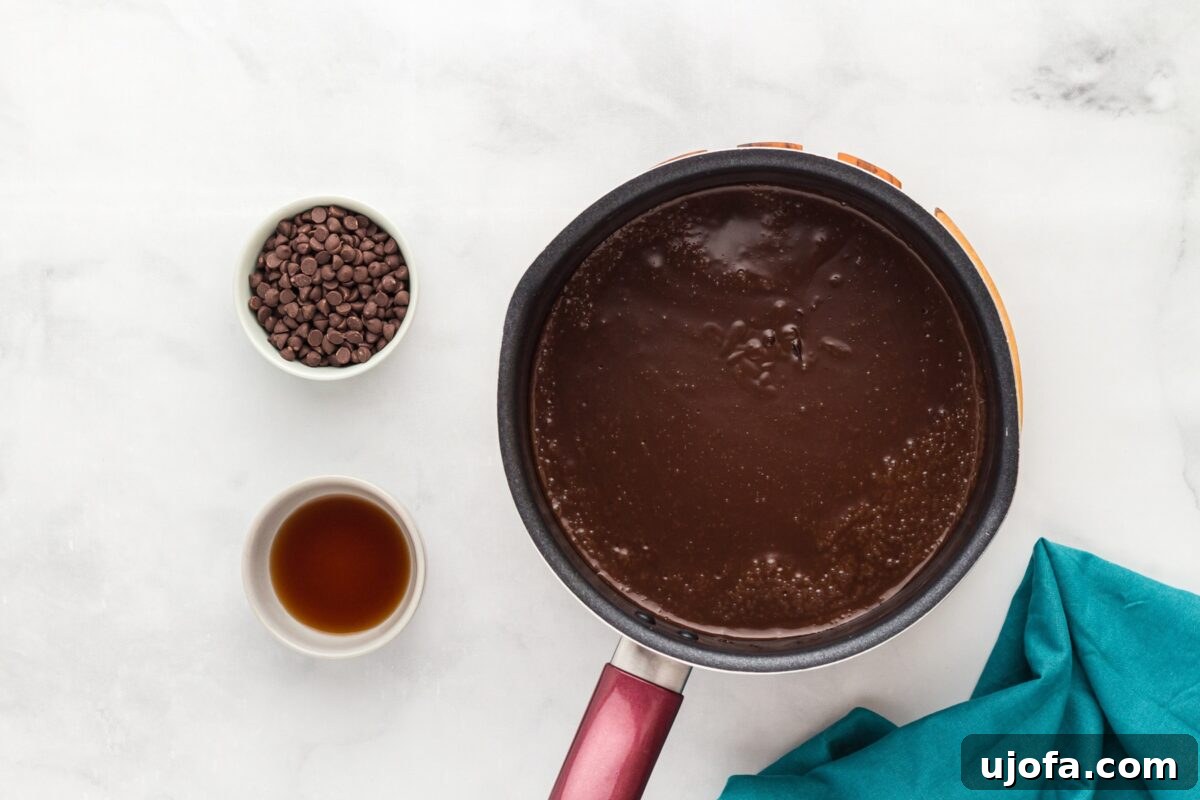
Step 3: Cook Until Thickened. Place the saucepan over low-to-medium heat. Whisk the mixture continuously as it heats up. Keep whisking until the pudding starts to gently simmer and tiny bubbles appear around the edges of the pan. This constant motion is crucial for preventing sticking and ensuring even thickening.
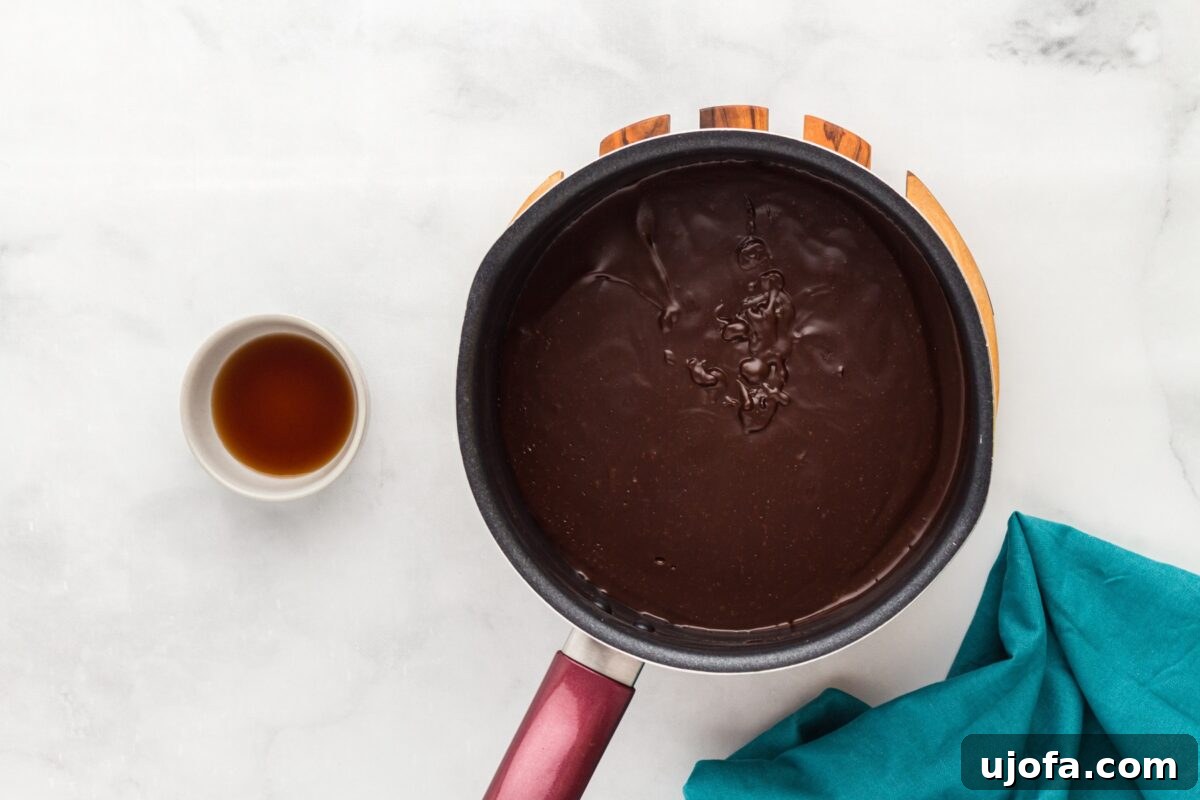
Step 4: Incorporate Chocolate Chips. Once the pudding mixture begins to simmer, stir in the ¼ cup of dairy-free semisweet chocolate chips. Reduce the heat to low. Continue to whisk constantly as the chocolate chips melt completely and the pudding thickens further. This process usually takes about 1-2 minutes. You’ll know it’s ready when the mixture is thick enough to coat the back of a spoon.
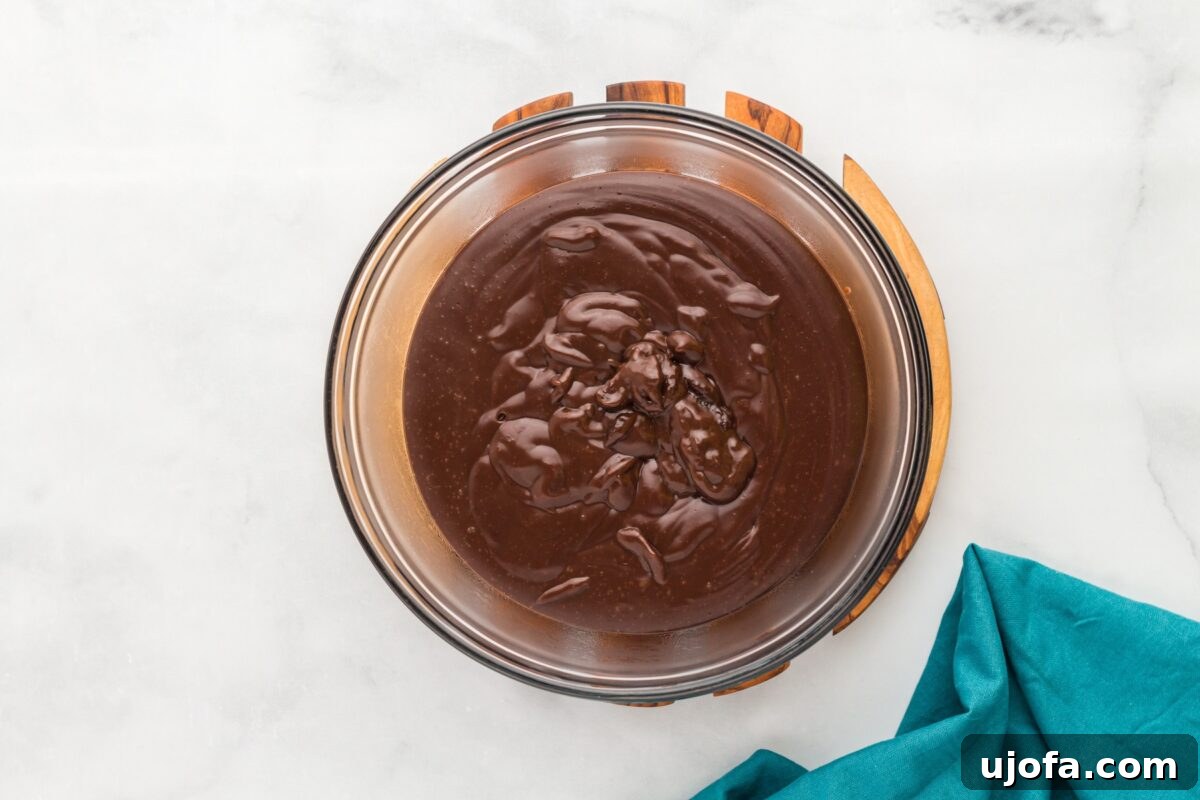
Step 5: Finish with Vanilla Extract. Remove the saucepan from the heat. Stir in the 2 teaspoons of vanilla extract. The vanilla enhances the overall chocolate flavor and adds a beautiful aroma to your pudding.
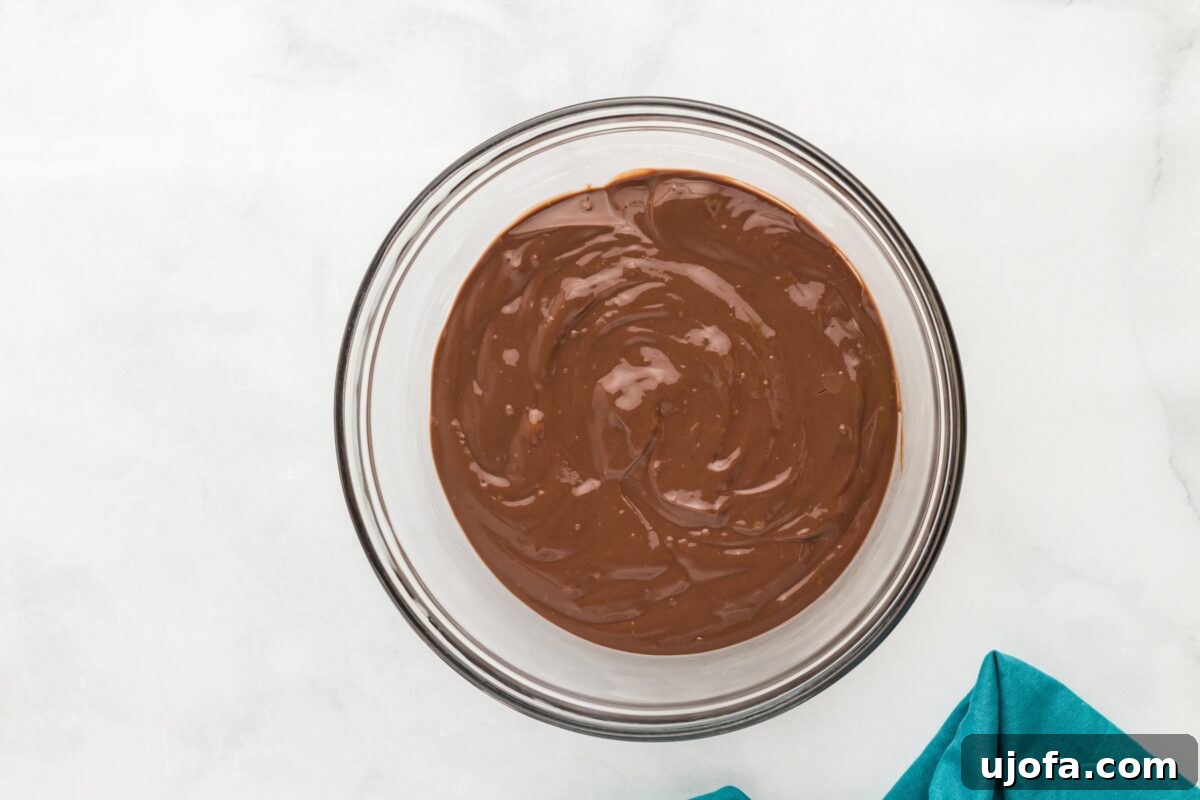
Step 6: Chill the Pudding. Carefully pour the warm pudding into a large glass bowl or individual serving cups. To prevent a “skin” from forming on the surface as it cools, press a piece of food-safe plastic wrap directly onto the surface of the pudding, ensuring it touches completely. Refrigerate for a minimum of 3 hours, or until the pudding is thoroughly chilled and perfectly set.
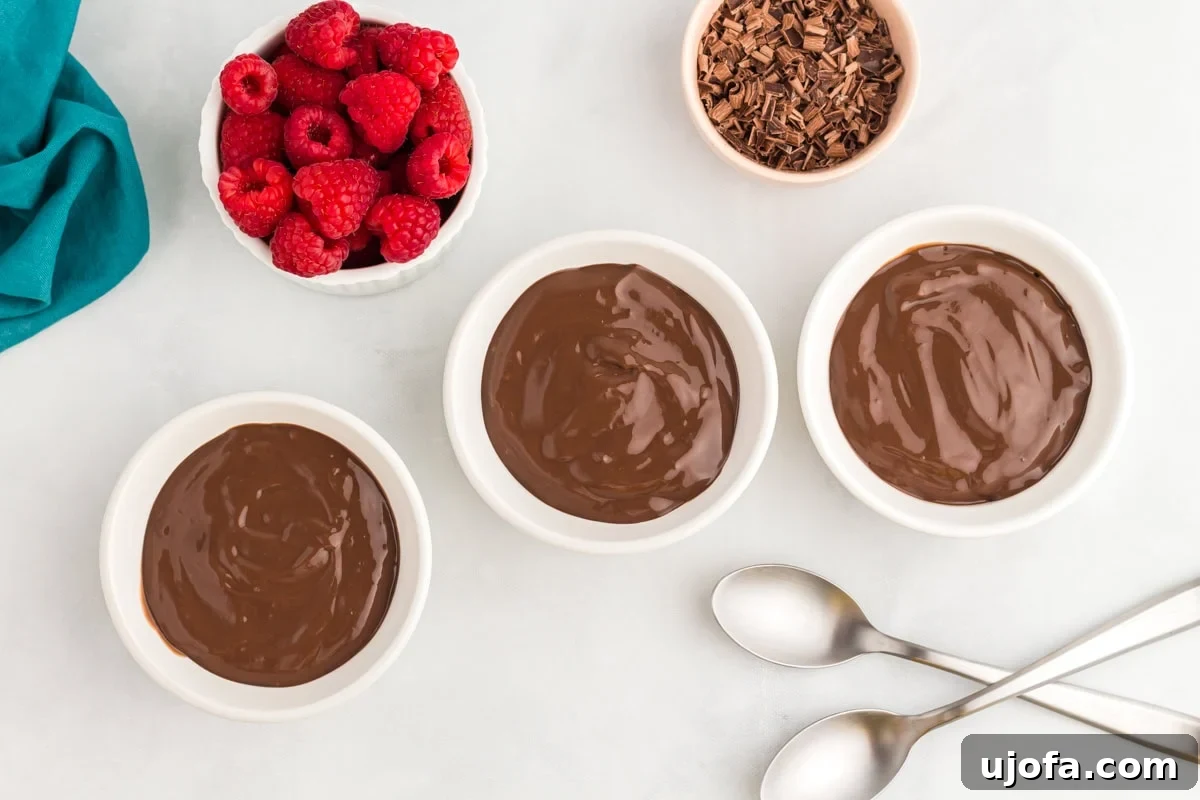
Step 7: Serve and Enjoy! Once your dairy-free chocolate pudding is fully chilled and set, remove the plastic wrap. Garnish as desired and serve. Each spoonful promises a delightful, creamy, and deeply chocolatey experience!
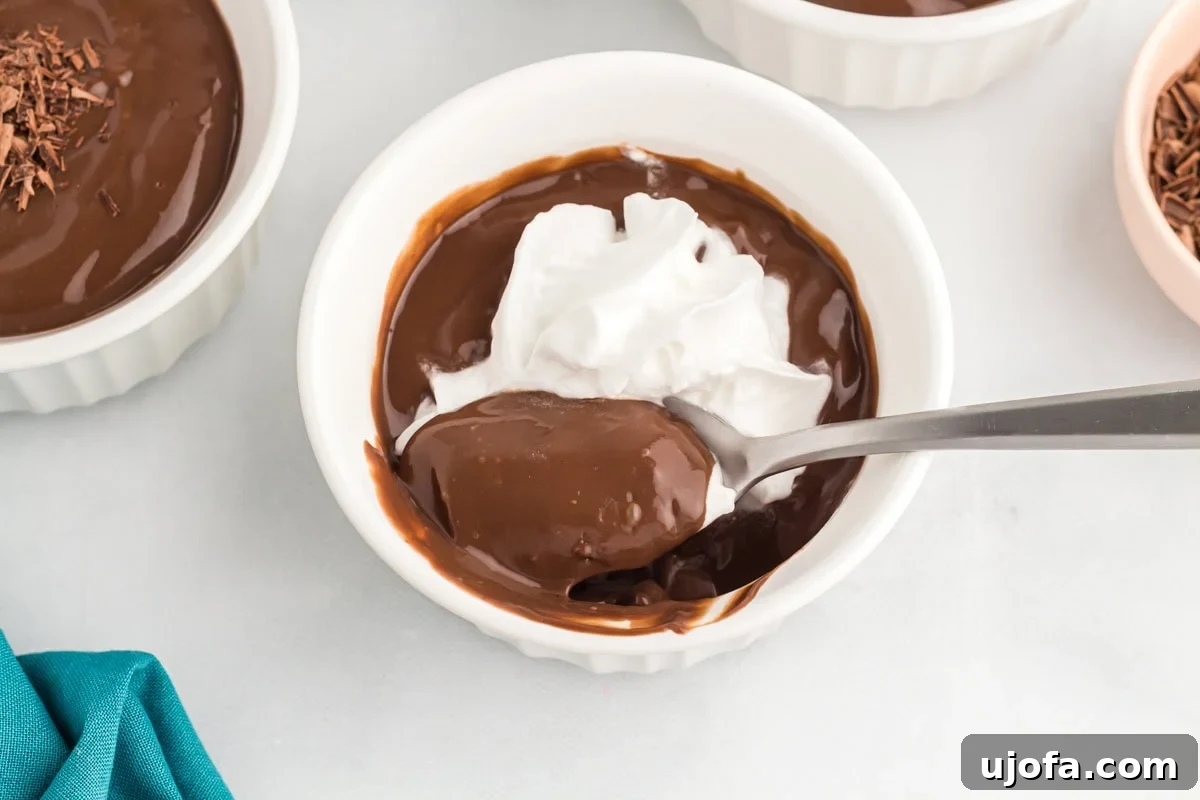
Serving Suggestions for Your Dairy-Free Chocolate Pudding
This rich and creamy dairy-free chocolate pudding is a fantastic dessert on its own, but it also serves as a versatile base for many delightful presentations. Here are some of our favorite ways to enjoy it:
- Classic Toppings: A dollop of dairy-free coconut whipped cream is always a crowd-pleaser. For a touch of elegance and fresh flavor, add a sprinkle of shaved dark chocolate or a handful of fresh raspberries, strawberries, or sliced bananas.
- Crunchy Delights: Introduce texture by crushing a few gluten-free shortbread cookies or gluten-free graham crackers and sprinkling them on top. For a more sophisticated crunch, add toasted nuts like pecans or almonds.
- Pudding Parfaits: Layer your dairy-free chocolate pudding with gluten-free granola, fresh fruit (like berries or mango), and coconut whipped cream in tall glasses for a beautiful and satisfying parfait. This is perfect for brunches or entertaining guests.
- Mini Dessert Cups: Serve in small shot glasses or espresso cups for an adorable party dessert. A small spoon and a simple garnish are all you need for an elegant presentation.
- Flavor Boosters: A sprinkle of sea salt flakes can really elevate the chocolate flavor, creating a delightful salted chocolate pudding. A dusting of cinnamon or a tiny pinch of chili powder can also add an unexpected, intriguing warmth.
- As a Pie Filling: This pudding is thick enough to be used as a delicious filling for a dairy-free chocolate cream pie. Simply pour it into a pre-baked gluten-free pie crust, chill, and top with whipped cream.
Whether it’s an easy after-dinner treat for the family or a make-ahead dessert for a special occasion, this dairy-free chocolate pudding always feels like a little bit of nostalgic bliss in every spoonful.
Storage Instructions for Optimal Freshness
One of the many benefits of this homemade dairy-free chocolate pudding is how well it stores, making it an excellent option for meal prepping or preparing in advance for gatherings. To keep your pudding fresh and delicious:
- Refrigeration: Store any leftover pudding in an airtight container. If you’ve portioned it into individual serving cups, cover each cup tightly with food-safe plastic wrap. Ensure the plastic wrap directly touches the surface of the pudding to prevent a “skin” from forming and to keep it from drying out. Properly stored, it will maintain its silky, rich texture and delightful flavor for up to 5 days in the refrigerator.
- Make-Ahead Dessert: This recipe is ideal for making ahead! You can prepare the pudding a day or two before you plan to serve it. This allows the flavors to meld beautifully and ensures it’s perfectly chilled. Just before serving, add your chosen toppings like whipped cream, fresh fruit, or crushed gluten-free cookies to maintain their freshness and crunch.
- Freezing Not Recommended: While convenient for some desserts, freezing is generally not recommended for this pudding. The texture of cornstarch-thickened puddings can change significantly upon thawing, often becoming watery or grainy as the ingredients separate. For the best experience, stick to refrigeration.
By following these simple storage guidelines, you can enjoy your homemade dairy-free chocolate pudding at its peak deliciousness for several days, making it a truly versatile and convenient dessert.
Frequently Asked Questions About Dairy-Free Chocolate Pudding
Q: Can I use different types of dairy-free milk?
A: Yes, you can! Soy milk provides a wonderfully creamy base, but unsweetened almond milk, oat milk, or cashew milk can also be used. Keep in mind that the consistency may vary slightly depending on the fat content of the milk you choose. For an extra rich and decadent pudding, you could use half soy milk and half full-fat canned coconut milk (make sure it’s well-shaken). Avoid highly watery milks like rice milk, as they might result in a thinner pudding.
Q: How can I make my dairy-free chocolate pudding thicker or thinner?
A: If your pudding is too thin, you can return it to the saucepan over low heat and gently simmer for another 1-2 minutes, whisking continuously, to allow the cornstarch to further activate. If you find it consistently too thin, you can slightly increase the cornstarch by half a tablespoon in your next batch. For a thinner pudding, you can stir in a tablespoon or two of extra dairy-free milk after it has finished cooking and cooled slightly, before chilling.
Q: Can I make this pudding less sweet or sugar-free?
A: Absolutely! You can reduce the amount of granulated sugar by a quarter or even a third, depending on your preference for sweetness. If you want a sugar-free option, you can substitute the granulated sugar with an equivalent amount of a granular, heat-stable sugar substitute like erythritol or stevia blend. Be sure to check the specific brand’s conversion rates, as sweetness can vary, and taste as you go.
Q: What if I don’t have dairy-free chocolate chips?
A: If you don’t have dairy-free chocolate chips, you can use a good quality dairy-free dark chocolate bar, chopped into small pieces. Aim for a chocolate with a high cocoa content (60-70% is ideal) for a rich flavor. Ensure the chocolate is clearly labeled as dairy-free if allergies are a concern.
Q: How can I prevent a skin from forming on top of the pudding?
A: To prevent that undesirable “skin” from forming, immediately after pouring the warm pudding into its serving dishes or storage container, place a piece of plastic wrap directly onto the surface of the pudding, ensuring it touches every part. This creates a barrier against the air, which is what causes the skin to form.
Delicious Variations to Try
This dairy-free chocolate pudding is fantastic on its own, but it’s also a wonderful canvas for creative variations. Here are a few ideas to customize your next batch:
- Mint Chocolate Pudding: Add ½ teaspoon of peppermint extract along with the vanilla for a refreshing minty twist. Garnish with fresh mint leaves or a sprinkle of crushed candy canes for the holidays.
- Orange Chocolate Pudding: Stir in 1-2 teaspoons of orange zest and ¼ teaspoon of orange extract (optional) with the vanilla for a vibrant citrusy note that pairs beautifully with chocolate.
- Spicy Mexican Chocolate Pudding: For a subtle kick, add a tiny pinch (⅛ teaspoon) of ground cayenne pepper or chili powder along with the cocoa powder. The heat will enhance the chocolate’s depth without being overpowering.
- Coffee Infused Pudding: Replace ¼ cup of the soy milk with strongly brewed coffee or add 1-2 teaspoons of instant espresso powder to the milk mixture for a mocha-flavored pudding.
- Nut Butter Swirl: After pouring the pudding into serving cups, drop small spoonfuls of dairy-free peanut butter or almond butter on top and swirl gently with a knife for a marbled effect and an extra layer of flavor.
Don’t hesitate to experiment with these variations or create your own to discover new favorite flavor combinations!
More Easy Chocolate Dessert Recipes
If you’re a chocolate lover seeking more dairy-free and gluten-free delights, explore these fantastic recipes:
- Gluten-Free Chocolate Cupcakes
- Dairy-Free Hot Chocolate
- Easy Gluten-Free Chocolate Cake
- Vegan Chocolate Mousse
- Gluten-Free Chocolate Crinkle Cookies
This dairy-free chocolate pudding is more than just a dessert; it’s a testament to how simple ingredients and a little care can create something truly extraordinary. Whether you’re avoiding dairy for health reasons, embracing a vegan lifestyle, or simply looking for an incredibly satisfying chocolate fix, this recipe is sure to become a cherished favorite. Its creamy texture, deep chocolate flavor, and effortless preparation make it perfect for any occasion. So go ahead, whip up a batch, chill it to perfection, and treat yourself to a spoonful of pure, dairy-free bliss!