
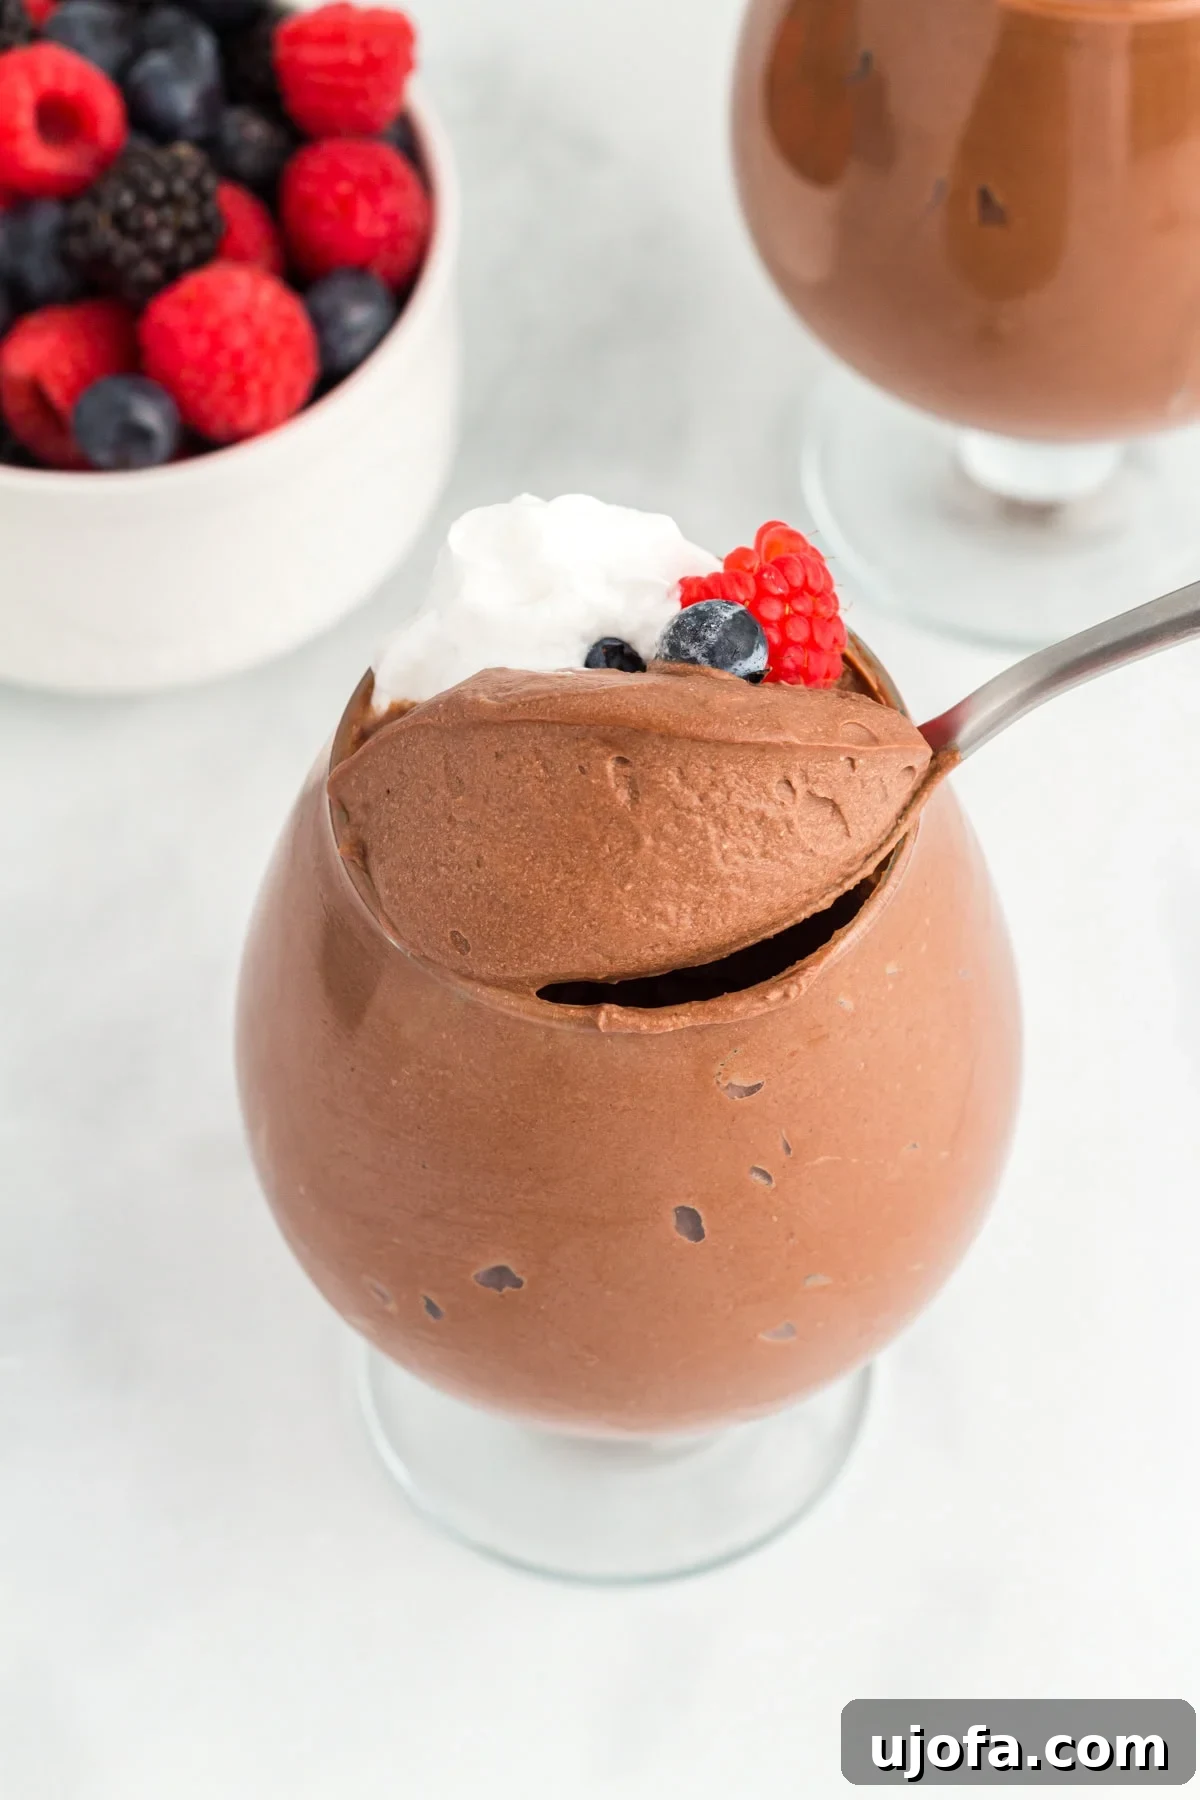
Indulge in a truly remarkable dessert experience with this exquisite Vegan Chocolate Mousse. This light, airy, and utterly decadent dairy-free treat is crafted using just a handful of simple ingredients: rich whipped coconut cream, premium cocoa powder, a touch of powdered sugar, and a hint of vanilla. Each spoonful delivers a smooth, creamy, melt-in-your-mouth sensation and a profound chocolate flavor that satisfies even the most intense cravings. Perfect for any occasion, from an intimate date night to a grand holiday spread, this recipe is entirely no-bake, quick to prepare, and incredibly versatile. It’s an ideal choice for a sophisticated dessert to share or a delightful personal indulgence.
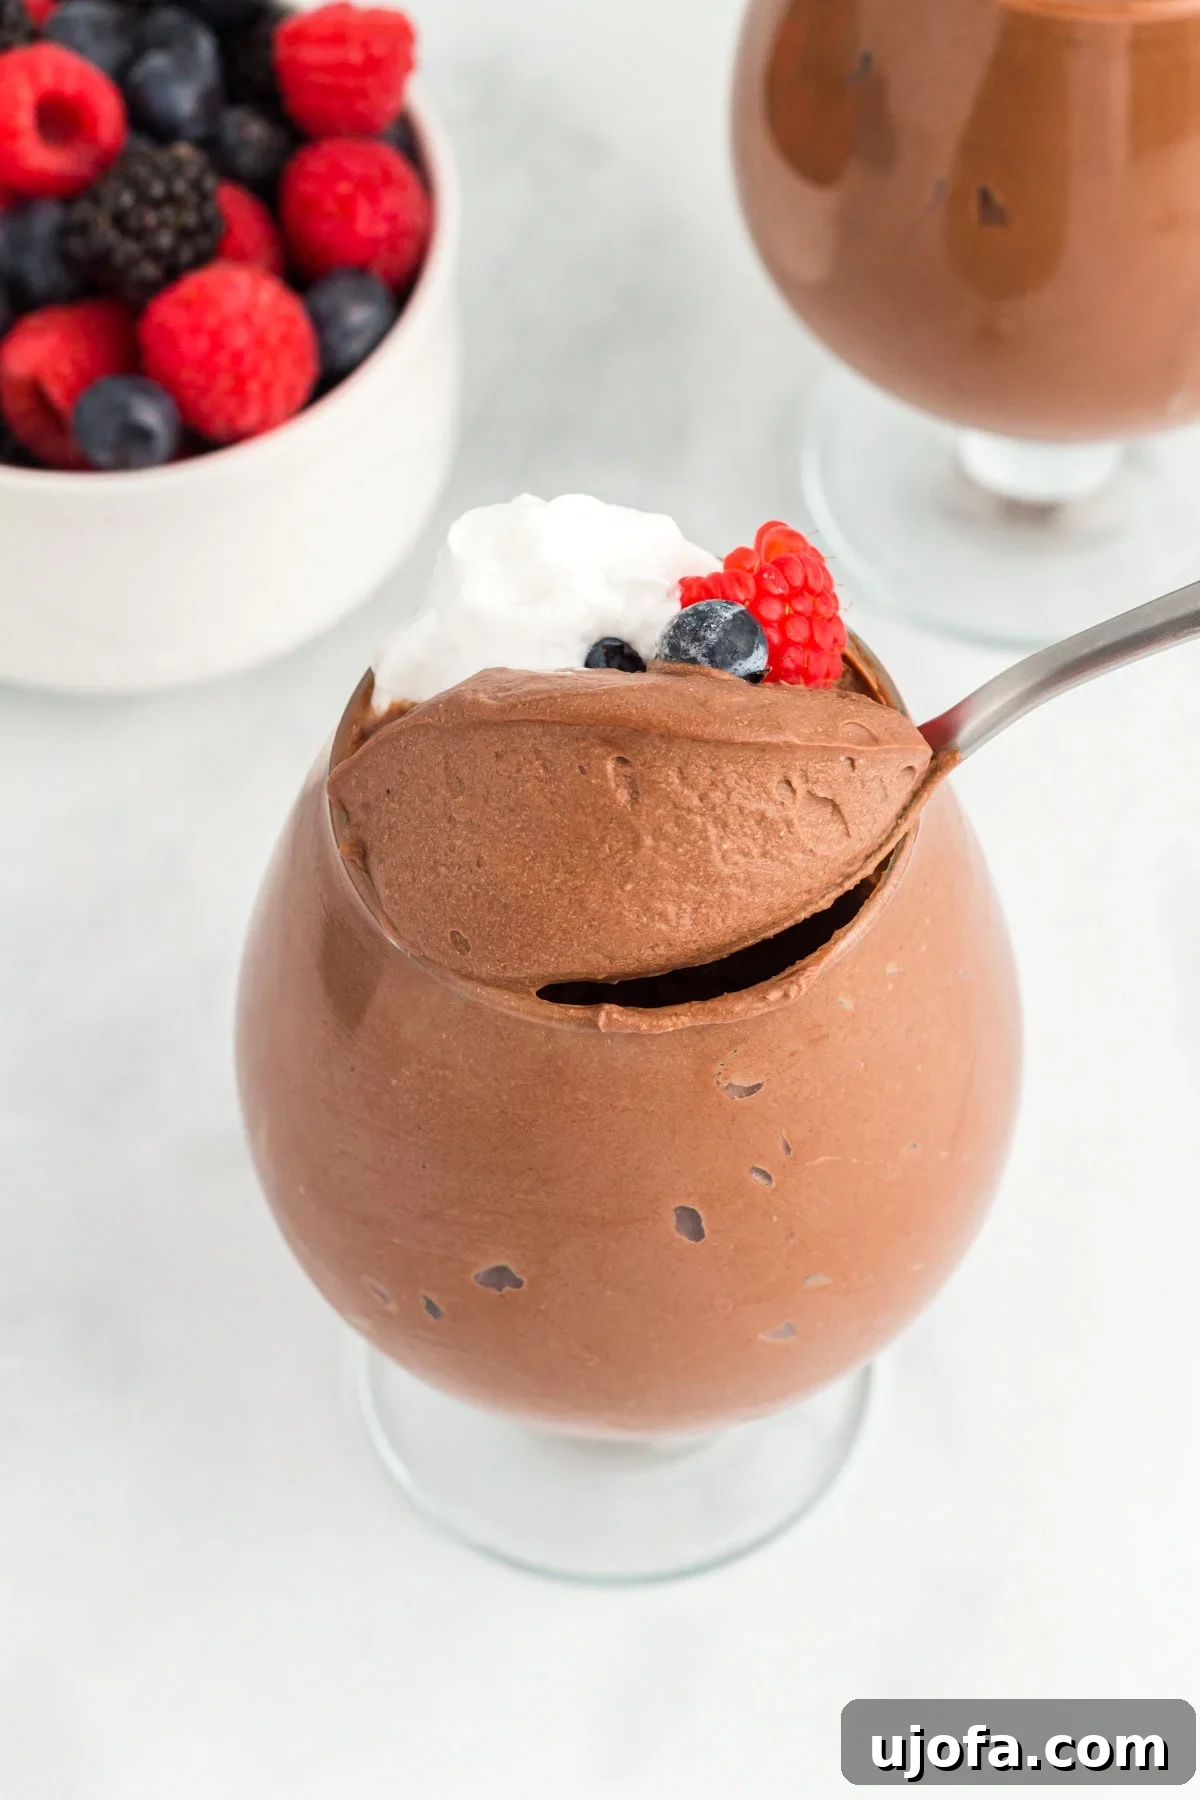
For many, classic chocolate mousse represents the pinnacle of dessert elegance—light, luxurious, and intensely satisfying. My quest to recreate this beloved treat without dairy led me to this incredible vegan chocolate mousse recipe, and honestly, I believe it rivals the traditional version in both texture and taste. The secret lies in using perfectly whipped full-fat coconut cream, which forms an exceptionally airy and stable base. Combined with just the right amounts of powdered sugar, robust cocoa powder, and a dash of vanilla, it transforms into a velvety smooth dessert that truly impresses. Whether you’re celebrating a special holiday, planning a romantic date night, or simply desiring a solo sweet escape, this mousse fits the bill. For an extra layer of complexity, consider adding a touch of instant espresso powder to create a rich mocha variation.
Why You’ll Fall in Love with This Vegan Chocolate Mousse
This isn’t just another dessert recipe; it’s a game-changer for anyone seeking a dairy-free and gluten-free indulgence that doesn’t compromise on flavor or texture. Here’s why this vegan chocolate mousse will become a staple in your repertoire:
- Effortlessly Elegant: Despite its sophisticated appearance and taste, this mousse comes together with minimal effort. It’s a no-bake wonder, meaning no oven time and less cleanup, making it perfect for busy schedules or when you want a quick dessert fix.
- Dairy-Free Delight: Crafted with whipped coconut cream, this mousse is completely dairy-free, making it an excellent option for those with lactose intolerance, dairy allergies, or anyone following a vegan lifestyle. You won’t miss the dairy one bit!
- Rich Chocolate Indulgence: With high-quality cocoa powder, this mousse delivers a deep, authentic chocolate flavor that’s intensely satisfying. It’s not overly sweet, allowing the true essence of chocolate to shine through.
- Luxurious Texture: The key to a fantastic mousse is its texture. This recipe achieves a light, airy, and exquisitely smooth consistency that melts in your mouth, just like a traditional mousse.
- Simple Ingredients: You only need four basic ingredients to create this magic, most of which you might already have in your pantry.
- Versatile & Adjustable: The recipe easily scales up or down, whether you’re making a small treat for two or a larger batch for entertaining. It’s also highly customizable with various toppings and flavor additions.
The Simple Ingredients You’ll Need for Perfection
Creating this dreamy vegan chocolate mousse requires just a few key components. The quality and preparation of these ingredients are crucial for achieving that signature light and airy texture.
- Full-Fat Canned Coconut Cream (or Milk): This is the star of our dairy-free mousse. You need the thick, solid cream that separates and rises to the top of a chilled can of full-fat coconut milk or, even better, a can of dedicated coconut cream. The fat content is essential for achieving a stable, whip-able consistency. Brands can vary, so look for a high-quality product.
- Unsweetened Cocoa Powder: For that rich, deep chocolate flavor. Sifting the cocoa powder is a non-negotiable step to prevent lumps and ensure a silky smooth mousse. You can use Dutch-processed cocoa for a darker color and milder flavor, or natural cocoa for a slightly fruitier, more intense chocolate profile.
- Powdered Sugar (Confectioners’ Sugar): This fine sugar dissolves easily, contributing to the mousse’s smooth texture without any graininess. It also helps to stabilize the whipped coconut cream. You can adjust the amount to suit your preferred level of sweetness.
- Vanilla Extract: A touch of pure vanilla extract enhances the chocolate flavor and adds a warm, aromatic depth to the mousse.
- Optional Add-ins: For a mocha kick, a ½ teaspoon of instant espresso powder can be added with the cocoa powder. A tiny pinch of sea salt can also heighten the chocolate flavor.
Achieving the Perfect Creamy Texture: Expert Tips
The secret to a light, fluffy, and perfectly set vegan chocolate mousse lies in a few critical techniques. Pay close attention to these tips for best results, ensuring your mousse is consistently smooth and delightful.
- Keep Everything Thoroughly Chilled: This is arguably the most important rule. Just like traditional whipped cream, coconut cream whips best when it’s very cold. Place your mixing bowl (preferably glass or metal) and the beaters of your electric mixer in the freezer for at least 30 minutes before you start. The colder everything is, the faster and more efficiently the fat in the coconut cream will aerate and hold its shape. Even a slightly warm bowl can cause the cream to take longer to whip or even fail to form stiff peaks.
- Mastering Coconut Cream Selection and Preparation: Not all coconut creams are created equal. Opt for a high-quality, full-fat canned coconut cream. For best results, chill the can of coconut cream in the refrigerator overnight (or for at least 8 hours). When ready to use, carefully open the can without shaking it. Scoop out only the thick, solid cream that has risen to the top, leaving any clear liquid at the bottom behind. Even a small amount of this liquid can hinder the whipping process. Aim for a full cup of this solid, buttery-looking cream. Some brands yield more cream than others, so it’s a good idea to have an extra can on hand, just in case. Once scooped, place the solid coconut cream in a separate small bowl and return it to the freezer for a final 10 minutes just before whipping. Be careful not to let it freeze solid, as this will make it grainy.
- Whipping to Stiff Peaks: When you begin whipping the chilled coconut cream in your cold bowl with cold beaters, it will initially be quite thick. The goal isn’t just thickness, but lightness and airiness. Continue beating on high speed for 7-10 minutes. The cream should transform from a dense solid into a light, fluffy cloud, similar to dairy whipped cream but with a slightly firmer body. It’s done when it holds stiff peaks—meaning when you lift the beaters, the cream forms peaks that stand upright without collapsing. Scrape down the sides of the bowl with a silicone spatula frequently to ensure all parts are whipped evenly.
- Always Sift Your Cocoa Powder: Cocoa powder is notorious for clumping. To prevent unwelcome specks of dry powder in your smooth mousse, always sift the cocoa powder before adding it to the whipped coconut cream. This simple step ensures a uniform color and a perfectly silky texture.
- Gentle Folding for Airiness (After whipping): Once the cocoa powder, powdered sugar, and vanilla are added, switch to a low speed or gently fold them in. Over-mixing at this stage can deflate the beautifully whipped coconut cream, leading to a denser mousse. Mix just until combined and no streaks remain.
Luscious Vegan Chocolate Mousse
By: Cheryl Johnson
Yields: 2 servings (easily adjustable)
Prep time: 10 mins
Chill time: 30 mins
Total time: 40 mins
Share by Email
Print Recipe
This vegan chocolate mousse is a light and fluffy dairy-free dessert made with whipped coconut cream, cocoa powder, and a little powdered sugar. It has a smooth, creamy, melt-in-your-mouth texture and a deep chocolate flavor, all from just four simple ingredients.
Equipment
- 1 hand or stand mixer (with chilled bowl and beaters)
- Medium-sized glass mixing bowl
- Silicone spatula
Ingredients
- 1 cup canned coconut cream* (thick, smooth part at the top of a full-fat can only)
- ¼ cup unsweetened cocoa powder (sifted)
- ¼ cup powdered sugar (confectioners’ sugar)
- ½ tsp vanilla extract
US Customary – Metric
Instructions
- Chill Your Tools: Begin by placing a medium-sized glass mixing bowl and the beaters for your electric mixer into the freezer. Allow them to chill for a full 30 minutes. This step is crucial for ensuring the coconut cream whips up light and fluffy.
- Prepare Coconut Cream: While your tools are chilling, carefully open a can of full-fat coconut cream (chilled overnight in the refrigerator for best separation). Scoop out 1 cup of the thick, solid coconut cream from the top, being very careful to leave behind any clear liquid at the bottom of the can. Transfer this solid cream to a separate small bowl. With 10 minutes remaining on the timer for your mixing bowl and beaters, place this bowl of coconut cream into the freezer for exactly 10 minutes. Do not exceed 10 minutes, as the cream can become grainy if it starts to freeze solid.
- Whip the Cream: Once both your tools and coconut cream are perfectly chilled, transfer the cold coconut cream into the frozen glass mixing bowl. Beat on high speed with your electric mixer for 7 to 10 minutes. Continue whipping until the cream becomes light, airy, and holds firm, stiff peaks. Periodically use a silicone spatula to scrape down the sides of the bowl, ensuring all the cream is evenly whipped.
- Combine Flavors: Reduce the mixer speed to low. Gradually add the sifted cocoa powder, powdered sugar, and vanilla extract to the whipped coconut cream. Beat on low speed (scraping down the sides of the bowl with your silicone spatula as needed) until all the ingredients are fully combined, and the mousse is smooth, uniform in color, and free of any streaks.
- Serve or Chill: Your delicious vegan chocolate mousse is now ready! You can serve it immediately for a slightly softer, airier consistency, or for a thicker, more set mousse, cover and refrigerate it for 30-60 minutes before serving.
Notes
- Coconut Cream Brand: For optimal results, I highly recommend using Delicious Kitchen Premium Coconut Cream. Different brands can have varying consistencies and fat content, which can affect the outcome. Ensure you are using a high-quality, full-fat variety.
- Adjust Sweetness: The amount of powdered sugar can be adjusted to your personal taste. If you prefer a less sweet dessert, start with slightly less and add more as needed. Powdered coconut sugar can be used as an alternative, but note that it will impart a slightly darker color and a subtle caramel flavor to your mousse.
- Espresso Boost: To create a delightful mocha-flavored mousse, simply add ½ teaspoon of instant espresso powder along with the cocoa powder and powdered sugar in step 4.
Nutrition Information
Serving: 1 serving | Calories: 482kcal | Carbohydrates: 29g | Protein: 6g | Fat: 43g | Saturated Fat: 38g | Polyunsaturated Fat: 1g | Monounsaturated Fat: 2g | Sodium: 7mg | Potassium: 555mg | Fiber: 7g | Sugar: 15g | Vitamin C: 3mg | Calcium: 27mg | Iron: 4mg
Nutrition information is automatically calculated and should only be used as an approximation. Actual values may vary based on ingredients and preparation methods.
Additional Info
Course: Dessert
Cuisine: American, French
Tried this recipe? We’d love to see your creations! Mention @mamaknowsglutenfree or tag #mamaknowsglutenfree on Instagram!
How to Make Vegan Chocolate Mousse: A Step-by-Step Visual Guide
Visual learners, rejoice! Here’s a detailed breakdown of each stage, accompanied by images to guide you through the creation of your perfect vegan chocolate mousse.
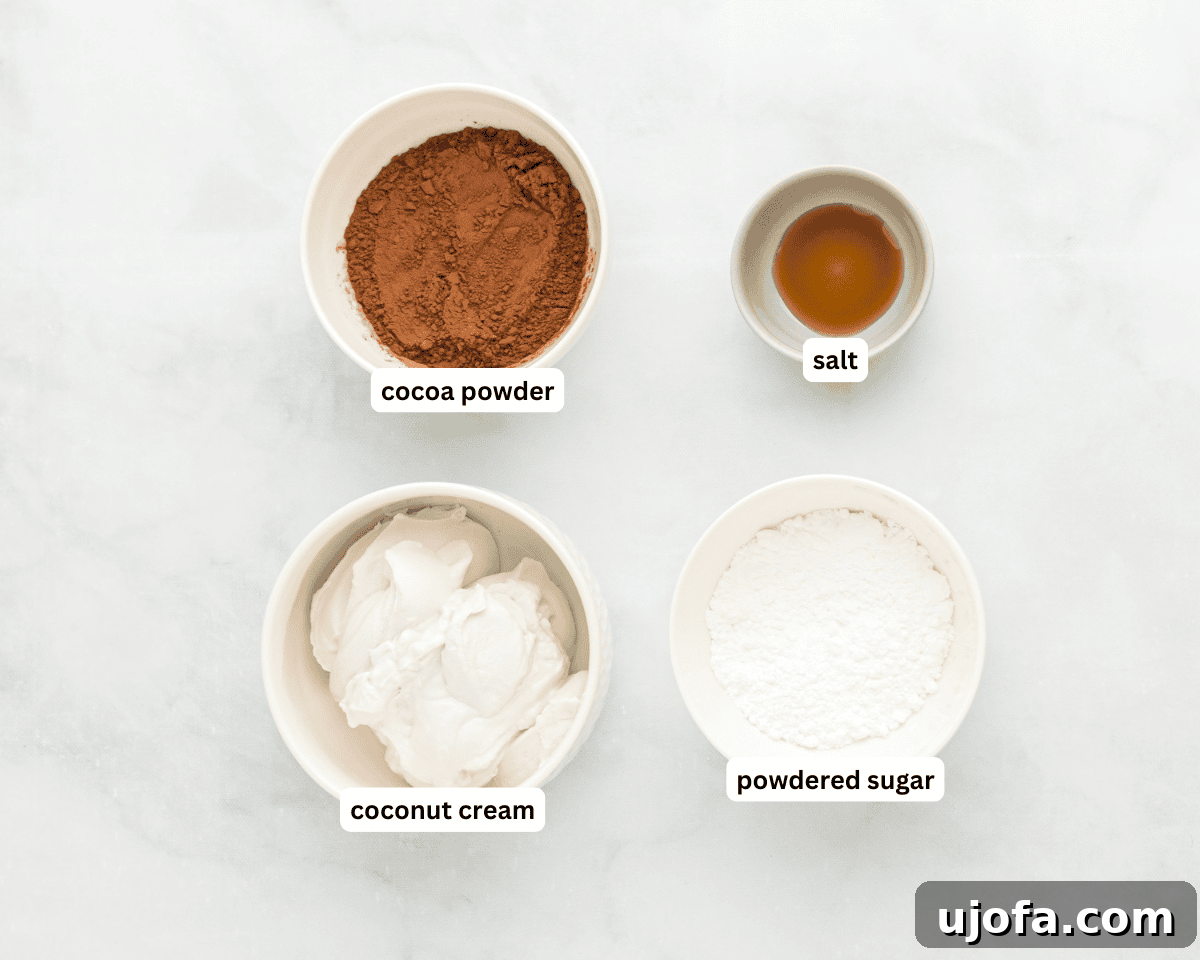
1. Gather Your Essentials: Lay out all your ingredients: canned full-fat coconut cream, unsweetened cocoa powder, powdered sugar, and vanilla extract. Don’t forget your equipment! Place a medium-sized glass mixing bowl and the beaters of your electric mixer into the freezer for 30 minutes. This chilling step is fundamental for achieving the desired light and airy mousse texture.
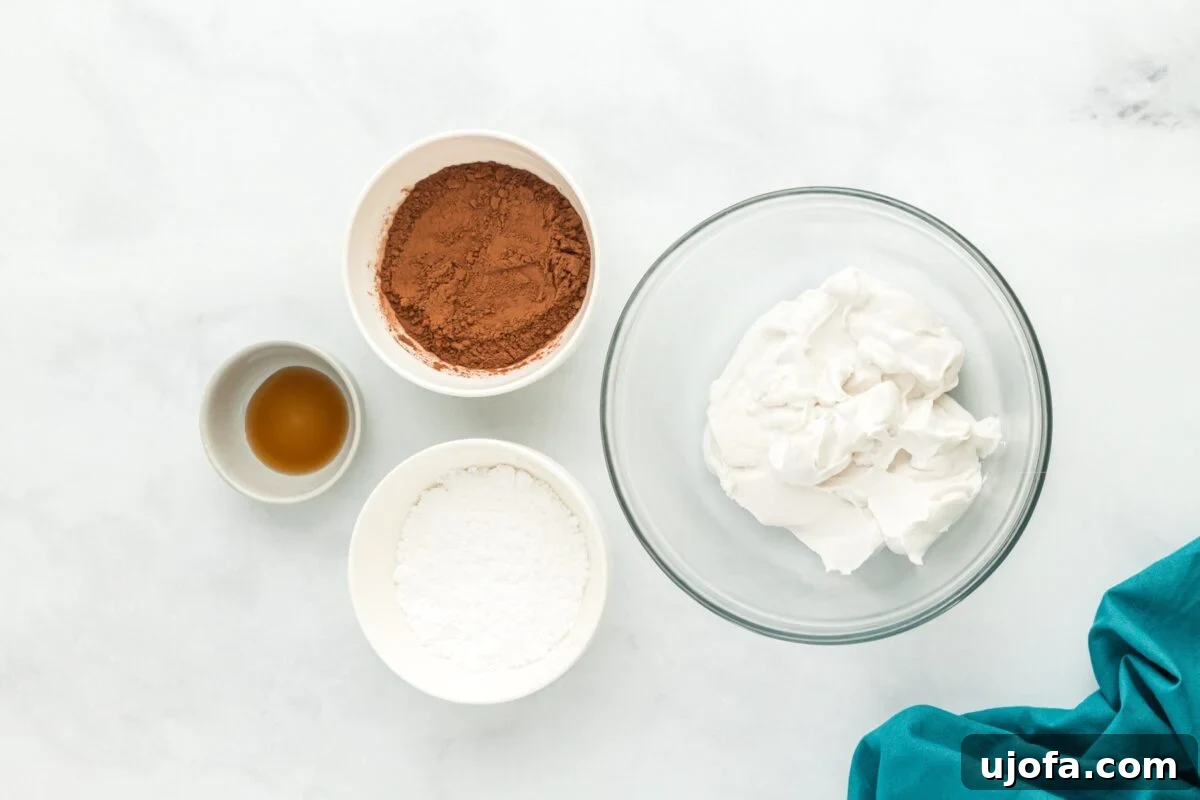
2. Prepare the Coconut Cream: Carefully scoop 1 cup of the thick, solid part of the coconut cream from the top of a chilled full-fat can into a small, separate bowl. It’s crucial to avoid any of the clear liquid found at the bottom of the can, as this can prevent proper whipping. With about 10 minutes remaining on your freezer timer for the mixing bowl and beaters, place this bowl of solid coconut cream into the freezer for exactly 10 minutes. This ensures it’s extra cold without freezing solid and becoming grainy.
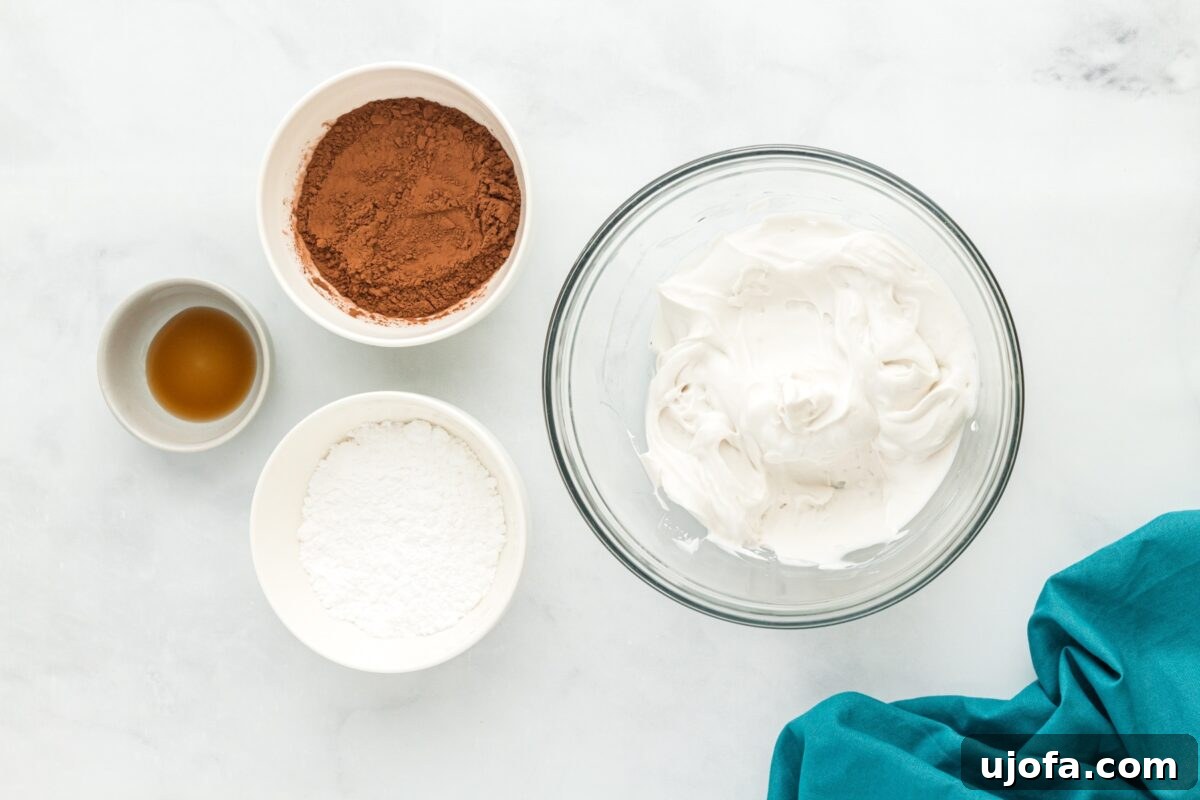
3. Whip the Coconut Cream to Perfection: Transfer the perfectly chilled 1 cup of solid coconut cream into your frozen mixing bowl. Using your electric mixer, beat the cream on high speed for 7 to 10 minutes. You’re looking for a transformation: the cream should become significantly lighter, airier, and achieve stiff peaks that hold their shape when the beaters are lifted. Remember to scrape down the sides of the bowl with a silicone spatula as you go, ensuring even whipping throughout.
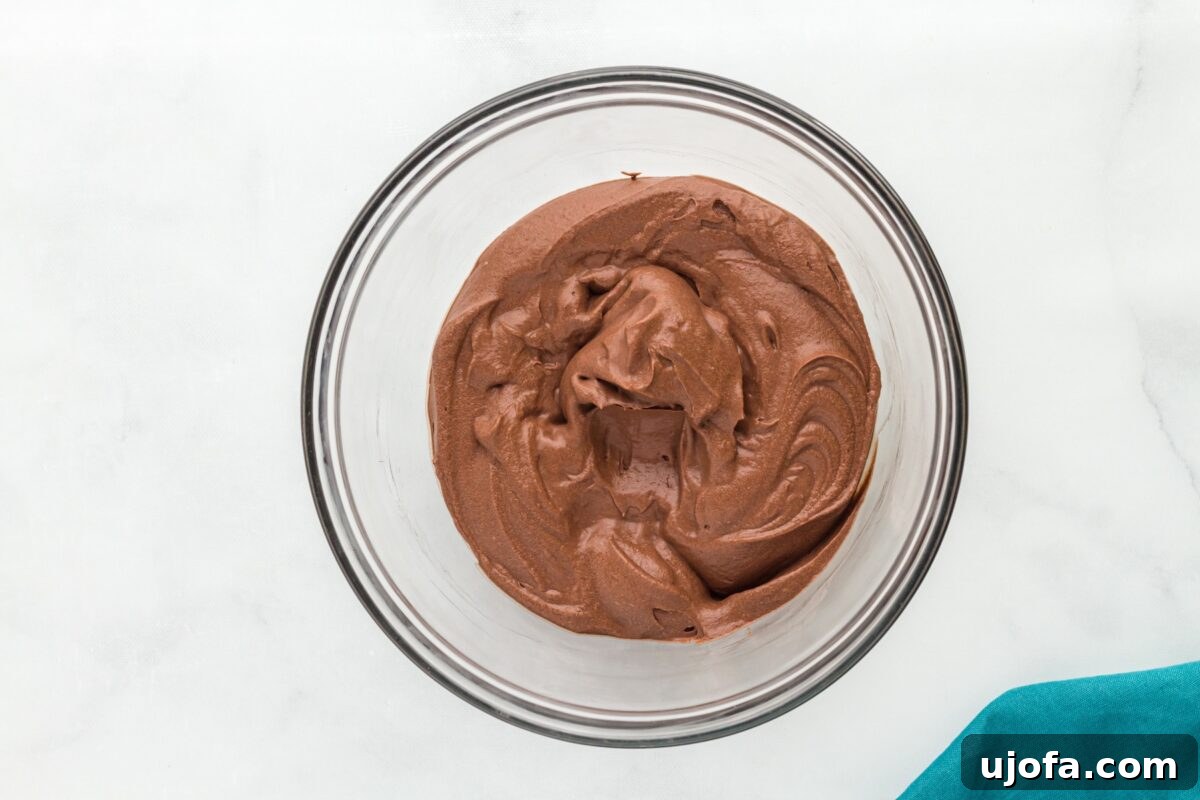
4. Blend in the Chocolate and Sweetness: Once your coconut cream is beautifully whipped, reduce the mixer speed to low. Gently add the ¼ cup of sifted cocoa powder, ¼ cup of powdered sugar, and ½ teaspoon of vanilla extract. Continue to beat on low speed, again scraping the bowl down with your spatula, until all the dry ingredients are fully incorporated, and the mousse takes on a smooth, uniform chocolate color and silky texture. Be careful not to overmix at this stage, as it can deflate the air from the cream.
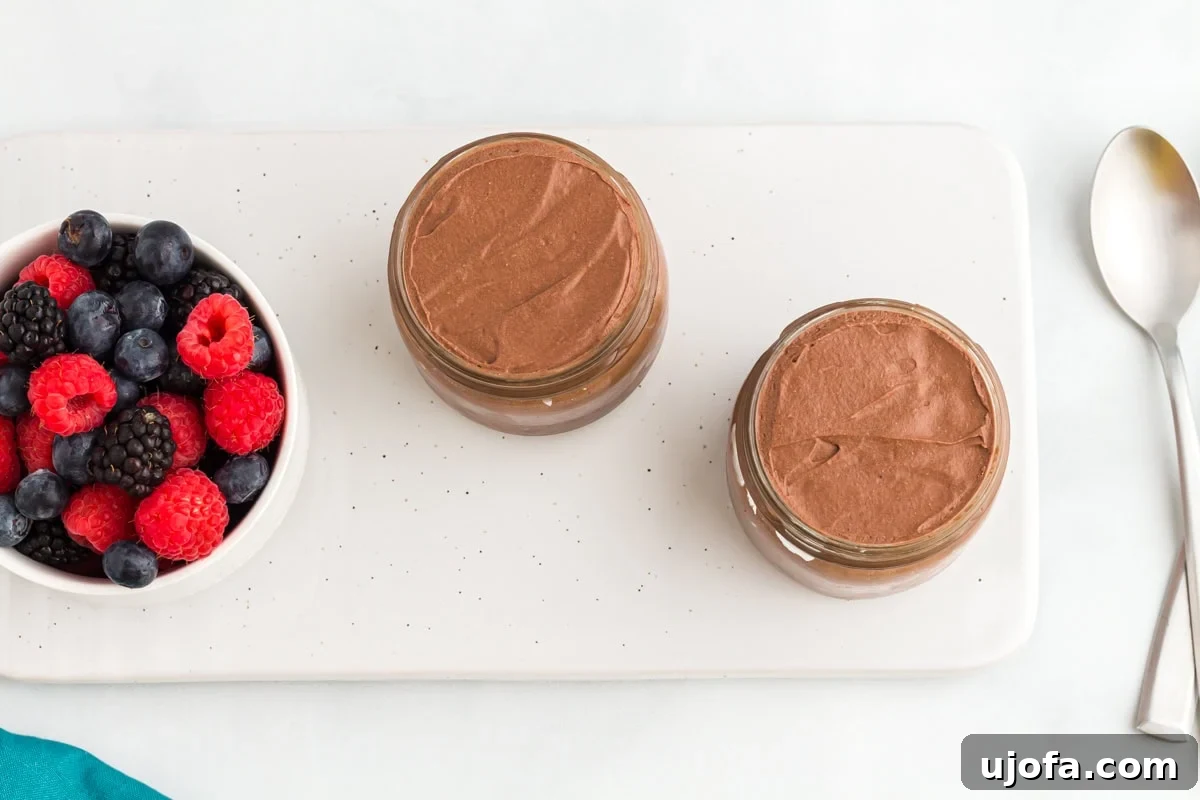
5. Serve and Savor: Your luscious vegan chocolate mousse is now ready to be enjoyed! For a softer, melt-in-your-mouth texture, serve it immediately. If you prefer a firmer, more traditional mousse consistency, simply cover the bowls or jars and refrigerate for an additional 30 to 60 minutes before serving. This chilling time allows the mousse to set further and develop a richer, denser feel.
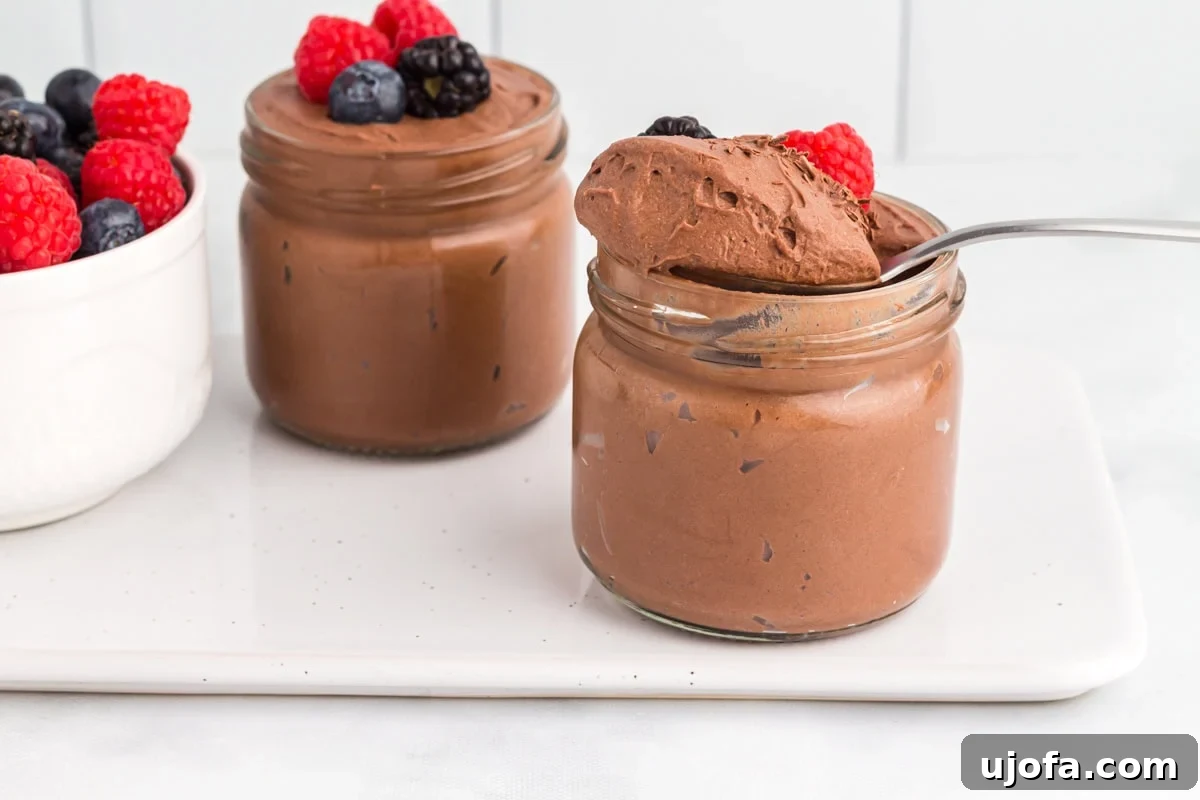
6. Presentation Ideas: Elevate your vegan chocolate mousse with elegant garnishes. A dollop of extra vegan whipped cream, a sprinkle of finely grated dark chocolate, a dusting of extra cocoa powder, or a handful of vibrant fresh berries (raspberries, blueberries, or sliced strawberries work wonderfully) will add visual appeal and complementary flavors. Serve in small, clear glasses or elegant ramekins to showcase its inviting layers.
Creative Serving Suggestions for Your Mousse
This vegan chocolate mousse is incredibly versatile, making it a perfect addition to any dessert spread or a standalone treat. Here are some ideas to make your mousse even more special:
- Classic Garnishes: A dollop of additional vegan whipped cream and a few fresh berries (strawberries, raspberries, or blueberries) are always a winning combination. The tartness of the fruit beautifully cuts through the richness of the chocolate.
- Chocolate Lover’s Dream: Sprinkle with shaved vegan chocolate, cocoa nibs, or a dusting of extra cocoa powder for an intensified chocolate experience.
- Textural Contrast: Add a delightful crunch with finely chopped nuts (like pistachios or almonds), gluten-free crushed cookies, or even a sprinkle of sea salt flakes to enhance the chocolate flavor.
- Coffee Pairing: Serve alongside a freshly brewed cup of coffee or a dairy-free latte. The flavors complement each other beautifully, especially if you added espresso powder to your mousse.
- Dessert Platter Centerpiece: For holidays or dinner parties, this mousse fits perfectly on a dessert table. Pair it with other gluten-free delights like my gluten-free tiramisu or gluten-free shortbread cookies for a varied and impressive spread.
- Mini Dessert Shots: Serve the mousse in small shot glasses for individual, portion-controlled treats that look incredibly elegant.
- Layered Parfaits: Alternate layers of chocolate mousse with fresh berries, granola, or crumbled gluten-free cookies for an eye-catching parfait.
Storage and Make-Ahead Tips
Planning ahead or dealing with leftovers is easy with this vegan chocolate mousse, provided you follow a few simple guidelines to maintain its delightful texture and flavor.
- Refrigeration: Store any leftover vegan chocolate mousse in a sealed, airtight, food-safe container in the refrigerator. It will maintain its freshness and quality for up to 3 days. The mousse tends to thicken further as it chills, so if you prefer a slightly softer consistency, give it a quick, gentle stir with a spoon before serving.
- Freezing is Not Recommended: Unlike some desserts, this vegan chocolate mousse does not freeze well. The whipped coconut cream contains a high water content which, upon freezing and thawing, can become icy, grainy, and lose its smooth, velvety texture. The delicate airy structure will be compromised, resulting in a less appealing mouthfeel.
- Make-Ahead Instructions: This recipe is fantastic for making ahead of time! You can prepare the mousse entirely the day before your dinner party or holiday gathering. Simply cover it tightly and keep it chilled in the refrigerator until you are ready to serve. This allows the flavors to meld beautifully and the mousse to firm up to a perfect consistency, making your entertaining stress-free.
- Portioning for Freshness: If you’re making a larger batch, consider portioning the mousse into individual serving cups or jars before chilling. This not only makes serving easier but also helps preserve the mousse by minimizing exposure to air when accessing portions.
Frequently Asked Questions (FAQ) About Vegan Chocolate Mousse
Here are some common questions and helpful answers to ensure your vegan chocolate mousse turns out perfectly every time:
- Can I use light coconut milk instead of full-fat coconut cream?
- No, unfortunately, light coconut milk will not work for this recipe. The high fat content of full-fat coconut cream (or the solid part of full-fat coconut milk) is absolutely essential for it to whip up into a stable, airy mousse. Light versions simply do not have enough fat to create the desired texture.
- My coconut cream isn’t whipping. What went wrong?
- The most common reasons for coconut cream not whipping are:
- Not cold enough: Ensure the coconut cream, bowl, and beaters are all very well chilled.
- Too much liquid: Make sure you only scooped the thick, solid cream and none of the clear liquid from the bottom of the can. Even a small amount of liquid can prevent it from whipping.
- Brand variation: Some brands of coconut cream contain less fat or more stabilizers that can affect whipping. Try a different brand next time (like Delicious Kitchen Premium Coconut Cream, which I recommend).
- Can I adjust the sweetness level?
- Absolutely! The amount of powdered sugar can be adjusted to your preference. If you like your chocolate desserts on the darker, less sweet side, start with a bit less powdered sugar and taste as you go. You can always add more. Powdered coconut sugar is an alternative, but it will make the mousse darker and add a slight caramel note.
- Is this recipe genuinely gluten-free and dairy-free?
- Yes! This recipe is inherently both gluten-free and dairy-free, as all the ingredients listed are naturally free from gluten and dairy. It’s a fantastic choice for those with dietary restrictions or allergies.
- How long does the mousse need to chill?
- If you prefer a softer, airier mousse, you can serve it immediately. For a thicker, more set consistency, chilling for 30-60 minutes in the refrigerator is recommended. The longer it chills, the firmer it will become.
- Can I add other flavorings?
- Definitely! Besides espresso powder for a mocha flavor, you could try a tiny dash of peppermint extract for a mint chocolate mousse, or a few drops of orange extract for a chocolate orange twist. Always start with a very small amount and taste to avoid overpowering the chocolate.
More Delicious Dairy-Free and Gluten-Free Chocolate Desserts
If you loved this vegan chocolate mousse, be sure to explore these other fantastic dairy-free and gluten-free chocolate recipes:
- Dairy-Free Chocolate Pudding
- Vegan White Chocolate
- Gluten-Free Double Chocolate Muffins
- Gluten-Free Chocolate Cupcakes
- Dairy-Free Hot Chocolate