
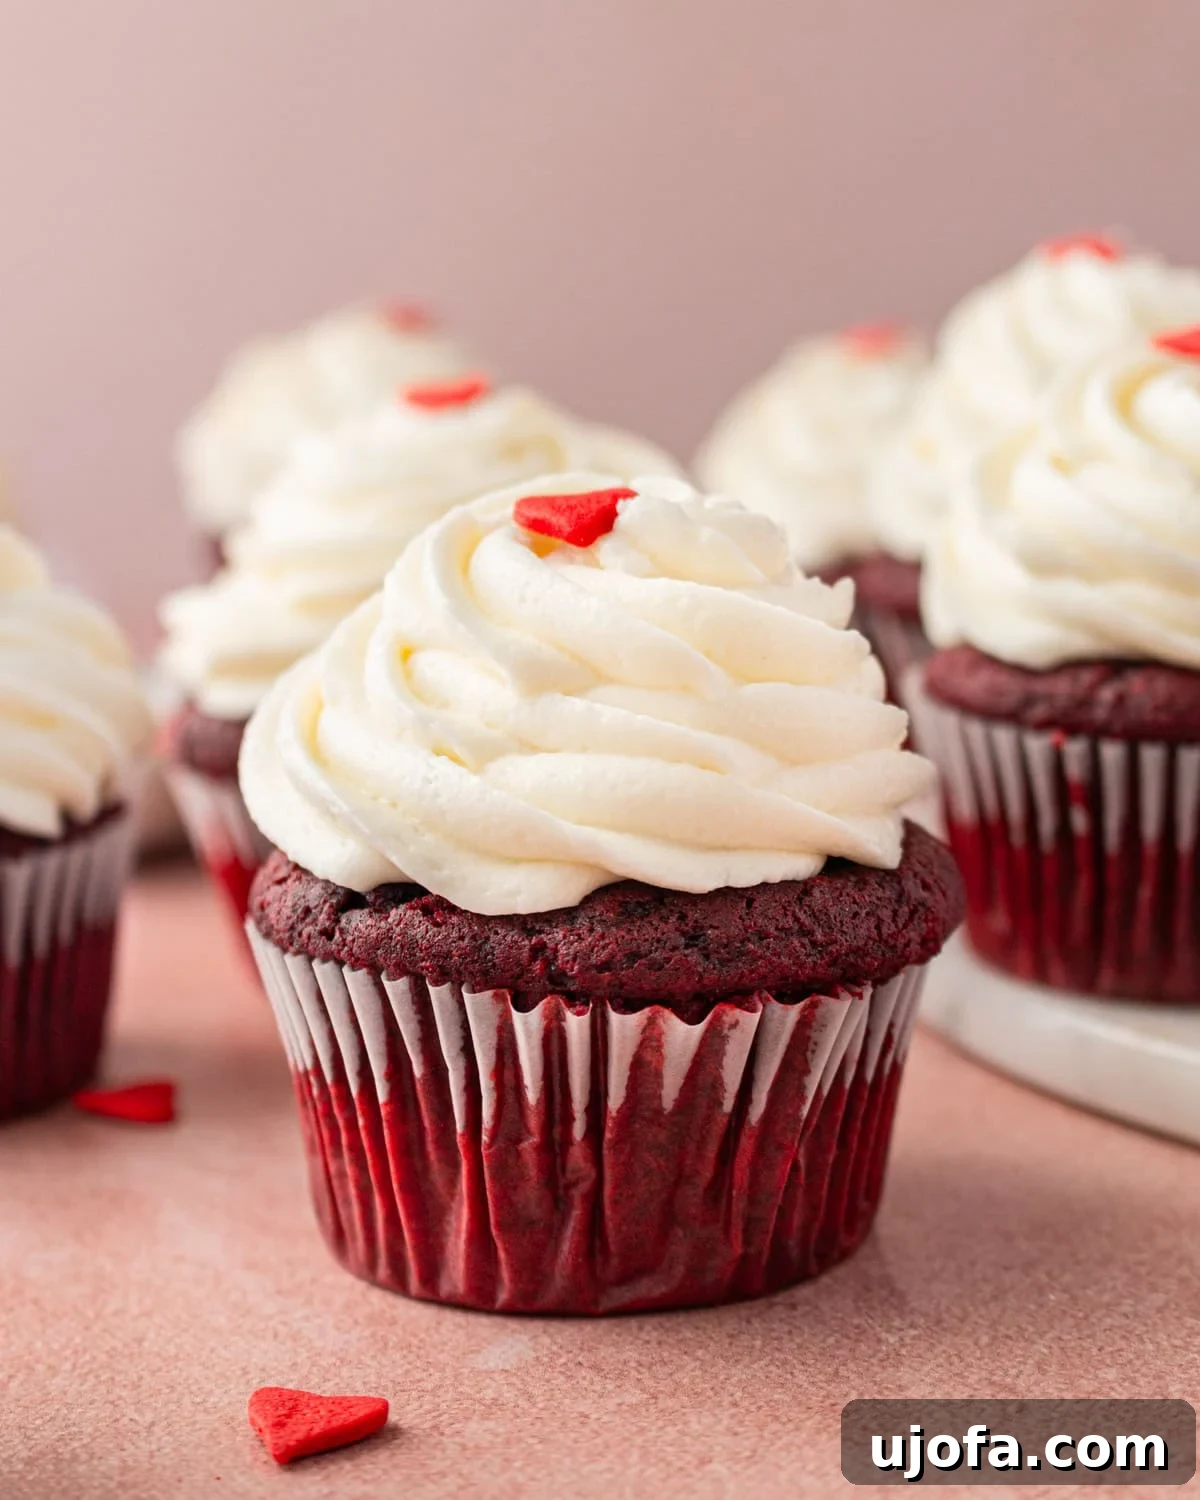
Prepare to be enchanted by these easy gluten-free red velvet cupcakes – a true showstopper that’s incredibly moist, wonderfully fluffy, and utterly irresistible. This recipe is a personal favorite, often making an appearance for Mother’s Day, Valentine’s Day, and countless other holiday gatherings. Their vibrant color and delightful taste make them the perfect festive, grab-and-go dessert that everyone will adore. Each tender cupcake is generously crowned with a swirl of luscious cream cheese frosting, offering a perfect balance of sweet and tangy notes that beautifully complement the rich, subtle cocoa flavor of the red velvet cake.
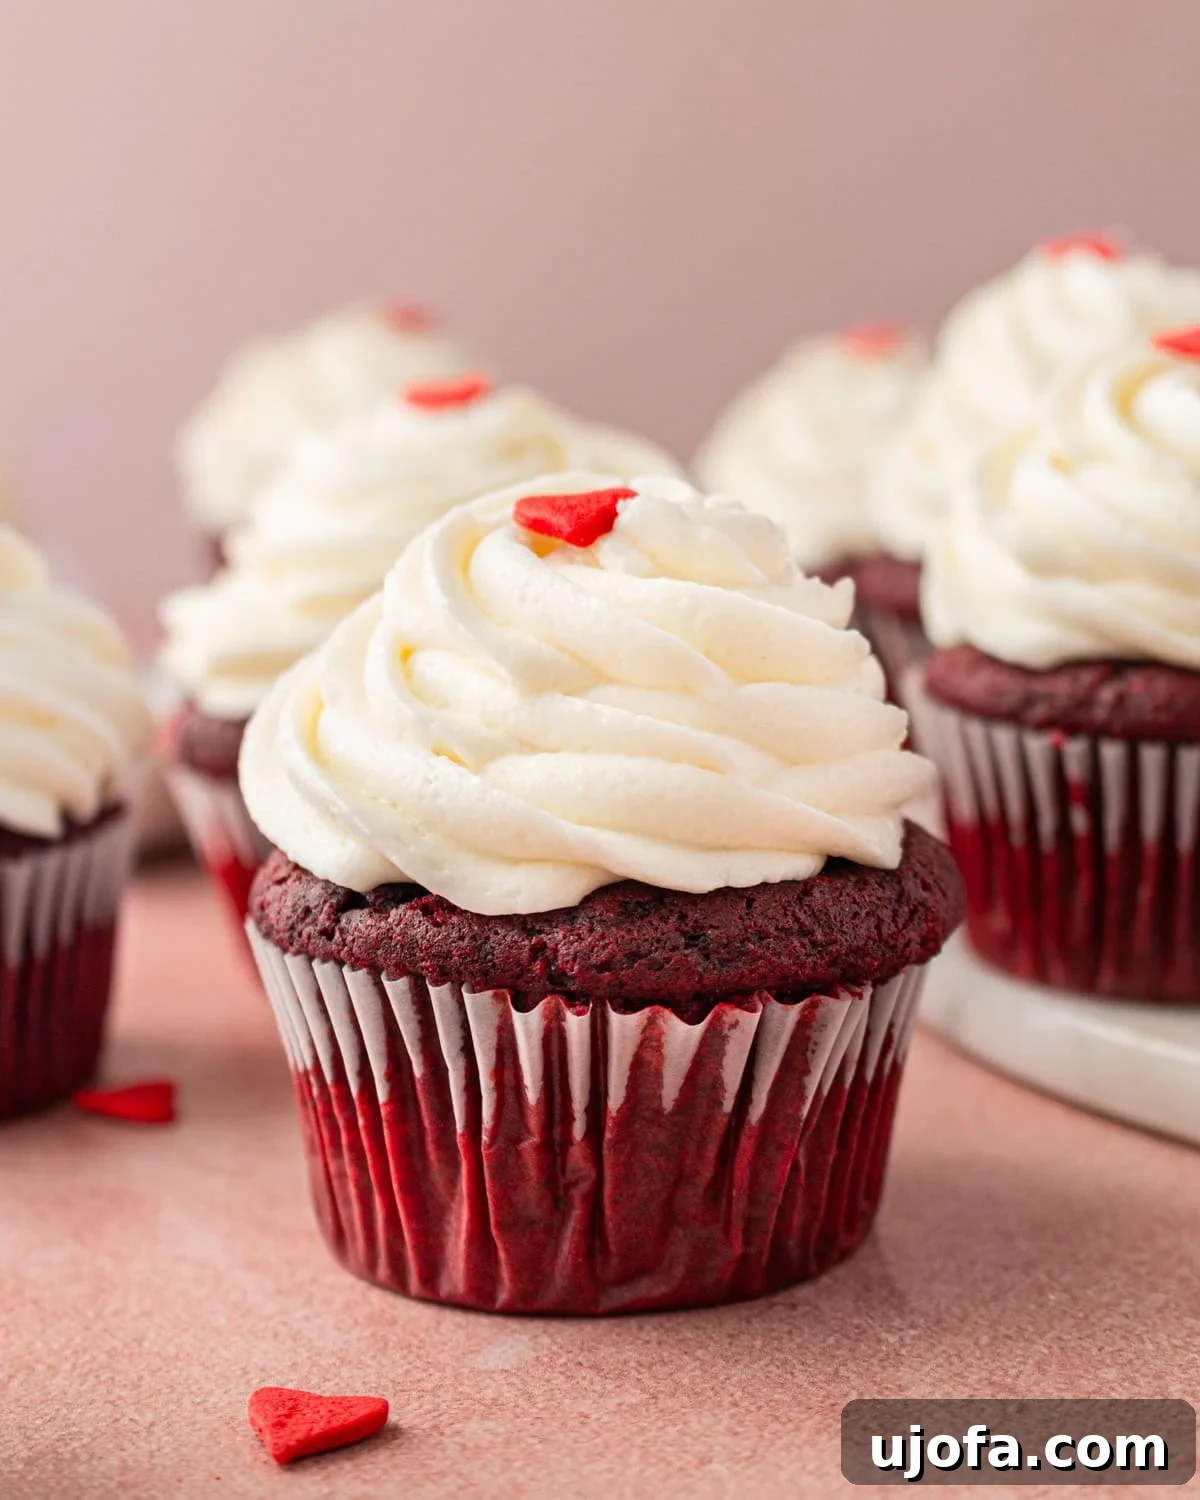
What makes these gluten-free red velvet cupcakes truly exceptional is their consistently light, tender, and flavorful outcome every single time. While I often enjoy baking a larger gluten-free red velvet cake, these individual cupcakes offer a less messy and equally delightful alternative. The secret to their soft, delicate crumb lies in the tangy buttermilk, which reacts beautifully with a hint of cocoa to create that signature red velvet richness. Paired with a velvety cream cheese frosting that strikes the ideal balance between sweetness and tang, every bite is an absolute indulgence. The best part? No one ever suspects they’re gluten-free, making them my ultimate choice for special occasions—or whenever a decadent treat is simply a must!
Why These Gluten-Free Red Velvet Cupcakes Will Become Your Go-To Recipe
Baking gluten-free can sometimes feel daunting, with concerns about dry textures or crumbling results. However, this red velvet cupcake recipe is designed to defy those expectations, delivering a truly moist and tender experience that rivals any traditional cupcake. We’ve meticulously balanced the ingredients to ensure a soft, delicate crumb, vibrant color, and that iconic red velvet flavor profile. From the perfect blend of gluten-free flour to the essential tang of buttermilk and vinegar, every component plays a crucial role in creating a dessert that’s both easy to make and incredibly satisfying.
Red velvet isn’t just a flavor; it’s an experience. The subtle cocoa, the tender texture, and the stunning red hue all combine to create a visually appealing and palate-pleasing treat. When topped with a classic cream cheese frosting, you get a symphony of flavors and textures that is simply irresistible. This recipe celebrates that tradition, making it accessible and enjoyable for everyone, including those with gluten sensitivities. Get ready to bake a batch that will impress even the most discerning dessert connoisseurs!
Gluten-Free Red Velvet Cupcakes
Ashley Barbey
12
cupcakes
20
20
40
Ingredients
Red Velvet Cupcakes
- 1 ¾ GF 1:1 flour blend, I like Pillsbury Gluten Free flour. Make sure your gluten-free flour already has xanthan gum in it. If it doesn’t, add 3/4 tsp.
- ¼ cup cocoa, natural or Dutch-processed
- ¾ tsp fine sea salt
- ⅔ cup canola oil, Substitute for vegetable oil, avocado oil, or olive oil
- 1 cup granulated sugar
- 1 egg, room temperature
- 1 egg white, room temperature
- 2 tsp red gel food color, gluten-free. I use Chefmasters Super Red food coloring.
- 1 tsp vanilla extract
- ⅔ cup buttermilk, room temperature
- 1 tsp baking soda
- 1 ¼ tsp white vinegar, or apple cider vinegar
Cream Cheese Frosting
- ½ cup unsalted butter, room temperature
- 8 oz cream cheese block, full fat
- 4 cups confectioners’ sugar
- ¼ tsp fine sea salt
- 1 tsp vanilla
Instructions
- Preheat oven to 350°F (175°C) and line a cupcake tin with paper liners.
- In a medium bowl, whisk together the gluten-free flour blend, cocoa powder, and salt. Set aside.
- In the bowl of a stand mixer fitted with the paddle attachment, on medium-low speed, beat the oil and granulated sugar together until well blended and lightened in color, about 1-2 minutes.
- Add the room temperature egg and egg white to the mixture and beat until just combined.
- Stir in the red gel food coloring and vanilla extract, mixing until the color is uniform and fully blended.
- Gradually add the dry flour mixture in three batches, alternating with the room temperature buttermilk. Mix on low speed only until just combined after each addition. Be sure to stop and scrape down the bottom and sides of the bowl thoroughly between additions to ensure an even batter.
- In a small separate bowl, quickly whisk together the baking soda and white vinegar. This will create a fizzy reaction. Immediately add this mixture to the cupcake batter and beat for exactly 30 seconds to incorporate. This activation is key to the cupcakes’ rise and tender texture.
- Evenly divide the prepared batter among the lined cupcake liners, filling each approximately ¾ full to allow for proper rising.
- Bake the cupcakes for 17-20 minutes, or until a toothpick inserted into the center of a cupcake comes out with a few moist crumbs attached but no wet batter. Avoid overbaking. Allow the cupcakes to cool in the pan for 10 minutes before carefully transferring them to a wire rack to cool completely.
- For the Cream Cheese Frosting: In the bowl of a stand mixer fitted with the paddle attachment, beat the softened unsalted butter and full-fat cream cheese on medium-low speed until they are completely combined, lightened in color, and smooth, which usually takes about 3 minutes. Reduce the speed to low and gradually beat in the confectioners’ sugar, fine sea salt, and vanilla extract until just incorporated. Once combined, increase the mixer speed to medium and beat for an additional 2-3 minutes until the frosting is wonderfully light, fluffy, and smooth.
- Once the cupcakes are completely cool, transfer the cream cheese frosting into a piping bag fitted with your preferred piping tip, or simply use an offset spatula to spread the frosting generously on top of each cupcake. Decorate with sprinkles, chocolate shavings, or small candies as desired, and serve immediately. Enjoy your perfectly baked gluten-free red velvet cupcakes!
Notes
- Either Dutch-process or natural cocoa powder works wonderfully for this recipe. If you use natural cocoa powder, your cupcakes will have a brighter, more classic red hue. Dutch-process cocoa will result in a slightly darker, deeper red, which is equally delicious.
- For seed oil alternatives that blend seamlessly into this recipe, I highly recommend avocado oil or a light olive oil. Avocado oil typically doesn’t impart any noticeable flavor, maintaining the pure red velvet taste. With olive oil, you might detect a very subtle hint of its characteristic flavor, which some find quite pleasant.
- The provided frosting recipe is designed to generously frost 12 cupcakes, as showcased in the photos. If you prefer a lighter touch of frosting or are making a smaller batch, you can easily halve the recipe.
- If you need to make dairy-free frosting, substitute the butter and cream cheese with high-quality vegan cream cheese and vegan butter alternatives. To ensure the frosting has the right consistency and stabilizes well, consider adding a bit of cornstarch or an extra tablespoon or two of powdered sugar.
- Always ensure your eggs, buttermilk, butter, and cream cheese are at room temperature. This is crucial for achieving a smooth, well-emulsified batter and fluffy, lump-free frosting.
- When measuring your gluten-free flour, spoon it into the measuring cup and then level it off with a straight edge. Scooping directly from the bag can compact the flour, leading to an excessive amount and a dry cupcake.
Nutrition
Serving: 1cupcake
Calories: 439kcal
Carbohydrates: 60g
Protein: 5g
Fat: 21g
Saturated Fat: 6g
Polyunsaturated Fat: 4g
Monounsaturated Fat: 10g
Trans Fat: 0.4g
Cholesterol: 38mg
Sodium: 443mg
Potassium: 111mg
Fiber: 1g
Sugar: 58g
Vitamin A: 288IU
Calcium: 89mg
Iron: 0.4mg
Nutrition information is automatically calculated, so should only be used as an approximation.
Additional Info
Baking, Dessert
American
Tried this recipe?
Mention @mamaknowsglutenfree or tag #mamaknowsglutenfree!
How to Make Gluten-Free Red Velvet Cupcakes Step by Step
Creating these delightful gluten-free red velvet cupcakes is a straightforward process, even for beginner bakers. Follow these detailed steps to ensure perfectly moist, fluffy, and vibrant red velvet treats every time. Pay close attention to ingredient temperatures and mixing techniques for the best results.
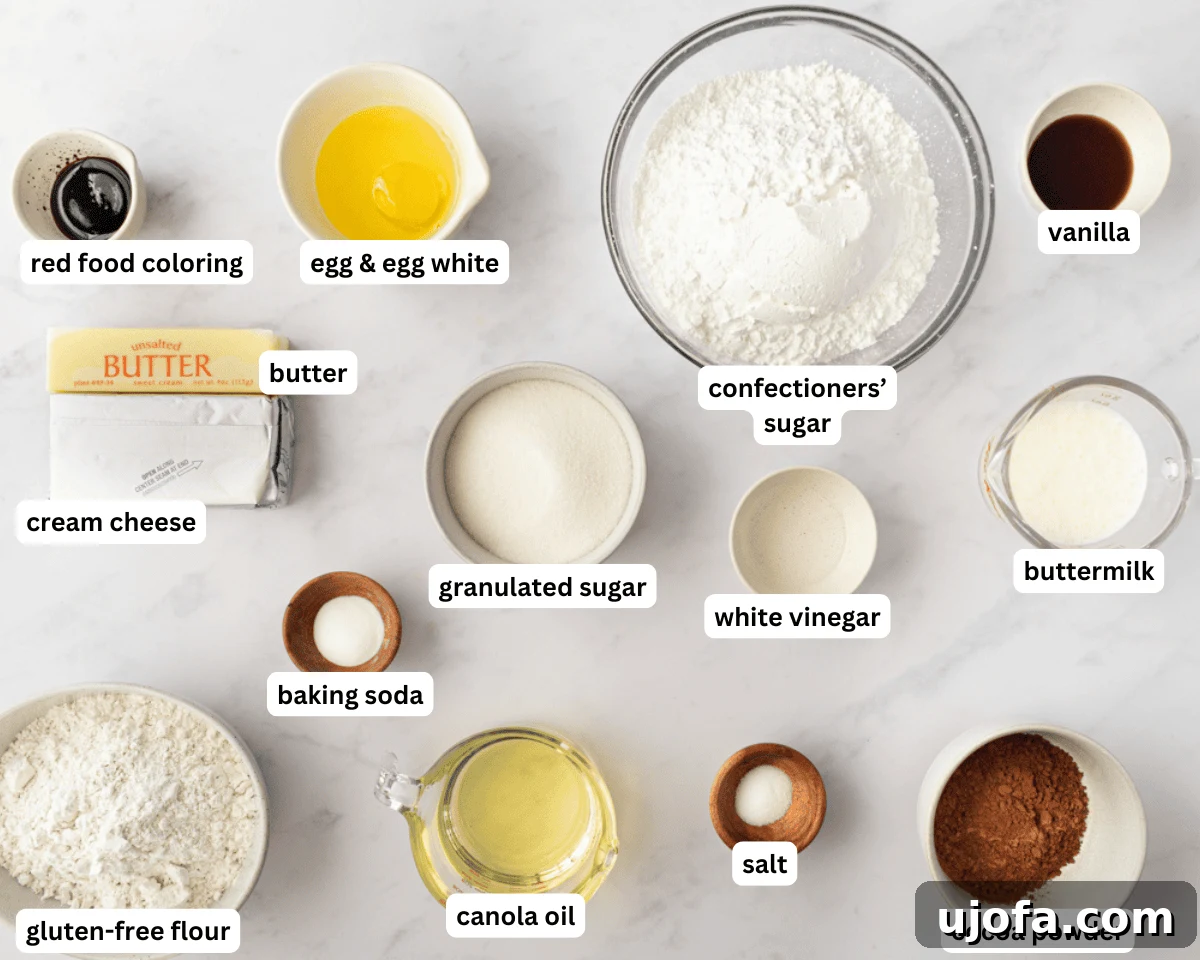
Gather the Ingredients: Before you begin, gather all your ingredients and ensure they are at room temperature, especially the eggs, buttermilk, butter, and cream cheese. This is a critical step for a smooth batter and creamy frosting. Preheat your oven to 350°F (175°C) so it’s ready when your batter is prepared.
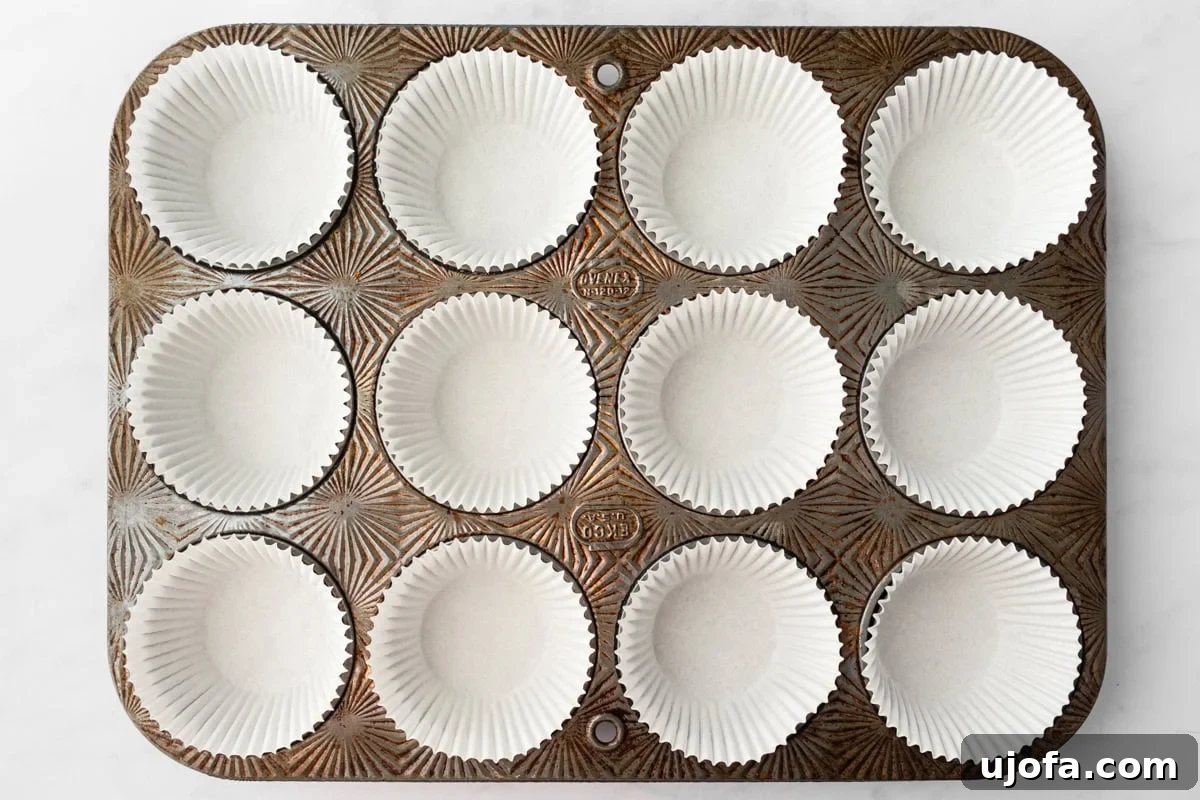
Prep the Muffin Tin: Line a standard 12-cup cupcake tin with paper liners. This not only prevents sticking but also makes for easy serving and a beautiful presentation. Ensure the liners are securely in place before adding the batter.
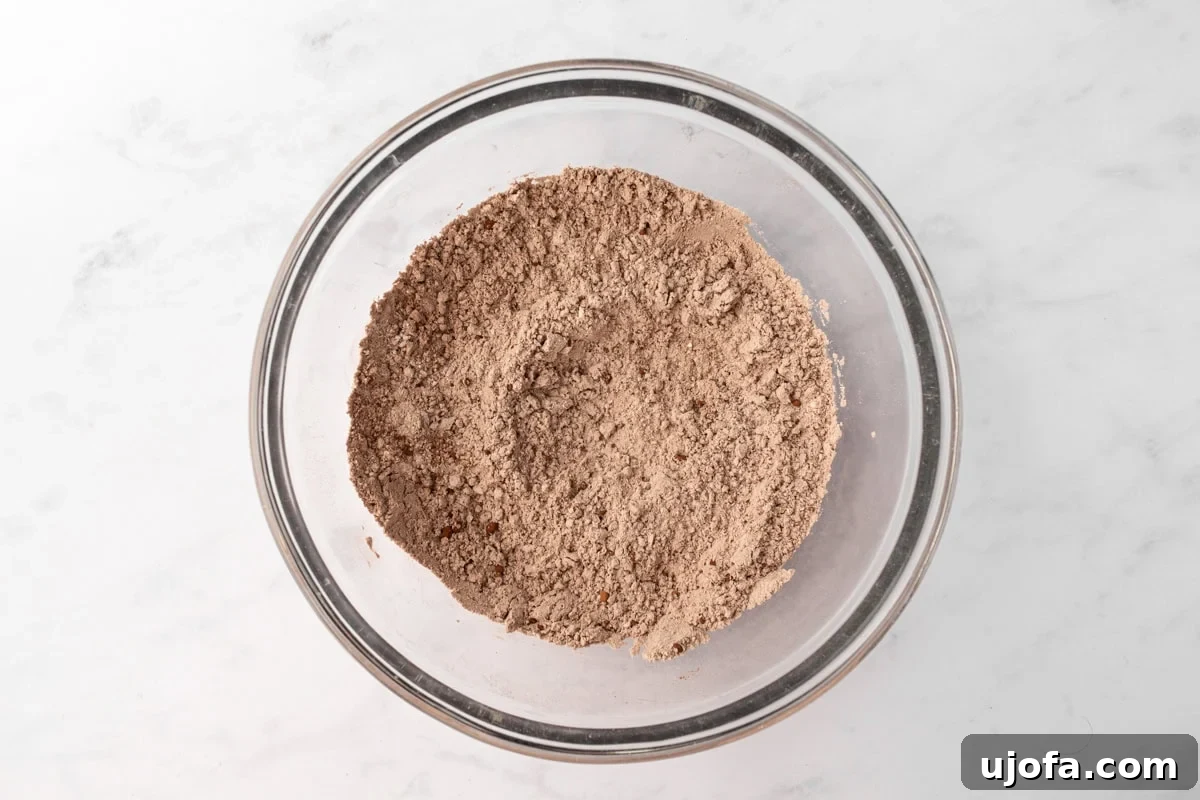
Mix the Dry Ingredients: In a medium bowl, combine 1 ¾ cups of your preferred gluten-free 1:1 flour blend, ¼ cup of cocoa powder (either natural or Dutch-processed works), and ¾ teaspoon of fine sea salt. Whisk these dry ingredients together thoroughly to ensure they are well combined and lump-free. Setting this aside now means it will be ready to incorporate into the wet ingredients at the right moment.
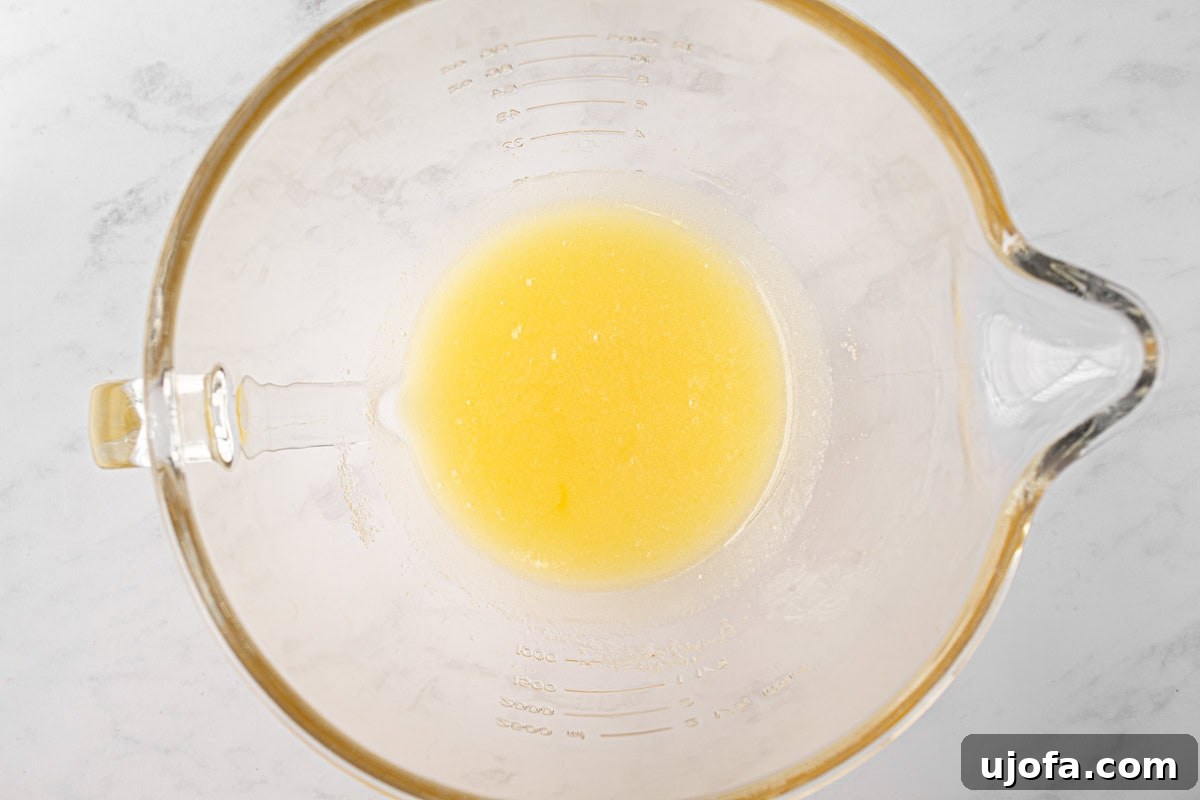
Beat the Oil and Sugar: Using a stand mixer fitted with the paddle attachment (or a hand mixer), beat together ⅔ cup of canola or vegetable oil and 1 cup of granulated sugar on medium-low speed. Continue mixing for about 1-2 minutes until the mixture is well blended, appears slightly lighter in color, and has a smooth texture. This step helps create the foundation for a moist cupcake.
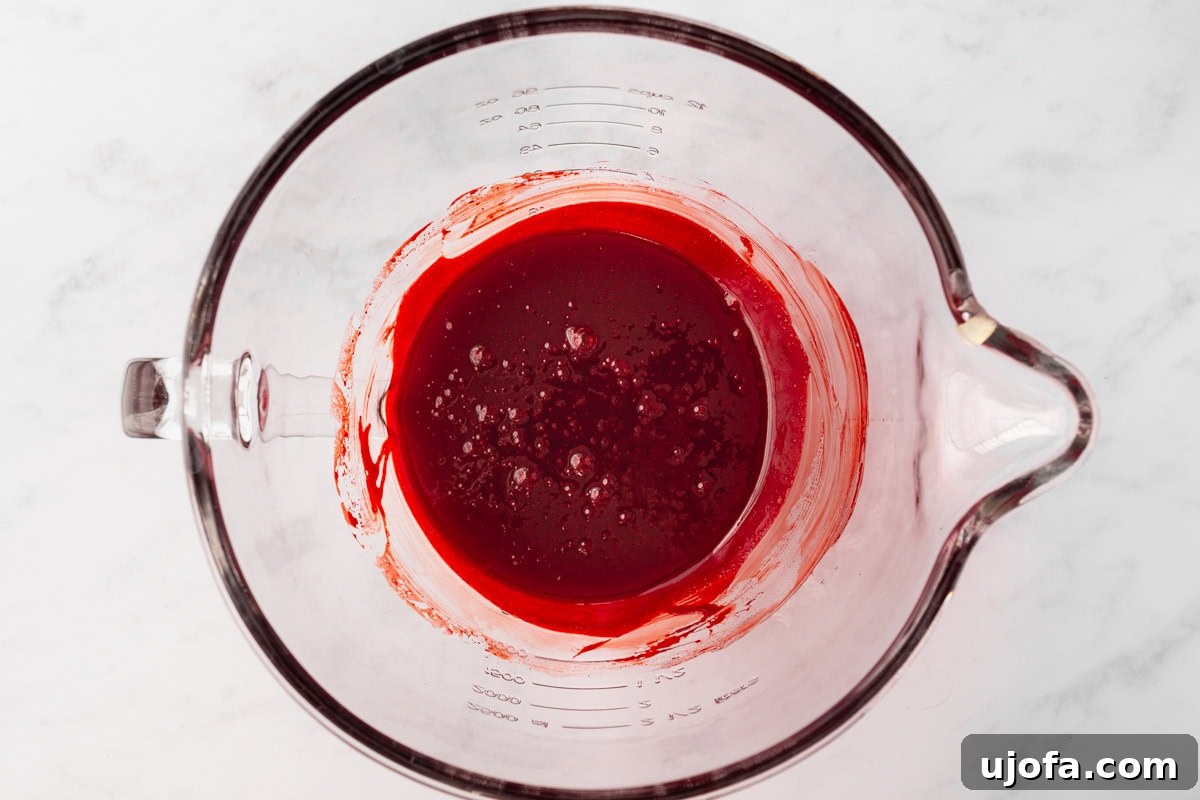
Add the Wet Ingredients: Introduce 1 room-temperature egg and 1 room-temperature egg white to the oil and sugar mixture. Mix until they are just incorporated, being careful not to overmix. Next, add 2 teaspoons of gluten-free red gel food coloring and 1 teaspoon of vanilla extract. Beat until the vibrant red color is evenly distributed throughout the batter. Gel food coloring provides a much more intense and stable color than liquid food coloring.
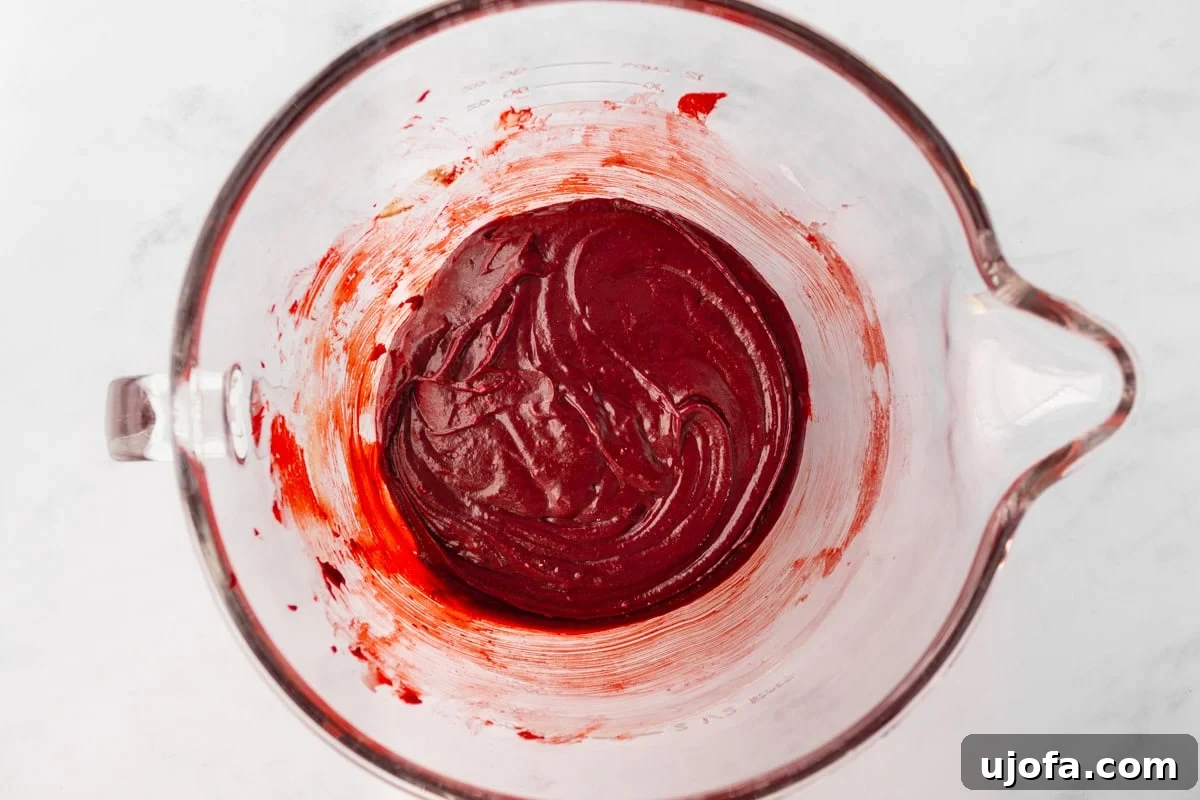
Alternate Dry and Wet Ingredients: Begin by adding about one-third of the whisked dry flour mixture to the wet ingredients, mixing on low speed until just combined. Follow with half of the ⅔ cup of room-temperature buttermilk, mixing until smooth. Repeat this process, adding another third of the dry ingredients, then the remaining buttermilk, and finally the last portion of the dry ingredients. Remember to scrape down the sides and bottom of the bowl with a spatula after each addition to ensure everything is thoroughly incorporated without overmixing, which can lead to tough cupcakes.
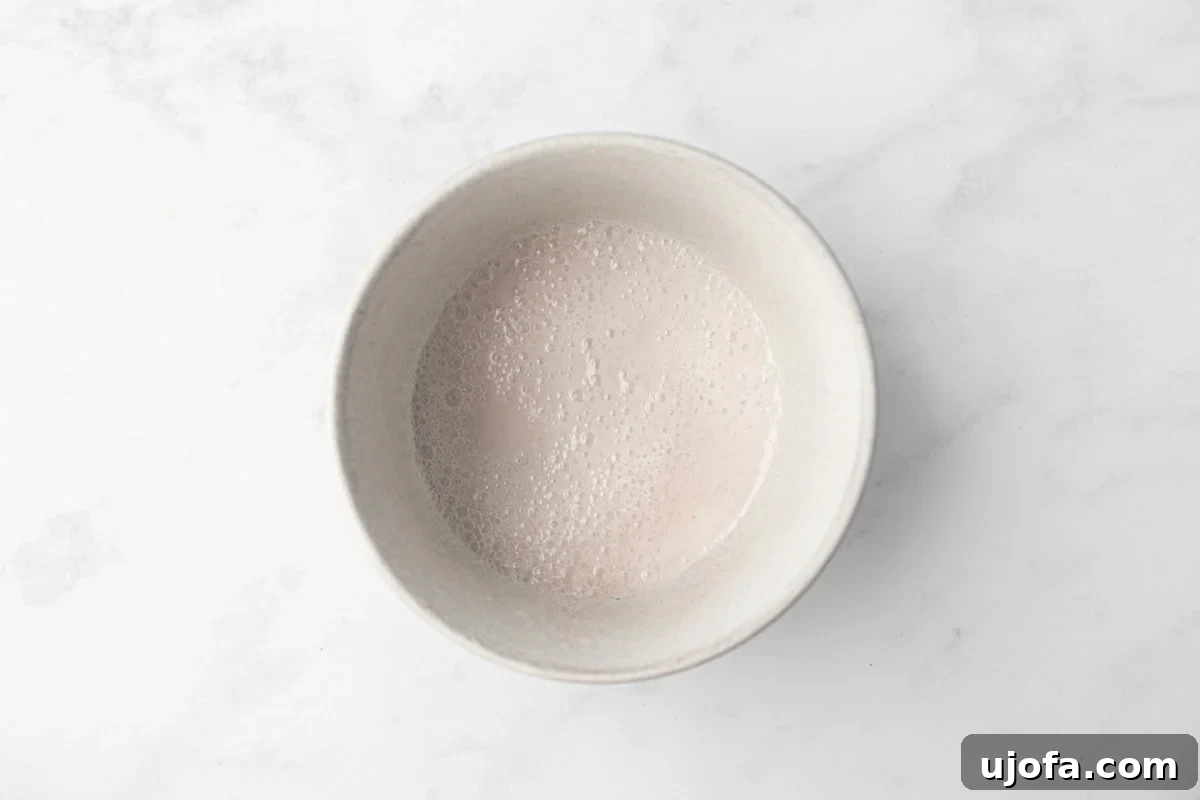
Activate the Baking Soda: In a small, separate bowl, combine 1 teaspoon of baking soda with 1 ¼ teaspoons of white vinegar (or apple cider vinegar). This mixture will fizz up immediately, indicating the leavening agents are activating. Pour this effervescent mixture into your cupcake batter without delay and beat it into the batter for exactly 30 seconds. This quick incorporation and short mixing time are crucial for creating a light and airy texture in your red velvet cupcakes.
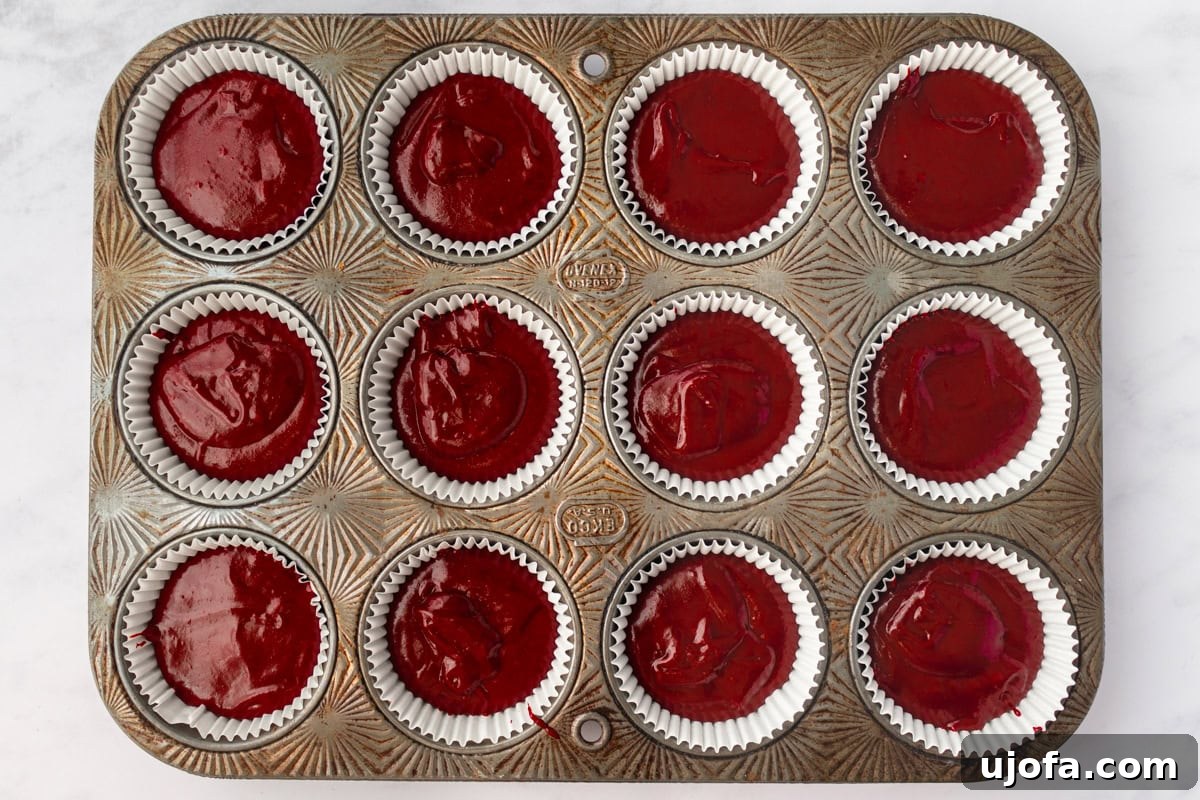
Bake the Cupcakes: Carefully spoon the vibrant red batter evenly into each of the prepared cupcake liners, filling them approximately ¾ full. This allows enough room for the cupcakes to rise beautifully without overflowing. Transfer the tin to your preheated oven and bake for 17-20 minutes. To check for doneness, insert a toothpick into the center of a cupcake; it should come out with a few moist crumbs attached, but no wet batter. Let the baked cupcakes cool in the pan for 10 minutes before gently transferring them to a wire rack to cool completely. Cooling completely is essential before frosting to prevent the frosting from melting.
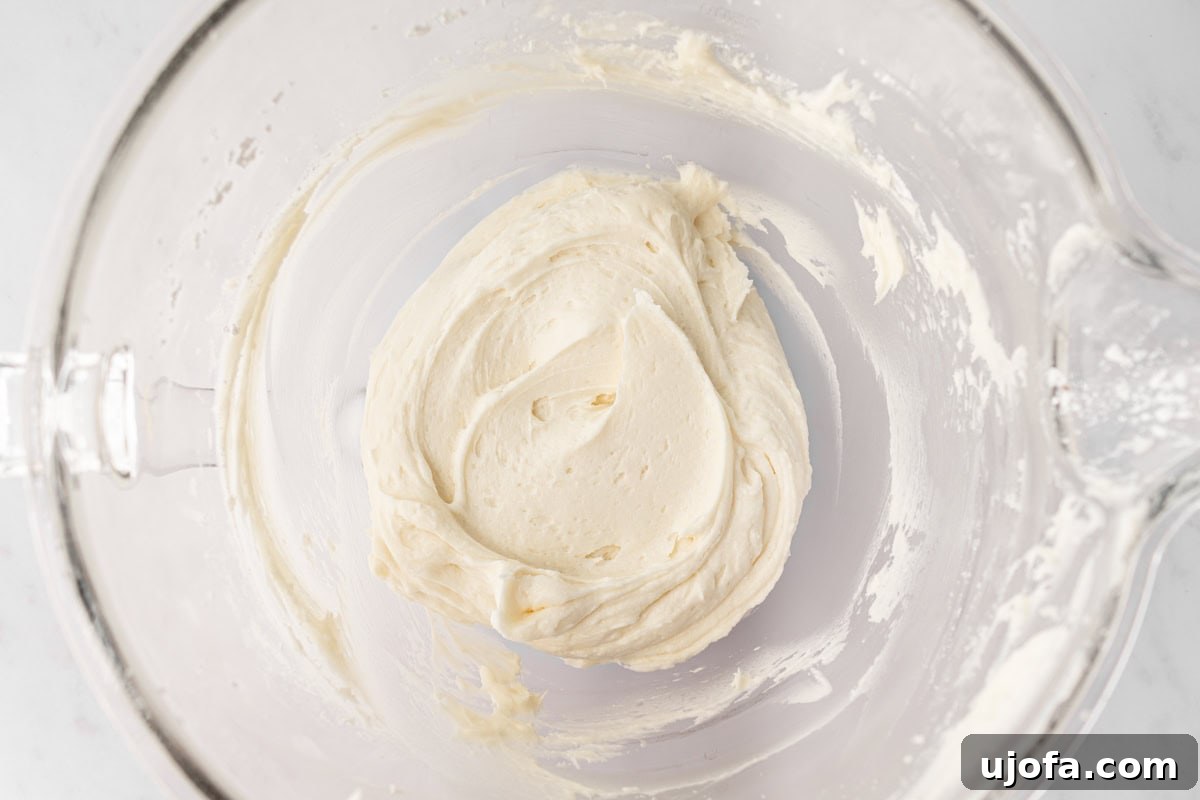
Beat the Butter and Cream Cheese: While the cupcakes cool, prepare the irresistible cream cheese frosting. In the bowl of a stand mixer, beat ½ cup of softened unsalted butter and an 8 oz block of full-fat, softened cream cheese on medium-low speed. Continue beating for about 3 minutes until the mixture is beautifully light, fluffy, and completely smooth. Gradually reduce the speed to low and begin incorporating 4 cups of confectioners’ sugar, ¼ teaspoon of fine sea salt, and 1 teaspoon of vanilla extract. Mix until just combined. Once the powdered sugar is incorporated, increase the speed to medium and beat for another 2-3 minutes until the frosting is wonderfully light and airy. The key to perfect frosting is patience and ensuring all ingredients are at room temperature.
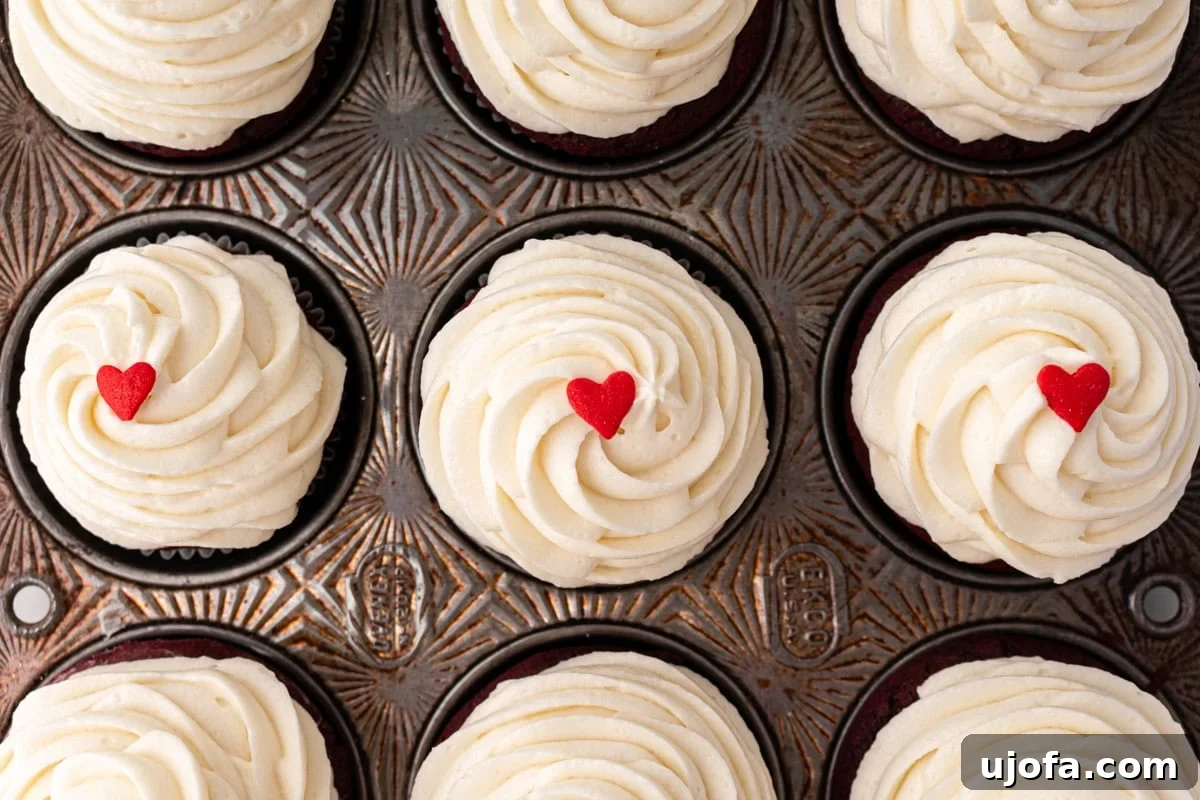
Frost and Serve: Once your gluten-free red velvet cupcakes are completely cool, it’s time for the best part! Transfer the prepared cream cheese frosting to a piping bag fitted with your favorite piping tip for an elegant swirl, or simply use an offset spatula to spread a generous amount of frosting over each cupcake. Get creative with your decorations! You can add festive sprinkles, delicate chocolate shavings, or even fresh berries for an extra touch. Serve these beauties immediately and watch them disappear!
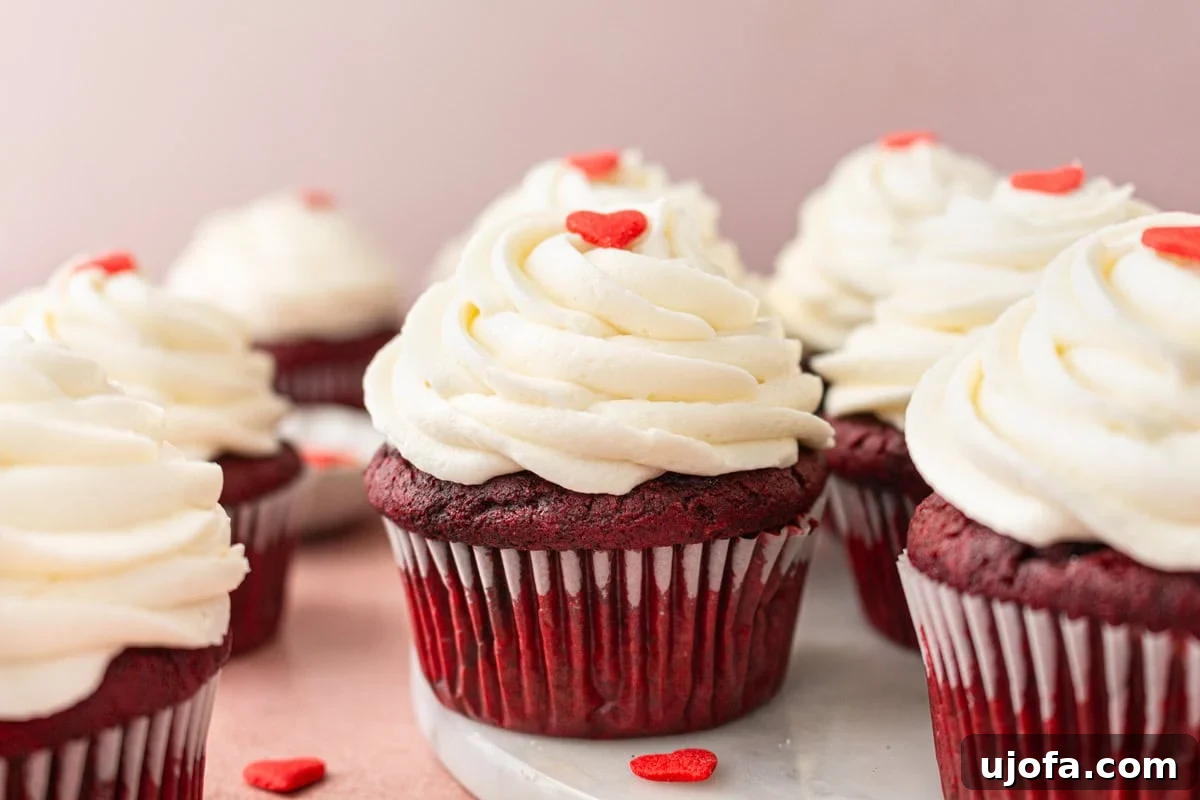
Serving Suggestions
These gluten-free red velvet cupcakes are incredibly versatile and perfect for a wide range of occasions. Their vibrant color and decadent flavor make them a natural fit for festive holidays like Christmas, Valentine’s Day, or any special birthday celebration. Consider serving them as the centerpiece of a dessert table, or as individual treats at a potluck or garden party. For an elevated experience, pair them with a robust cup of coffee, a glass of cold milk, or even a sparkling rosé. You can dress them up with extra sprinkles, a dusting of cocoa powder, a drizzle of white chocolate, or a few fresh raspberries or edible flowers for an added touch of elegance. No matter how you present them, these cupcakes always feel like a delightful little celebration in every bite!
Storage Instructions
Proper storage is key to maintaining the freshness and delicious texture of your gluten-free red velvet cupcakes. If you have unfrosted cupcakes, you can store them in an airtight container at room temperature for up to 2 days. Once frosted, due to the cream cheese frosting, the cupcakes should be refrigerated. Store frosted cupcakes in an airtight container in the refrigerator for up to 5 days. To enjoy the best texture, always allow refrigerated cupcakes to come back to room temperature for about 30 minutes before serving.
For longer storage, these cupcakes freeze beautifully. Unfrosted cupcakes can be wrapped individually in plastic wrap and then placed in an airtight freezer-safe container or bag for up to 3 months. When you’re ready to enjoy them, thaw them at room temperature and then frost as desired. If you wish to freeze frosted cupcakes, first place them on a baking sheet in the freezer until the frosting is firm (about 1-2 hours). Then, wrap each cupcake individually in plastic wrap and store them in an airtight container in the freezer for up to 1 month. Thaw them in the refrigerator overnight, then let them come to room temperature before serving for the optimal taste and texture experience.
More Delicious Gluten-Free Sweet Treats to Try
If you’ve loved these red velvet cupcakes, you’re in for a treat! Our collection of gluten-free desserts is full of easy and delicious recipes that cater to every craving. From classic bakes to fruity delights, these recipes prove that going gluten-free doesn’t mean sacrificing flavor or texture. Explore more of our top-rated gluten-free sweet treats:
- Classic Gluten-Free Vanilla Cupcakes
- Easy Gluten-Free Blueberry Muffins
- Irresistible Gluten-Free Yeast Donuts
- Chewy Gluten-Free Peanut Butter Cookies
- Fudgy Easy Gluten-Free Brownies
- Perfect Gluten-Free Chocolate Chip Cookies
- Zesty Gluten-Free Lemon Loaf