
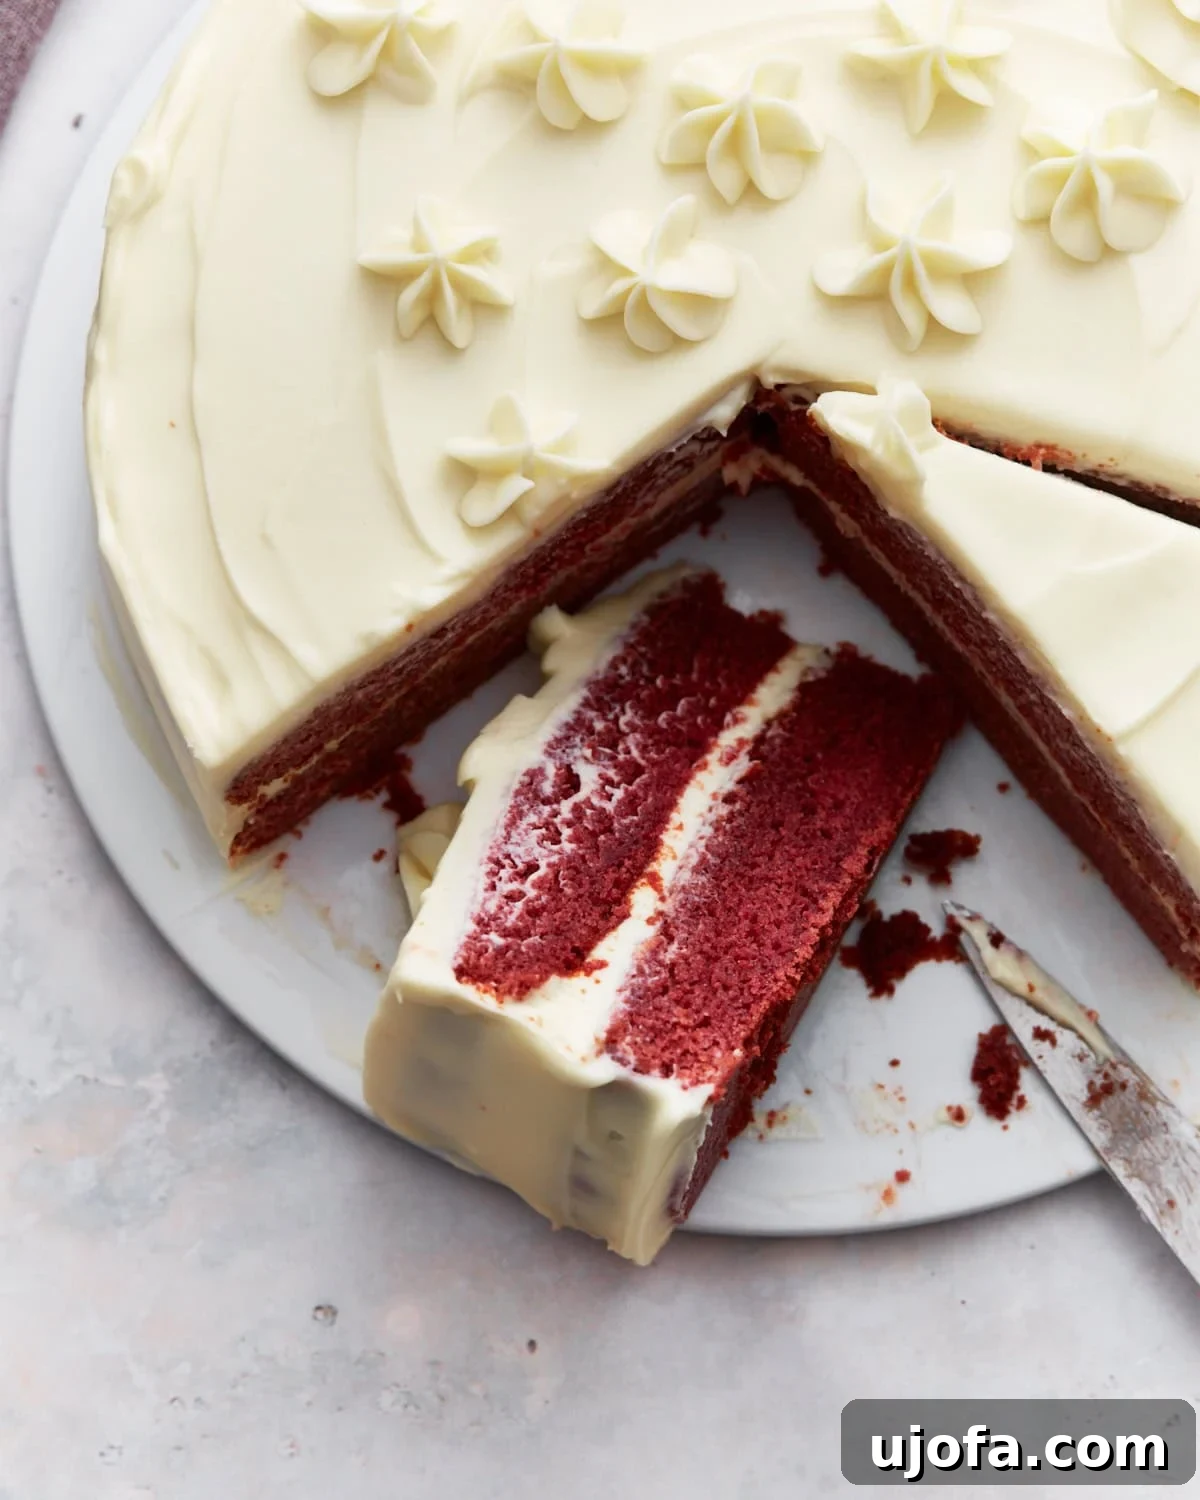
Homemade Gluten-Free Red Velvet Cake with Cream Cheese Frosting
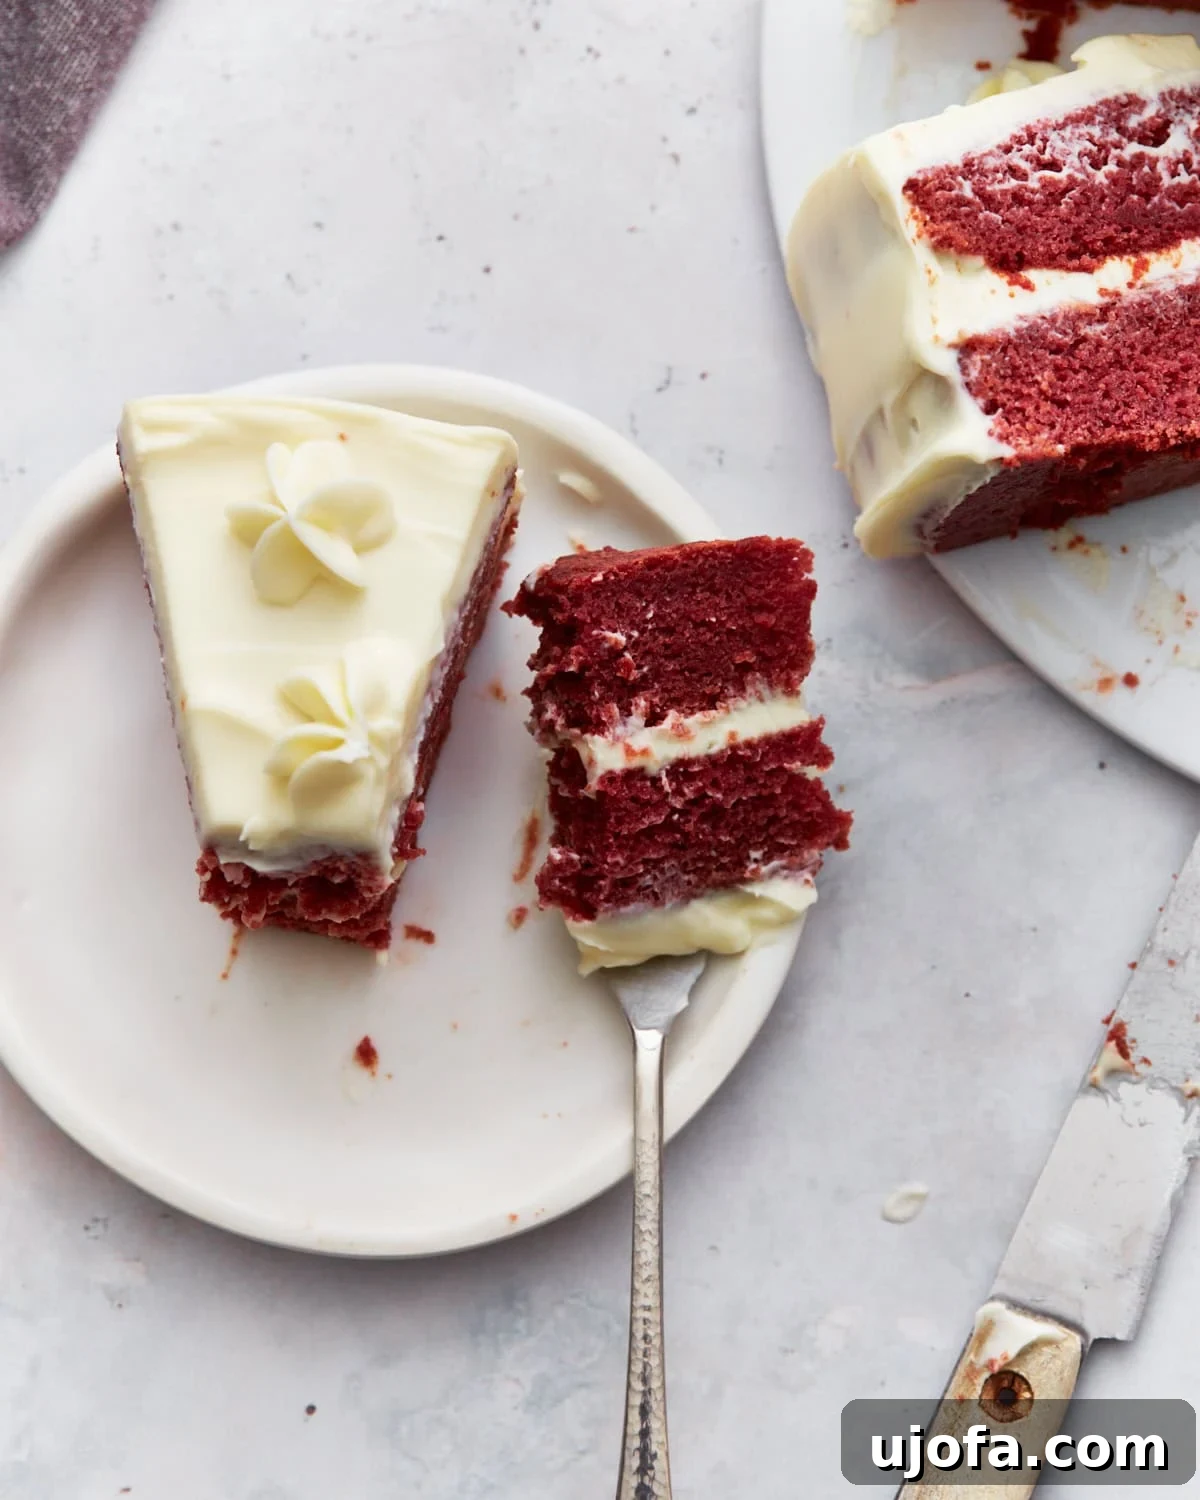
Indulge in the timeless charm of a classic Southern dessert with this exquisite homemade gluten-free red velvet cake. Renowned for its rich, subtly cocoa-infused flavor and signature velvety texture, this cake is an absolute delight. Topped with a generous layer of tangy, creamy cream cheese frosting, it’s a showstopper that promises to impress. Crafted to be moist and tender, this recipe ensures that everyone, including those with gluten sensitivities, can savor a slice of this iconic treat. Prepare yourself for a baking experience that yields extraordinary results!
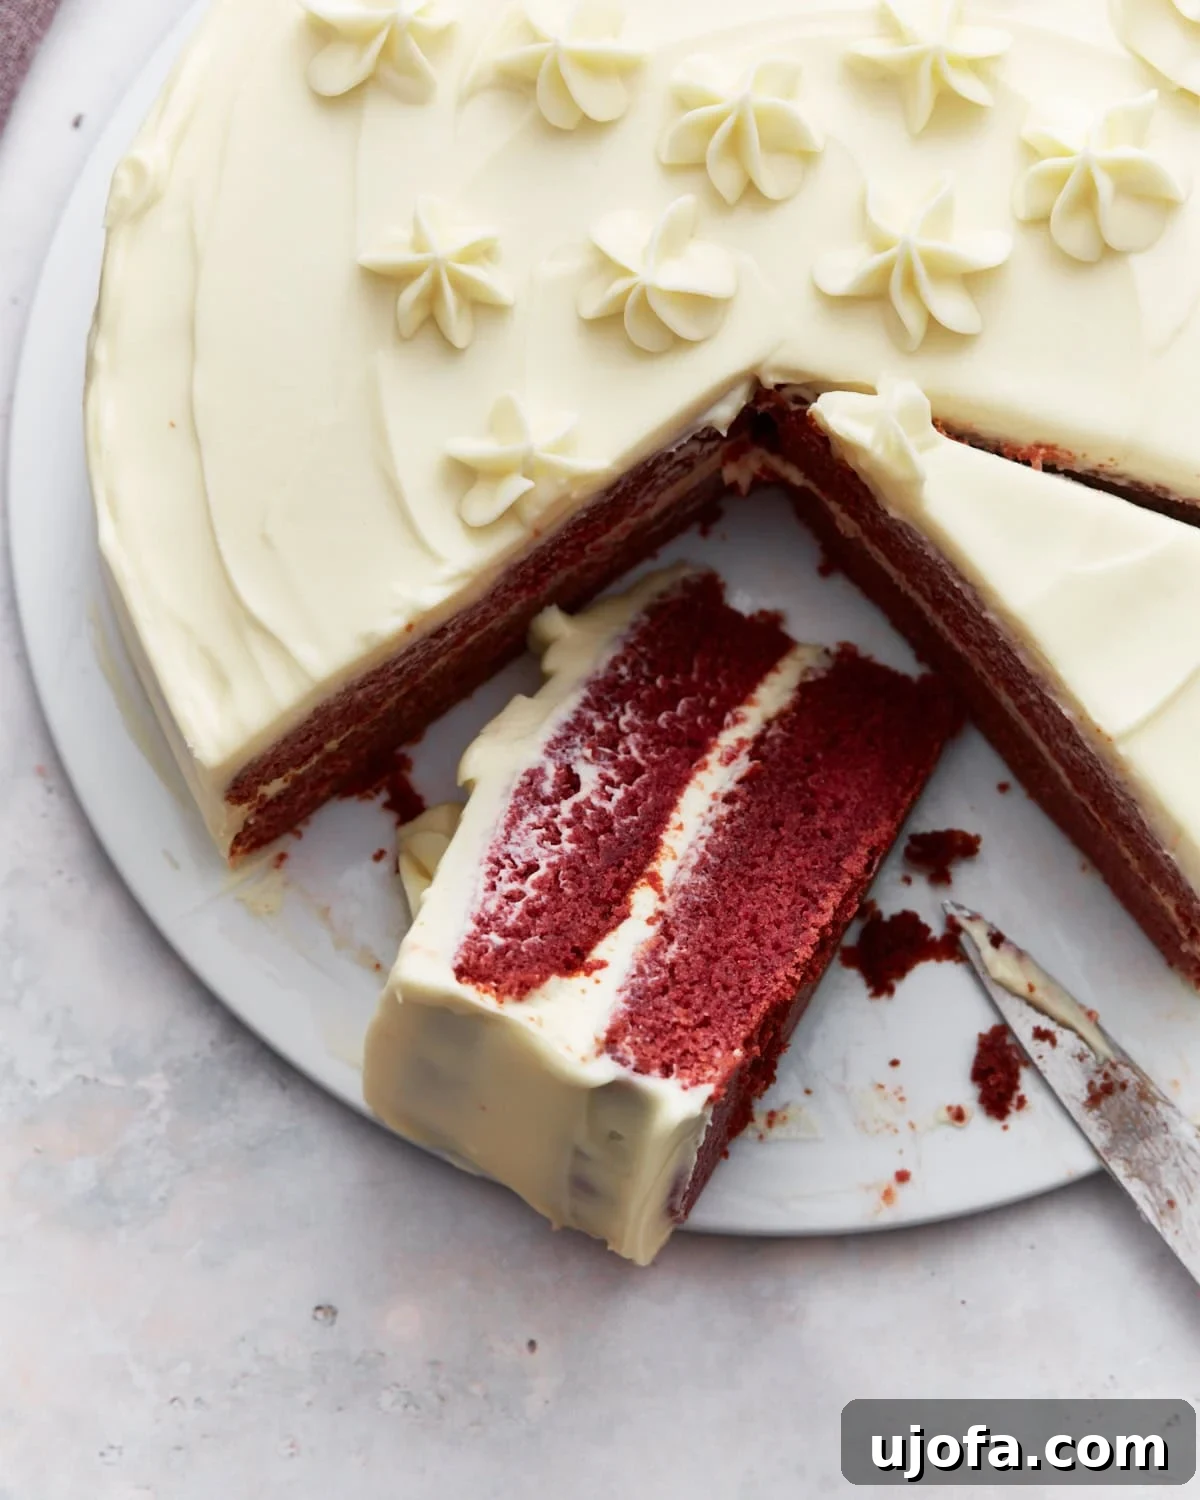
Baked this delicious and moist red velvet cake for my granddaughter’s birthday. I used one and half the recipe amounts to make a three layer cake. Used bob’s red mill cup for cup and full fat buttermilk instead of making my own. This cake did not disappoint!
– Dianne
View More Comments
The Enduring Charm of Red Velvet
My adoration for everything red velvet runs deep. It’s more than just a cake; it’s a culinary experience – a vibrant hue, a whisper of cocoa, and that unmistakable pairing with luscious cream cheese frosting. This flavor profile evokes celebration, comfort, and pure indulgence, making it a beloved choice for holidays and special moments. If you, like me, find yourself captivated by this iconic flavor, you’ll be thrilled to explore other red velvet delights, including my Gluten-Free Red Velvet Cupcakes and delightful Gluten-Free Red Velvet Chocolate Chip Cookies.
Creating this homemade gluten-free red velvet cake is a surprisingly straightforward process that yields truly exceptional results. The secret to its signature fluffy, light sponge lies in the traditional use of buttermilk. This acidic ingredient interacts beautifully with the cocoa and baking soda, creating a tender, fine crumb that is characteristic of an authentic red velvet. The cake itself presents a harmonious blend of buttery vanilla notes with a subtle undercurrent of chocolate, making it a perfect centerpiece for occasions like Christmas or Valentine’s Day, or simply a luxurious weekend treat. The inherent moistness of the cake is flawlessly enhanced by the rich, tangy cream cheese frosting, which provides a delightful contrast without overpowering the cake’s delicate flavors.
In today’s world, catering to diverse dietary needs is paramount. That’s why I’ve thoughtfully included versatile dairy-free alternatives within this recipe. As someone who navigates food sensitivities, I firmly believe that delicious desserts should be accessible to everyone. This means you can effortlessly adapt this recipe to be both gluten-free AND dairy-free, making it an inclusive and delightful option for family gatherings, potlucks, and any celebration where everyone deserves a slice of cake.
Why Bake Your Own Gluten-Free Red Velvet Cake?
While convenience often calls for store-bought options, the unparalleled freshness and customizable quality of a homemade gluten-free red velvet cake are simply superior. Here’s a deeper dive into why embarking on this baking adventure is so rewarding:
- Unrivaled Freshness and Flavor: Freshly baked goods possess a depth of flavor and a tender texture that pre-made cakes often lack. By baking at home, you control every ingredient, ensuring peak freshness and the purest taste experience. The aroma alone will transform your kitchen!
- Tailored to Your Dietary Needs: This recipe is meticulously crafted to be gluten-free, providing clear and easy-to-follow instructions for successful gluten-free baking. Furthermore, the included dairy-free alternatives empower you to adapt the cake to suit additional dietary restrictions, making it a truly inclusive dessert for all your loved ones.
- Achieve Perfect Texture and Moistness: Gluten-free baking can sometimes present challenges in achieving a moist, tender crumb. This recipe has been fine-tuned to conquer that hurdle, delivering an incredibly moist, velvety cake that stands proudly alongside its traditional counterparts. No dry, crumbly cake here!
- Flavor Customization at Your Fingertips: Love a stronger chocolate note? Prefer your frosting a little tangier or sweeter? When you bake at home, you have the freedom to adjust the flavor profile to your exact liking. This customization is a luxury rarely found with store-bought options.
- The Joy and Satisfaction of Creation: There’s a unique sense of accomplishment and joy that comes from creating a beautiful and delicious dessert from scratch. The process itself is therapeutic, and the admiring smiles of those who enjoy your creation are truly priceless.
- Economical and Fulfilling: Baking a specialty gluten-free cake at home is often significantly more cost-effective than purchasing one from a bakery, especially for larger cakes needed for celebrations. Plus, the sense of accomplishment is an added bonus!
Essential Ingredients for a Perfect Gluten-Free Red Velvet Cake
Success in baking a gluten-free red velvet cake hinges on understanding and utilizing the right ingredients. Each component plays a vital role in achieving that coveted moist texture, vibrant color, and classic flavor. Let’s explore the key players:
- Gluten-Free All-Purpose Flour with Xanthan Gum: This is the foundation of our gluten-free masterpiece. A high-quality blend that already incorporates xanthan gum is crucial. Xanthan gum acts as a binder, replacing the elasticity typically provided by gluten, which is essential for the cake’s structure and preventing a crumbly texture. Brands like Pillsbury gluten-free are highly recommended for their consistent results. Remember, always measure your gluten-free flour using the “spoon and level” method to ensure accuracy and prevent a dense, dry cake.
- Buttermilk (Homemade or Store-Bought): Buttermilk is non-negotiable for an authentic red velvet cake. Its acidity tenderizes the cake, contributes to a delicate tang, and reacts with baking soda to create a light, airy crumb. If you don’t have store-bought buttermilk, making your own with milk and vinegar (or a dairy-free milk alternative and vinegar) is simple and effective.
- Unsweetened Cocoa Powder: The “red” in red velvet historically came from a reaction between acidic ingredients and natural cocoa. While modern recipes often rely on food coloring for vibrant hues, cocoa powder still provides that crucial hint of chocolate flavor and contributes to the cake’s depth. Use unsweetened cocoa powder for the best balance.
- Red Food Coloring (or Natural Alternatives): For that iconic, striking red color, liquid or gel red food coloring is typically used. However, if you prefer a dye-free option, 1 tablespoon of beetroot powder can be an excellent natural substitute, offering a more subtle, earthy red hue.
- Unsalted Butter (and Dairy-Free Options): Softened unsalted butter provides richness and tenderness to the cake. It’s creamed with sugar to create the foundational structure of the batter. For a dairy-free version, a solid, high-quality vegan butter substitute, such as Smart Balance butter, performs exceptionally well.
- Cream Cheese (and Dairy-Free Alternatives): The star of the frosting! Softened full-fat cream cheese is what gives red velvet frosting its characteristic tangy flavor and incredibly smooth, rich texture. For those needing a dairy-free option, dairy-free cream cheese alternatives (like Kite Hill Cream Cheese) are readily available. Be aware that dairy-free versions might be softer, so you may need to adjust the amount of powdered sugar to achieve the desired stiffness.
Gluten-Free Red Velvet Cake Recipe
By: Audrey Roberts
Servings: 16 servings
Prep Time: 30 minutes
Cook Time: 30 minutes
Total Time: 1 hour
Email Recipe
Print Recipe
This homemade gluten-free red velvet cake is a classic Southern delight. It’s a favorite for its rich flavor, incredibly moist and velvety texture, subtle hint of cocoa, and generous topping of delicious cream cheese frosting. Prepare to impress with this perfect gluten-free treat!
Ingredients
For the Gluten-Free Red Velvet Cake:
- 1 cup milk (For dairy-free, use unsweetened almond or coconut milk.)
- 1 tablespoon white vinegar
- 2 ½ cups all-purpose gluten-free flour with xanthan gum (We recommend Pillsbury gluten-free, as results can vary with different flour blends.)
- 1 teaspoon baking soda
- 1 teaspoon salt
- 2 teaspoons cocoa powder
- ½ cup unsalted butter, softened (For dairy-free, use Smart Balance butter or your preferred vegan butter.)
- 2 cups granulated sugar
- 2 large eggs
- 1 teaspoon pure vanilla extract
- 2-3 teaspoons red food coloring (For a dye-free cake, substitute with 1 tablespoon beetroot powder.)
- 1 teaspoon white vinegar (additional for cake batter)
- ½ cup boiling water
For the Cream Cheese Frosting:
- 1 cup unsalted butter, softened (For dairy-free, use Smart Balance butter or another vegan butter.)
- 16 ounces cream cheese, softened (For dairy-free, use Kite Hill Cream Cheese.)
- 1 teaspoon pure vanilla extract
- 1 pinch salt
- 3-4 cups powdered sugar (Use 4 cups for a stiffer frosting; dairy-free cream cheese may require more powdered sugar to achieve the desired consistency.)
US Customary – Metric
Instructions
Gluten-Free Red Velvet Cake Preparation:
- Preheat your oven to 350°F (177°C). Prepare two 9-inch round cake pans by tracing their bottoms onto parchment paper. Cut out the parchment circles, place one in the bottom of each pan, and lightly coat both the pans and parchment with a gluten-free cooking spray (coconut oil spray works wonderfully).
- To create homemade buttermilk, combine 1 tablespoon of white vinegar with 1 cup of milk in a small bowl. Stir gently and allow the mixture to sit undisturbed for a few minutes until it visibly curdles and thickens slightly. If you are preparing a dairy-free cake, use unsweetened almond milk or coconut milk for this step.
- In a separate medium-sized mixing bowl, combine the 2 ½ cups of gluten-free all-purpose flour, 2 teaspoons of cocoa powder, 1 teaspoon of baking soda, and 1 teaspoon of salt. Whisk these dry ingredients thoroughly until they are well combined and uniformly distributed.
- In a large mixing bowl, using either a stand mixer fitted with the paddle attachment or a hand mixer, cream together the softened unsalted butter and 2 cups of granulated sugar. Beat on medium-high speed until the mixture becomes light, fluffy, and visibly pale in color, typically taking about 2-3 minutes.
- To the creamed butter and sugar, add the 2 large eggs, 1 teaspoon of pure vanilla extract, 2-3 teaspoons of red food coloring (or 1 tablespoon of beetroot powder for a natural, dye-free option), and the additional 1 teaspoon of white vinegar. Mix thoroughly until all wet ingredients are fully blended and the mixture has achieved a vibrant, uniform red color.
- Gradually add the whisked dry flour mixture to the wet butter mixture. Mix on low speed until the flour is just combined into the batter. Be careful not to overmix, as this can lead to a tougher cake. Use a rubber spatula to scrape down the sides of the bowl as needed to ensure all ingredients are fully incorporated.
- Next, pour in the prepared homemade buttermilk (the milk and vinegar mixture from Step 2) and mix until the cake batter is smooth and evenly colored.
- Finally, carefully pour the ½ cup of boiling water into the cake batter. Mix gently on low speed until the boiling water is fully absorbed and the batter is smooth. This step helps to activate the cocoa and baking soda further, contributing significantly to the cake’s renowned moistness and velvety texture.
- Divide the red velvet cake batter evenly between the two prepared 9-inch cake pans.
- Place both cake pans on the middle rack of your preheated oven and bake for 30-35 minutes. It is important to monitor your cakes closely as baking times can vary considerably depending on the specific characteristics of your oven.
- To accurately test for doneness, insert a clean toothpick into the very center of each cake. The toothpick should emerge clean, without any wet batter clinging to it. You will also observe that the edges of the cakes begin to gently pull away from the sides of their respective pans.
- Once baked, allow the cakes to cool in their pans for approximately 10 minutes. After this initial cooling period, carefully invert them onto a wire baking rack to cool completely to room temperature. This step is absolutely critical; attempting to frost a warm cake will cause the frosting to melt and slide off, resulting in a messy outcome. Cooling can take a couple of hours. To accelerate the process, you can wrap the cooled cake layers tightly in plastic wrap and chill them in the refrigerator or even the freezer for about 30-60 minutes.
Cream Cheese Frosting Preparation & Cake Assembly:
- In a large mixing bowl, using a stand mixer with the paddle attachment or a hand mixer, combine the 1 cup of softened unsalted butter and 16 ounces of softened cream cheese (or their dairy-free alternatives). Cream these two ingredients together on medium speed until the mixture is exceptionally smooth, light, and entirely free of lumps.
- Add the 1 teaspoon of pure vanilla extract and a tiny pinch of salt to the creamed mixture. Continue to mix until these ingredients are fully incorporated and the frosting base is fragrant.
- Gradually add the powdered sugar, one cup at a time, to the butter and cream cheese mixture. Beat thoroughly after each addition until all the sugar is completely incorporated and the frosting achieves a light, fluffy, and smooth consistency. If you prefer a stiffer frosting, particularly for piping decorations, you may use up to 4 cups of powdered sugar. Note that dairy-free cream cheese options might require a little more powdered sugar to reach the desired firm consistency.
- Once both cake layers are completely cool, place the first cake layer, shiny side down (this is typically the smoother bottom of the cake), onto your chosen serving plate or cake stand.
- Spread a generous and even amount of the prepared cream cheese frosting over the entire top surface of the first cake layer. This layer of frosting will serve as the delicious filling between your cake layers. I personally enjoy a substantial amount of frosting in the center!
- Carefully place the second cake layer on top of the frosted first layer, again with the shiny side down to create a flat top.
- Using the remaining cream cheese frosting, frost the top and all sides of the entire cake evenly. For an extra touch of elegance and visual appeal, you can use a piping bag fitted with a Wilton 1M tip to create decorative swirls, rosettes, or borders on the cake.
- Once decorated, your magnificent gluten-free red velvet cake is ready to be sliced, served, and thoroughly enjoyed!
- Store any leftover cake in an airtight container and refrigerate it. This will maintain its freshness, prevent it from drying out, and protect the cream cheese frosting.
Notes for Baking Success
- Accurate Flour Measurement: Always measure gluten-free flour using the “spoon and level” method. Gently scoop the flour into your measuring cup with a large spoon, then use the flat back of a knife to level off the top. This prevents overpacking the flour, which can lead to a dense, dry cake.
- Gluten-Free Flour Blends: Baking results can vary significantly depending on the gluten-free flour blend you choose. For consistent success, use a high-quality all-purpose gluten-free flour blend that already contains xanthan gum. If your blend does not contain xanthan gum, add ½ teaspoon per cup of flour.
- Dye-Free Cake Option: If you prefer to avoid artificial food coloring, substitute the red food color with 1 tablespoon of beetroot powder. This will give your cake a lovely, albeit more subtle, natural reddish tint without affecting the flavor.
- Frosting Shortcuts: While homemade frosting is recommended for the best flavor, if you’re short on time, you can use a high-quality canned cream cheese frosting (e.g., Pillsbury). Always double-check labels for gluten-free certification and dairy-free status, as ingredients can change. For a dairy-free frosting shortcut, you can also adapt my Gluten-Free Vanilla Buttercream Frosting recipe.
- Cooling is Crucial: Ensure your cake layers are completely and thoroughly cooled before you even think about frosting them. Attempting to frost a warm cake will result in a melted, runny mess as the frosting slides off. Patience here yields beautiful results!
- The Crumb Coat Technique: Red velvet cakes are wonderfully moist, but this can sometimes mean crumbs mix into your final frosting layer. To achieve a perfectly smooth finish, apply a thin “crumb coat” of frosting over the entire cake. Chill the cake in the refrigerator for 15-20 minutes until this layer is set, then apply your final, thicker layer of frosting. This traps any loose crumbs.
Nutrition Information
Serving: 1 slice
Calories: 487 kcal
Carbohydrates: 56 g
Protein: 5 g
Fat: 29 g
Saturated Fat: 17 g
Cholesterol: 102 mg
Sodium: 491 mg
Potassium: 71 mg
Fiber: 2 g
Sugar: 42 g
Vitamin A: 971 IU
Calcium: 66 mg
Iron: 1 mg
Nutrition information is an approximation calculated automatically and should only be used as a general guide. Actual values may vary based on specific ingredients and preparation.
Additional Recipe Info
Course: Dessert
Cuisine: American
Tried this recipe? Share your creation!
We’d love to see your delicious gluten-free red velvet cake! Mention @mamaknowsglutenfree or tag #mamaknowsglutenfree on Instagram to share your masterpiece with our community!
How to Make Gluten-Free Red Velvet Cake: A Step-by-Step Visual Guide
Baking can be an art, and having visual cues makes all the difference. This detailed step-by-step guide, complete with accompanying images, will walk you through creating a flawless gluten-free red velvet cake. Follow these instructions closely for a truly remarkable dessert.
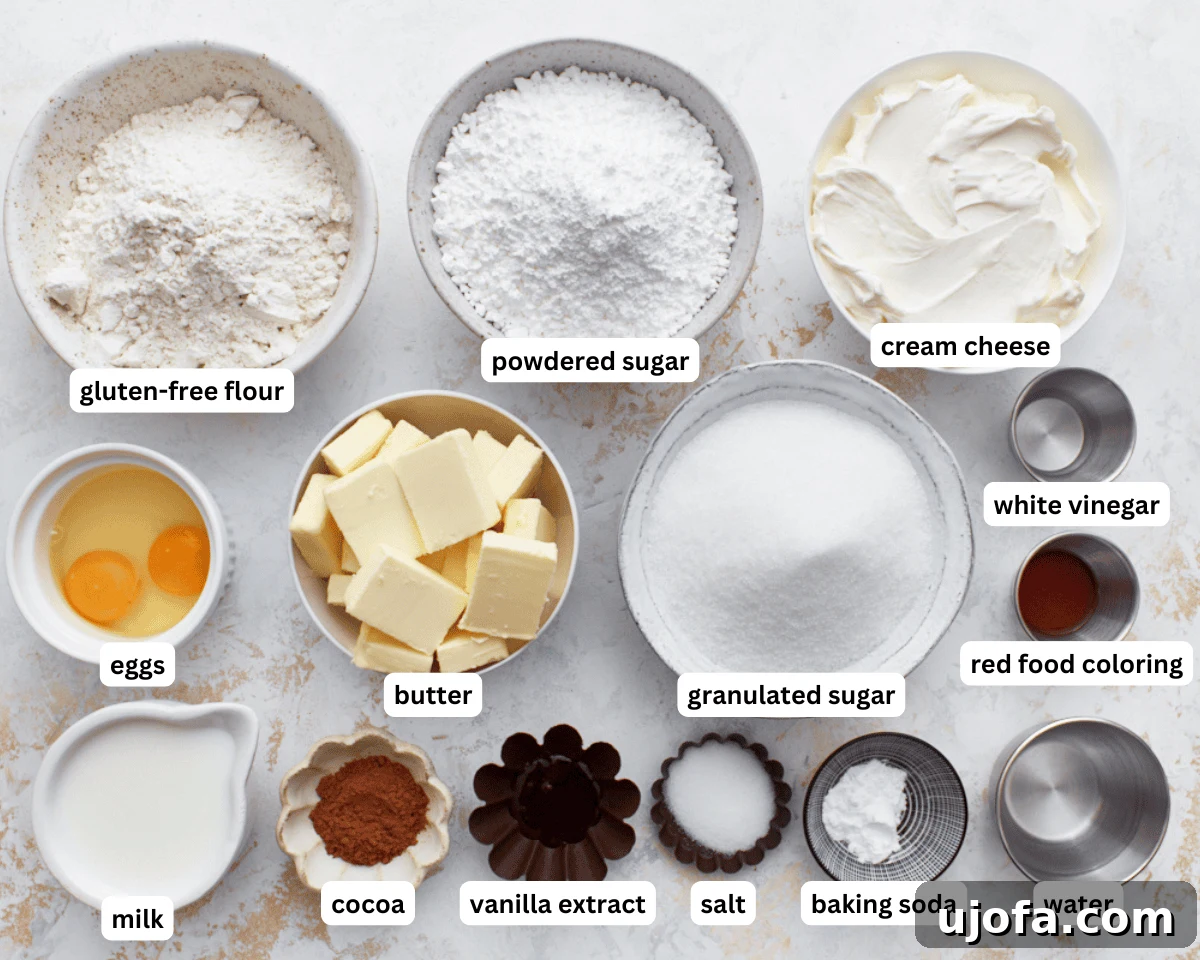
Step 1: Prepare Pans & Buttermilk
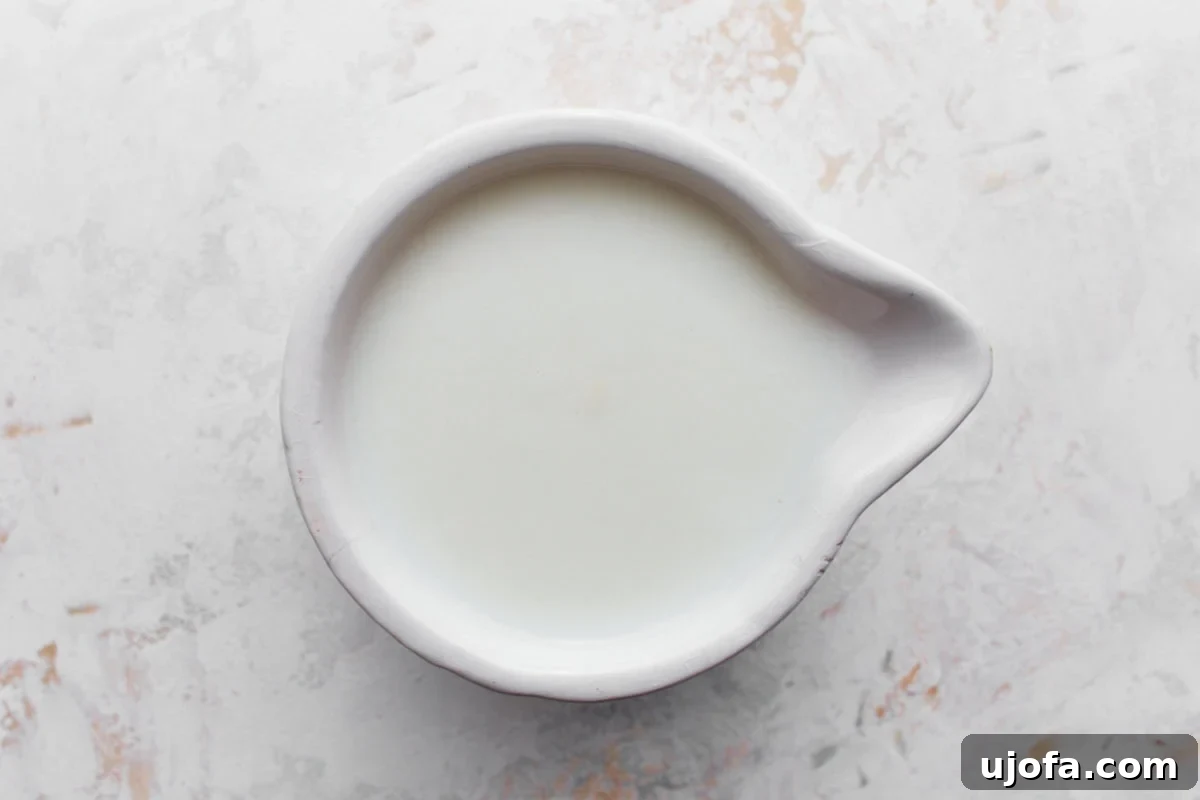
Start by preheating your oven to 350°F (177°C). Take two 9-inch round cake pans and prepare them by tracing their bottoms onto parchment paper. Cut out these circles and place one in the bottom of each pan. Lightly coat both the pans and the parchment with a gluten-free cooking spray; coconut oil spray is an excellent choice for this. Next, for homemade buttermilk, combine 1 tablespoon of white vinegar with 1 cup of milk (or unsweetened almond/coconut milk for a dairy-free option) in a small bowl. Give it a gentle stir and allow it to sit for a few minutes until it begins to curdle and thicken. This homemade buttermilk is essential for the cake’s tender crumb and subtle tang.
Step 2: Combine Dry Ingredients
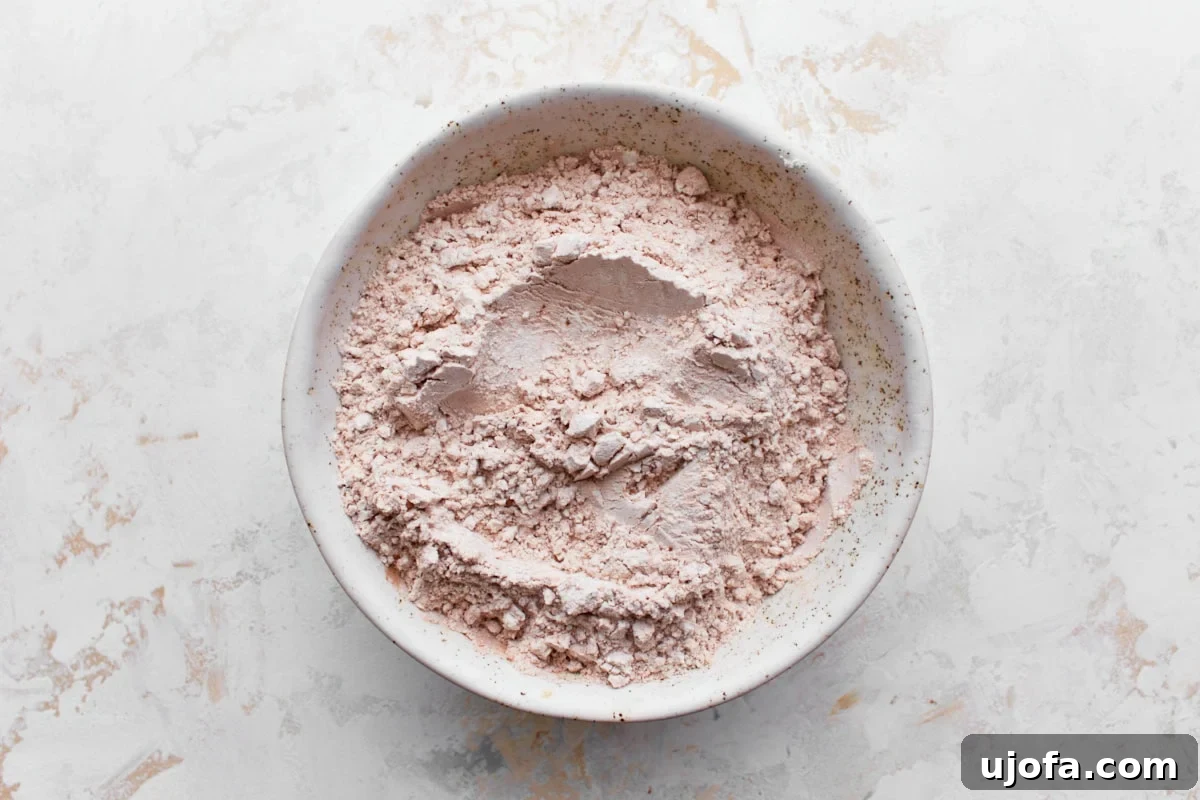
In a medium-sized mixing bowl, accurately measure 2 ½ cups of your chosen all-purpose gluten-free flour blend (ensure it contains xanthan gum for optimal results), 2 teaspoons of unsweetened cocoa powder, 1 teaspoon of baking soda, and 1 teaspoon of salt. Using a whisk, thoroughly combine these dry ingredients. This step is important to ensure that the leavening agents and flavorings are evenly distributed throughout the batter, which contributes to a consistent rise and flavor in your finished cake.
Step 3: Cream Butter and Sugar
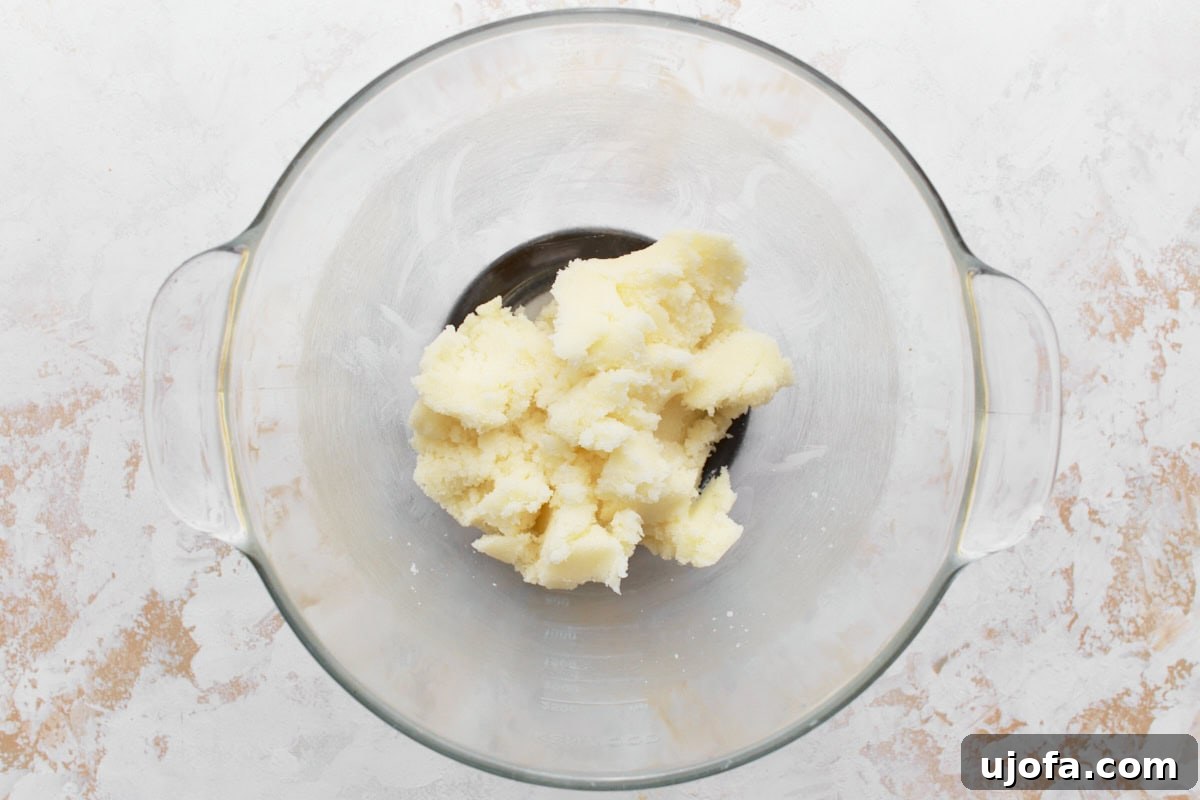
In a large mixing bowl, using either a stand mixer fitted with the paddle attachment or a hand mixer, combine ½ cup of softened unsalted butter (or your chosen dairy-free butter alternative) and 2 cups of granulated sugar. Beat these ingredients together on medium-high speed until the mixture becomes visibly light, fluffy, and pale in color. This creaming process incorporates air into the mixture, which is fundamental for creating a tender and airy cake texture.
Step 4: Add Wet Ingredients & Color
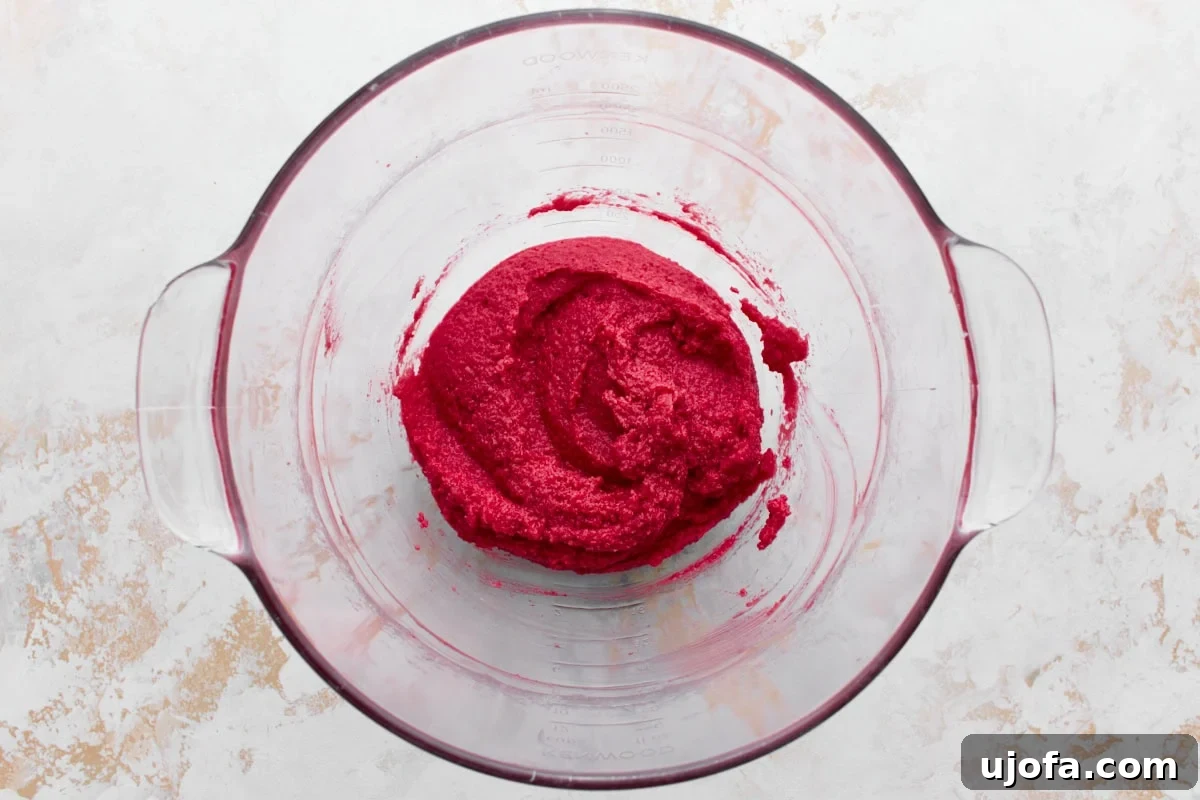
To the creamed butter and sugar mixture, incorporate 2 large eggs, 1 teaspoon of pure vanilla extract, 2-3 teaspoons of red food coloring (or 1 tablespoon of beetroot powder for a natural color), and an additional 1 teaspoon of white vinegar. Mix thoroughly until all these wet ingredients are fully combined and the mixture has transformed into a vibrant, uniform red color. The vinegar here not only brightens the red but also contributes to the cake’s tenderness by reacting with the other ingredients.
Step 5: Integrate Dry & Buttermilk
Now, gradually add the previously whisked dry flour mixture to the wet butter mixture. Mix on low speed, just until the flour is combined into the batter. Be cautious not to overmix. Use a rubber spatula to scrape down the sides of the bowl, ensuring all dry ingredients are fully incorporated without overworking the batter. Next, pour in your homemade buttermilk (the milk and vinegar mixture prepared in Step 1) and mix again until the batter is smooth and uniformly red, ready for the final additions.
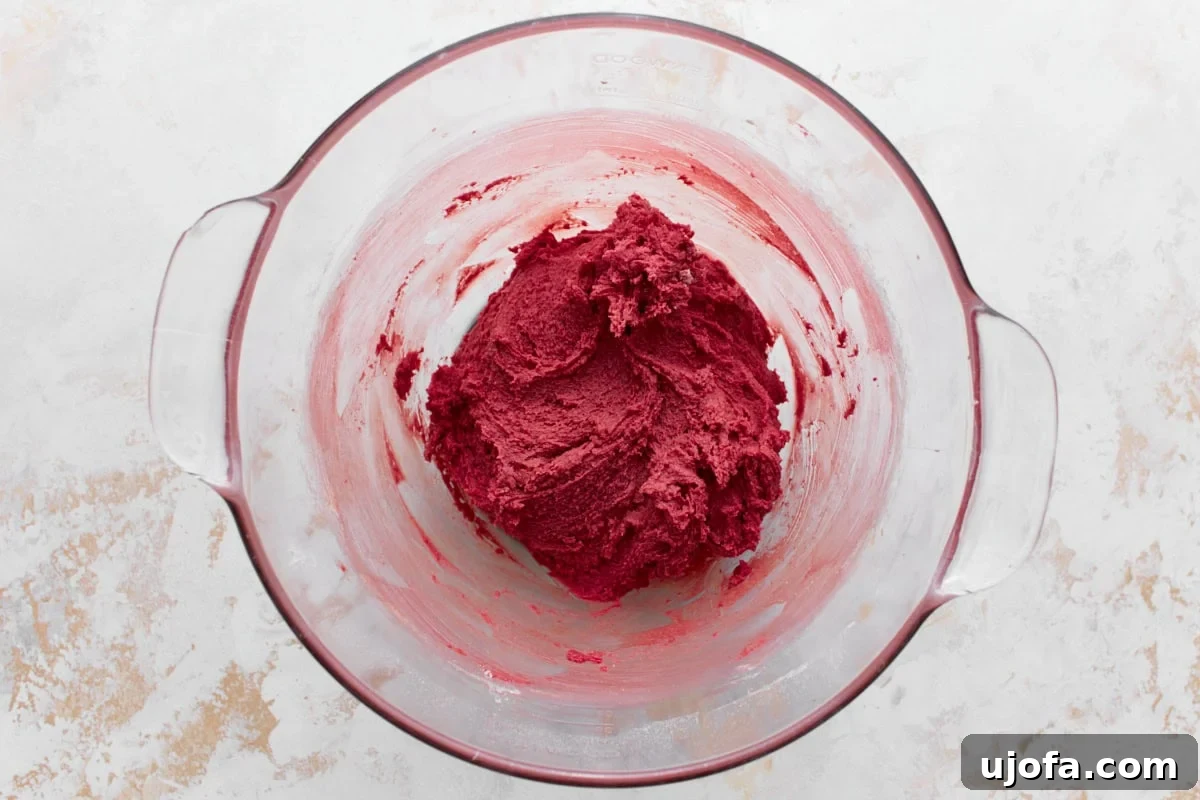
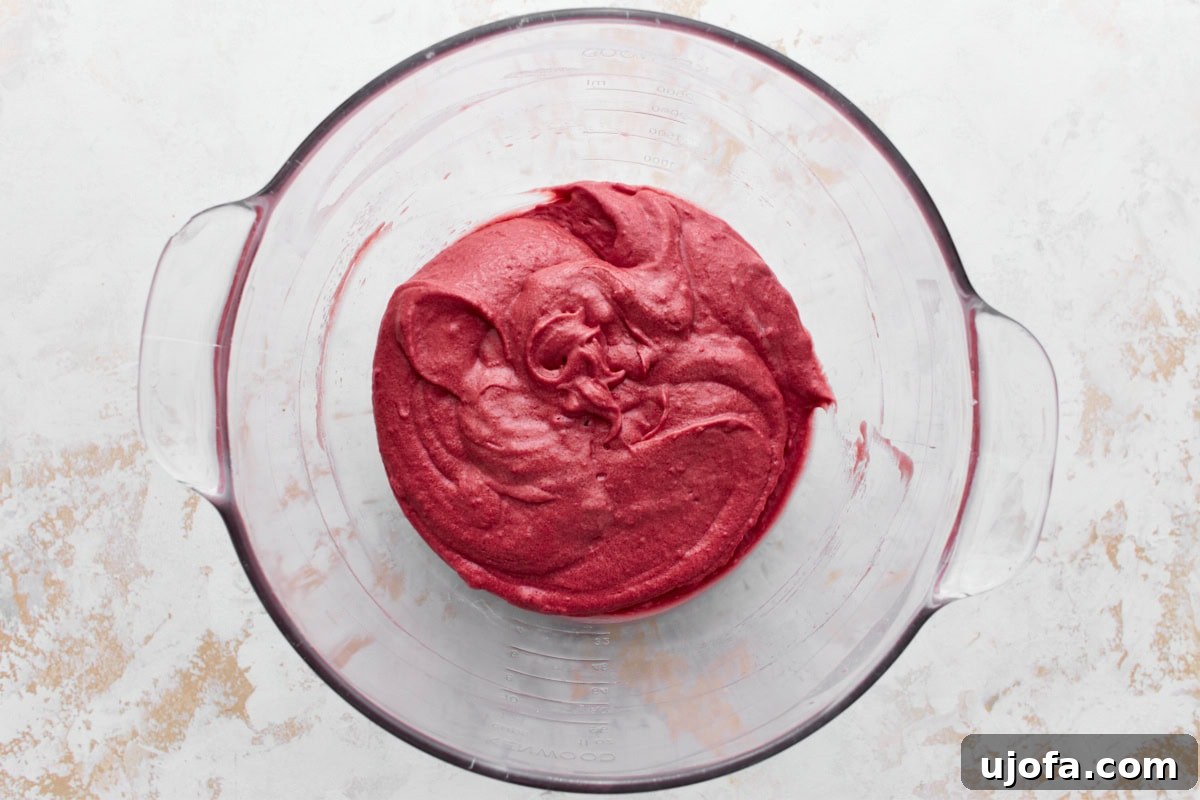
Step 6: Boiling Water & Bake
Carefully add ½ cup of boiling water to the cake batter. Mix gently on low speed until the boiling water is fully absorbed and the batter is smooth. This crucial step further activates the cocoa and baking soda, contributing significantly to the cake’s renowned moistness and velvety texture. Divide the prepared batter evenly between your two 9-inch cake pans. Place both pans on the middle rack of your preheated oven and bake for 30-35 minutes. Always keep a close watch on your cakes, as individual oven temperatures and characteristics can cause baking times to vary.
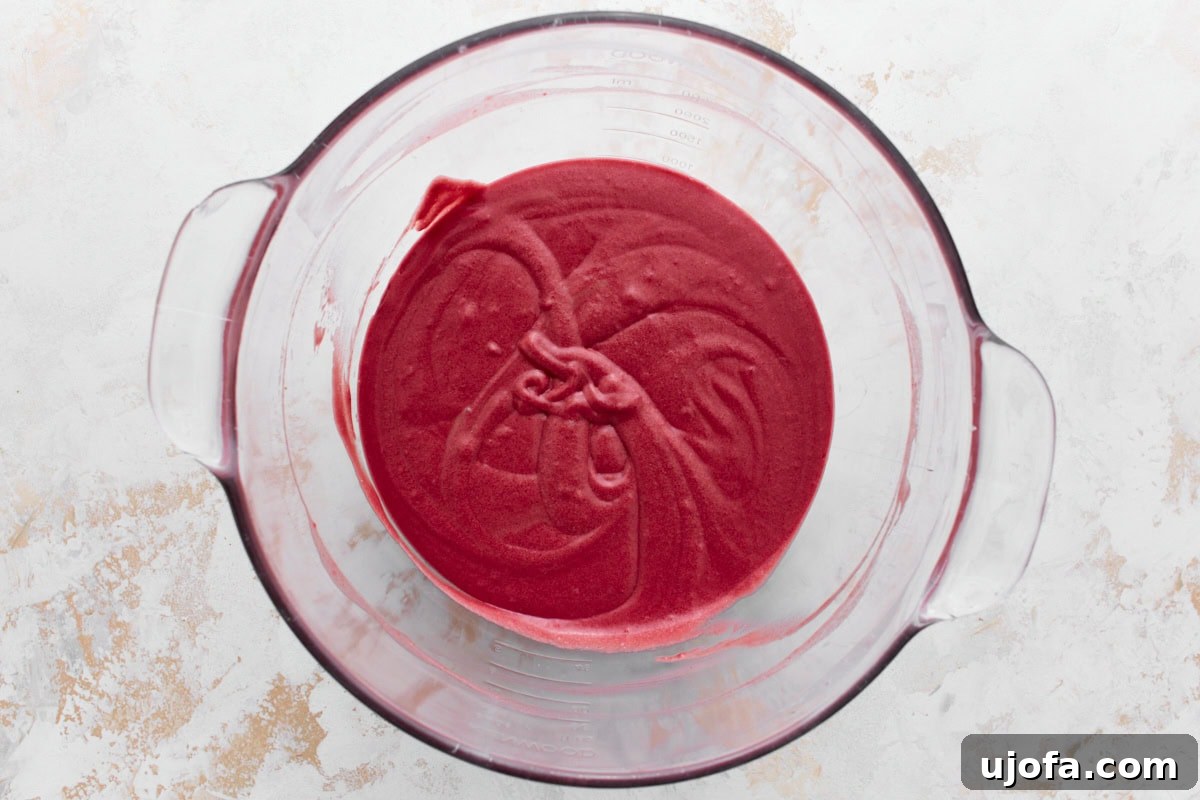
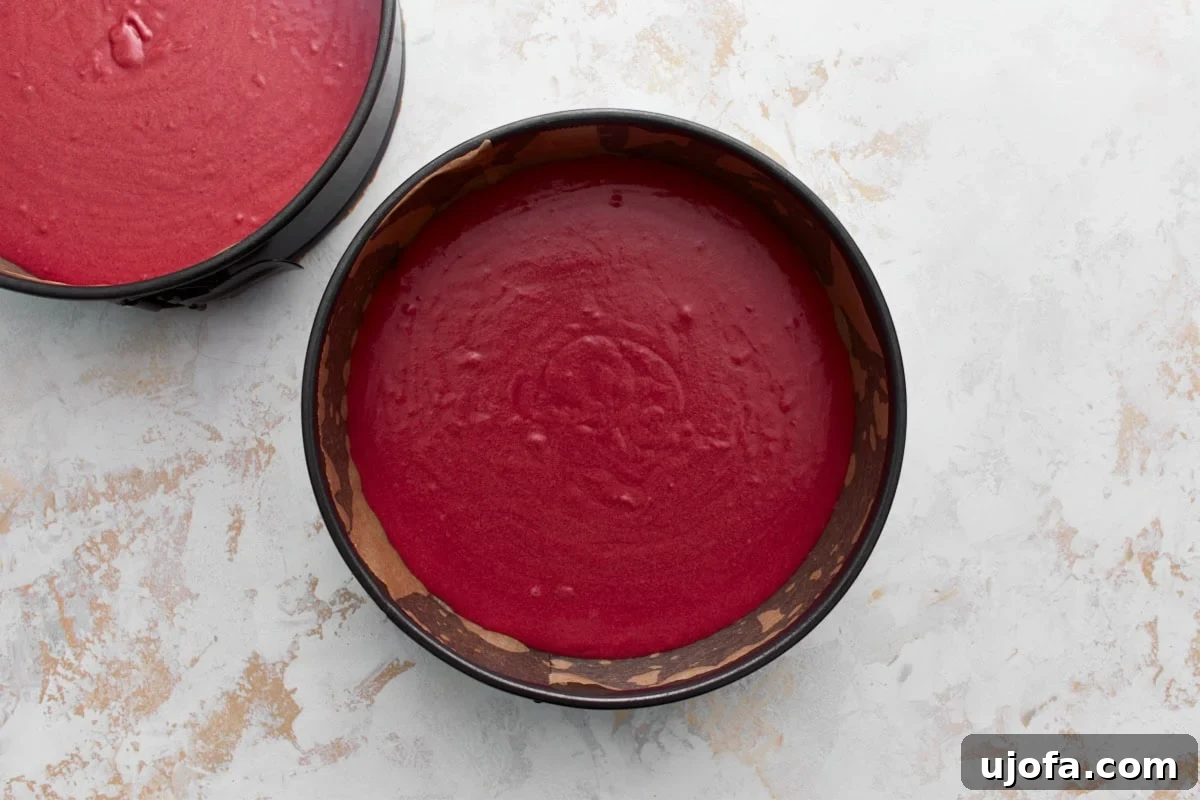
Step 7: Test for Doneness & Cool
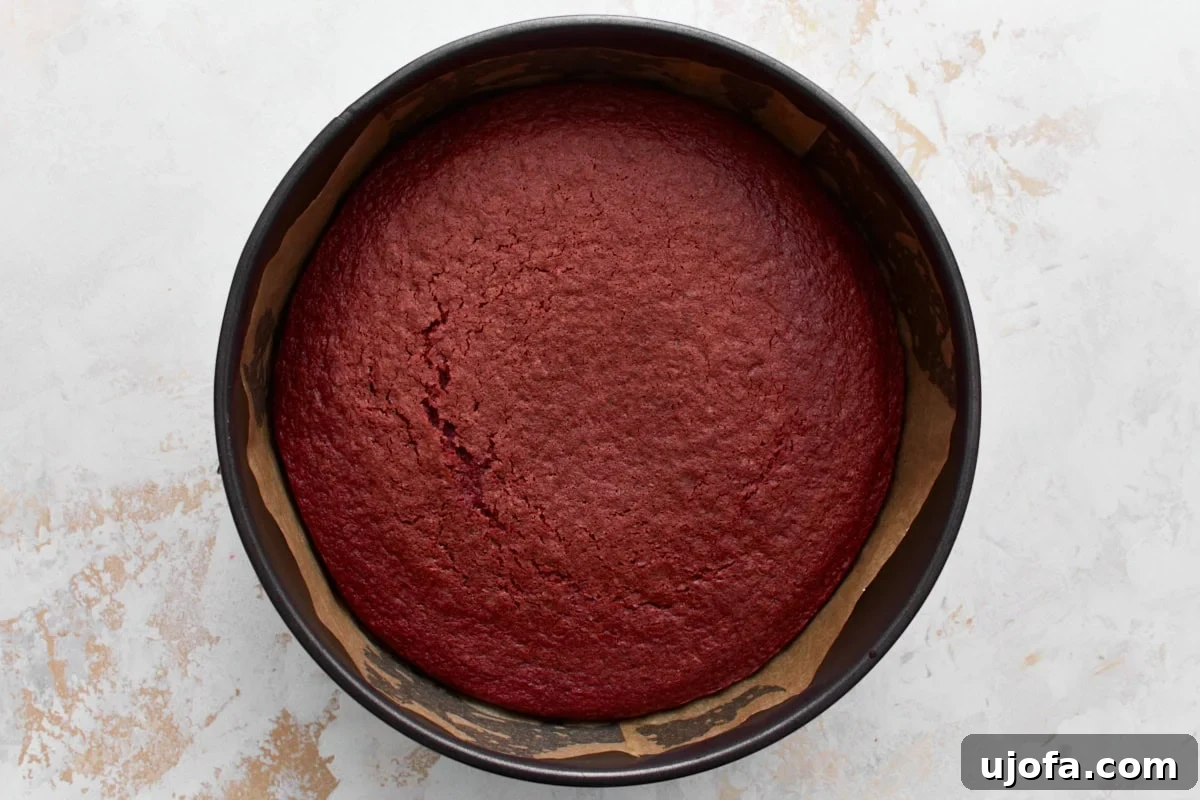
To confirm that your cakes are perfectly baked, insert a clean toothpick into the center of each. It should come out clean, without any wet batter. You’ll also notice the edges of the cakes gently pulling away from the sides of the pans. Allow the cakes to cool in their pans for about 10 minutes. Then, carefully invert them onto a wire baking rack to cool completely to room temperature. This cooling period is absolutely vital; attempting to frost a warm cake will cause the frosting to melt. For best results, allow several hours for cooling, or wrap the cooled layers in plastic wrap and chill them in the refrigerator or freezer to speed things up.
Step 8: Make Cream Cheese Frosting
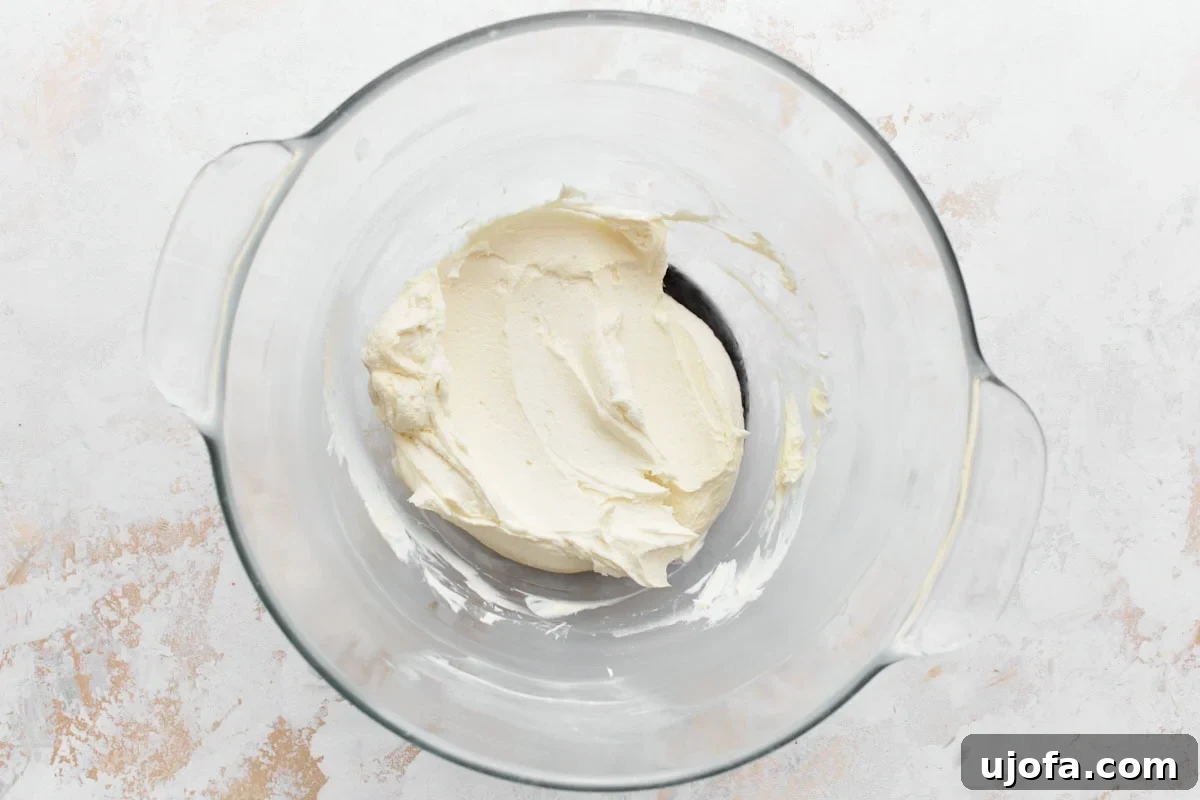
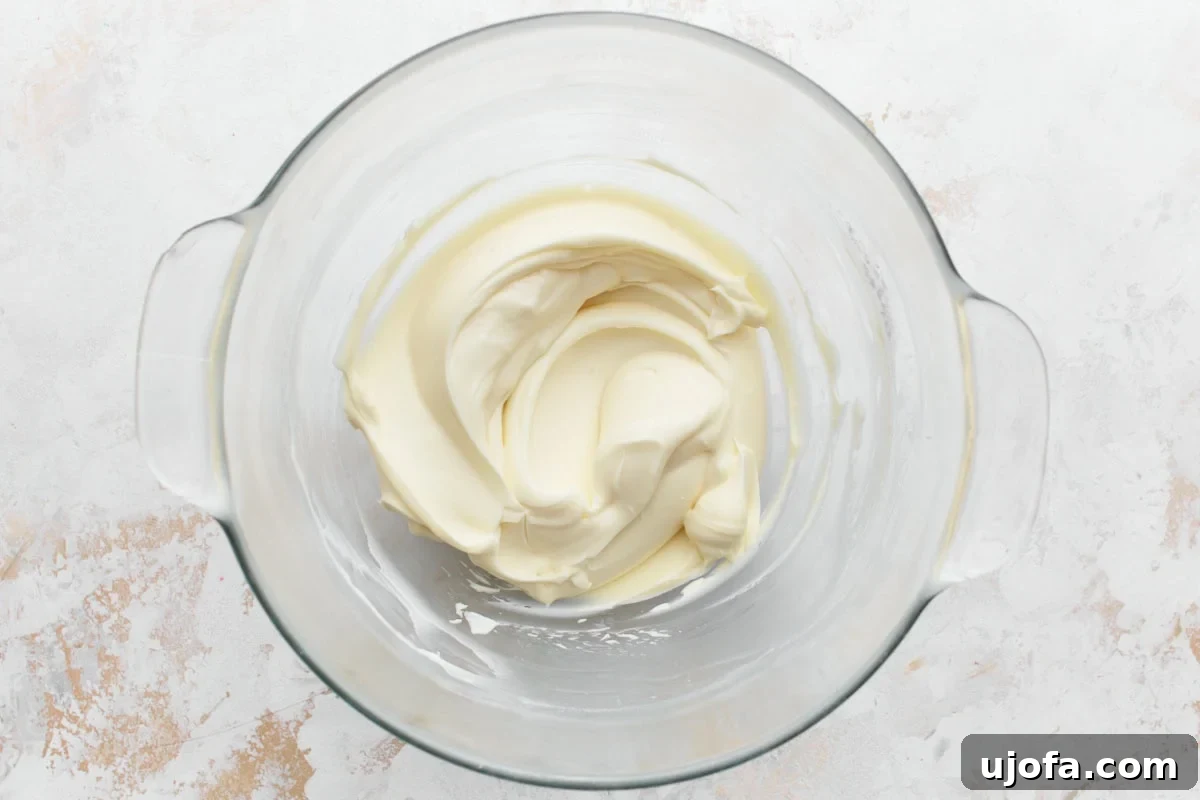
In a large mixing bowl, combine 1 cup of softened unsalted butter (or dairy-free butter alternative) and 16 ounces of softened cream cheese (or dairy-free cream cheese alternative). Using a stand mixer or hand mixer, cream these two ingredients together until the mixture is exceptionally smooth, light, and free of any lumps. Next, add 1 teaspoon of pure vanilla extract and a tiny pinch of salt, mixing until fully incorporated. Gradually add 3-4 cups of powdered sugar, one cup at a time, beating thoroughly after each addition until all the sugar is blended and the frosting is light, fluffy, and smooth. If you desire a stiffer frosting, particularly for piping, use the full 4 cups of powdered sugar; dairy-free cream cheeses may require slightly more to achieve optimal stiffness.
Step 9: Assemble and Decorate
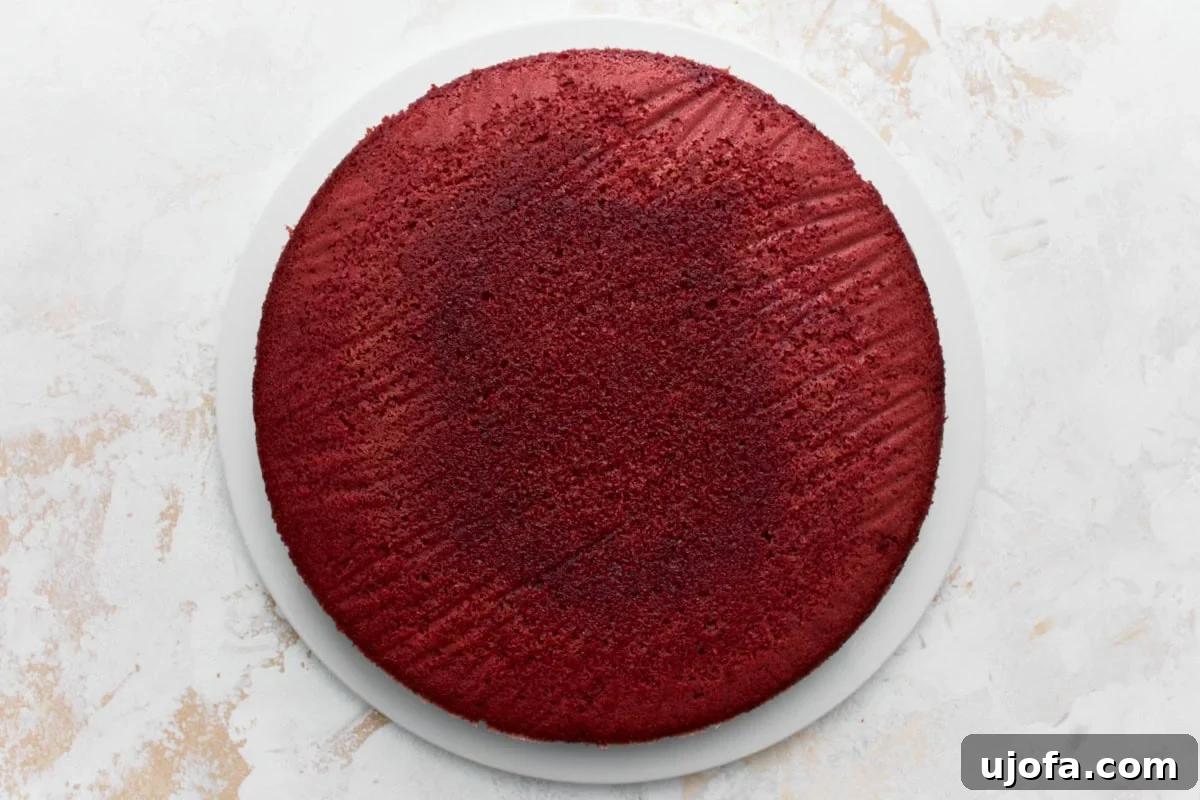
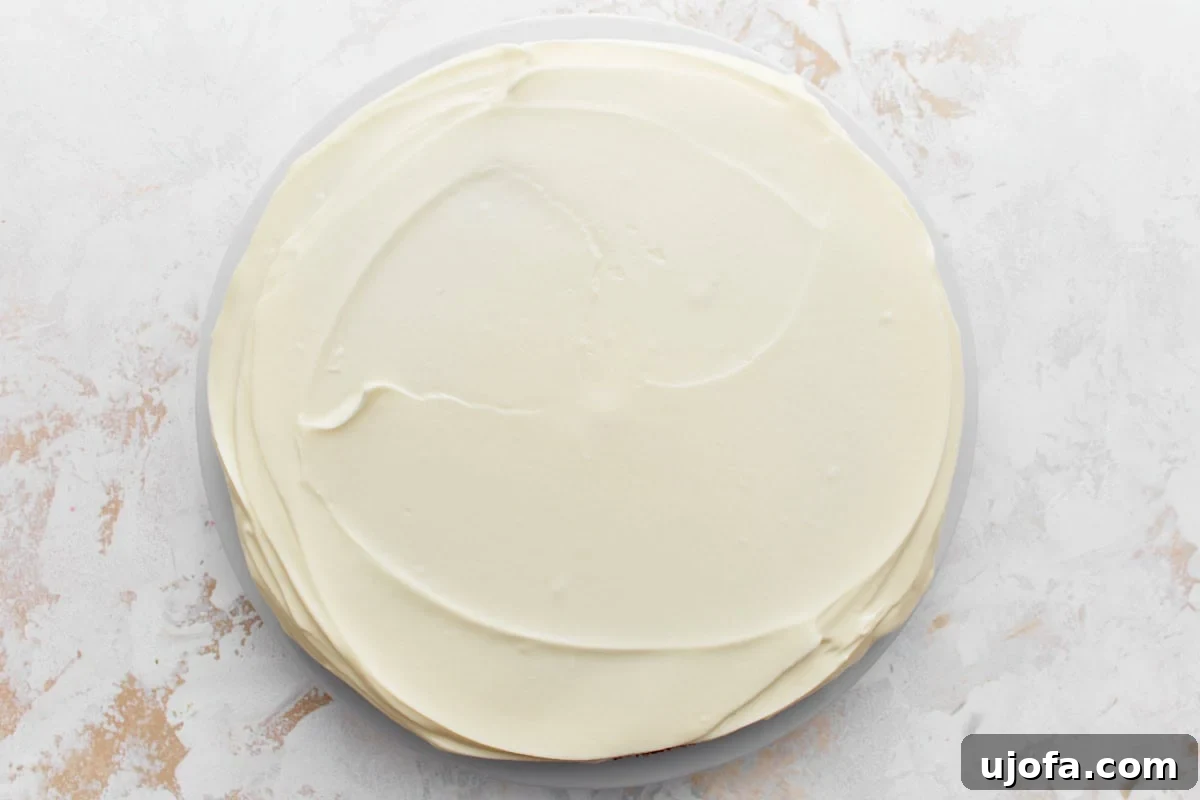
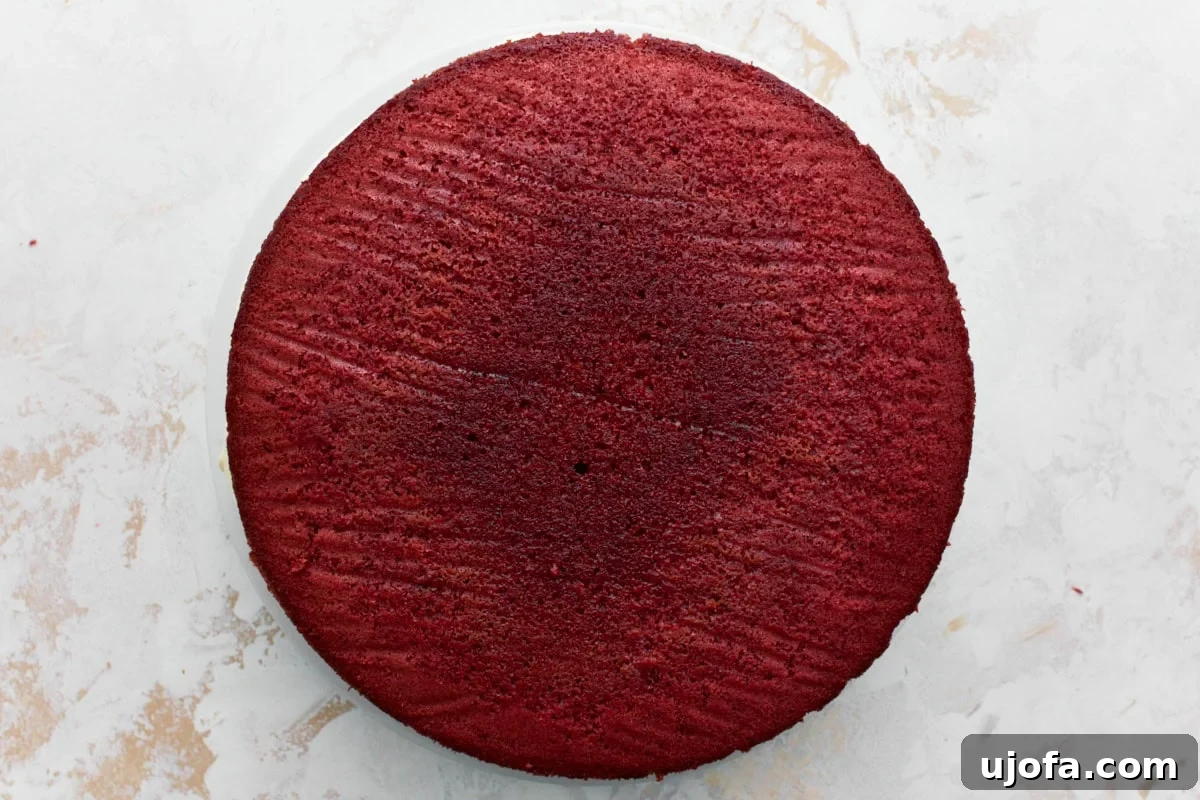
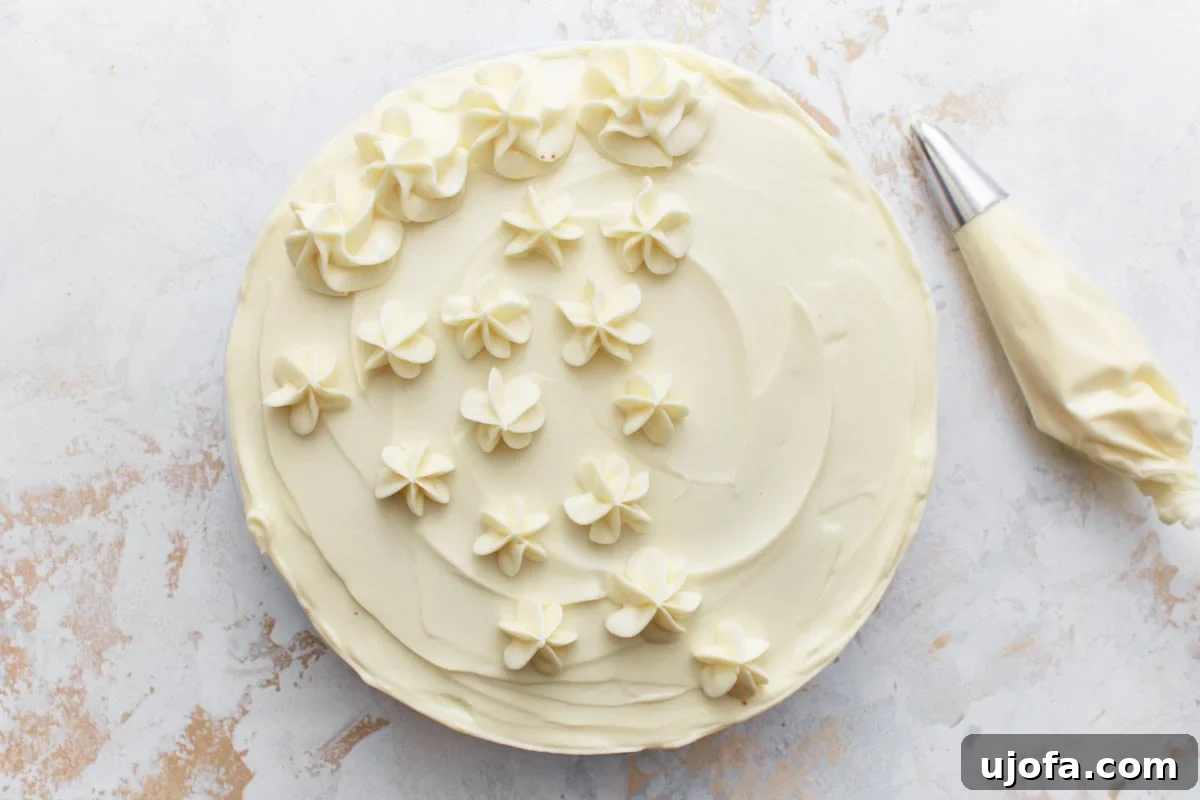
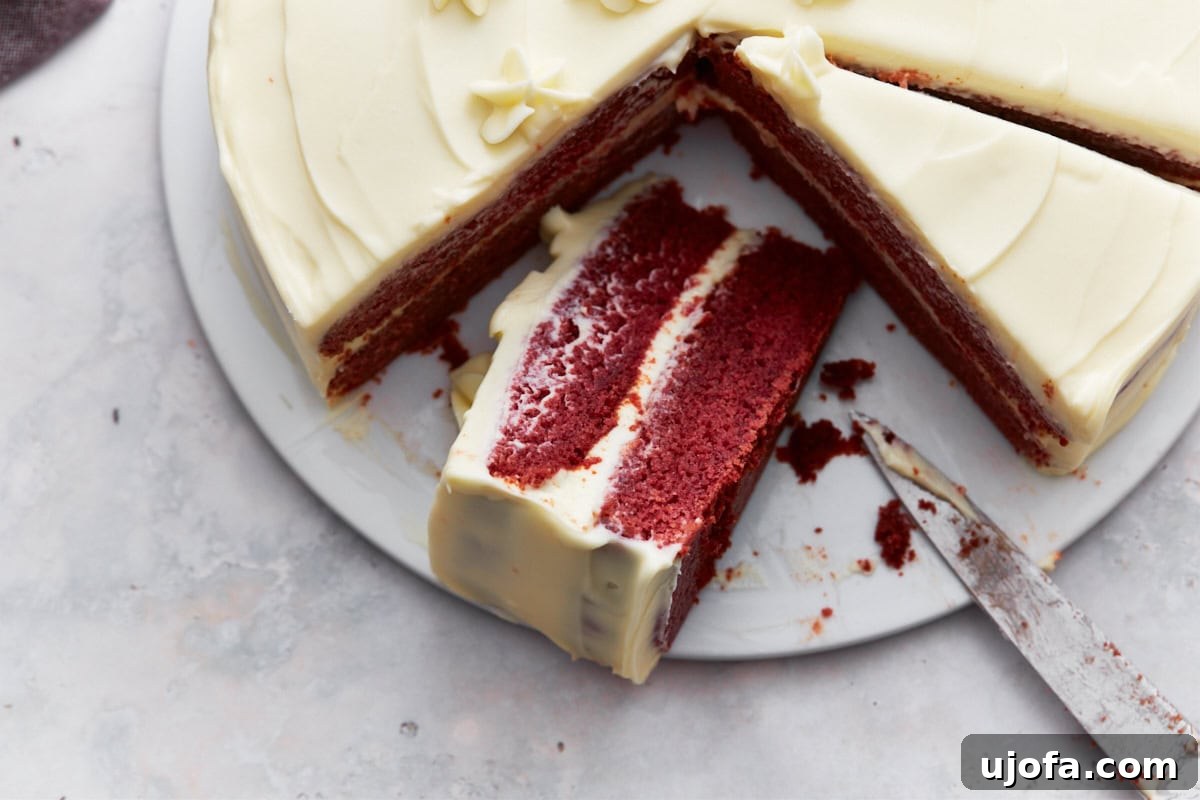
Ensure both cake layers are completely cool. To prevent crumbs from mixing into your frosting (red velvet is very moist!), consider applying a thin “crumb coat” of frosting first, chilling the cake until it sets, then applying your final layer. Place the first cake layer, shiny side down (usually the smoother bottom), onto your serving plate or cake stand. Generously frost the top of this layer; this will be the delicious filling. Carefully place the second cake layer on top, also shiny side down. Use the remaining cream cheese frosting to cover the top and all sides of the entire cake. For a professional touch, use a piping bag with a Wilton 1M tip to create beautiful swirls or rosettes. Once decorated, your exquisite homemade gluten-free red velvet cake is ready to be admired, sliced, and thoroughly enjoyed!
Customizing Your Gluten-Free Red Velvet Cake: Substitutions & Variations
This gluten-free red velvet cake recipe is designed to be adaptable, allowing you to tailor it to various dietary preferences or to simply try a new twist on a classic. Don’t hesitate to experiment with these thoughtful substitutions and variations:
- Dairy-Free Options: To make this cake entirely dairy-free, begin by substituting regular milk with unsweetened almond milk or coconut milk when preparing your homemade buttermilk. For the cake batter and the luscious frosting, opt for high-quality vegan butter substitutes like Smart Balance butter. When it comes to the cream cheese frosting, dairy-free cream cheese alternatives (such as Kite Hill Cream Cheese) are excellent choices. Be mindful that dairy-free cream cheeses can sometimes have a softer consistency; if your frosting seems too thin, gradually add an extra ¼ to ½ cup of powdered sugar until you achieve your desired stiffness for piping or spreading.
- Dye-Free Cake: For those who prefer to avoid artificial food colorings, a simple and effective substitution for the red food coloring is 1 tablespoon of beetroot powder. While the resulting cake will have a more subtle, earthy reddish-brown hue rather than a vibrant crimson, it will still be beautiful and delicious, offering a natural and wholesome alternative without compromising the cake’s flavor or texture.
- Gluten-Free Flour Blends: While this recipe specifically recommends an all-purpose gluten-free flour blend that already contains xanthan gum (like Pillsbury), you certainly have the option to try other brands. However, be aware that different gluten-free flour blends can vary in their liquid absorption and protein content, which might subtly alter the cake’s final texture. Always ensure your chosen blend includes xanthan gum, or if it doesn’t, add ½ teaspoon of xanthan gum per cup of flour to maintain structure.
- Flavor Enhancements: If you desire a more pronounced chocolate flavor in your red velvet cake, you can increase the amount of cocoa powder by an additional ½ teaspoon. For an intriguing depth that subtly enhances chocolate without making the cake taste like coffee, consider adding a tiny pinch (⅛ teaspoon) of espresso powder to the dry ingredients.
Storage Tips for Maximum Freshness and Convenience
Proper storage is paramount to ensure your gluten-free red velvet cake remains as moist and delicious as the day it was baked. Since this recipe features a delightful cream cheese frosting, refrigeration is necessary to maintain its quality and safety. Here are detailed storage instructions to help you preserve your cake:
- Refrigerator Storage for Frosted Cake: Any leftover frosted cake must be stored in the refrigerator. To protect it from drying out and absorbing unwanted odors from other foods, place the cake in an airtight container. If a container is unavailable, cover the cake tightly with plastic wrap, ensuring all exposed surfaces are sealed. When properly stored in the refrigerator, the cake will remain fresh, moist, and delicious for 4-5 days.
- Freezing Unfrosted Cake Layers: To bake ahead or save cake layers for future enjoyment, ensure they are completely cooled after baking. Once cool, wrap each cake layer individually and very tightly in plastic wrap (using a “press and seal” style wrap can provide an extra layer of protection). For ultimate protection against freezer burn, wrap the plastic-covered layers again with aluminum foil. Finally, place the double-wrapped layers into a freezer-safe bag. Unfrosted cake layers can be confidently frozen for up to 3 months.
- Thawing Frozen Cake Layers: When you’re ready to use your frozen cake layers, transfer them from the freezer to the refrigerator and allow them to thaw slowly overnight. Alternatively, you can defrost them at room temperature for 2-3 hours. Slow thawing in the refrigerator is generally recommended as it helps the cake maintain its moist texture and prevents condensation from making it soggy. Once thawed, you can proceed to frost and assemble the cake as usual.
- Freezing a Whole Frosted Cake: While generally not recommended for optimal texture, a frosted cake can be frozen. First, flash freeze the uncovered cake until the frosting is completely firm (this prevents the plastic wrap from sticking). Then, wrap tightly in plastic wrap followed by aluminum foil. Thaw the cake overnight in the refrigerator before serving.
If you’re interested in transforming this recipe into individual, convenient portions, I recommend consulting my dedicated Gluten-Free Red Velvet Cupcakes recipe for specific baking times and instructions tailored for cupcakes.
Frequently Asked Questions (FAQs) About Gluten-Free Red Velvet Cake
Baking a gluten-free red velvet cake can sometimes bring up a few questions, especially if you’re new to gluten-free baking. Here are answers to some of the most common inquiries to help ensure your baking journey is smooth and successful:
Q: What gives red velvet cake its signature red color?
A: Historically, the reddish hue in red velvet cake was a result of a natural chemical reaction between the anthocyanin pigments in non-Dutched cocoa powder and acidic ingredients like buttermilk and vinegar. In modern recipes, to achieve the vibrant, deep red color that has become synonymous with red velvet, food coloring is typically added. This recipe follows that modern tradition but also provides an option to use beetroot powder for a natural, dye-free alternative, resulting in a more subtle reddish tint.
Q: Can I prepare this gluten-free red velvet cake in advance?
A: Absolutely! This cake is excellent for making ahead. You can bake the cake layers up to 2-3 days prior to your event. Once the layers have cooled completely, wrap them tightly in plastic wrap and store them at room temperature or in the refrigerator. The cream cheese frosting can also be prepared a day in advance and kept in an airtight container in the refrigerator; just give it a quick whip with your mixer before you’re ready to frost the cake to restore its creamy texture. An assembled and frosted cake will maintain its freshness and deliciousness for 4-5 days when stored properly in the refrigerator.
Q: Why did my gluten-free cake turn out dry?
A: Dryness is a common concern in gluten-free baking, but it’s usually preventable. The most frequent culprits include measuring too much flour (always use the “spoon and level” method!), overmixing the batter, or overbaking the cake. Different gluten-free flour blends can also react differently. This recipe is specifically formulated for maximum moistness, so carefully following the ingredient measurements and baking times, and ensuring you don’t overmix, should yield a wonderfully tender cake.
Q: Which gluten-free flour blend is best for this red velvet cake recipe?
A: A high-quality all-purpose gluten-free flour blend that already contains xanthan gum is ideal for this recipe. I have personally achieved excellent results with Pillsbury gluten-free flour. Many bakers also report success with Bob’s Red Mill 1-to-1 Baking Flour, as mentioned by one of our reviewers. Since flour blends vary, sticking to a brand you trust and that has a good reputation for baking cakes is always a good strategy.
Q: My cream cheese frosting is too soft. How can I make it stiffer?
A: If your cream cheese frosting isn’t as stiff as you’d like, there are a few tricks. First, ensure your butter and cream cheese were at room temperature but not overly soft or melted, as this can make the frosting runny. To stiffen it, gradually add more powdered sugar, starting with ¼ cup at a time, and beat until it reaches your desired consistency. You can also try chilling the frosting in the refrigerator for about 20-30 minutes; the colder temperature will help it firm up. Then, re-whip it briefly before use.
More Delicious Gluten-Free Cake Recipes to Explore
If you’ve enjoyed baking and tasting this delightful gluten-free red velvet cake, you’re in for a treat! Our collection features an array of other fantastic gluten-free cake recipes, perfect for any occasion or craving. Expand your gluten-free baking repertoire with these irresistible options:
- Gluten-Free Vanilla Cake: A timeless classic, this light and fluffy vanilla cake is perfect for birthdays, celebrations, or simply a comforting everyday dessert.
- Gluten-Free Carrot Cake: Indulge in a moist, spiced carrot cake generously topped with a rich cream cheese frosting, a true favorite for fall and beyond.
- Gluten-Free Angel Food Cake: Experience the airy, cloud-like perfection of this naturally fat-free and dairy-free dessert, ideal for lighter indulgence.
- Gluten-Free Lemon Cake: Bright, zesty, and utterly refreshing, this lemon cake is the perfect choice for spring and summer gatherings.
- Gluten-Free Funfetti Cake: Bring joy to any celebration with this festive and colorful cake, studded with sprinkles for a guaranteed smile.
Conclusion: Your Perfect Gluten-Free Red Velvet Cake Adventure Awaits!
Baking a show-stopping gluten-free red velvet cake is not only achievable but also incredibly rewarding with this comprehensive recipe and detailed step-by-step guide. You now have all the tools and knowledge to create a dessert that is moist, rich in flavor, beautifully vibrant, and absolutely irresistible. Whether you’re celebrating a special milestone, catering to dietary needs, or simply indulging a craving for Southern comfort, this recipe promises consistent success and pure delight. Embrace the joy of gluten-free baking, savor every delicious bite, and share this wonderful cake with everyone you love!