
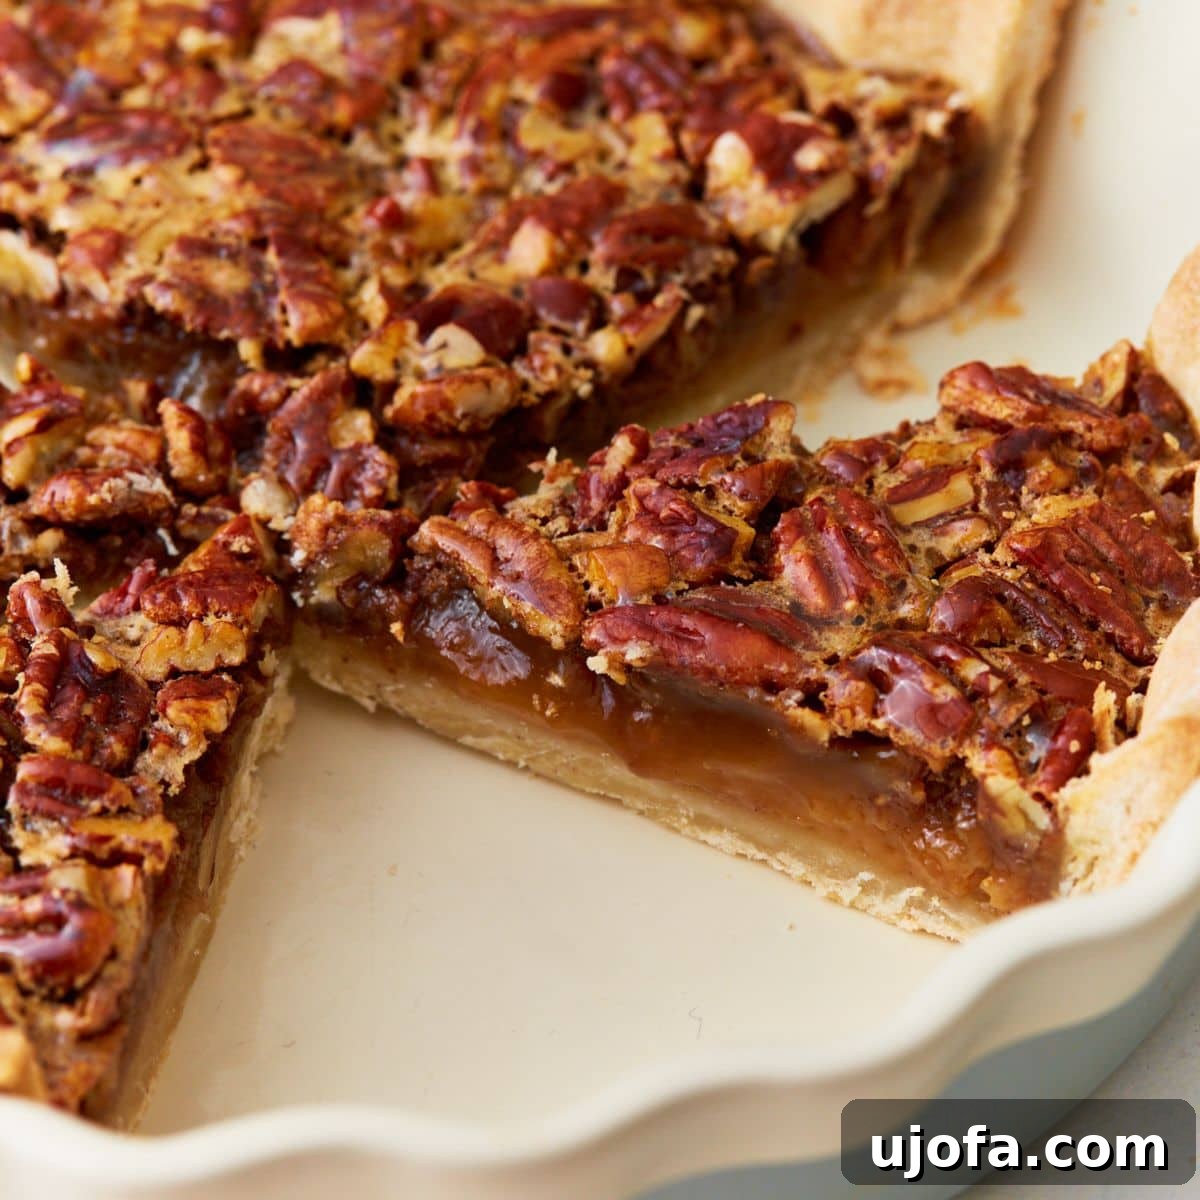
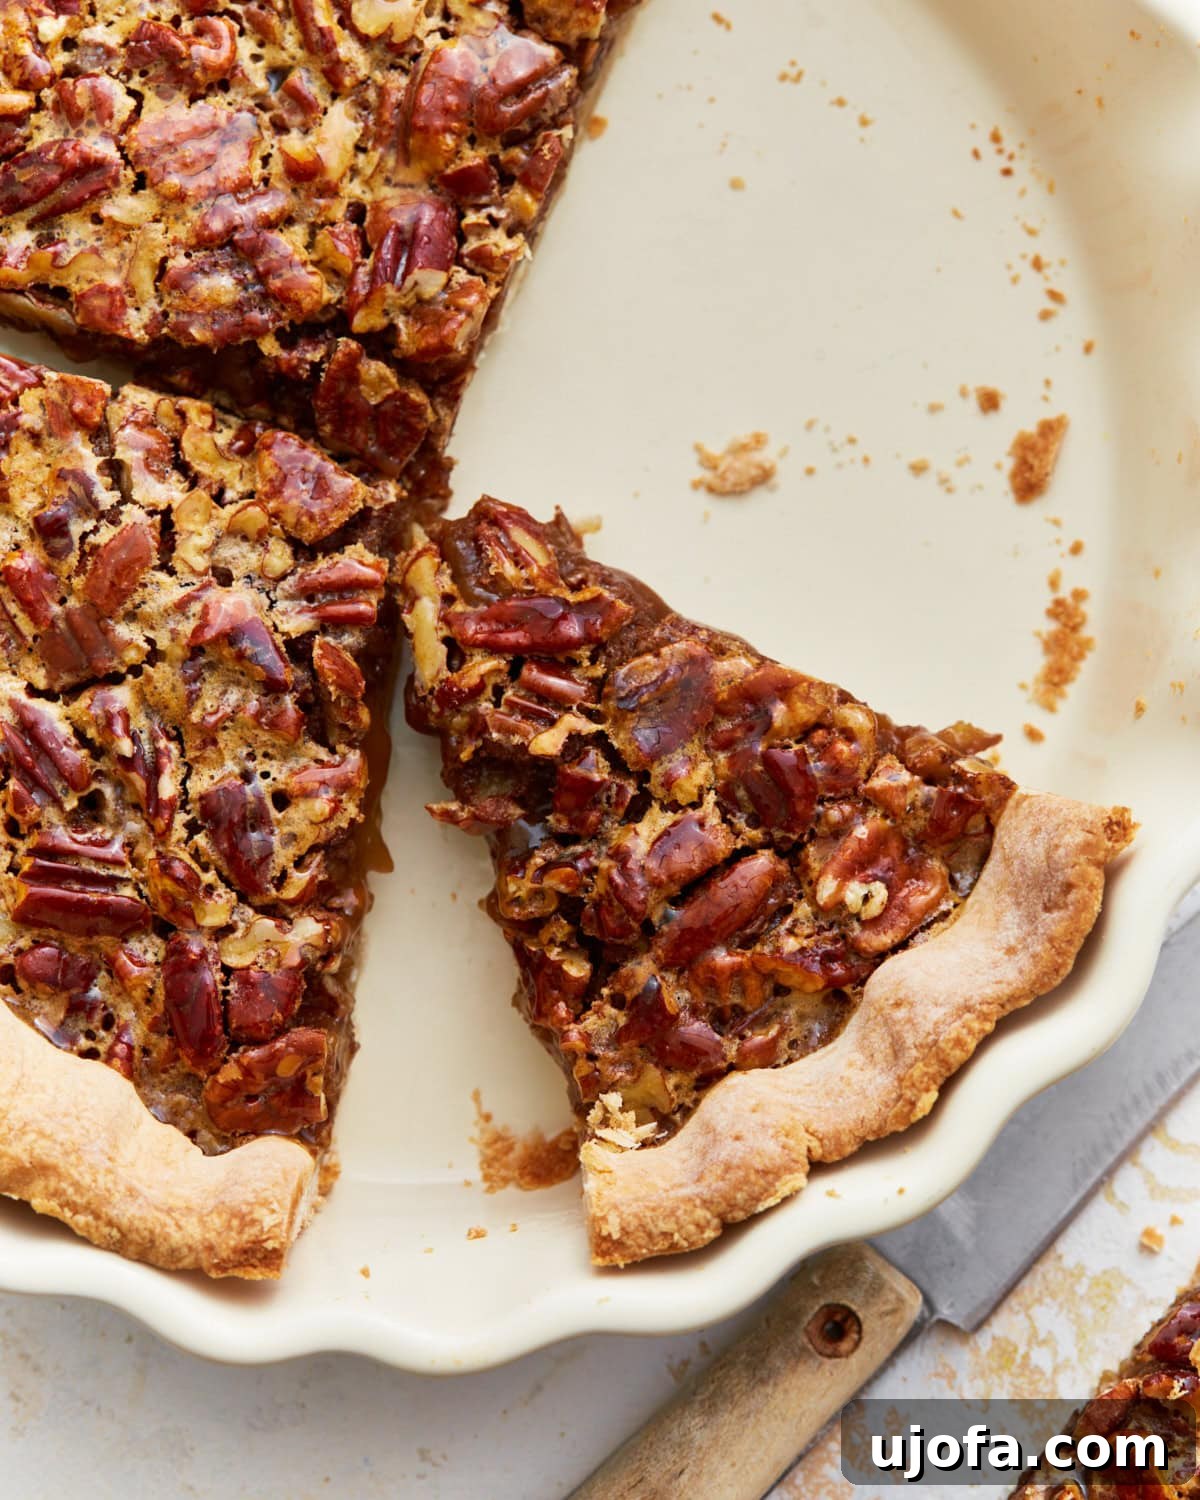
Welcome to your new favorite dessert! This isn’t just any pecan pie; it’s a remarkably easy, irresistibly delicious, and completely gluten-free pecan pie that promises to be the star of your holiday table or any special occasion. Forget the fuss and the fear of tricky gluten-free baking – this recipe proves that rich flavor and perfect texture are entirely achievable without gluten. With its deeply gooey (never runny!) filling and the ideal balance of sweet and salty notes, this pie is designed for pure indulgence. We’ve also included a simple, from-scratch gluten-free pie crust recipe with a dairy-free option, ensuring everyone can enjoy a slice of this timeless classic. Prepare to impress your family and friends with a pie so good, they’ll never guess it’s gluten-free!
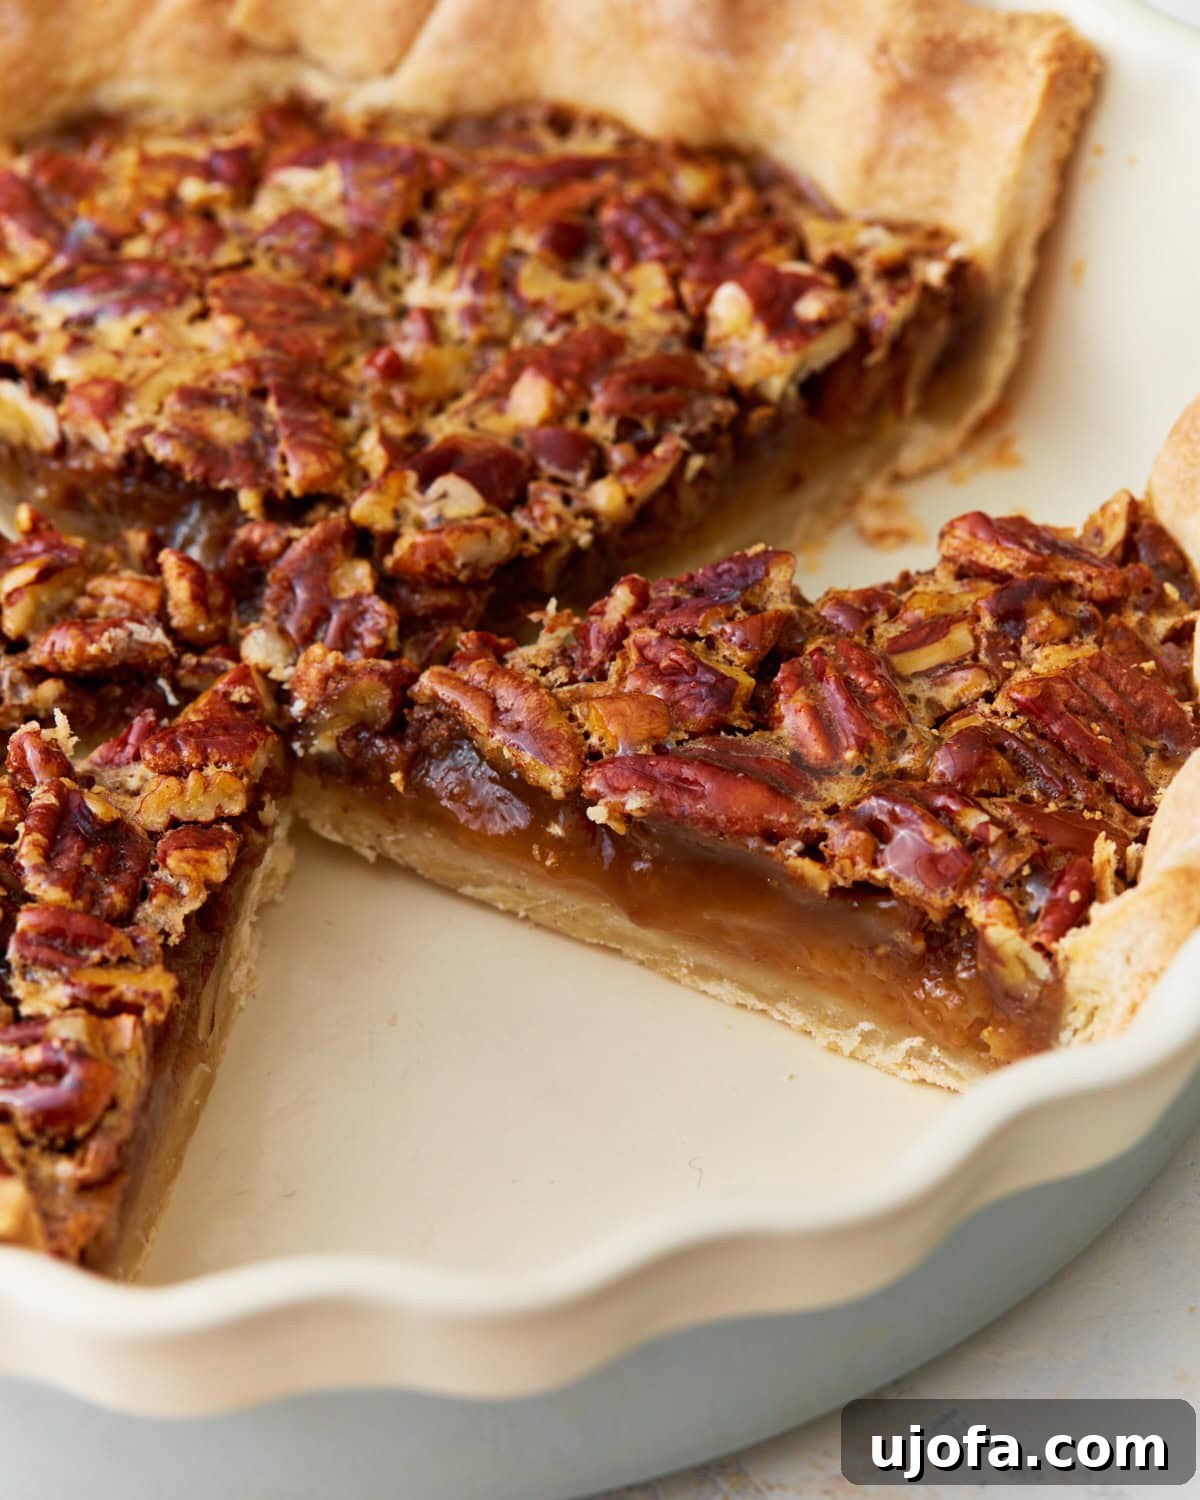
The Ultimate Delicious & Easy Gluten-Free Pecan Pie Recipe
While many may argue for the classic pumpkin, for me, this gluten-free pecan pie truly steals the show as the quintessential holiday dessert. The beauty of this recipe lies in its simplicity. The luscious filling comes together with naturally gluten-free staples like granulated sugar, rich brown sugar, light corn syrup, creamy butter, and, of course, a generous helping of pecans. The real magic, however, begins with our homemade gluten-free pie crust. Don’t be intimidated – I assure you, it’s remarkably straightforward to prepare and can even be made in advance, making your baking day stress-free. Time and again, after people taste this pie, they’re not only enchanted by its incredible flavor but utterly amazed when they discover it’s completely gluten-free. It’s a testament to how fantastic gluten-free baking can be!
Essential Ingredients for Your Perfect Pecan Pie
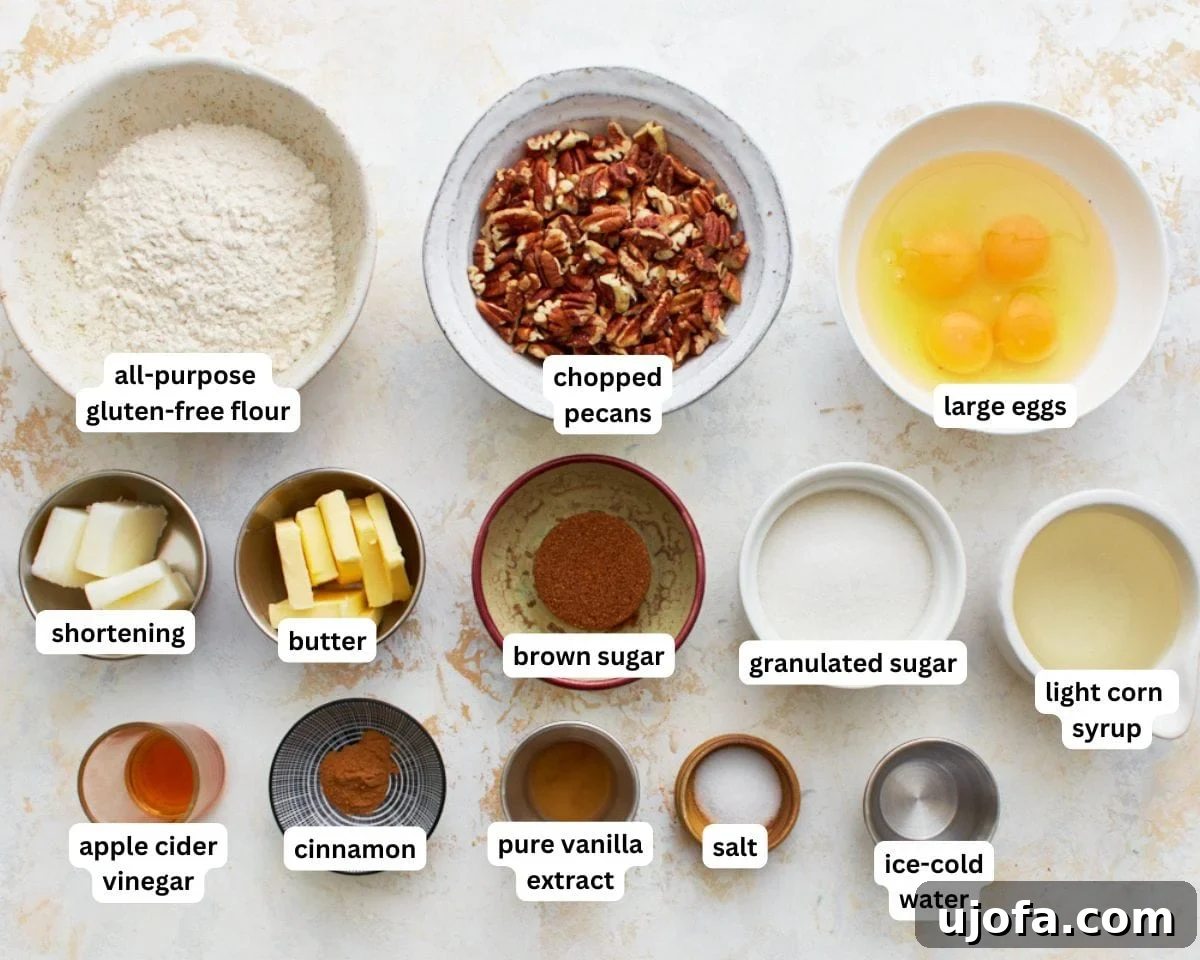
Creating a truly outstanding gluten-free pecan pie begins with understanding the role of each ingredient. Here’s a detailed look at what you’ll need and why it matters:
- All-Purpose Gluten-Free Flour with Xanthan Gum: The foundation of our flaky crust. I consistently achieve excellent results using Pillsbury gluten-free flour in my recipes, including this one. Please note that different brands of gluten-free flour blends can vary significantly in their composition and performance. If your chosen flour blend does not already contain xanthan gum, it is crucial to add ½ teaspoon of xanthan gum to the dough. This ingredient acts as a binding agent, providing the necessary elasticity and structure that gluten typically offers, ensuring your crust holds together beautifully without crumbling.
- Granulated Sugar & Brown Sugar: These sugars play dual roles. Granulated sugar provides foundational sweetness and contributes to the structural integrity of both the pie crust and the filling. Brown sugar, with its molasses content, introduces a deeper, more complex caramel-like flavor to the filling and is key to achieving that signature gooey, irresistible texture that defines a perfect pecan pie.
- Salt: A small but mighty ingredient, salt is essential for balancing the intense sweetness of the pie, preventing it from tasting cloyingly sweet. It enhances all the other flavors, making the pie more harmonious and enjoyable.
- Unsalted Butter & Shortening: This combination is my secret weapon for the ultimate gluten-free pie crust. Butter imparts rich, luxurious flavor and tenderness, while shortening is indispensable for creating a remarkably flaky and tender texture. For the filling, a touch of melted butter adds another layer of depth and richness. For those needing a dairy-free option, Smart Balance butter is an excellent substitute that performs beautifully in this recipe.
- Eggs: Eggs are critical binders, providing structure and richness to both the pie crust and the filling. They emulsify the fats and liquids, creating a smooth, cohesive texture. Always use large eggs for consistent results in this recipe.
- Apple Cider Vinegar: While you might be surprised to see it in a pie crust, a small amount of apple cider vinegar works wonders. It adds a subtle tang that brightens the flavor profile of the crust and, more importantly, helps tenderize the dough, making it more pliable and less prone to toughness. Don’t worry, you won’t taste it in the final baked pie!
- Ice-Cold Water: Maintaining cold ingredients is paramount for a flaky pie crust. Using ice-cold water ensures that the butter and shortening remain in small, distinct pieces within the dough. As the pie bakes, these fat pockets release steam, creating the desirable flaky layers. Warm water would melt the fats, resulting in a tough, dense crust.
- Vanilla Extract: For the finest flavor, I always recommend pure vanilla extract. Its warm, aromatic notes complement the pecans and caramel perfectly, adding a layer of sophisticated sweetness that elevates the entire pie.
- Light Corn Syrup: A cornerstone of traditional pecan pie filling, light corn syrup (I prefer the Karo brand for its consistent quality) is crucial for achieving that characteristic gooey, slightly chewy texture and a lovely caramel-like flavor. Its unique properties help prevent sugar crystallization, ensuring a smooth, glossy filling. I have not experimented with substitutions for this ingredient, as it plays such a vital role.
- Ground Cinnamon: This warm spice adds a subtle yet noticeable depth of flavor, enhancing the overall aroma and richness of the pecan filling without overpowering the natural nuttiness.
- Pecans: The undeniable star of this gluten-free pecan pie recipe! I find that coarsely chopping the pecans yields the best results. This allows the robust flavor and satisfying crunch of the pecans to shine through in every bite, without being so large that they become cumbersome.
Expert Tips for a Flawless Gluten-Free Pecan Pie
Achieving pecan pie perfection is simple with these crucial tips:
- Accurate Flour Measurement: Always measure your gluten-free flour using the “spoon & level” method. This involves lightly spooning flour into your measuring cup until it overflows, then leveling off the top with the straight edge of a knife. This technique prevents over-packing the flour, which can lead to a dry, dense crust, ensuring accurate measurements and a perfectly tender outcome.
- Pie Pan Size Matters: I recommend using a 9 ½-inch deep-dish pie pan. This specific size is essential for accommodating both the volume of the crust and the generous filling without overflow. If you opt for a smaller pan, you will likely have leftover crust and filling, and you’ll need to significantly adjust the baking time to ensure proper cooking.
- Xanthan Gum Guidance: If your chosen gluten-free flour blend does not already list xanthan gum as an ingredient, make sure to add ½ teaspoon during step 2 of the crust recipe. This is vital for binding the dough and providing elasticity. However, if your flour *does* contain xanthan gum, do not add any extra, as too much can result in a gummy, unpleasant crust texture.
- Achieving the Ideal Filling Consistency: The filling should be beautifully gooey and custardy, yet firm enough to hold its shape when sliced, never runny. My personal preference is for a firmer pie; if you prefer a slightly softer filling, consider reducing the baking time by 5-10 minutes during the final uncovered baking stage.
- Keep Crust Ingredients Chilled: The temperature of your butter, shortening, and water for the pie crust is absolutely critical. Ensure they are as cold as possible. I always pop these ingredients into the freezer for at least 5 minutes before incorporating them into my mixing bowl. This maintains cold fat pockets, which are key to creating a wonderfully flaky crust.
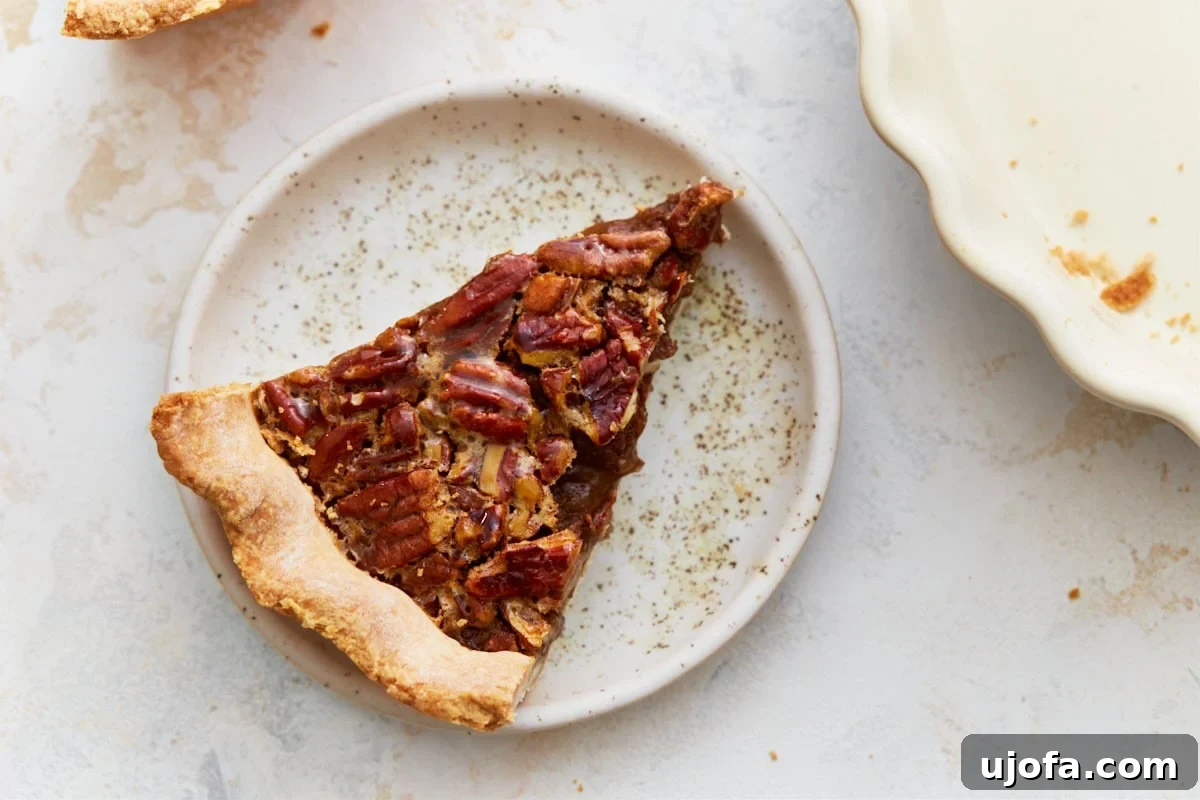
- Patience for Cooling: Resist the urge to slice into your freshly baked pie immediately. Allowing your homemade gluten-free pecan pie to cool completely, or at least slightly, before slicing is crucial. As it cools, the filling sets and firms up, resulting in clean, beautiful slices without a messy, gooey disaster.
- Don’t Skip the Dough Rest: The refrigeration period for the dough, at least one hour, is non-negotiable. This resting time allows the gluten-free flour to fully hydrate and the dough to relax. This makes the dough significantly easier to roll out and shape without tearing or shrinking back, leading to a much more manageable and successful crust. After chilling, let it rest at room temperature for 15 minutes before rolling for even easier handling.
- Cracked Crust? No Problem! Even with the best intentions, gluten-free crusts can sometimes crack during rolling or transfer. Don’t despair! Simply use your fingers to gently press the dough back together, sealing any fissures. Gluten-free dough is often more forgiving in this regard than traditional wheat-based doughs.
- Homemade vs. Store-Bought Crust: While a store-bought gluten-free pie crust is an option for convenience, I truly believe the minimal extra effort for a homemade crust is incredibly rewarding. The flavor, flakiness, and overall texture of a scratch-made crust elevate this pecan pie to an entirely different level. Trust me, it’s worth it!
Frequently Asked Questions About Gluten-Free Pecan Pie
Is Corn Syrup Gluten-Free?
Yes, in most cases, corn syrup is naturally gluten-free. It is derived from cornstarch, which is a gluten-free ingredient. Reputable brands of corn syrup typically do not contain any wheat, barley, or rye, which are the primary sources of gluten. However, to ensure absolute safety, especially if you have severe gluten sensitivities or Celiac disease, I always recommend checking the ingredient label of the specific brand you intend to use. Manufacturers’ processes can sometimes vary, so a quick check provides peace of mind.
Should I Pre-bake the Pie Crust?
No, there’s no need to pre-bake (or blind bake) the crust for this particular homemade gluten-free pecan pie recipe! One of the fantastic advantages of this recipe is its efficiency. Both the crust and the delicious pecan filling are baked together simultaneously in the oven. This saves you an extra step and ensures that the crust achieves the perfect crispness and the filling sets beautifully in one go.
Can I Make The Pie Crust Ahead Of Time?
Absolutely, preparing the pie crust in advance is a wonderful time-saver! You have a couple of options: you can either keep the formed dough ball tightly wrapped in plastic in the refrigerator until you’re ready to assemble the pie, or you can roll out the pie dough and gently place it into your pie pan, then cover and refrigerate it. For optimal freshness and ease of handling, I recommend using the refrigerated pie dough within 2-3 days. When you’re ready to bake, allow the dough to come to room temperature for about 15 minutes before rolling it out or adding the filling – this will make it more pliable and prevent cracking.
Storage and Freezing Instructions
For me, this pie is truly at its best when served chilled. After it has completely cooled down, cover the pie tightly with plastic wrap and store it in the refrigerator overnight before serving. This not only allows the flavors to meld beautifully but also helps the filling set to its ideal gooey consistency. Stored this way, your gluten-free pecan pie will remain delicious for up to 3-4 days.
This gluten-free pecan pie also freezes exceptionally well, making it perfect for preparing ahead or saving leftovers. Once the pie has cooled completely to room temperature, wrap it securely first in plastic wrap, then again with aluminum foil. For extra protection against freezer burn, you can place the wrapped pie in a freezer-safe zip-top bag or an airtight container. It will keep beautifully in the freezer for up to 3 months. When you’re ready to enjoy it, simply thaw the pie overnight in the refrigerator. For the best texture, allow it to come to room temperature for a little while before slicing and serving.
More Gluten-Free Pie Recipes To Try!
If you’re loving the world of gluten-free baking, here are more delightful pie recipes to explore:
- Gluten-Free Apple Pie
- Crustless Pumpkin Pie
- Gluten-Free Pumpkin Pie Bars
- Gluten-Free Graham Cracker Crust
- Almond Flour Pie Crust
Gluten-Free Pecan Pie Recipe
By: Audrey Roberts
Servings: 10 servings
Prep Time: 1 hour 25 minutes
Cook Time: 1 hour 10 minutes
Total Time: 2 hours 35 minutes
This recipe for gluten-free pecan pie is perfectly sweet, salty, and gooey! It also includes an easy GF crust recipe and a dairy-free option.
Ingredients
Gluten-Free Pie Crust
- ¼ cup unsalted butter, diced, very cold (dairy-free use Smart Balance butter)
- ¼ cup shortening, diced, chilled (I use Crisco)
- 3 tablespoons ice-cold water
- 1 ¼ cup all-purpose gluten-free flour with xanthan gum (plus extra for rolling)
- ¼ teaspoon salt
- 2 tablespoons granulated sugar
- 1 large egg
- ¼ teaspoon apple cider vinegar
Pecan Filling
- 3 large eggs
- ½ cup granulated sugar
- ¼ cup brown sugar, packed
- ¼ teaspoon ground cinnamon
- 1 teaspoon pure vanilla extract
- 1 cup light corn syrup (I use Karo)
- 2 tablespoons butter, melted (dairy-free use Smart Balance butter)
- 1 ½ cups coarsely chopped pecans
Instructions
Pie Crust
- Put the chopped butter, shortening, and water into the freezer for about 5 minutes or until really cold.
- Combine the flour, salt, and sugar in a large bowl.
- Add the butter and shortening to the flour mixture. Using the paddle attachment of your mixer, mix until fully combined.
- Add the egg, apple cider vinegar, and the cold water to the mixture and mix until fully combined and the dough starts to form.
- Shape the dough into a ball, wrap in plastic wrap and refrigerate at least 1 hour.
- Remove the dough from the refrigerator and let stand at room temperature for 15 minutes.
- Unwrap the dough ball and place onto parchment paper lightly floured with gluten-free flour.
- Lightly flour the dough with gluten-free flour; top with plastic wrap or another sheet of parchment paper.
- Roll out the dough into a circle.
- Carefully place the crust into a greased 9 ½-inch deep dish pie pan (1 ½-2-inch deep).
- Press the dough into the bottom and sides (lift the pie crust up and do not try to stretch it). Seal any cracks, if necessary.
- Place the pie crust into the refrigerator while preparing the pie filling.
Pecan Filling
- Preheat your oven to 350°F (175°C).
- In a large bowl, whisk the eggs.
- Add the granulated sugar, brown sugar, cinnamon, pure vanilla extract, light corn syrup, and melted butter to the eggs and mix until fully combined and smooth.
- Add the coarsely chopped pecans to the bottom of the chilled pie crust.
- Pour the egg mixture evenly over the chopped pecans.
- Place the pie on the middle rack of your preheated oven and cover the top of the pie with a piece of aluminum foil.
- Bake for 40 minutes covered.
- Remove the foil and bake for another 30 minutes, or until the center of the pie reaches 200°F (93°C) and only jiggles slightly. If you prefer a firmer pie, bake for 70 minutes total. For a slightly softer pie, bake for 60 minutes total.
Notes
- I highly recommend Pillsbury gluten-free flour for consistent results. Be aware that not all gluten-free flours are created equal, and results may vary with different brands.
- Always use the spoon & level method when measuring flour for the best crust texture.
- If your specific gluten-free flour blend does not contain xanthan gum, add ½ teaspoon to the pie crust recipe.
- This recipe is designed for a 9 ½-inch deep-dish pie pan.
- Dairy-Free Option: Use Smart Balance butter as a dairy-free substitute for both the crust and the filling.
- To Store: Cover any leftover pie tightly with plastic wrap and refrigerate for up to 3-4 days.
- To Freeze: Allow the pie to cool completely. Wrap it tightly first with plastic wrap, then with aluminum foil. Store in a freezer-safe container or bag and freeze for up to 3 months. Thaw overnight in the refrigerator before serving.
- Always remember to “Mama says, ‘Check all of your labels!'” for hidden gluten.
Nutrition
Serving: 1 serving
Calories: 469 kcal
Carbohydrates: 57g
Protein: 6g
Fat: 27g
Saturated Fat: 7g
Cholesterol: 103mg
Sodium: 138mg
Potassium: 106mg
Fiber: 3g
Sugar: 45g
Vitamin A: 343IU
Vitamin C: 1mg
Calcium: 45mg
Iron: 1mg
Nutrition information is automatically calculated and should be used as an approximation.
Additional Info
Course: Dessert
Cuisine: American
Tried this recipe? Mention @mamaknowsglutenfree or tag #mamaknowsglutenfree!
How to Make Gluten-Free Pecan Pie Step-by-Step
Follow these detailed steps to create your perfect gluten-free pecan pie:
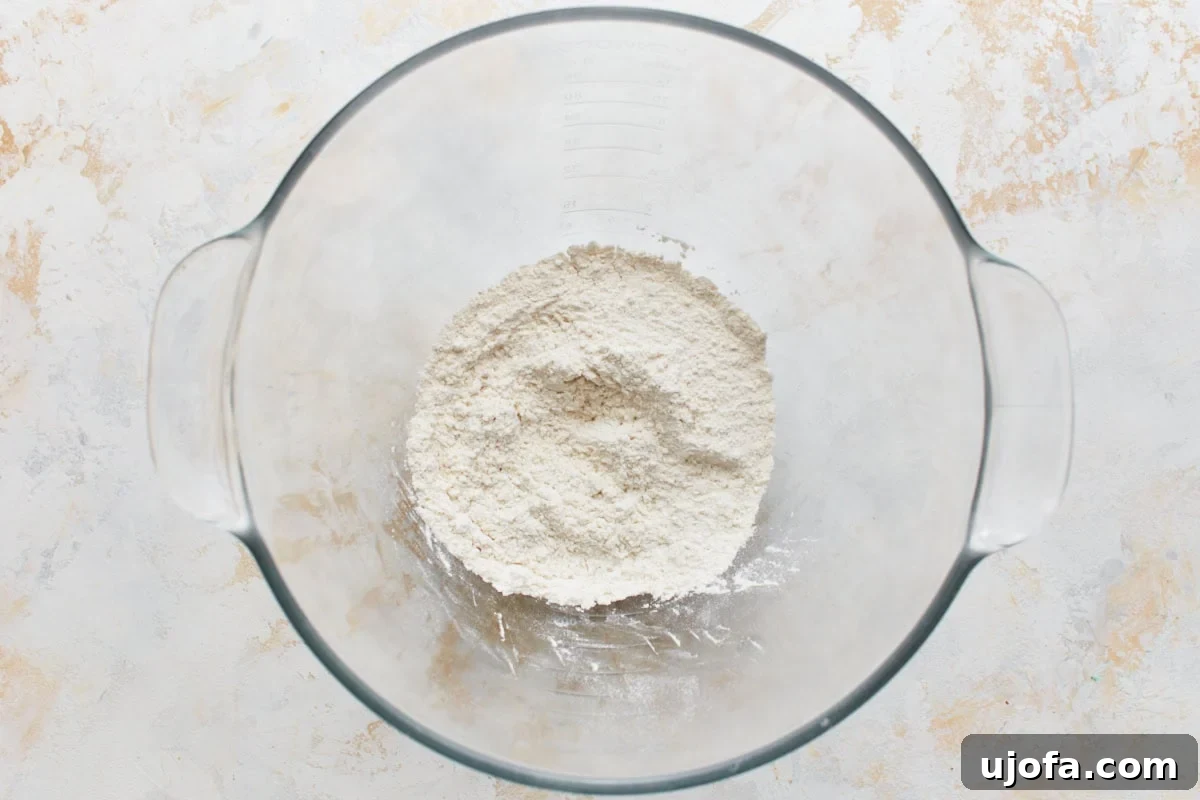
To start your gluten-free pie crust, place ¼ cup diced unsalted butter, ¼ cup diced shortening, and 3 tablespoons of water into the freezer. Chill these ingredients for approximately 5 minutes until they are thoroughly cold. Meanwhile, in a large mixing bowl, combine 1 ¼ cups of all-purpose gluten-free flour, ¼ teaspoon of salt, and 2 tablespoons of granulated sugar. Whisk these dry ingredients together well.
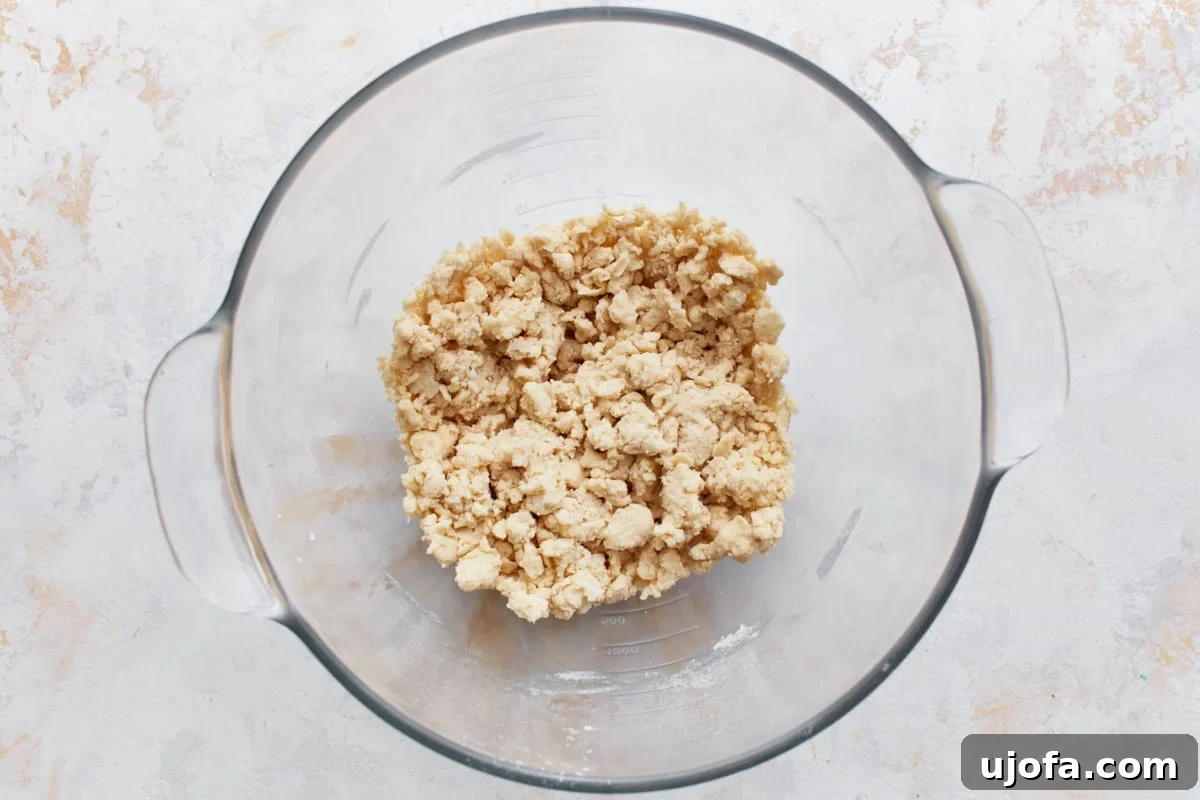
Retrieve the chilled butter and shortening from the freezer and add them directly to your flour mixture. Using the paddle attachment of your stand mixer (or a pastry blender for manual mixing), mix these ingredients until they are fully combined and resemble coarse crumbs. Be careful not to overmix at this stage.
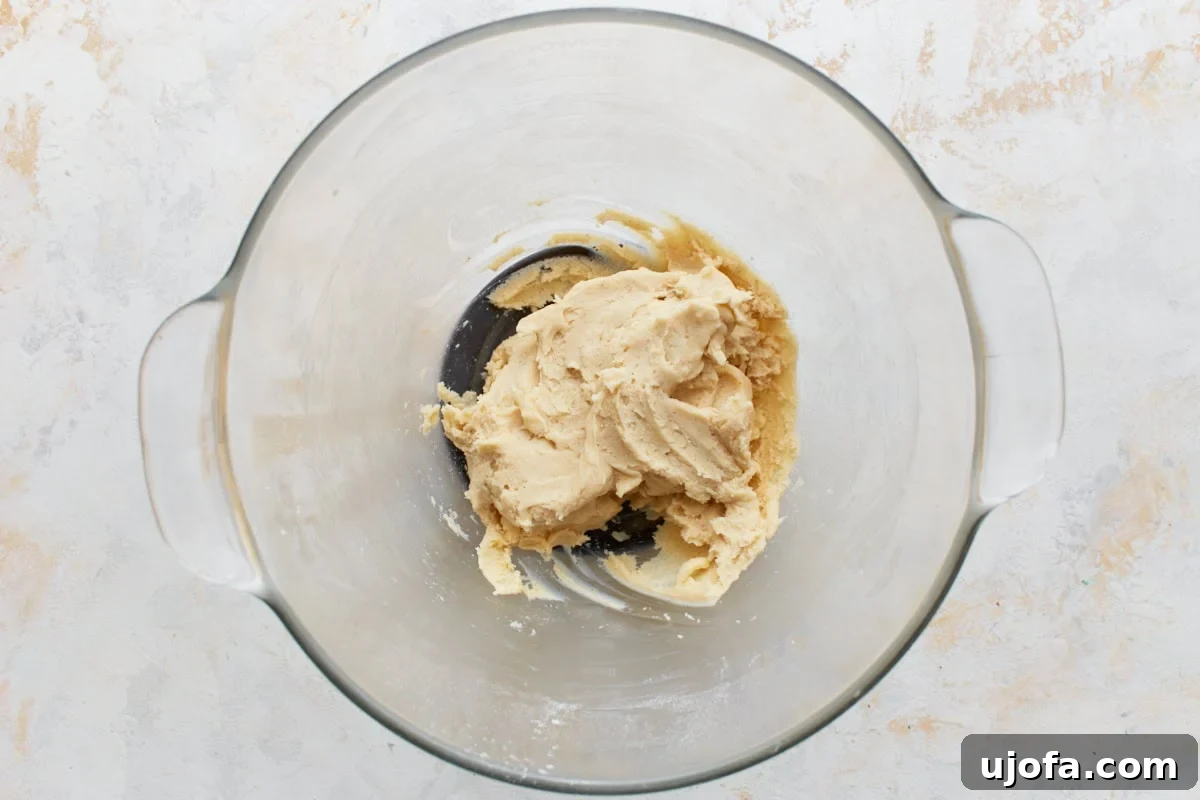
Next, add 1 large egg, ¼ teaspoon of apple cider vinegar, and the 3 tablespoons of ice-cold water to the flour and fat mixture. Continue mixing with the paddle attachment until all ingredients are fully combined and a cohesive dough begins to form. The dough should come together but still be cool to the touch.
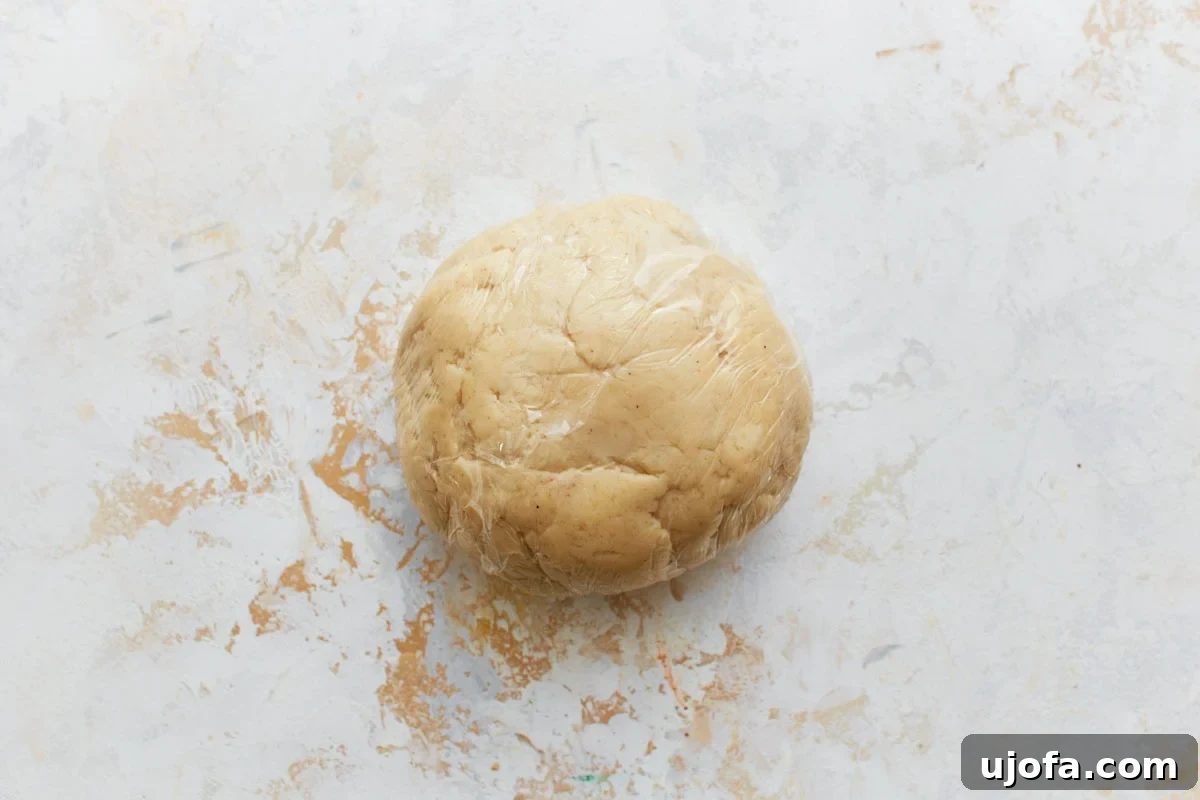
Carefully gather the dough and shape it into a neat ball. Wrap the dough ball tightly in plastic wrap to prevent it from drying out. Place the wrapped dough into the refrigerator to chill for at least 1 hour. This resting period is crucial for the gluten-free flour to hydrate and for the dough to firm up, making it much easier to roll out.
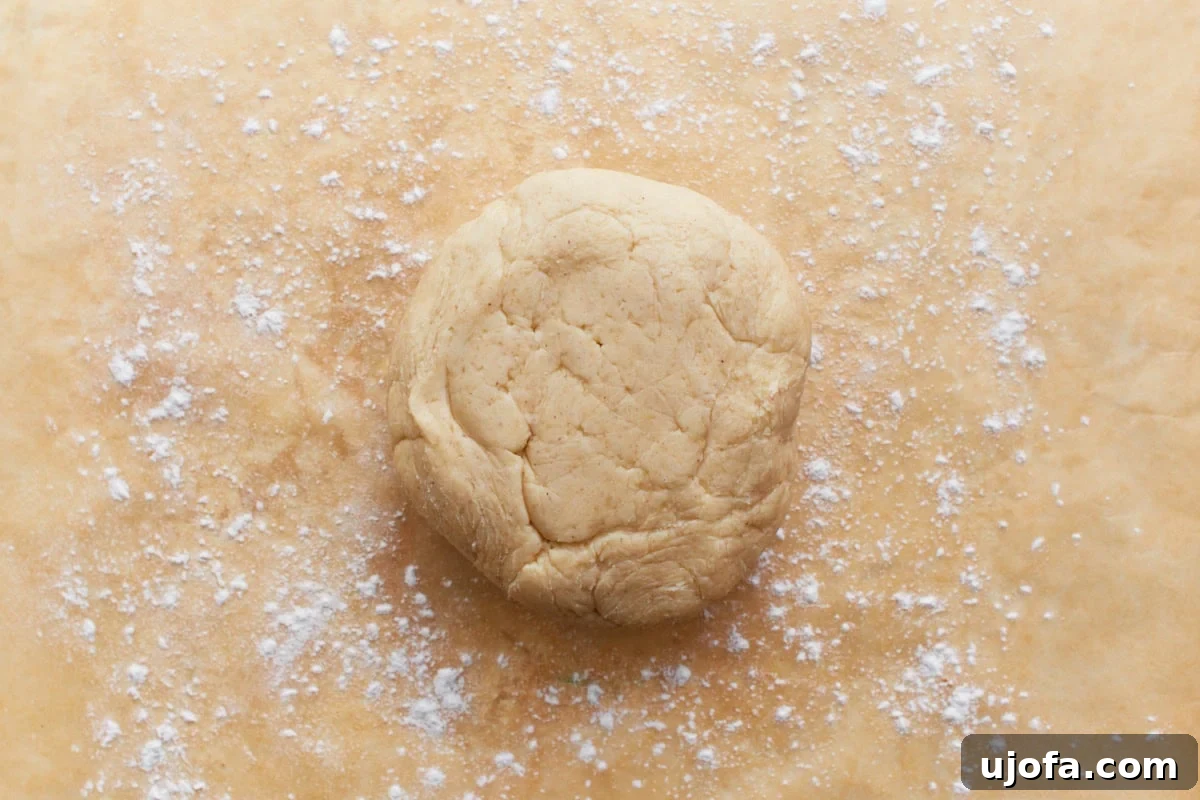
After the dough has chilled sufficiently, remove it from the refrigerator and let it rest at room temperature for about 15 minutes. This slight warming makes the dough more pliable. Unwrap the dough ball and place it onto a sheet of parchment paper that has been lightly floured with gluten-free flour. This setup helps prevent sticking and makes transferring the crust much simpler.
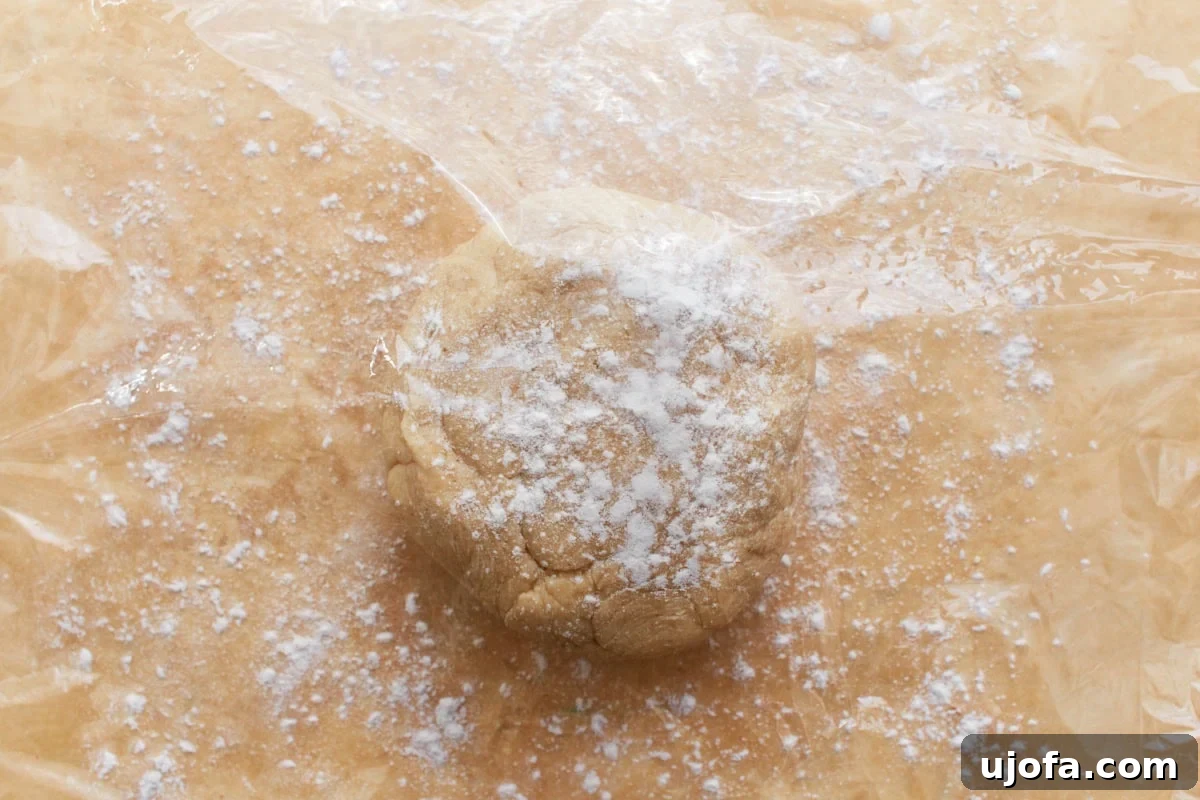
Lightly dust the top of the dough ball with more gluten-free flour. For easier rolling and to prevent sticking, you can place another sheet of plastic wrap or parchment paper over the dough before you begin. This technique allows you to roll the dough evenly without it sticking to your rolling pin.
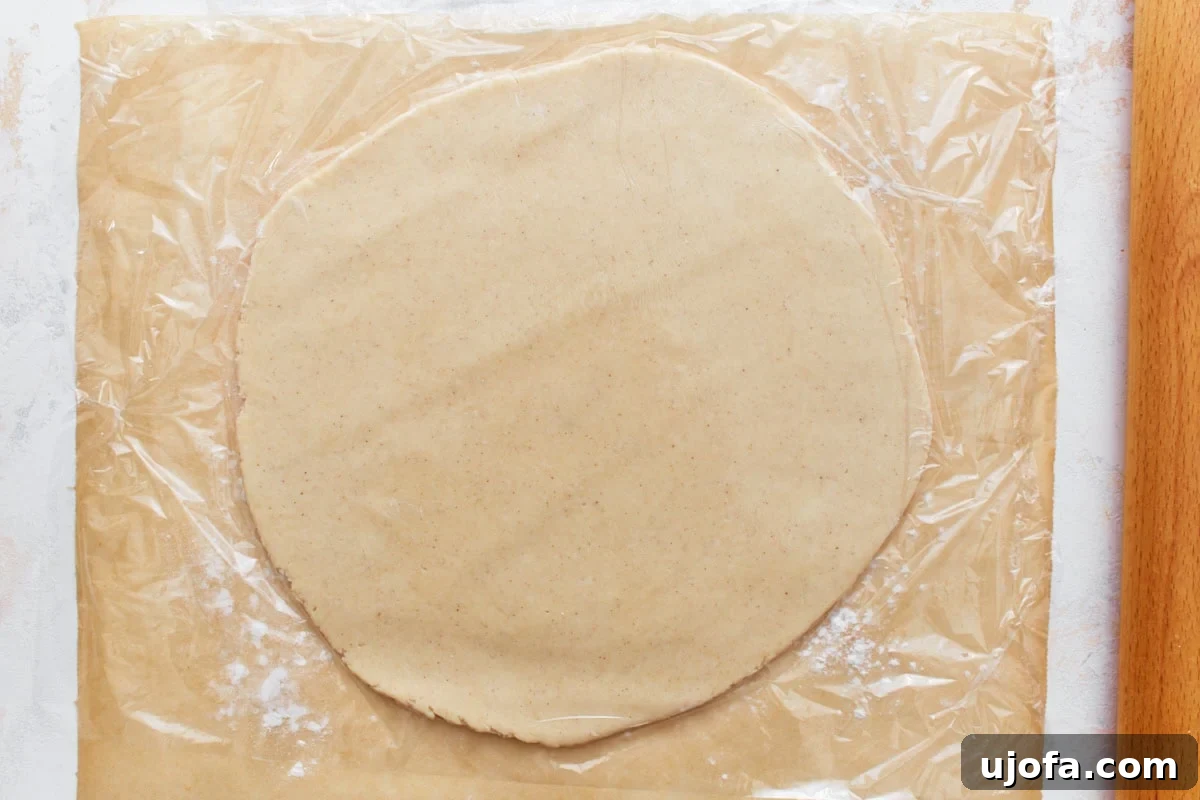
Using your rolling pin, carefully roll out the dough into a uniform circle, ensuring it is large enough to fit your 9 ½-inch deep-dish pie pan with some overhang for crimping. Aim for an even thickness to ensure consistent baking.
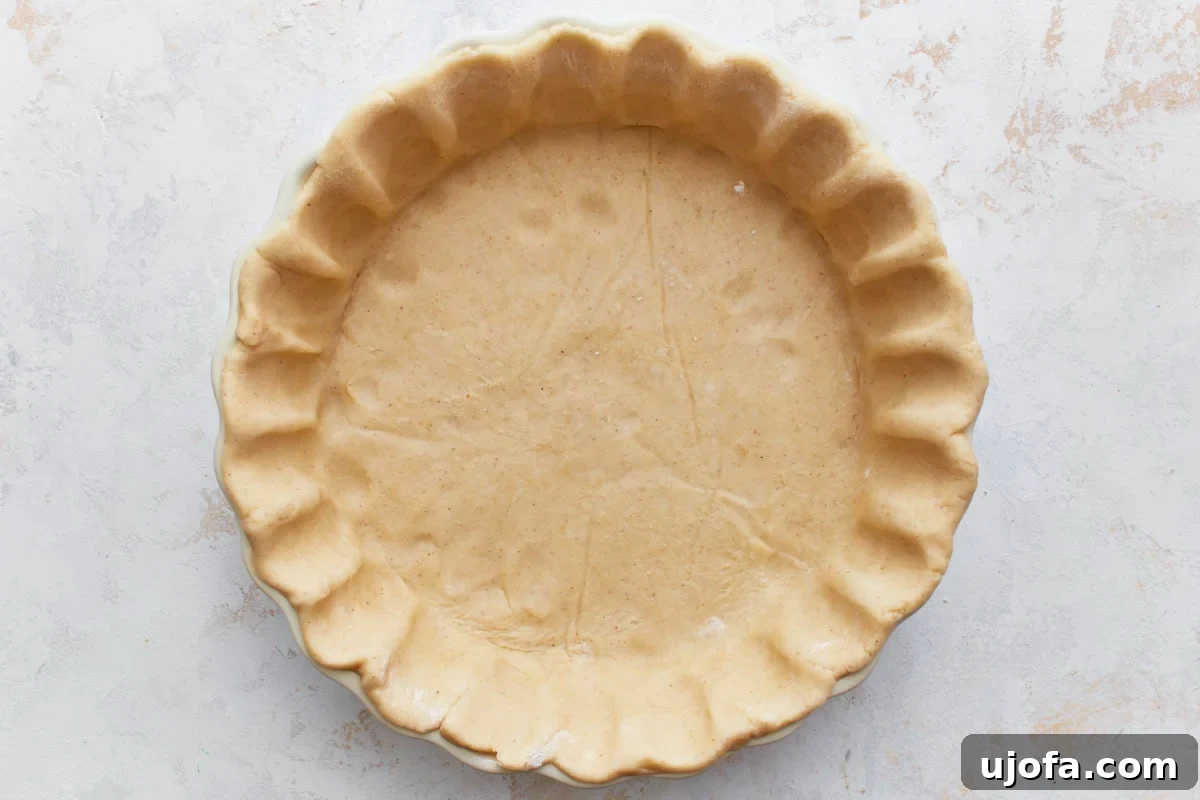
Gently transfer the rolled-out crust into a greased 9 ½-inch deep-dish pie pan (one that is typically 1 ½-2 inches deep). Press the dough carefully into the bottom and up the sides of the pan, making sure not to stretch it, as stretching can cause it to shrink during baking. If any cracks appear, simply press the dough back together with your fingers to seal them. Place the prepared pie crust back into the refrigerator to keep it cool while you prepare the filling.
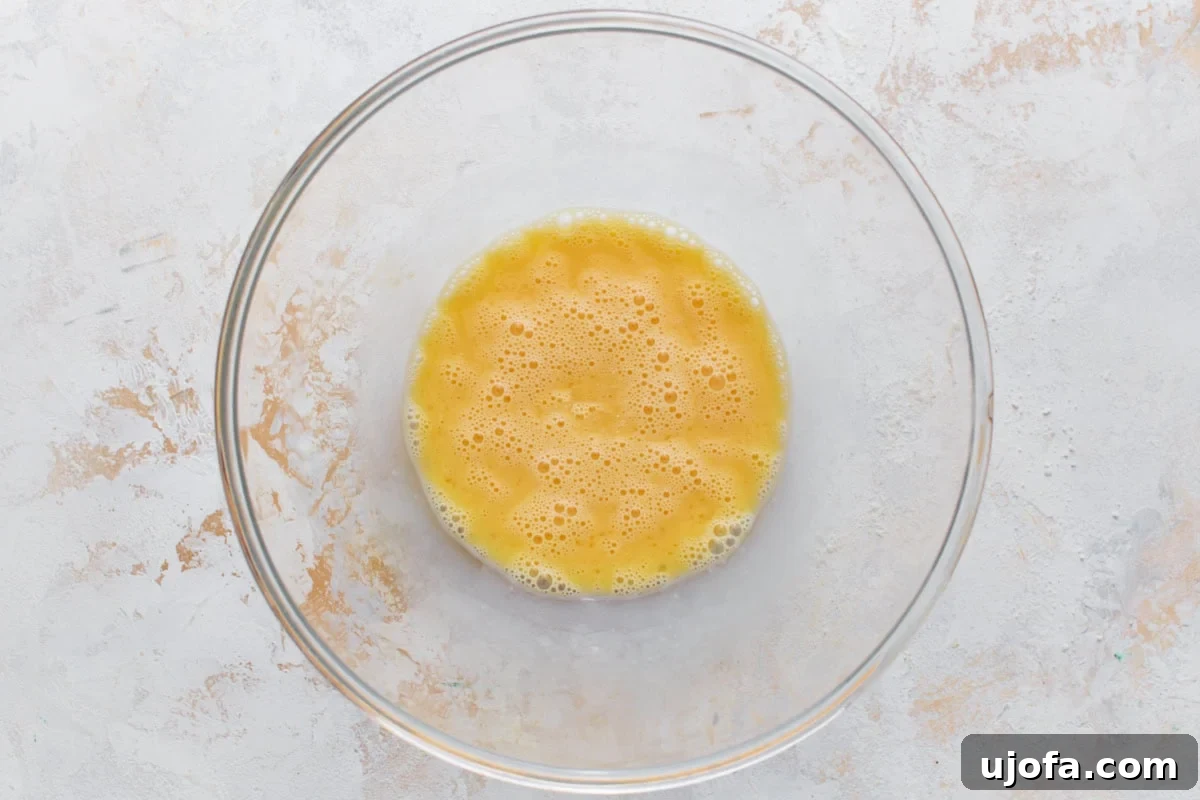
Preheat your oven to 350°F (175°C). In a large mixing bowl, take 3 large eggs and whisk them thoroughly until they are smooth and lightly frothy. This forms the base of your rich pecan pie filling.
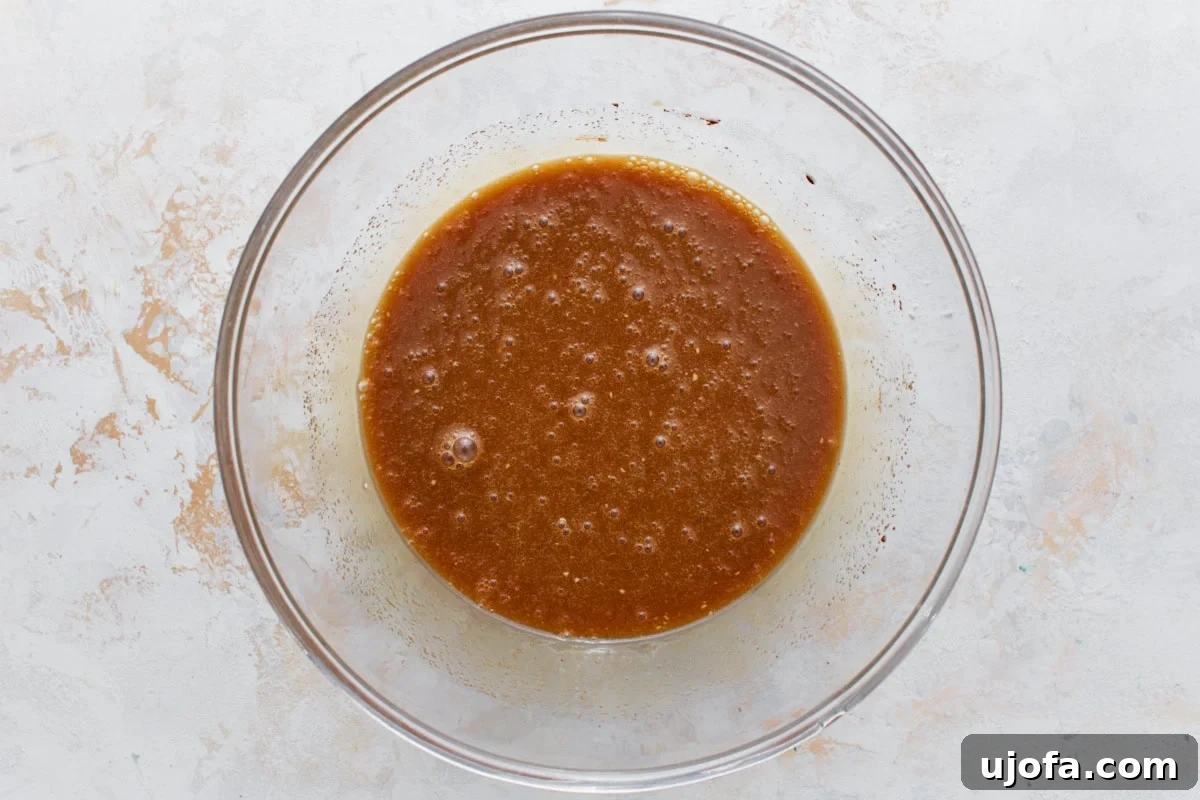
To the whisked eggs, add ½ cup granulated sugar, ¼ cup packed brown sugar, ¼ teaspoon ground cinnamon, 1 teaspoon pure vanilla extract, 1 cup light corn syrup, and 2 tablespoons of melted butter. Whisk all these ingredients together until the mixture is completely smooth and well combined. Ensure there are no lumps of sugar and that the texture is uniform and glossy.
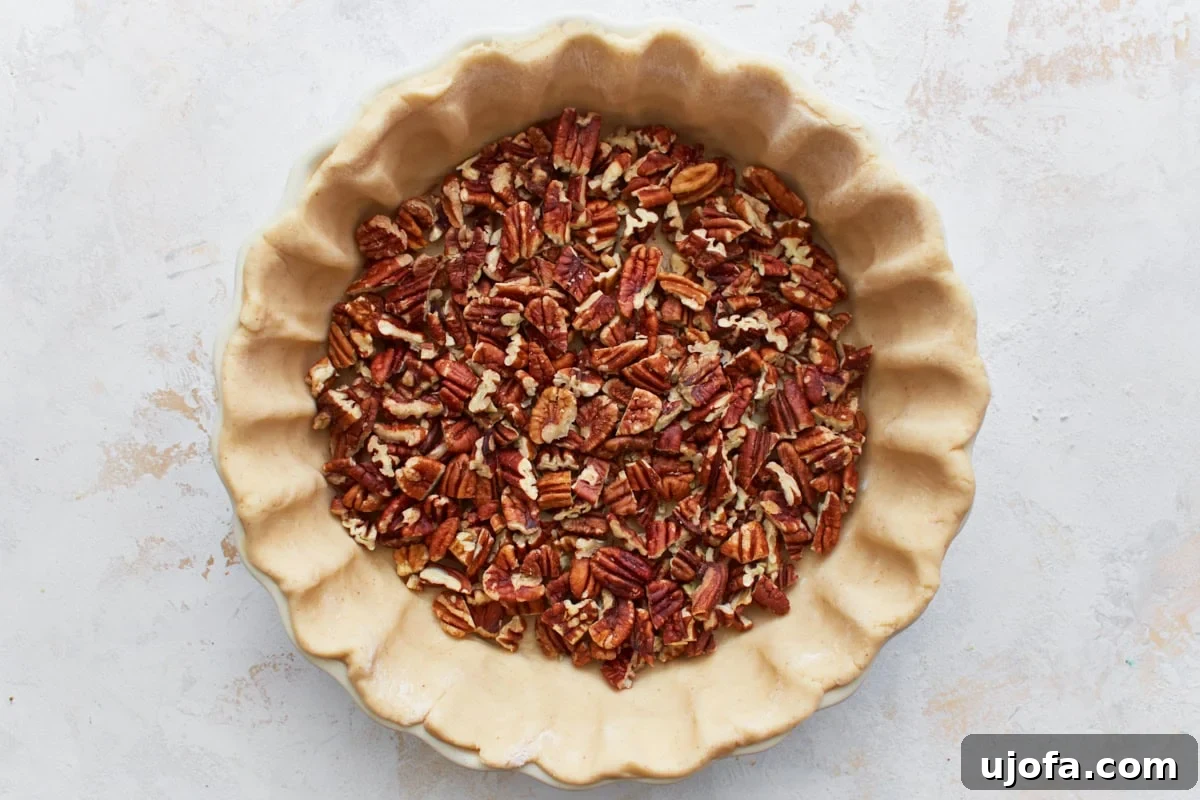
Remove your chilled pie crust from the refrigerator. Evenly spread 1 ½ cups of coarsely chopped pecans across the bottom of the pie crust. This ensures a delightful distribution of nuts in every slice.
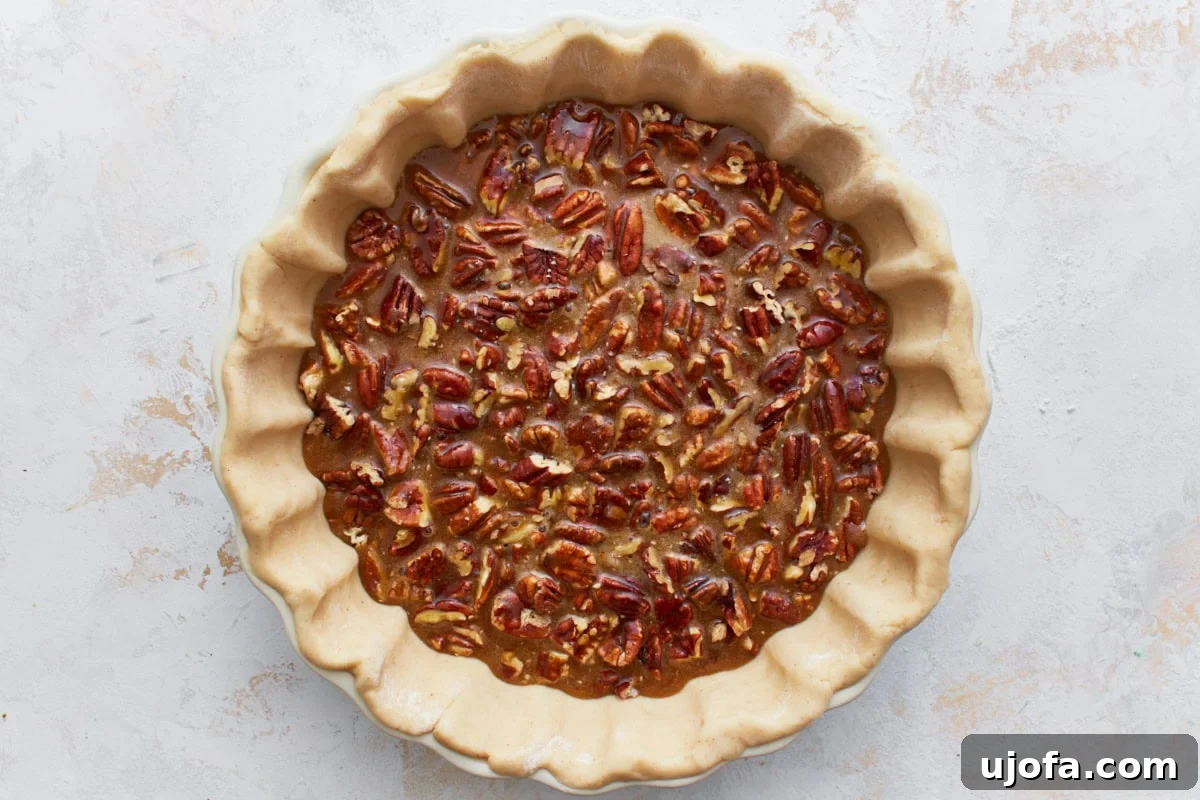
Carefully pour the prepared egg and sugar mixture over the chopped pecans in the pie crust. The filling will settle around the nuts, enveloping them in its sweet, gooey embrace. Ensure the pecans are mostly covered by the liquid filling.
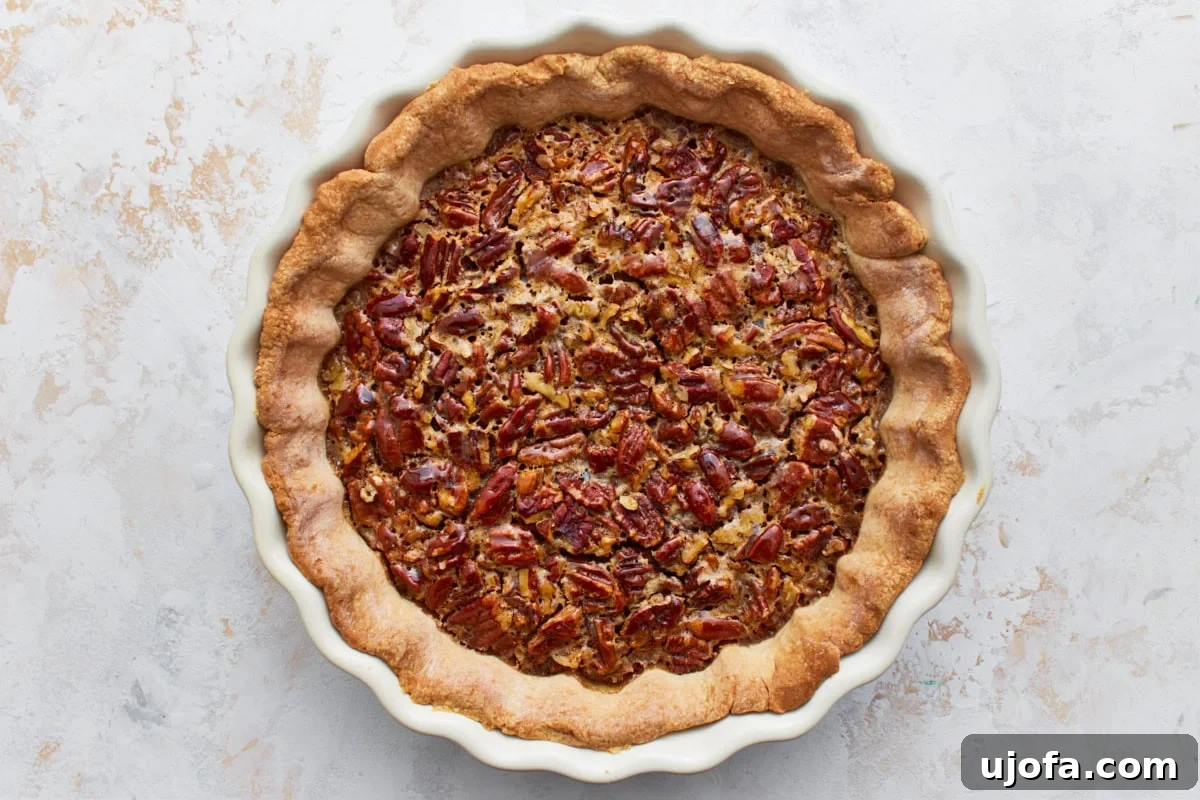
Place the pie on the middle rack of your preheated oven. To prevent the crust from browning too quickly, place a piece of aluminum foil loosely over the top of the pie. Bake for 40 minutes with the foil covering.
After 40 minutes, carefully remove the aluminum foil. Continue to bake the pie for another 30 minutes, or until the center of the pie reaches an internal temperature of 200°F (93°C) and jiggles only slightly when gently shaken. For a firmer pie, a total baking time of 70 minutes is ideal. If you prefer a slightly softer, more yielding pie, reduce the total baking time to 60 minutes. Once baked, remove the pie from the oven and allow it to cool completely on a wire rack before slicing and serving. This cooling time is crucial for the filling to set properly.