
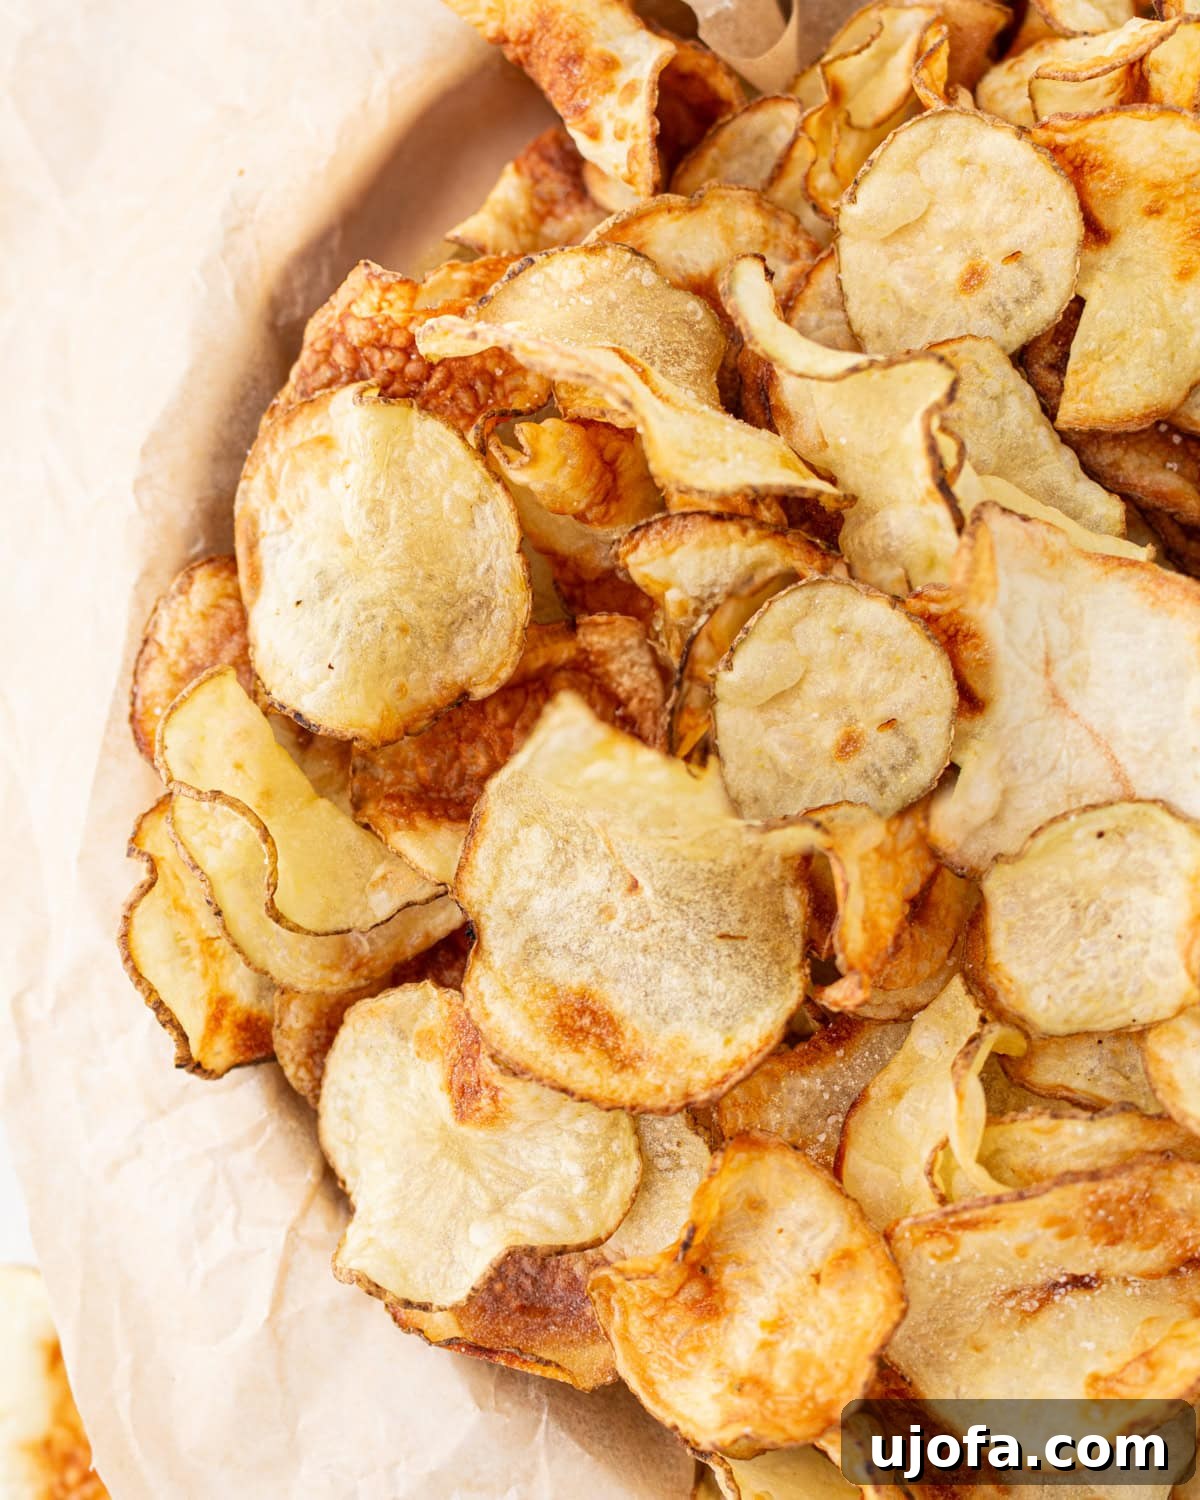
The Ultimate Guide to Homemade Gluten-Free Air Fryer Potato Chips: Crispy, Crunchy, and Perfectly Safe!
Are you craving that irresistible crunch of a potato chip but need a gluten-free option that’s truly safe and delicious? Look no further! These homemade gluten-free potato chips are a revelation – light, incredibly crispy, and bursting with fresh potato flavor. Ditch the store-bought bags, laden with unknown ingredients and the risk of cross-contamination, and embrace the joy of crafting your own perfect snack right in your kitchen. Especially during warmer months, when a satisfyingly crunchy snack is a must for beach days, picnics, or simply unwinding at home, this recipe is a game-changer. With just a handful of simple ingredients and the magic of your air fryer, you’ll achieve beautifully golden chips that are perfect alongside your favorite sandwiches or enjoyed straight from the bowl.
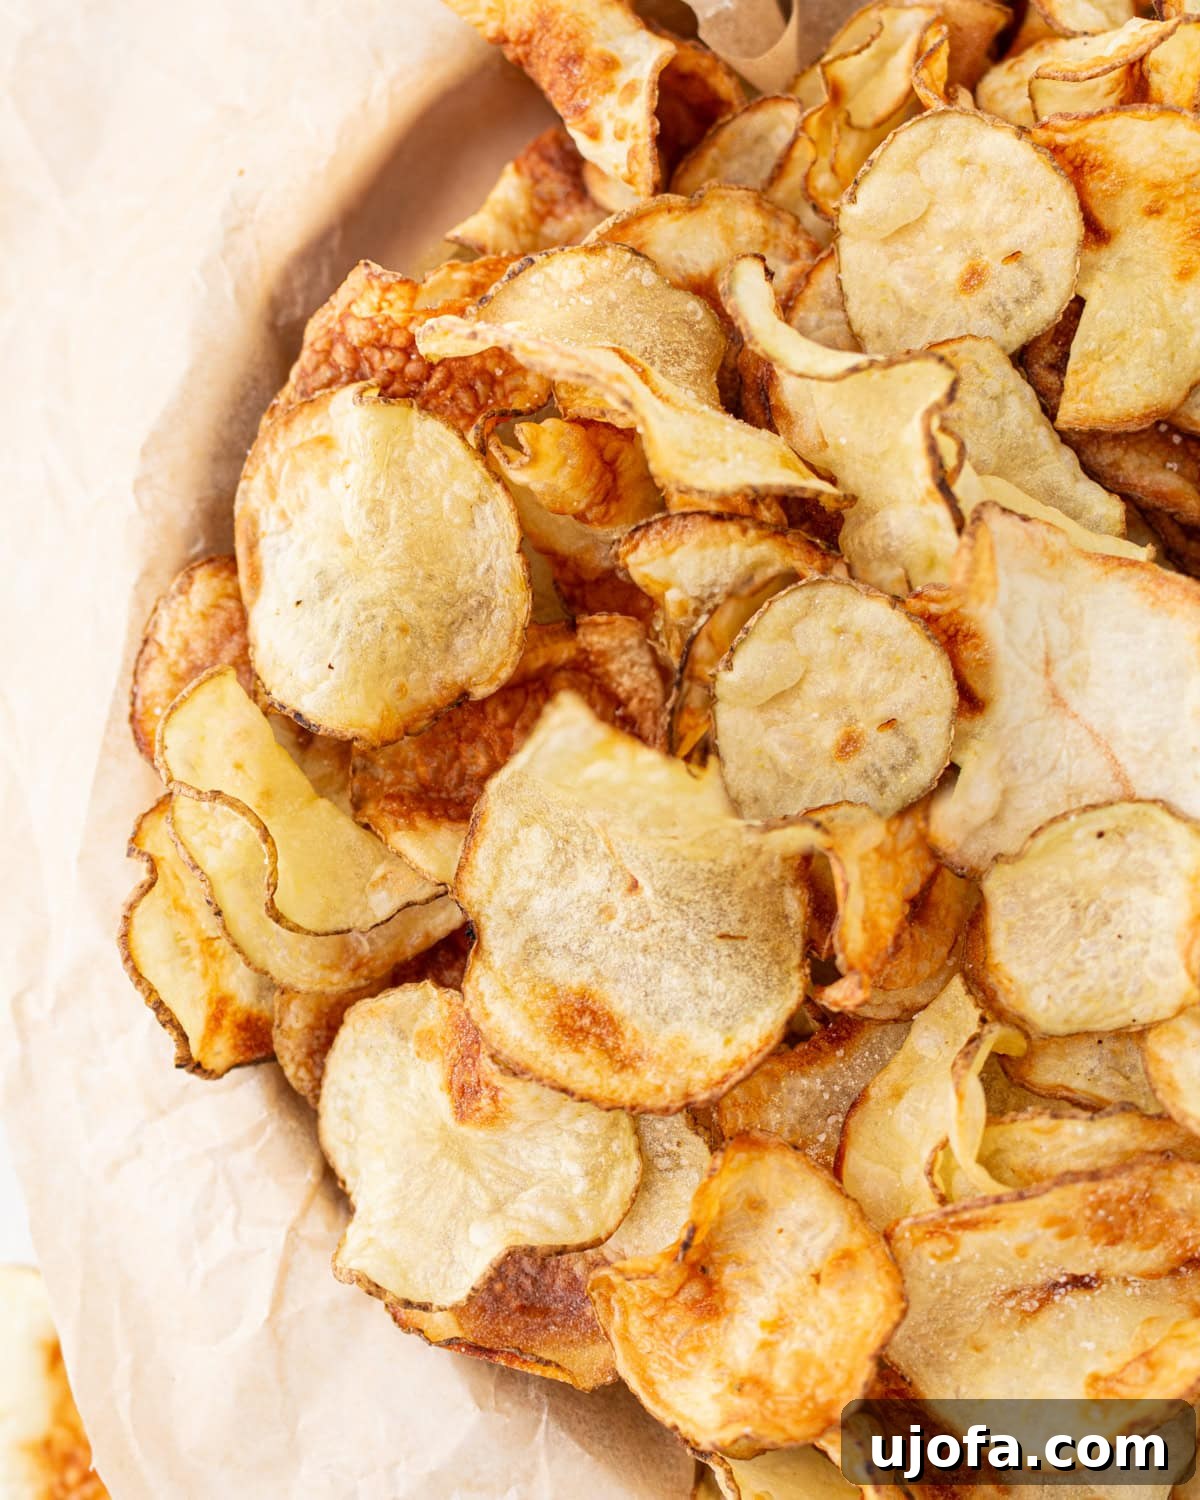
What truly sets this recipe apart is its effortless preparation. Forget the hassle and mess of deep frying; there’s no need for gallons of oil or elaborate cooking techniques. The process is incredibly straightforward: simply slice your potatoes, give them a quick soak to ensure maximum crispiness, and then let your air fryer do all the heavy lifting. The result? Perfectly crisp chips every single time, without the need for excessive oil. Potatoes are naturally gluten-free, making them an ideal base for a safe and wholesome snack, especially for those managing celiac disease or gluten sensitivity. While classic salt offers a timeless appeal, don’t hesitate to experiment with your favorite seasonings. I personally adore a sprinkle of smoked paprika for a smoky depth or a touch of garlic powder for an extra savory kick. This versatility means you can tailor your chips to any craving, offering endless possibilities for flavor exploration.
Homemade Gluten-Free Potato Chips
Ashley Barbey
4
servings
10 minutes
15 minutes
30 minutes
55 minutes
Share by Email
Print Recipe

Step-by-step photos can be seen below the recipe card.
Equipment
-
1 mandolin
A mandolin is highly recommended for achieving consistently thin slices, which is crucial for even cooking and optimal crispiness. Aim for 1/16-inch thickness.
-
1 air fryer
An air fryer circulates hot air to cook the chips, resulting in a perfectly crispy texture with significantly less oil than traditional deep frying.
-
Large bowl
For soaking and tossing the potato slices.
-
Paper towels or a clean kitchen towel
Essential for thoroughly drying the potato slices.
Ingredients
-
1 lb medium russet potatoes, washed
Russet potatoes are ideal for chips due to their high starch content, which helps achieve a light and crispy texture. Ensure they are thoroughly washed before slicing.
-
2 tsp vinegar
White vinegar or apple cider vinegar works best. Soaking the potatoes in vinegar water helps draw out excess starch, which is key to preventing them from becoming soggy and promoting superior crispiness.
-
1 tbsp olive oil
Just a small amount of olive oil is needed to help the chips crisp up and allow the salt to adhere. You can also use avocado oil or another neutral high-heat oil.
-
Salt for sprinkling
Fine sea salt or regular table salt works well for seasoning. Adjust to your personal taste.
Instructions
-
Begin by thinly slicing your washed russet potatoes. Using a mandolin set to 1/16” thick is highly recommended to ensure consistent and uniform slices. This even thickness is paramount for all your chips to cook evenly and achieve that perfect crispy texture simultaneously.
-
Place the thinly sliced potatoes in a large bowl. Fill the bowl with cold water until the potato slices are completely submerged. Stir in 2 teaspoons of vinegar. The vinegar plays a crucial role here by helping to break down and remove excess starch from the potatoes. Removing as much starch as possible is the secret to exceptionally crispy chips, preventing them from becoming gummy or soggy. Refrigerate the bowl for a minimum of 30 minutes.
-
While the potatoes are soaking, preheat your air fryer to 325°F (160°C). This allows the air fryer to reach the ideal temperature for even cooking once you’re ready to start.
-
After soaking, drain the potatoes thoroughly. Rinse them under cold, running water until the water runs completely clear. This step ensures all residual starch is washed away, which is critical for that signature crispiness.
-
Now, it’s time for arguably the most important step for crispy chips: drying. Spread the potato slices on several layers of paper towels or a clean kitchen towel. Pat them completely and thoroughly dry. Any remaining moisture will steam the chips instead of frying them, resulting in a soft texture rather than a crisp one. Once dry, transfer them to a large, clean bowl.
-
Toss the dried potato slices with 1 tablespoon of olive oil and a generous sprinkling of salt. Ensure each slice is lightly and evenly coated. If you have a small air fryer and anticipate cooking the potatoes in multiple batches, it’s best to hold off on salting the entire bowl of potatoes. Instead, sprinkle salt on each batch just before it goes into the air fryer to ensure fresh, even seasoning.
-
Working in batches, arrange the potato slices in your air fryer basket in no more than two even, slightly overlapping layers. Overcrowding the basket will lead to uneven cooking and sticking. Air fry for 10-15 minutes, making sure to flip the slices every 2-2.5 minutes. This regular flipping prevents burning and ensures uniform crisping. Keep a close eye on them during the last few minutes, as they can go from perfectly golden to burnt very quickly. Remove the chips from the basket as soon as they are lightly browned and beautifully crispy.
Notes
- Sweet Potato Chips: For a delightful variation, substitute russet potatoes with sweet potatoes. The process remains the same, yielding naturally sweeter, vibrant orange chips.
- Air Fryer Fan Trick: The air fryer’s powerful fan might cause lighter potato slices to shift or fly around. Don’t worry; simply use tongs to gently move them back into place while flipping. This is completely normal and won’t affect the final outcome.
- Oven Baking Method: No air fryer? No problem! You can bake these chips in a conventional oven. Preheat your oven to 400°F (200°C) and line two large baking sheets with parchment paper. Arrange the potato slices in a single layer (do not overlap!), brush lightly with olive oil, and sprinkle with salt. Bake for 15–25 minutes, flipping them halfway through, until they are golden brown and crisp. Allow them to cool on the baking sheet for a few minutes; they will continue to crisp up as they cool.
- Experiment with Seasonings: Beyond salt, feel free to try other spices like black pepper, onion powder, chili powder, or even a dash of nutritional yeast for a cheesy flavor.
- Don’t Rush the Drying: Seriously, the drier the potatoes are before oiling and air frying, the crispier your chips will be. Take your time with this step.
Nutrition
Calories: 121kcal
Carbohydrates: 20g
Protein: 2g
Fat: 4g
Saturated Fat: 1g
Polyunsaturated Fat: 0.4g
Monounsaturated Fat: 3g
Sodium: 6mg
Potassium: 473mg
Fiber: 1g
Sugar: 1g
Vitamin A: 1IU
Vitamin C: 6mg
Calcium: 15mg
Iron: 1mg
Nutrition information is automatically calculated, so should only be used as an approximation.
Additional Info
Appetizer, Side Dish, Snack
American
Tried this recipe?
Mention @mamaknowsglutenfree or tag #mamaknowsglutenfree!
How to Make Homemade Gluten-Free Potato Chips Step by Step
Follow these detailed steps to achieve perfectly crispy air fryer potato chips every time. These step-by-step photos provide a visual guide to ensure your homemade gluten-free snack is a resounding success.
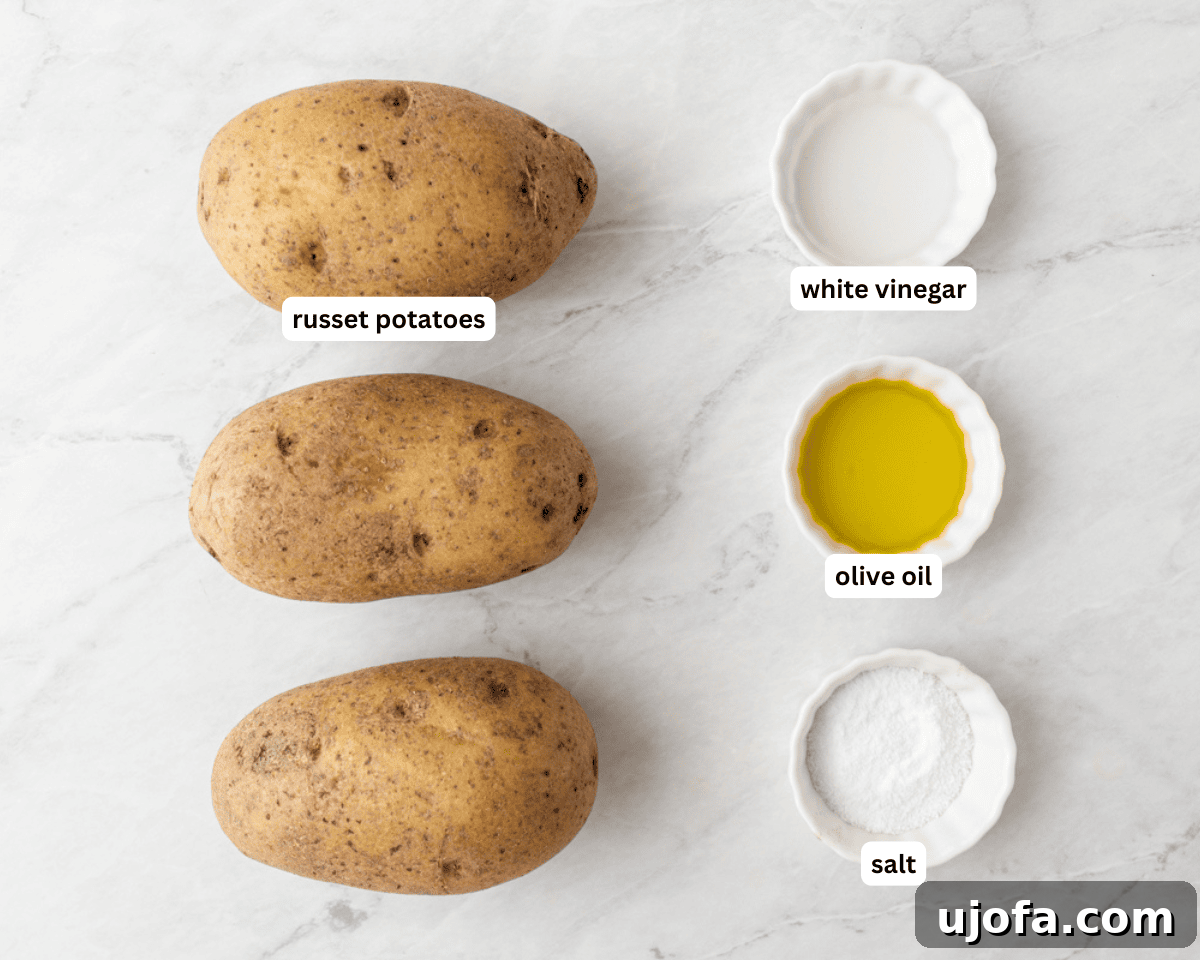
Step 1: Gather Your Ingredients. Begin by laying out all your ingredients: fresh russet potatoes, vinegar, olive oil, and salt. Having everything ready makes the cooking process smooth and efficient.
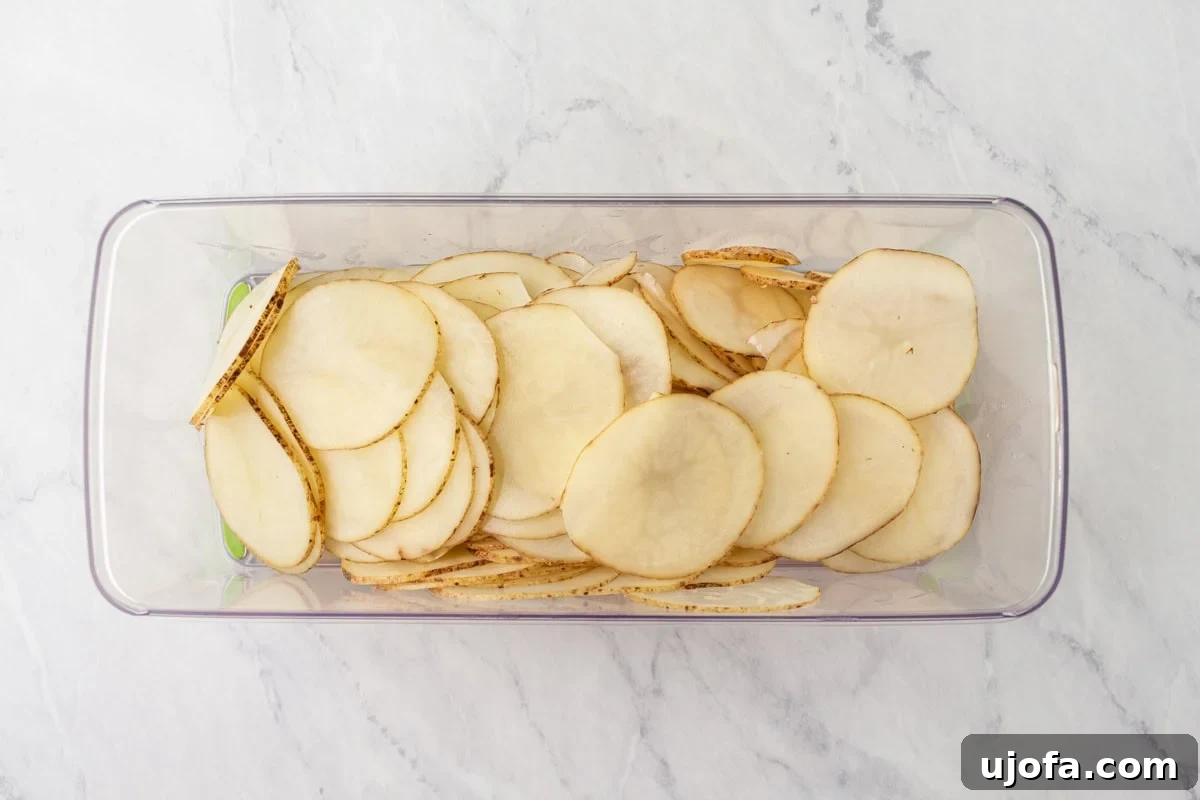
Step 2: Slice the Potatoes. Using a mandolin set to a precise 1/16” thickness, carefully slice your 1 lb of medium russet potatoes. This uniform thinness is paramount for achieving consistent crispiness across all your chips. A sharp knife can work, but a mandolin guarantees the best results.
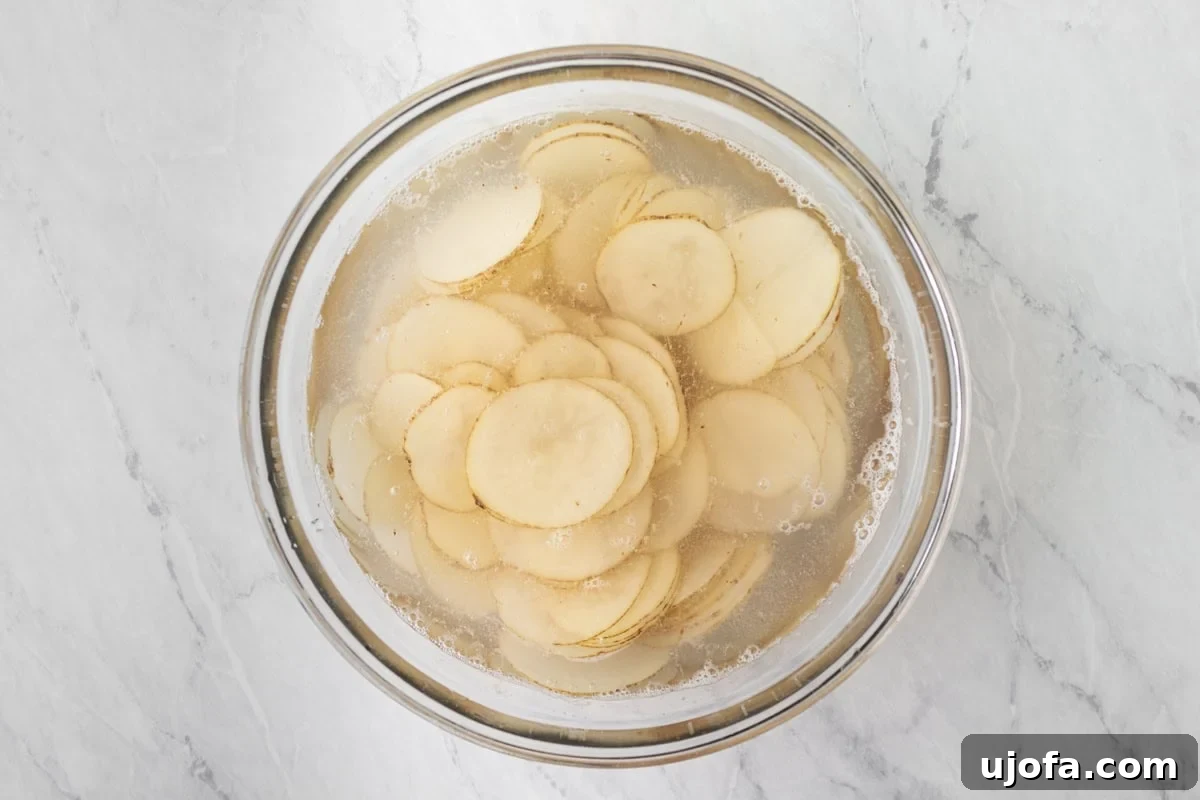
Step 3: Soak the Slices. Transfer the perfectly sliced potatoes to a large bowl and cover them completely with cold water. Stir in 2 teaspoons of vinegar. This crucial soaking step helps to leach out excess starch, which is the primary enemy of crispy chips. Refrigerate for 30 minutes to allow the vinegar to work its magic.
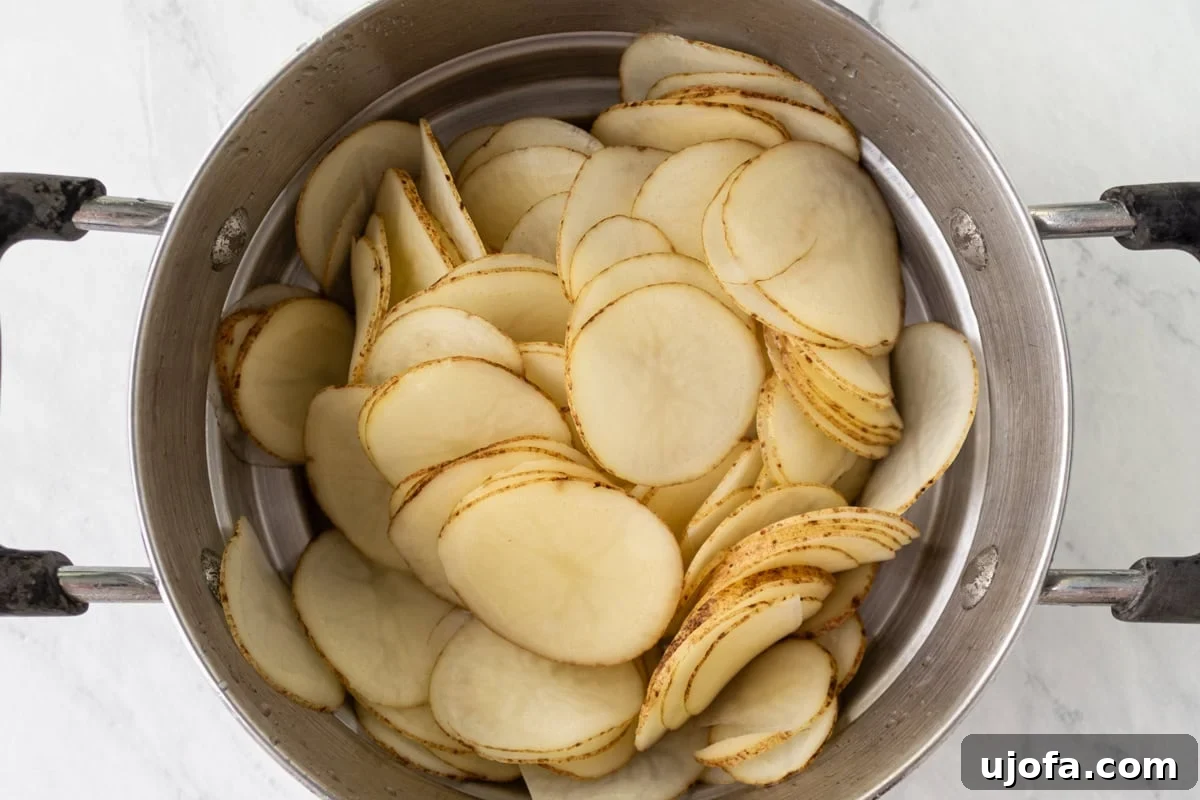
Step 4: Drain and Dry the Potatoes. While your potatoes soak, preheat your air fryer to 325°F (160°C). After the soaking period, drain the potatoes and rinse them under cold, running water until the water runs completely clear. Then, spread them on a clean kitchen towel or several layers of paper towels and pat them absolutely dry. This step is critical; any remaining moisture will prevent the chips from becoming truly crispy.
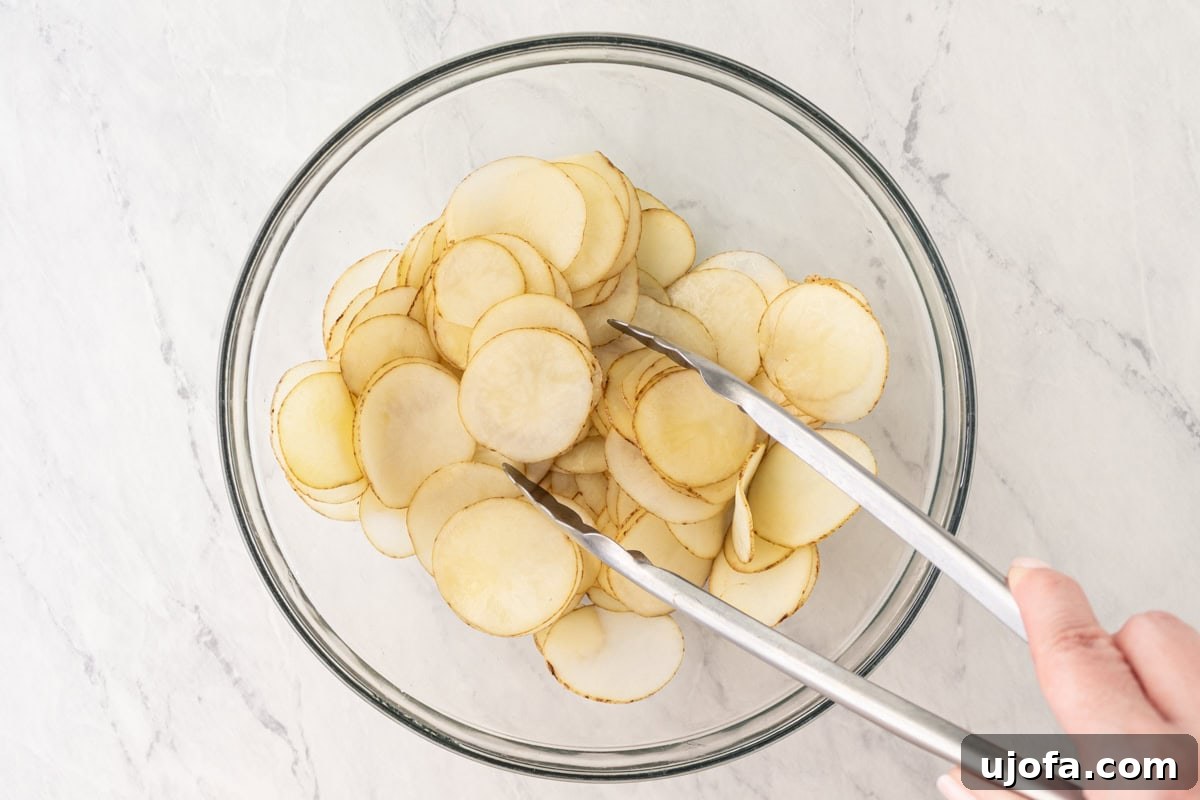
Step 5: Season the Potatoes. Place the thoroughly dried potato slices in a large bowl. Drizzle with 1 tablespoon of olive oil and toss well to ensure every slice is lightly coated. Season generously with salt to taste. If you’re cooking in multiple batches due to a smaller air fryer, it’s best to season each batch individually just before air frying to ensure consistent flavor and prevent the salt from clumping.
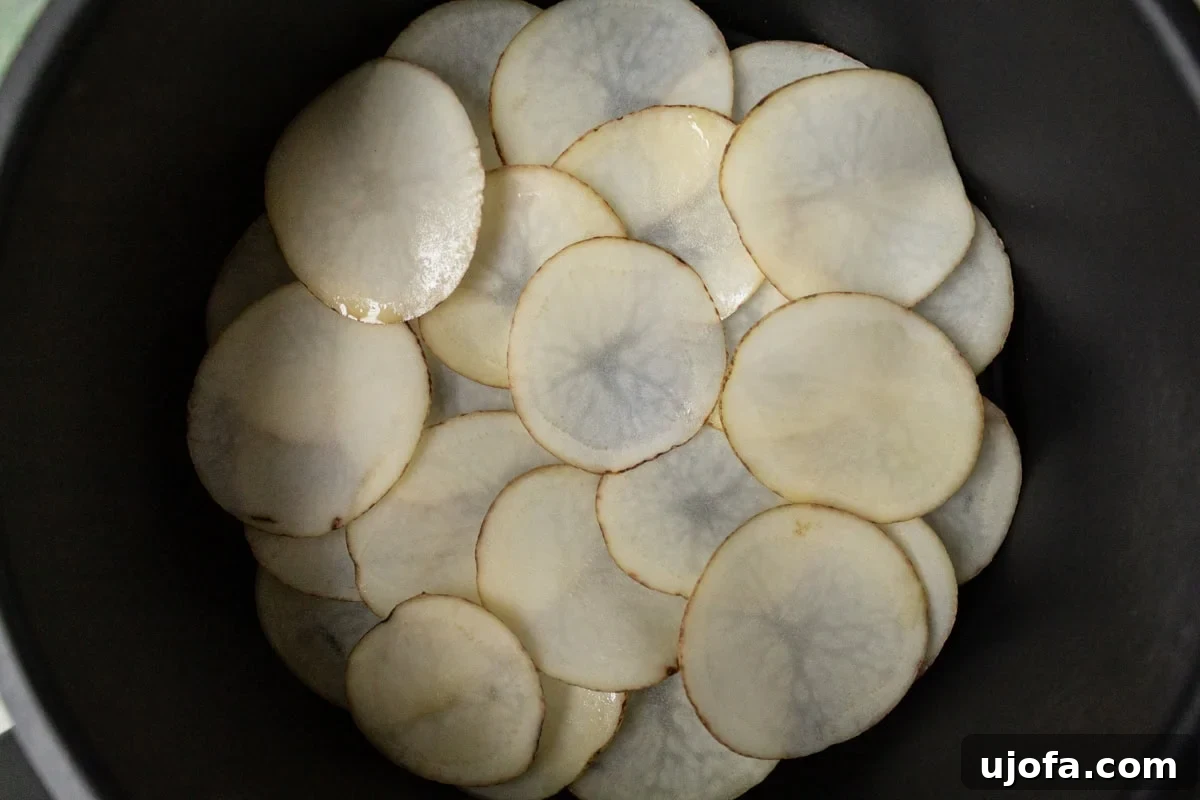
Step 6: Layer in the Air Fryer. Arrange the potato slices in the air fryer basket in no more than two even, slightly overlapping layers. It’s crucial not to overcrowd the basket, as this impedes air circulation and can lead to uneven cooking and soft, sticky chips instead of crispy ones. Work in batches if necessary.
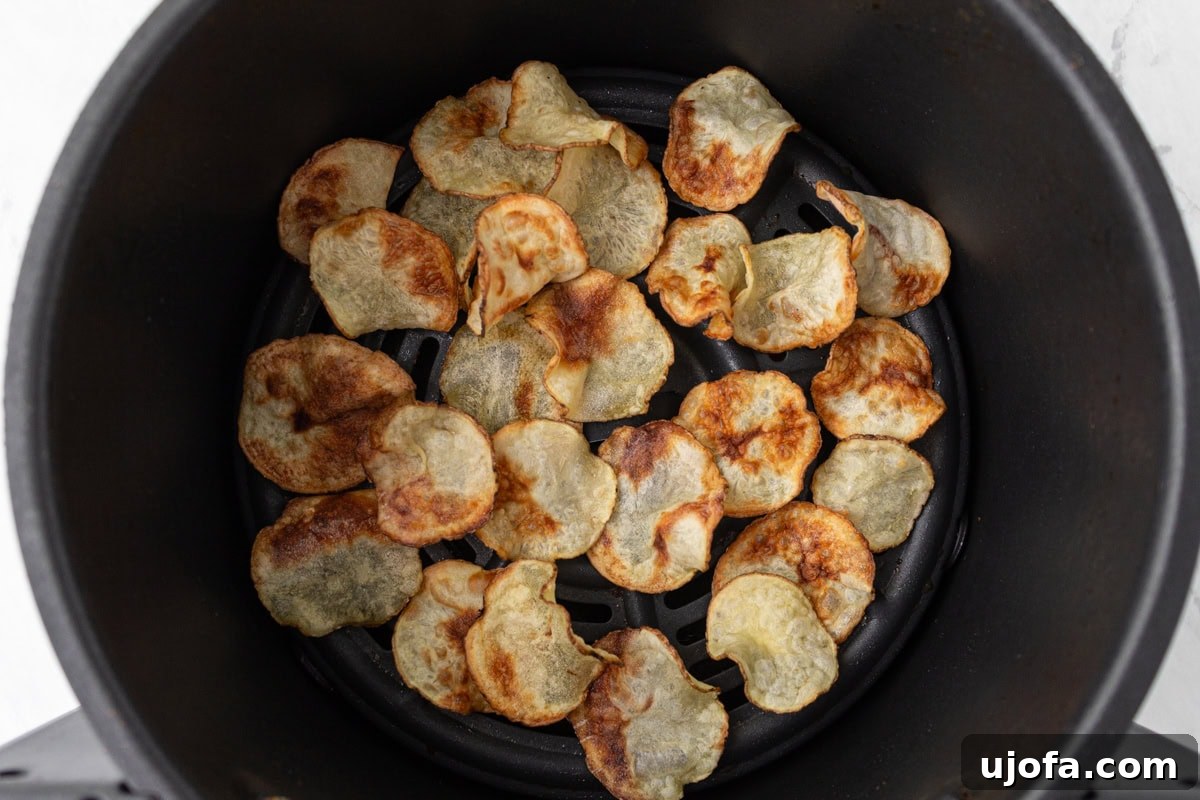
Step 7: Air Fry the Potatoes. Air fry the potato slices for 10-15 minutes, consistently flipping them every 2 to 2½ minutes. This regular rotation is key to preventing burning and ensuring all sides achieve that perfect golden crispness. As individual chips finish cooking and turn golden and crisp, remove them from the basket to prevent overcooking, and continue with the remaining batches.
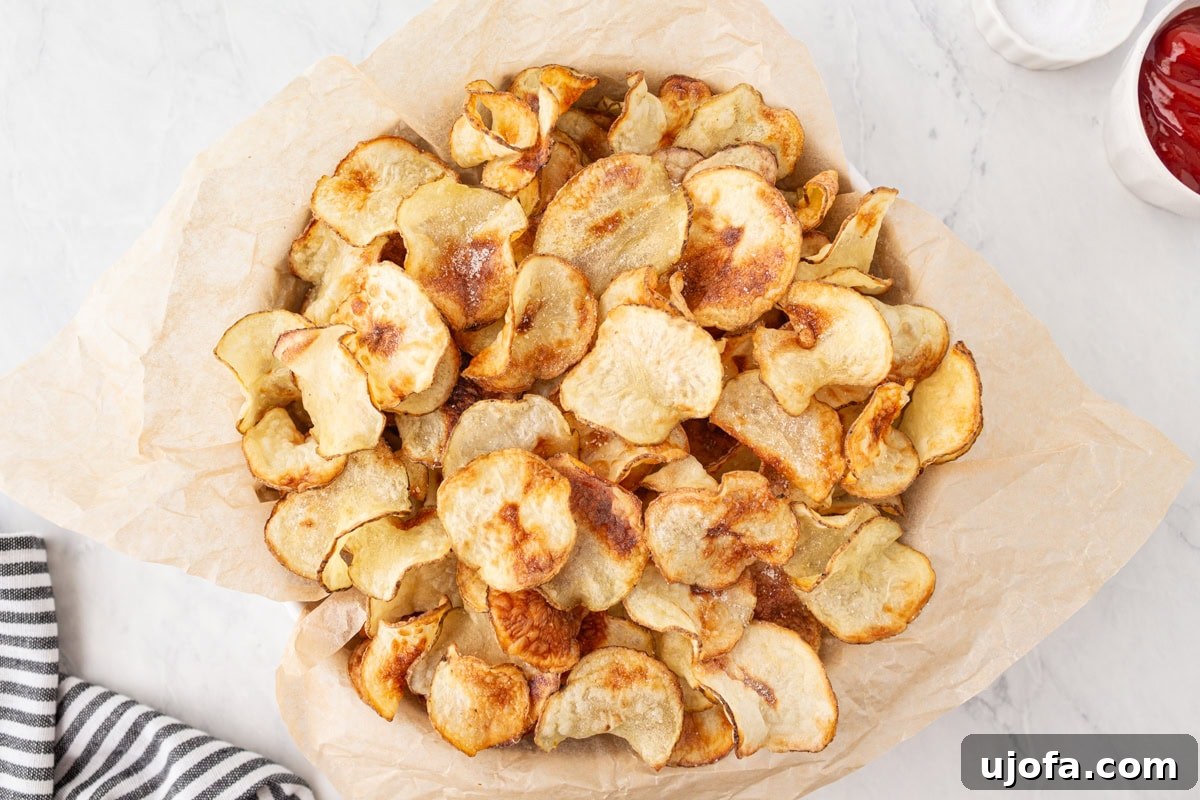
Step 8: Serve and Enjoy. Once all your chips are cooked, let them cool slightly on a wire rack or plate. This brief cooling period helps them achieve their final, satisfying crispness. Serve immediately and savor your delicious, homemade gluten-free air fryer potato chips!
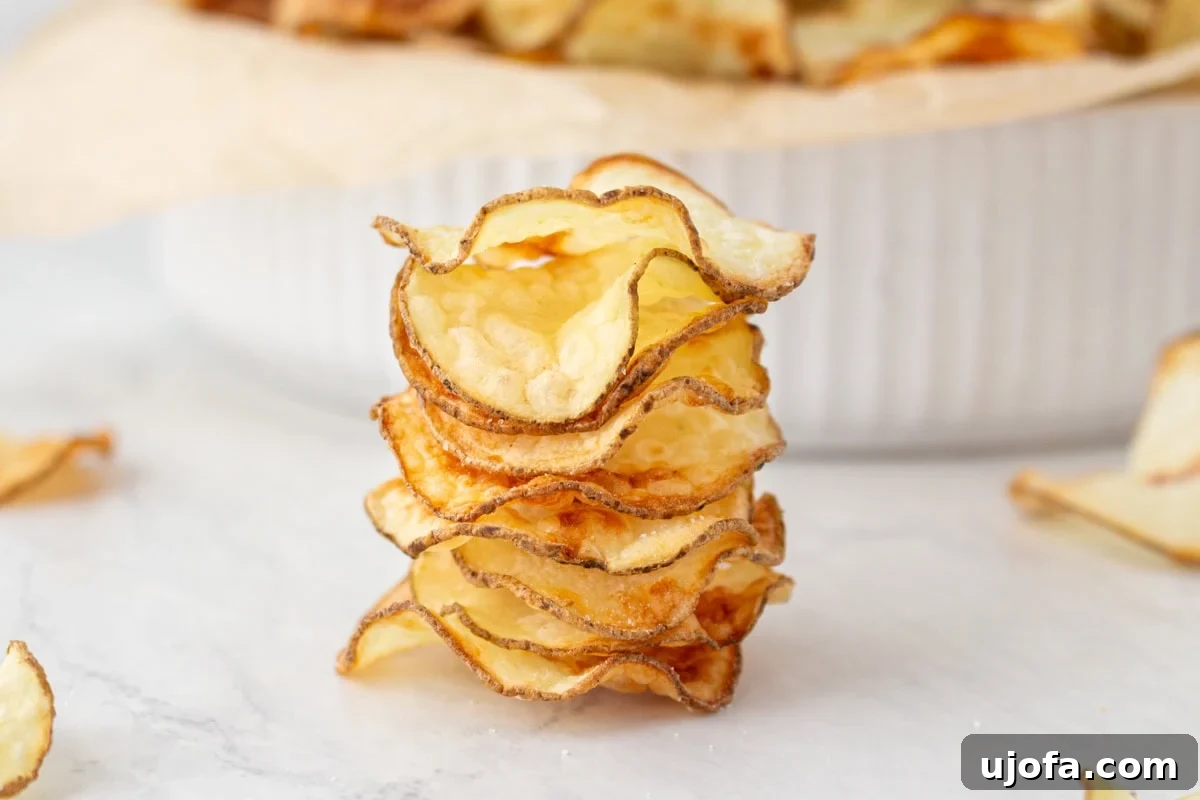
Essential Tips for Perfect Gluten-Free Air Fryer Potato Chips
Achieving the perfect crispy, golden potato chip in your air fryer is a science and an art. Here are some invaluable gluten-free cooking tips to ensure your homemade chips are a smashing success every single time:
- Mandolin is Your Best Friend: For unparalleled crispiness and consistent texture, a mandolin slicer is highly recommended. It allows you to slice potatoes evenly and as thin as possible, ideally around 1/16″. Uneven slices will cook inconsistently, leading to some chips burning while others remain disappointingly soft. Precision here pays off!
- Starch Removal is Key: Don’t skip the soaking and rinsing steps. Thoroughly rinse the potato slices until the water runs perfectly clear. This process removes excess starch, which is the primary culprit behind soggy chips. The less starch, the crispier your chips will be.
- Dry, Dry, Dry: After rinsing, drying the potato slices completely is non-negotiable. Use multiple layers of paper towels or a clean, absorbent kitchen towel to pat every single slice until it’s bone dry. Any residual moisture will cause the potatoes to steam rather than crisp, resulting in a chewy texture.
- Avoid Overcrowding the Air Fryer: The air fryer works by circulating hot air, so space is vital. Arrange your potato slices in a single layer or, at most, two slightly overlapping layers. Overfilling the basket will restrict airflow, leading to uneven cooking, sticking, and a less crispy result. Work in small batches if necessary, even if it adds a few extra minutes to your total cook time.
- Flip and Watch Closely: Flipping the chips every 2 to 2½ minutes is crucial for even cooking and browning. This ensures all sides get exposed to the circulating hot air. During the last few minutes of cooking, keep a very close eye on your chips. They can go from perfectly golden to burnt in a matter of seconds. Remove chips as soon as they reach your desired level of crispness and golden color.
- Seasoning Strategy: If your air fryer is small and requires multiple batches, it’s best to add salt to each batch just before it goes into the air fryer. This prevents the salt from drawing moisture out of the potatoes sitting in the bowl, which can affect crispiness.
- Potato Choice Matters: Russet potatoes are generally preferred for chips due to their high starch content and relatively low moisture, which contribute to a crispier outcome. While other potatoes can work, russets offer the classic chip texture.
Creative Serving Suggestions for Your Homemade Chips
These homemade gluten-free potato chips are incredibly versatile and can elevate any meal or snack time. I personally love serving them as a delightfully crunchy side to a light shrimp louie salad or alongside hearty homemade burgers – they offer a fresh, flavorful alternative to anything you’d find in a store-bought bag. My kids adore them packed in their lunchboxes for a special treat, and they’re also absolutely perfect for casual gatherings like game day spreads, relaxing beach days, or cozy movie nights at home. They’re a guaranteed hit at BBQs too; pair them with a vibrant creamy Italian pasta salad and grilled hot dogs for an easy, crowd-pleasing summer spread.
Beyond traditional salt, don’t be afraid to get creative with your seasonings! A sprinkle of smoked paprika adds a wonderful depth, garlic powder offers a savory punch, or try onion powder, chili powder, or even a homemade seasoning blend. For a gourmet touch, consider a dash of truffle salt or a sprinkle of grated Parmesan cheese immediately after they come out of the air fryer. Serve them with a side of classic ketchup, a zesty homemade aioli, or a creamy ranch dip for an even more indulgent experience.
Storage and Reheating for Maximum Freshness
To preserve that satisfying crunch, it’s crucial to let your homemade gluten-free potato chips cool completely to room temperature before storing them. Trust me, sealing them up while still warm will trap moisture and quickly lead to a loss of crispiness.
I typically keep mine in an airtight container at room temperature on the counter for up to 3 days. While they are best enjoyed fresh, if they happen to soften a bit over time, don’t despair! A quick reheat in your air fryer for 1–2 minutes at 350°F (175°C) will bring them right back to life, restoring their delightful crunch as if they were freshly made. This simple trick ensures you can enjoy crispy chips for days without waste.
More Irresistible Gluten-Free Snack Recipes to Explore
If you loved making these homemade gluten-free potato chips, you’ll be thrilled to discover more delicious and safe snack options from our kitchen. Expand your gluten-free repertoire with these fantastic recipes:
- Homemade Gluten-Free Granola Bars Recipe
- Gluten-Free Pop Tarts
- Pão de Queijo (Brazilian Cheese Bread)
- Gluten-Free Ritz Crackers
- Gluten-Free Cheez Its Copycat
Frequently Asked Questions (FAQs) About Homemade Air Fryer Potato Chips
Here are answers to some common questions about making these delicious gluten-free potato chips at home:
- Why do I need to soak the potatoes?
- Soaking the potato slices in cold water, especially with a bit of vinegar, helps to remove excess starch. Starch can make chips gummy or less crispy. By washing it away, you ensure a lighter, crispier end product.
- Can I use different types of potatoes?
- While russet potatoes are highly recommended for their high starch content and ideal texture for chips, you can experiment with other varieties like Yukon Gold or even sweet potatoes. Keep in mind that cooking times and the final texture might vary slightly.
- My chips aren’t getting crispy, what went wrong?
- The most common reasons for soft chips are insufficient drying of the potato slices before air frying or overcrowding the air fryer basket. Ensure your potatoes are completely dry, and cook them in small batches to allow proper air circulation.
- Can I make these chips without an air fryer?
- Yes, absolutely! You can bake them in a conventional oven. Refer to the “Oven Baking Method” in the Notes section for detailed instructions.
- How thin should I slice the potatoes?
- For optimal crispiness, aim for a thickness of about 1/16th of an inch. A mandolin slicer is highly recommended for achieving consistent, ultra-thin slices.
- How can I add different flavors to my chips?
- Beyond salt, you can toss your dried potato slices with a variety of seasonings. Popular choices include smoked paprika, garlic powder, onion powder, chili powder, a dash of cayenne for heat, or even a sprinkle of nutritional yeast for a cheesy flavor. Experiment with your favorite spice blends!
- Is this recipe truly gluten-free for celiacs?
- Yes, potatoes are naturally gluten-free, and as long as you use pure olive oil, vinegar, and salt without any hidden gluten additives, this recipe is safe for those with celiac disease or gluten sensitivities. Always ensure your seasonings are also certified gluten-free if you have severe sensitivities.